Articles
Tips For Painting All Kinds Of Siding
Modified: October 20, 2024
Discover expert tips for painting all types of siding in these informative articles. Enhance your home's exterior with the perfect paint job.
(Many of the links in this article redirect to a specific reviewed product. Your purchase of these products through affiliate links helps to generate commission for Storables.com, at no extra cost. Learn more)
Introduction
Painting the siding of your home can be a significant endeavor, but it’s also a highly rewarding one. Not only does a fresh coat of paint enhance the curb appeal of your property, but it also helps to protect the siding from the elements, preventing damage and deterioration. Whether you have wood, vinyl, aluminum, fiber cement, or stucco siding, the right paint and proper techniques can transform the look of your home.
In this article, we will provide you with valuable tips for painting all kinds of siding, ensuring a professional-looking finish that will stand the test of time. We will guide you through choosing the right paint, preparing the surface, and offer specific techniques for painting wood, vinyl, aluminum, fiber cement, and stucco siding. Additionally, we will provide tips for achieving a smooth finish, as well as guidance on cleaning up and maintaining your freshly painted siding.
So, whether you’re looking to refresh the color of your siding or revamp the appearance of your home, read on to discover the expert tips and techniques that will help you achieve outstanding results.
Key Takeaways:
- Transform the look of your home with a fresh coat of paint on your siding. Choose the right paint, prepare the surface, and follow specific techniques for wood, vinyl, aluminum, fiber cement, and stucco siding to achieve professional results.
- Achieve a smooth and flawless finish by using high-quality tools, applying thin coats, maintaining a wet edge, and allowing for proper drying time. After painting, ensure regular cleanup and maintenance to preserve the longevity and aesthetic appeal of your newly painted siding.
Read more: What Kind Of Nail Gun For Siding
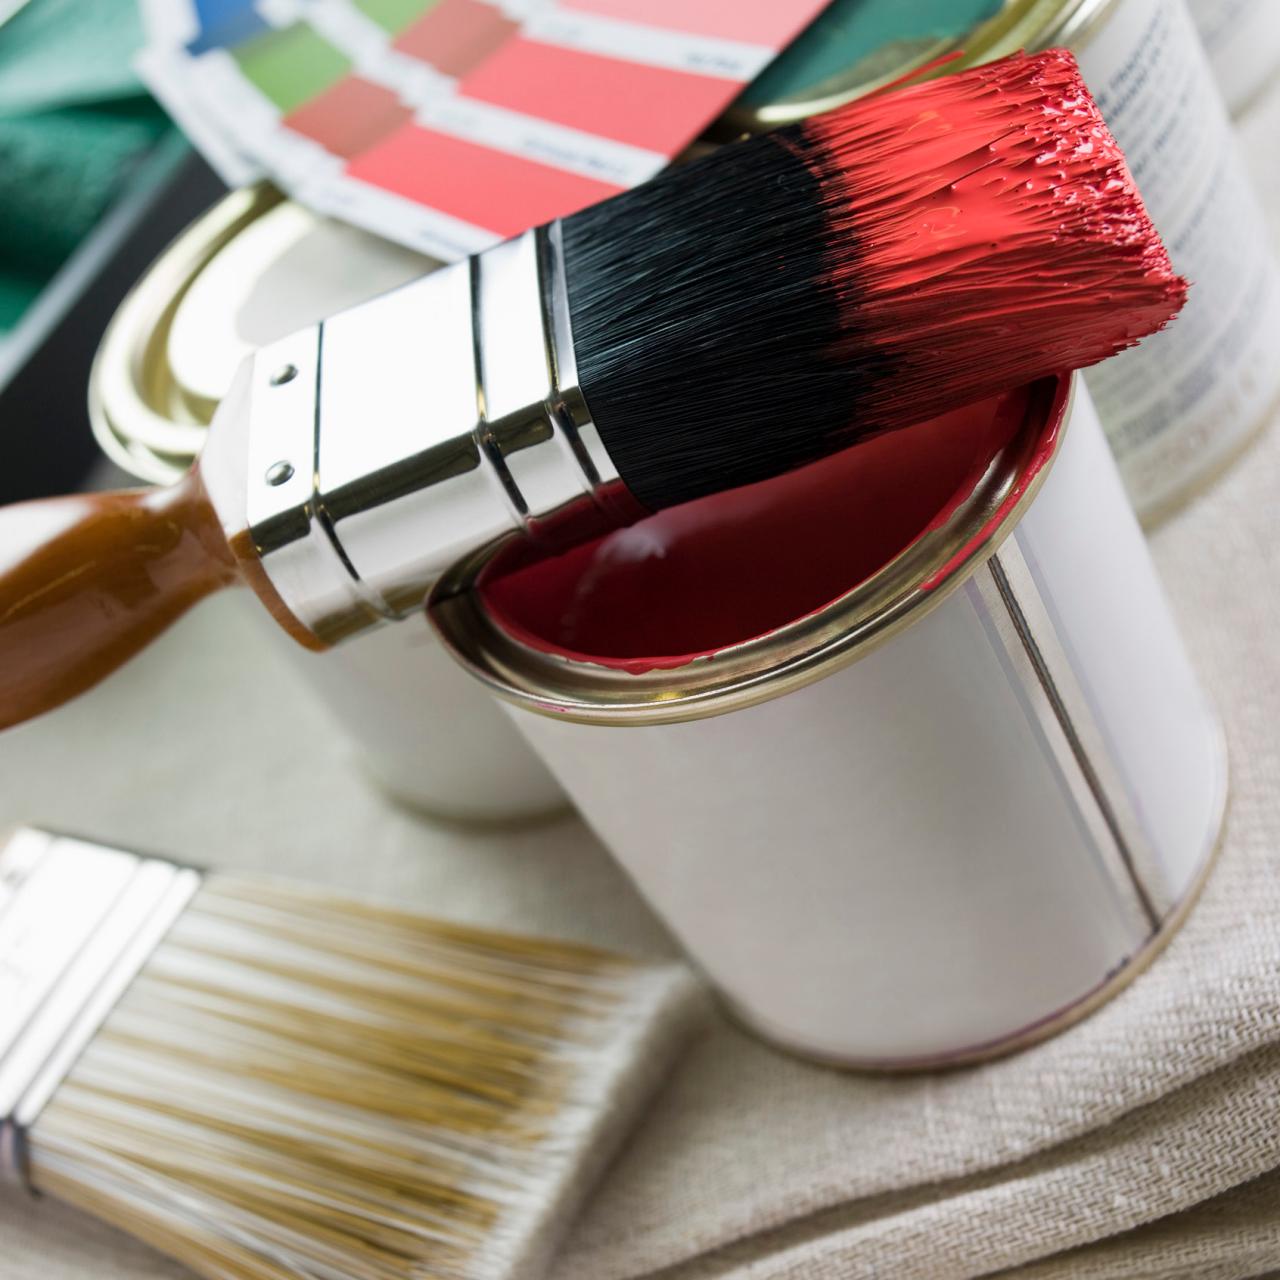
Choosing the Right Paint
When it comes to painting siding, selecting the right type of paint is crucial for achieving long-lasting results. The type of paint you choose will depend on the material of your siding and the specific needs of your project. Here are some factors to consider when choosing the right paint:
- Siding Material: Different siding materials require different types of paint. For wood siding, opt for an exterior latex or oil-based paint that is specifically formulated for wood surfaces. For vinyl or aluminum siding, choose a paint that is designed to adhere well to these materials. Fiber cement and stucco siding may require specialized paints, so be sure to consult with a professional or follow the manufacturer’s recommendations.
- Climate: Consider the climate in your area when selecting paint. If you live in a region with extreme weather conditions, such as high humidity or intense UV exposure, choose a paint that offers enhanced durability and protection against the elements.
- Color: The color you choose for your siding can impact both the aesthetics and performance of your paint. Dark colors tend to absorb more heat, which may cause the siding to expand or warp. Lighter colors, on the other hand, reflect heat and can help keep your home cooler. Additionally, make sure to select a color that complements the style of your home and the surrounding environment.
- Finish: The finish of the paint determines its sheen and durability. Generally, satin or semi-gloss finishes are recommended for siding as they provide a good balance between aesthetics and resistance to dirt, moisture, and fading. However, the choice of finish ultimately depends on personal preference.
- Quality: Invest in high-quality paint that is specifically designed for exterior use. Quality paints are more durable, offer better coverage, and provide longer-lasting protection against the elements. Check for paints with features like UV resistance, mildew resistance, and easy-clean properties.
When in doubt, consult with a paint professional or refer to the manufacturer’s recommendations for your specific siding material. Taking the time to choose the right paint will ensure optimal adhesion, longevity, and overall satisfaction with the final result.
Preparing the Surface
Before you start painting your siding, it is essential to properly prepare the surface for optimal adhesion and a smooth finish. Here are the steps to follow for surface preparation:
- Clean the Surface: Begin by thoroughly cleaning the siding to remove dirt, grime, and any loose paint. Use a mild detergent and water solution, along with a soft brush or a pressure washer, to scrub away any debris. Be cautious when using a pressure washer, as too much pressure can damage the siding. Allow the surface to dry completely before moving on to the next step.
- Repair Any Damage: Inspect the siding for any cracks, holes, or damaged areas. Repair these imperfections using a suitable filler or caulk, following the manufacturer’s instructions. Make sure to smooth out the patched areas and allow them to dry completely.
- Sand and Scrape: For surfaces with peeling or flaking paint, gently sand or scrape the affected areas to create a smooth surface. Use a sanding block or sandpaper with a medium grit, being careful not to oversand and damage the siding. Once done, wipe away any dust with a clean cloth.
- Prime the Surface: Depending on the condition of the siding, it may be necessary to apply a primer before painting. Priming helps to create a consistent base, improves paint adhesion, and can enhance the durability and longevity of the paint job. Choose a primer that is compatible with your siding material and follow the instructions for proper application.
- Protect Surfaces: Take the time to protect any adjacent surfaces, such as windows, doors, and trim, from accidental paint splatters. Cover them with plastic sheeting or painter’s tape to ensure clean edges and easy cleanup.
Properly preparing the surface before painting will help the paint adhere better and ensure a professional-looking finish. By investing time in this step, you’ll create a solid foundation for a long-lasting paint job that enhances the beauty and durability of your siding.
Painting Wood Siding
Wood siding has a classic and timeless appeal but requires regular maintenance, including painting, to protect it from moisture, UV rays, and other elements. Follow these steps for painting wood siding:
- Prime Bare Wood: If you have bare wood siding or you have stripped off all the old paint, it’s essential to apply a primer before painting. A high-quality primer will seal the wood, prevent moisture penetration, and help the paint adhere better.
- Choose the Right Paint: Opt for an exterior-grade, latex or oil-based paint specifically formulated for wood surfaces. Consider using a paint with built-in UV protection to prevent fading and discoloration over time.
- Start with a Clean Surface: Ensure the wood siding is clean from dirt, dust, and loose paint. Use a mild detergent and water solution to wash the surface, then rinse thoroughly and allow it to dry completely.
- Protect Surrounding Areas: Cover any nearby surfaces, such as windows, trim, and landscaping, with plastic sheeting or painter’s tape to prevent paint splatters and overspray.
- Apply the Paint: Use a brush, roller, or sprayer to apply the paint to the wood siding. Start at the top and work your way down, applying thin, even coats. Make sure to follow the manufacturer’s instructions regarding drying times between coats.
- Pay Attention to Details: Pay special attention to areas such as corners, seams, and edges, ensuring they are properly covered with paint for an even and seamless finish.
- Allow the Paint to Cure: Once you have finished painting, allow the paint to cure fully before exposing it to moisture or other elements. This may take several days, depending on the paint and environmental conditions.
- Maintenance: Regularly inspect the wood siding for any signs of paint deterioration or damage. Touch up any chips or peeling paint promptly to maintain the appearance and protection of the siding.
By following these steps, you can achieve a beautiful and long-lasting paint job for your wood siding, keeping it protected and enhancing the overall look of your home.
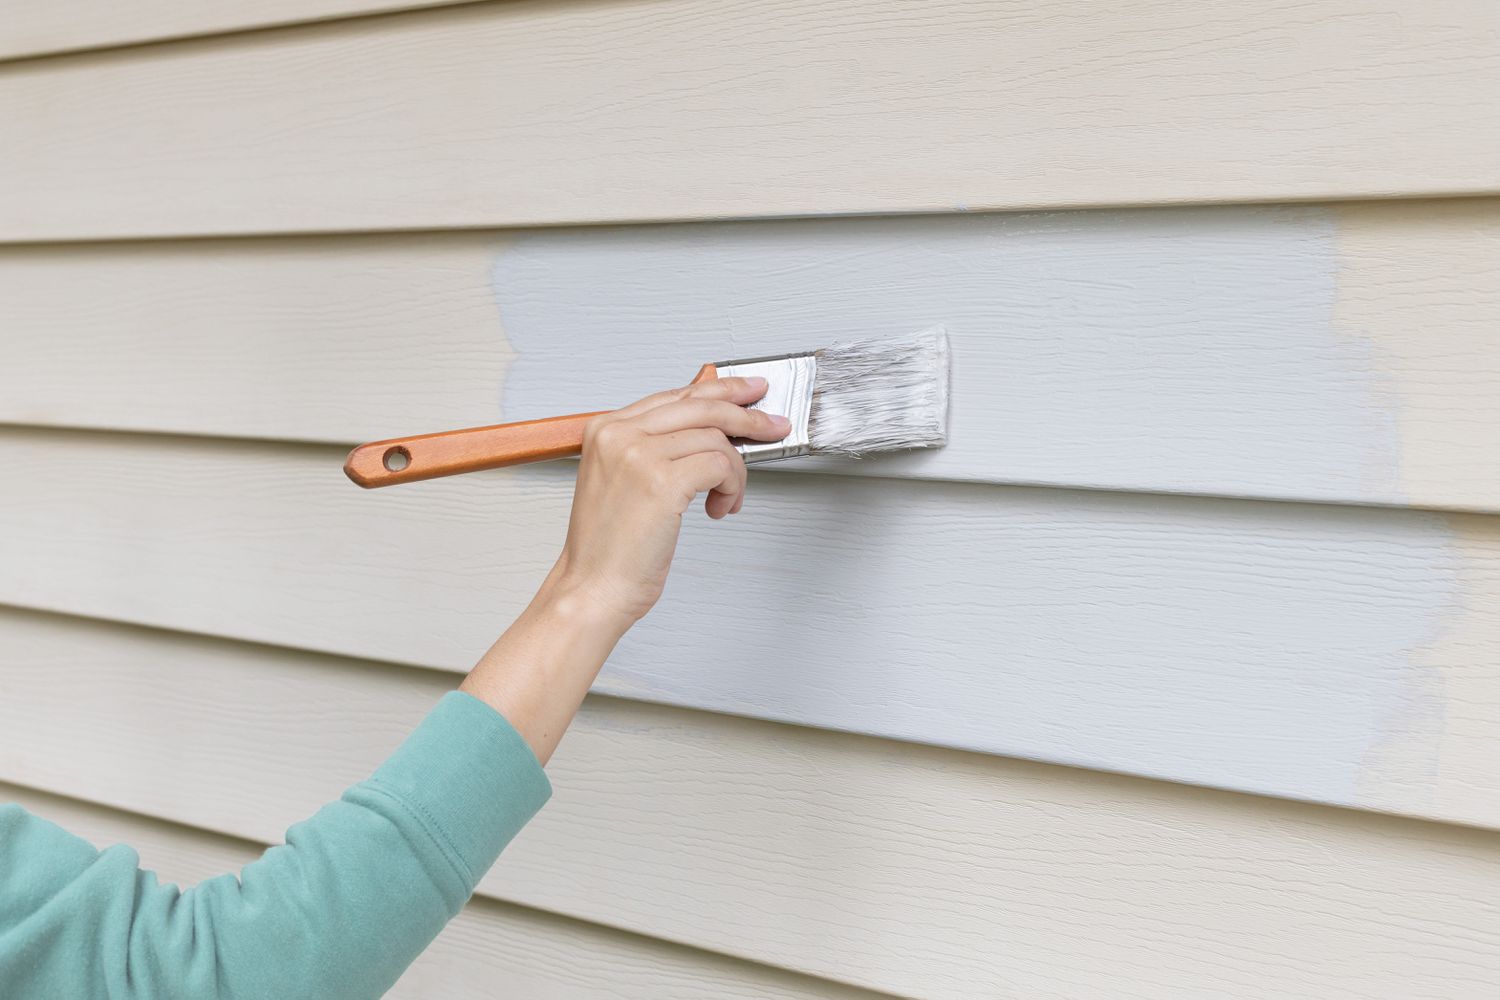
Painting Vinyl Siding
While vinyl siding is known for its low maintenance and durability, you may still want to change its color or refresh its appearance. Painting vinyl siding is a cost-effective way to achieve this transformation. Here’s how to paint vinyl siding:
- Clean the Surface: Thoroughly clean the vinyl siding to remove any dirt, mold, or mildew. Use a mixture of mild detergent and water, along with a soft brush or sponge, to scrub the surface. Rinse well and allow it to dry completely.
- Choose the Right Paint: Select a paint specifically formulated for vinyl siding. These paints are designed to adhere well to the smooth surface of vinyl and provide long-lasting results. Choose a color that complements your home’s style and consider opting for a lighter shade to prevent excessive heat absorption.
- Protect Nearby Surfaces: Cover any adjacent surfaces, such as windows, doors, and trim, with plastic sheeting or painter’s tape to prevent accidental paint splatters.
- Apply the Paint: Use a high-quality brush or roller to apply the paint to the vinyl siding. Start at the top and work your way down, applying thin and even coats. Avoid applying the paint too thickly, as it may result in drips and an uneven finish.
- Allow the Paint to Dry: Follow the manufacturer’s instructions regarding drying times between coats. Typically, latex paint dries quickly, allowing you to apply a second coat within a few hours. Be sure to allow the final coat to dry fully before exposing the siding to moisture or other elements.
- Maintenance: Regularly inspect the vinyl siding to check for any signs of paint deterioration or damage. Touch up any chips or peeling paint promptly to maintain the appearance and protection of the siding.
Painting vinyl siding can enhance the look of your home and provide a fresh new color while extending the lifespan of the siding. With proper surface preparation and the right paint, your vinyl siding can be transformed into a vibrant and long-lasting exterior surface.
Read more: How Much Is It To Paint Siding
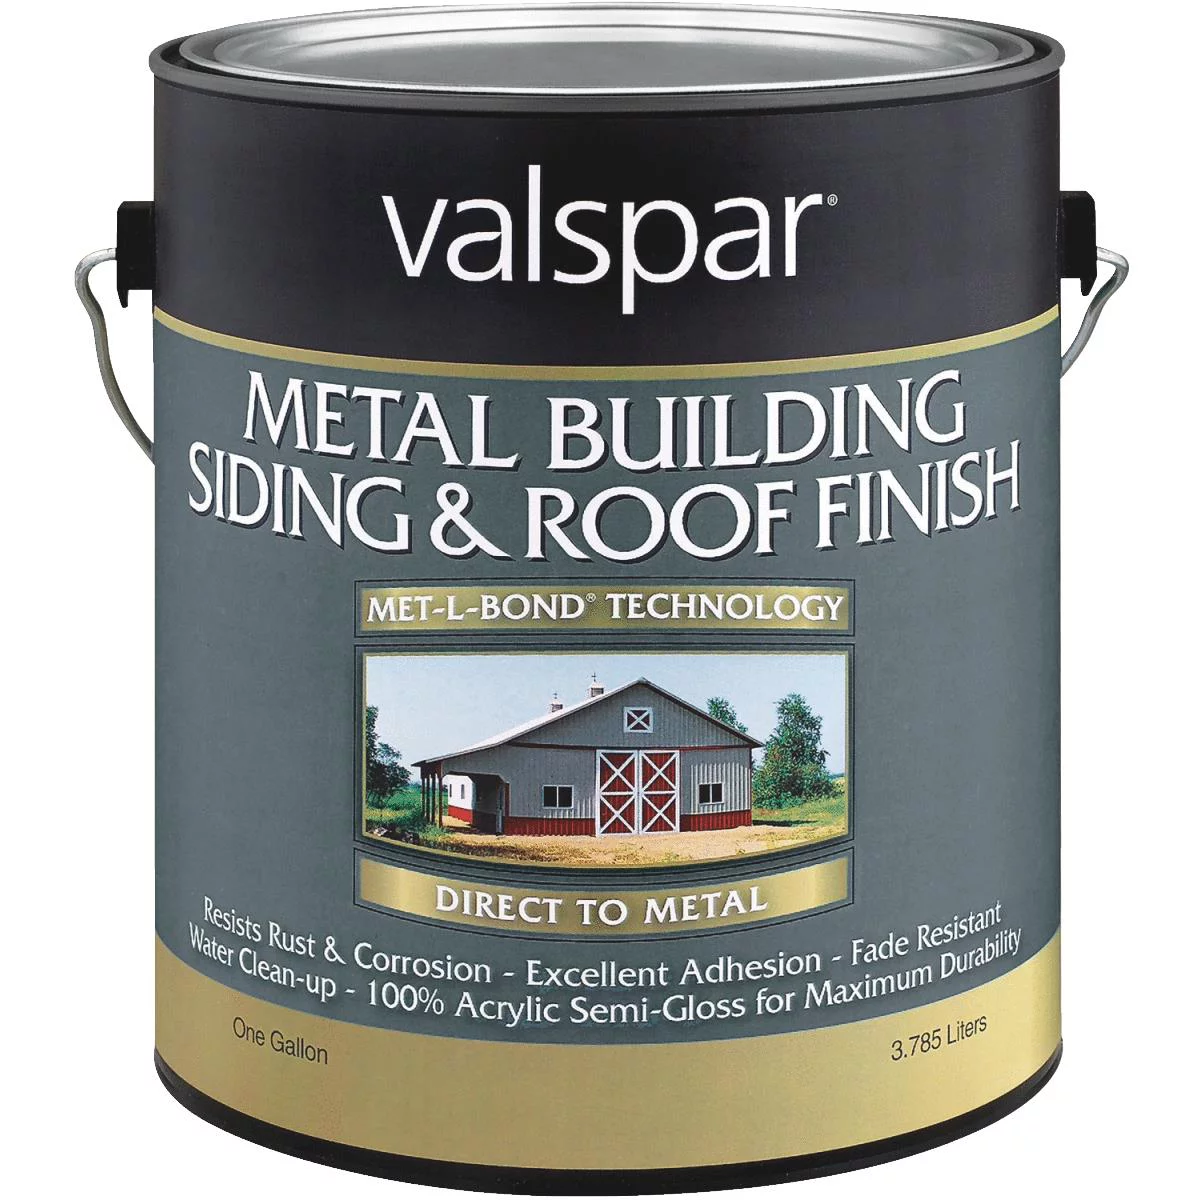
Painting Aluminum Siding
Aluminum siding is durable and resistant to corrosion, but over time, it may fade or become outdated. Painting aluminum siding is a cost-effective way to give your home a fresh new look. Here’s a step-by-step guide to painting aluminum siding:
- Clean the Surface: Begin by thoroughly cleaning the aluminum siding to remove any dirt, dust, or grime. Use a mixture of mild detergent and water, along with a soft brush or sponge, to scrub the surface. Rinse well and allow it to dry completely.
- Repair Any Damage: Inspect the aluminum siding for any dents, scratches, or loose panels. Repair or replace any damaged sections before painting.
- Choose the Right Paint: Select a high-quality, exterior-grade paint that is specifically formulated for metal surfaces. Look for paints that offer superior adhesion and weather resistance.
- Protect Surrounding Areas: Cover any nearby surfaces, such as windows, trim, and landscaping, with plastic sheeting or painter’s tape to prevent paint splatters and overspray.
- Apply the Paint: Use a brush, roller, or sprayer to apply the paint to the aluminum siding. Apply thin, even coats, working in small sections from top to bottom. Avoid applying the paint too thickly, as it may result in drips and an uneven finish.
- Allow the Paint to Dry: Follow the manufacturer’s instructions regarding drying times between coats. Aluminum siding tends to heat up quickly, so make sure to avoid painting in direct sunlight to prevent the paint from drying too fast.
- Maintenance: Regularly inspect the aluminum siding for any signs of paint deterioration or damage. Touch up any chips or peeling paint promptly to maintain the appearance and protection of the siding.
Painting aluminum siding allows you to transform the look of your home and extend its lifespan. With proper surface preparation and the right paint, your aluminum siding can look refreshed and stylish for years to come.
When painting siding, always start with a clean surface to ensure proper adhesion of the paint. Use a pressure washer or a scrub brush and mild detergent to remove dirt, grime, and any loose paint before applying a fresh coat.
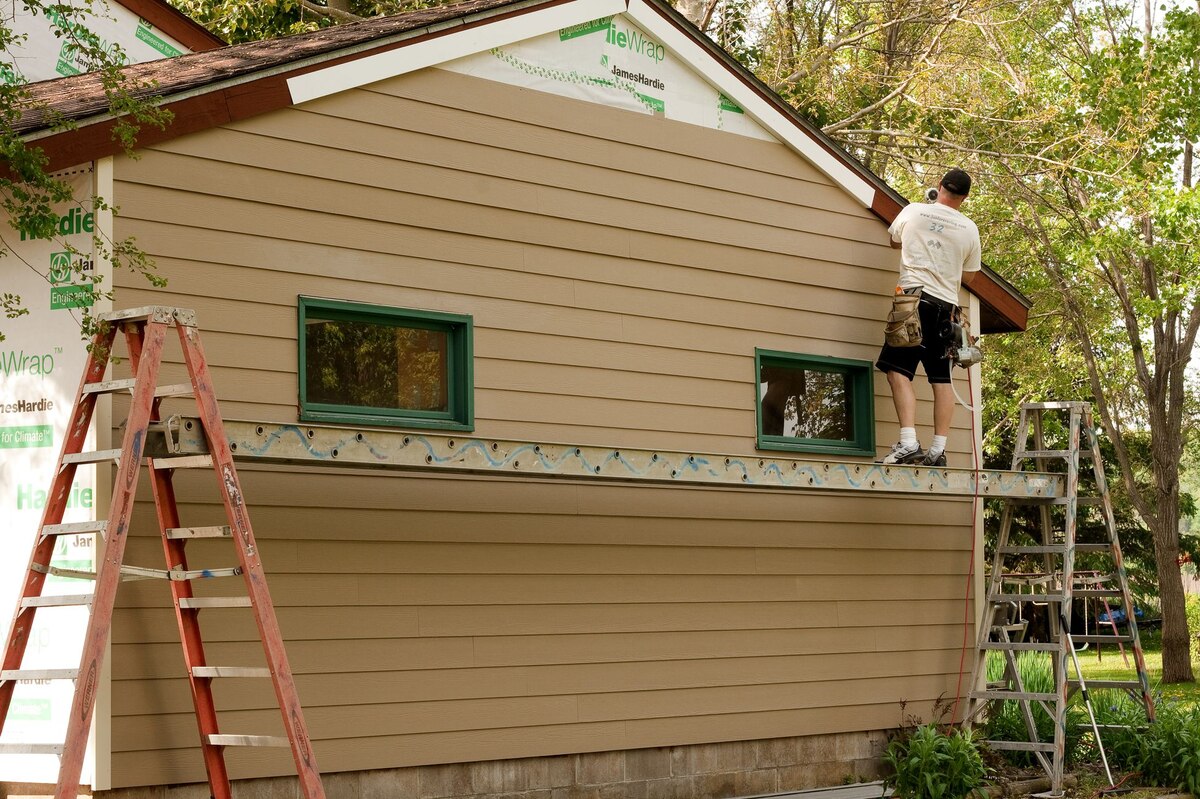
Painting Fiber Cement Siding
Fiber cement siding is renowned for its durability and low maintenance requirements. However, over time, you may want to change the color or refresh the appearance of your fiber cement siding. Here’s a step-by-step guide on how to paint fiber cement siding:
- Clean the Surface: Start by cleaning the fiber cement siding to remove any dirt, debris, or mold. Use a mild detergent and water solution, along with a soft brush or sponge, to scrub the surface. Rinse well and allow it to dry completely.
- Repair Any Damage: Inspect the fiber cement siding for any cracks, chips, or loose edges. Repair any damaged areas using a suitable filler or caulk, and make sure to smooth out the patched areas before painting.
- Choose the Right Paint: Select a high-quality exterior latex paint that is specifically formulated for fiber cement siding. Look for paints that offer excellent adhesion and resistance to moisture and UV rays.
- Protect Nearby Surfaces: Cover any adjacent surfaces, such as windows, doors, and trim, with plastic sheeting or painter’s tape to prevent accidental paint splatters.
- Apply the Paint: Use a brush, roller, or sprayer to apply the paint to the fiber cement siding. Start at the top and work your way down, applying thin, even coats. Pay attention to the manufacturer’s recommendations for drying times between coats.
- Allow the Paint to Dry: Fiber cement siding requires adequate drying time to ensure proper adhesion and durability of the paint. Make sure to allow each coat to dry fully before applying the next one.
- Maintenance: Regularly inspect the fiber cement siding for any signs of paint deterioration or damage. Touch up any chips or peeling paint promptly to maintain the appearance and protection of the siding.
Painting fiber cement siding can revive its appearance and give your home a fresh new look. By following these steps and using the right paint, you can achieve a beautiful and long-lasting result that enhances the durability and aesthetic appeal of your fiber cement siding.
Painting Stucco Siding
Stucco siding adds a unique and textured look to the exterior of a home. If your stucco siding is beginning to show signs of wear or you simply want to update its color, painting can be a great option. Here is a step-by-step guide on how to paint stucco siding:
- Clean the Surface: Begin by thoroughly cleaning the stucco surface to remove any dirt, debris, or mildew. Use a stiff brush, along with a mixture of mild detergent and water, to scrub the surface. Rinse well and allow it to dry completely.
- Repair Any Damage: Inspect the stucco siding for any cracks or holes. Fill any cracks or holes with a stucco patching compound, following the manufacturer’s instructions. Smooth out the patched areas and allow them to dry completely.
- Prime the Surface: Applying a primer to the stucco surface can help the paint adhere better and provide a more uniform appearance. Choose a primer that is compatible with stucco, and follow the manufacturer’s instructions for proper application.
- Choose the Right Paint: Select a high-quality exterior paint that is specifically formulated for stucco surfaces. Look for paints that offer excellent adhesion, water resistance, and UV protection.
- Protect Surrounding Areas: Cover any adjacent surfaces, such as windows, doors, and trim, with plastic sheeting or painter’s tape to prevent paint splatters and overspray.
- Apply the Paint: Use a roller or brush to apply the paint to the stucco siding. Begin at the top and work your way down, applying thin, even coats. Pay attention to the texture of the stucco and ensure that the paint is pushed into all the crevices for thorough coverage.
- Allow the Paint to Dry: Follow the manufacturer’s instructions regarding drying times between coats. Allow the final coat to dry fully before exposing the stucco siding to moisture or other elements.
- Maintenance: Regularly inspect the painted stucco siding for any signs of paint deterioration or damage. Touch up any chips or peeling paint promptly to maintain the appearance and protection of the siding.
Painting stucco siding can breathe new life into your home’s exterior and provide a fresh and updated look. By following these steps and using the proper materials, you’ll achieve a beautiful and long-lasting paint job that enhances the beauty and durability of your stucco siding.
Tips for a Smooth Finish
When painting any type of siding, achieving a smooth and flawless finish is essential for a professional-looking result. Here are some tips to help you achieve a smooth finish:
- Use High-Quality Brushes and Rollers: Invest in high-quality brushes and rollers that are specifically designed for the type of paint you’re using. Quality tools will help you apply the paint evenly and smoothly, resulting in a more polished finish.
- Apply Thin Coats: To avoid drips and uneven coverage, apply thin coats of paint rather than trying to achieve full coverage in one thick coat. Multiple thin coats will dry faster and give you better control over the painting process.
- Keep a Wet Edge: When using a brush or roller, maintain a wet edge as you work. This means slightly overlapping each stroke with the previous one to prevent visible seams or lines in the finished result.
- Watch for Drips and Runs: Keep an eye out for any drips or runs as you paint. Immediately smooth them out with a brush or sponge to prevent them from drying and creating an uneven texture.
- Consider Using a Paint Sprayer: If you have a larger area to paint, using a paint sprayer can help you achieve a smooth and even finish more efficiently. However, practice proper technique and take adequate precautions to prevent overspray and ensure an even application.
- Allow for Proper Drying Time: Follow the manufacturer’s instructions for drying times between coats and the overall curing time for the paint. Rushing the drying process can lead to smudges and imperfections in the finish.
- Sand and Smooth Between Coats: If you notice any imperfections between coats, gently sand them down with fine-grit sandpaper. Wipe away any dust with a clean cloth before applying the next coat.
- Consider a Clear Topcoat: For added protection and a smooth, glossy finish, consider applying a clear topcoat over the painted surface. This can enhance the durability and visual appeal of the siding.
By following these tips, you can achieve a smooth and professional finish when painting your siding. Take your time, pay attention to detail, and practice proper painting techniques to ensure exceptional results.
Read more: How To Paint Steel Siding
Cleaning Up and Maintenance
After completing a painting project on your siding, it’s important to properly clean up and maintain the newly painted surface. This will help preserve the appearance and longevity of the paint job. Here are some cleaning and maintenance tips to follow:
- Cleanup: Dispose of any used paint cans, brushes, rollers, and other painting equipment responsibly. Clean your brushes and rollers thoroughly with soap and water or according to the manufacturer’s instructions.
- Inspect Regularly: Periodically inspect your painted siding for any signs of damage, peeling, or chipping. Catching and addressing any issues early on can prevent further damage and the need for more extensive repairs later.
- Touch Up as Needed: If you notice any chips or peeling paint, promptly touch up those areas with the same paint used originally. This will help maintain the protective layer and prevent moisture from seeping underneath.
- Clean Regularly: Clean your painted siding regularly to remove dirt, dust, and other debris. Use a soft brush or sponge and a mild detergent mixed with water to gently scrub the surface. Rinse thoroughly and allow it to dry completely.
- Remove Mold and Mildew: If you notice any mold or mildew growth on your painted siding, take immediate action to eliminate it. Use a mix of bleach and water or an appropriate mold and mildew cleaner to scrub away the growth. Rinse thoroughly and ensure the surface is completely dry.
- Protect from Harsh Weather: Take precautions to protect your painted siding from harsh weather conditions. Consider installing gutter systems to redirect water away from the siding and apply sealants or water repellents for added protection.
- Trim Vegetation: Trim any bushes, trees, or vines near your siding to prevent them from touching and potentially damaging the painted surface. This will also help reduce the risk of moisture buildup and mold growth.
- Consider Regular Repainting: Over time, even the best-quality paint will fade and wear. It is recommended to repaint your siding every 5-10 years, or as needed, to maintain its appearance and protection.
By following these cleaning and maintenance tips, you can keep your painted siding looking fresh and vibrant for years to come. Regular upkeep will help prolong the life of the paint job and ensure your home’s exterior remains beautiful and well-protected.
Conclusion
Painting the siding of your home can be a transformative and rewarding project. Whether you have wood, vinyl, aluminum, fiber cement, or stucco siding, the process of painting involves careful preparation, the right tools, and proper techniques. By following the tips and guidelines provided in this article, you can achieve a professional-looking finish that enhances the beauty and durability of your siding.
Choosing the right paint for your specific siding material and climate is essential. Take the time to research and select high-quality paints that offer the necessary protection and longevity. Remember to properly prepare the surface by cleaning, repairing any damage, and priming when necessary. Applying thin, even coats of paint with the appropriate tools and techniques will help you achieve a smooth and flawless finish.
After completing the painting project, don’t forget about the important steps of cleaning up and ongoing maintenance. Regularly inspect your painted siding, address any issues promptly, and clean the surface to remove dirt and debris. By taking these measures, you can ensure the longevity and aesthetic appeal of your newly painted siding.
When it comes to painting your siding, attention to detail and patience are key. Take your time, follow the recommended steps, and don’t hesitate to seek professional advice if needed. With proper planning and execution, your painted siding will not only enhance the curb appeal of your home but also provide protection against the elements for years to come.
So, get ready to transform the look of your home with a fresh coat of paint on your siding. Embrace the challenge, unleash your creativity, and enjoy the satisfying results that come with a beautifully painted exterior.
Frequently Asked Questions about Tips For Painting All Kinds Of Siding
Was this page helpful?
At Storables.com, we guarantee accurate and reliable information. Our content, validated by Expert Board Contributors, is crafted following stringent Editorial Policies. We're committed to providing you with well-researched, expert-backed insights for all your informational needs.


0 thoughts on “Tips For Painting All Kinds Of Siding”