Articles
How To Paint Wood Siding
Modified: December 7, 2023
Learn how to paint wood siding with our informative articles. Discover expert tips and techniques for a flawless finish.
(Many of the links in this article redirect to a specific reviewed product. Your purchase of these products through affiliate links helps to generate commission for Storables.com, at no extra cost. Learn more)
Introduction
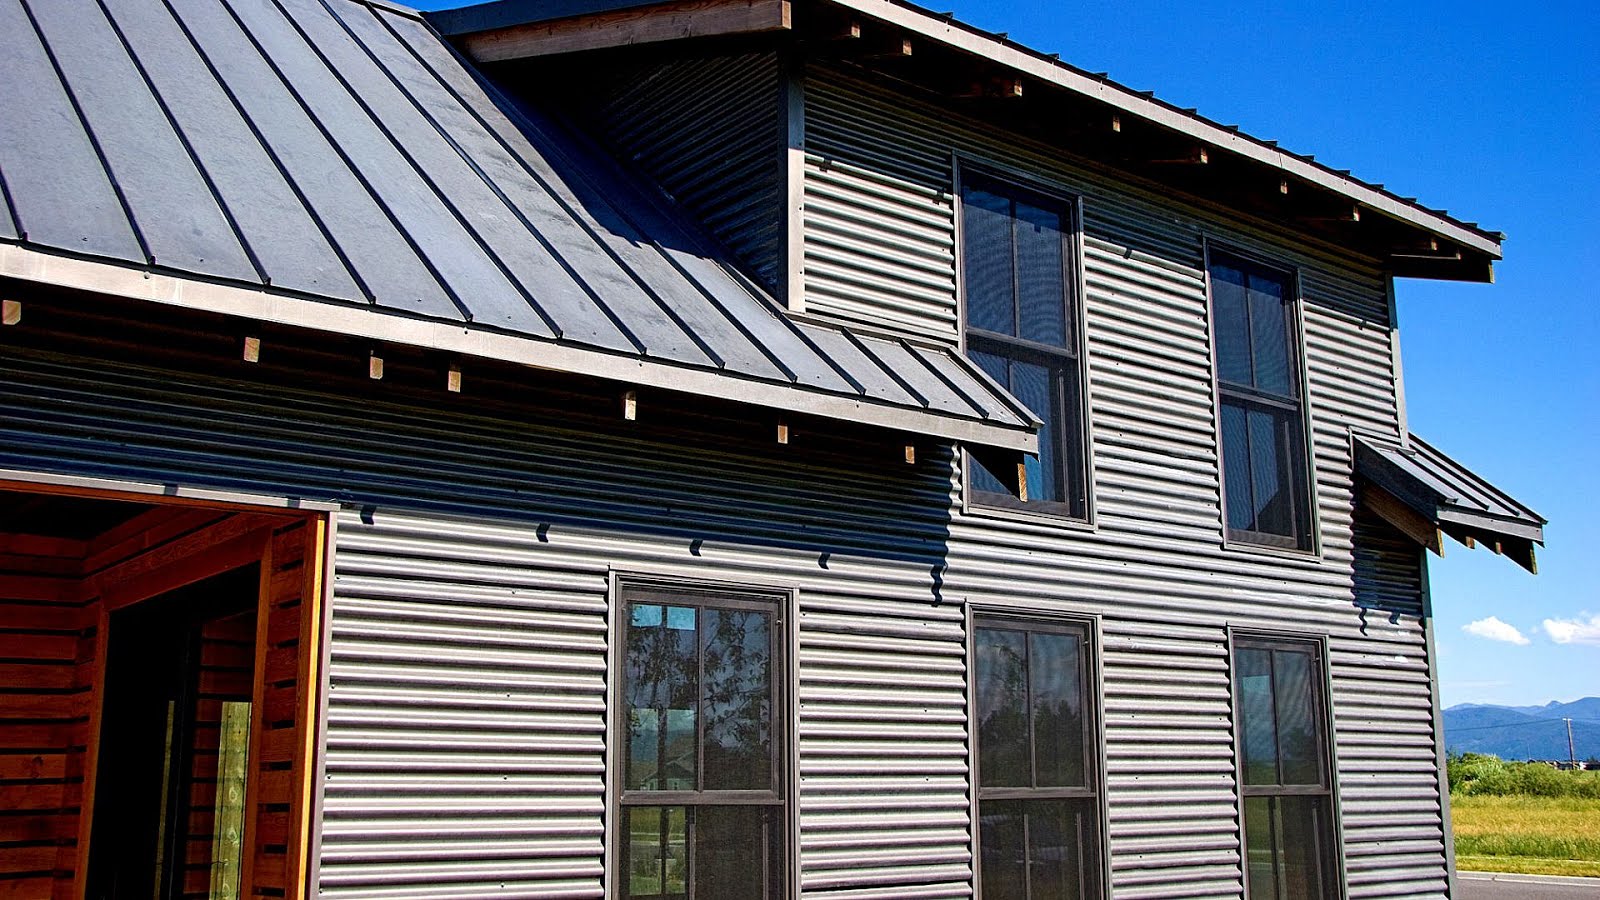
Welcome to the world of wood siding! If you are looking for a way to improve the appearance of your home’s exterior, painting your wood siding can be a great option. Not only does a fresh coat of paint add curb appeal, but it also provides protection against the elements, prolonging the lifespan of your siding.
However, painting wood siding requires some preparation and the right techniques to achieve a long-lasting and professional-looking finish. In this article, we will guide you through the process of painting wood siding, step by step.
Before diving into the nitty-gritty, it’s important to understand that proper preparation and quality materials are key to a successful paint job. Taking the time to prepare the wood siding and choosing the right paint will ensure that your efforts yield beautiful, durable results that will make your home the envy of the neighborhood.
So, if you’re ready to give your wood siding a fresh new look, let’s get started with the prepping process!
Key Takeaways:
- Proper preparation, including cleaning, inspecting for damage, and filling gaps, is crucial before painting wood siding to ensure a long-lasting and professional finish.
- Choosing the right paint, including type, finish, color, and quality, is essential for achieving a durable and visually pleasing result when painting wood siding.
Read more: How Often To Paint Wood Siding
Preparing the Wood Siding
Before painting your wood siding, it’s essential to thoroughly prepare the surface. Proper preparation will ensure that the paint adheres well and provides a smooth and long-lasting finish. Here are the steps to prepare your wood siding:
- Clean the surface: Start by removing any dirt, dust, and debris from the wood siding. Use a brush, broom, or pressure washer to clean the surface. Pay extra attention to areas with mold or mildew, and use a mixture of water and mild detergent to scrub them away.
- Inspect for damage: Carefully inspect the wood siding for any signs of damage, such as rot, cracks, or loose boards. Replace or repair any damaged areas before proceeding with painting.
- Remove loose paint: If there is any loose or peeling paint on the wood siding, it’s crucial to remove it before applying a new coat. Use a scraper or a wire brush to scrape away the loose paint. Sanding the surface lightly can also help in creating a smooth canvas for the new paint.
- Fill gaps and caulk: Inspect the siding for any gaps or cracks. Use a high-quality wood filler to fill in the gaps and ensure a seamless surface. Additionally, apply caulk around windows, doors, and other joints to prevent water penetration.
- Mask off areas: If there are any areas adjacent to the wood siding that you don’t want to paint, such as windows, doors, or trim, use painter’s tape or masking paper to cover and protect them.
By thoroughly preparing the wood siding, you set the foundation for a successful paint job. Once the surface is clean, free from damage, and properly prepped, you are ready to move on to the next essential step – choosing the right paint.
Choosing the Right Paint
When it comes to painting wood siding, selecting the right paint is crucial for achieving a durable and visually pleasing result. Here are a few factors to consider when choosing the perfect paint for your project:
- Type of paint: There are various types of paint available for wood siding, including oil-based paint, water-based latex paint, and acrylic paint. Each type has its advantages and considerations. Oil-based paint offers exceptional durability and protection but requires longer drying time and potentially harsh odors. Latex and acrylic paints are more environmentally friendly, dry faster, and have low odor, but may not be as durable in extreme weather conditions.
- Finish: The finish or sheen of the paint affects both the appearance and the durability of the wood siding. Common options for finishes include flat, eggshell, satin, semi-gloss, and high-gloss. Flat paint offers a non-reflective, matte finish and is ideal for hiding imperfections. Higher gloss finishes, such as semi-gloss or high-gloss, provide more sheen and are easier to clean, making them suitable for areas prone to moisture and wear.
- Color: Choosing the right color is a personal preference and depends on the overall aesthetic you want to achieve for your home’s exterior. Consider the architectural style of your home, the surrounding environment, and any existing color schemes. It’s also helpful to evaluate paint swatches in different lighting conditions to ensure you select a color that complements your home.
- Quality: Investing in high-quality paint is crucial for achieving long-lasting results. Look for paints that are specifically formulated for exterior use and offer excellent adhesion, resistance to cracking and peeling, and protection against UV rays and moisture. Read reviews, check the paint’s durability rating, and consult with professionals at your local paint store for recommendations.
Remember, the right paint choice depends on factors such as climate, level of maintenance, and personal preferences. Take the time to research and select a paint that meets your specific needs. Once you’ve chosen the perfect paint, it’s time to gather the necessary tools and materials for the painting process.
Gathering the Necessary Tools and Materials
Before you can start painting your wood siding, it’s essential to gather all the necessary tools and materials. Having everything at hand will make the painting process smoother and more efficient. Here’s a list of the items you’ll need:
- Paint: Purchase high-quality paint that is specifically formulated for exterior use. Ensure that you have enough paint to cover the entire surface area of your wood siding.
- Paintbrushes: Invest in a good set of paintbrushes, including a wide brush for large areas of siding and smaller brushes for detailed work or trim.
- Roller and roller cover: A roller is ideal for applying paint to larger, flat areas of the wood siding. Choose a roller cover with the appropriate nap length for your specific surface texture.
- Paint tray: Use a paint tray to hold and distribute the paint for your roller. Opt for a sturdy tray that is easy to clean.
- Drop cloths or plastic sheets: Protect the surrounding area by covering the ground, landscaping, and any furniture with drop cloths or plastic sheets.
- Painter’s tape: Use painter’s tape to mask off areas that you don’t want to paint, such as windows, doors, or trim.
- Sanding materials: Depending on the condition of your wood siding, you may need sandpaper, sanding blocks, or a power sander to smooth out rough areas and remove any remaining loose paint.
- Primer: If your wood siding is bare or has been previously painted with a darker color, applying a primer is recommended for better adhesion and even coverage of the topcoat.
- Caulk and caulk gun: Use caulk to seal any gaps or cracks in the wood siding. Make sure to have a caulk gun for easy application.
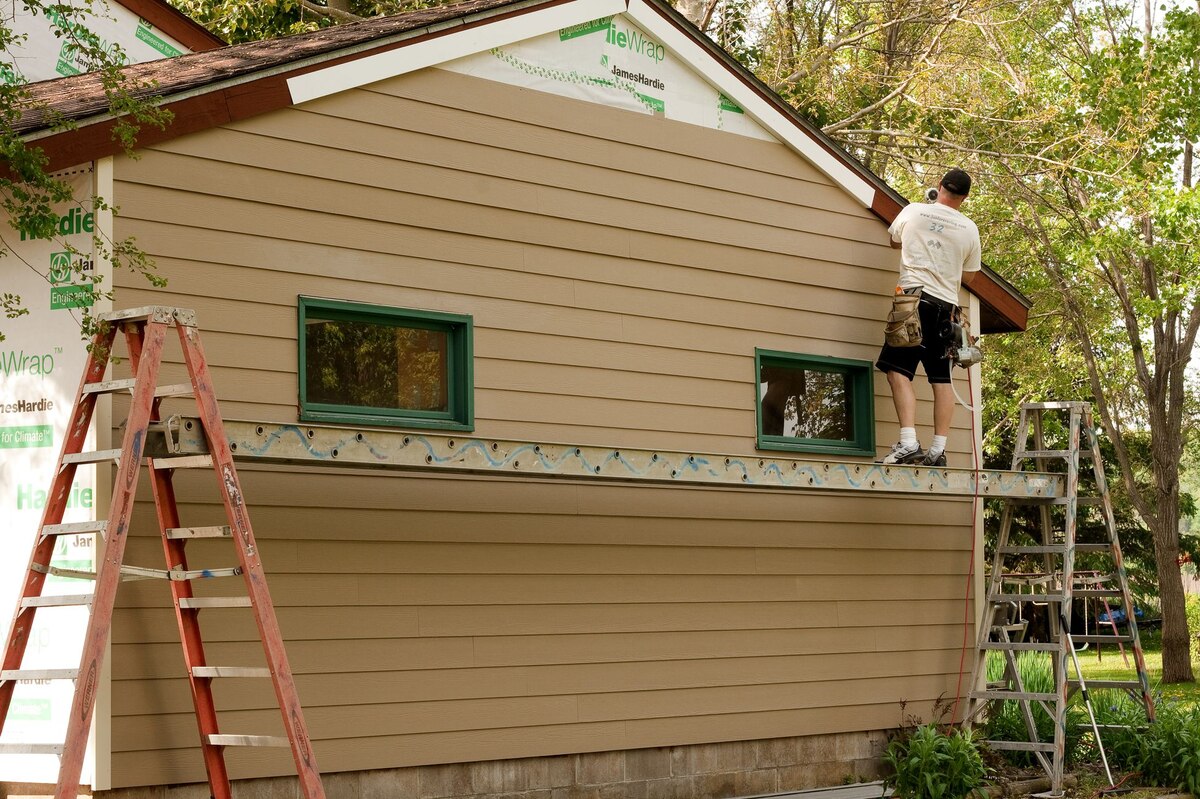
- Ladder or scaffolding: Depending on the height of your wood siding, you may need a ladder or scaffolding to reach higher areas safely.
Ensure that you have all these tools and materials ready before starting the painting process. Proper preparation and having the right supplies on hand will help you achieve professional-looking results. With everything gathered, you’re now ready to move on to the next step – cleaning and sanding the wood siding.
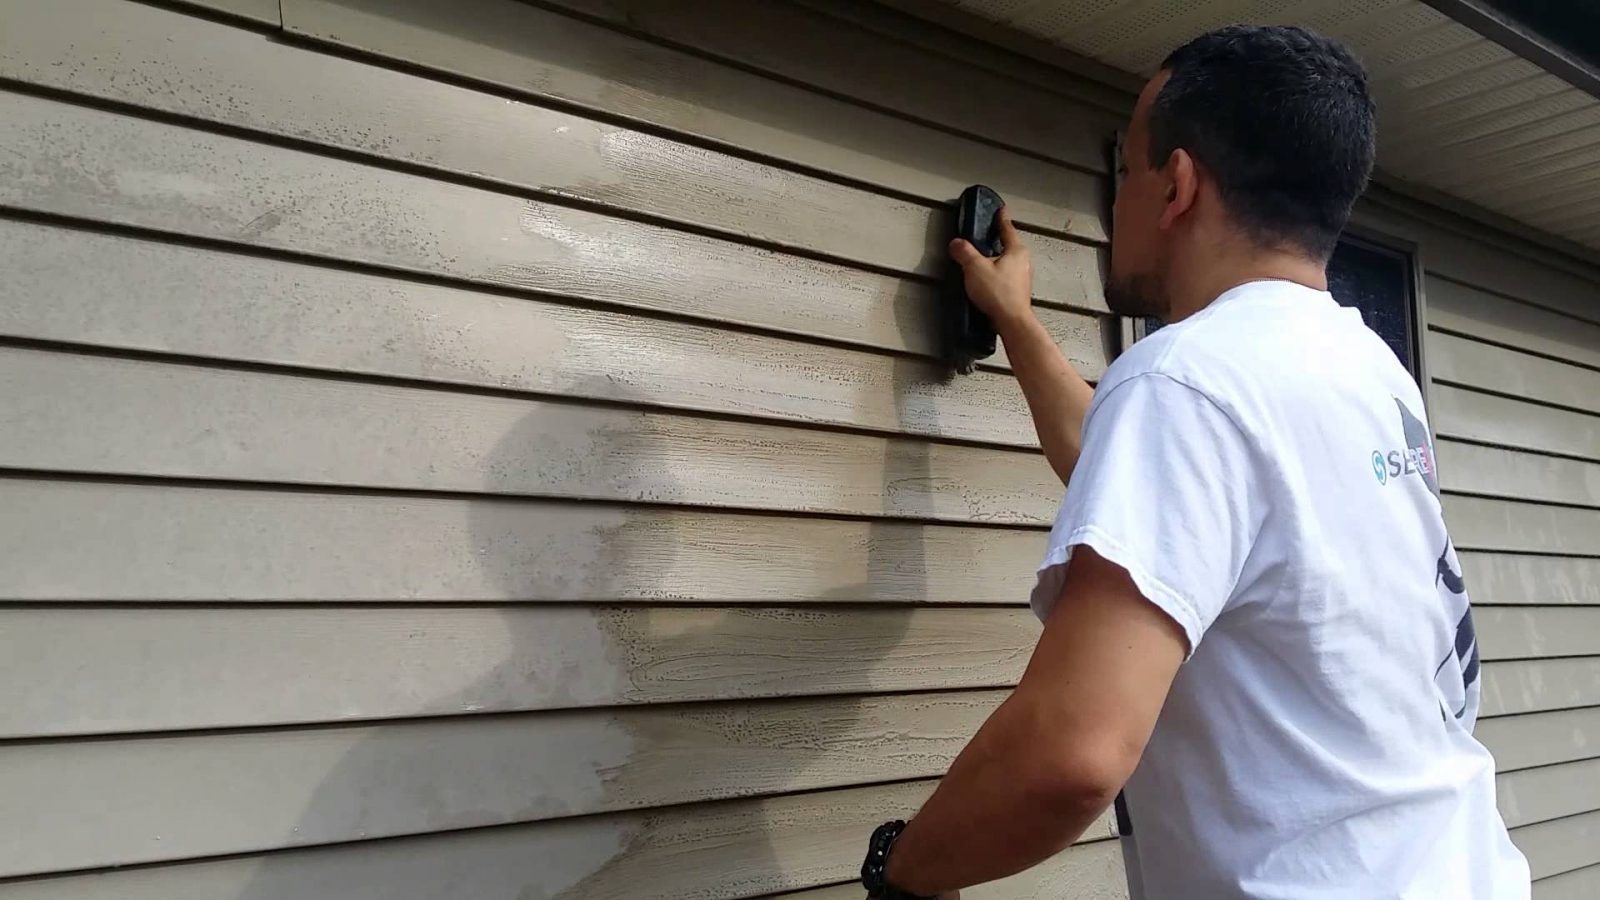
Cleaning and Sanding the Wood Siding
Once you have gathered all the necessary tools and materials, it’s time to clean and sand the wood siding. Proper cleaning and sanding are essential for ensuring a smooth surface and optimal adhesion of the paint. Follow these steps:
- Clean the siding: Use a soft brush or a pressure washer to remove any dirt, dust, and debris from the wood siding. Start from the top and work your way down. Pay extra attention to areas with mold or mildew. If needed, use a mixture of water and mild detergent to scrub these areas.
- Sand the surface: After the wood siding is dry, inspect the surface for rough areas, bumps, or peeling paint. Use sandpaper, sanding blocks, or a power sander to smooth out these imperfections. Sand in the direction of the grain to avoid damaging the wood. Sanding will create a rougher surface for the paint to adhere to, ensuring better durability.
- Remove dust: After sanding, use a brush or a clean cloth to remove the dust and debris generated from the sanding process. Ensure that the surface is completely free from any loose particles as they can affect the finish of the paint job.
By thoroughly cleaning and sanding the wood siding, you create a clean and receptive surface for the paint to adhere to. This step helps to achieve a more professional-looking finish and ensures the longevity of your paint job. With the surface cleaned and prepped, you are now ready to prime the wood siding, which we will cover in the next step.
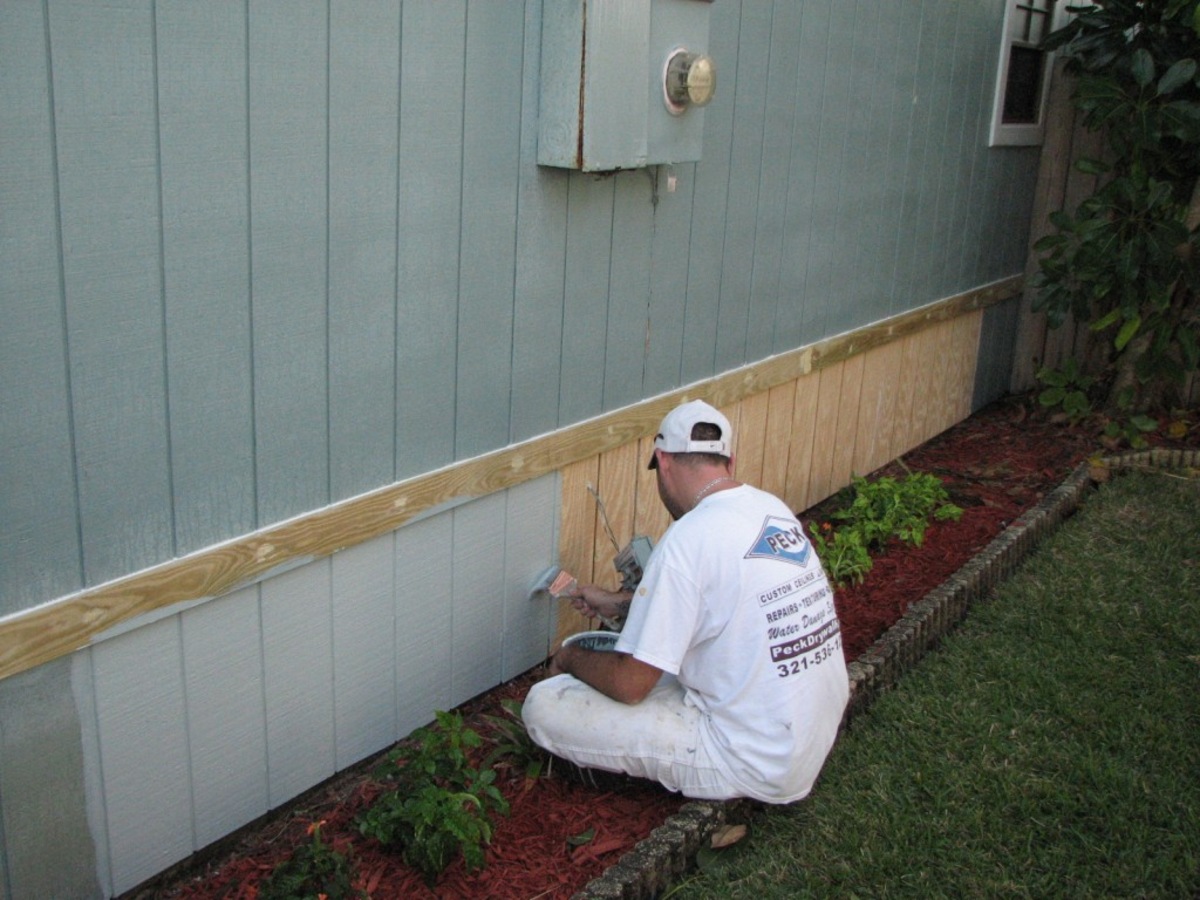
When painting wood siding, be sure to clean and sand the surface before applying primer. Use a high-quality exterior paint for best results and consider using a paint sprayer for a smooth finish.
Read more: How To Remove Old Paint From Wood Siding
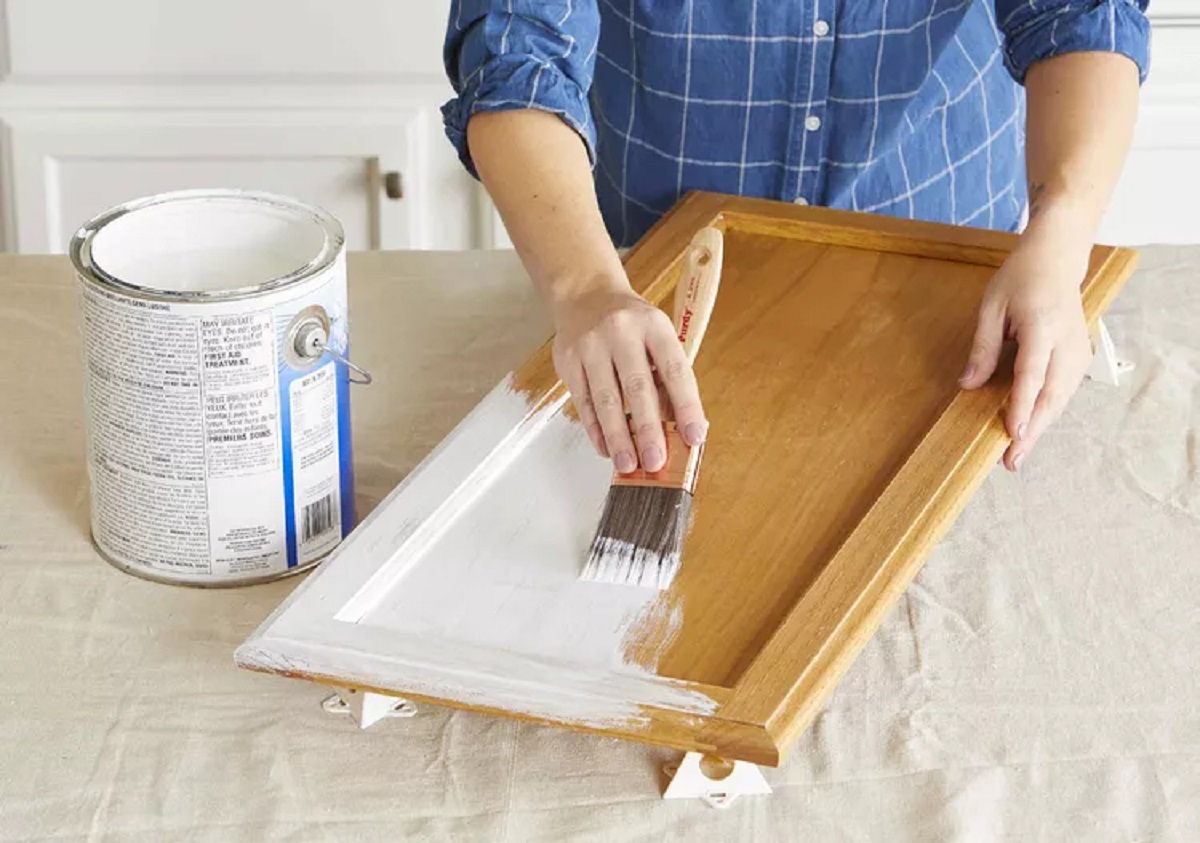
Priming the Wood Siding
Priming the wood siding is an important step in the painting process, especially if the surface is bare or has been previously painted with a darker color. Primer helps to create a smooth and uniform surface, improves paint adhesion, and enhances the longevity of the paint job. Follow these steps to properly prime your wood siding:
- Choose the right primer: Select a quality primer specifically designed for exterior wood surfaces. Look for a primer that offers good adhesion, excellent coverage, and resistance to mildew and moisture.
- Prepare the primer: Read the manufacturer’s instructions on the primer can to ensure proper mixing, if required. Some primers may need stirring before use.
- Apply the primer: Start at the top of the wood siding and work your way down. Use a paintbrush or a roller to apply an even coat of primer, following the grain of the wood. Pay attention to the edges, corners, and any areas with imperfections. Work in small sections to avoid the primer drying too quickly.
- Allow the primer to dry: Check the manufacturer’s instructions for the recommended drying time. Generally, primer needs at least 24 to 48 hours to thoroughly dry before applying the paint. Ensure proper ventilation during the drying process.
- Inspect the primed surface: After the primer has dried, inspect the primed wood siding for any missed spots or areas that may require touch-ups. Address any imperfections before moving on to the next step.
Priming the wood siding prepares the surface for better paint adhesion and ensures a uniform finish. It also helps to prevent the wood substrate from absorbing too much paint and allows for better coverage of the topcoat. With the wood siding properly primed, you are now ready to apply the first coat of paint, which we will cover in the next step.
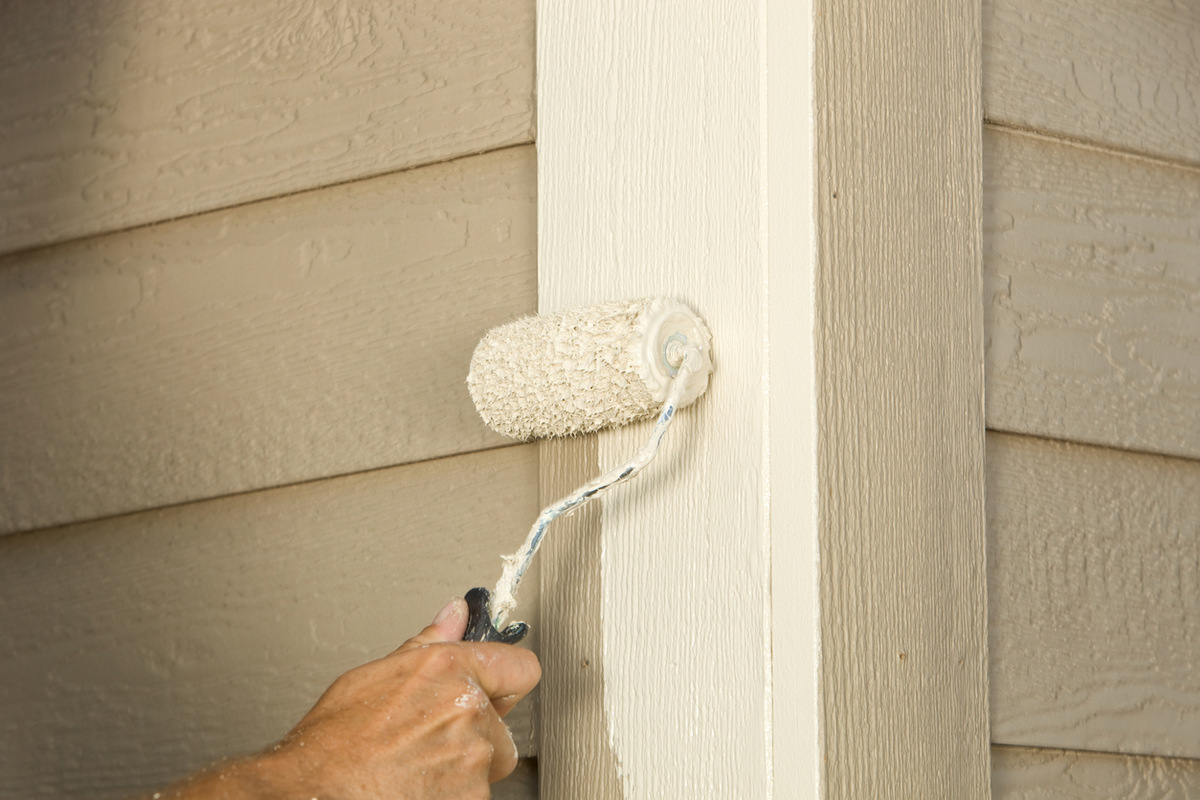
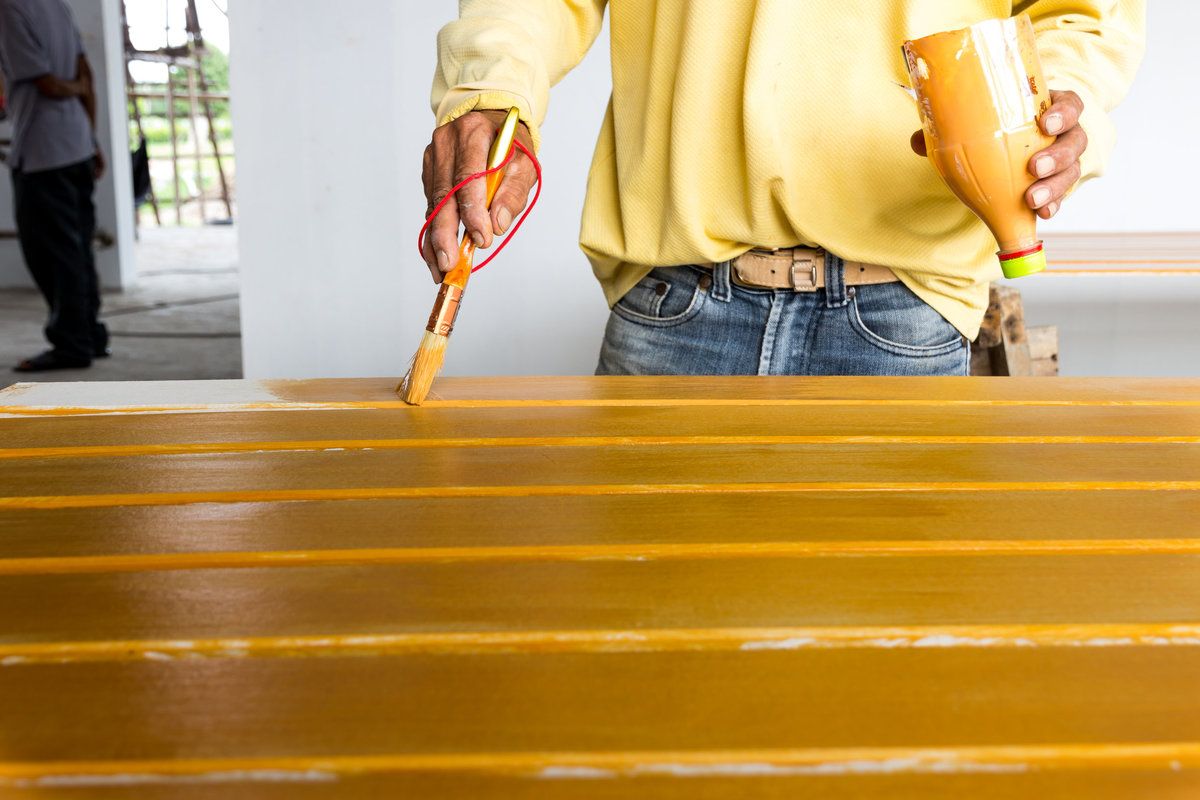
Applying the First Coat of Paint
With the wood siding cleaned, sanded, and primed, it’s finally time to start painting! Applying the first coat of paint requires careful attention to detail and the use of proper painting techniques. Follow these steps to ensure a successful first coat:
- Stir the paint: Before starting, give the paint a good stir to ensure it is properly mixed. This will help to achieve an even color and consistency.
- Start with the trim: Begin by painting any trim or smaller areas using a paintbrush. Take your time to brush on the paint smoothly and evenly. Work in sections to avoid any visible brush strokes.
- Paint the larger areas: Next, use a roller to apply the paint to the larger areas of the wood siding. Start from the top and work your way down in long, even strokes. Apply the paint in thin, overlapping layers for a more uniform finish.
- Work in manageable sections: To avoid the paint drying too quickly, work in manageable sections, typically 3-4 feet wide. This will allow you to maintain a wet edge and prevent visible lines between sections.
- Follow the direction of the grain: Always paint in the direction of the wood grain to achieve a seamless look. Brush or roll with the grain, not against it, for a smoother appearance.
- Avoid excessive pressure: Apply gentle, even pressure when using the brush or roller to avoid creating streaks or unevenness in the paint. Allow the paint to do the work for you.
- Address drips or mistakes immediately: If you notice any drips, brush strokes, or mistakes, address them promptly while the paint is still wet. Use a brush or roller to smooth out any imperfections.
Remember, the first coat serves as the foundation for the final finish. Take your time and ensure thorough coverage, paying extra attention to any areas that may require more paint. Once you have applied the first coat, allow it to dry completely before moving on to the next step, which is applying the second coat of paint.
Allowing the First Coat to Dry
After applying the first coat of paint, it’s important to allow it to dry completely before proceeding with the next steps. Proper drying time is essential for achieving a smooth, durable, and professional-looking finish. Here’s what you need to know about allowing the first coat to dry:
- Read the manufacturer’s instructions: Check the paint can or product label for the recommended drying time. Different paints and environmental conditions may affect the drying time, so it’s important to follow the manufacturer’s guidelines.
- Provide proper ventilation: Ensure good airflow around the painted area by opening windows or using fans. Adequate ventilation helps to speed up the drying process and prevents the accumulation of fumes.
- Avoid touching or disturbing the paint: While the first coat is drying, avoid touching the surface or applying any pressure that could smudge or damage the paint. Be mindful of any objects or debris that could accidentally come into contact with the paint.
- Check for tackiness: To determine if the first coat is fully dry, gently touch an inconspicuous area of the painted surface. If it feels dry to the touch and does not leave any residue on your finger, it is likely ready for the second coat.
- Humidity and temperature: Keep in mind that high humidity and low temperatures can prolong the drying time. If the weather conditions are unfavorable, consider using dehumidifiers or heaters to create a more optimal environment for drying.
- Patience is key: It’s crucial to be patient and allow the necessary drying time. Rushing the process can lead to uneven drying and compromise the quality of the paint job.
Remember, the time it takes for the first coat to dry may vary depending on factors such as the type of paint, humidity levels, and temperature. Providing adequate drying time ensures that the second coat adheres properly and results in a beautiful and long-lasting finish. Once the first coat has thoroughly dried, you can proceed to apply the second coat of paint, which we will cover in the next step.
Applying the Second Coat of Paint
After the first coat of paint has dried completely, it’s time to apply the second coat. The second coat helps to achieve full coverage, enhance color vibrancy, and provide additional protection to the wood siding. Follow these steps to apply the second coat of paint:
- Prepare the paint: Just like with the first coat, give the paint a good stir to ensure it is well-mixed before starting. This will help maintain consistent color and coverage.
- Inspect the first coat: Before applying the second coat, inspect the first coat of paint for any visible thin spots or areas that may require touch-ups. Address these areas with the brush or roller before proceeding.
- Start with the trim: Begin by painting the trim or smaller areas using a brush. Apply the second coat smoothly and evenly, following the previous brush strokes to maintain a consistent texture.
- Paint the larger areas: Use a roller to apply the second coat to the larger areas of the wood siding. Follow the same technique as before, working in manageable sections and applying the paint in thin, overlapping layers.
- Blend the edges: Pay attention to the edges and overlapping sections to ensure a seamless transition between the first and second coats. Feather the paint along the edges to blend them together smoothly.
- Apply even pressure: Use consistent and even pressure when applying the paint with the brush or roller. This will help achieve a uniform texture and prevent streaks or unevenness.
- Allow proper drying time: Allow the second coat to dry according to the manufacturer’s instructions. Proper drying time ensures a durable and long-lasting finish.
- Inspect the final result: Once the second coat has dried, inspect the wood siding for any missed spots or areas that may need touch-ups. Make any necessary corrections for a flawless finish.
The second coat of paint provides the necessary coverage and final touch to your wood siding. Taking the time and care to apply the second coat properly will result in a beautifully painted surface that will enhance the overall appearance of your home. With the second coat applied and dried, you’ve completed the main painting process.
Now, it’s time to add the finishing touches and clean up, which we will cover in the next section.
Read more: How To Clean Wood Siding
Finishing Touches and Cleanup
With the painting process complete, it’s time to add the finishing touches and wrap up the project. Paying attention to these final details will ensure a polished and professional outcome. Here’s what you need to do for the finishing touches and cleanup:
- Remove painter’s tape: Carefully remove any painter’s tape or masking paper that you used to protect areas such as windows, doors, or trim. Peel off the tape at a 45-degree angle to avoid damaging the fresh paint.
- Inspect for touch-ups: Take a close look at the painted surface and identify any areas that may require touch-ups. Use a small brush to correct any imperfections or uneven spots.
- Clean your tools: Clean your paint brushes, rollers, and trays thoroughly with soap and water or the appropriate cleaning solution. Properly clean tools will prolong their lifespan and ensure they’re ready for future projects.
- Dispose of paint waste: Follow your local guidelines for disposing of any leftover paint or paint containers safely and responsibly. Contact your local waste management facility for specific instructions.
- Clean up the work area: Remove any drop cloths, plastic sheets, or protective covers from the surrounding area. Dispose of any debris or waste materials in an appropriate manner.
- Inspect the final result: Stand back and admire your newly painted wood siding. Take the time to appreciate the transformation and make sure you are satisfied with the final outcome.
By addressing the finishing touches and properly cleaning up, you complete the painting project with a professional touch. The result will be a fresh and rejuvenated appearance for your wood siding, adding beauty and protection to your home’s exterior.
Remember, regular maintenance and periodic touch-ups will help extend the life of your paint job. Make note of the paint colors and finishes used for future reference in case you need to match or touch up the siding in the future.
Congratulations on completing the process of painting your wood siding! Your hard work and attention to detail have paid off, resulting in a beautifully transformed home exterior.
Frequently Asked Questions about How To Paint Wood Siding
Was this page helpful?
At Storables.com, we guarantee accurate and reliable information. Our content, validated by Expert Board Contributors, is crafted following stringent Editorial Policies. We're committed to providing you with well-researched, expert-backed insights for all your informational needs.

0 thoughts on “How To Paint Wood Siding”