Articles
How To Paint Hardie Siding
Modified: October 18, 2024
Learn how to paint Hardie siding with our informative articles. Get expert tips and techniques to achieve a flawless finish on your home's exterior.
(Many of the links in this article redirect to a specific reviewed product. Your purchase of these products through affiliate links helps to generate commission for Storables.com, at no extra cost. Learn more)
Introduction
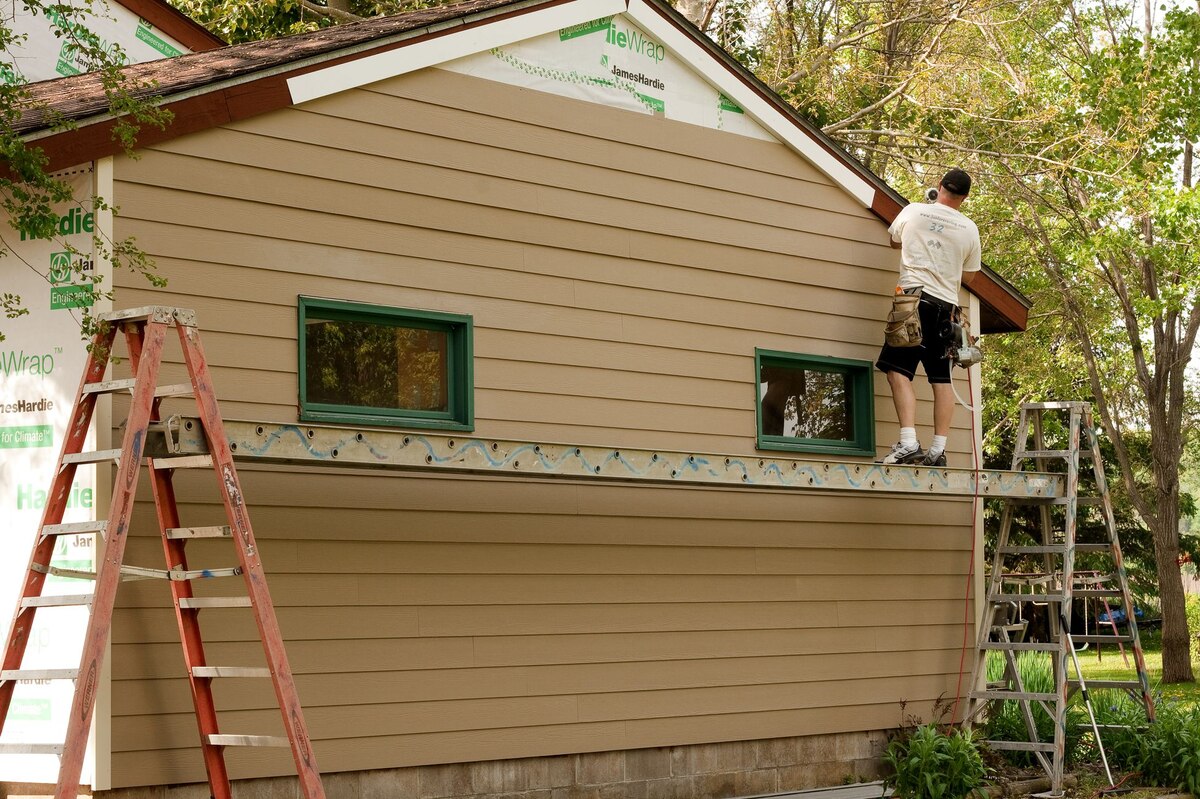
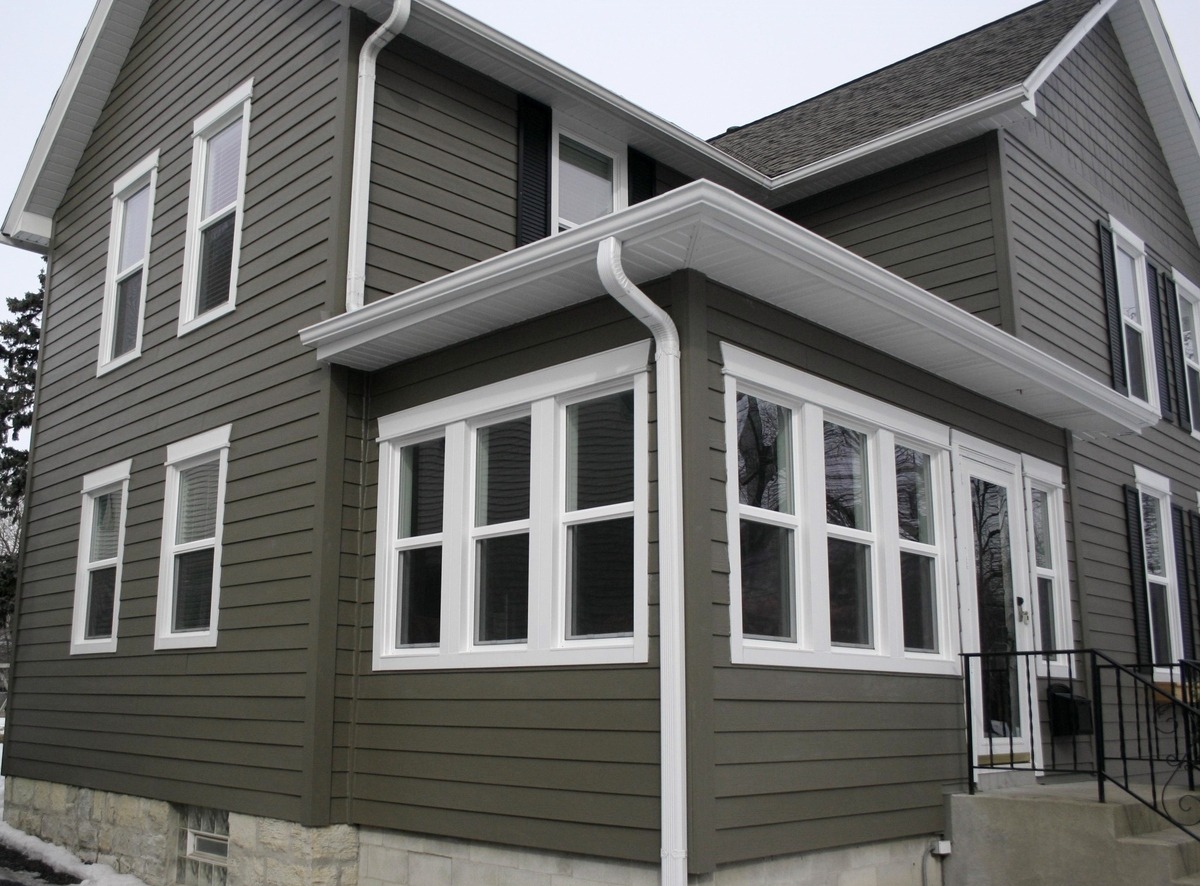
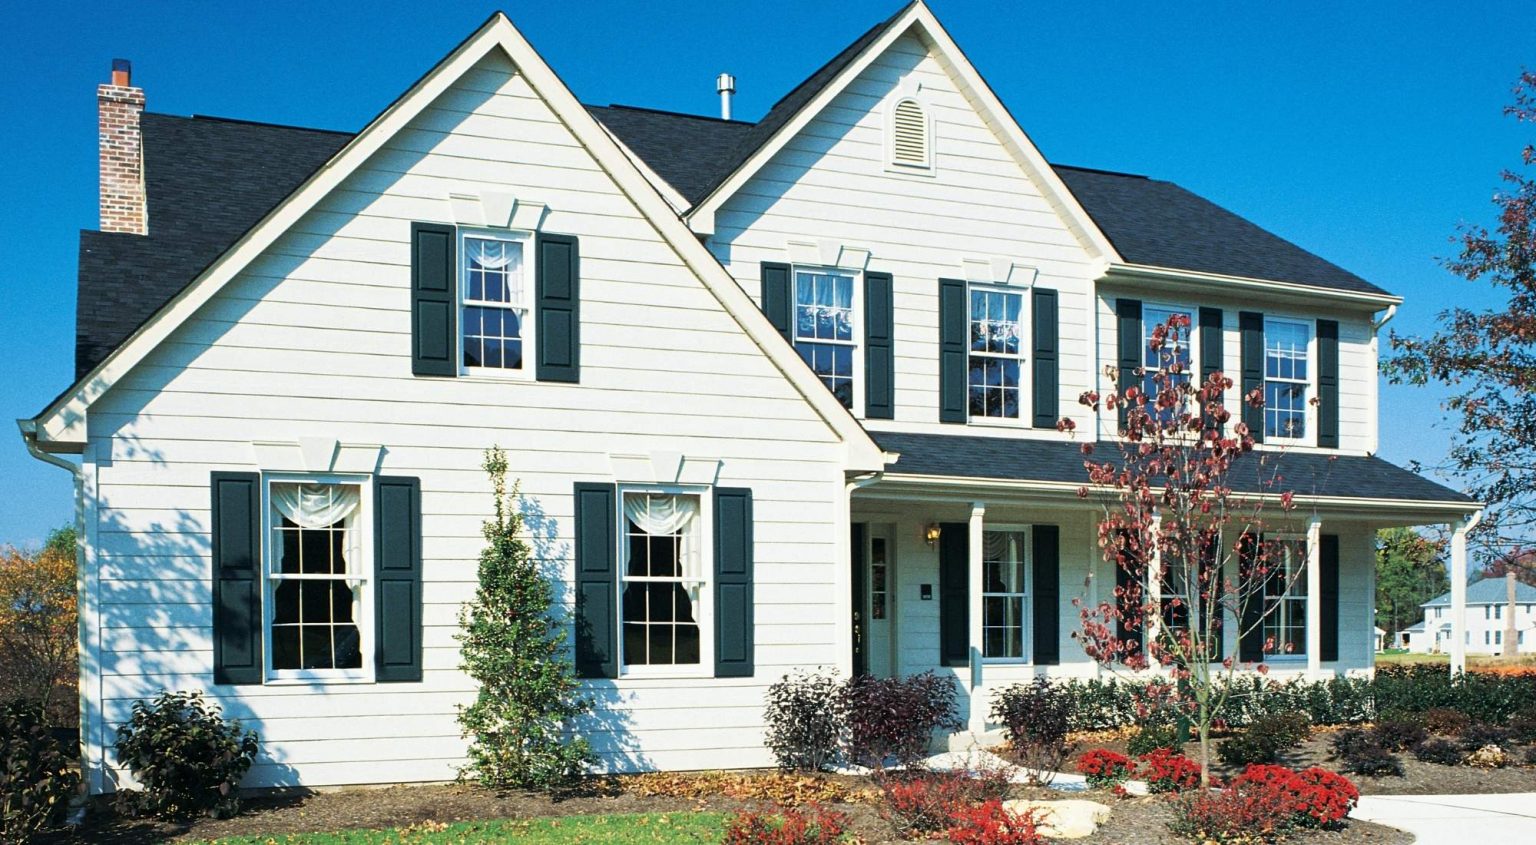
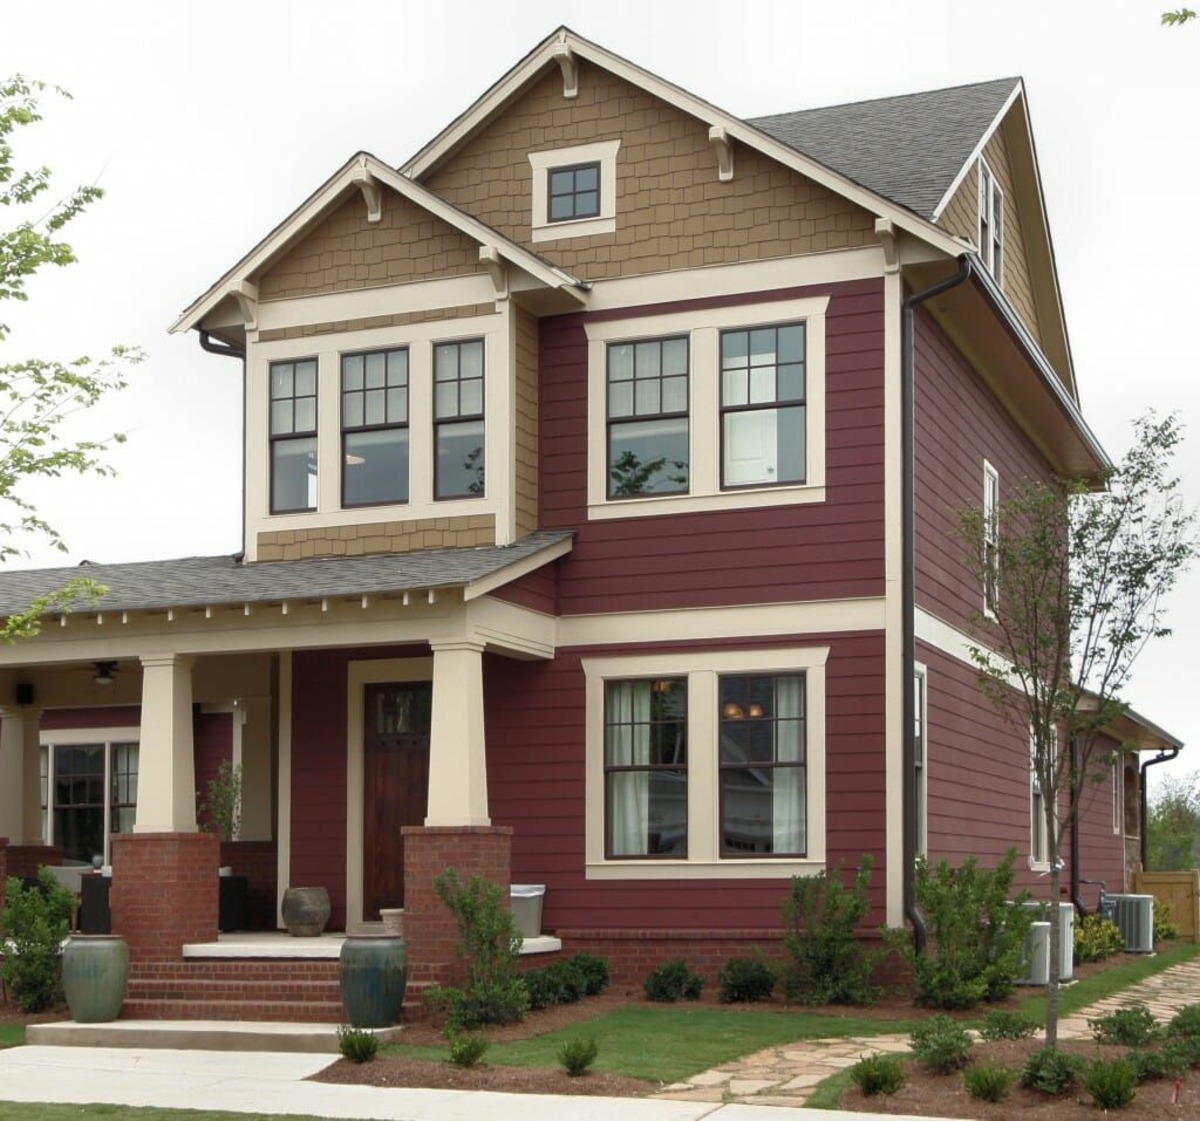
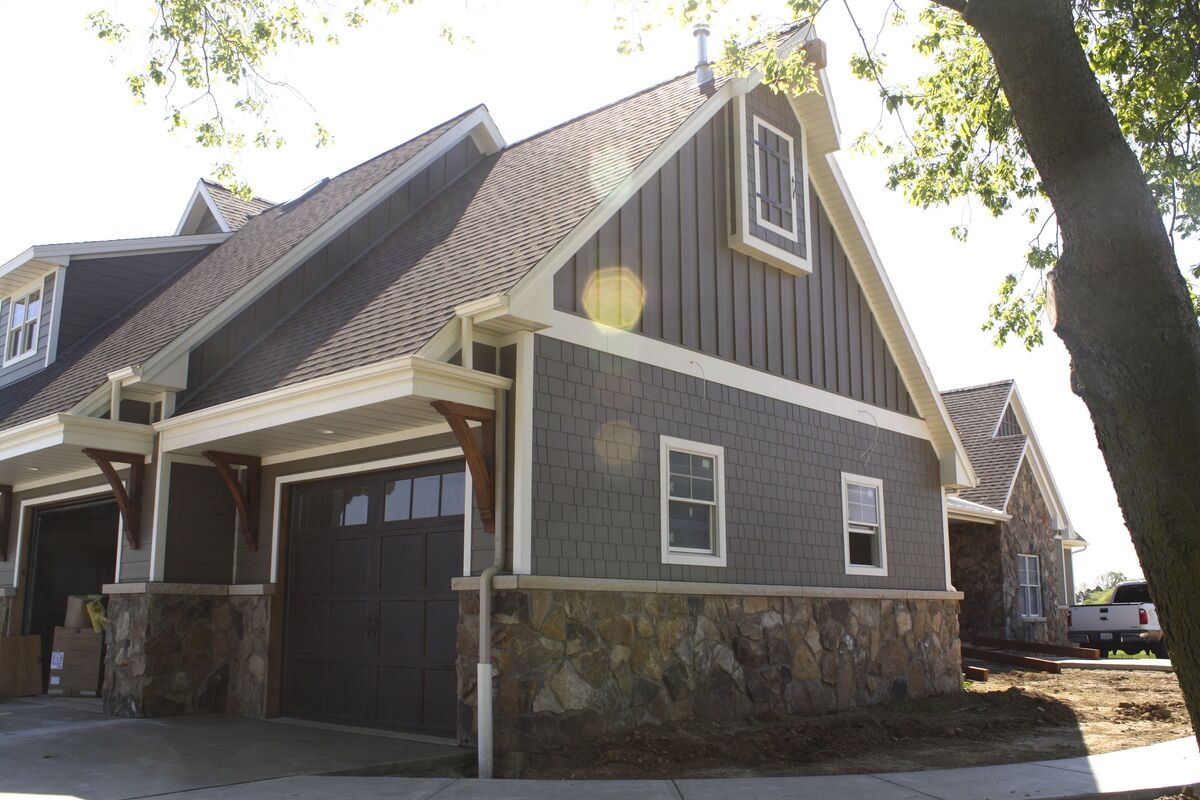
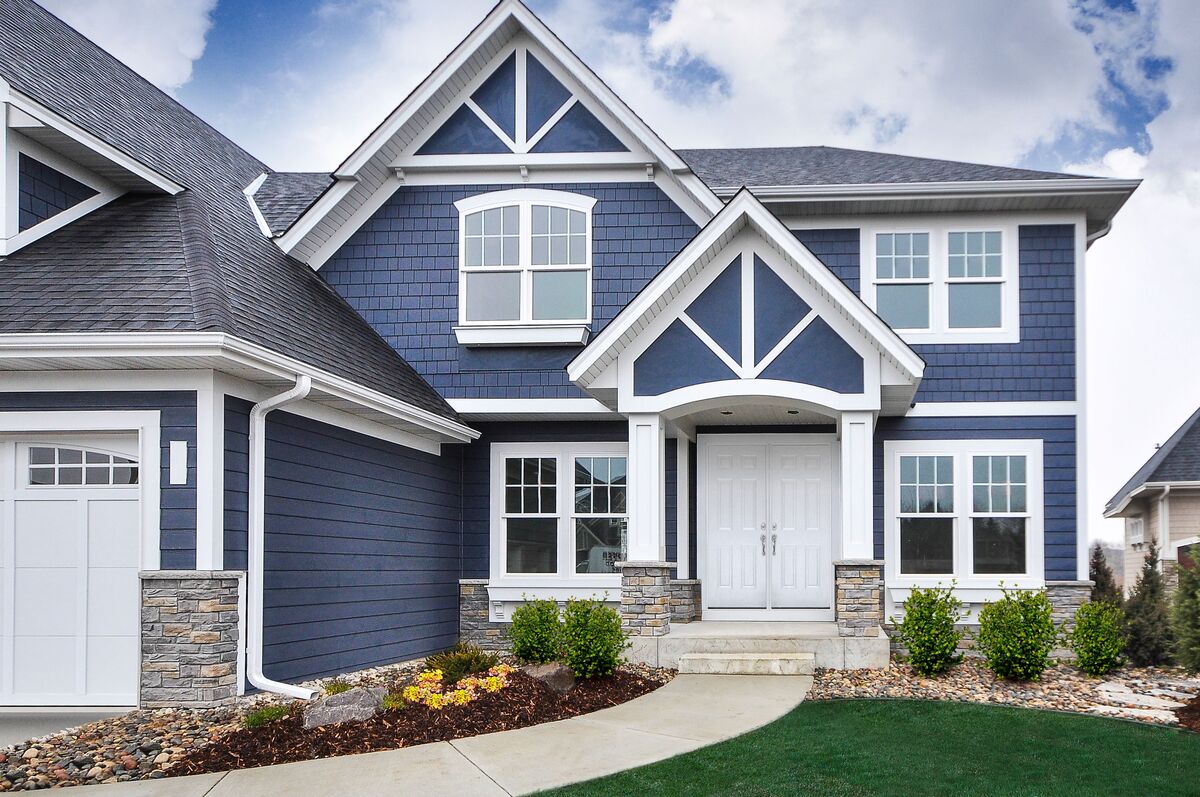
Welcome to our guide on how to paint Hardie siding! Hardie siding, also known as James Hardie siding, is a durable and popular choice for homeowners. It is made from fiber cement, which means it is resistant to rot, warping, and insect damage. However, like any exterior surface, it will eventually require repainting to maintain its appearance and protect it from the elements.
Painting Hardie siding is a straightforward process that can be done with the right tools and techniques. In this article, we will walk you through the steps involved in preparing the surface, choosing the right paint, applying primer and paint, and properly maintaining your newly painted Hardie siding.
Before we dive into the details, it’s important to note that painting Hardie siding is not only a cosmetic choice but also a practical one. A fresh coat of paint can not only enhance the curb appeal of your home but also extend the lifespan of the siding by providing an additional layer of protection against moisture, UV rays, and harsh weather conditions.
So, if you’re ready to transform the look of your home and ensure the longevity of your Hardie siding, let’s get started!
Key Takeaways:
- Transform your home’s exterior with a fresh coat of paint on your Hardie siding. Proper preparation, high-quality paint, and meticulous application will enhance curb appeal and protect against the elements.
- Maintain the beauty and longevity of your Hardie siding with regular cleaning, inspections, and touch-ups. Proactive maintenance will ensure your siding remains vibrant and durable for years to come.
Read more: How To Attach Hardie Siding
Preparing the Surface
Before you start painting your Hardie siding, it’s crucial to properly prepare the surface to ensure a smooth and long-lasting finish. Here are the steps involved in preparing the surface:
- Clean the siding: Begin by thoroughly cleaning the siding with a mild detergent and water solution. Use a soft-bristle brush or a sponge to scrub away any dirt, grime, or mildew that may have accumulated over time. Rinse the siding with clean water and allow it to dry completely before proceeding to the next step.
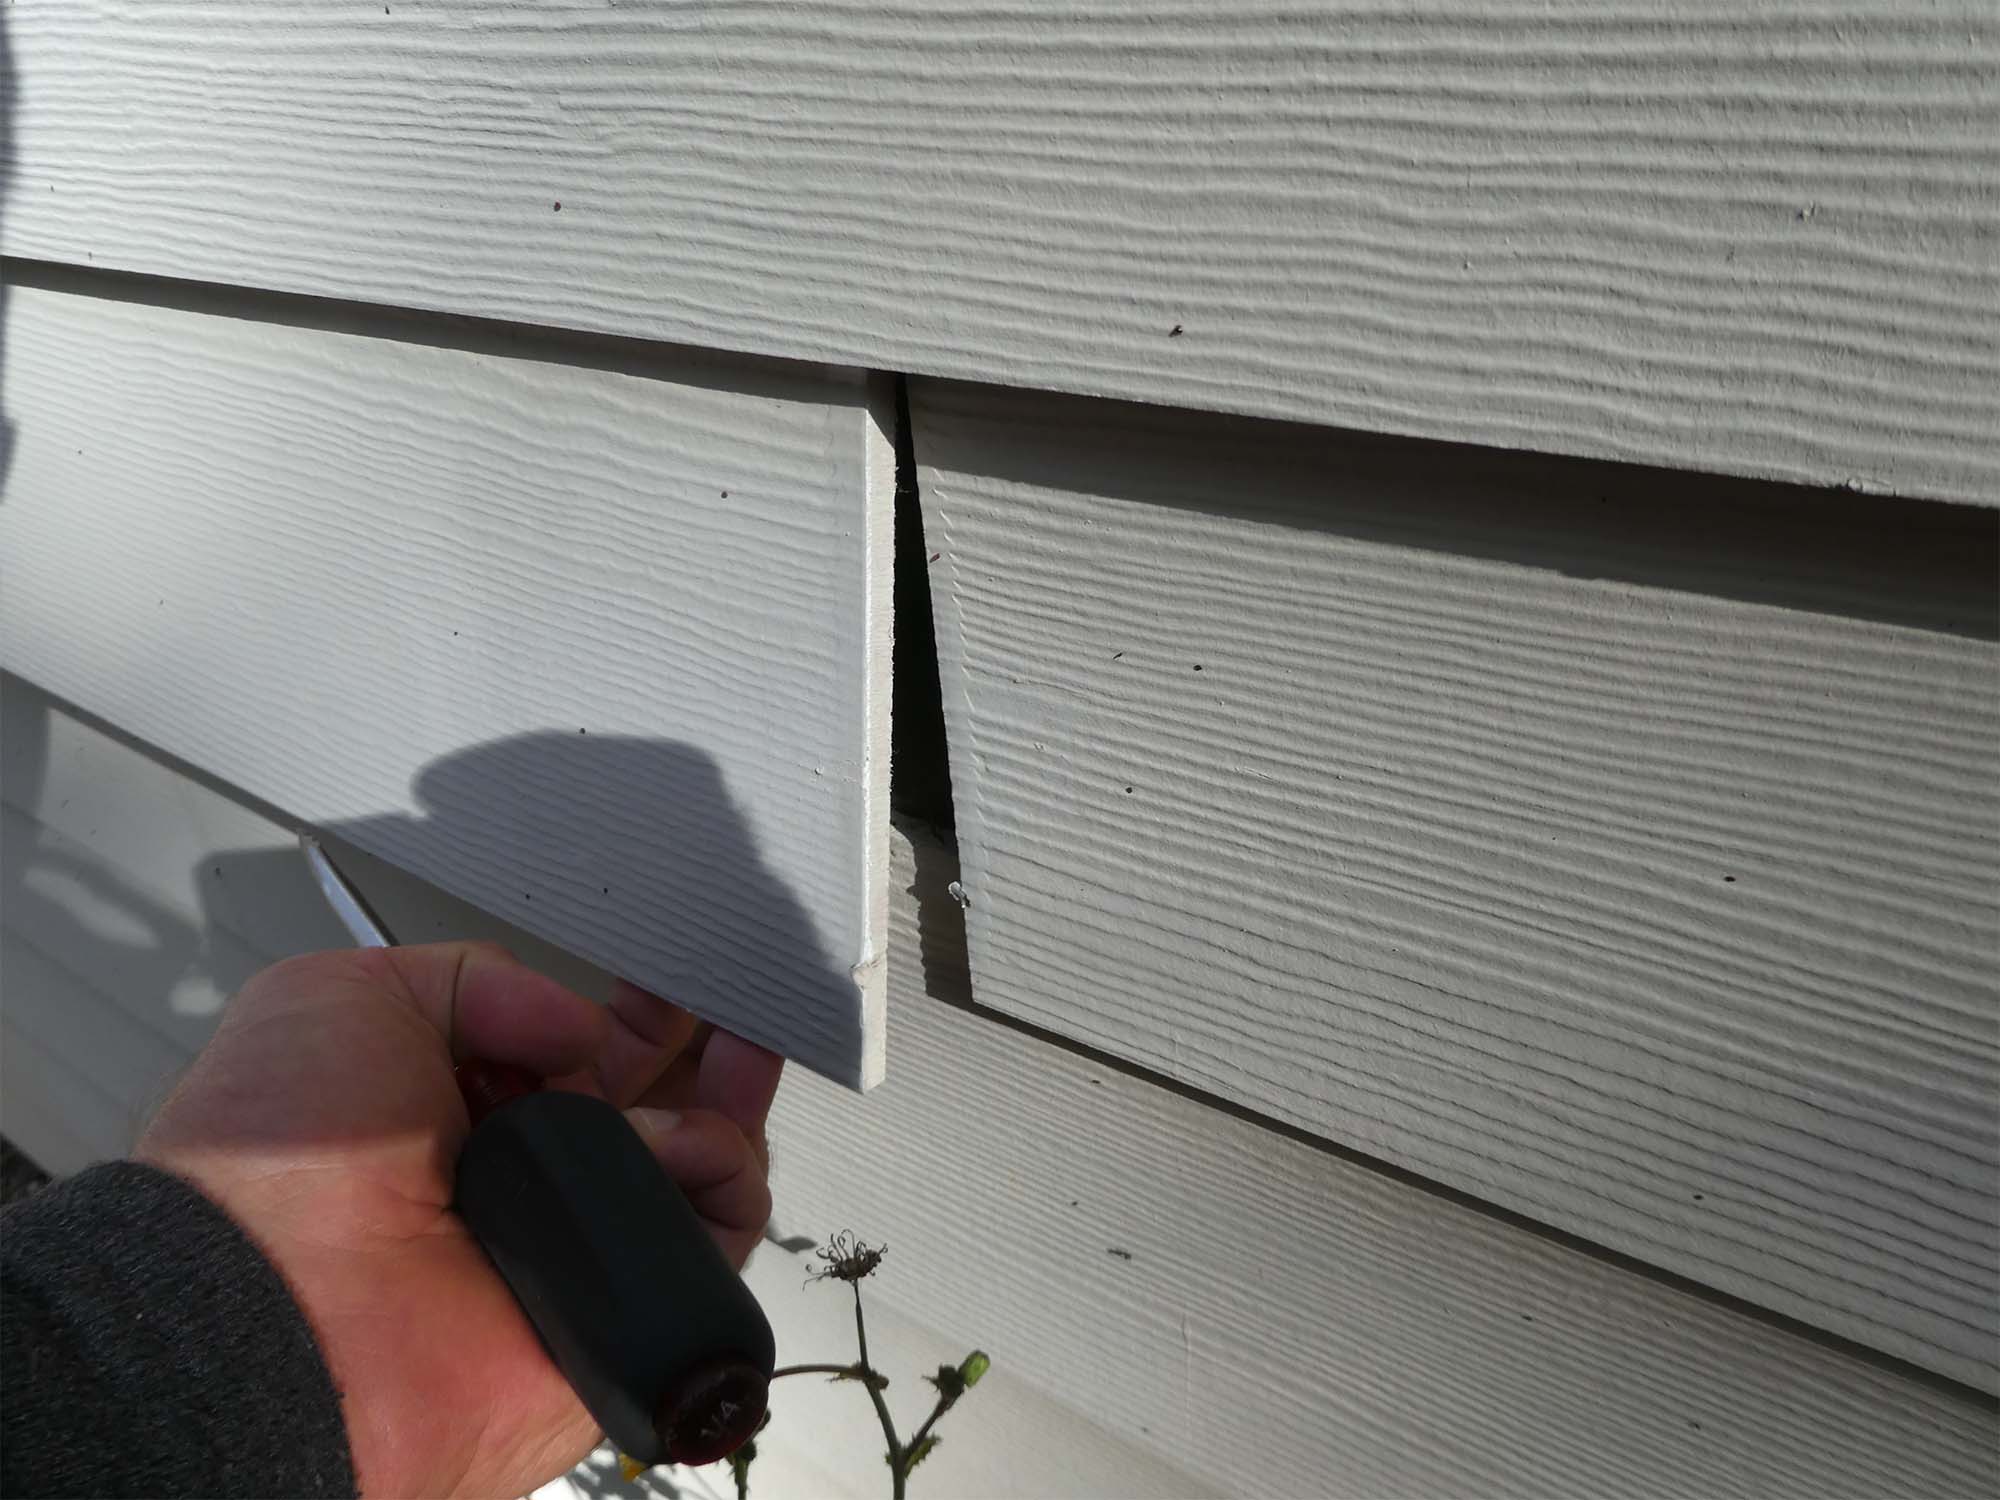
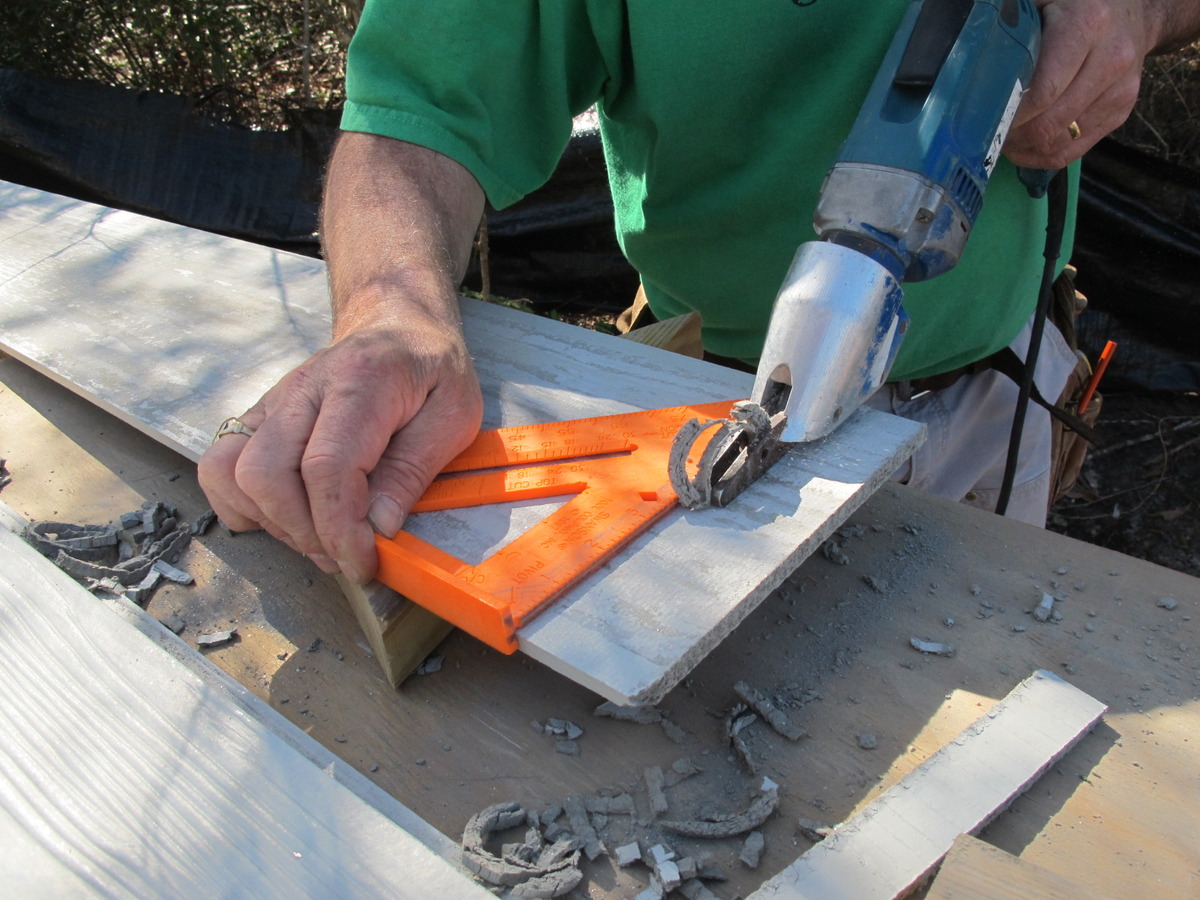
- Repair any damage: Inspect the siding for any cracks, chips, or other forms of damage. If you find any, use a high-quality exterior caulk to fill in the gaps and repair the damaged areas. Allow the caulk to dry completely before moving on.
- Sand the surface: Depending on the condition of the existing paint, you may need to lightly sand the surface of the siding. Use a fine-grit sandpaper or a sanding block to smooth out any rough areas, remove loose paint flakes, and create a slightly rough surface that will help the new paint adhere properly. Always wear a dust mask and protective goggles when sanding.
- Protect surrounding surfaces: Before you start painting, take the time to protect any nearby surfaces, such as windows, doors, and trim. Cover them with painter’s tape and plastic sheeting to prevent accidental paint splatters and drips.
By thoroughly cleaning, repairing, sanding, and protecting the surface, you will ensure that your Hardie siding is in optimal condition for the paint application. This preparation stage is crucial for achieving a professional-looking finish and ensuring the longevity of the paint job.
Choosing the Right Paint
Selecting the right paint for your Hardie siding is essential for achieving a beautiful and long-lasting finish. Here are some factors to consider when choosing the right paint:
- Opt for exterior paint: When painting Hardie siding, it’s crucial to use paint specifically designed for exterior use. Exterior paints are formulated to withstand the elements, such as UV rays, moisture, and temperature fluctuations. Look for paints labeled as “exterior” or “all-weather” to ensure maximum durability.
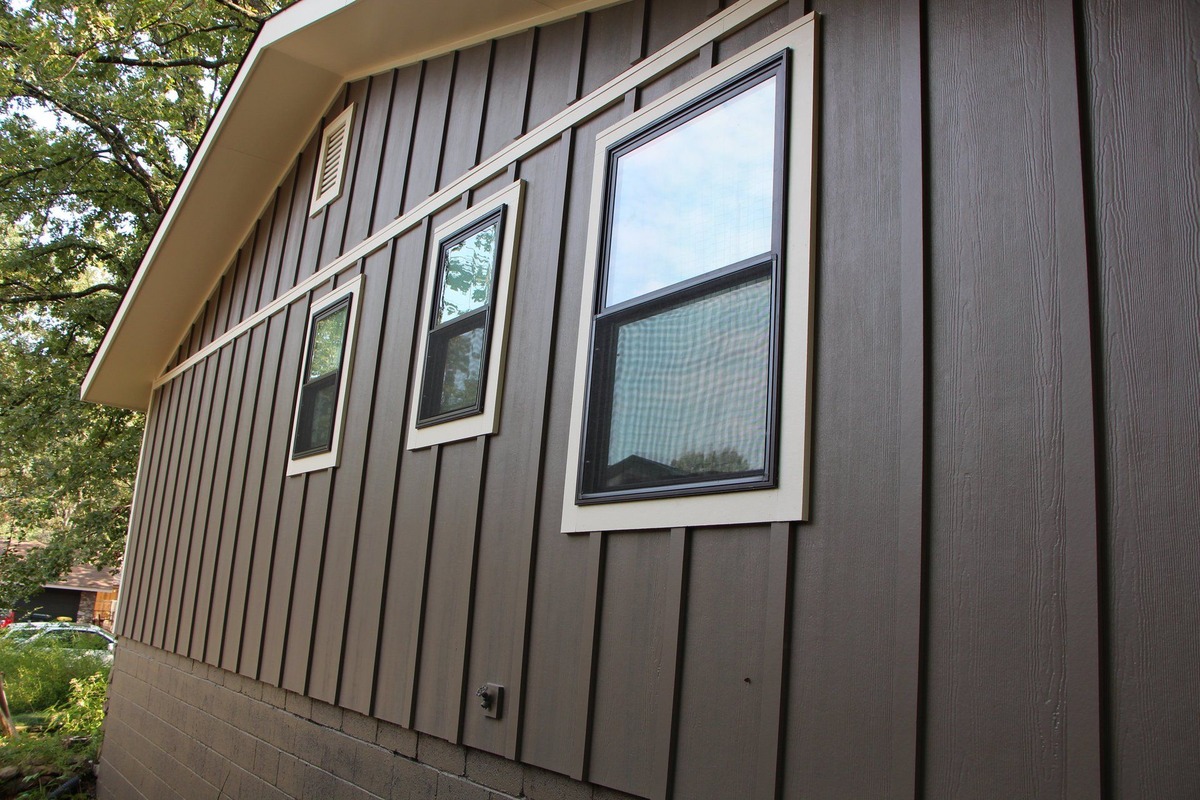
- Consider the sheen: The sheen of the paint determines the level of glossiness or shininess on the surface. The most common options for exterior paint finishes are flat, satin, and semi-gloss. Flat finishes provide a smooth and matte appearance while satin and semi-gloss finishes offer more shine. Consider the desired look and maintenance requirements when choosing the sheen for your Hardie siding.
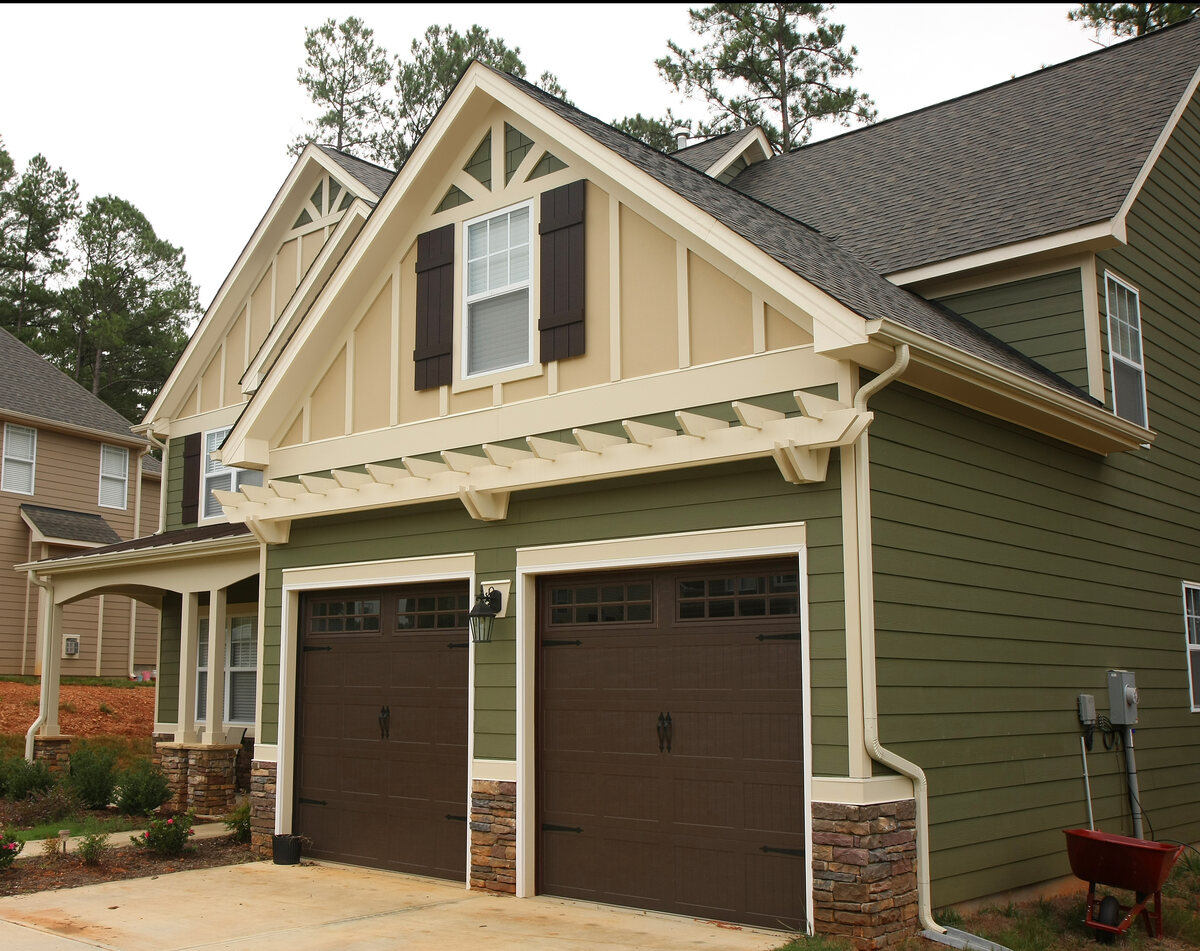
- Choose the right color: Hardie siding can be painted in a wide range of colors, so take the opportunity to refresh your home’s exterior with a new color if desired. Consider the aesthetic of your home, the surrounding environment, and any homeowner association guidelines when selecting a color. It’s also a good idea to test a small area of the siding with your chosen paint color to ensure it complements the overall look of your home.
- Look for high-quality paint: Investing in high-quality paint will ensure better coverage, color retention, and overall longevity of the paint job. Look for paints from reputable brands that offer excellent durability and weather resistance. It’s worth spending a bit more on quality paint to avoid the need for repainting sooner than necessary.
Remember to consult with a professional at your local paint store for specific product recommendations based on your Hardie siding’s condition, climate, and other factors. They can provide expert advice and help you choose the paint that best suits your needs.
By selecting the right paint and considering these factors, you will lay the foundation for a successful and aesthetically pleasing paint job on your Hardie siding.
Applying Primer
Priming your Hardie siding is an essential step before applying the paint. Primer helps create a smooth and even surface, improves paint adhesion, and enhances the longevity of the paint job. Here’s how to apply primer on your Hardie siding:
- Clean the surface: Before applying the primer, ensure that the siding is clean and free from any dust, dirt, or debris. Use a mild detergent and water solution to wash the siding, then rinse it thoroughly and let it dry completely.
- Choose the right primer: Select a primer that is specifically formulated for use on exterior surfaces. Look for a primer that is compatible with fiber cement siding and offers good adhesion and weather resistance. Consult with a paint professional for recommendations based on your specific needs.
- Prepare the primer: Follow the manufacturer’s instructions on the primer can for proper mixing or any additional preparations required. Use a stir stick to stir the primer thoroughly before applying.
- Apply the primer: Use a paintbrush or roller to apply the primer to the Hardie siding. Start from the top and work your way down, ensuring even coverage. Pay attention to the seams, edges, and any areas that require extra attention. Apply the primer in thin, even coats, allowing each coat to dry completely before applying the next. Follow the recommended drying time provided by the manufacturer.
- Sand the primer (optional): Depending on the condition of the primer and the smoothness desired, you may choose to lightly sand the primed surface before proceeding to the paint application. Use a fine-grit sandpaper to smooth out any imperfections and create a smooth surface for the paint.
Priming your Hardie siding not only improves the adhesion and longevity of the paint but also provides a uniform base for the paint color. It helps to even out any color variations and ensures that the final paint color looks true and vibrant.
Take your time during the priming process, ensuring that all surfaces are covered and that the primer is applied evenly. This will set you up for a successful paint application and a professional-looking finish.
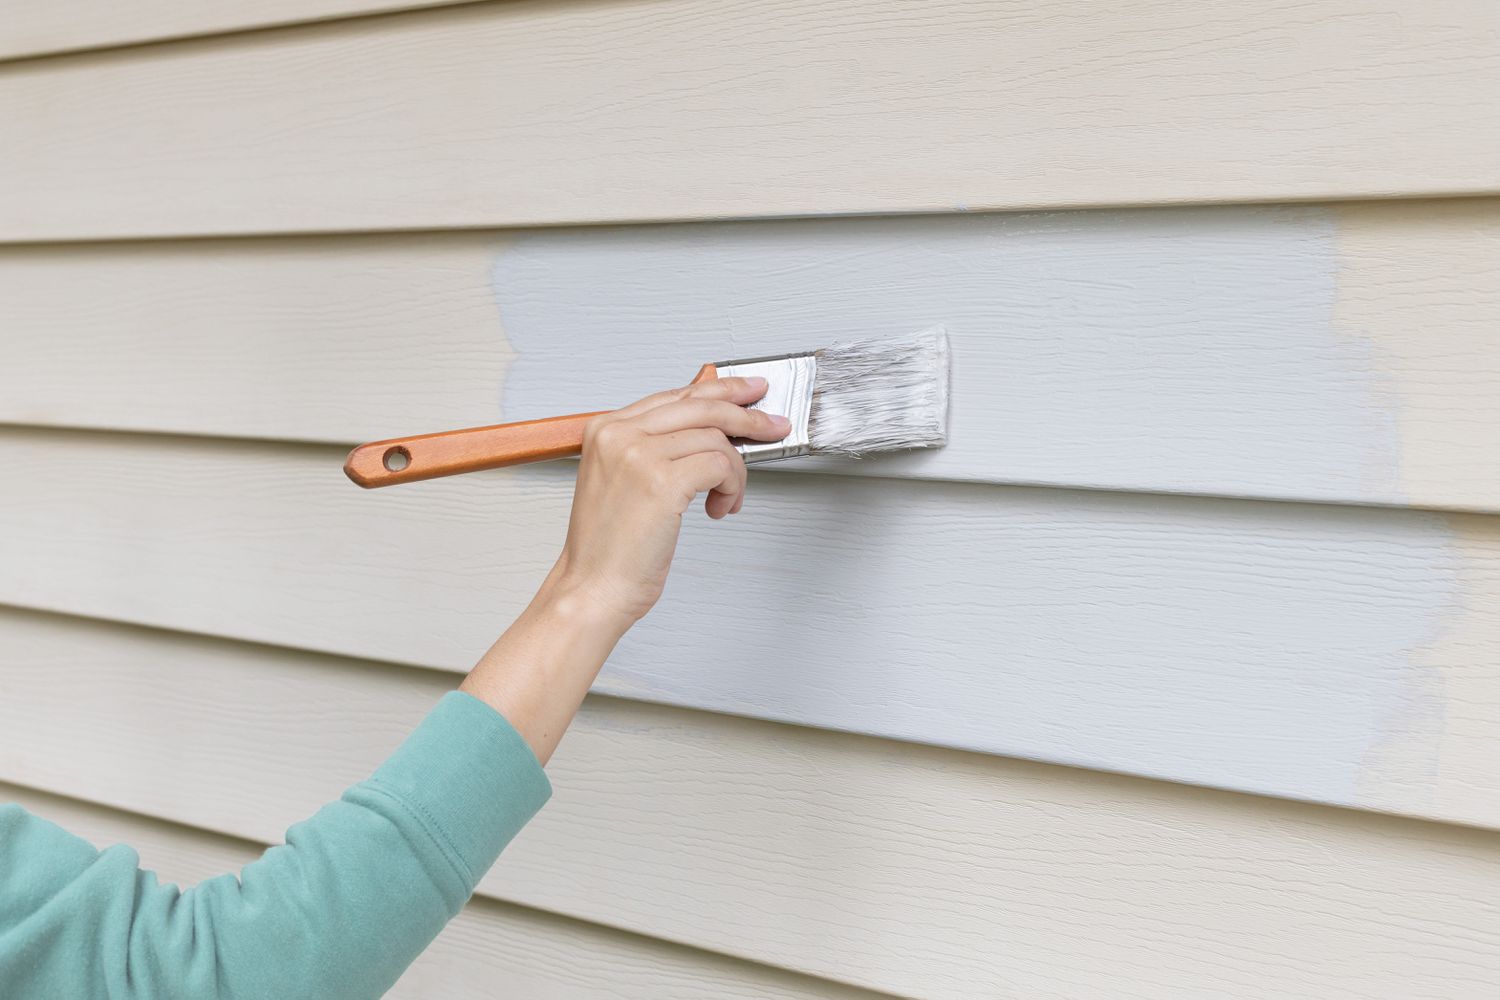
When painting Hardie siding, make sure to clean the surface thoroughly before applying any paint. Use a high-quality exterior acrylic latex paint for best results.
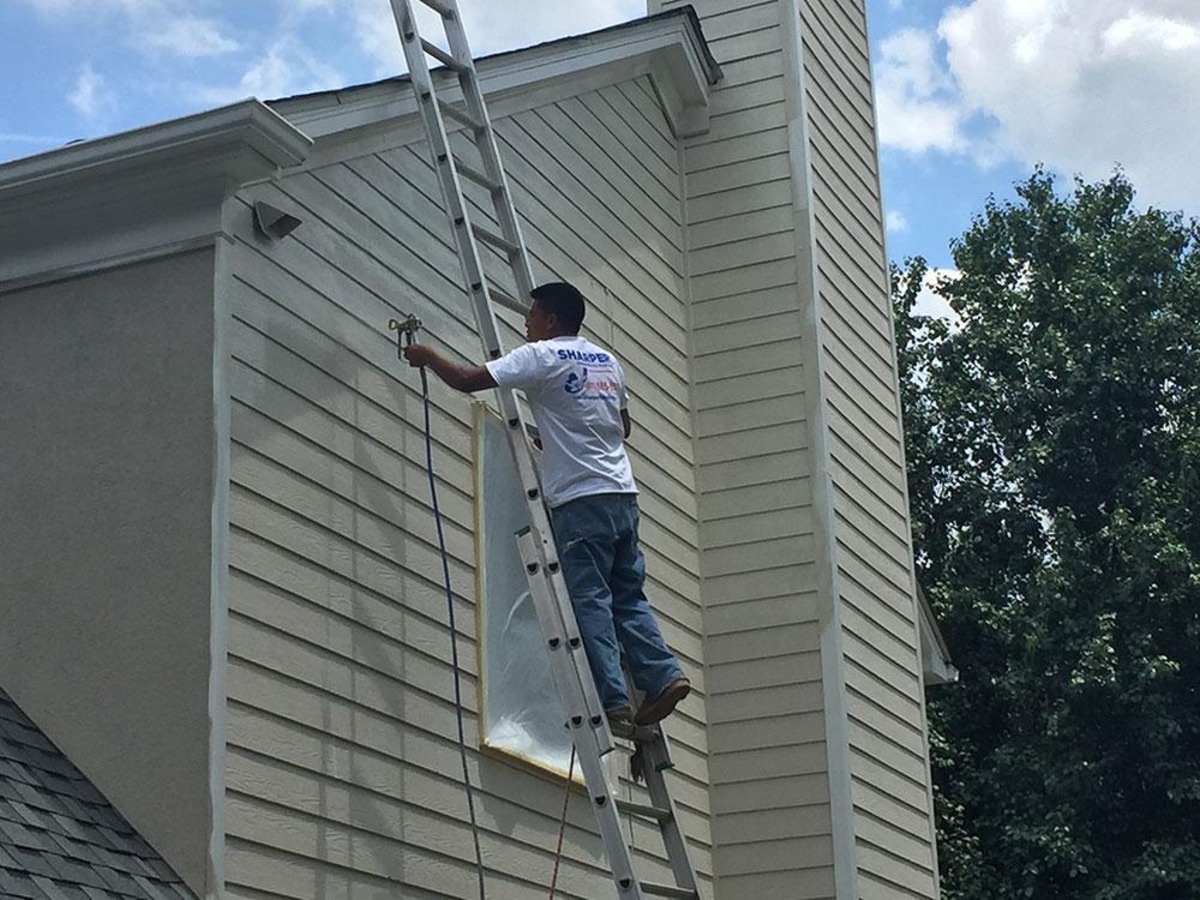
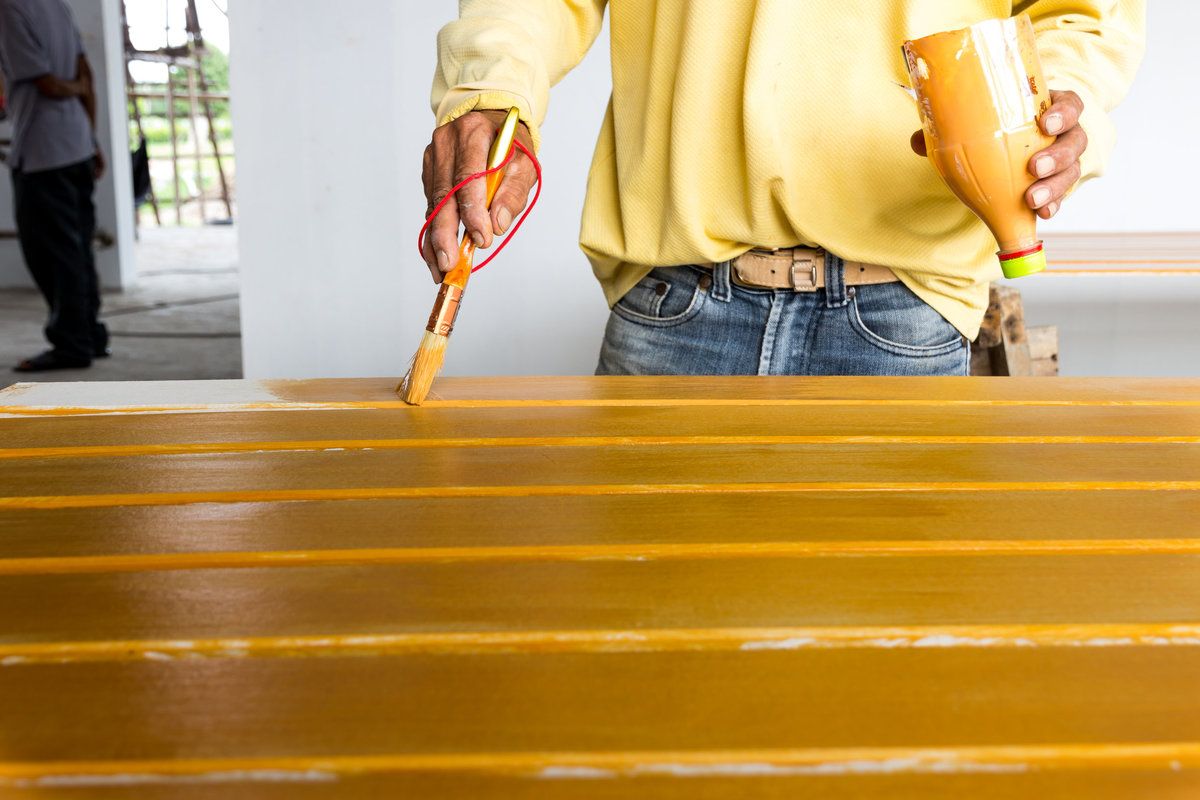
Applying the Paint
Now that you have properly prepared the surface and applied the primer, it’s time to apply the paint to your Hardie siding. Here are the steps to follow:
- Choose the right painting tools: Select high-quality brushes or rollers that are suitable for the type of paint you are using and the surface of your Hardie siding. Brushes are ideal for detailed areas and edges, while rollers are great for larger, smooth surfaces.
- Mix the paint: If you are using multiple cans of paint, make sure to mix them together in a larger container to ensure a consistent color throughout the painting process. Follow the manufacturer’s instructions on stir-time and any other specific guidelines provided.
- Start painting: Begin by cutting in, which means using a brush to carefully paint along the edges, corners, and trim of the siding. This will create a neat and clean finish along the edges. Use long, smooth strokes to apply the paint, working from top to bottom.
- Use a roller: Once the edges are painted, switch to a roller for faster coverage of the larger, smooth areas of the siding. Dip the roller into the paint tray, remove any excess paint, and apply the paint using a rolling motion. Aim for consistent coverage and avoid leaving roller marks or streaks.
- Work in sections: Divide the siding into manageable sections and paint one section at a time. This will help ensure even drying and prevent the paint from drying too quickly before you can properly blend the edges.
- Overlap the sections: To achieve an even finish, slightly overlap each section as you move along. This will help blend the paint and eliminate any visible lines or color discrepancies.
- Allow proper drying time: Follow the drying time recommended by the paint manufacturer. It is important to allow each coat of paint to dry completely before applying additional coats. This will ensure proper adhesion and prevent premature wearing or peeling of the paint.
- Apply multiple coats: Depending on the desired color intensity and coverage, you may need to apply multiple coats of paint. Allow each coat to dry before applying the next, and remember to follow the manufacturer’s guidelines for the recommended number of coats.
By carefully and methodically applying the paint, you will achieve a beautiful and professional finish on your Hardie siding. Take your time, be patient with the process, and follow the instructions provided by the paint manufacturer to ensure the best results.
Read more: How Thick Is Hardie Siding
Drying and Curing
After applying the final coat of paint on your Hardie siding, the next step is to allow the paint to properly dry and cure. Drying and curing are important processes that ensure the longevity and durability of the paint job. Here’s what you need to know:
- Drying time: The drying time refers to the period it takes for the paint to become touch-dry. This time can vary depending on various factors such as temperature, humidity, and the type of paint used. Typically, exterior latex paints dry to the touch within a few hours, but it’s best to consult the paint manufacturer’s instructions for specific drying times.
- Avoid contact: While the paint is drying, it’s important to avoid touching or rubbing against the siding to prevent smudging or creating surface imperfections. Keep pets, children, and any objects away from the freshly painted surface until it is completely dry.
- Curing time: Curing refers to the time it takes for the paint to reach its maximum hardness and durability. This process usually takes much longer than drying and can take up to several weeks. During this time, it’s important to be cautious and avoid any activities that could damage or mar the newly painted surface.
- Follow manufacturer’s guidelines: To ensure proper drying and curing, it’s essential to follow the specific guidelines provided by the paint manufacturer. These guidelines may include information on the ideal temperature and humidity levels for optimal drying and curing, as well as any additional precautions or recommendations to ensure a successful paint application.
- Protect from the elements: While the paint is drying and curing, it’s crucial to protect the freshly painted Hardie siding from the elements. If rain is expected, cover the siding with a waterproof tarp or plastic sheeting to prevent water from interfering with the drying process. Additionally, avoid exposing the painted surface to direct sunlight for prolonged periods, as this can cause the paint to dry too quickly and compromise its durability.
By allowing the paint to fully dry and cure, you ensure that it has ample time to harden and adhere to the surface of the Hardie siding. This will result in a long-lasting and durable finish that will withstand the test of time and the elements.
Maintaining Hardie Siding
Proper maintenance is key to preserving the beauty and longevity of your Hardie siding. By implementing regular cleaning and maintenance practices, you can keep your siding looking fresh and vibrant for years to come. Here are some tips for maintaining your Hardie siding:
- Clean on a regular basis: Regularly clean your Hardie siding to remove dirt, dust, and other debris that can accumulate over time. Use a soft cloth or a non-abrasive brush to gently scrub the siding with a mild detergent and water solution. Rinse thoroughly with clean water to remove any residue.
- Inspect for damage: Periodically inspect your siding for any signs of damage, such as cracks, chips, or loose boards. Promptly address any issues by replacing damaged boards or applying the necessary repairs with the appropriate materials. This will help prevent further damage and maintain the integrity of your siding.
- Touch up the paint: Over time, your Hardie siding may experience minor paint chips or fading. To keep it looking its best, touch up the paint as needed. Use the original paint color or a matching paint to fill in any small chips or areas where the paint has worn off. Remember to properly clean and prepare the surface before applying the touch-up paint.
- Monitor caulking and sealant: Inspect the caulking and sealant around windows, doors, and other areas where the siding meets other surfaces. If you notice any cracks or gaps, reapply the caulking or sealant as necessary. This will help maintain a watertight seal and prevent moisture from seeping behind the siding.
- Trim vegetation: Trim any vegetation, such as trees and bushes, that may come into contact with or rub against the siding. This will prevent damage to the surface and minimize the risk of moisture buildup or mold growth.
- Protect from moisture: Moisture is one of the main enemies of any exterior siding. Take steps to prevent excess moisture from accumulating on or around your Hardie siding. Ensure proper drainage around the foundation of your home, keep gutters clean, and make sure sprinklers are not spraying directly onto the siding. This will help prevent water damage and promote the longevity of your siding.
Regular maintenance and upkeep are essential to ensuring the longevity of your Hardie siding. By following these tips and implementing a proactive approach to maintenance, you can keep your siding in excellent condition and enjoy the benefits of its durability and aesthetic appeal for many years to come.
Conclusion
Painting Hardie siding can be a transformative and rewarding project that enhances the appearance and durability of your home’s exterior. By following the steps outlined in this guide, you can achieve a professional-looking finish that will protect your Hardie siding and boost curb appeal.
Remember to start by preparing the surface, including cleaning, repairing any damage, and sanding if necessary. Selecting the right paint is crucial, considering factors such as exterior use, sheen, color, and quality. Applying a primer is essential to ensure proper adhesion and a smooth base for the paint.
When it comes to applying the paint, take your time, work in sections, and apply multiple thin coats for a flawless finish. Allow each coat to dry completely before proceeding, and follow the manufacturer’s guidelines for drying and curing times.
Maintaining your Hardie siding is equally important. Regular cleaning, inspection, and touch-ups will help keep it looking its best and prevent any potential damage or deterioration. Be proactive in protecting your siding from moisture and trim any vegetation that may pose a risk.
With proper care and maintenance, your painted Hardie siding can provide long-lasting protection and aesthetic appeal for many years. So roll up your sleeves, gather your painting tools, and give your home a fresh new look with a beautiful coat of paint on your Hardie siding!
Frequently Asked Questions about How To Paint Hardie Siding
Was this page helpful?
At Storables.com, we guarantee accurate and reliable information. Our content, validated by Expert Board Contributors, is crafted following stringent Editorial Policies. We're committed to providing you with well-researched, expert-backed insights for all your informational needs.
0 thoughts on “How To Paint Hardie Siding”