Articles
How To Paint Vinyl Siding
Modified: January 8, 2024
Learn the best techniques for painting vinyl siding with these helpful articles. Transform the look of your home with our expert tips and advice on painting vinyl siding.
(Many of the links in this article redirect to a specific reviewed product. Your purchase of these products through affiliate links helps to generate commission for Storables.com, at no extra cost. Learn more)
Introduction
Welcome to our comprehensive guide on how to paint vinyl siding. Over time, the color of vinyl siding can fade or become outdated, leading homeowners to consider giving it a fresh new look with a coat of paint. Painting vinyl siding not only rejuvenates the appearance of your home but also protects it from the elements. In this article, we will walk you through the step-by-step process of properly painting vinyl siding, from preparation to finishing touches.
Before you begin, it’s essential to note that painting vinyl siding requires careful attention to detail and specific materials to ensure a long-lasting and professional-looking finish. By following our guide, you’ll be equipped with the knowledge and techniques necessary for a successful vinyl siding painting project.
Now, let’s dive into the steps involved in preparing and painting your vinyl siding to achieve the desired results.
Key Takeaways:
- Transform the look of your home and protect it from the elements by following the step-by-step guide to properly paint vinyl siding. Choose the right paint, prep the surface, and apply with care for a professional finish.
- Achieve a flawless and long-lasting finish for your painted vinyl siding with the right tools, techniques, and maintenance. From cleaning to touch-ups, ensure your home’s exterior stays vibrant and attractive for years to come.
Preparing the Vinyl Siding
Before you start painting your vinyl siding, it’s crucial to prepare the surface properly. Proper preparation ensures that the paint adheres well and provides a smooth and even finish. Here are the steps involved in preparing your vinyl siding for painting:
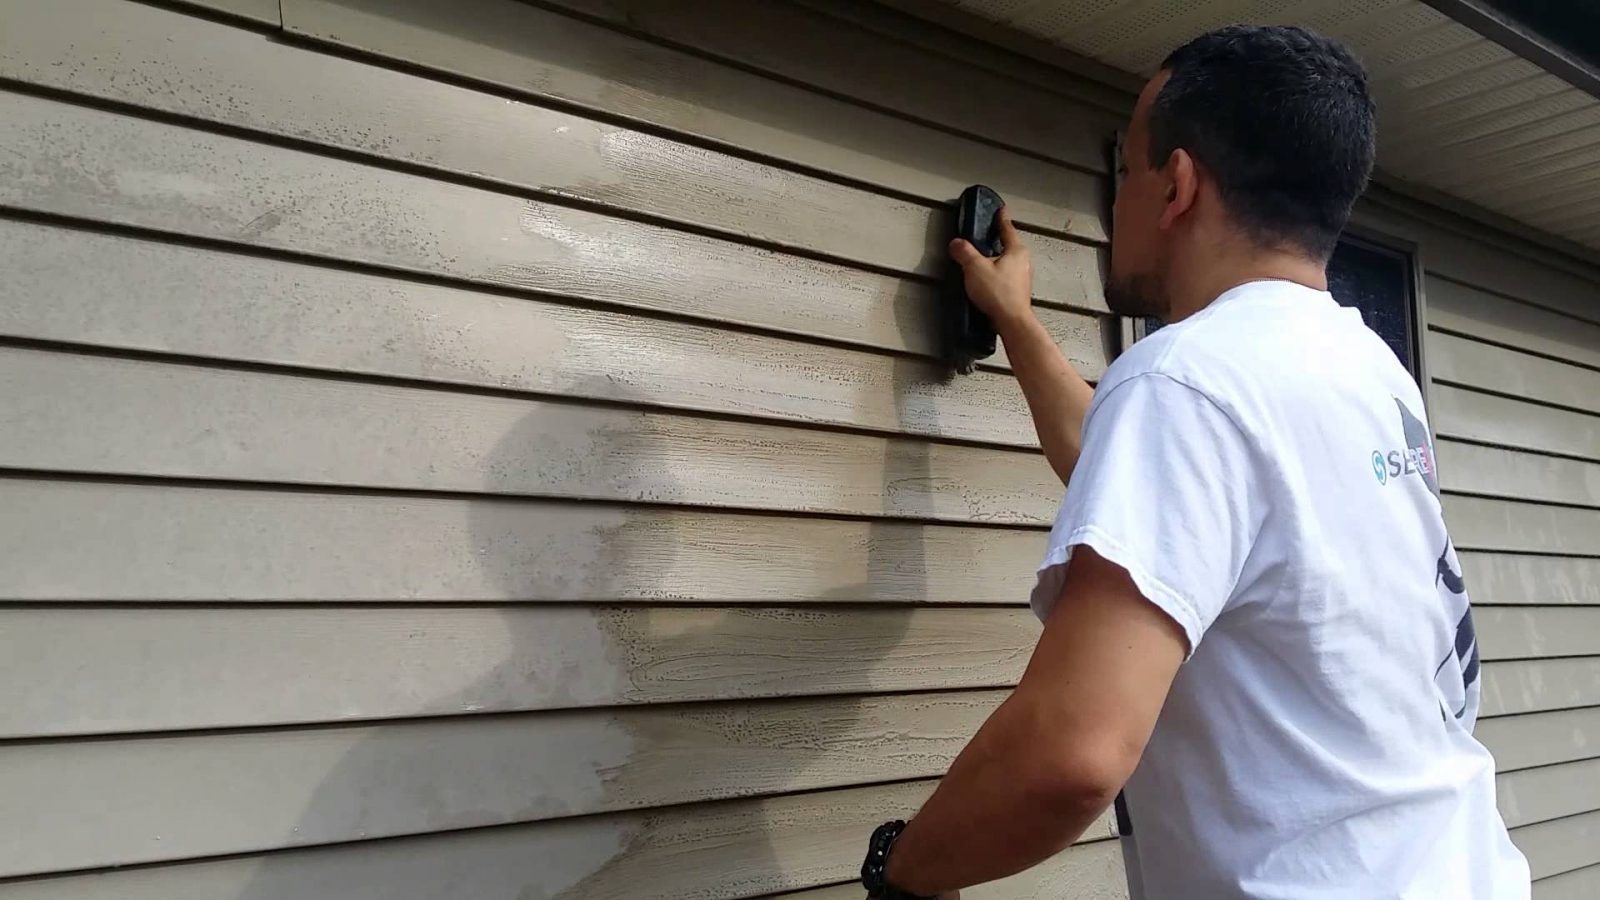
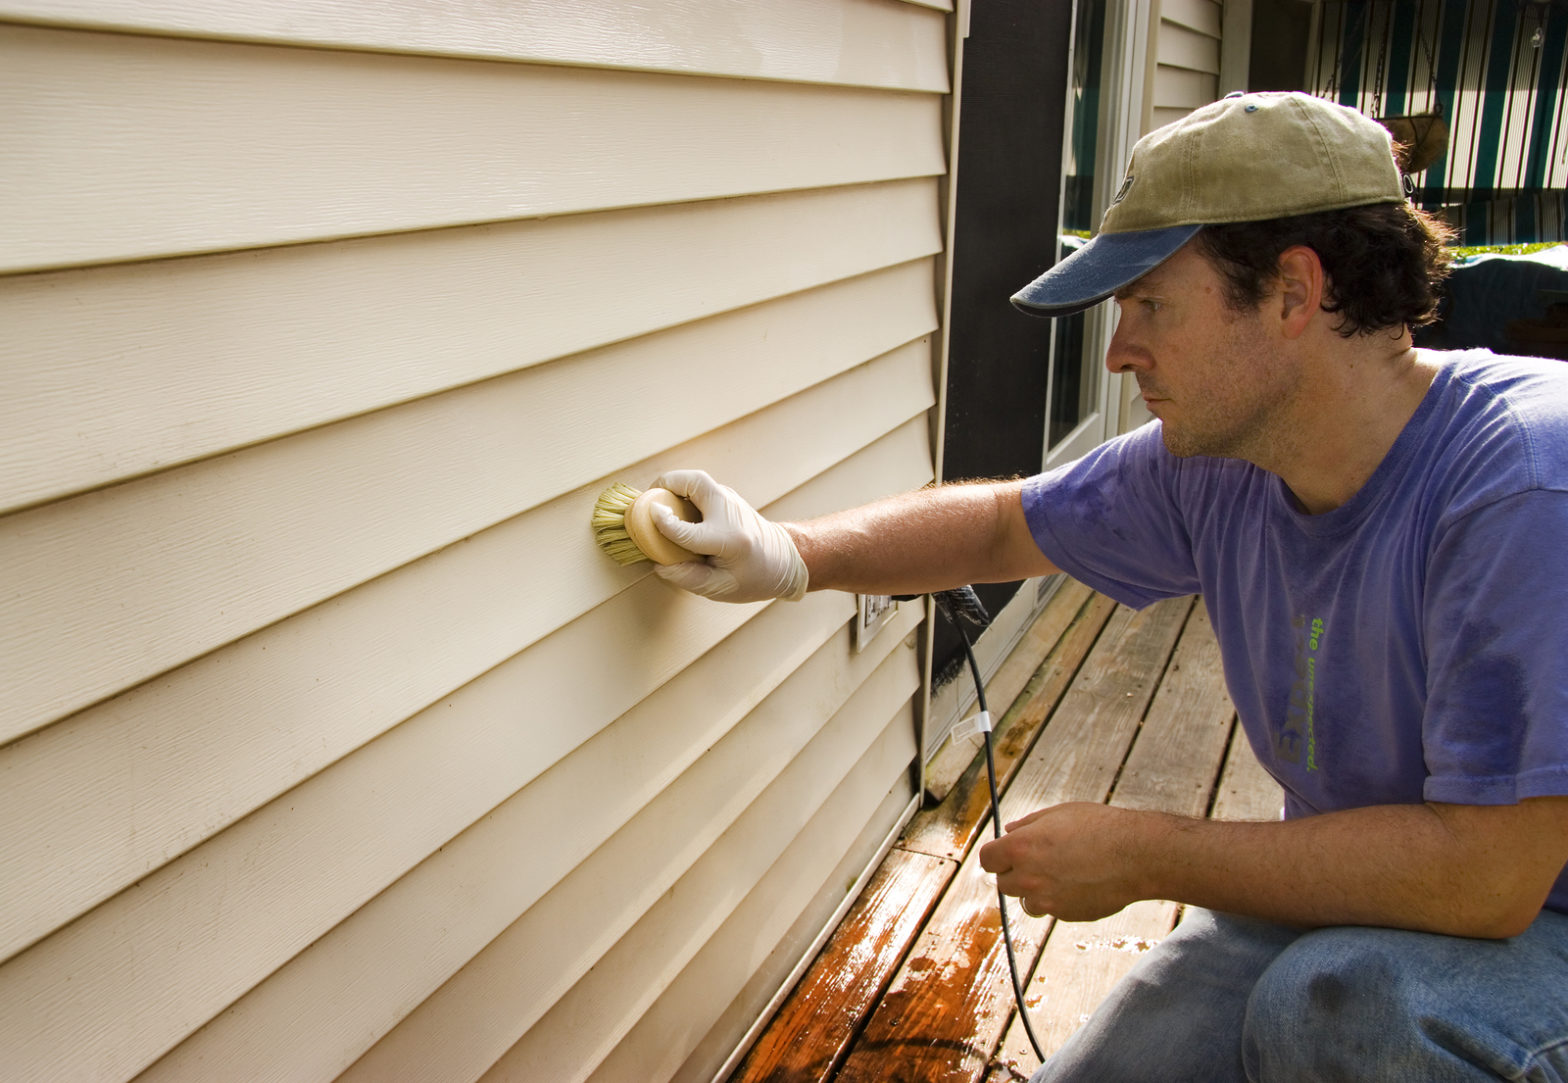
- Clean the surface: Begin by thoroughly cleaning the vinyl siding to remove any dirt, dust, or mildew. Use a mild detergent mixed with water and a soft-bristle brush or sponge to scrub the surface gently. Rinse off the cleaning solution with a hose.
- Inspect for damage: Carefully inspect the vinyl siding for any signs of damage, such as cracks, chips, or loose pieces. Repair or replace any damaged sections before proceeding with the painting process. This ensures that the surface is smooth and free of imperfections.
- Sand rough areas: If you notice any rough or textured areas on the vinyl siding, lightly sand them with fine-grit sandpaper. This helps to create a smoother surface for the paint to adhere to and improves the overall finish.
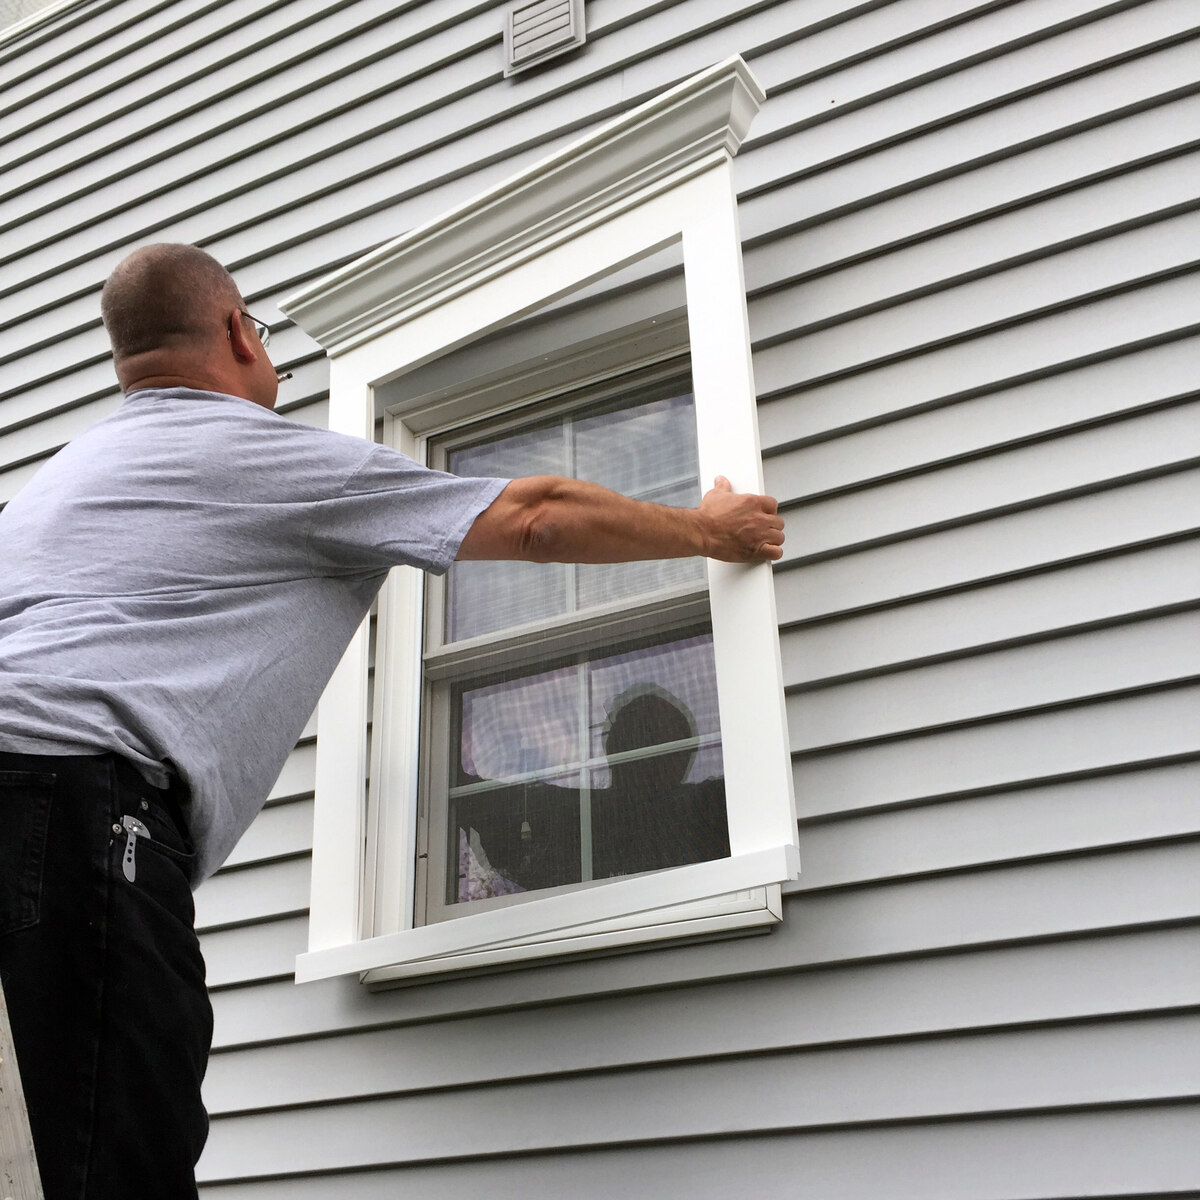
- Mask off areas: Use painter’s tape and plastic sheeting to mask off areas you don’t want to be painted, such as windows, doors, and trim. This prevents accidental paint splatters and ensures clean and precise lines.
By taking the time to properly prepare your vinyl siding, you are setting the foundation for a successful painting project. Your efforts in cleaning, inspecting, and masking off areas will contribute to a smooth and professional-looking finish. Now that your vinyl siding is ready, let’s move on to the next step: choosing the right paint.
Cleaning the Vinyl Siding
Before you can paint your vinyl siding, it’s important to thoroughly clean the surface to ensure proper adhesion of the paint. Here are the steps to effectively clean your vinyl siding:
- Gather your supplies: Start by gathering the necessary cleaning supplies. You will need a bucket, water, a soft-bristle brush or sponge, a mild detergent, and a garden hose.
- Mix the cleaning solution: Fill the bucket with water and add a mild detergent to create a soapy mixture. Be sure to follow the detergent manufacturer’s instructions for the correct ratio.
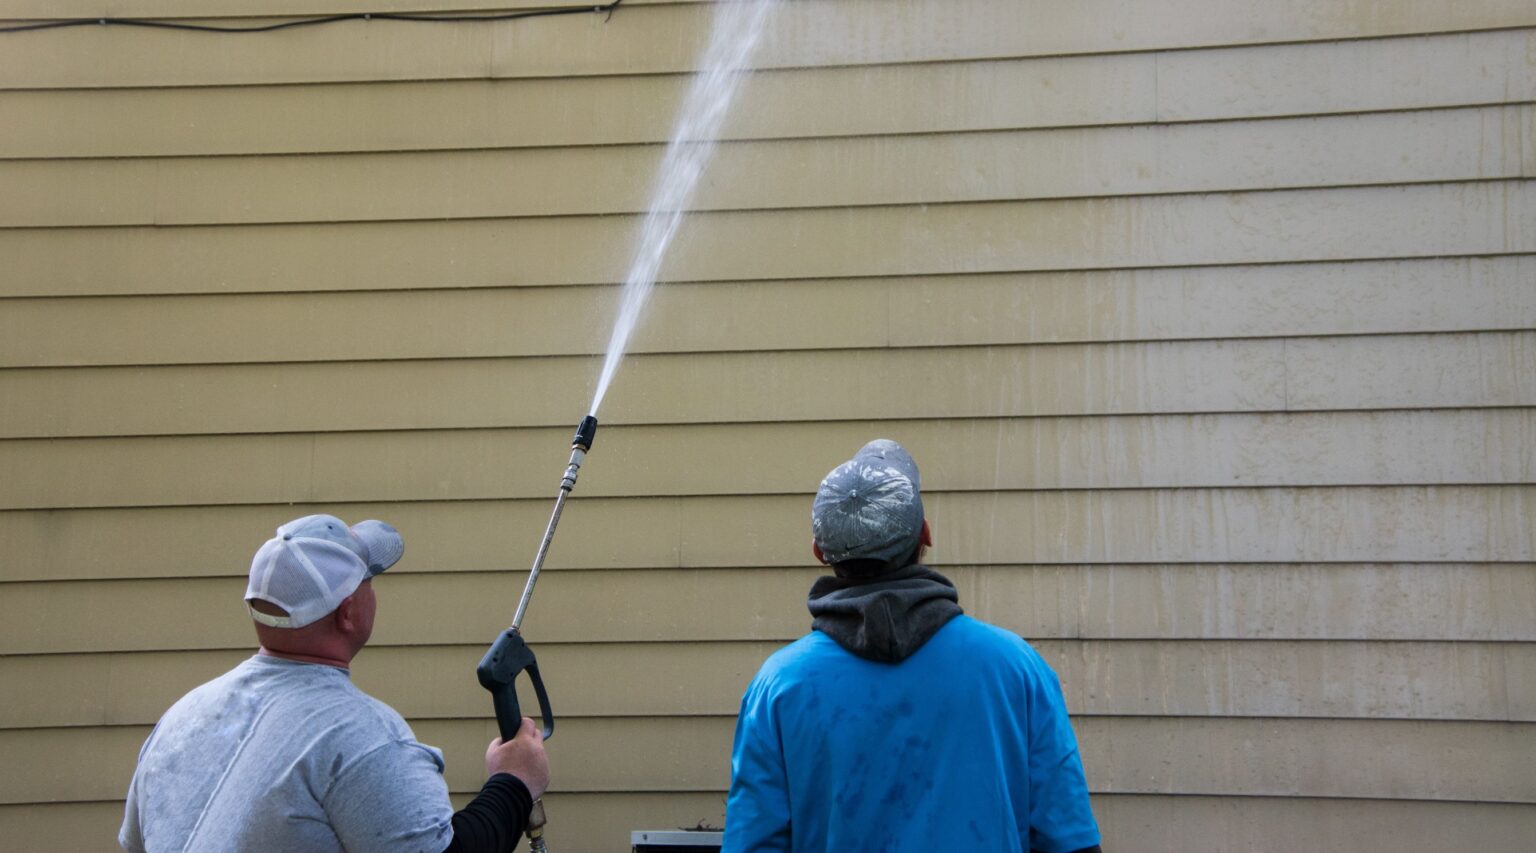
- Wet the siding: Begin by wetting the vinyl siding with a garden hose. This helps to loosen any dirt or debris on the surface.
- Scrub the siding: Dip the soft-bristle brush or sponge into the soapy water and start scrubbing the vinyl siding. Work in small sections, applying gentle pressure to remove dirt, grime, and stains. Avoid using abrasive scrub brushes or harsh chemicals, as these can damage the vinyl surface.
- Rinse off the cleaning solution: After scrubbing, rinse off the cleaning solution with a garden hose. Start from the top and work your way down to ensure that all soap residue is thoroughly rinsed off.
- Inspect for remaining stains: Once the vinyl siding has dried, inspect it for any remaining stains or marks. If there are still visible stains, you can try using a specialized vinyl siding cleaner or a mixture of vinegar and water to spot clean the affected areas.
Cleaning your vinyl siding not only removes dirt and grime but also helps the paint adhere better to the surface. The cleaner your vinyl siding, the smoother and more durable the painted finish will be. After completing the cleaning process, you are now ready to move on to the next step: choosing the right paint for your vinyl siding.
Choosing the Right Paint
When it comes to painting vinyl siding, selecting the right type of paint is essential for achieving a long-lasting and professional-looking finish. Here are some factors to consider when choosing the paint for your vinyl siding:
- Opt for vinyl-safe paint: Not all paints are suitable for vinyl siding. It’s crucial to choose a paint that is specifically formulated for use on vinyl surfaces. These paints are designed to withstand the expansion and contraction of vinyl and adhere well to the surface.
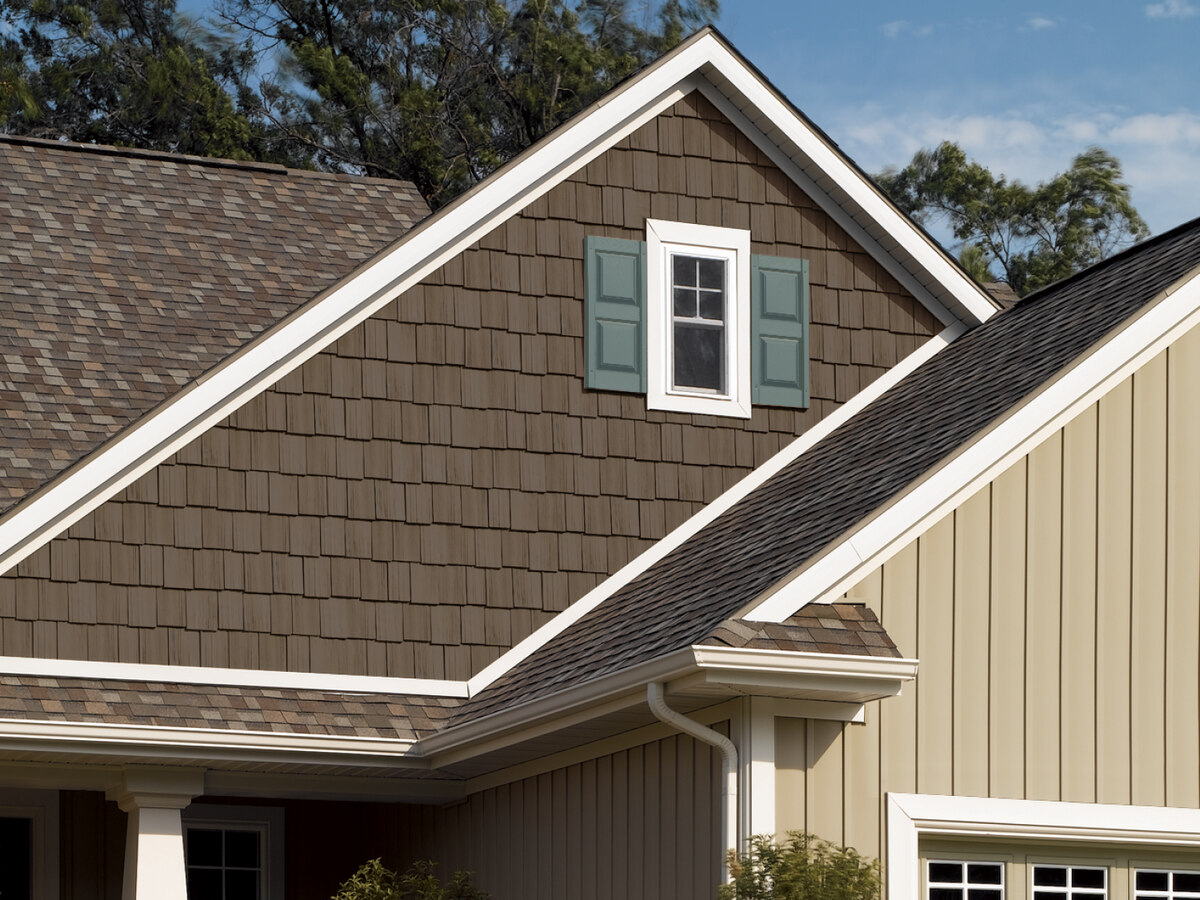
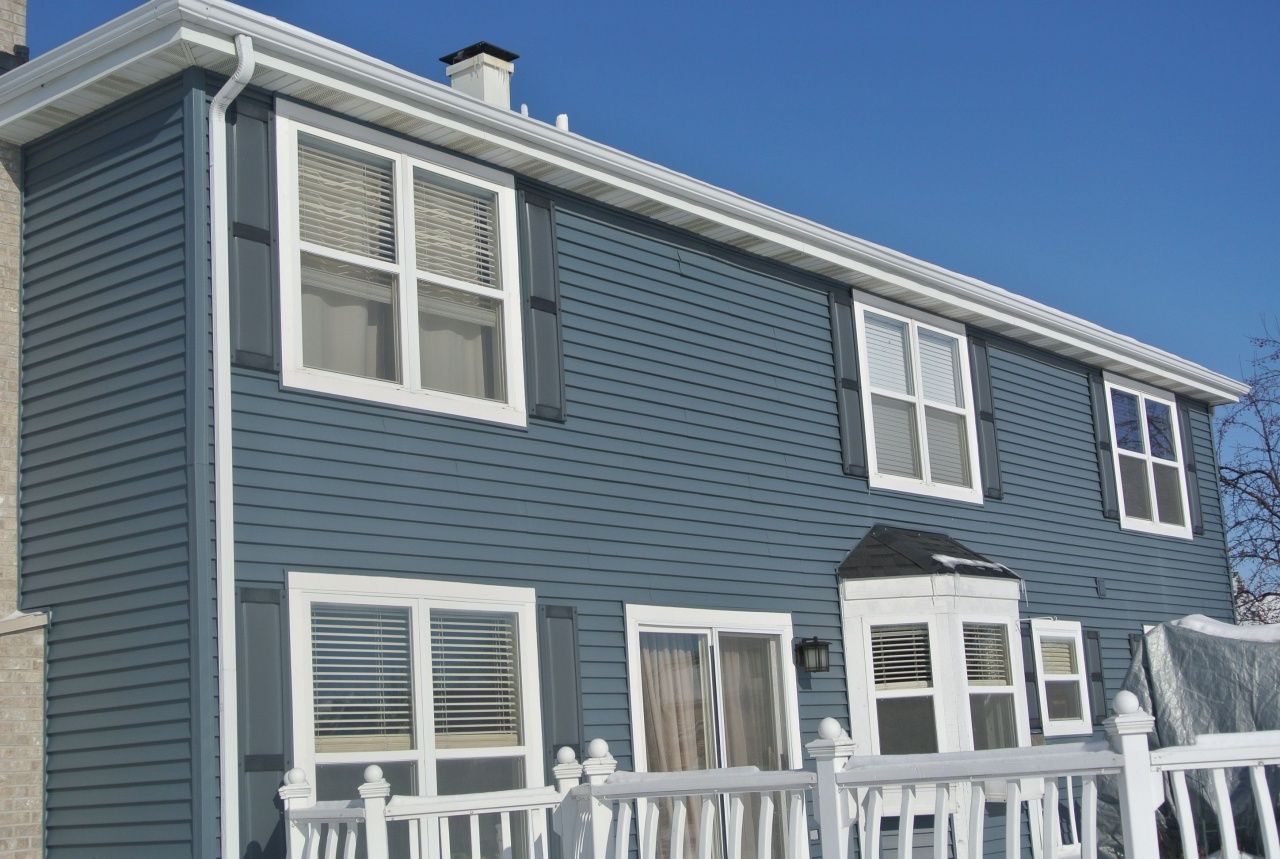
- Consider the color: The color you choose for your vinyl siding can have a significant impact on the overall appearance of your home. It’s important to select a color that complements your home’s architecture and aesthetic. Keep in mind that darker colors tend to absorb more heat, which could cause the vinyl siding to expand and warp.
- Opt for a high-quality paint: Investing in a high-quality paint will ensure better coverage, durability, and resistance to fading. Look for paints that offer UV protection and are labeled as long-lasting or fade-resistant.
- Choose the finish: The finish of the paint can affect both the appearance and durability of the painted vinyl siding. Satin or semi-gloss finishes are popular choices for vinyl siding as they offer a balance between durability and sheen.
- Consider environmental factors: Take into account the climate and weather conditions in your area when choosing the paint for your vinyl siding. If you live in an area with high humidity or frequent rainfall, consider a paint that is mold and mildew resistant.
- Consult with a professional: If you’re unsure about which paint to choose, it’s always a good idea to consult with a paint professional or a knowledgeable salesperson at your local paint store. They can provide guidance based on your specific needs and preferences.
By considering these factors and selecting the right paint for your vinyl siding, you can ensure a beautiful, long-lasting finish that enhances the overall appearance of your home. With the paint selected, it’s time to move on to the next step: priming the vinyl siding.
Priming the Vinyl Siding
Priming the vinyl siding is a crucial step in the painting process as it provides a secure foundation for the paint and improves its adhesion to the surface. Here’s how to effectively prime your vinyl siding:
- Gather your supplies: Start by gathering all the necessary supplies, including a vinyl siding primer, a paintbrush or roller, a paint tray, and painter’s tape.
- Prepare the surface: Ensure that the vinyl siding is clean and dry before priming. If there are any remaining stains or marks, spot clean them using a vinyl siding cleaner or a mixture of vinegar and water. Allow the surface to dry completely.
- Tape off areas: Use painter’s tape to mask off areas that you don’t want to be primed, such as windows, doors, and trim. This will help you achieve clean and precise lines.
- Apply the primer: Pour the vinyl siding primer into a paint tray and load your brush or roller with the primer. Start by applying the primer to the corners and edges of the vinyl siding using a brush. Then, use a roller to apply the primer to the larger sections. Work in small, manageable areas, applying an even coat of primer to the entire surface.
- Allow the primer to dry: Follow the manufacturer’s instructions on the primer can to determine the drying time. Generally, it takes around 4-6 hours for the primer to dry completely. Ensure that the primer is fully dry before moving on to the next step.
- Inspect the primed surface: Once the primer is dry, inspect the primed surface for any uneven areas or missed spots. If necessary, apply a second coat of primer to ensure full coverage and a smooth finish.
Priming your vinyl siding creates a solid base for the paint and improves its longevity. It helps to fill in any imperfections and provides a uniform surface for the paint to adhere to. With the vinyl siding primed, you are now ready to move on to the exciting part – painting the vinyl siding.
When painting vinyl siding, be sure to clean the surface thoroughly before applying any paint. Use a mild detergent and water to remove any dirt, grime, and mildew, and allow the siding to dry completely before starting the painting process.
Read more: How Long Does Painted Vinyl Siding Last
Painting the Vinyl Siding
Now that your vinyl siding is properly prepared and primed, it’s time to start painting. Follow these steps to achieve a professional-looking finish:
- Gather your supplies: Make sure you have all the necessary supplies, including the chosen paint for your vinyl siding, a paintbrush or roller, a paint tray, and painter’s tape.
- Prepare the area: Before you begin painting, ensure that the area around the vinyl siding is clear of obstacles. Place drop cloths or plastic sheets to protect the ground and any nearby plants or furniture.
- Tape off areas: Use painter’s tape to mask off any areas you don’t want to be painted, such as windows, doors, and trim. This will help you achieve precise and clean lines.
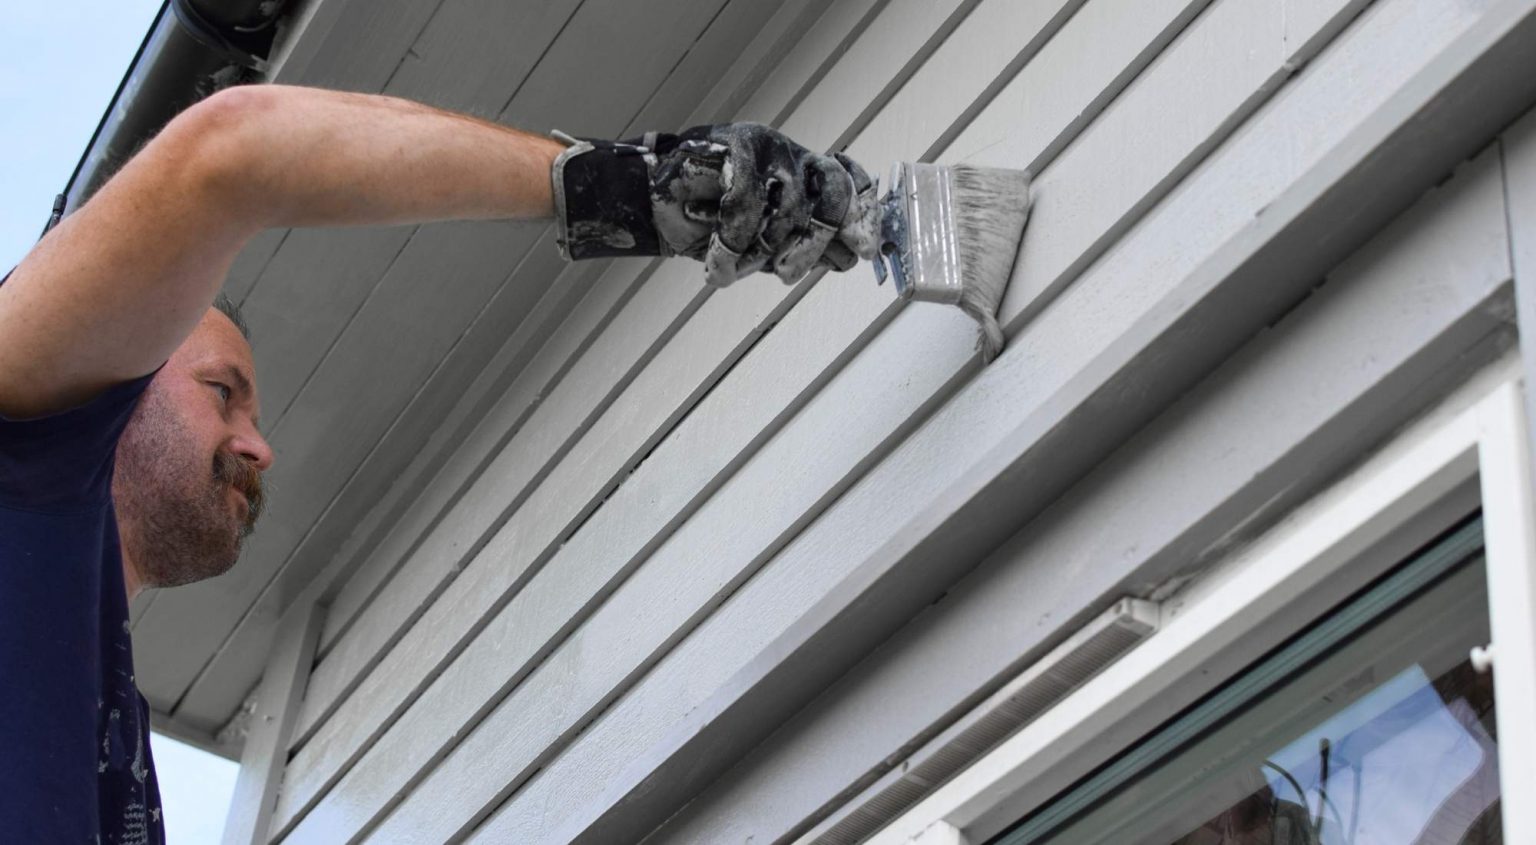
- Start painting: Pour the paint into a paint tray and load your brush or roller with the paint. Begin applying the paint to the vinyl siding, starting from the top and working your way down. Use long, even strokes for a smooth and consistent finish. If using a roller, use a brush to cut in along edges and corners.
- Apply multiple coats: Depending on the color and coverage desired, you may need to apply multiple coats of paint. Allow each coat to dry according to the paint manufacturer’s instructions before applying the next one. It’s generally recommended to apply at least two coats for optimal coverage.
- Remove the tape: Once you’ve finished painting, wait for the paint to dry to the touch before carefully removing the painter’s tape. This will help you achieve clean and sharp lines.
While painting your vinyl siding, it’s important to work with caution and precision, ensuring that the paint is applied evenly and smoothly. Allow each coat to dry thoroughly before applying the next one to avoid any smudging or unevenness. Once the painting process is complete, you can take steps to achieve a smooth finish.
In the next section, we’ll share some tips and tricks for achieving a flawless finish and ensuring the longevity of your painted vinyl siding.
Tips for a Smooth Finish
When it comes to painting vinyl siding, achieving a smooth and professional-looking finish is key. Here are some tips and tricks to help you achieve a flawless result:
- Use the right tools: Use high-quality paintbrushes or rollers specifically designed for use with latex or vinyl-based paints. This ensures an even application and minimizes streaks or brush marks.
- Work in small sections: Rather than trying to cover the entire surface at once, work in small, manageable sections. This allows you to maintain control and achieve a consistent coat of paint.
- Apply thin coats: It’s better to apply multiple thin coats of paint rather than one thick coat. Thicker coats of paint can lead to drips, bulges, and uneven drying. Allow each coat to dry completely before applying the next one.
- Follow the proper painting technique: Whether you’re using a brush or roller, always paint in the same direction to ensure a smooth and uniform finish. Avoid going back over already painted areas as this can cause streaks or unevenness.
- Avoid painting in direct sunlight: If possible, try to paint your vinyl siding in the early morning or late afternoon when the sun is not directly shining on the surface. Painting in direct sunlight can cause the paint to dry too quickly, leading to a patchy or streaky finish.
- Watch out for temperature and humidity: Ensure that you’re painting your vinyl siding in optimal weather conditions. Avoid painting when it’s too hot, too cold, or during high humidity. Extreme temperatures and humidity can affect the drying process and lead to paint defects.
- Take your time: Painting vinyl siding requires patience and attention to detail. Take your time, carefully apply each coat of paint, and allow sufficient drying time between coats. Rushing through the process can result in a subpar finish.
By following these tips, you’ll be well on your way to achieving a smooth and professional-looking finish on your painted vinyl siding. With the proper techniques and attention to detail, your newly painted vinyl siding will enhance the appearance of your home for years to come.
Caring for Painted Vinyl Siding
Once you’ve successfully painted your vinyl siding, it’s important to take proper care of it to ensure its longevity and maintain its attractive appearance. Here are some tips to help you care for your painted vinyl siding:
- Regular cleaning: Just like unpainted vinyl siding, painted vinyl siding requires regular cleaning to remove dirt, grime, and other debris. Use a mild detergent mixed with water and a soft-bristle brush or sponge to scrub the surface gently. Rinse off the cleaning solution with a hose.
- Avoid abrasive cleaners: When cleaning your painted vinyl siding, avoid using abrasive cleaners, harsh chemicals, or power washers. These can damage the paint and compromise its durability.
- Inspect for damage: Periodically inspect your painted vinyl siding for any signs of damage, such as cracks, chips, or peeling paint. If you notice any issues, repair them promptly to prevent further damage or water infiltration.
- Touch up as needed: Over time, painted vinyl siding may require touch-ups to maintain its appearance. Keep some leftover paint handy for touch-up work, and address any blemishes or areas of paint wear as soon as you notice them.
- Protect from extreme weather conditions: Vinyl siding, including painted vinyl siding, can be affected by extreme weather conditions. During harsh winter months, protect your siding from ice and heavy snow by using measures such as snow guards or gentle removal techniques. In hot and sunny climates, consider using light-colored paint to minimize heat absorption and reduce the risk of warping.
- Monitor moisture levels: Proper moisture control is crucial for the maintenance of your painted vinyl siding. Ensure that the surrounding areas, such as your roof, gutters, and downspouts, are in good condition and properly diverting water away from the siding. Address any water leakage or excess moisture issues promptly to prevent damage to both the siding and the paint.
- Keep landscaping at a safe distance: Maintain a safe distance between your landscaping elements, such as shrubs and trees, and your painted vinyl siding. Overhanging branches or bushes can scratch or damage the paint surface. Additionally, trimming back vegetation can help to enhance airflow and prevent moisture buildup, which can be detrimental to the siding.
By following these care and maintenance tips, you can ensure that your painted vinyl siding stays in great condition for years to come. Regular cleaning, prompt repairs, and protective measures will help preserve the beauty of your home’s exterior, boosting its curb appeal and overall value.
Conclusion
Painting vinyl siding is a great way to transform the look of your home and protect it from the elements. With proper preparation, cleaning, priming, and painting techniques, you can achieve a professional and long-lasting finish. By following the steps outlined in this guide and incorporating the tips for a smooth finish, you’ll be able to successfully paint your vinyl siding and create a beautiful exterior for your home.
Remember to choose a paint specifically formulated for vinyl siding, select the right color and finish, and consult with professionals if needed. Take your time during the process, ensuring each coat of paint is applied evenly and allowing sufficient drying time between coats. Proper care and maintenance, including regular cleaning, inspections, and touch-ups, will help extend the life and appearance of your painted vinyl siding.
By investing in a high-quality paint, using the right tools and techniques, and following the care tips, you can enjoy a vibrant and fresh look for your vinyl siding for years to come.
So, don’t hesitate to give your vinyl siding a new lease on life with a fresh coat of paint. With patience, attention to detail, and some effort, you can achieve a stunning transformation that enhances the curb appeal and value of your home.
Frequently Asked Questions about How To Paint Vinyl Siding
Was this page helpful?
At Storables.com, we guarantee accurate and reliable information. Our content, validated by Expert Board Contributors, is crafted following stringent Editorial Policies. We're committed to providing you with well-researched, expert-backed insights for all your informational needs.


0 thoughts on “How To Paint Vinyl Siding”