Articles
What Do I Use To Put Up A Ceramic Towel Bar
Modified: October 20, 2024
Looking for articles on how to install a ceramic towel bar? Discover the tools and steps you need to successfully put up a ceramic towel bar in your bathroom.
(Many of the links in this article redirect to a specific reviewed product. Your purchase of these products through affiliate links helps to generate commission for Storables.com, at no extra cost. Learn more)
Introduction
There’s nothing quite like the feeling of stepping out of the shower and reaching for a soft, warm towel to wrap yourself in. A ceramic towel bar can be a stylish and functional addition to any bathroom, providing a convenient place to hang towels and keep them within reach. But the question remains – what do you use to put up a ceramic towel bar?
In this article, we will guide you through the steps of installing a ceramic towel bar, from gathering the necessary tools and materials to attaching the bar securely to your bathroom wall. Whether you’re a seasoned DIY enthusiast or a novice looking to take on your first home improvement project, we’ve got you covered.
So, let’s dive in and get started on creating a beautiful and functional space with a ceramic towel bar.
Key Takeaways:
- Installing a ceramic towel bar requires careful consideration of location, proper alignment, and stability testing to ensure a functional and aesthetically pleasing addition to your bathroom.
- Enjoy the convenience and elegance of your new ceramic towel bar by maintaining cleanliness, experimenting with towel folding styles, and embracing the convenience it brings to your daily routine.
Read more: How To Replace A Ceramic Towel Bar
Step 1: Gather the necessary tools and materials
Before you begin the installation process, it’s important to gather all the tools and materials you’ll need. This will ensure a smooth and efficient installation process. Here’s a list of items you’ll need:
- Measuring tape
- Pencil
- Level
- Drill
- Masonry drill bit (if mounting on tiled surfaces)
- Toggle bolt anchors (if mounting on drywall)
- Screwdriver
- Mounting brackets and screws (usually provided with the towel bar)
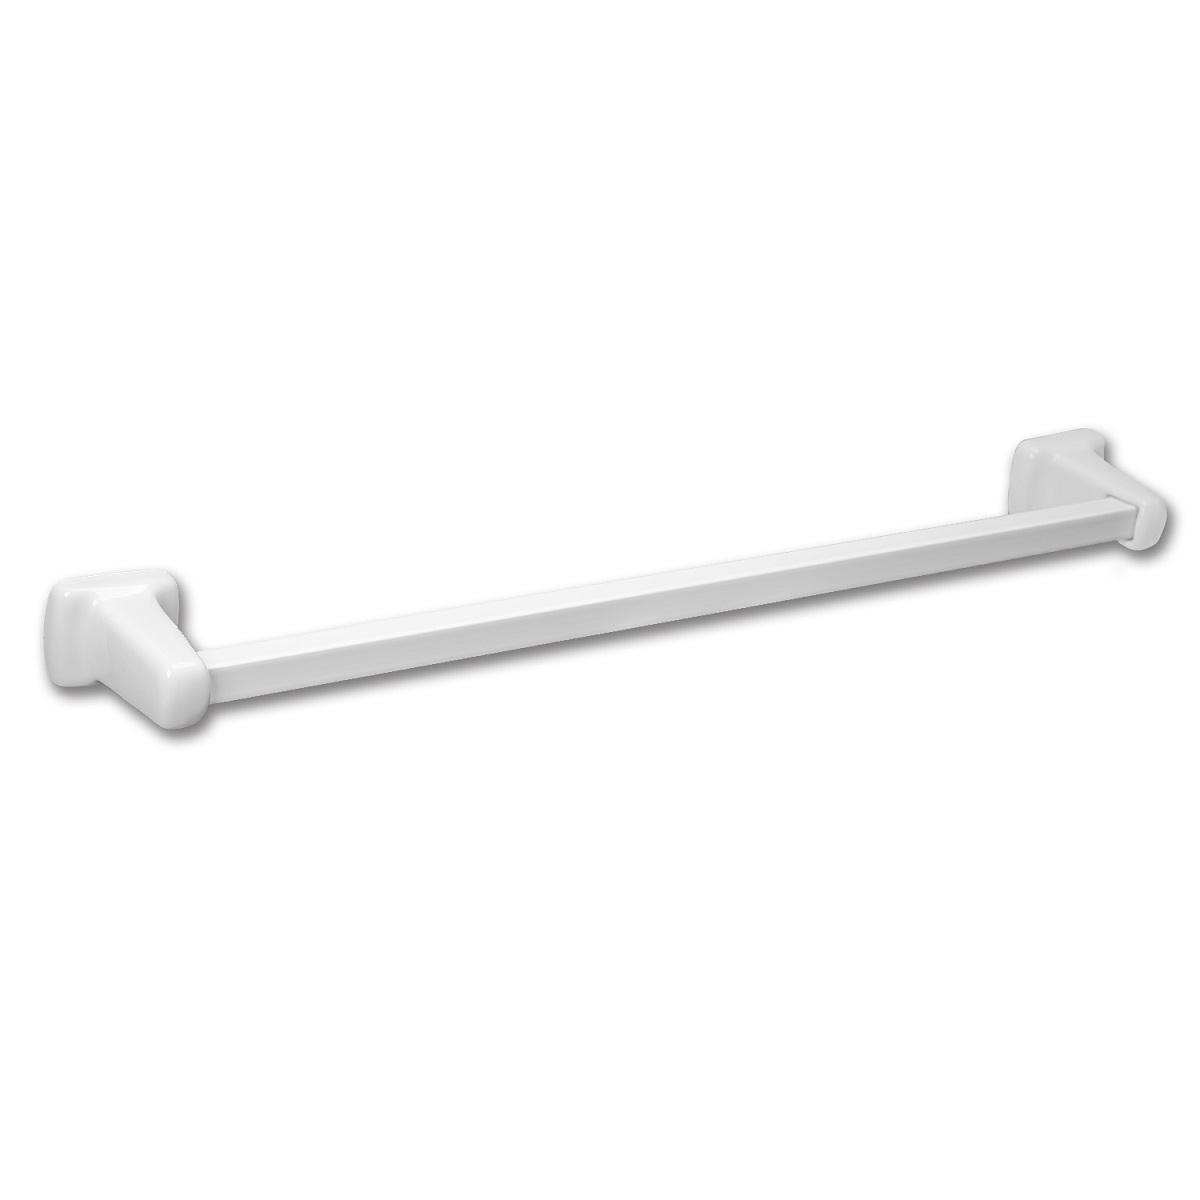
- Ceramic towel bar
Make sure to have these tools and materials on hand before starting the installation process. This will save you time and frustration later on.
It’s also important to consider the weight capacity of the towel bar and the type of wall surface you’ll be mounting it on. For heavier towel bars or if you’re mounting on a tiled surface, you may need additional support or specialized anchors to ensure a secure installation.
Once you have all the necessary tools and materials, you’re ready to move on to the next step – choosing the location for your ceramic towel bar.
Step 2: Choose the location for the ceramic towel bar
Choosing the right location for your ceramic towel bar is crucial for both its functionality and aesthetics. Here are a few things to consider when determining the placement:
- Height: The towel bar should be installed at a height that is convenient for everyone using the bathroom. Generally, a height of around 48-54 inches (122-137 cm) from the floor to the center of the towel bar is recommended. However, you can adjust the height based on your personal preference.
- Accessibility: Ensure that the towel bar is easily accessible from the shower or bathtub. You don’t want to have to reach too far or twist your body awkwardly to grab a towel.
- Wall space: Look for a suitable wall space that is wide enough to accommodate the length of the towel bar. Also, consider any obstacles like light switches or electrical outlets that may interfere with the installation.
- Visual appeal: Consider the overall aesthetics of your bathroom and how the towel bar will fit into the design. You want it to complement the existing fixtures and decor.
Once you’ve identified the ideal location, use a pencil and a level to mark the spots where the mounting brackets will be installed. Take your time and double-check the measurements to ensure accuracy.
With the location determined and the marks made, you’re ready to move on to the next step – measuring and marking the mounting points.
Step 3: Measure and mark the mounting points
Now that you’ve chosen the location for your ceramic towel bar, it’s time to measure and mark the mounting points on the wall. This will ensure that the towel bar is installed evenly and securely.
Here’s how to do it:
- Using a measuring tape, measure the distance between the two mounting brackets of the towel bar. This will determine the width of the towel bar installation.
- Divide the width measurement by two to find the center point. Mark this point on the wall using a pencil.
- Next, measure the distance between the center point and the outer edges of the mounting brackets. Mark these points on either side of the center mark.
- Using a level, check that the marks are perfectly straight and even. Make any necessary adjustments.
It’s important to ensure that the mounting brackets are aligned and level to prevent the towel bar from tilting or slanting. Take your time with this step to ensure accuracy.
Once you’re satisfied with the placement and alignment of the mounting point marks, you can proceed to the next step – drilling holes for the mounting brackets.
Step 4: Drill holes for the mounting brackets
With the mounting point marks in place, it’s time to drill holes for the mounting brackets. The size of the holes will depend on the type of mounting brackets provided with your ceramic towel bar. Here’s how to proceed:
- Double-check the instructions provided with your towel bar to determine the recommended drill bit size for the mounting brackets.
- If you’re mounting the towel bar on a tiled surface, use a masonry drill bit that matches the recommended size. If you’re mounting on a drywall or wooden surface, use a regular drill bit.
- Securely hold the drill and align it with the center of the marked mounting point. Start drilling slowly, applying gentle pressure to create a small pilot hole.
- Once the pilot hole is created, switch to the recommended sized drill bit and continue drilling until the hole reaches the desired depth. Be sure to maintain a steady hand and apply even pressure to avoid damaging the wall surface.
- Repeat the drilling process for each of the marked mounting points.
After drilling the holes, gently remove any dust or debris from the holes and surrounding area. This will ensure a clean and secure fit for the mounting brackets.
With the holes drilled and prepared, you can move on to the next step – installing the mounting brackets.
Read more: What Height To Put The Towel Bar
Step 5: Install the mounting brackets
Now that you have drilled the holes for the mounting brackets, it’s time to install them. The mounting brackets serve as the support structure for your ceramic towel bar, so it’s important to ensure they are securely attached to the wall. Follow these steps to install the mounting brackets:
- Take one of the mounting brackets and align it with the corresponding drilled hole. Insert the provided screws into the bracket and begin tightening them into the wall using a screwdriver or a drill.
- Make sure the bracket is level by using a level or by visually inspecting it from multiple angles. Adjust the positioning as needed to ensure it is straight and aligned with the other marks.
- Repeat the process for the remaining mounting brackets, making sure they are evenly spaced and level with each other.
It’s important to properly secure the mounting brackets to ensure the towel bar can withstand the weight of towels without coming loose. If you’re mounting on a tiled surface, make sure to use appropriate anchors or masonry screws for added stability.
Once all the mounting brackets are securely installed, give them a gentle tug to ensure they are firmly in place. If there is any movement, tighten the screws further or adjust the positioning until they are stable.
With the mounting brackets installed, you’re one step closer to enjoying your new ceramic towel bar. The next step will guide you through attaching the towel bar to the brackets.
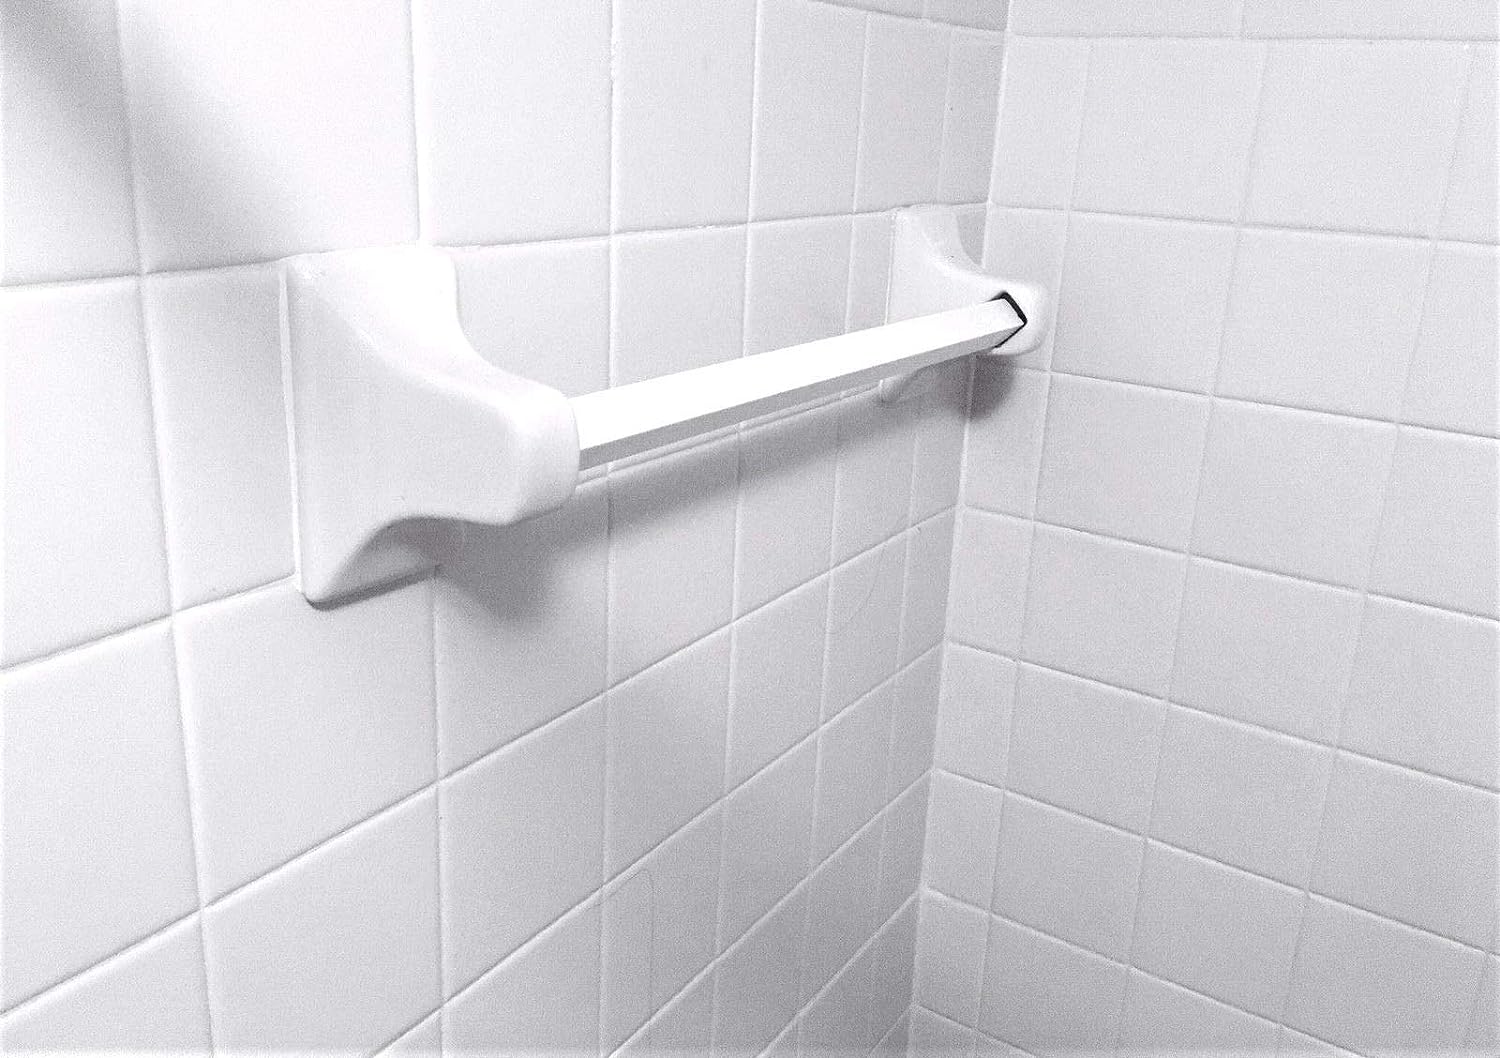
You can use a drill, screws, wall anchors, and a level to install a ceramic towel bar. Make sure to measure and mark the placement before drilling. Use caution to avoid cracking the ceramic.
Step 6: Attach the ceramic towel bar to the brackets
Now that the mounting brackets are securely in place, it’s time to attach the ceramic towel bar itself. You’ll need to follow these steps to ensure a proper and secure installation:
- Take the ceramic towel bar and place it on top of the installed mounting brackets. Ensure that the brackets fit snugly into the designated slots on the towel bar.
- Once the towel bar is in position, use the provided screws to attach it to the mounting brackets. Insert the screws through the holes on the towel bar and into the holes on the brackets.
- Tighten the screws using a screwdriver or a drill, but be careful not to overtighten them as it may cause damage to the towel bar or the brackets.
- Double-check the alignment of the towel bar to ensure it is straight and level. Make any necessary adjustments before proceeding.
It’s important to properly attach the towel bar to the mounting brackets to ensure it can withstand the weight of towels without coming loose. Take your time to ensure a secure and stable connection.
With the ceramic towel bar securely attached to the brackets, give it a gentle tug to test its stability. If there is any movement or instability, double-check the installation and tighten the screws as needed.
Now that your towel bar is in place and securely attached, you’re almost done! The next step will guide you through testing the towel bar for stability.
Step 7: Test the towel bar for stability
After installing the ceramic towel bar, it’s important to test its stability before fully relying on it to hold your towels. This step will ensure that your towel bar is securely attached and can withstand the weight of towels without coming loose. Follow these steps to test the stability of your towel bar:
- Gently hang a towel or two on the towel bar, distributing the weight evenly.
- Observe the towel bar for any signs of movement or instability. Give the towel bar a gentle shake to test its durability.
- If the towel bar feels loose or shows signs of instability, remove the towels and check the mounting brackets for any signs of damage or loosening. Tighten the screws if necessary to ensure a secure fit.
- Repeat the testing process by hanging towels again and checking for stability. If the towel bar remains secure and doesn’t show any signs of movement or instability, you can proceed to the next step.
It’s important to ensure that the towel bar is properly secured to prevent any accidents or damage. Take your time to test the stability thoroughly before relying on the towel bar to hold your towels.
If you encounter any issues with stability or the towel bar doesn’t feel secure, you may want to reinforce the installation by adding additional anchoring methods or seeking professional assistance.
Once you’re satisfied with the stability of the towel bar, you can move on to the next step – making any necessary adjustments.
Step 8: Make any necessary adjustments
After testing the stability of your ceramic towel bar, it’s time to make any necessary adjustments. This step ensures that the towel bar is not only secure but also aligned properly and visually appealing. Here’s what you need to do:
- Check the alignment of the towel bar and ensure that it is straight and level. If it appears crooked or uneven, remove the towels and loosen the screws attaching the towel bar to the mounting brackets.
- Reposition the towel bar as needed to achieve the desired alignment.
- Using a level, check if the towel bar is perfectly horizontal. Make any necessary adjustments by slightly tilting the towel bar until it is level.
- Once the towel bar is aligned and level, tighten the screws to securely fasten it to the mounting brackets.
- Rehang the towels and test the stability of the towel bar again. Make sure it is secure and doesn’t show any signs of movement.
During this step, take your time to ensure that the towel bar is properly aligned and visually appealing. A well-aligned towel bar can significantly enhance the overall look and functionality of your bathroom.
If you encounter any difficulties in making the necessary adjustments or if the towel bar still doesn’t appear stable or aligned, it may be helpful to consult the manufacturer’s instructions or seek assistance from a professional.
Now that you’ve made any necessary adjustments, your ceramic towel bar is almost ready to be enjoyed. Let’s move on to the final step – enjoying your new ceramic towel bar!
Read more: How Do I Hang A Towel Bar
Step 9: Enjoy your new ceramic towel bar
Congratulations! You have successfully installed your new ceramic towel bar. Now, it’s time to sit back and enjoy the convenience and elegance it brings to your bathroom. Here are a few tips to help you fully enjoy your towel bar:
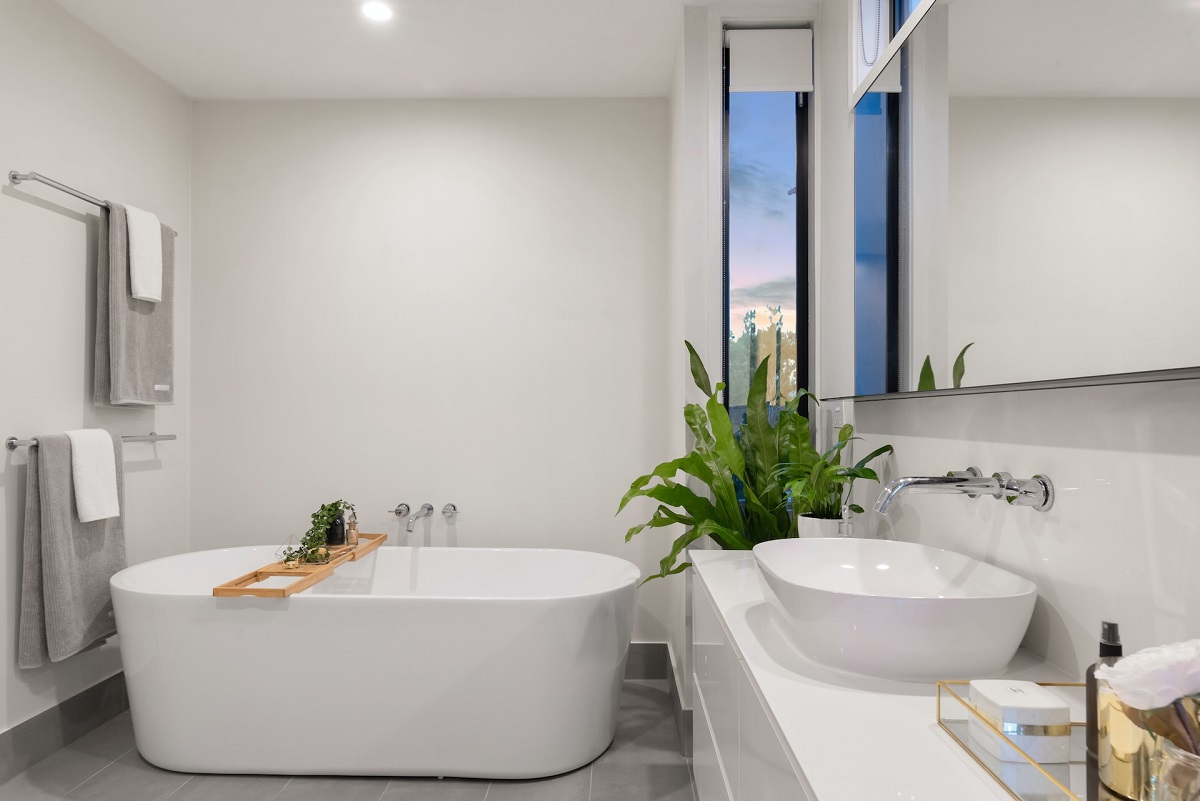
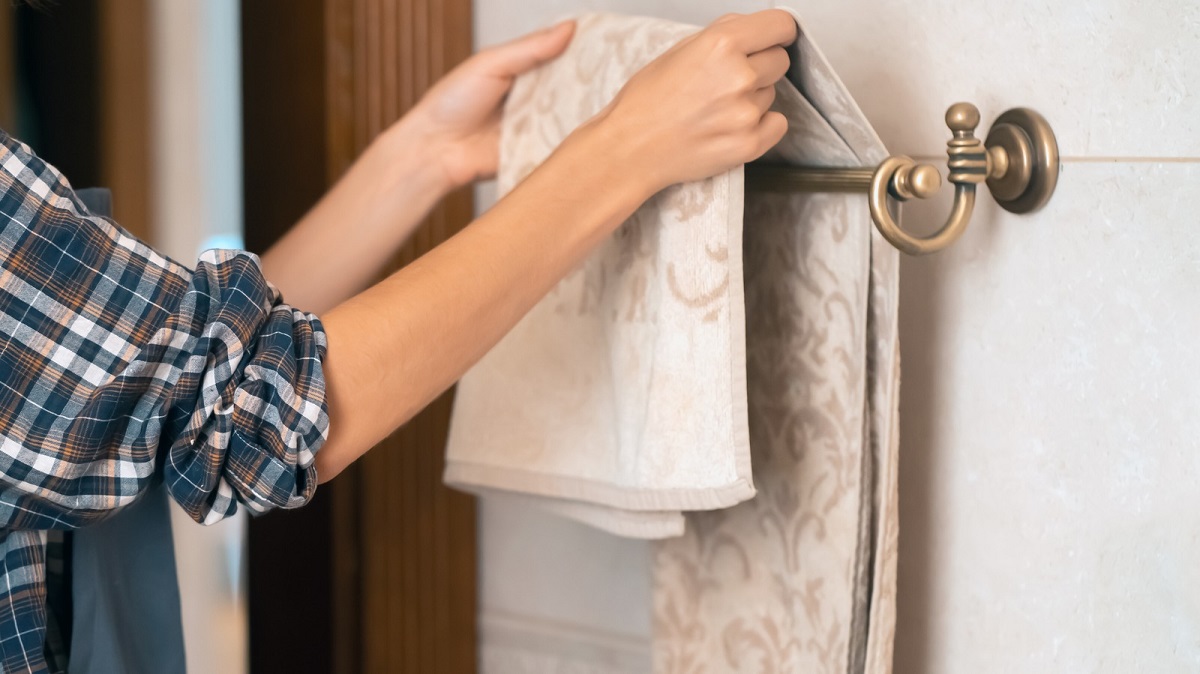
- Hang your towels: Start by hanging your towels on the towel bar. Arrange them neatly to create a clean and tidy look. The towel bar provides a convenient place to keep your towels within reach, ensuring they stay dry and ready for use.
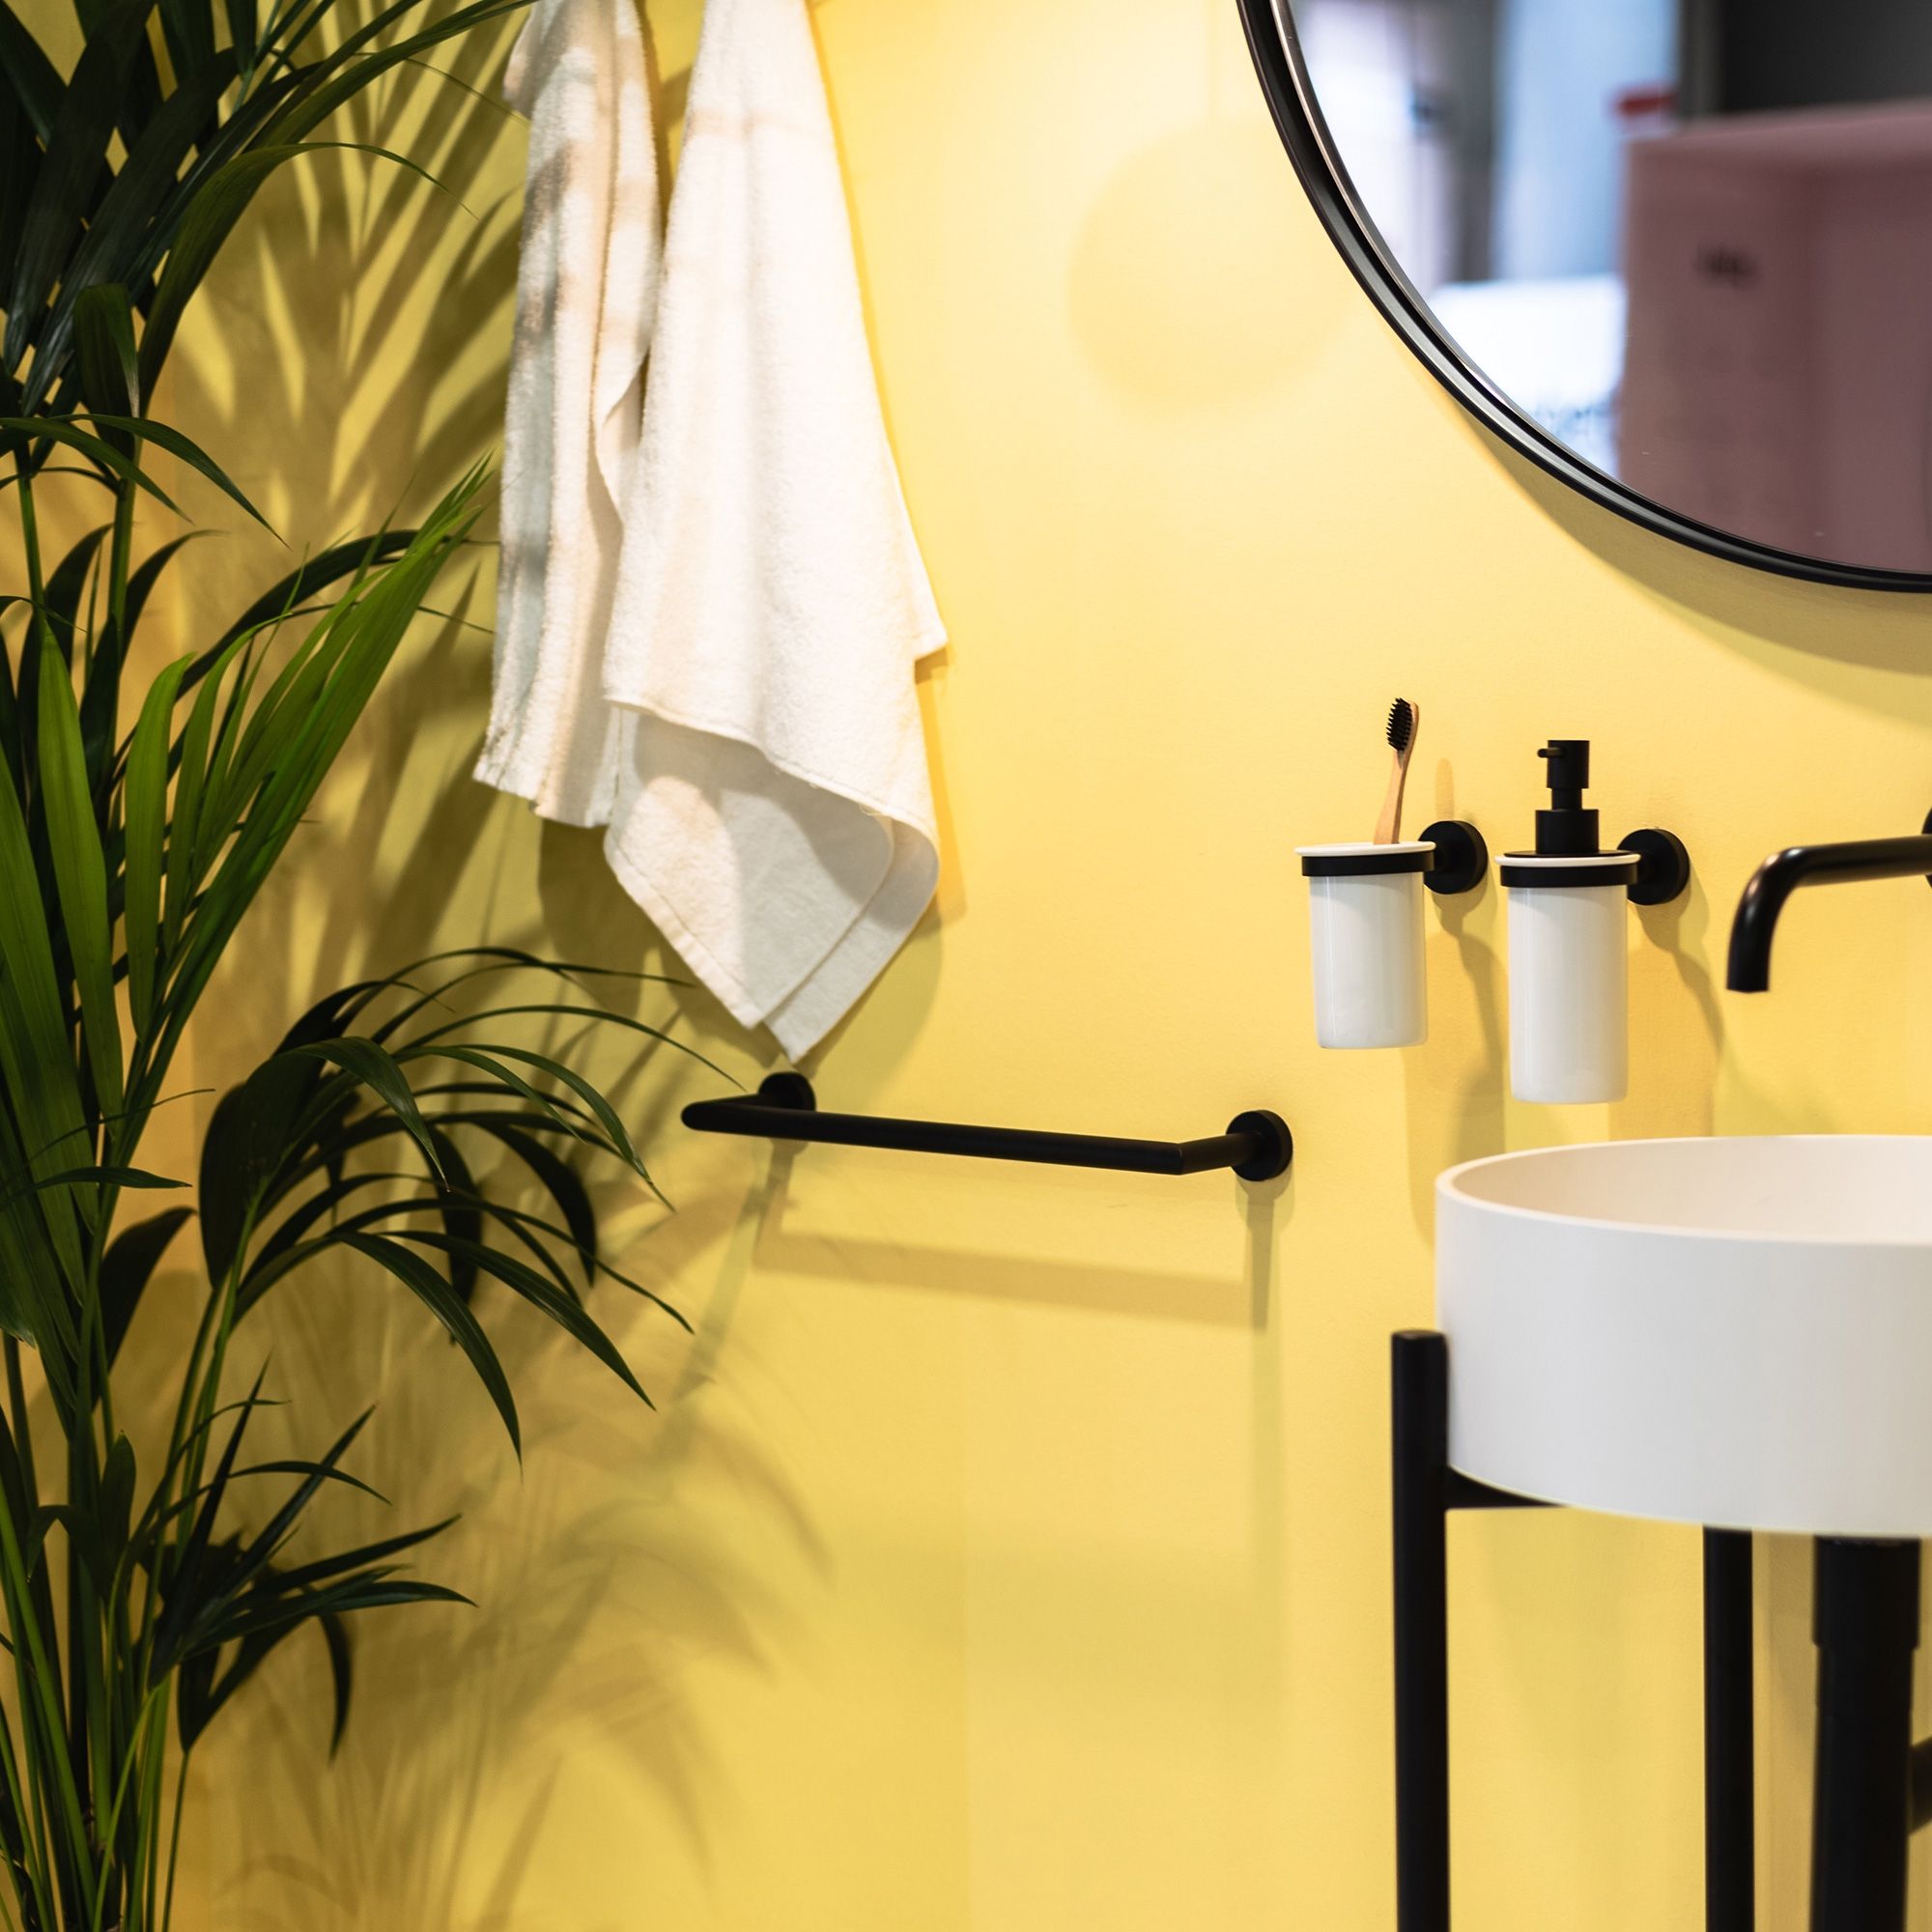
- Decorate with style: Use your ceramic towel bar as a decorative element in your bathroom. Consider adding decorative accents, such as plants or candles, around the towel bar to enhance the overall aesthetic appeal.
- Maintain cleanliness: Regularly clean and maintain your ceramic towel bar to keep it looking its best. Wipe it down with a soft cloth and mild cleaning solution to remove any dirt or residue. This will help preserve its shine and ensure its longevity.
- Try different towel folding styles: Experiment with different towel folding styles to add a touch of creativity to your bathroom. Play around with folding, rolling, or twisting the towels to create beautiful and visually interesting displays.
- Enjoy the convenience: Embrace the convenience of having a ceramic towel bar within reach. No more searching for towels or dealing with damp and crumpled linens. Your towel bar is there to make your life easier and your bathroom routine more enjoyable.
Remember to regularly check the stability of the towel bar and make any necessary adjustments if you notice any signs of loosening or instability. This will ensure that your towel bar remains securely in place for years to come.
Enjoy the newfound functionality and aesthetic appeal that your ceramic towel bar brings to your bathroom. It’s a small addition that can make a big difference in enhancing your daily routine and creating a more organized and beautiful space.
With these steps completed, you can now step back and bask in the satisfaction of a job well done. Congratulations once again, and enjoy your new ceramic towel bar!
Conclusion
Installing a ceramic towel bar is a rewarding home improvement project that can add both functionality and style to your bathroom. By following the steps outlined in this guide, you can successfully put up a ceramic towel bar and enjoy the convenience of having towels within easy reach.
We began by gathering the necessary tools and materials, ensuring that we had everything we needed to complete the installation. Then, we moved on to choosing the ideal location for the towel bar, considering factors such as height, accessibility, wall space, and visual appeal.
Measurement and marking of the mounting points were crucial in ensuring a proper alignment and level installation. Then, drilling the holes for the mounting brackets provided a secure and stable foundation for the towel bar.
Installing the mounting brackets and attaching the ceramic towel bar were the next steps, ensuring that it was securely fastened to the wall. Testing the towel bar for stability and making any necessary adjustments ensured that it could safely hold towels without coming loose.
Finally, we reached the conclusion of our journey – enjoying the benefits of our new ceramic towel bar. From hanging towels to adding decorative touches, we can now appreciate the convenience and aesthetic appeal it brings to our bathroom.
Remember to regularly maintain and clean your towel bar to keep it looking its best. Keep an eye on the stability and make any necessary adjustments when needed.
Now, it’s time to sit back, relax, and enjoy the functionality and beauty of your new ceramic towel bar. It’s a small addition that can make a big difference in transforming your bathroom into a more organized, comfortable, and stylish space.
We hope this guide has provided you with the knowledge and confidence to successfully install a ceramic towel bar. Enjoy the process and the results, and happy towel hanging!
Frequently Asked Questions about What Do I Use To Put Up A Ceramic Towel Bar
Was this page helpful?
At Storables.com, we guarantee accurate and reliable information. Our content, validated by Expert Board Contributors, is crafted following stringent Editorial Policies. We're committed to providing you with well-researched, expert-backed insights for all your informational needs.


0 thoughts on “What Do I Use To Put Up A Ceramic Towel Bar”