
Articles
How Do I Take Down A Towel Bar
Modified: October 26, 2024
Learn how to remove a towel bar with these informative articles. Step-by-step instructions and expert tips to help you complete the task easily.
(Many of the links in this article redirect to a specific reviewed product. Your purchase of these products through affiliate links helps to generate commission for Storables.com, at no extra cost. Learn more)
Introduction
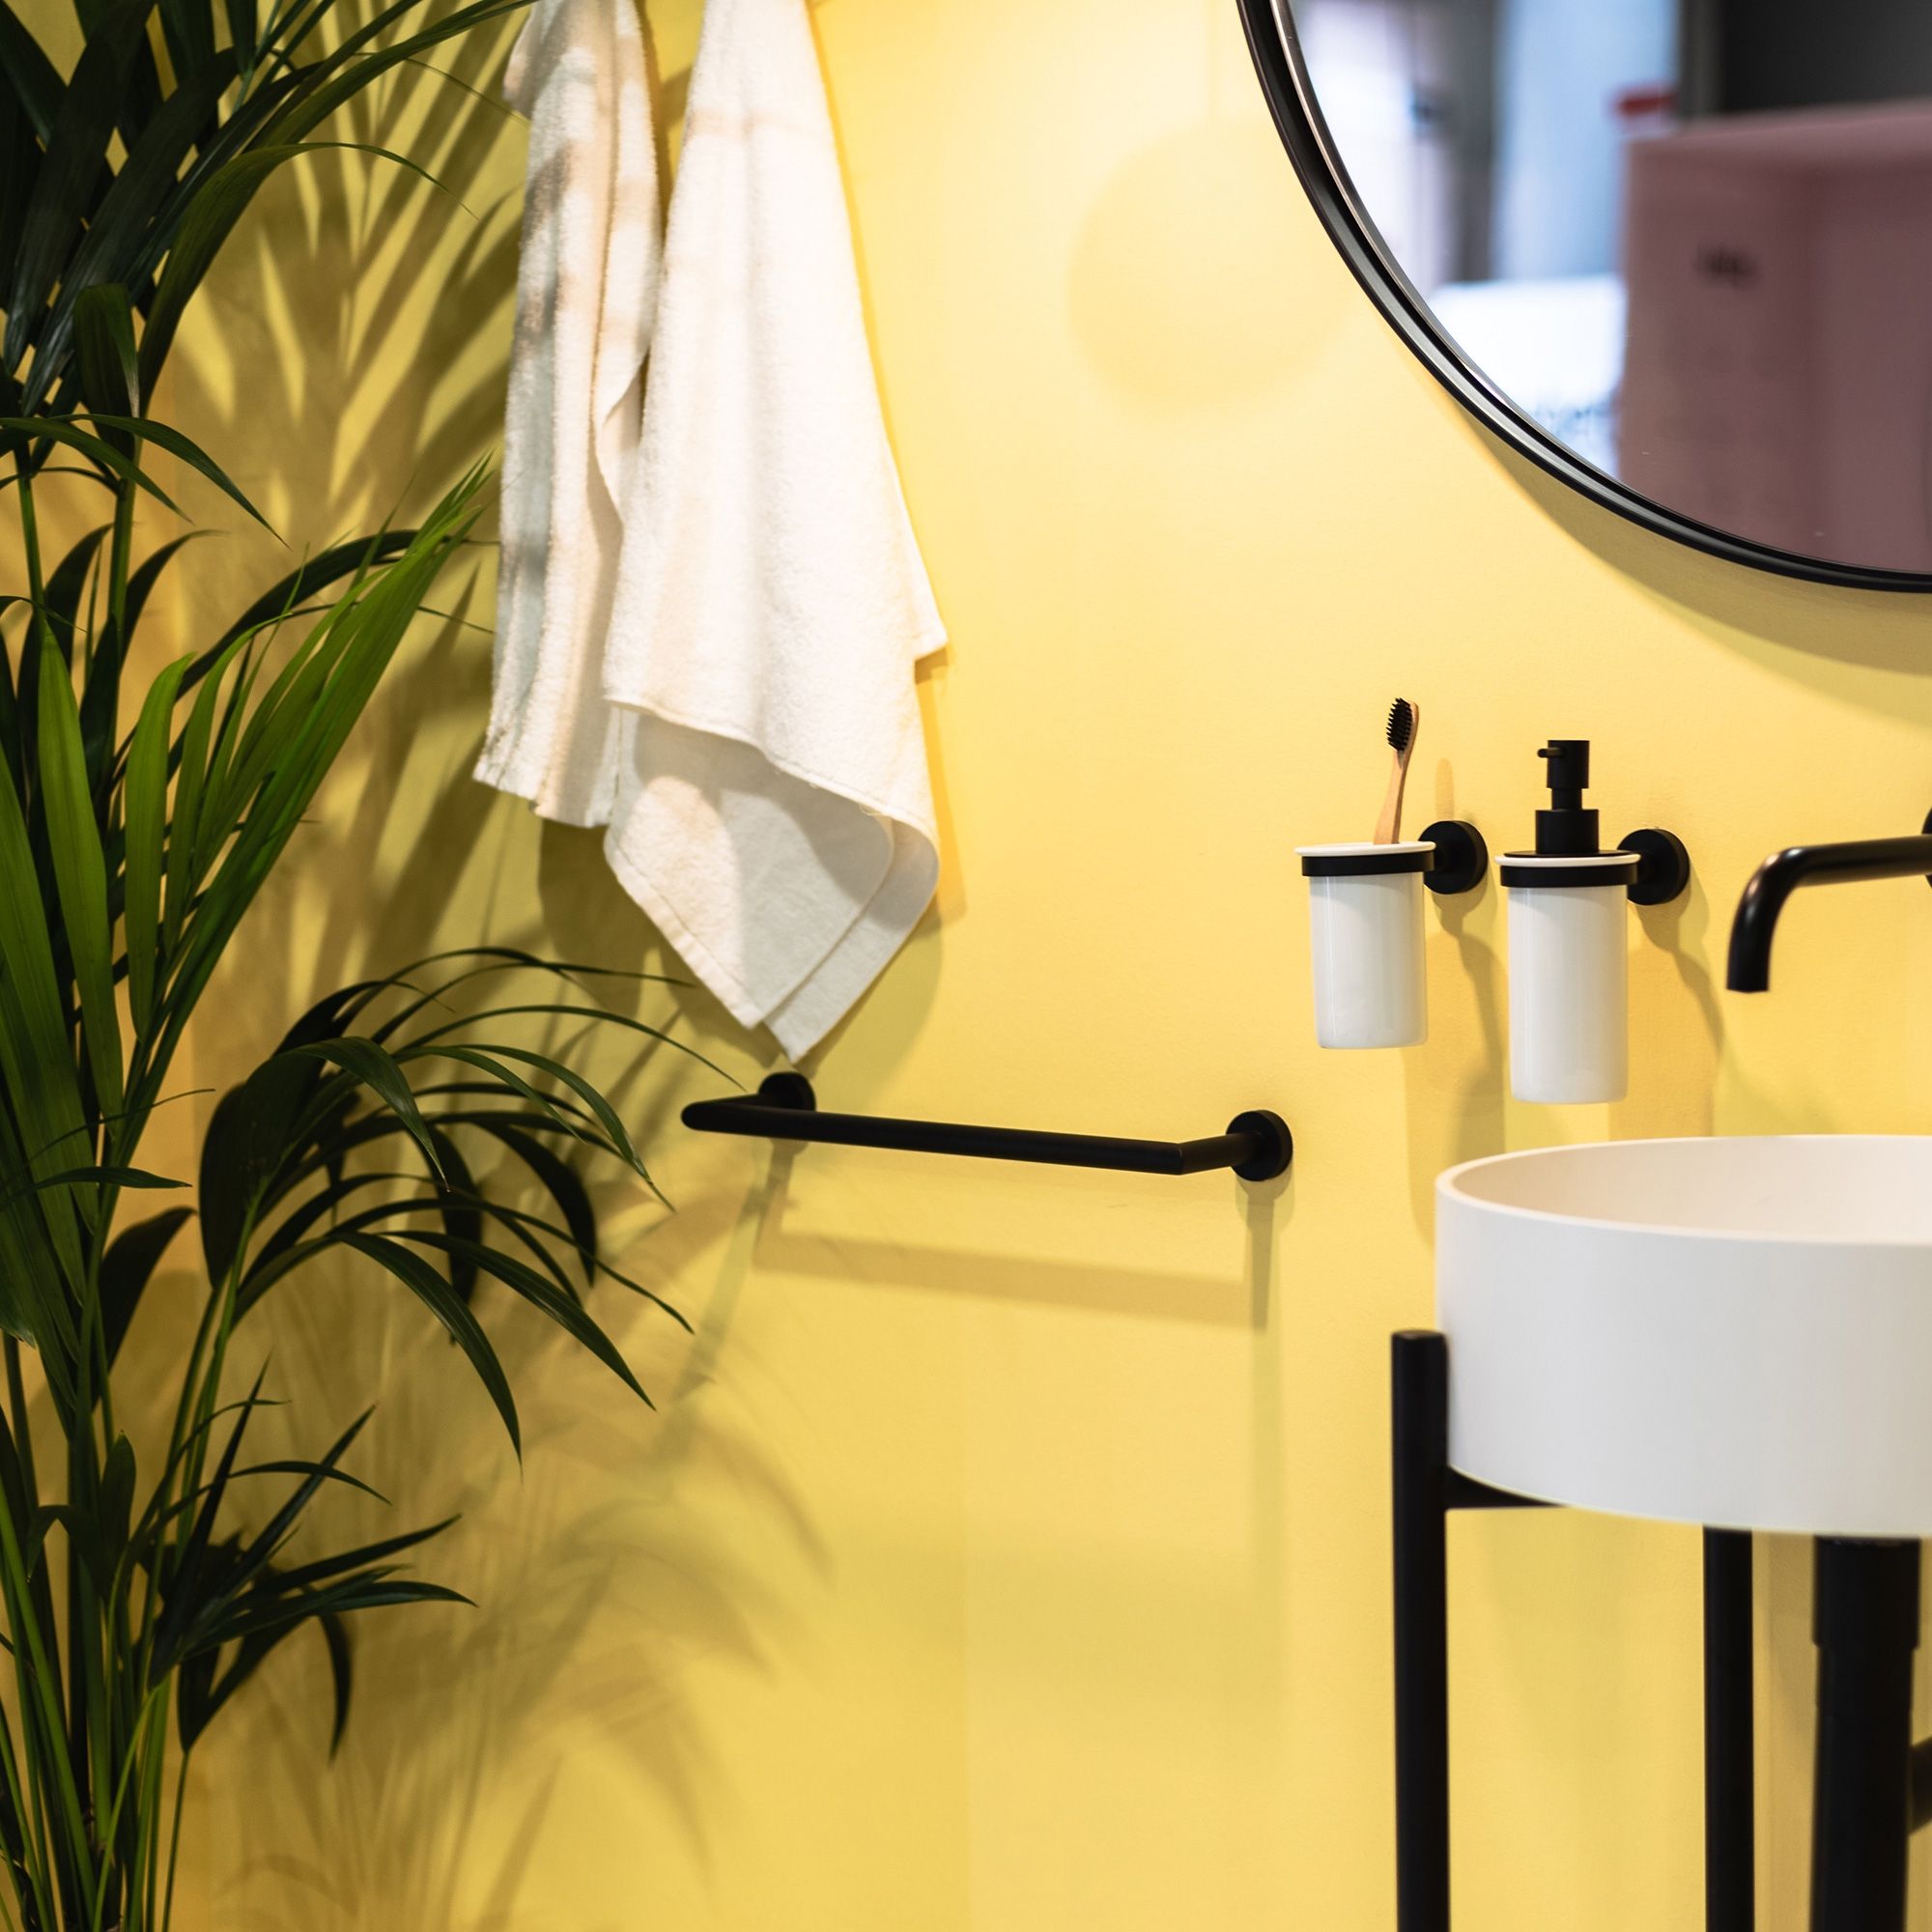
Removing a towel bar may seem like a straightforward task, but it can become a bit tricky if you don’t know the proper steps to take. Whether you’re redesigning your bathroom or simply replacing an old towel bar, knowing how to safely and efficiently remove it is essential.
In this guide, we will walk you through the step-by-step process of taking down a towel bar. We will discuss how to assess the situation, gather the necessary tools, remove the mounting brackets, detach the towel bar, and properly patch and repair the wall. By following these instructions, you can successfully remove a towel bar without causing any damage to your bathroom walls.
Now let’s dive into the details and learn how to take down a towel bar with ease!
Key Takeaways:
- Safely and efficiently remove a towel bar by assessing the situation, gathering the necessary tools, and following step-by-step instructions. Avoid damage to walls and prepare for a fresh bathroom look.
- Carefully detach the mounting brackets and towel bar, then patch and repair the wall for a seamless finish. Follow the guide for a successful, damage-free removal process.
Assess the Situation
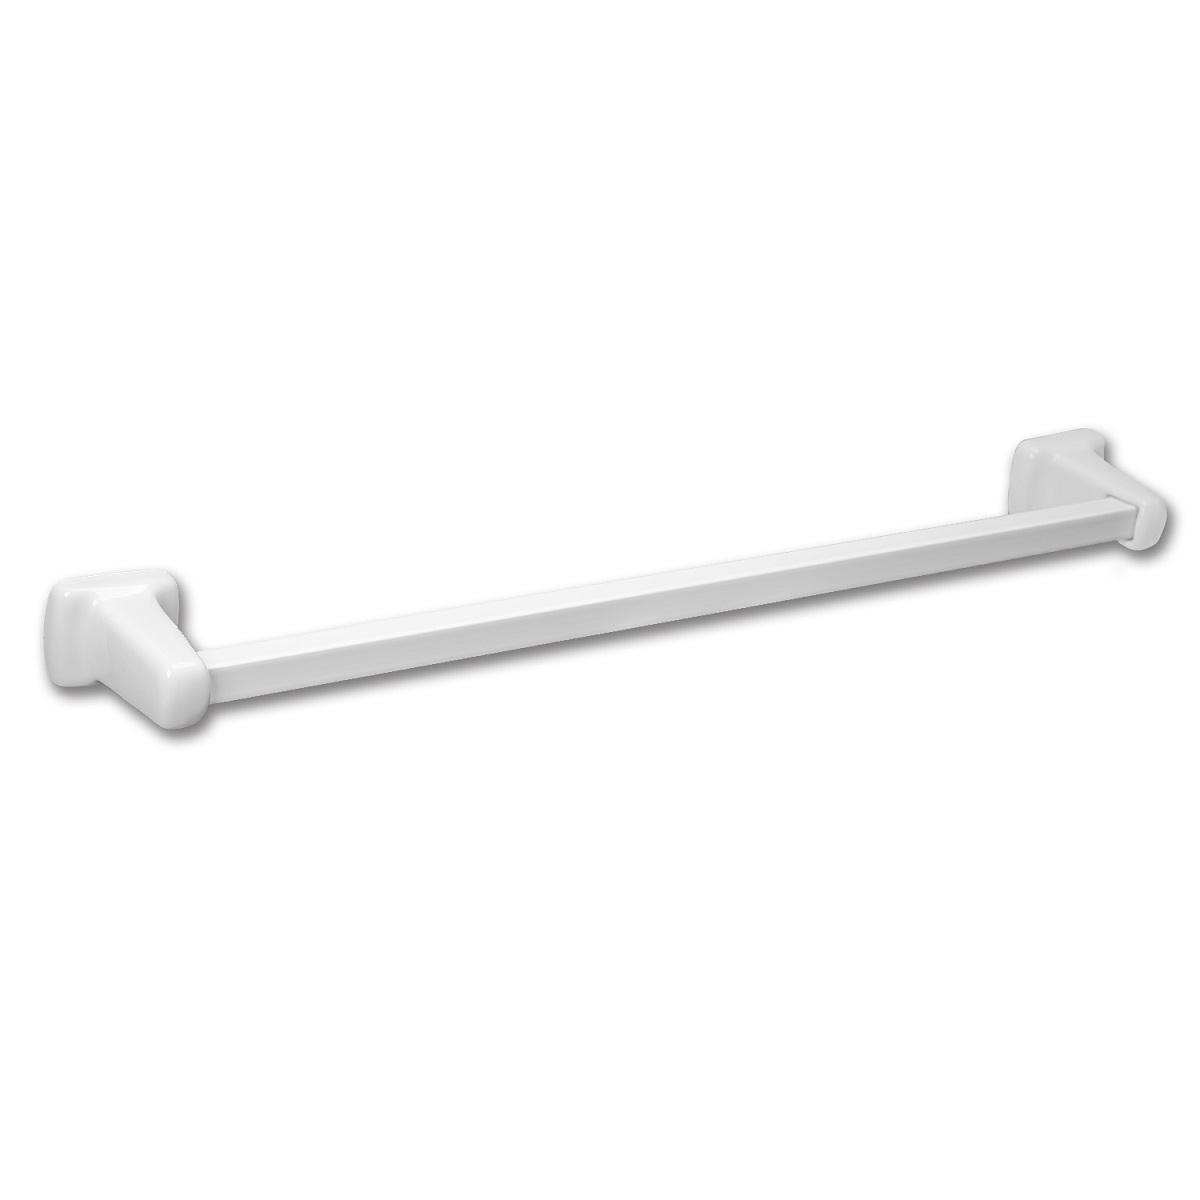
Before you begin removing the towel bar, it’s important to assess the situation and understand what you’re working with. Take a look at how the towel bar is mounted and determine the type of installation it has. This will help you figure out the best approach for removing it.
Start by identifying whether the towel bar is fixed to the wall with screws or adhesive. If it’s secured with screws, you’ll need a screwdriver or drill to remove them. On the other hand, if it’s attached with adhesive, you may need a putty knife or heat gun to loosen the adhesive bond.
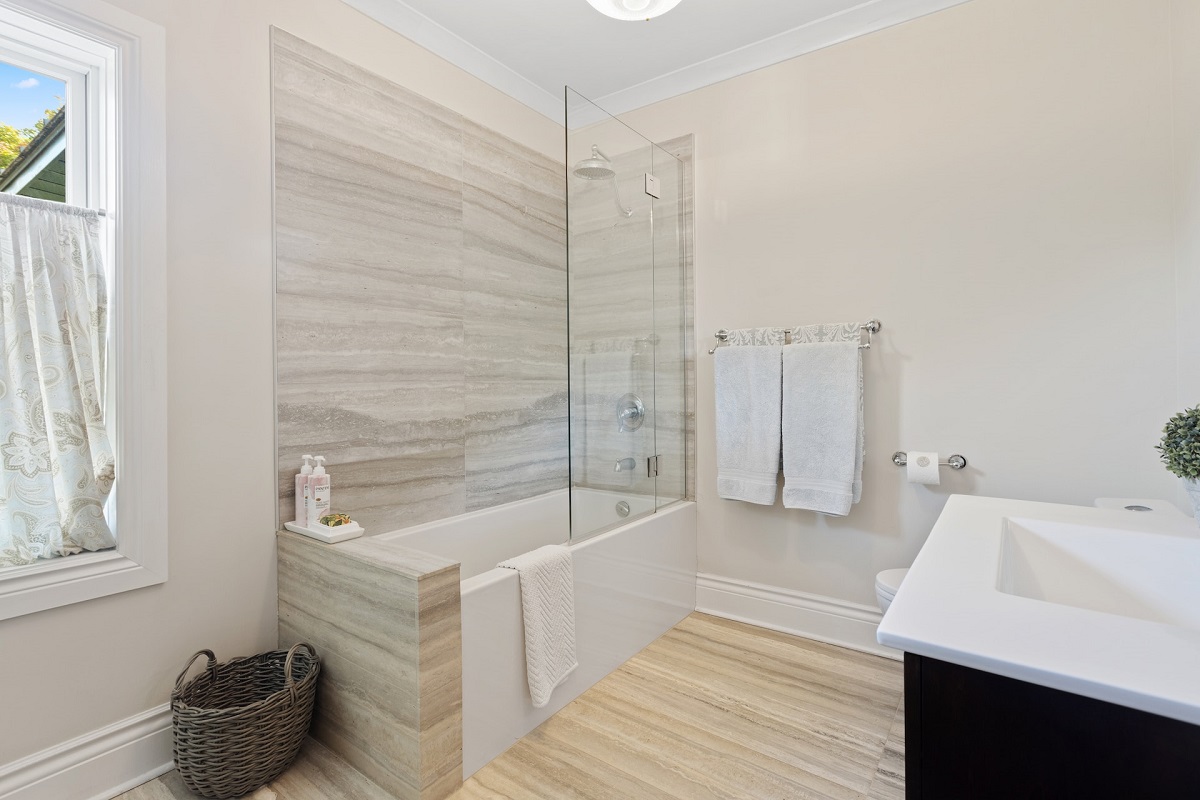
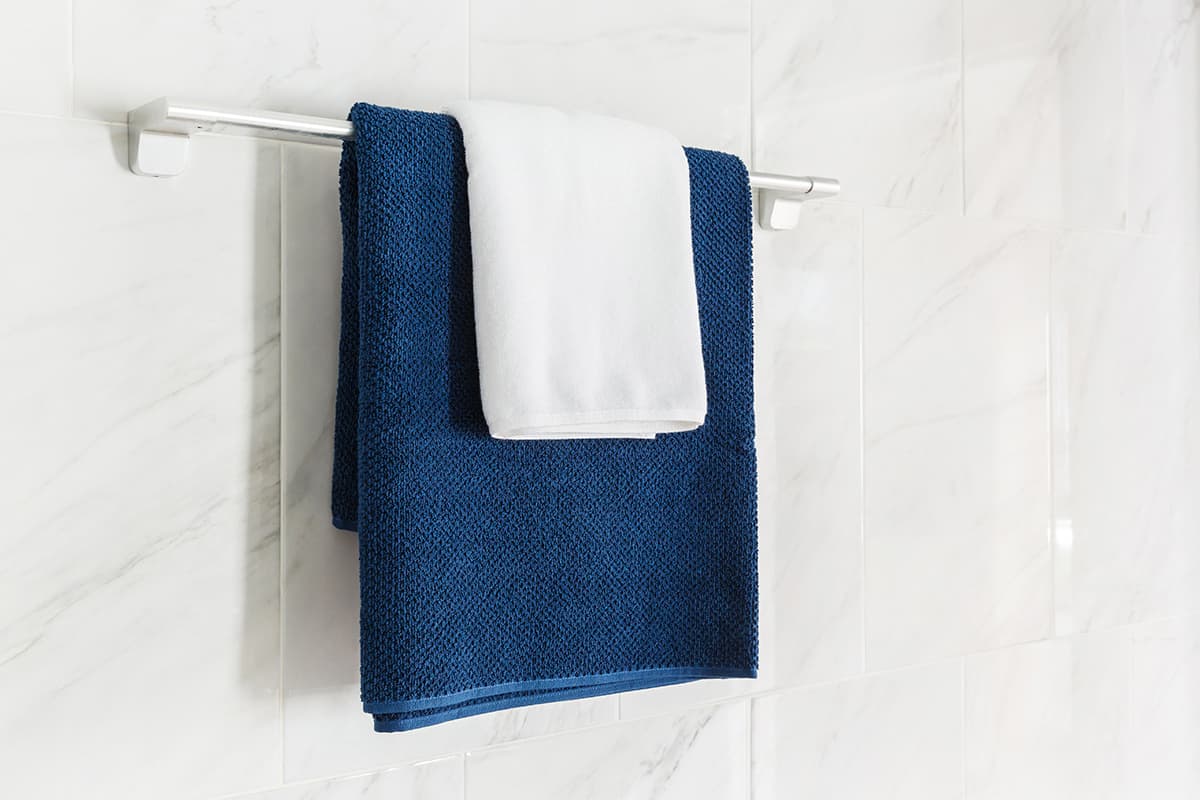
Next, take note of the material of the wall and consider any potential challenges it may present. For example, if the towel bar is mounted on a tile or marble wall, you’ll need to be cautious not to damage the surface while removing it. Additionally, if the towel bar has been installed for a long time, there may be layers of paint or wallpaper that need to be taken into consideration.
Lastly, assess the condition of the towel bar and determine if you want to discard or reuse it. If you plan on reusing it, make sure it’s in good condition and doesn’t have any visible damage. If you’re discarding it, be prepared to dispose of it properly.
By thoroughly assessing the situation, you’ll have a clearer understanding of the steps and tools needed to remove the towel bar successfully. This will help you avoid any unexpected complications and ensure a smooth removal process.
Gather the Necessary Tools
Before you begin removing the towel bar, it’s important to gather all the necessary tools. Having the right tools on hand will make the process much smoother and more efficient. Here are the tools you’ll likely need:
- Screwdriver or Drill: If the towel bar is secured with screws, a screwdriver or drill will be essential for removing them. Make sure you have the appropriate size and type of screwdriver or drill bit for the screws.
- Putty Knife: If the towel bar is attached with adhesive, a putty knife will come in handy for prying it off the wall. Choose a flexible putty knife to prevent any damage to the wall.
- Heat Gun (optional): If the towel bar is fixed with strong adhesive, a heat gun can help soften the adhesive and make it easier to remove. Use the heat gun with caution and follow the manufacturer’s instructions.
- Painter’s Tape: Use painter’s tape to protect the surrounding area from accidental scratches or damage while removing the towel bar.
- Wall Patching Material: After removing the towel bar, you may need to patch and repair the wall. Depending on the size of the holes, you’ll need spackling compound, joint compound, or drywall patch kits.
- Sandpaper: Sandpaper is necessary for smoothing out any uneven surfaces or rough patches on the wall after patching.
- Paint and Paintbrush: If the wall needs to be repainted after patching, make sure you have the appropriate paint color and a paintbrush to touch up the affected area.
- Cleaning Supplies: Lastly, have some cleaning supplies on hand to wipe down the wall and remove any residue left behind by the towel bar.
Make sure to check the specific requirements of your towel bar removal and gather any additional tools that may be needed. Having all the necessary tools ready will save you time and frustration during the removal process.
Remove the Towel Bar Mounting Brackets
Once you’ve assessed the situation and gathered the necessary tools, it’s time to remove the mounting brackets of the towel bar. Follow these steps to ensure a smooth removal process:
- Start by locating the screws that secure the mounting brackets to the wall. These screws are typically located on the top and bottom of each bracket.
- Use a screwdriver or drill to unscrew the screws from each bracket. Make sure to keep the screws in a safe place, as you may need them for future use or for replacing the towel bar.
- If the mounting brackets are attached with adhesive rather than screws, gently insert a putty knife between the bracket and the wall. Apply gentle pressure to pry the bracket away from the wall.
- Continue prying the bracket until it is fully detached from the wall. Be careful not to exert too much force to avoid damaging the wall.
- Repeat this process for each mounting bracket, ensuring that they are all completely removed from the wall.
Once the mounting brackets are removed, inspect the wall for any remaining adhesive or residue. If there is any leftover adhesive, you can try removing it with a putty knife or by using a heat gun to soften it. Be cautious not to damage the wall surface during this process.
Removing the mounting brackets is an essential step in taking down a towel bar. It allows you to detach the towel bar from the wall and complete the removal process. Make sure to take your time and be gentle to avoid any unnecessary damage.
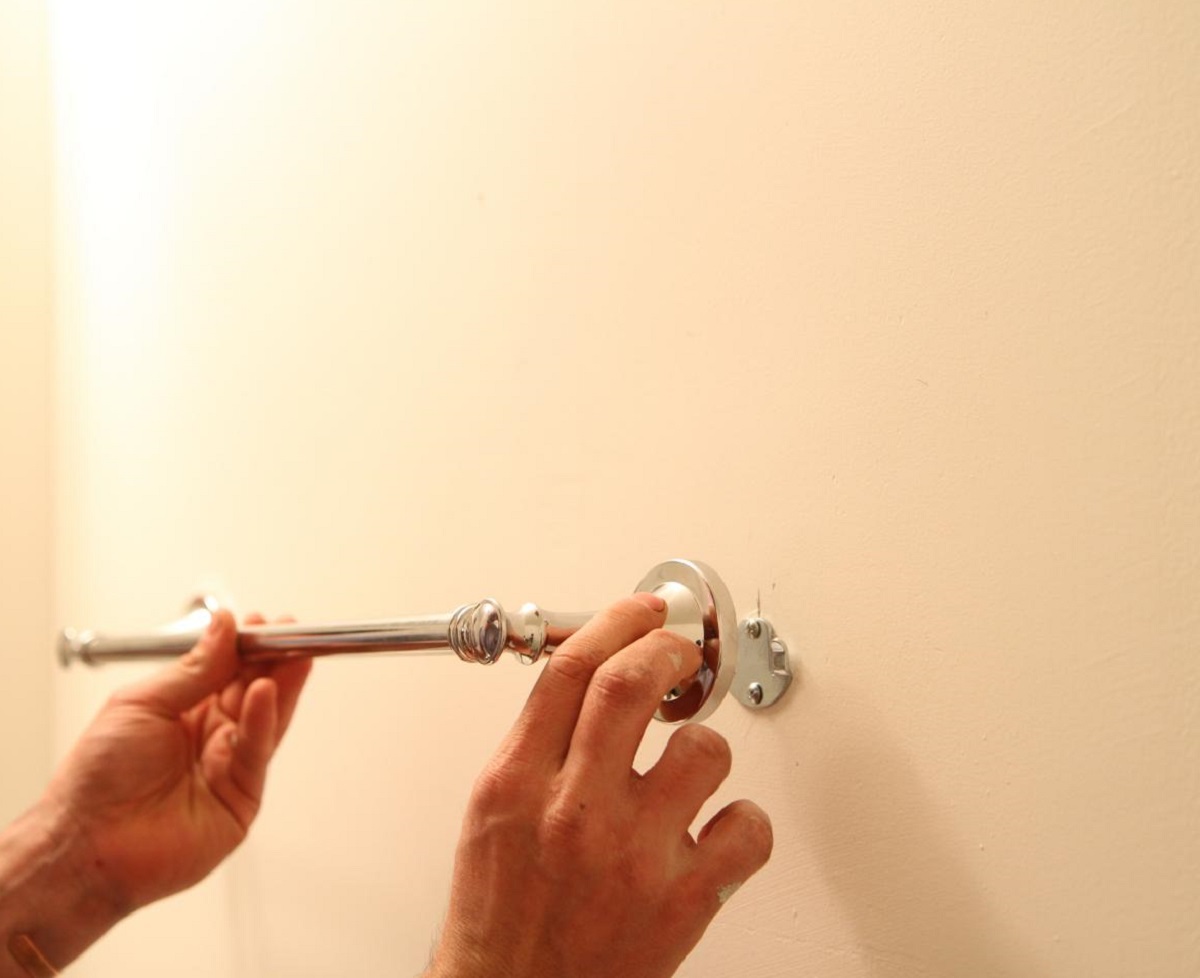
Use a screwdriver to remove the screws holding the towel bar in place. If the screws are covered by decorative caps, gently pry them off with a flathead screwdriver before unscrewing.
Detach the Towel Bar from the Mounting Brackets
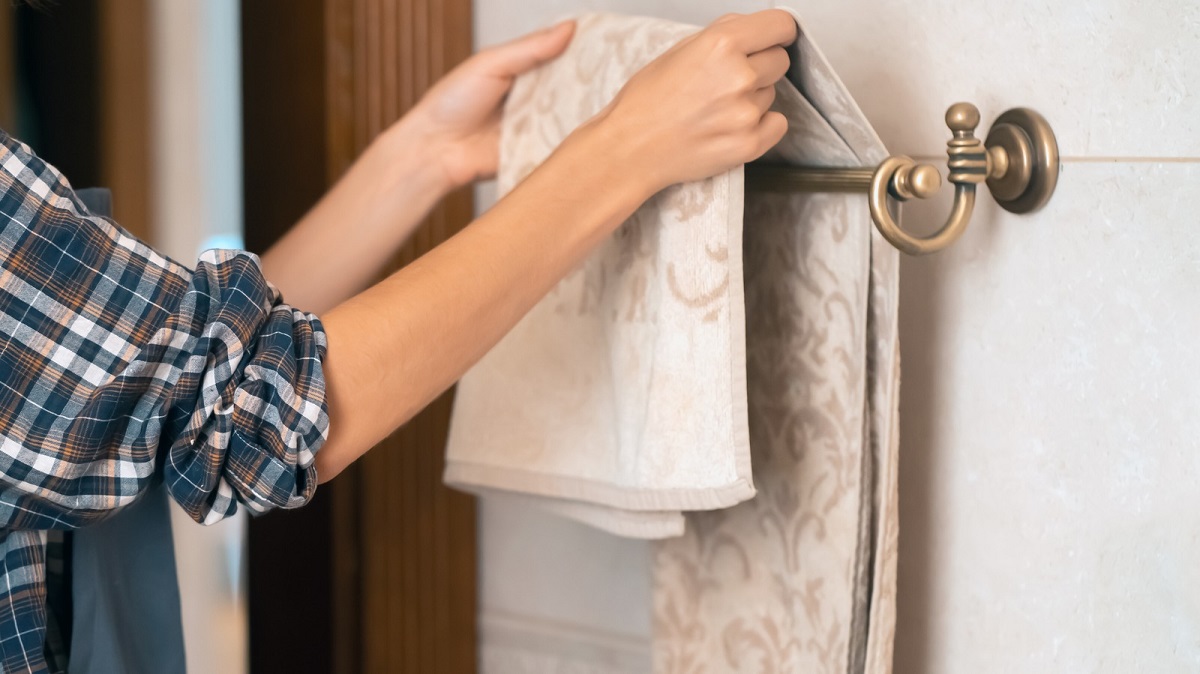
With the mounting brackets removed from the wall, the next step is to detach the towel bar itself from the brackets. Follow these steps to successfully separate the towel bar from the mounting brackets:
- Inspect the towel bar and identify how it is attached to the mounting brackets. It could be secured with screws, clips, or other types of fasteners.
- If the towel bar is held in place with screws, use a screwdriver or drill to loosen and remove them. Set the screws aside in a safe place for future use or disposal.
- If the towel bar is attached with clips or other fasteners, carefully manipulate or release them to detach the towel bar from the brackets. Take your time to ensure a smooth detachment without causing any damage.
- Once the towel bar is free from the mounting brackets, gently slide it out or lift it off the brackets. Be cautious not to drop the towel bar or let it scrape against the wall, as this could cause damage.
- Place the detached towel bar in a safe location or set it aside for cleaning, repair, or disposal, depending on your plans.
Ensure that both ends of the towel bar are detached from the mounting brackets before proceeding to the next steps. This will make it easier to complete the removal process and proceed with any necessary repairs or replacements.
By carefully detaching the towel bar from the mounting brackets, you can avoid any potential damages and ensure a smooth removal process. Take your time, handle the towel bar with care, and follow the instructions specific to your towel bar to ensure a successful detachment.
Read more: How Do I Hang A Towel Bar
Patch and Repair the Wall
After removing the towel bar and its mounting brackets, it’s time to address any holes, damage, or imperfections on the wall. Follow these steps to patch and repair the wall:
- Inspect the wall for any holes or damage caused by the mounting brackets or screws. Fill any small holes, dents, or cracks with spackling compound or joint compound using a putty knife. Smooth the compound over the damaged area and let it dry according to the manufacturer’s instructions.
- If there are larger holes in the wall, you may need to use a drywall patch kit. Follow the instructions provided with the patch kit to cut a piece of drywall that fits the size of the hole. Place the patch over the hole and secure it using joint compound or spackling compound. Smooth it out and let it dry.
- Once the compound is dry, use sandpaper to smooth out the patched areas and make them level with the surrounding wall surface.
- If the wall had paint or wallpaper that was damaged during the removal process, you’ll need to touch up the affected area. Use a paintbrush to match the color of the surrounding wall and carefully apply paint to blend it in. Allow the paint to dry completely.
- Lastly, clean the wall to remove any dust, debris, or residue left behind from the patching and repair process. Use a damp cloth or sponge to wipe down the wall, ensuring it is clean and ready for any future treatments or decorations.
Remember to take your time and approach the patching and repair process with precision. Properly patching and repairing the wall will not only leave it looking seamless but also provide a solid foundation for any future renovations or installations.
By following these steps, you can ensure that your bathroom walls are ready for the next towel bar or any other modifications you have planned.
Conclusion
Removing a towel bar may initially seem like a daunting task, but with the right knowledge and tools, it can be accomplished smoothly and without causing any damage to your walls. By following the step-by-step guide outlined in this article, you can confidently take down a towel bar and prepare your bathroom for a fresh new look.
Remember to carefully assess the situation before starting, taking note of the towel bar’s installation method and the condition of the wall. This will help you determine the appropriate tools and approach for removal.
Gathering the necessary tools, such as screwdrivers or drills, putty knives, heat guns (if needed), and painting supplies, ensures that you have everything you need for a successful removal process.
To remove the towel bar, start by detaching the mounting brackets from the wall using screwdrivers, drills, or putty knives. Then, carefully detach the towel bar itself from the mounting brackets, taking care not to damage the wall or the bar.
After the towel bar is removed, you can proceed to patch and repair the wall. Fill any holes or damage with spackling compound, joint compound, or drywall patch kits. Smooth out the repaired areas using sandpaper and match the color of the wall with touch-up paint.
Finally, clean the wall thoroughly to remove any debris or residue left behind from the removal and repair process.
By following these steps, you can efficiently remove a towel bar and prepare your bathroom for future updates or installations. Remember to proceed with caution and take your time to ensure a successful and damage-free removal.
Now, armed with the knowledge and understanding of how to take down a towel bar, you can confidently tackle this task and enjoy a fresh start in your bathroom decor.
Frequently Asked Questions about How Do I Take Down A Towel Bar
Was this page helpful?
At Storables.com, we guarantee accurate and reliable information. Our content, validated by Expert Board Contributors, is crafted following stringent Editorial Policies. We're committed to providing you with well-researched, expert-backed insights for all your informational needs.


0 thoughts on “How Do I Take Down A Towel Bar”