
Articles
How Do I Hang A Towel Bar
Modified: August 27, 2024
Learn the step-by-step process of hanging a towel bar with our informative articles. Transform your bathroom with this easy DIY project.
(Many of the links in this article redirect to a specific reviewed product. Your purchase of these products through affiliate links helps to generate commission for Storables.com, at no extra cost. Learn more)
Introduction
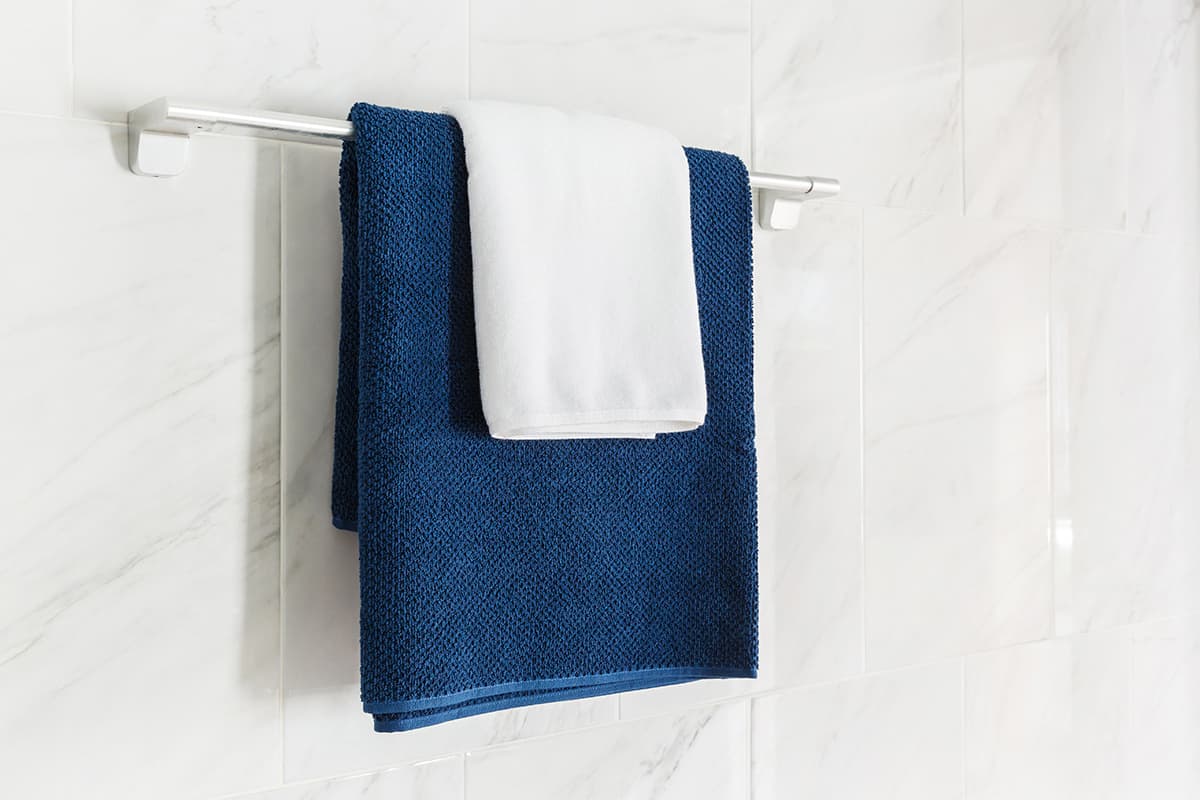
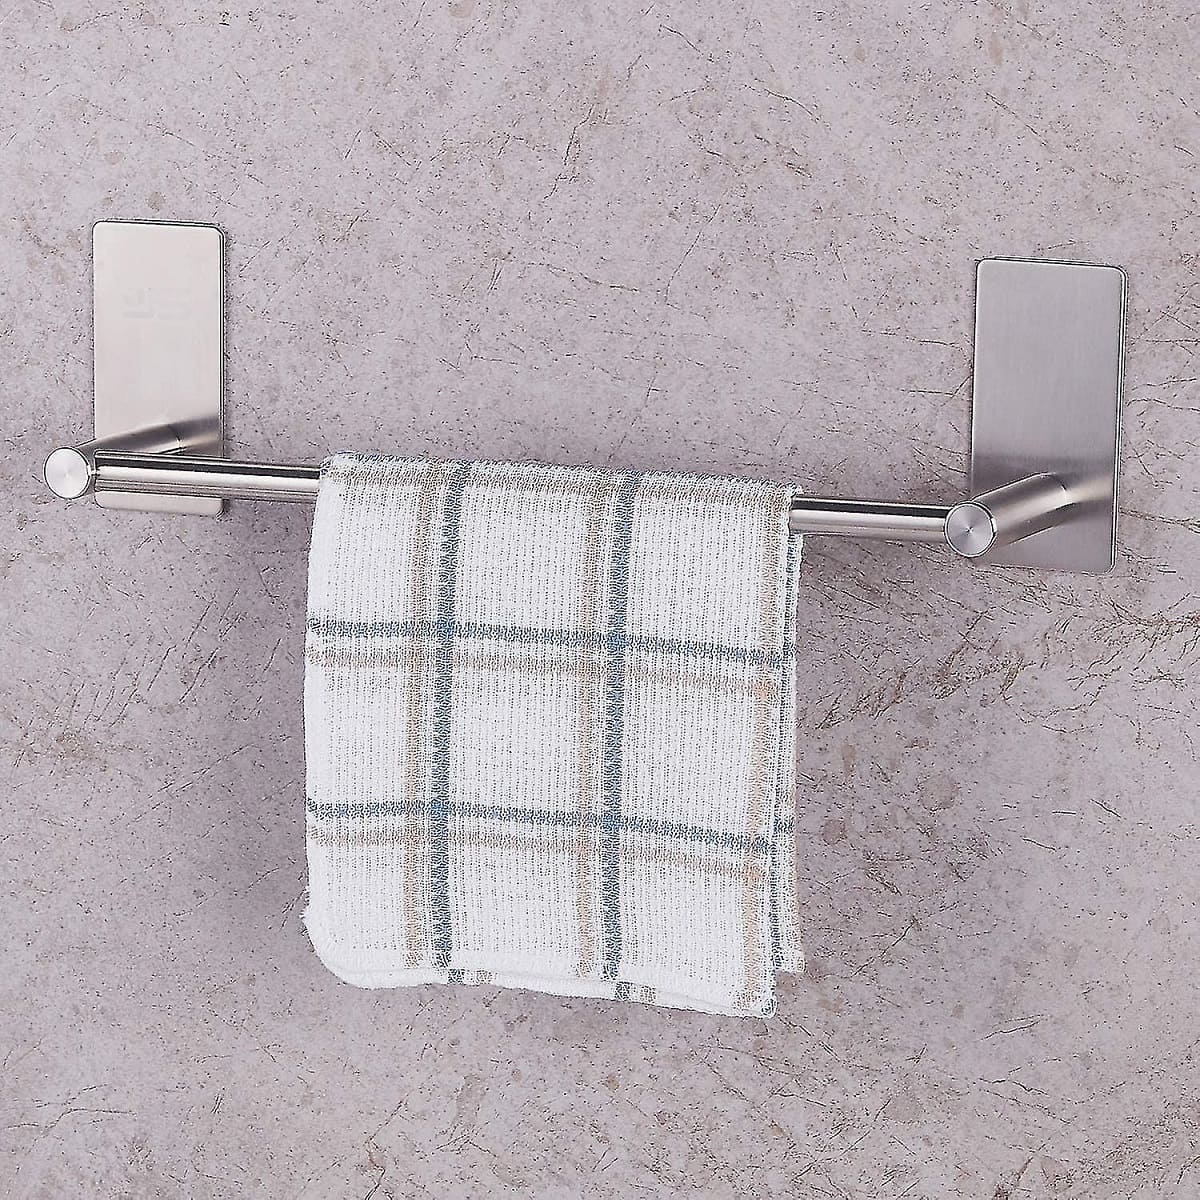
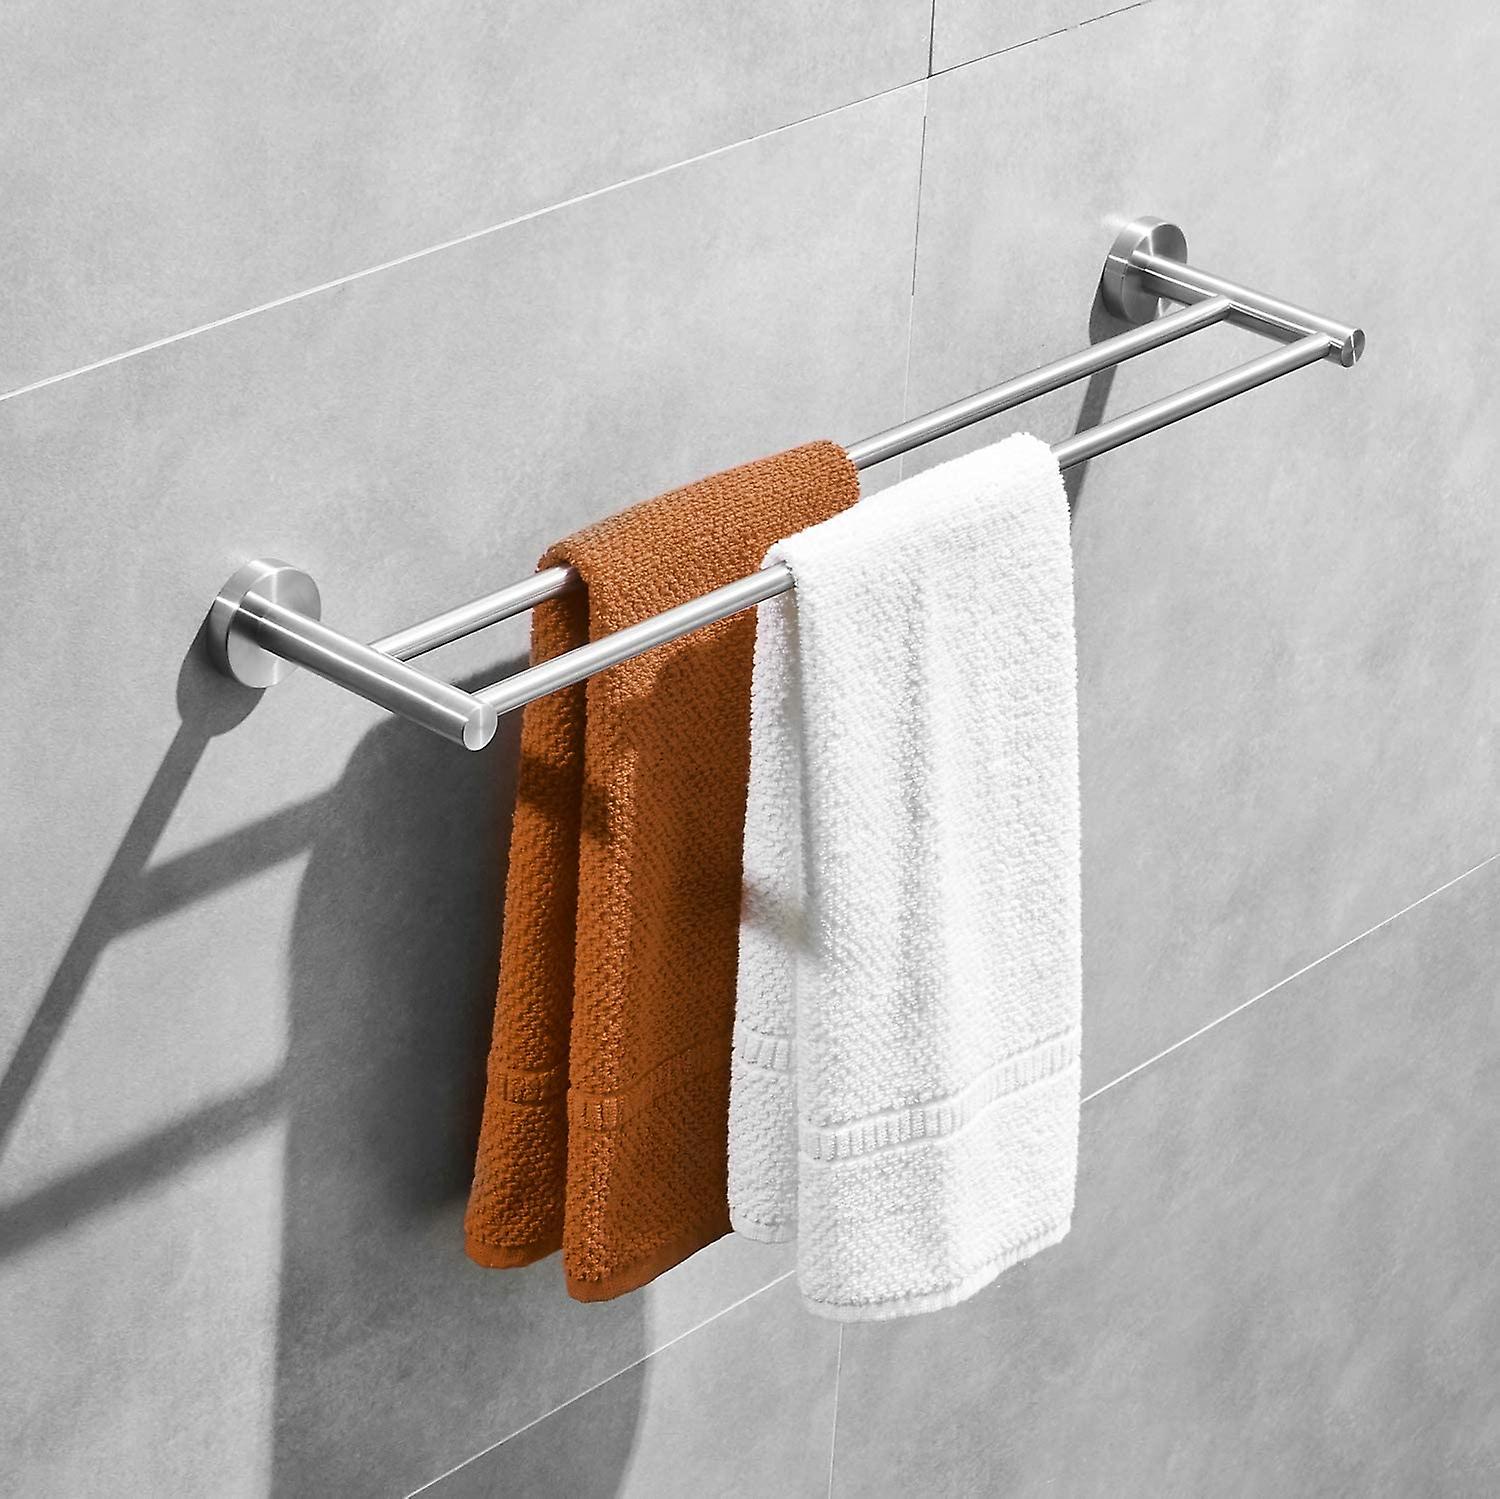
When it comes to home improvement, one small detail that can make a big difference in your bathroom is a towel bar. Not only does it provide a convenient place to hang and dry your towels, but it also adds a touch of style and organization to the space. Whether you are replacing an old towel bar or installing a new one, this article will guide you through the step-by-step process of how to hang a towel bar.
Before you begin, it’s important to gather all the necessary materials to ensure a smooth installation. Here’s a list of what you’ll need:
- Tape measure
- Pencil
- Level
- Power drill
- Drill bits
- Screwdriver
- Wall anchors (if necessary)
- Towel bar and mounting hardware
With these tools at your disposal, you’ll be well-prepared to tackle the task at hand. So let’s get started!
Key Takeaways:
- Enhance Your Bathroom with Style and Functionality
Learn how to hang a towel bar with precision and confidence, adding convenience and organization to your bathroom while elevating its aesthetic appeal. - Attention to Detail for a Secure and Stylish Installation
From choosing the perfect location to testing stability, follow each step meticulously to ensure a durable and visually pleasing towel bar installation.
Materials Needed
Before you begin the towel bar installation process, it’s important to ensure you have all the necessary materials on hand. Here’s a list of what you’ll need:
- Tape measure: This essential tool will help you accurately measure the distance between the mounting brackets, ensuring that your towel bar is properly aligned.
- Pencil: Use a pencil to mark the position where you’ll be installing the towel bar on the wall. This will serve as a guide during the installation process.
- Level: A level is crucial for ensuring that your towel bar is perfectly horizontal. This will prevent your towels from sliding off and maintain a visually pleasing appearance.
- Power drill: You’ll need a power drill to drill holes in the wall for the mounting brackets. Make sure you have the appropriate drill bits for the type of wall you’re working with.
- Screwdriver: A screwdriver or screwdriver bit for your power drill will be necessary to securely fasten the mounting brackets and attach the towel bar.
- Wall anchors (if necessary): If you’re working with drywall or a hollow wall, wall anchors may be needed to provide additional support and prevent the towel bar from pulling out of the wall.
- Towel bar and mounting hardware: Lastly, make sure you have the towel bar and all the necessary mounting hardware, such as screws and brackets, ready for installation. Check the packaging to ensure you have all the required components.
By gathering all these materials in advance, you’ll save time and avoid any interruptions during the installation process. Once you have everything ready, you can proceed with confidence to choose the location and install your towel bar.
Step 1: Choose the Location
The first step in hanging a towel bar is to carefully choose the location where you want it to be installed. Consider functionality and aesthetics while selecting the spot. Here are a few things to keep in mind:
- Height: The height of the towel bar should be convenient for all members of the household. A general rule of thumb is to install it at a height where the bottom of the towel bar is around 48 inches from the floor. However, you can adjust this based on your personal preference.
- Wall space: Assess the available wall space in your bathroom. Ideally, choose a location that is easily accessible and where the towel bar won’t interfere with other fixtures or fittings.
- Distance from other items: Ensure that the towel bar is positioned in a way that allows enough space between it and other items in the bathroom, such as mirrors, light fixtures, or cabinets. This will avoid any clashes or obstructions.
Take your time to envision the placement and imagine how the towel bar will enhance the overall functionality and appearance of your bathroom. Use a tape measure and pencil to mark the desired location for the mounting brackets.
In addition, consider the orientation of the towel bar. Decide whether you want it to be installed horizontally or vertically, depending on the available space and your personal preference.
Once you have determined the perfect location, you’re ready to move on to the next step of marking the position for the towel bar installation.
Step 2: Mark the Position
After choosing the location for your towel bar, it’s time to mark the position on the wall. This will help guide you during the installation process and ensure that the towel bar is properly aligned. Here’s what you need to do:
- Using a tape measure, measure the desired distance between the mounting brackets. This will vary depending on the size of your towel bar and personal preference. Make sure to measure accurately to ensure a proper fit.
- Once you have the measurement, use a pencil to mark the spots where the mounting brackets will be placed. Take into account the height and orientation decided in the previous step.
- Using a level, check for horizontal alignment. Place the level vertically against the marked spots and adjust as necessary to ensure that the towel bar will be straight.
- Double-check the markings for accuracy and make any adjustments if needed.
By taking the time to mark the position carefully, you will ensure that your towel bar is installed straight and at the desired height. This precision will not only enhance the functionality of the towel bar but also contribute to the overall aesthetic appeal of your bathroom.
Once you’re satisfied with the markings, you’re ready to move on to the next step: drilling holes for the mounting brackets.
Step 3: Drill Holes
Now that you have marked the position for the towel bar installation, it’s time to drill holes in the wall to accommodate the mounting brackets. Here’s how to do it:
- Before you begin drilling, ensure your safety by wearing protective goggles to shield your eyes from any debris.
- Choose the appropriate drill bit size for the type of wall you’re working with. For drywall, a general-purpose drill bit will suffice. If you have a different type of wall, such as tile or concrete, you may need specialized drill bits.
- Align the drill bit with one of the marked spots for the mounting brackets.
- Hold the drill perpendicular to the wall and apply gentle pressure to start drilling. Begin with a slow speed and gradually increase as you progress.
- Continue drilling until you reach the desired depth for the wall anchor or until the hole is large enough to accommodate the screw for the mounting bracket.
- Repeat the drilling process for the remaining marked spots.
While drilling, ensure that your drill is steady and that you maintain control to avoid any damage to the wall surface. Take your time and be patient to achieve clean and precise holes.
Once the holes are drilled, you’re ready to move on to the next step: inserting wall anchors (if necessary).
When hanging a towel bar, use a level to ensure it is straight. Use wall anchors if the bar is not being installed into a stud to ensure it can support the weight of the towels.
Read more: How Do I Take Down A Towel Bar
Step 4: Insert Wall Anchors (if necessary)
Depending on the type of wall you have and the weight of your towel bar, you may need to use wall anchors to provide additional support. Wall anchors are especially useful for drywall or hollow walls that may not be able to support the weight of the towel bar and towels on their own. Here’s how to insert wall anchors:
- Check the packaging of your wall anchors to determine the appropriate size for the drill holes you’ve made.
- Insert the wall anchor into one of the drilled holes. Use gentle pressure to push it in until it is flush with the wall surface.
- Repeat the process for the remaining holes that require wall anchors.
Wall anchors provide a secure base for attaching the mounting brackets and prevent them from pulling out of the wall. When properly inserted, they distribute the weight evenly and ensure the longevity of your towel bar installation.
If your towel bar package did not come with wall anchors or if you are unsure whether you need them, consult the manufacturer’s instructions or seek professional advice. It’s better to err on the side of caution and use wall anchors when in doubt.
Once the wall anchors are in place, you’re ready to move on to the next step: attaching the mounting brackets.
Step 5: Attach Mounting Brackets
Now that you have drilled the holes and, if necessary, inserted wall anchors, it’s time to attach the mounting brackets to the wall. These brackets will provide a secure base for your towel bar. Here’s how to do it:
- Take one of the mounting brackets and align it with the drilled hole.
- Insert a screw through the bracket’s pre-drilled hole and into the wall. If you have wall anchors, make sure the screw goes into the anchor securely.
- Tighten the screw using a screwdriver or a power drill with a screwdriver bit. Be careful not to overtighten, as it may strip the hole or damage the bracket.
- Repeat the process for the remaining mounting brackets, making sure they are level and evenly spaced.
As you attach the mounting brackets, periodically check their alignment using a level. This will ensure that your towel bar is straight and properly aligned.
If you’re working with wall anchors, ensure that the brackets are securely attached to both the wall and the anchors. This will provide the necessary stability for your towel bar.
Once all the mounting brackets are securely attached, you’re ready to move on to the next step: installing the towel bar itself.
Step 6: Install the Towel Bar
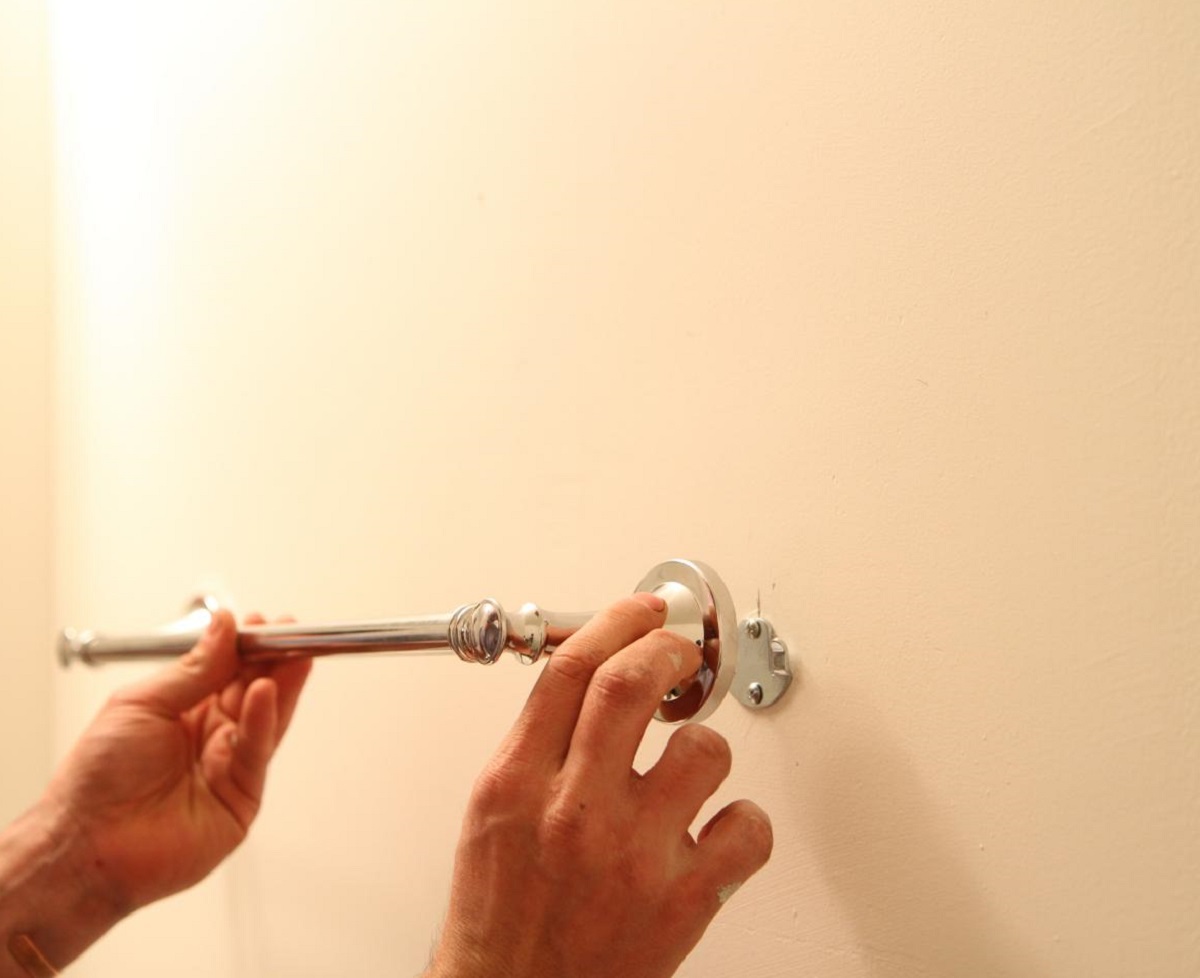
With the mounting brackets securely attached to the wall, it’s time to install the towel bar itself. Follow these steps to complete the installation:
- Take the towel bar and align it with the mounting brackets. Slide one end of the towel bar into one of the brackets.
- Hold the towel bar level and aligned with the second bracket.
- Slide the other end of the towel bar into the second bracket, ensuring a secure fit.
- Double-check that the towel bar is level and straight. Make any necessary adjustments before proceeding.
- If your towel bar has set screws, use a screwdriver or Allen key (depending on the type of screws) to tighten them. This will secure the towel bar in place.
- If there are no set screws, the towel bar may have a snap-on or spring-loaded mechanism. Follow the manufacturer’s instructions to properly attach and secure the towel bar.
Once the towel bar is securely attached to the mounting brackets, give it a gentle tug to ensure it’s firmly in place. You want to be confident that it can bear the weight of towels without coming loose.
You can also take a moment to admire your handiwork and appreciate how the towel bar enhances the functionality and visual appeal of your bathroom.
Now that the towel bar is installed, it’s time to move on to the final step: testing and adjusting as needed.
Step 7: Test and Adjust
After installing the towel bar, it’s important to test its stability and make any necessary adjustments to ensure it functions properly. Here’s what you should do:
- Gently hang a towel or two on the bar to test its weight-bearing capacity. If the towel bar feels loose or wobbly, it may need further tightening or adjustment.
- Check the levelness of the towel bar. Use a level to ensure that it is still straight and aligned with your markings.
- Make any adjustments as needed. If the towel bar feels loose, tighten the set screws or ensure that the snap-on or spring-loaded mechanism is properly engaged.
- If the towel bar is not level, use a screwdriver or Allen key to adjust the brackets, making sure they are positioned correctly.
- Re-test the towel bar’s stability and alignment to ensure everything is in order.
By testing and making any necessary adjustments, you’ll have peace of mind knowing that your towel bar is securely installed and ready for everyday use.
Remember, proper maintenance is essential to keep your towel bar in good condition. Regularly check for any loosening screws or other signs of wear and make the necessary repairs promptly to avoid any accidents or damage.
Congratulations! You have successfully hung your towel bar to enhance the functionality and organization of your bathroom. Enjoy the convenience and aesthetic appeal it brings to your space.
If you have any further questions or need additional assistance, don’t hesitate to consult the manufacturer’s instructions or seek advice from a professional.
Conclusion
Installing a towel bar may seem like a small task, but it can make a significant difference in your bathroom. Not only does it provide a practical place to hang and dry your towels, but it also adds a touch of organization and style. By following the step-by-step process outlined in this guide, you can confidently hang a towel bar and enhance the functionality and aesthetic appeal of your bathroom.
From choosing the right location and marking the position to drilling holes, inserting wall anchors (if necessary), and attaching the mounting brackets, each step plays a crucial role in ensuring a secure and durable installation. The final steps of installing the towel bar itself and testing its stability are essential for ensuring that it can bear the weight of towels without any issues.
Remember to pay attention to the details, such as using a level to ensure the towel bar is straight, and adjusting as needed to achieve the desired alignment. Testing the towel bar’s stability and making any necessary adjustments will give you confidence in its functionality and durability.
With the towel bar properly installed, you can enjoy the convenience of having towels readily accessible in your bathroom, while also adding a stylish and organized element to the space. Regular maintenance and inspections will help keep your towel bar in optimal condition. Check for any loosening screws or signs of wear and promptly address any issues to ensure its long-lasting performance.
Now that you have the knowledge and tools necessary, go ahead and hang that towel bar with confidence. Transform your bathroom into a more functional and visually pleasing space, making your daily routine a little bit easier.
Happy towel bar installation!
Frequently Asked Questions about How Do I Hang A Towel Bar
Was this page helpful?
At Storables.com, we guarantee accurate and reliable information. Our content, validated by Expert Board Contributors, is crafted following stringent Editorial Policies. We're committed to providing you with well-researched, expert-backed insights for all your informational needs.

0 thoughts on “How Do I Hang A Towel Bar”