Articles
How Do You Install A Towel Bar?
Modified: December 7, 2023
Learn how to install a towel bar with our step-by-step guide and practical tips. Read our articles for expert advice on DIY home improvements.
(Many of the links in this article redirect to a specific reviewed product. Your purchase of these products through affiliate links helps to generate commission for Storables.com, at no extra cost. Learn more)
Introduction
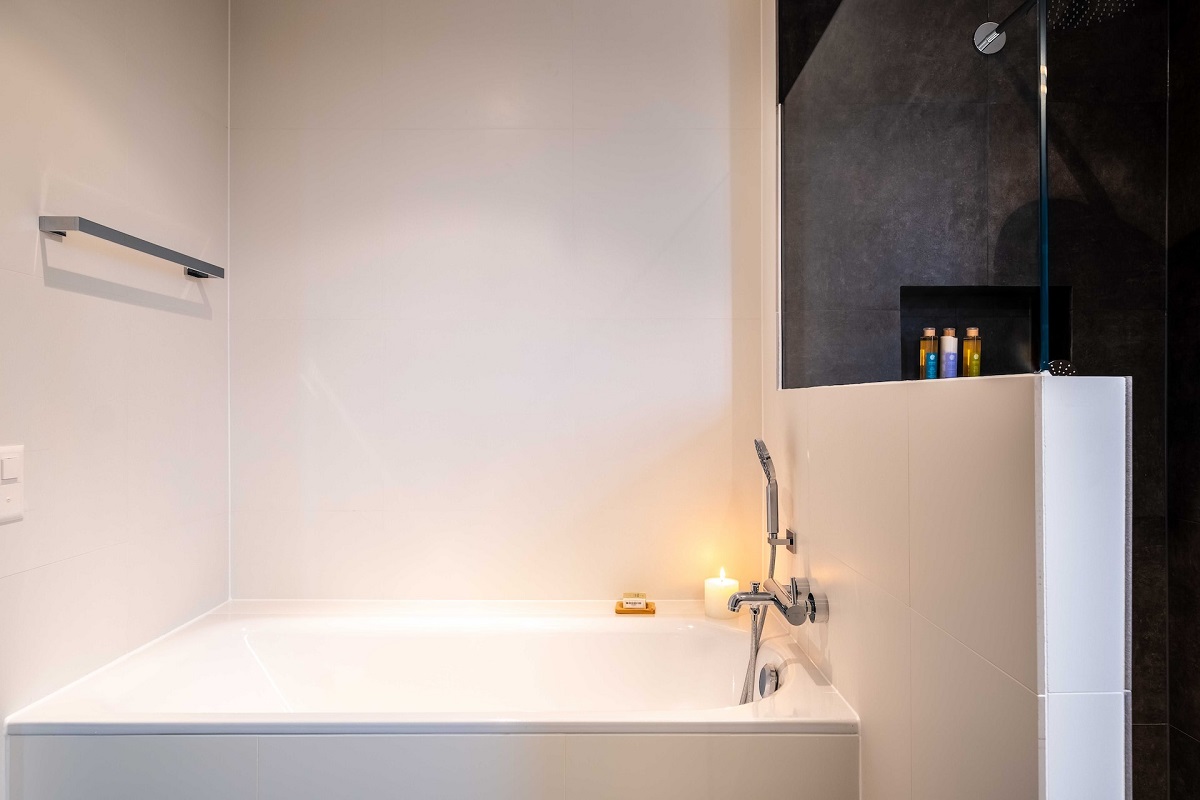
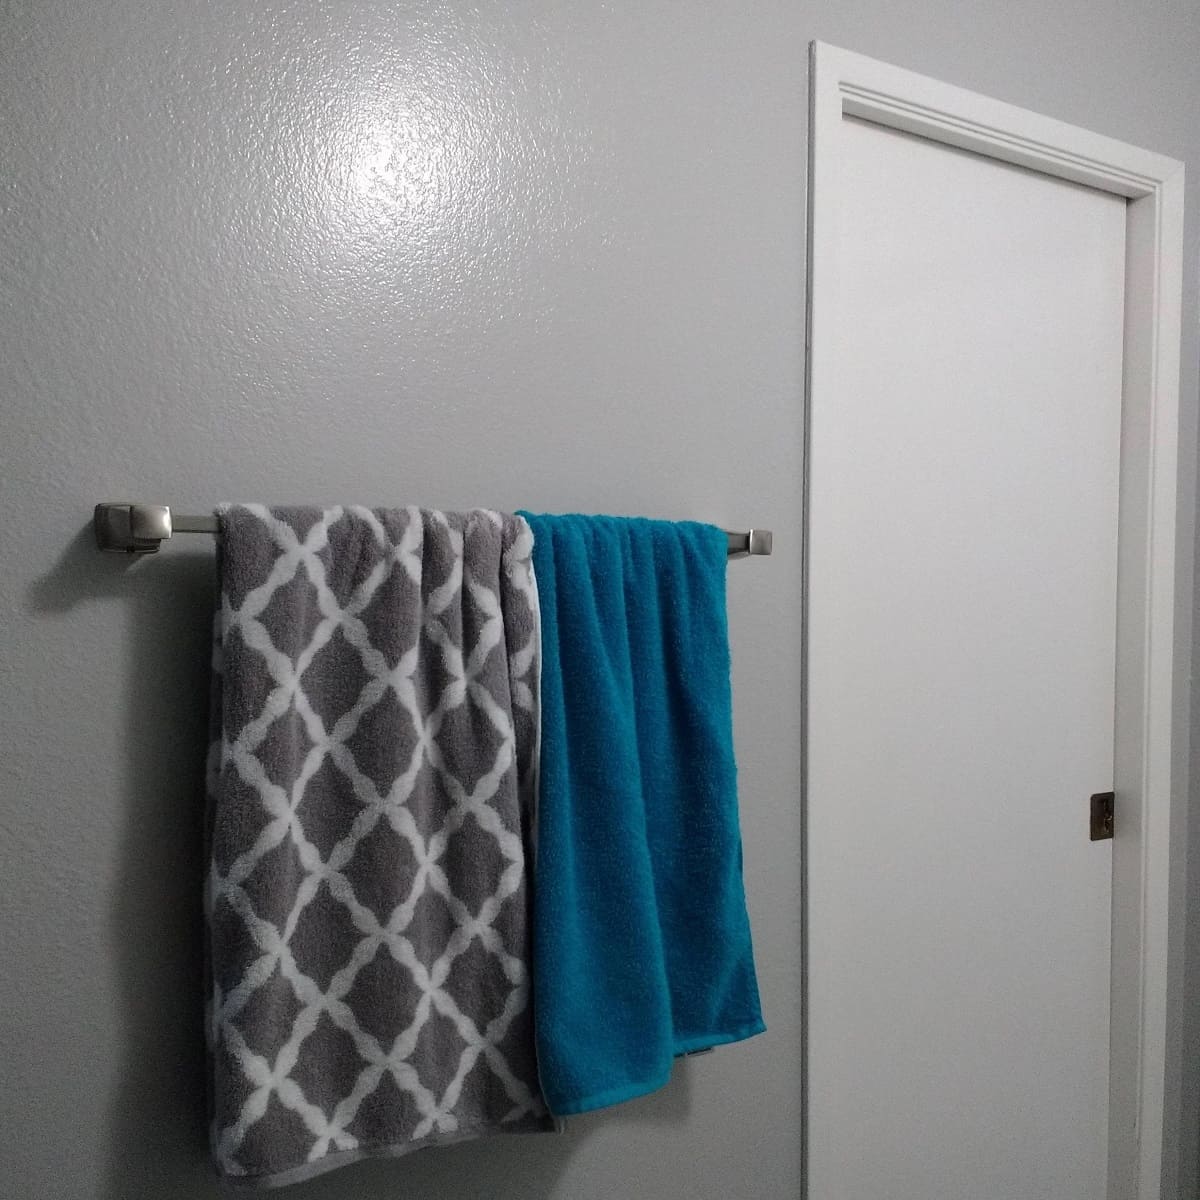
Installing a towel bar is a simple yet important task that can enhance the functionality and aesthetic appeal of your bathroom. Whether you’re renovating your bathroom or just need to replace an old towel bar, knowing how to install one properly is essential.
In this article, we will guide you through the step-by-step process of installing a towel bar. We’ll cover everything from gathering the necessary tools and materials to securing the towel bar in place. By following these instructions, you’ll have a sturdy and stylish towel bar ready for use.
Before you begin, it’s important to gather all the tools and materials you’ll need for the installation. This will save you time and frustration later on. You’ll typically need a power drill, tape measure, level, pencil, screwdriver, and the appropriate screws or wall anchors for your specific towel bar.
Next, you’ll need to determine the placement of the towel bar. Consider the height and position that will be most convenient for you and your family. A common rule of thumb is to install the towel bar at a height of about 48 inches from the floor, but feel free to adjust this based on your personal preference.
Once you’ve determined the placement, it’s time to mark the mounting holes. Measure and mark the points where the screws or brackets will be attached to the wall. Use a level to ensure the markings are straight and even.
Before drilling any holes, it’s a good idea to drill pilot holes first. These smaller holes will help guide the screws and prevent the wall from splitting. Be sure to use a drill bit that is slightly smaller than the size of the screws.
If you’re installing the towel bar on drywall or a hollow wall, it’s important to use wall anchors. Wall anchors provide extra support and prevent the screws from pulling out. Simply insert the wall anchors into the pilot holes and tap them gently until they are flush with the wall.
Now it’s time to mount the towel bar brackets. Align the brackets with the marked holes and secure them in place using the screws provided. Make sure they are level and properly aligned before attaching the towel bar.
Attach the towel bar to the brackets by sliding it into place or tightening the screws, depending on the design of your towel bar. Ensure that it is centered and securely attached to the brackets.
Finally, give the towel bar a gentle tug to test its stability. If it feels loose, tighten the screws or check for any misalignment. It’s important to have a stable and secure towel bar to ensure it can withstand the weight of towels over time.
With these simple steps, you’ll be able to install a towel bar in your bathroom with ease. Just remember to take your time, follow the instructions carefully, and enjoy your newly mounted towel bar. It’s a small addition that can make a big difference in your bathroom’s functionality and style.
So, let’s get started on installing your towel bar and transforming your bathroom into a more organized and convenient space!
Key Takeaways:
- Installing a towel bar is a straightforward process that can enhance your bathroom’s functionality and style. By following the step-by-step guide, you can achieve a professional-looking installation and ensure long-term stability.
- Proper planning, precise measurements, and thorough testing are key to successfully installing a towel bar. Take your time, double-check your work, and enjoy the convenience and elegance it brings to your bathroom.
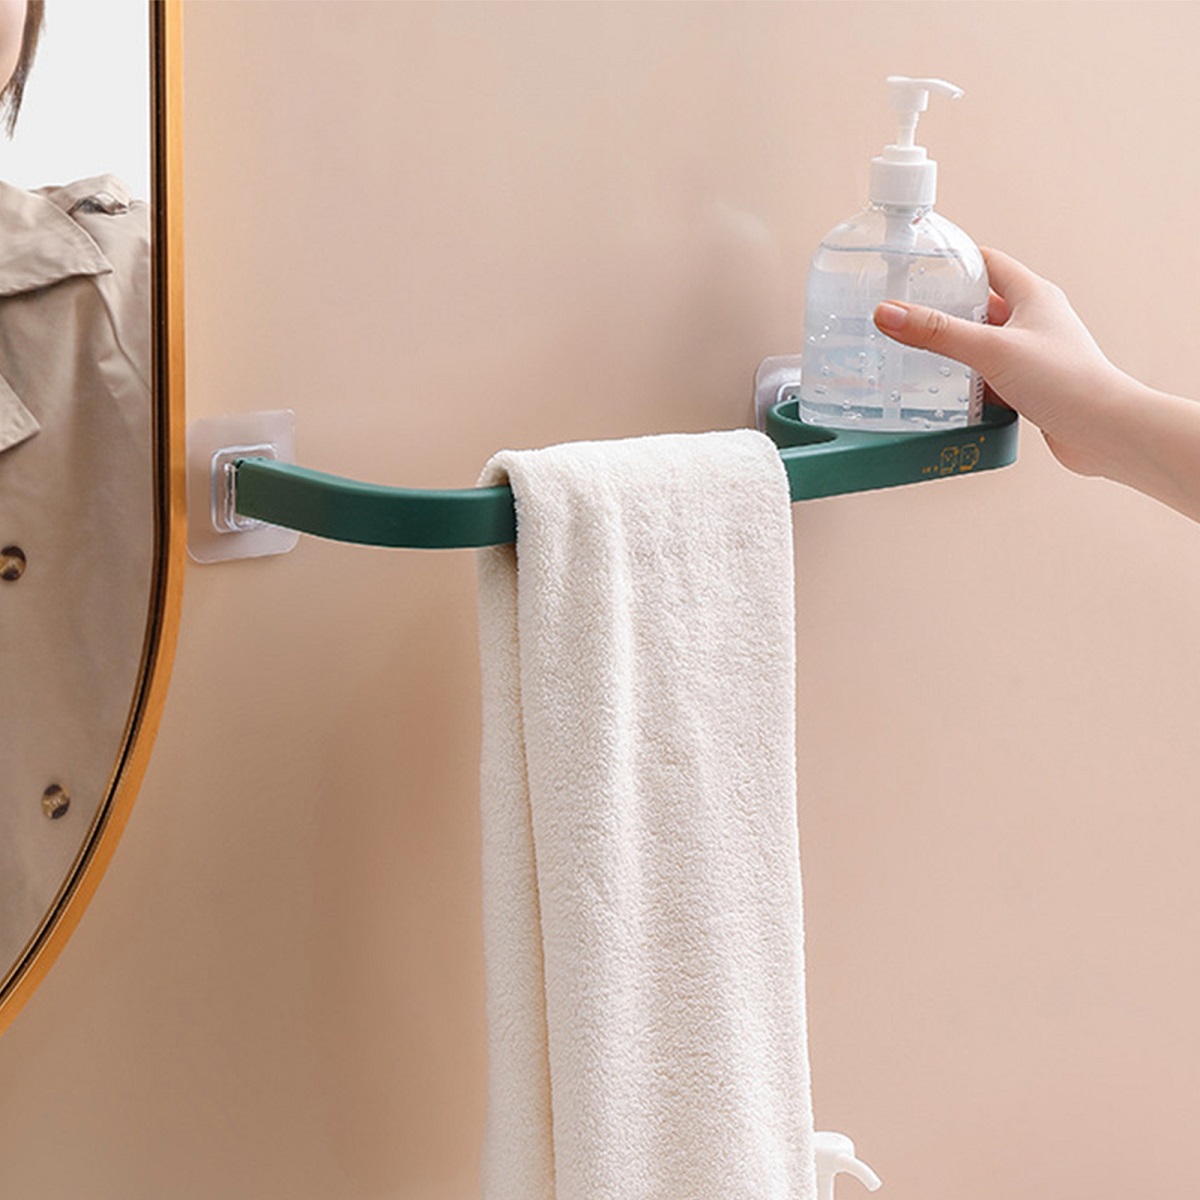
Read more: How Do You Hang A Towel Bar On A Mirror
Step 1: Gather the necessary tools and materials
The first step in installing a towel bar is to gather all the tools and materials you’ll need for the job. Having everything ready and easily accessible will make the installation process much smoother.
Here is a list of the essential tools and materials you’ll need:
- Tape measure: This will be used to measure the placement and spacing of the towel bar.
- Level: A level is necessary to ensure that your towel bar is installed straight and level.
- Pencil or marker: You’ll need a pencil or marker to mark the mounting holes on the wall.
- Power drill: A power drill will be used to drill pilot holes and secure the towel bar brackets.
- Screwdriver: Depending on the type of screws used for your towel bar, you may need a screwdriver to tighten them.
- Screws or wall anchors: You’ll need screws or wall anchors, depending on the type of wall you’re installing the towel bar on.
It’s essential to have the correct size and length of screws or wall anchors for a secure installation. If you’re unsure, refer to the manufacturer’s instructions or consult with a hardware store professional.
Additionally, it’s a good idea to have a towel or cloth on hand to wipe away any dust or debris during the installation process.
Once you have gathered all the necessary tools and materials, you’re ready to move on to the next step of installing your towel bar.
Remember, having everything prepared and organized beforehand will save you time and frustration throughout the installation process.
Now that you’re equipped with the right tools and materials, let’s move on to determining the placement of the towel bar in the next step.
Step 2: Determine the placement of the towel bar
Determining the proper placement of the towel bar is crucial for its functionality and aesthetic appeal. You want to ensure that it is both convenient to use and visually pleasing.
Here are a few factors to consider when determining the placement of your towel bar:
- Height: The height at which you install the towel bar is a matter of personal preference, but there are some general guidelines to consider. Most towel bars are installed at a height of about 48 inches from the floor. However, you can adjust this based on your own height and the height of other family members who will be using the towels.
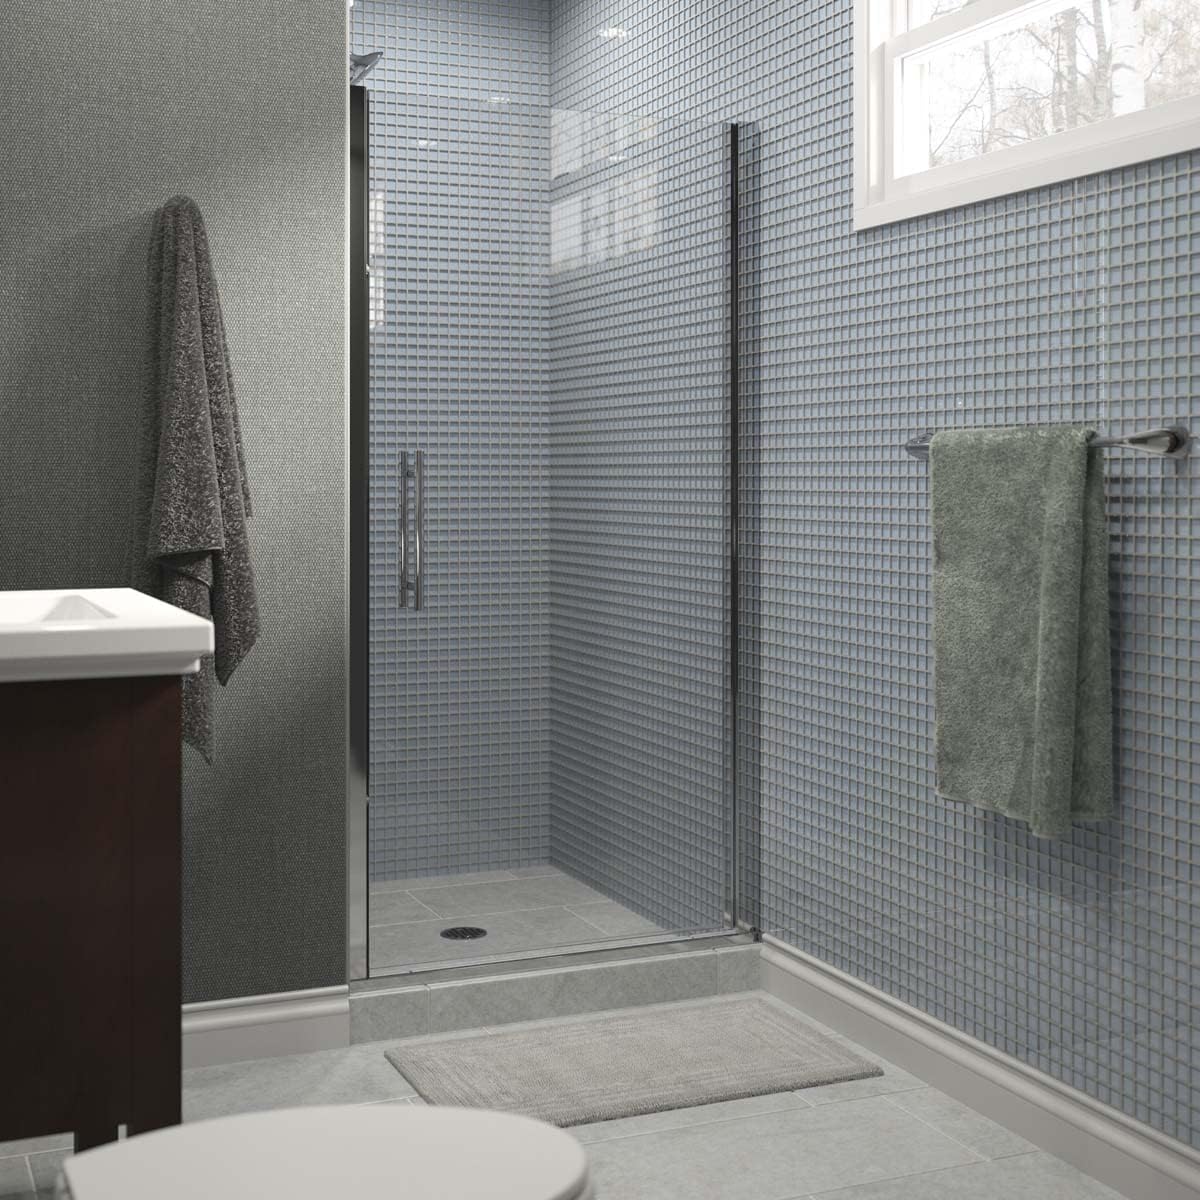
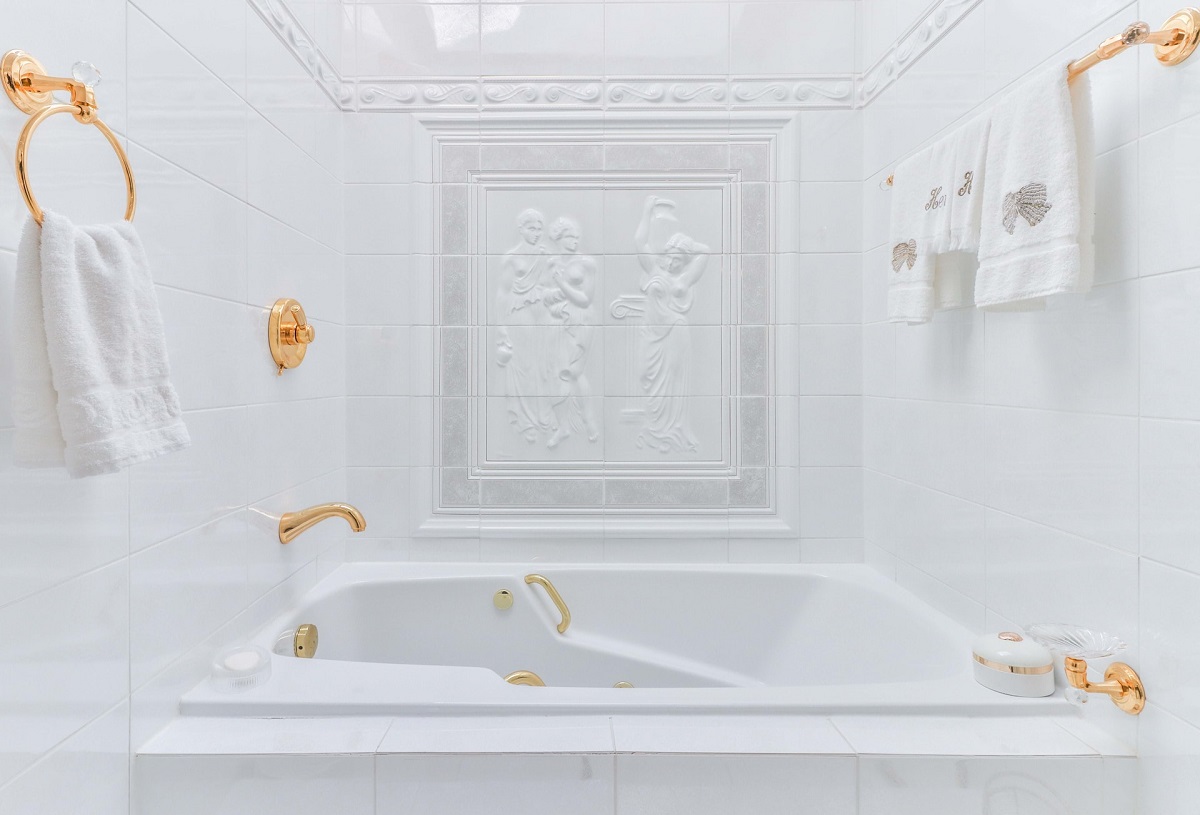
- Accessibility: The towel bar should be easily accessible from the shower or bathtub. Consider its proximity to the edge of the shower or bathtub so that you can comfortably reach for a towel after bathing.
- Spacing: If you are installing multiple towel bars, make sure to leave enough space between them to hang towels without overlapping. A general rule of thumb is to allow at least 18 inches of space between each towel bar.
- Style and design: Consider the overall design and layout of your bathroom when determining the placement of the towel bar. You want it to blend seamlessly with the other fixtures and complement the aesthetic of the space.
Once you have considered these factors, take a tape measure and mark the desired height and position of the towel bar on the wall. It’s a good idea to use a pencil or marker to make these markings so that they can be easily wiped away later.
Use a level to ensure that the markings are straight and even. This will help you achieve a professional-looking installation.
By taking the time to carefully determine the placement of your towel bar, you’ll ensure that it serves its purpose effectively and enhances the overall look of your bathroom.
Now that you have determined the placement, it’s time to move on to locating and marking the mounting holes in the next step.
Step 3: Locate and mark the mounting holes
Now that you have determined the ideal placement of your towel bar, it’s time to locate and mark the mounting holes on the wall. This step will ensure that your towel bar is securely attached and level.
Here’s what you need to do:
- Measure and mark the position of the mounting holes: Use a tape measure to measure the distance between the markings you made in the previous step. This will determine the spacing of the mounting holes. Mark the exact position of each hole using a pencil or marker.
- Use a level to check the alignment: Place a level along the markings to ensure that they are straight and level. Adjust the positions if necessary until the level shows that they are perfectly aligned. This will help you achieve a professional-looking installation.
It’s important to take your time during this step to ensure accuracy and precision. Properly aligned mounting holes will make the installation process easier and ensure that your towel bar is securely attached.
If you are installing multiple towel bars, make sure to repeat this step for each set of mounting holes.
Once you have located and marked the mounting holes, you’re ready to move on to the next step: drilling pilot holes.
Drilling pilot holes will prevent any damage to the wall and help guide the screws during the installation process. We’ll cover this step in detail in the next section.
Now that you have marked the mounting holes, take a moment to double-check their alignment and move on to the next step with confidence.
Step 4: Drill pilot holes
Drilling pilot holes is an important step when installing a towel bar, as it helps prevent damage to the wall and provides guidance for securing the towel bar brackets.
Here’s how to drill pilot holes:
- Choose an appropriate drill bit: Select a drill bit that is slightly smaller in diameter than the screws or wall anchors you will be using. This will ensure a snug fit and prevent splitting or cracking of the wall.
- Attach the drill bit to your power drill: Insert the chosen drill bit into your power drill and tighten it securely.
- Position the drill bit on your marked mounting hole: Place the tip of the drill bit on one of the marked mounting holes.
- Apply gentle pressure and start drilling: Hold the drill perpendicular to the wall and apply gentle pressure to start drilling. Begin with a slow drilling speed to prevent any unnecessary damage.
- Drill to the desired depth: Continue drilling until you reach the desired depth for the pilot hole. The depth will depend on the length of the screws or wall anchors you will be using. It’s advisable to drill the hole slightly shorter than the length of the anchor or screw.
- Repeat for the remaining mounting holes: Repeat the drilling process for all the other marked mounting holes, taking care to maintain the same depth and alignment.
It’s essential to drill the pilot holes accurately and at the correct angle to ensure a secure and stable installation of your towel bar.
When drilling, be mindful of the type of wall you have. Different walls may require different techniques. For example, if you have drywall or a hollow wall, it’s important to use wall anchors to provide extra support for the screws.
By drilling pilot holes before attaching the towel bar brackets, you’ll minimize the risk of damaging the wall and increase the overall stability of your towel bar installation.
With the pilot holes drilled, you’re ready to move on to the next step: installing wall anchors (if necessary). We’ll cover that in detail in the next section.
Take your time to ensure the pilot holes are drilled accurately and move on to the next step confidently.
Read more: How To Install A Double Towel Bar
Step 5: Install wall anchors (if necessary)
If you are installing your towel bar on a drywall or a hollow wall, it’s crucial to use wall anchors for extra support. Wall anchors provide stability and prevent the screws from pulling out over time.
Here’s how to install wall anchors:
- Select the appropriate wall anchor: Choose a wall anchor that matches the type of wall you have and the size of the screws you will be using. Plastic expansion anchors or toggle bolts are common options for drywall or hollow walls.
- Insert the wall anchor into the pilot hole: Carefully insert the wall anchor into the pilot hole you drilled earlier. Make sure it fits snugly and is flush with the wall.
- Tap the anchor gently (if required): If you’re using plastic expansion anchors, gently tap them with a hammer until they are fully inserted into the pilot hole. Be careful not to damage the anchor or the wall during this process.
- Repeat for the remaining pilot holes (if applicable): If you have multiple pilot holes with wall anchors, repeat the installation process for each one.
Wall anchors are essential for providing the necessary support and stability to your towel bar. They distribute the weight evenly and prevent the screws from loosening or causing damage to the wall.
Before proceeding to the next step, ensure that all the wall anchors are securely in place and ready to support the towel bar brackets.
With the wall anchors installed (if necessary), you’re now ready to move on to the next step: mounting the towel bar brackets. We’ll cover that in detail in the following section.
Take your time during this step to ensure that the wall anchors are properly installed and move on to the next step confidently.
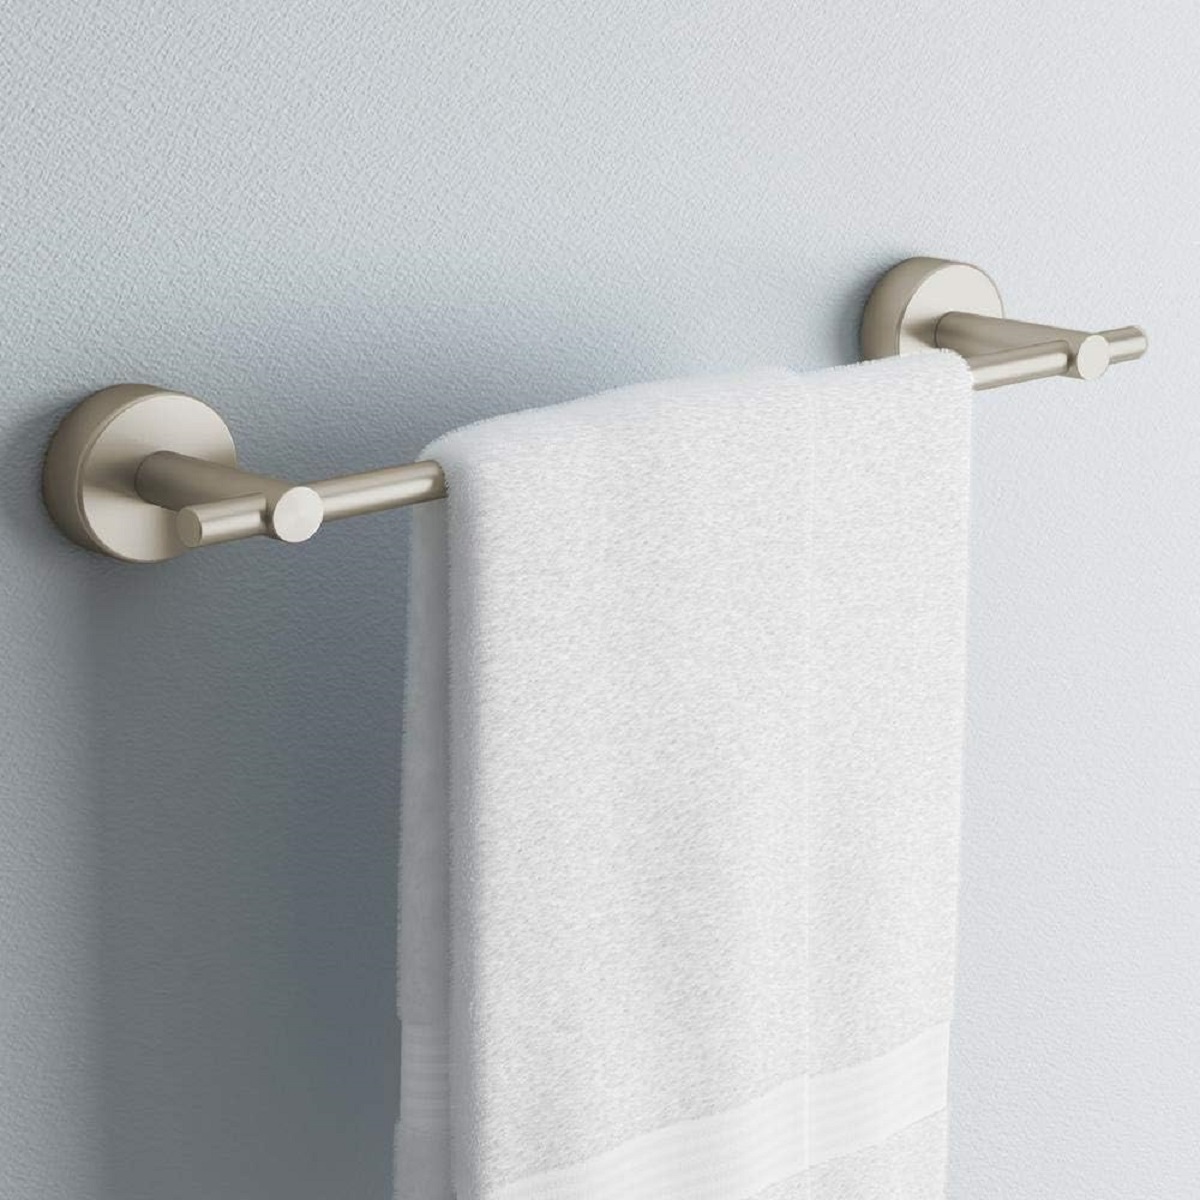
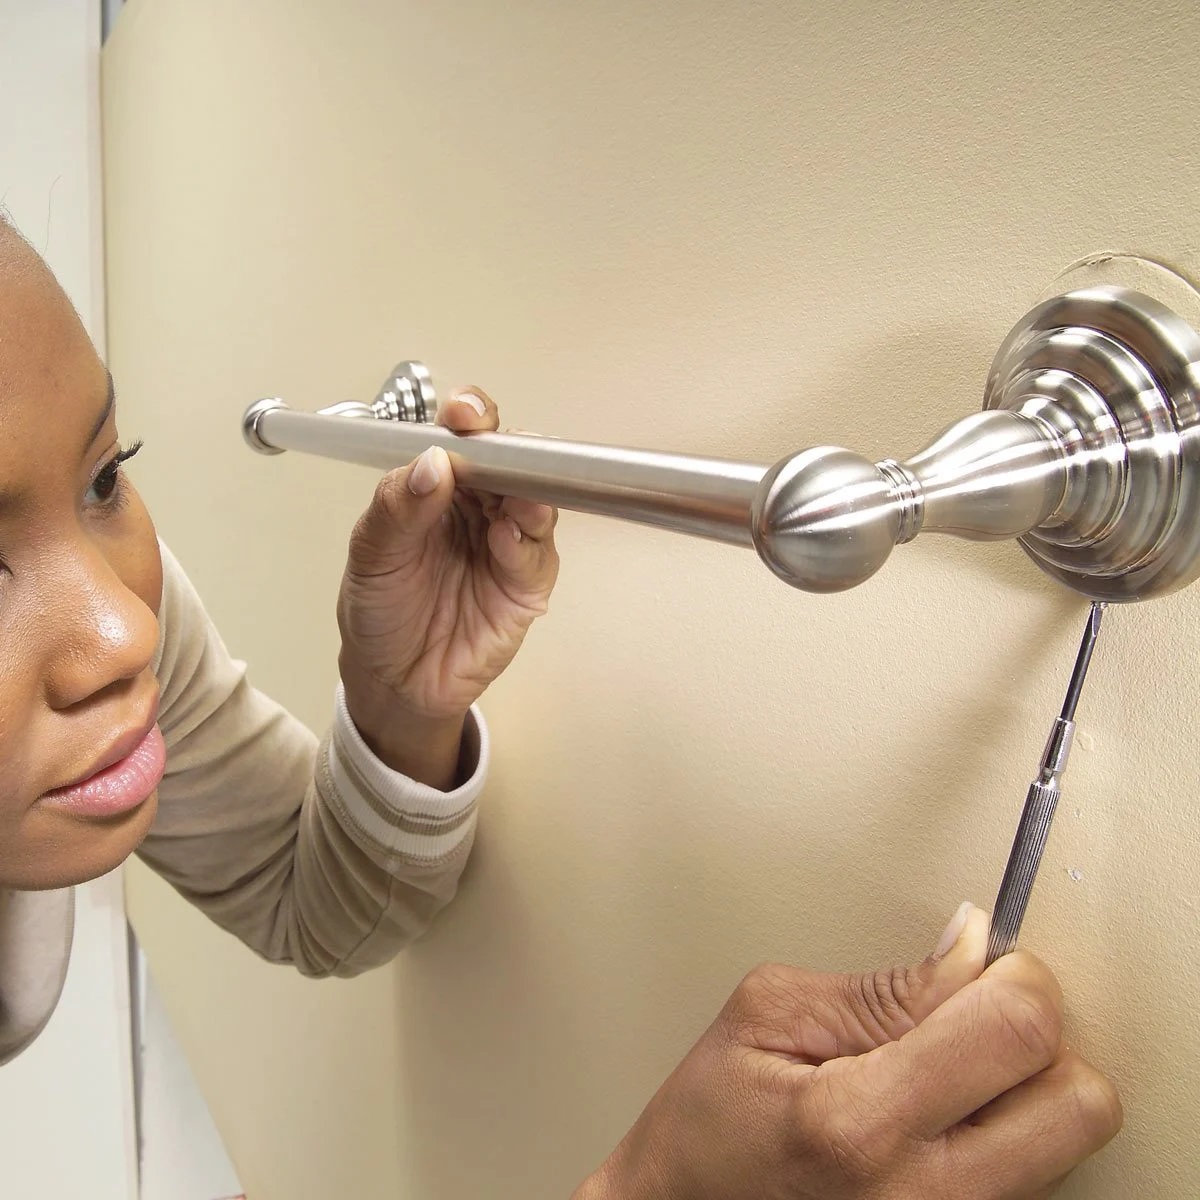
When installing a towel bar, use a level to ensure it is straight. Use a pencil to mark the screw holes, then drill pilot holes before attaching the bar to the wall.
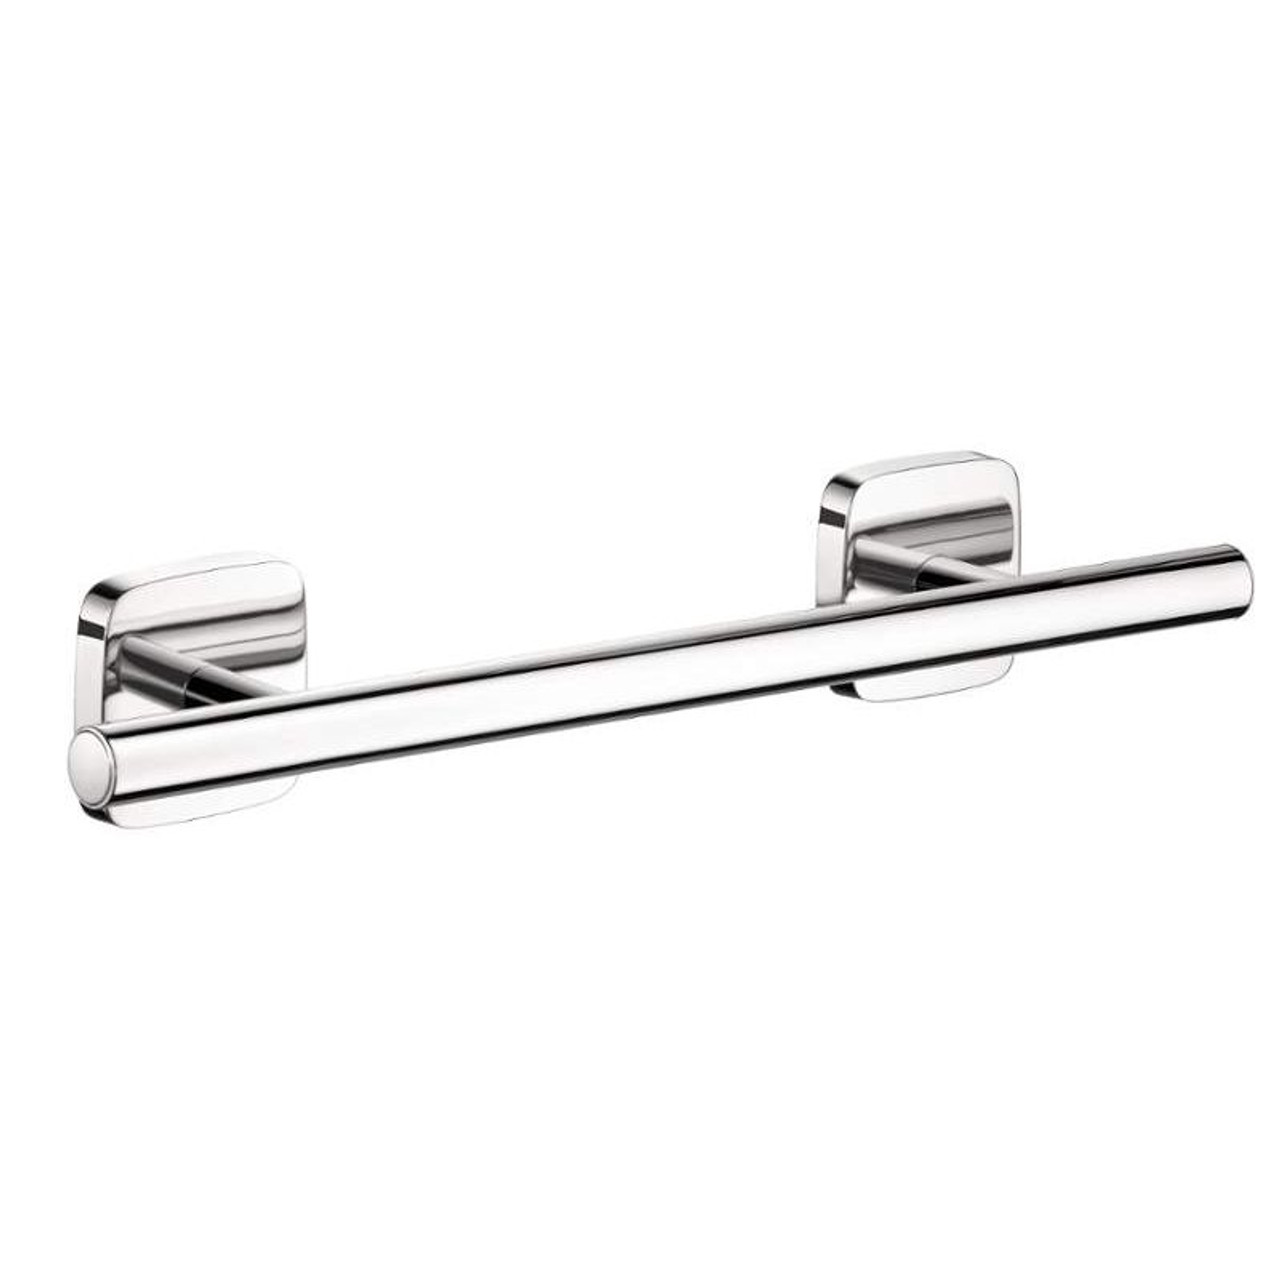
Step 6: Mount the towel bar brackets
With the necessary preparations completed, it’s time to mount the towel bar brackets onto the wall. These brackets will provide the support needed to hold the towel bar securely in place.
Follow these steps to mount the towel bar brackets:
- Align the brackets with the marked mounting holes: Take one of the towel bar brackets and align it with the corresponding marked mounting hole on the wall. Ensure that the bracket is level and properly positioned.
- Secure the brackets with screws: Once the bracket is properly aligned, use a screwdriver or power drill to attach the screws through the mounting holes of the bracket. Ensure that the screws are tightened securely but not overly tight, as this can damage the bracket or the wall.
- Repeat for the remaining brackets: If your towel bar requires multiple brackets, repeat the process for each one, making sure each bracket is properly aligned and secure.
It’s important to double-check the alignment and levelness of each bracket before tightening the screws. This will ensure that your towel bar is mounted straight and visually appealing.
If you’re using wall anchors, make sure the brackets are securely attached to the anchors for maximum stability.
Take your time during this step to ensure that the towel bar brackets are properly mounted. A sturdy and well-attached bracket is crucial for a secure installation.
Now that the towel bar brackets are in place, you’re ready to move on to the next step: attaching the towel bar itself. We’ll cover that in detail in the following section.
Proceed to the next step with confidence, knowing that your towel bar brackets are securely attached to the wall.
Step 7: Attach the towel bar
Now that the towel bar brackets are securely mounted on the wall, it’s time to attach the towel bar itself. This step will complete the installation and allow you to start using your towel bar in the bathroom.
Follow these steps to attach the towel bar:
- Slide the towel bar into the brackets: Depending on the design of your towel bar, you may need to slide it into the brackets or position it on top of them. Align the towel bar with the brackets and insert it into place. Ensure that it sits securely and evenly on the brackets.
- Tighten any necessary screws: If your towel bar has screws or connectors to secure it to the brackets, use a screwdriver or a power drill to tighten them. Follow the manufacturer’s instructions for the specific hardware included with your towel bar.
- Ensure proper alignment and levelness: Take a moment to double-check that the towel bar is straight and level. Adjust its position if necessary to achieve an aesthetically pleasing result.
It’s essential to ensure that the towel bar is securely attached to the brackets. Give it a gentle tug to test its stability. If it feels loose, tighten the necessary screws or connectors to ensure a secure fit.
Additionally, make sure that the towel bar is properly centered and aligned with the brackets. This will not only enhance the visual appeal of your towel bar but also ensure that it can hold towels without any risk of them sliding off.
With the towel bar securely attached, you’re almost finished with the installation process. In the next step, we’ll cover how to secure the towel bar in place for added stability.
Proceed to the next step with confidence, knowing that your towel bar is securely attached and ready for use.
Step 8: Secure the towel bar in place
Securing the towel bar in place is an important step to ensure its stability and longevity. By properly securing the towel bar, you can prevent it from shifting or becoming loose over time.
Follow these steps to secure the towel bar in place:
- Tighten the screws or connectors: If your towel bar has screws or connectors that attach it to the brackets, use a screwdriver or a power drill to ensure they are tightened securely. Be careful not to overtighten, as this can damage the towel bar or the brackets.
- Double-check alignment and levelness: Take a moment to confirm that the towel bar is still aligned and level. Adjust its position if needed to achieve the desired look.
- Test stability: Gently tug on the towel bar to test its stability. It should feel secure and not wobble. If you notice any movement, re-tighten the screws or connectors as necessary.
It’s important to periodically check the stability of your towel bar and re-tighten the screws or connectors if needed. Regularly inspecting the towel bar will ensure that it remains firmly in place and can withstand the weight of towels over time.
If your towel bar doesn’t have screws or connectors to secure it, ensure that it is firmly positioned on the brackets and feels stable. Consider adding adhesive tape or adhesive putty to the contact points between the towel bar and the brackets for added stability.
By properly securing the towel bar, you can enjoy a functional and durable addition to your bathroom for years to come.
In the next step, we’ll cover how to test the towel bar’s stability to ensure it can withstand daily use. Let’s move on to the final step!
Proceed to the next step with confidence, knowing that your towel bar is securely fastened and ready to be put to use.
Read more: How To Install A Moen Towel Bar
Step 9: Test the towel bar’s stability
Testing the stability of the towel bar is the final step in the installation process. By conducting a thorough stability test, you can ensure that the towel bar can safely and reliably hold towels without any risk of damage or accidents.
Follow these steps to test the towel bar’s stability:
- Gently pull on the towel bar: Apply a gentle and even pressure by pulling on the towel bar to simulate the weight of a towel. Observe if the towel bar remains securely attached to the wall and does not shift or wobble. A stable towel bar should withstand the pulling motion without any issues.
- Check for any loose screws or connectors: After performing the stability test, inspect the screws or connectors that secure the towel bar to the brackets. Ensure that they are still tightened securely and that there are no signs of looseness or movement. If any screws or connectors are loose, tighten them accordingly.
- Confirm levelness and alignment: Take a final look at the towel bar to confirm that it is still level and aligned with the brackets. Adjust the position if needed to achieve the desired aesthetic appeal.
Regularly conduct stability tests on your towel bar to ensure its ongoing reliability. Over time, screws may loosen, or brackets may shift slightly. By promptly addressing any stability concerns, you can maintain a secure and functional towel bar in your bathroom.
If you encounter any issues during the stability test, such as excessive movement or a feeling of instability, it’s important to investigate and address the problem. You may need to re-tighten screws, reinforce brackets, or seek professional assistance if necessary.
With the stability test successfully completed, you can now confidently enjoy your newly installed towel bar. Hang your towels with ease, knowing that they are securely held in place.
Congratulations! You have successfully completed the installation process and transformed your bathroom with a functional and stylish towel bar.
Thank you for following our step-by-step guide. We hope this has been a helpful resource in installing your towel bar. Enjoy the added convenience and organization it brings to your bathroom!
Conclusion
Installing a towel bar doesn’t have to be a daunting task. With the right tools, materials, and step-by-step guidance, you can easily complete the installation process and enjoy the benefits of a functional and stylish towel bar in your bathroom.
Throughout this article, we have covered the key steps to installing a towel bar:
- Gather the necessary tools and materials.
- Determine the placement of the towel bar.
- Locate and mark the mounting holes.
- Drill pilot holes.
- Install wall anchors (if necessary).
- Mount the towel bar brackets.
- Attach the towel bar.
- Secure the towel bar in place.
- Test the towel bar’s stability.
By following these steps and paying attention to detail, you can achieve a professional-looking installation and ensure the towel bar’s long-term stability.
Remember to take your time and double-check your work at each step. Proper planning, precise measurements, and thorough testing will lead to a successful installation.
Not only does a towel bar provide a designated space for your towels, but it also adds a touch of elegance and organization to your bathroom. It’s a small addition that can make a big difference in both functionality and aesthetics.
Whether you’re renovating your bathroom or simply upgrading your towel bar, taking the time to install it correctly will pay off in the long run.
We hope this guide has been a valuable resource for you in installing your towel bar. If you have any further questions or need assistance, don’t hesitate to consult with a professional or reach out to the towel bar manufacturer for guidance.
Enjoy the convenience and style your new towel bar brings to your bathroom. Now it’s time to sit back, relax, and indulge in the delightful experience of having perfectly placed and easily accessible towels within reach.
Frequently Asked Questions about How Do You Install A Towel Bar?
Was this page helpful?
At Storables.com, we guarantee accurate and reliable information. Our content, validated by Expert Board Contributors, is crafted following stringent Editorial Policies. We're committed to providing you with well-researched, expert-backed insights for all your informational needs.


0 thoughts on “How Do You Install A Towel Bar?”