Home>Articles>How To Hang A Towel Bar On A Glass Shower Door
Articles
How To Hang A Towel Bar On A Glass Shower Door
Modified: October 20, 2024
Learn how to hang a towel bar on a glass shower door with these helpful articles. Get step-by-step instructions and expert tips for a secure installation.
(Many of the links in this article redirect to a specific reviewed product. Your purchase of these products through affiliate links helps to generate commission for Storables.com, at no extra cost. Learn more)
Introduction
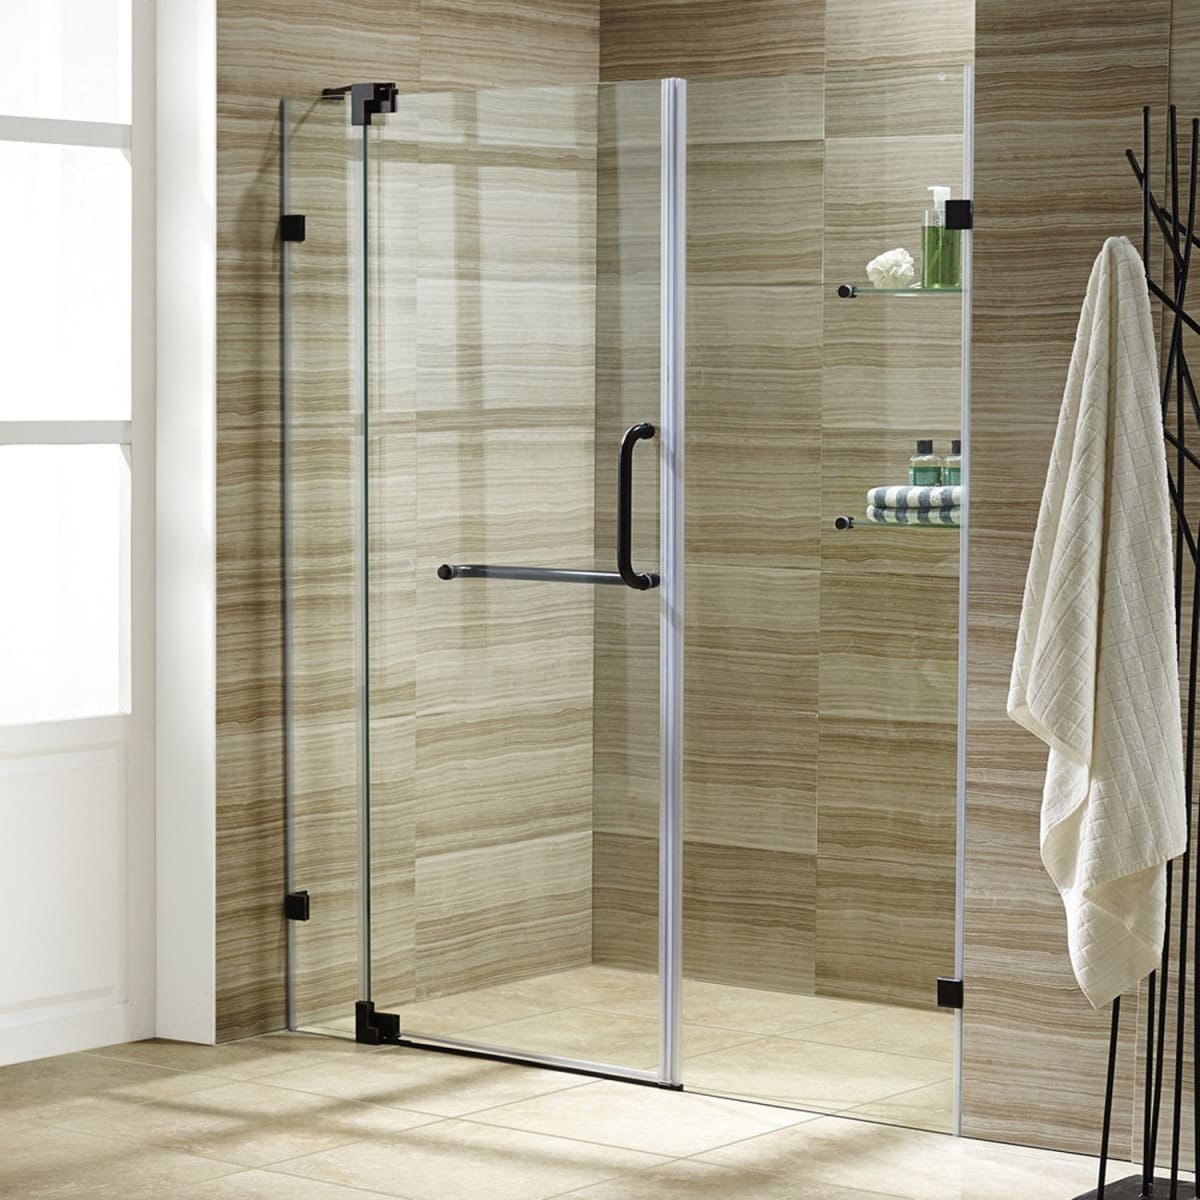
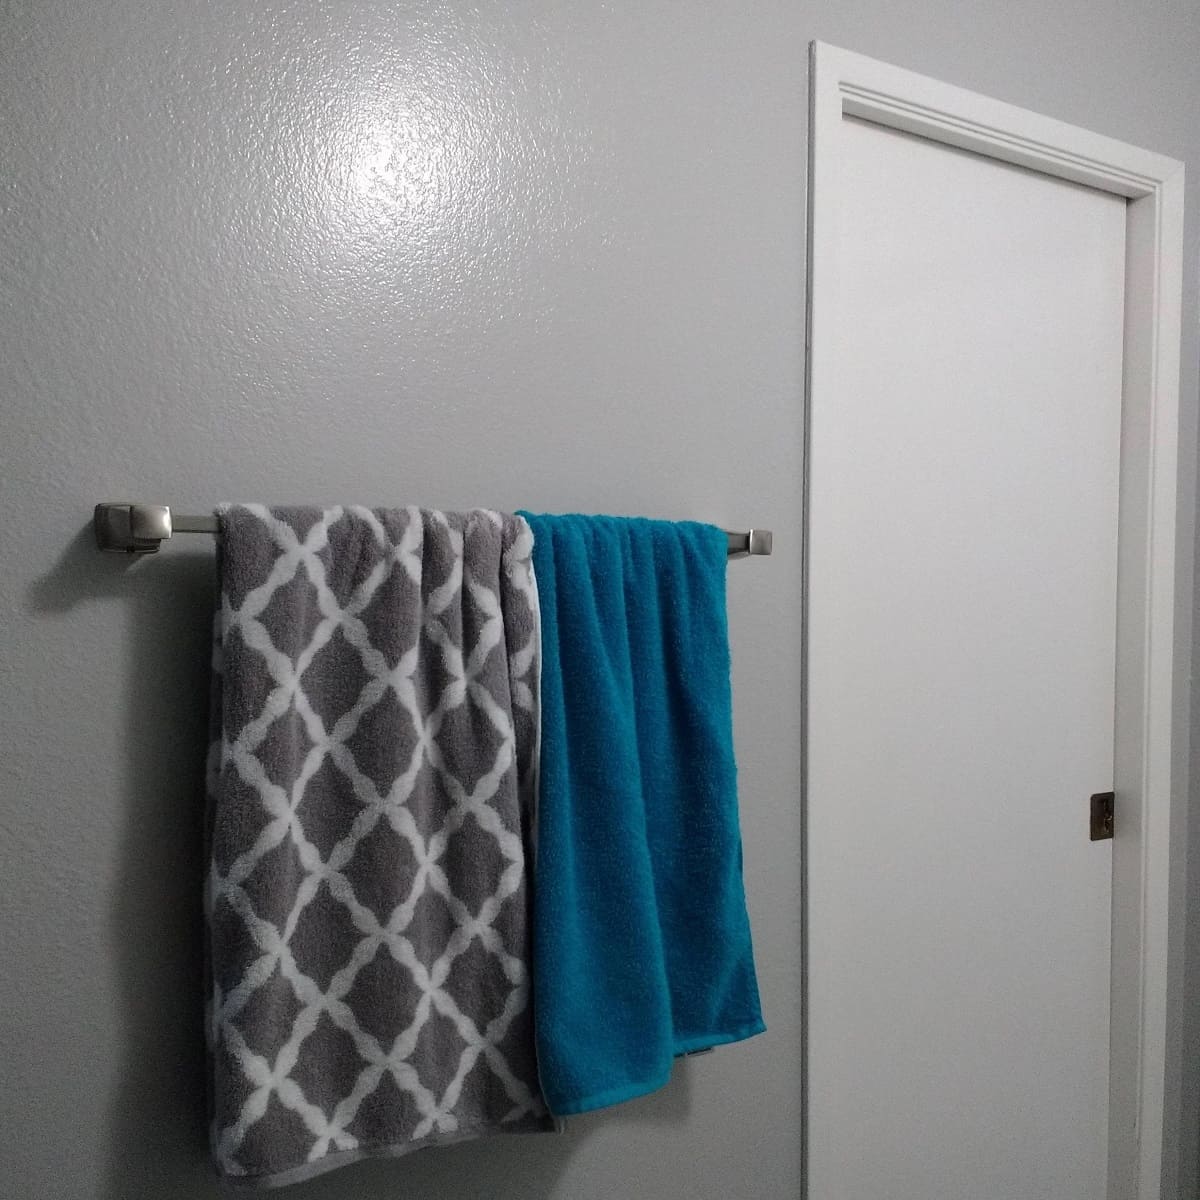
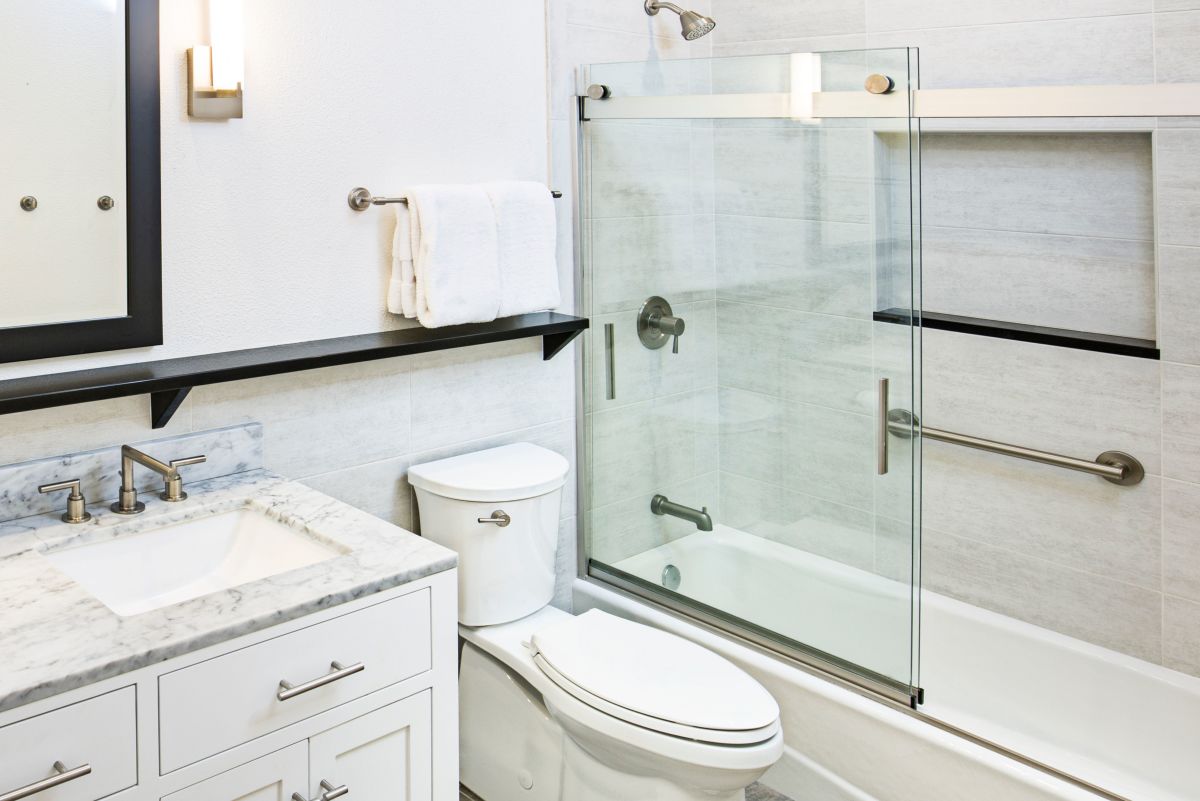
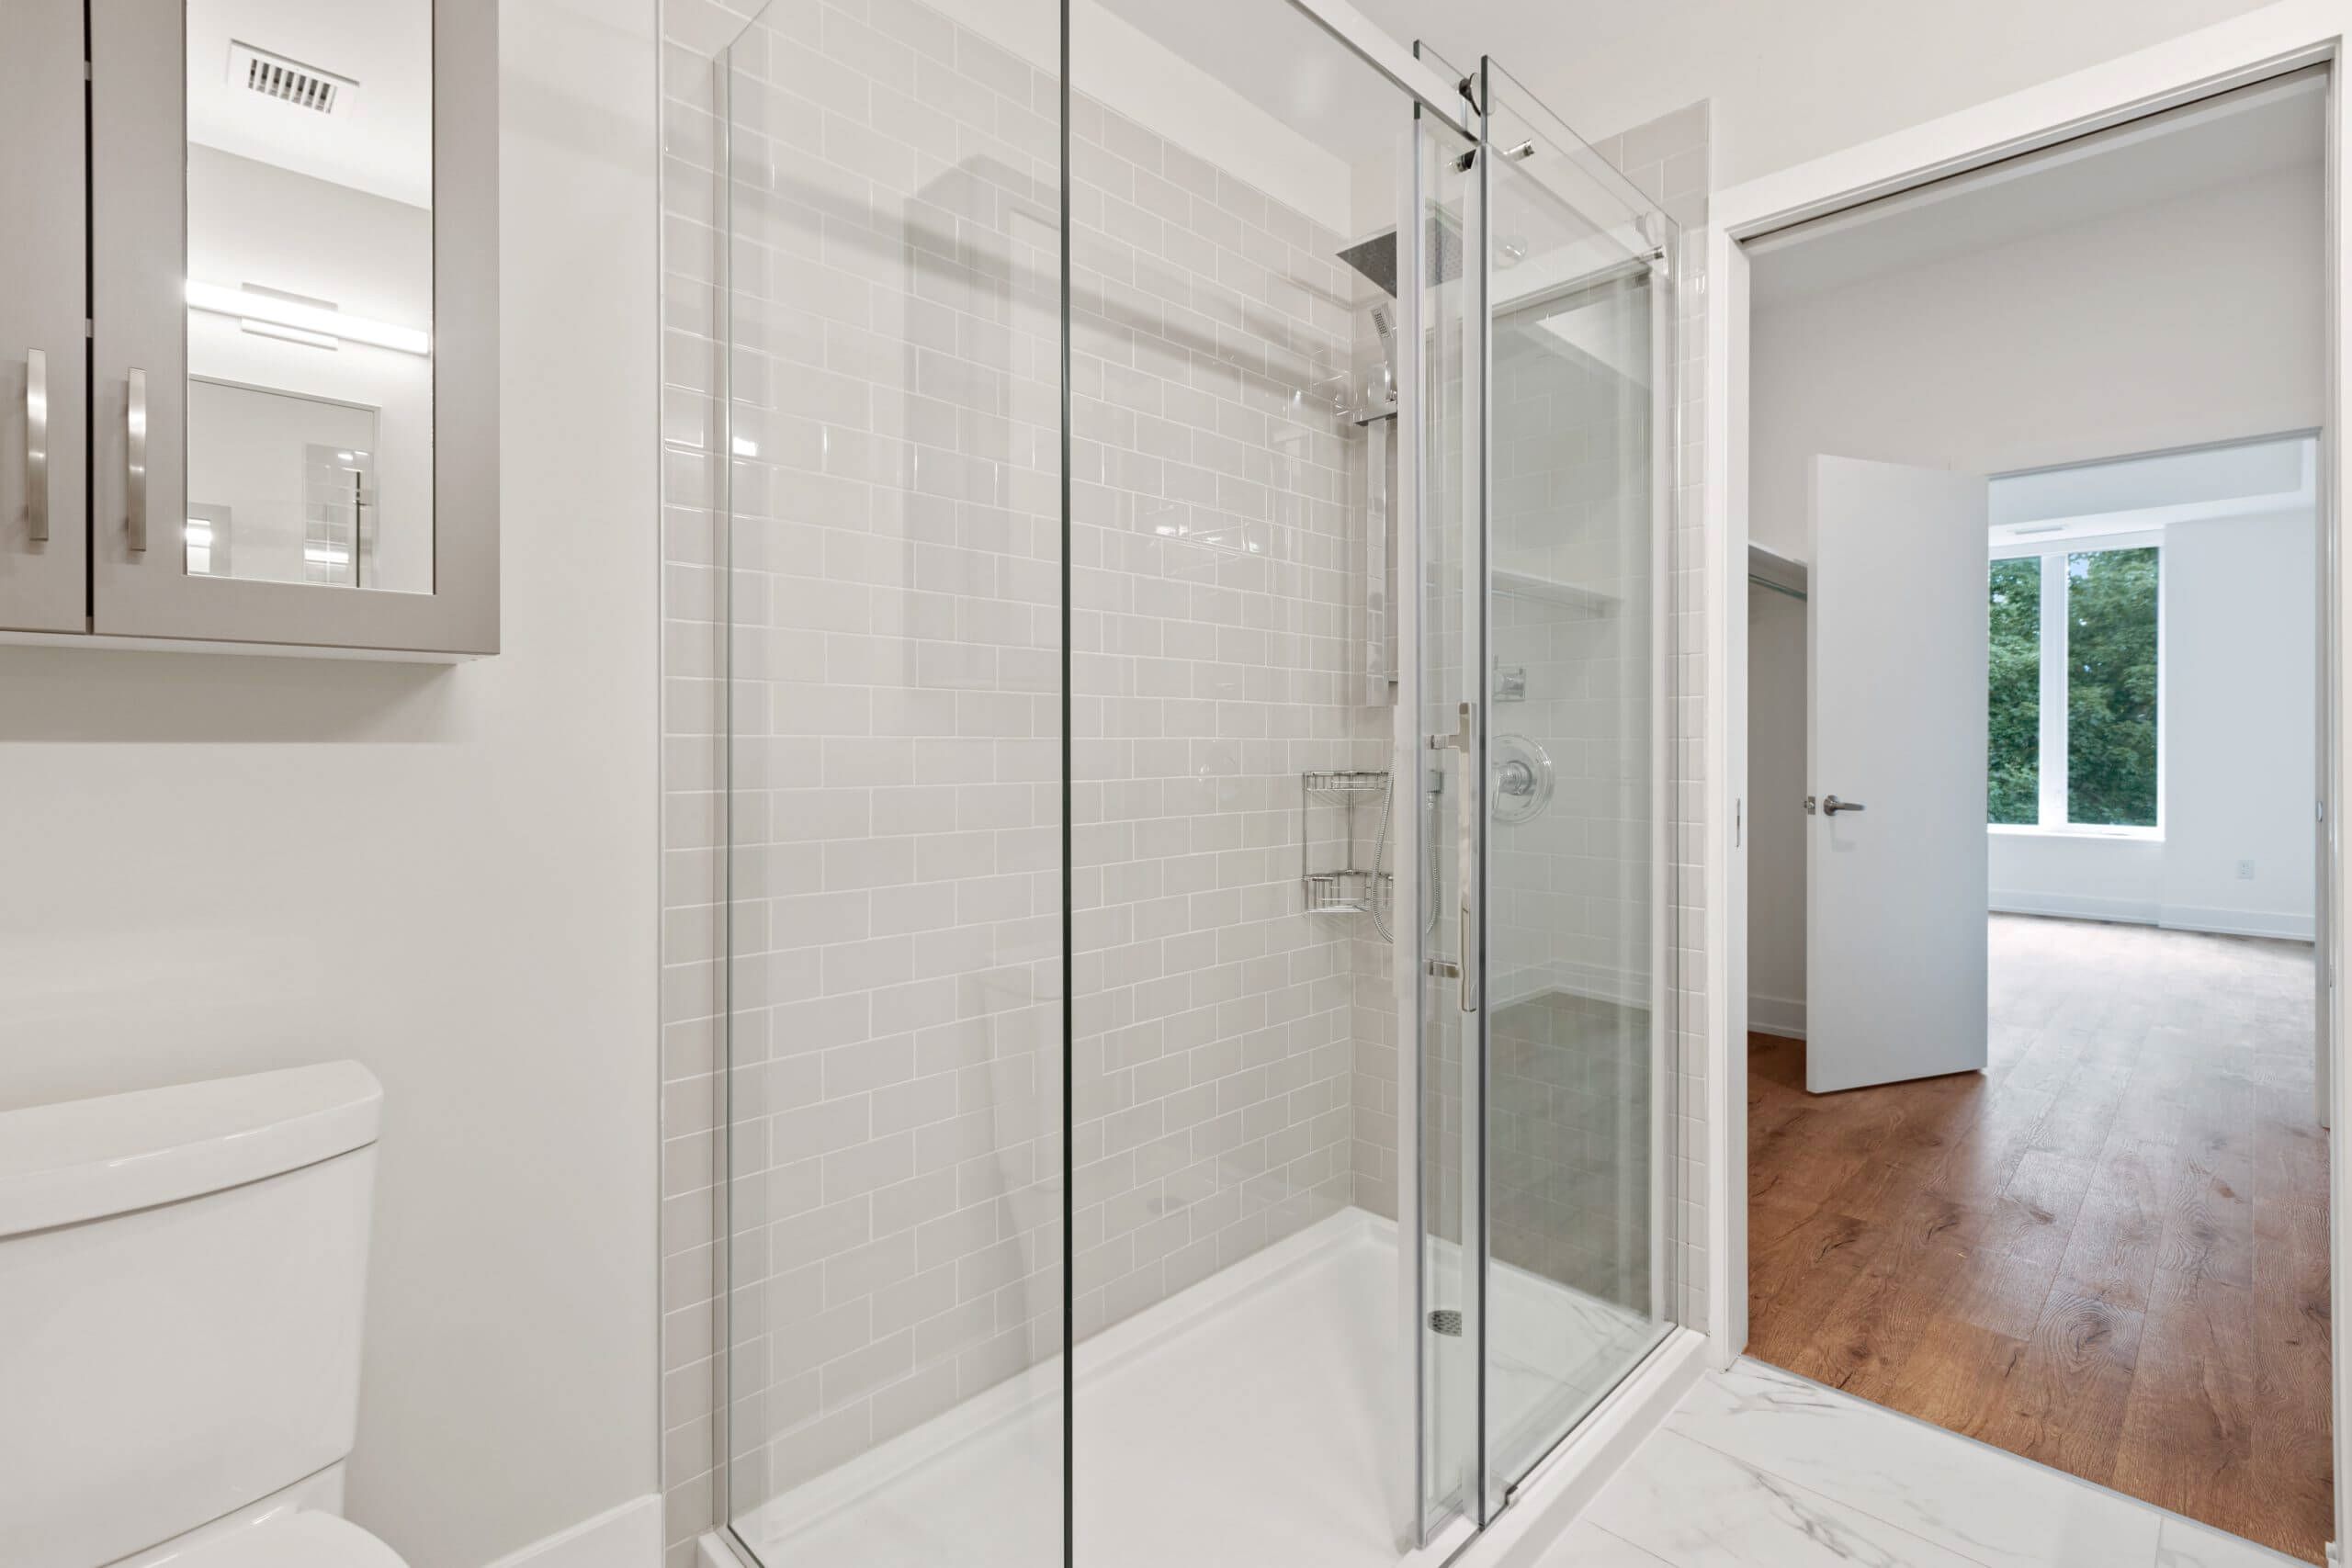
When it comes to adding functional and stylish elements to your bathroom, a towel bar is a must-have accessory. Not only does it provide a convenient place to hang your towels, but it also adds a touch of elegance to the overall look of your bathroom. While hanging a towel bar on a traditional wall is relatively straightforward, you might face a different challenge when attempting to hang it on a glass shower door. The transparent and delicate nature of glass requires careful consideration and precision to ensure a secure installation that won’t compromise the integrity of the door.
In this step-by-step guide, we will walk you through the process of hanging a towel bar on a glass shower door. From gathering the necessary tools and materials to securing the towel bar in place, we’ll cover all the essential steps to ensure a successful installation. So let’s dive in and learn how to hang a towel bar on a glass shower door like a pro!
Key Takeaways:
- Elevate your bathroom with a functional and stylish towel bar on your glass shower door, adding convenience and elegance to your daily routine.
- Follow the step-by-step guide to ensure a secure and stable installation, prioritizing safety and personal style to transform your bathroom space.
Step 1: Gather Necessary Tools and Materials
Before you begin the process of hanging a towel bar on a glass shower door, it’s important to gather all the necessary tools and materials. Having everything prepared will help streamline the installation process and ensure you have everything you need at hand. Here are the tools and materials you will need:
- Measuring tape: This will help you accurately measure the placement for the towel bar.
- Pencil: Use a pencil to mark the spots where you will install the towel bar.
- Level: A level will ensure that your towel bar is installed straight and level.
- Power drill: You will need a power drill with the appropriate drill bit to create holes in the glass.
- Wall anchors (if required): Depending on the towel bar and the weight it will bear, you may need wall anchors to provide additional stability.
- Screwdriver: A screwdriver will be used to attach the mounting brackets and secure the towel bar in place.
- Towel bar: Choose a towel bar that matches your bathroom’s decor and fits the size of your glass shower door.
- Mounting brackets: These brackets will hold the towel bar in place on the glass door.
- Screws: You will need screws to attach the mounting brackets to the glass shower door.
Make sure to gather all the tools and materials mentioned above and have them readily available before proceeding to the next step.
Step 2: Measure and Mark Placement
Once you have gathered all the necessary tools and materials, the next step is to measure and mark the placement for your towel bar on the glass shower door. This is a crucial step to ensure that your towel bar is installed at the desired height and in the most convenient location.
Start by deciding where you want to position your towel bar on the glass shower door. Consider factors such as accessibility, aesthetics, and functionality. Ideally, you want the towel bar to be within easy reach and at a height that suits your needs.
Next, use a measuring tape to determine the precise location for the towel bar. Measure the width of the towel bar and mark the desired placement with a pencil on the glass door. Use a level to ensure that the markings are straight and level.
Keep in mind that you should also consider the width of the door and leave enough space on either side of the towel bar for easy access. Allow for at least a few inches of space on both ends to ensure comfortable towel hanging.
Take a step back and visually inspect the marked placement to ensure that it aligns with your preferences. Make any necessary adjustments before moving on to the next step.
By taking the time to measure and mark the exact placement, you will ensure that your towel bar is installed in the perfect position on your glass shower door.
Step 3: Install Wall Anchors (If Required)
Before drilling holes in the glass shower door, it’s important to assess the weight-bearing capacity of the door and determine if wall anchors are necessary. Wall anchors provide additional support and stability, especially if you anticipate the towel bar holding heavy towels or other items.
Start by checking the manufacturer’s instructions for the towel bar you’ve chosen. They may specify whether wall anchors are required based on the weight or design of the towel bar. If wall anchors are recommended or if you prefer the added security, follow these steps to install them:
- Choose an appropriate location for the wall anchors, based on the markings you made in Step 2. Ensure that they align with the desired placement of the towel bar.
- Use a power drill with a drill bit that matches the size of the wall anchors you’re using. Place the tip of the drill bit on the marked spot and drill a hole into the wall.
- Insert the wall anchor into the hole and tap it gently with a hammer until it is flush with the surface of the door.
- Repeat the process for each wall anchor, ensuring that they are installed securely and evenly.
Wall anchors provide a secure base for mounting brackets and help distribute the weight of the towel bar more evenly across the glass door. This reduces the risk of the towel bar becoming loose or damaging the door. However, it’s important to choose wall anchors that are suitable for glass surfaces and can withstand the weight of the towel bar and its contents.
If the towel bar you’ve selected does not require wall anchors or if you prefer not to use them, you can proceed to the next step of drilling holes in the glass shower door.
Step 4: Drill Holes on the Glass Shower Door
Now that you have marked the placement and, if necessary, installed the wall anchors, it’s time to drill holes on the glass shower door. This step requires caution and precision to avoid damaging the glass. Follow these steps to securely drill the holes:
- Put on safety goggles and protective gloves to shield yourself from glass particles.
- Attach a diamond-coated drill bit suitable for drilling into glass to your power drill.
- Mark the drilling spot on the glass with a small piece of masking tape. This will help prevent the drill bit from slipping during the drilling process.
- Hold the drill at a 90-degree angle to the glass and apply gentle and steady pressure as you begin drilling. Start at a slow speed to create a pilot hole.
- Increase the speed of the drill, maintaining a steady hand, and continue drilling until you’ve reached the desired depth. Take breaks if necessary to prevent overheating.
- Repeat the drilling process for each marked spot.
Drilling into glass requires a delicate touch and patience. It’s important not to rush the process and avoid exerting excessive pressure on the drill. Applying too much force or drilling too quickly can lead to cracking or shattering the glass.
Once you have successfully drilled the holes, remove the masking tape and clean any glass debris. Take a moment to inspect the holes to ensure they are clean and smooth, as rough edges can pose a risk of injury.
With the holes drilled, you’re now ready to move on to the next step and attach the mounting brackets to the glass shower door.
When hanging a towel bar on a glass shower door, use a specialized adhesive designed for glass and follow the manufacturer’s instructions carefully to ensure a secure and long-lasting hold.
Read more: How To Clean A Prefab Shower Towel Bar
Step 5: Attach Mounting Brackets to the Door
With the holes drilled on the glass shower door, it’s time to attach the mounting brackets that will hold the towel bar in place. Follow these steps to securely attach the brackets:
- Take one of the mounting brackets and align it with the drilled holes on the glass door. Ensure that the bracket is level and centered according to your markings.
- Insert the screws provided with the mounting brackets through the bracket holes and into the drilled holes on the glass. Be sure to use the correct size and type of screws that are designed for glass surfaces.
- Using a screwdriver, tighten the screws until the bracket is securely fastened to the glass door. Avoid applying excessive force to prevent cracking or damaging the glass.
- Repeat the above steps for the remaining mounting brackets, making sure they are evenly spaced and properly aligned.
As you attach the mounting brackets, periodically check the levelness of the towel bar using a level. Adjust the brackets if needed to ensure the towel bar will hang straight and parallel to the ground.
Once all the mounting brackets are securely attached to the glass door, give them a gentle tug to ensure they are stable and won’t come loose. If any bracket feels unstable, double-check the alignment and tighten the screws as necessary.
With the mounting brackets securely in place, you’re now ready to move on to the next step and secure the towel bar onto the brackets.
Step 6: Secure the Towel Bar onto the Mounting Brackets
Now that the mounting brackets are securely attached to the glass shower door, it’s time to attach the towel bar itself. Follow these steps to ensure the towel bar is properly secured:
- Place the towel bar onto the mounting brackets, ensuring that it aligns with the holes on the brackets.
- Insert the screws provided with the towel bar kit through the holes on the towel bar and into the holes on the mounting brackets.
- Using a screwdriver, tighten the screws until the towel bar is firmly attached to the mounting brackets. Ensure that the towel bar is level and in the desired position.
As you secure the towel bar, periodically check the levelness and alignment to ensure it hangs straight and parallel to the ground. Adjust the towel bar if necessary by loosening the screws, making any necessary adjustments, and then retightening the screws.
Gently tug on the towel bar to ensure it is stable and securely attached to the mounting brackets. If there is any wobbling or instability, double-check the screw tightness and alignment of the mounting brackets.
Take a step back and visually inspect the towel bar to ensure it is straight, level, and securely attached to the glass shower door. Make any final adjustments as needed before moving on to the next step.
With the towel bar successfully secured to the glass shower door, it’s time to check for stability and make any necessary adjustments.
Step 7: Check for Stability and Adjust if Needed
After securely attaching the towel bar to the mounting brackets, it’s important to check for stability to ensure that the towel bar is firmly in place. Follow these steps to check for stability and make any necessary adjustments:
- Gently tug and apply light pressure to the towel bar to test its stability. If it feels loose or wobbly, it may require adjustments.
- Inspect the mounting brackets and screws to ensure they are tightly secured. Use a screwdriver to tighten any loose screws if necessary.
- Check the levelness and alignment of the towel bar using a level. If it is not straight, you may need to loosen the screws and readjust the positioning.
- Make any needed adjustments by loosening the screws, repositioning the towel bar, and then retightening the screws. Repeat this process until the towel bar feels stable and hangs straight.
It’s important to take your time during this step to ensure the stability and durability of the towel bar. The goal is to have a towel bar that can withstand the weight of towels and withstand everyday use without coming loose.
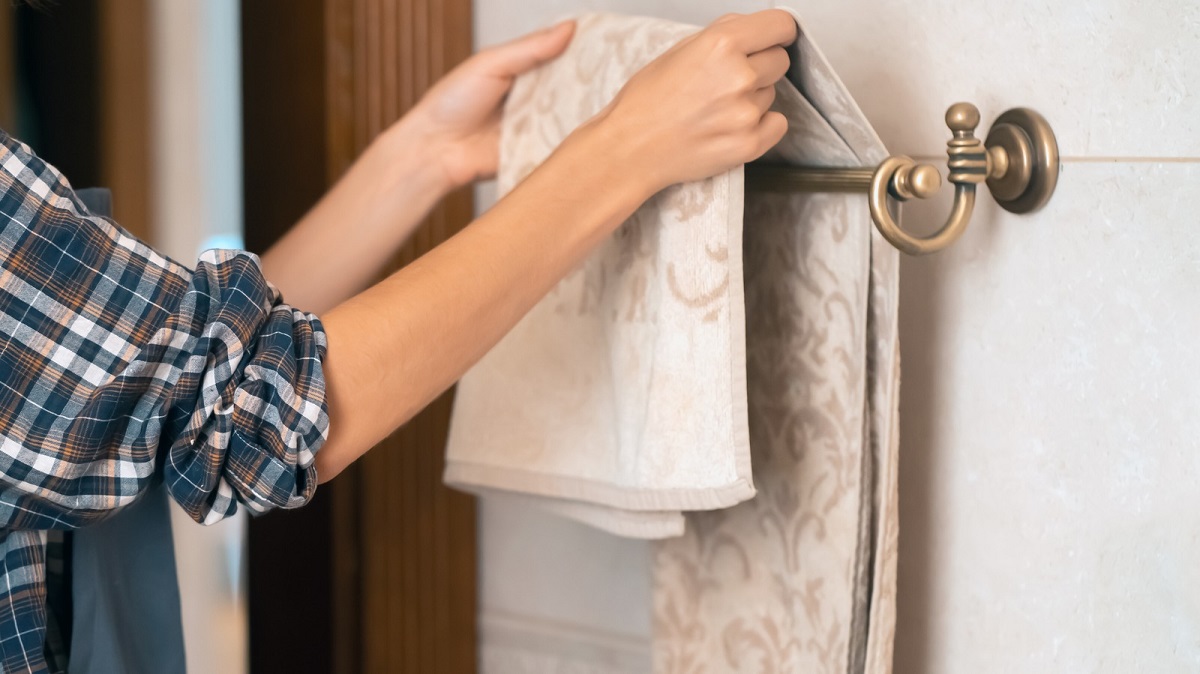
Once you are satisfied with the stability and alignment of the towel bar, give it a final test by hanging a towel on it and gently applying pressure. If it remains secure and doesn’t shift, you can move on to the last step and enjoy your newly hung towel bar.
Step 8: Enjoy Your Newly Hung Towel Bar
Congratulations! You have successfully hung a towel bar on your glass shower door. Now it’s time to sit back, relax, and enjoy the convenience and elegance it brings to your bathroom. Here are a few tips to help you make the most of your newly installed towel bar:
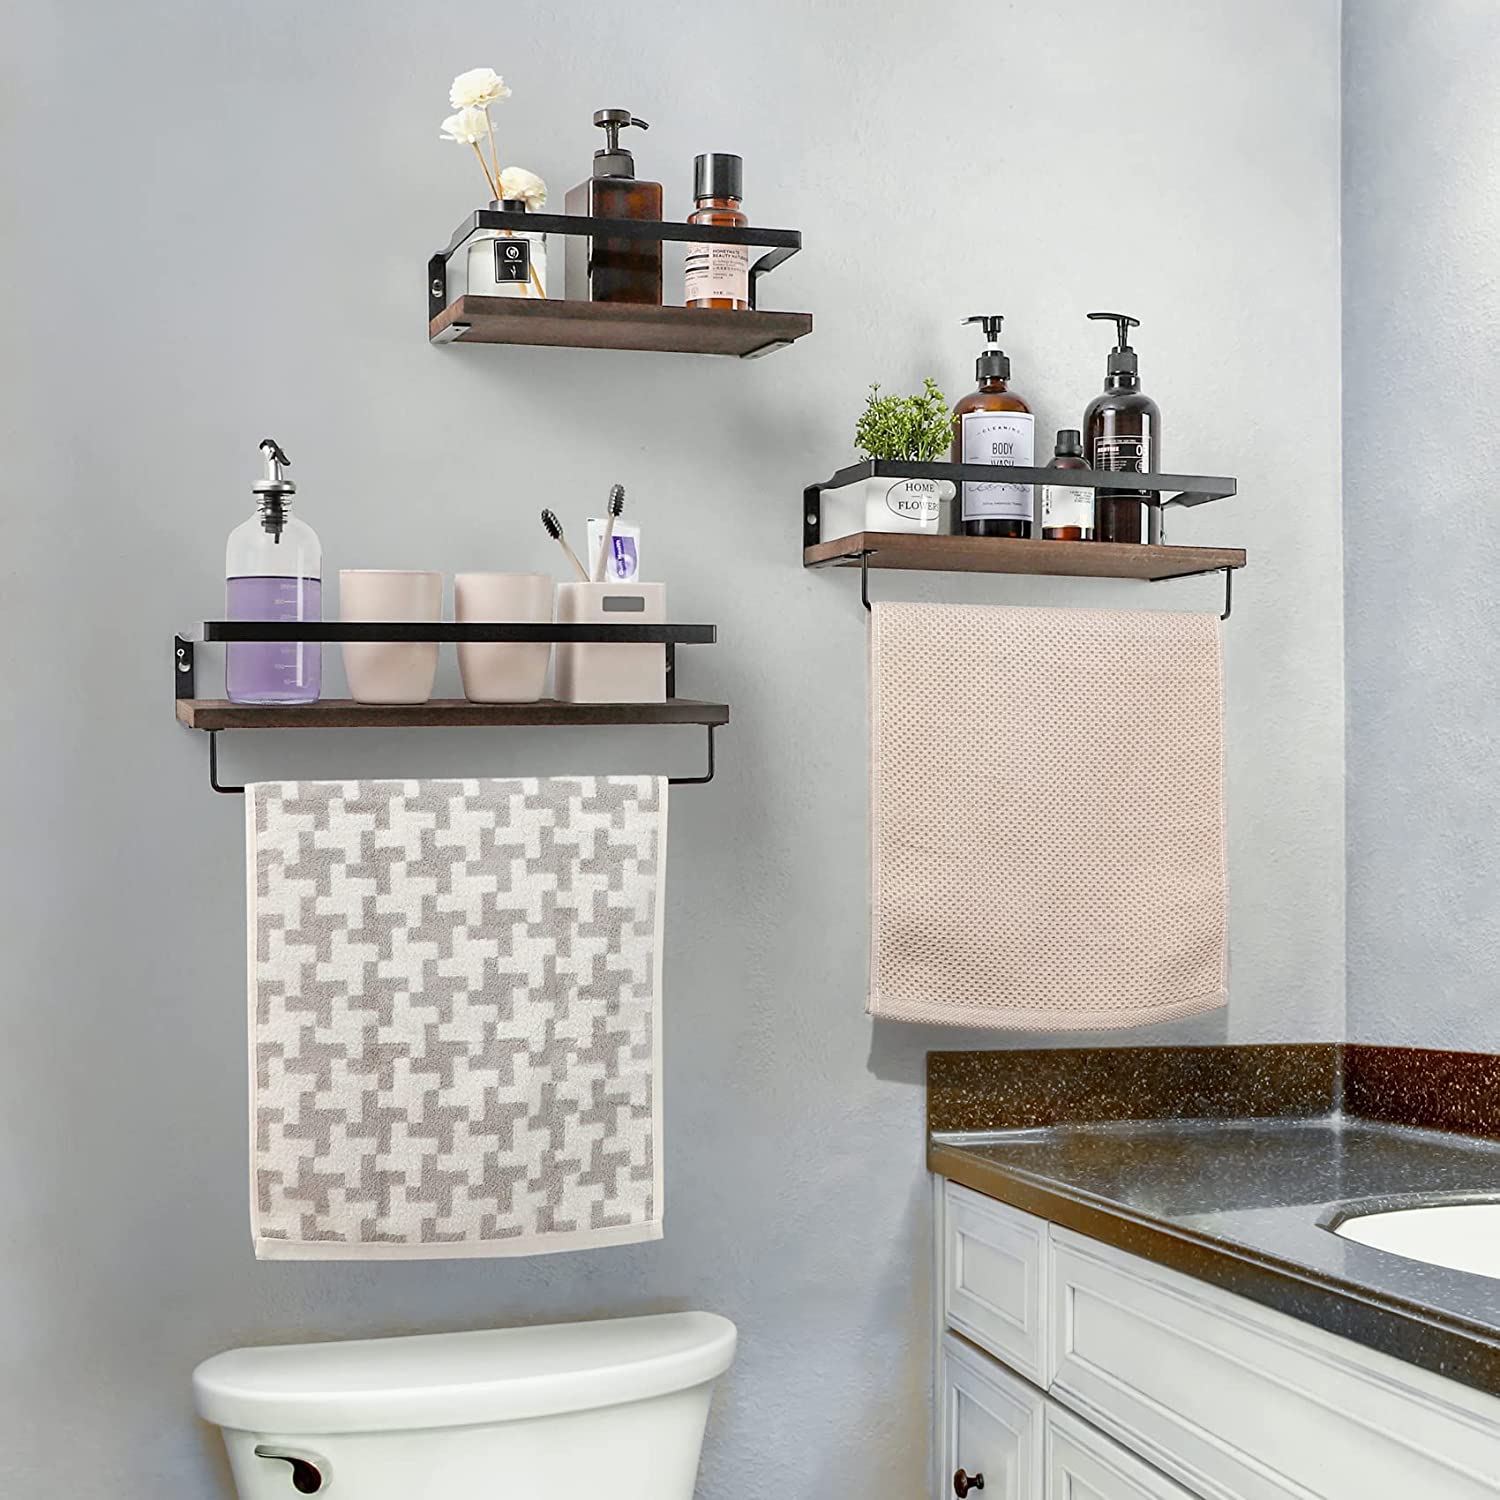
- Organize your towels: Arrange your towels neatly on the towel bar, allowing them to dry properly after use. This not only keeps your bathroom organized but also ensures your towels are within easy reach.
- Decorate with style: Enhance the visual appeal of your towel bar by adding decorative accents such as hanging plants, a scented candle, or small baskets to hold toiletries. This personal touch can transform your bathroom into a relaxing sanctuary.
- Maintain cleanliness: Regularly clean your towel bar and glass shower door to keep them looking pristine. Use non-abrasive cleaners and a soft cloth to avoid scratching the glass surface.
- Consider additional accessories: If you have extra space on your towel bar, you may want to consider adding hooks or rings to hang additional items such as robes or loofahs. This maximizes the functionality of your towel bar and makes your bathroom even more convenient.
Remember, a towel bar is not only a practical addition to your bathroom but also a stylish accessory. It adds a touch of sophistication and organization to the space, making it more welcoming for you and your guests.
Enjoy the ease and convenience of having your towels readily accessible whenever you need them. Whether you’re drying off after a relaxing shower or simply want to add a touch of luxury to your daily routine, your newly hung towel bar is sure to elevate your bathroom experience.
With these steps completed, you can now fully enjoy the benefits of your newly hung towel bar on your glass shower door. Congratulations on your successful installation!
Read more: How Do I Hang A Towel Bar
Conclusion
Hanging a towel bar on a glass shower door may initially seem daunting, but with the right tools, materials, and step-by-step guidance, it can be achieved successfully. By following the comprehensive steps outlined in this guide, you can install a towel bar that not only enhances the functionality of your bathroom but also adds a touch of elegance and organization.
From gathering the necessary tools and materials to measuring, marking, drilling, and securing the towel bar, each step is crucial in ensuring a secure and stable installation. Taking the time to properly plan, measure, and execute each step will ultimately result in a towel bar that stands the test of time.
Remember to prioritize safety during the installation process by wearing protective gear and using caution when drilling into the glass shower door. Taking these precautions will help prevent accidents and ensure a smooth installation experience.
Once your towel bar is securely installed, take the time to enjoy the convenience it brings to your daily routine. Organize your towels, add decorative accents, and maintain cleanliness to create a pleasant and inviting bathroom environment.
By following these steps and infusing your own personal style, you can transform your bathroom with a functional and stylish towel bar on your glass shower door. So go ahead, hang your towels with ease, and indulge in the luxury of a well-appointed bathroom.
Now that you've mastered hanging a towel bar on a glass shower door, why not tackle another handy project? Setting up a towel bar with a set screw might sound tricky, but with the right guidance, you'll get it done in no time. Our detailed guide walks you through every step, ensuring your towel bar is both stylish and sturdy. Ready for more DIY tips that spruce up your space effortlessly? Check out our next article for all the know-how you need.
Frequently Asked Questions about How To Hang A Towel Bar On A Glass Shower Door
Was this page helpful?
At Storables.com, we guarantee accurate and reliable information. Our content, validated by Expert Board Contributors, is crafted following stringent Editorial Policies. We're committed to providing you with well-researched, expert-backed insights for all your informational needs.


0 thoughts on “How To Hang A Towel Bar On A Glass Shower Door”