Articles
How To Replace A Ceramic Towel Bar
Modified: August 27, 2024
Learn how to easily replace a ceramic towel bar with our informative articles. Find step-by-step instructions and helpful tips to complete the project successfully.
(Many of the links in this article redirect to a specific reviewed product. Your purchase of these products through affiliate links helps to generate commission for Storables.com, at no extra cost. Learn more)
Introduction
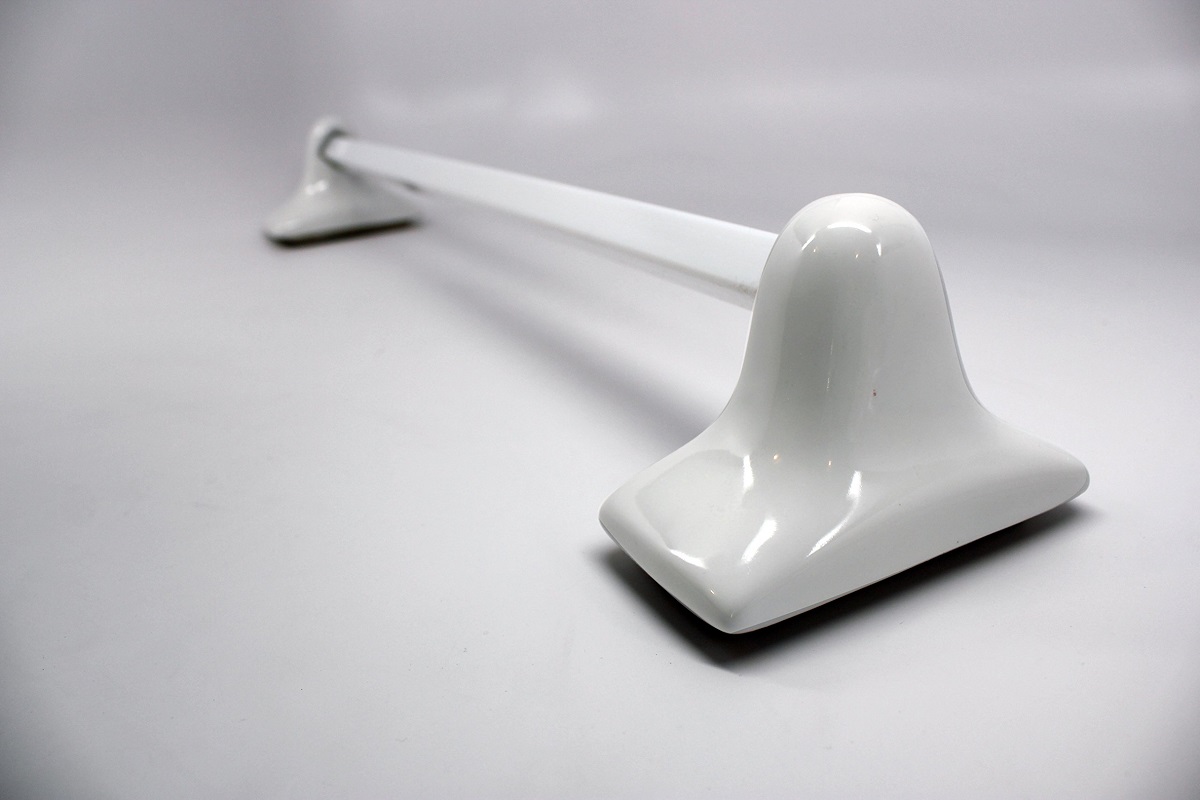
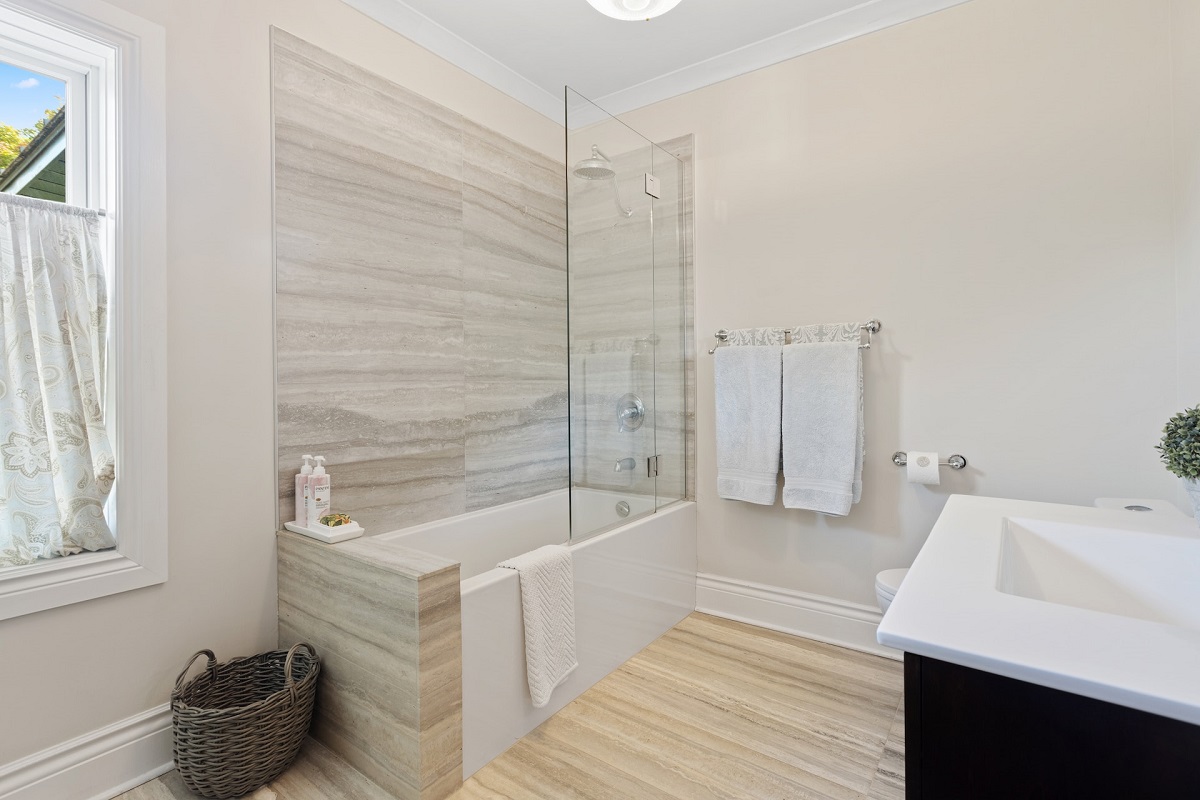
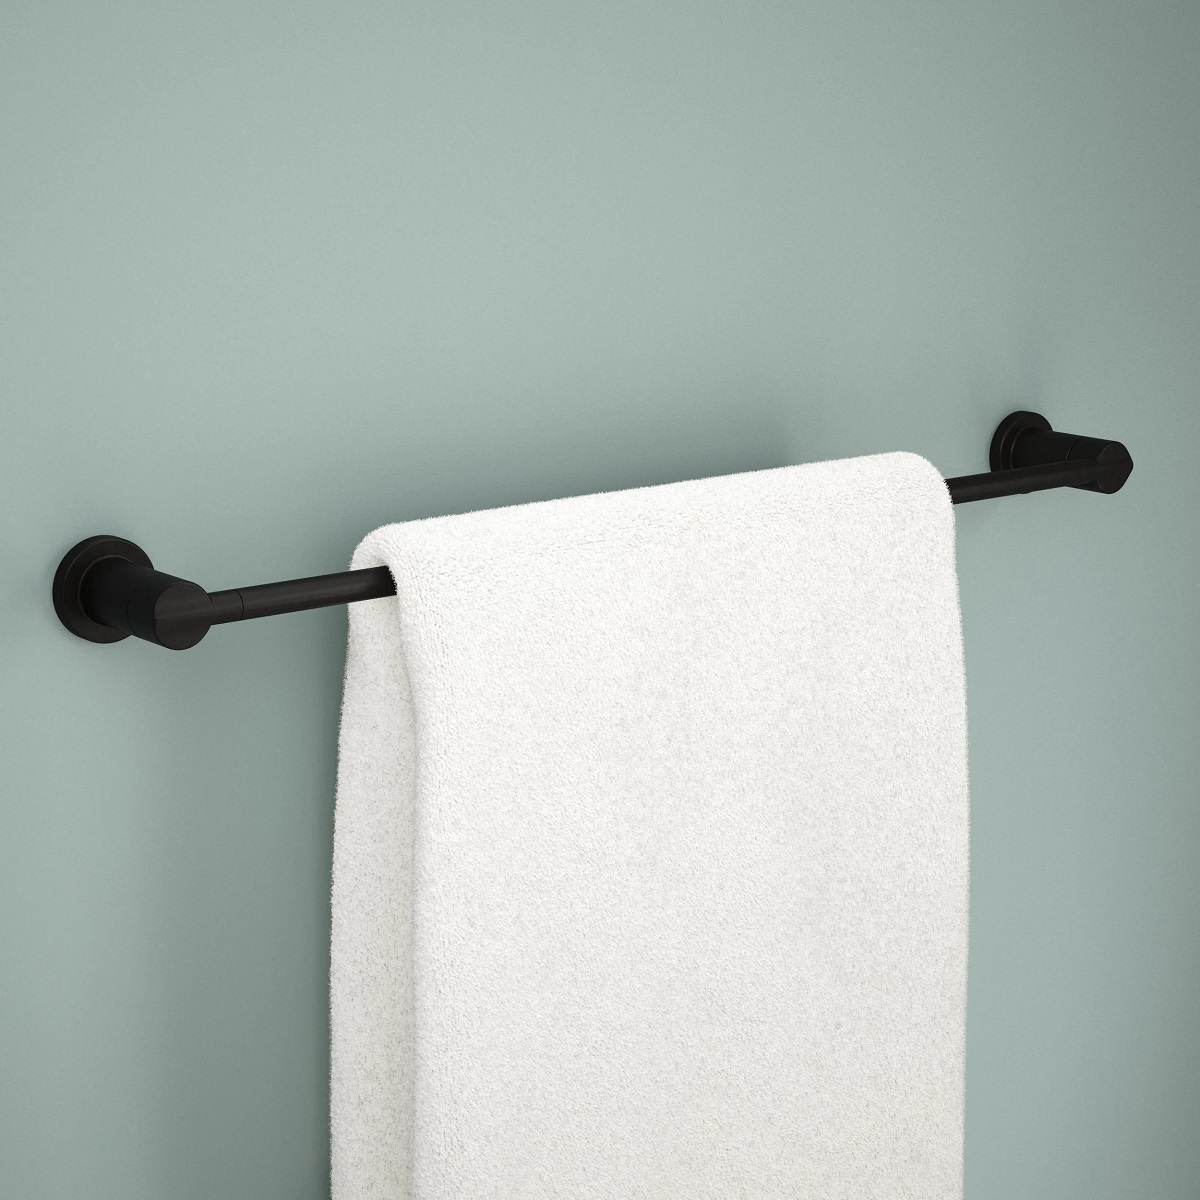
Installing a new ceramic towel bar can instantly update the look of your bathroom while also providing a practical storage solution. Whether you’re replacing an old towel bar or installing one for the first time, this step-by-step guide will walk you through the process. With some basic tools and a little bit of patience, you can have a stylish and functional towel bar in no time.
Before you begin, it’s important to gather all the necessary tools and materials. Make sure you have a tape measure, a pencil, a level, a drill, wall anchors, screws, a screwdriver or drill with the appropriate bits, and of course, the new ceramic towel bar itself.
Once you have everything you need, follow the steps outlined in this guide to ensure a successful installation. By the end, you’ll have a sturdy and aesthetically pleasing towel bar that will enhance the overall look of your bathroom.
So, let’s dive in and learn how to replace a ceramic towel bar in just a few simple steps!
Key Takeaways:
- Upgrade your bathroom with a stylish and functional ceramic towel bar using basic tools and a step-by-step installation guide. Enjoy the convenience and elegance it brings to your space.
- Ensure a stable and long-lasting towel bar installation by following proper preparation, secure mounting, stability testing, and adding final touches for a polished bathroom upgrade.
Step 1: Gather necessary tools and materials
Before you begin the installation process, it’s essential to gather all the necessary tools and materials. Having everything prepared beforehand will make the process smoother and more efficient. Here’s a list of items you’ll need:
1. Tape measure: This will help you accurately measure the distance between wall studs and ensure that the towel bar is installed at the desired height.
2. Pencil: Use a pencil to mark the placement of the towel bar on the wall. This will serve as a guide during the installation process.
3. Level: A level is crucial for ensuring that the towel bar is straight. It will help you achieve a professional and polished look.
4. Drill: Depending on the type of wall you have, you may need a drill to create holes for the wall anchors and screws.
5. Wall anchors: Wall anchors are essential when installing a towel bar on drywall or other weaker materials. They provide extra support and stability to hold the towel bar securely in place.
6. Screws: You will need screws to attach the towel bar to the wall anchors. Make sure to choose screws of the appropriate length to ensure a snug fit.
7. Screwdriver or drill: Use a screwdriver or drill with the appropriate bits to drive the screws into the wall and secure the towel bar.
8. New ceramic towel bar: Of course, you’ll need the new towel bar itself. Choose one that complements the style and décor of your bathroom.
Before you begin the installation, double-check that you have all the necessary tools and materials. Having everything on hand will save you time and prevent any delays during the process.
Once you have gathered everything, you’re ready to move on to the next step: removing the old ceramic towel bar.
Step 2: Remove the old ceramic towel bar
To begin the process of replacing the ceramic towel bar, you’ll first need to remove the old one. Follow these steps:
1. Start by locating the screws or brackets that are holding the towel bar in place. These are usually located on each end of the bar or underneath the mounting brackets.
2. Use a screwdriver or drill to unscrew the screws or brackets and remove them. Carefully set them aside as you will need them later.
3. Once the screws or brackets are removed, gently pull the towel bar away from the wall. Be cautious not to apply too much force or it may crack or break the ceramic.
4. If the towel bar is glued to the wall, you may need to use a putty knife or a utility knife to loosen it. Gently slide the knife between the bar and the wall to release any adhesive. Take your time and be patient to avoid damaging the wall.
5. Once the old towel bar is completely removed, inspect the wall for any remaining adhesive or residue. Use a wall cleaner or warm soapy water to clean the area and remove any leftover adhesive.
6. Finally, use a dry cloth to wipe the wall and ensure it is clean and smooth before proceeding to the next step.
By following these steps, you should be able to successfully remove the old ceramic towel bar. Now that you have a clean slate, you can move on to preparing the installation area for the new towel bar.
Step 3: Prepare the installation area
After removing the old ceramic towel bar, the next step is to prepare the installation area for the new towel bar. Proper preparation is crucial to ensure a secure and long-lasting installation. Follow these steps:
1. Determine the desired height: Measure the distance between the floor and where you want the towel bar to be installed. This measurement will vary depending on personal preference and the height of the users. Ideally, the towel bar should be mounted at a height that is easily accessible for everyone.
2. Locate wall studs: Using a stud finder or tapping on the wall, identify the location of wall studs. These studs provide additional support and stability for mounting the towel bar. It’s best to attach the towel bar to the wall studs for a secure installation. Mark the positions of the studs with a pencil.
3. Mark the mounting holes: Using the measurements you took in step 1, mark the desired height and location of the mounting holes on the wall. Use a level to ensure the markings are straight and aligned.
4. Take into account the width of the towel bar: Measure the width of the towel bar and add half of that measurement to each side of the centerline mark. This will determine the final placement of the mounting holes.
5. Pre-drill pilot holes: Using a drill with a bit slightly smaller than the diameter of the screws, pre-drill pilot holes at the marked positions. This will make it easier to install the screws and prevent the wall from splitting or cracking.
6. Install wall anchors: If you’re not able to mount the towel bar directly into the wall studs, insert wall anchors into the pre-drilled pilot holes. Gently tap the anchors into place with a hammer.
By properly preparing the installation area, you’ll ensure a solid foundation for the new ceramic towel bar. With everything in place, you’re ready to move on to the next step: installing the new towel bar.
Step 4: Install the new ceramic towel bar
Now that you have prepared the installation area, it’s time to install the new ceramic towel bar. Follow these steps to ensure a successful installation:
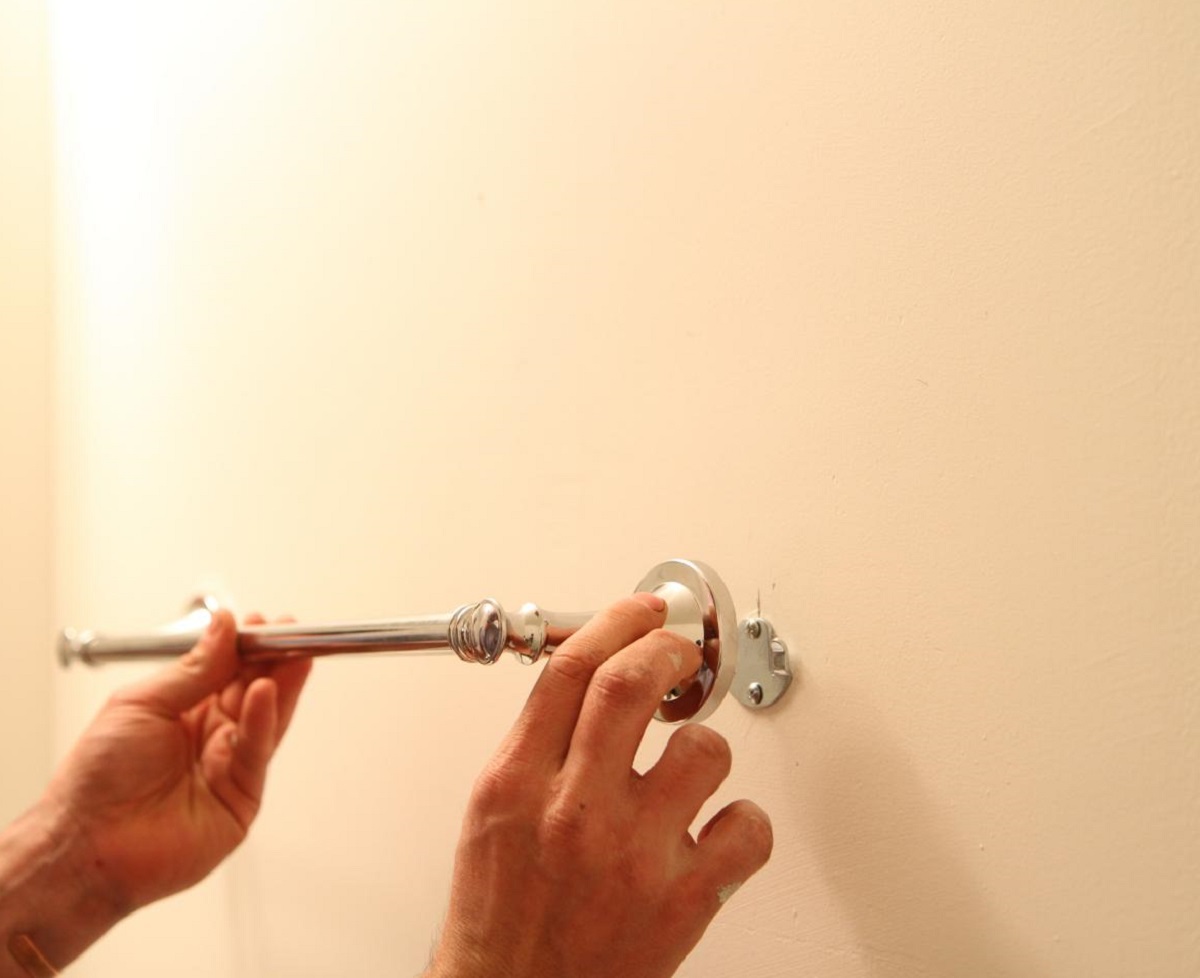
1. Place the mounting brackets: Take the mounting brackets that came with the towel bar and align them with the pre-drilled pilot holes or wall anchors. Ensure that the brackets are level and centered.
2. Attach the brackets: Using the screws that came with the towel bar or appropriate ones of the same size, start by screwing one end of the towel bar onto one of the brackets. Make sure it is securely fastened but avoid overtightening to prevent damage to the ceramic.
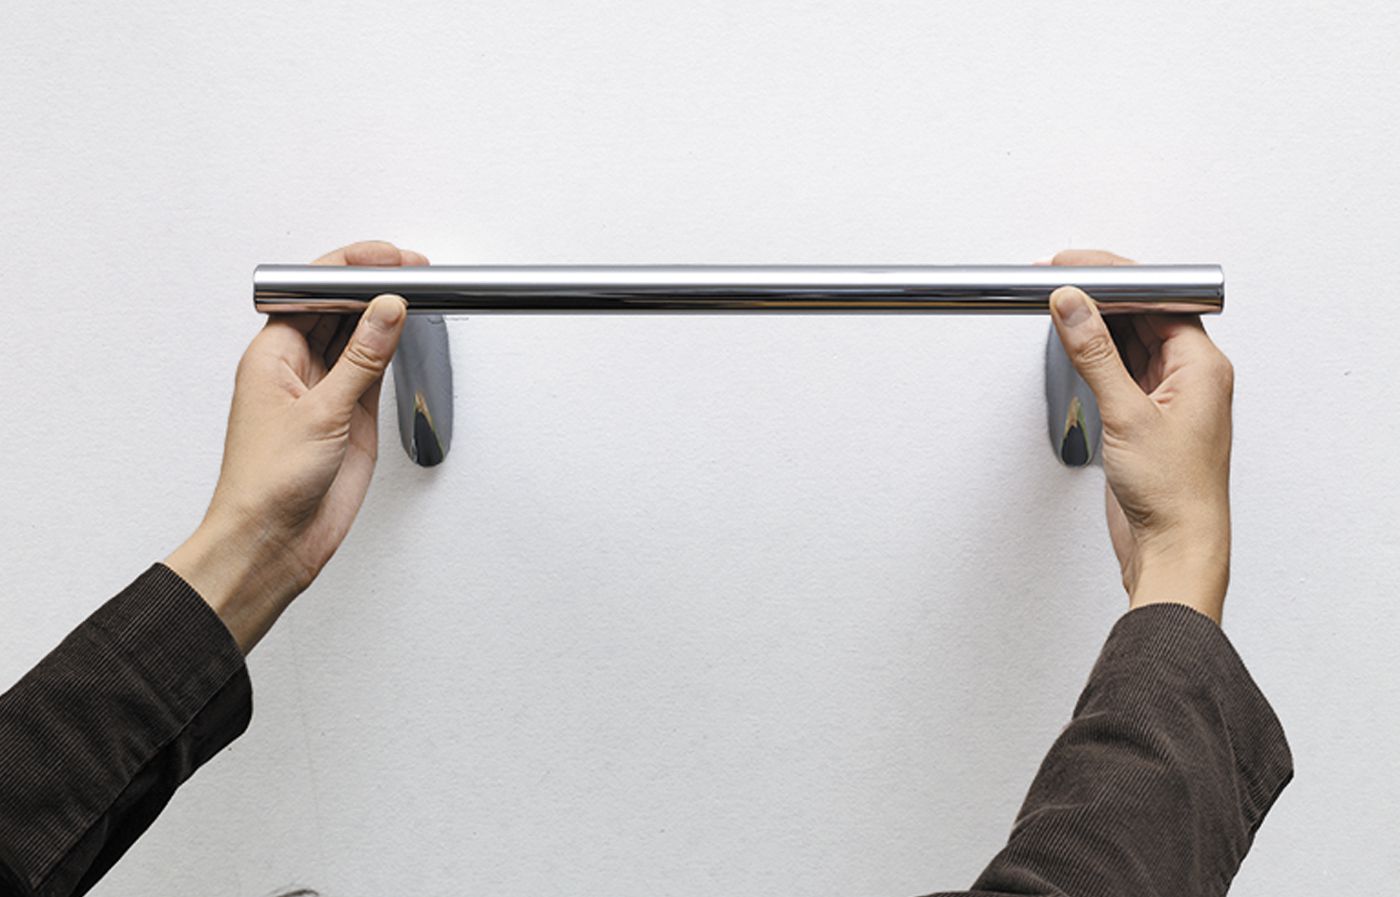
3. Mount the towel bar: Once one end of the towel bar is attached to a bracket, carefully align the other end with its corresponding bracket. Slowly slide it onto the bracket while keeping it level. This may require some adjustment to ensure a proper fit.
4. Double-check alignment: Use a level to ensure that the towel bar is straight and level. Make any necessary adjustments by slightly loosening the screws and repositioning the towel bar. Once it is level, tighten the screws securely.
5. Follow manufacturer’s instructions: Some towel bars may require specific instructions for installation, such as additional supports or hardware. Always refer to the manufacturer’s instructions for any specific guidelines or recommendations.
By following these steps, you can securely install the new ceramic towel bar in your bathroom. With it in place, the next step is to ensure that the towel bar is firmly secured.
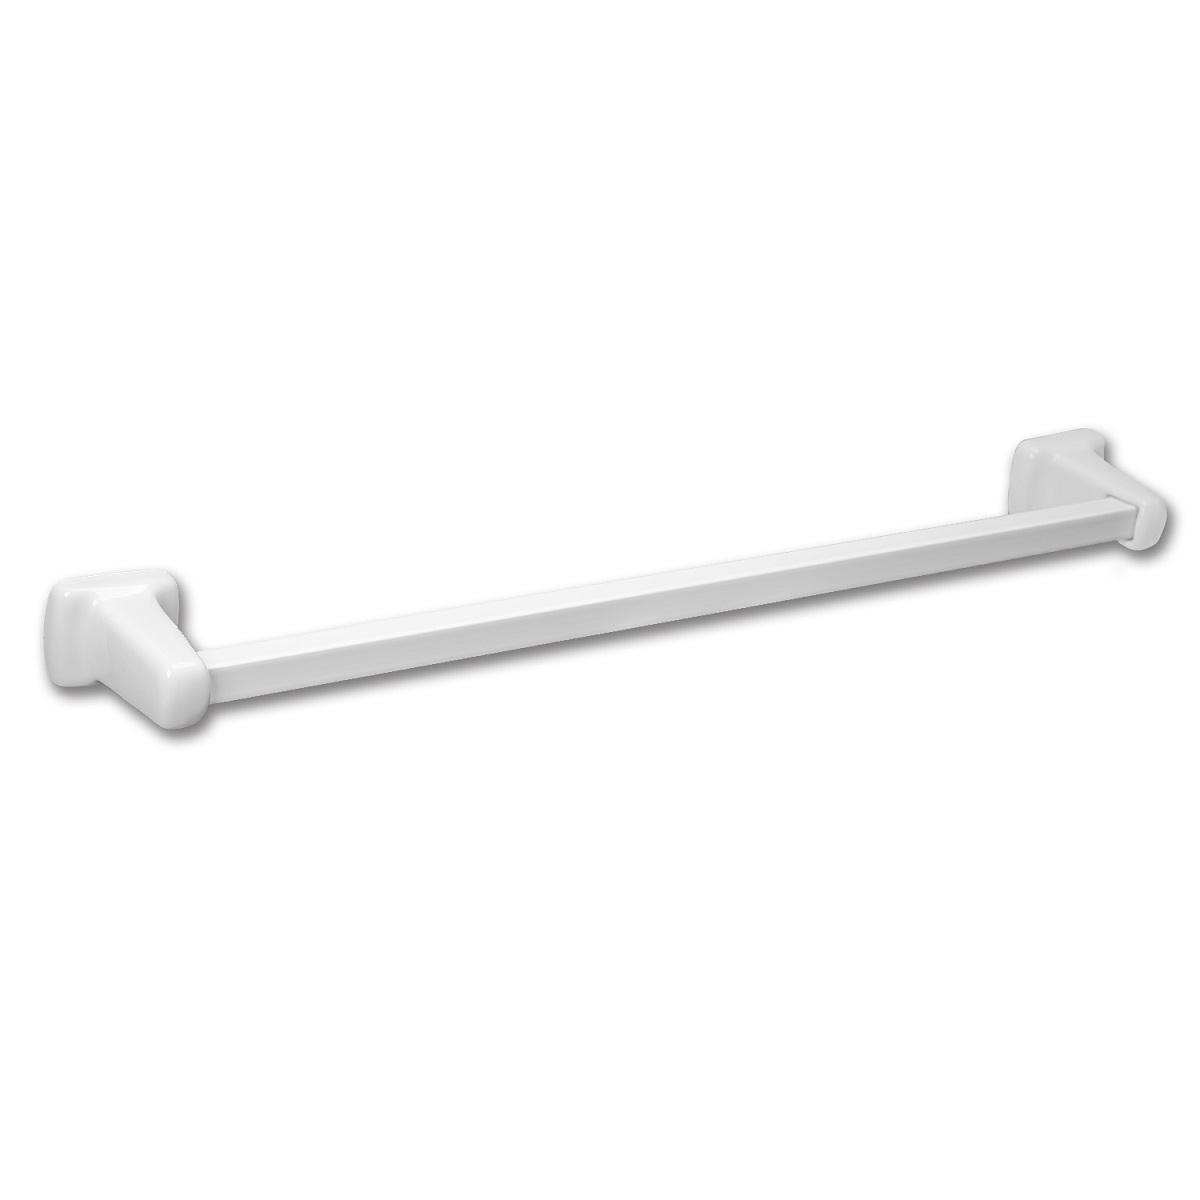
When replacing a ceramic towel bar, be sure to measure the existing bar before purchasing a new one to ensure a proper fit. Use a drill with a ceramic bit to carefully remove the old bar and install the new one.
Read more: How To Replace Plastic Towel Bar
Step 5: Secure the towel bar in place
After installing the new ceramic towel bar, it’s important to ensure that it is securely fastened to the wall. This will ensure its stability and prevent any accidents or damage. Follow these steps to secure the towel bar in place:
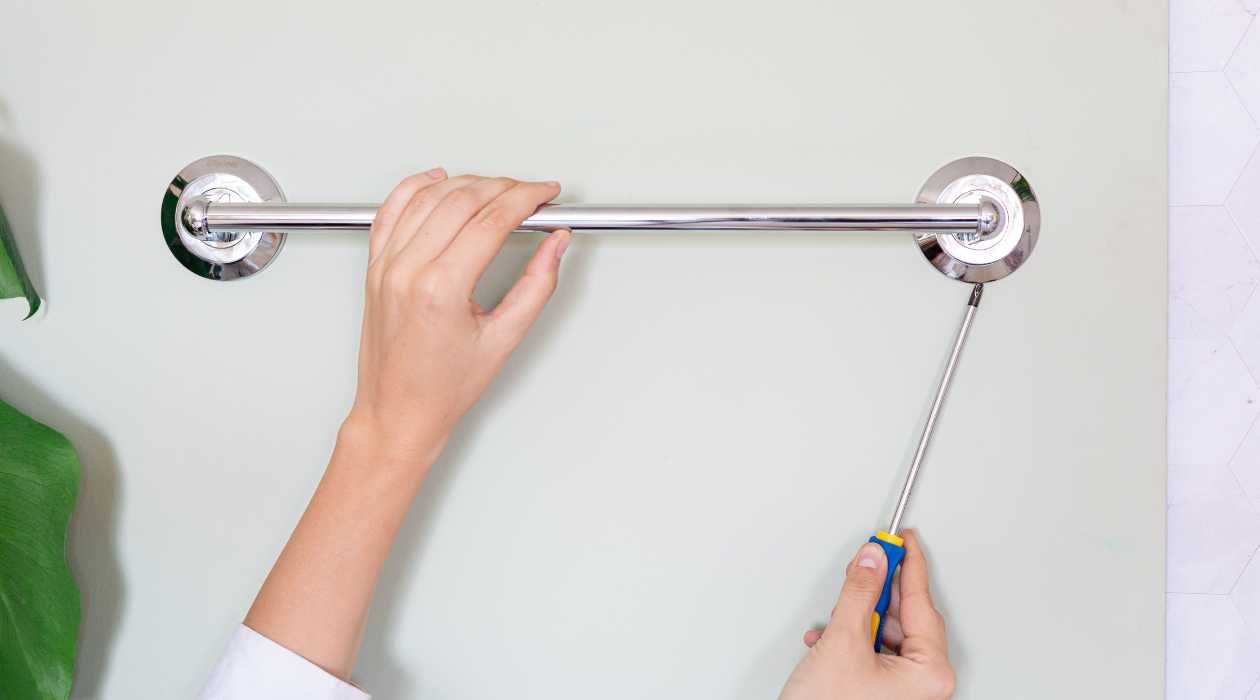
1. Tighten the screws: Using a screwdriver or drill, carefully tighten the screws on each end of the towel bar and the mounting brackets. Make sure they are snug but be cautious not to overtighten, as it can cause damage to the ceramic or the wall.
2. Test the towel bar’s stability: Gently pull and apply pressure to the towel bar to test its stability. It should feel secure and not wobble or move. If you notice any looseness, check the screws and brackets to ensure they are properly tightened.
3. Make adjustments if necessary: If the towel bar feels unstable, you may need to readjust the placement of the screws or mounting brackets. Loosen the screws slightly, reposition the towel bar, and then retighten them. Use a level to ensure it is still straight and properly aligned.
4. Consider weight capacity: Keep in mind the weight capacity of the towel bar. Ceramic towel bars are generally sturdy, but it’s important not to overload them with heavy towels or other objects. Refer to the manufacturer’s instructions for weight limitations, and use the towel bar accordingly.
By following these steps, you can ensure that the ceramic towel bar is securely fastened to the wall. This will provide a reliable and stable solution for hanging towels and enhancing the functionality of your bathroom. Now that the towel bar is secure, let’s move on to the final steps of cleaning up and adding some final touches.
Step 6: Test the towel bar’s stability
Testing the stability of the towel bar is a crucial step to ensure that it can safely hold the weight of towels or other items. Follow these steps to test the towel bar’s stability:
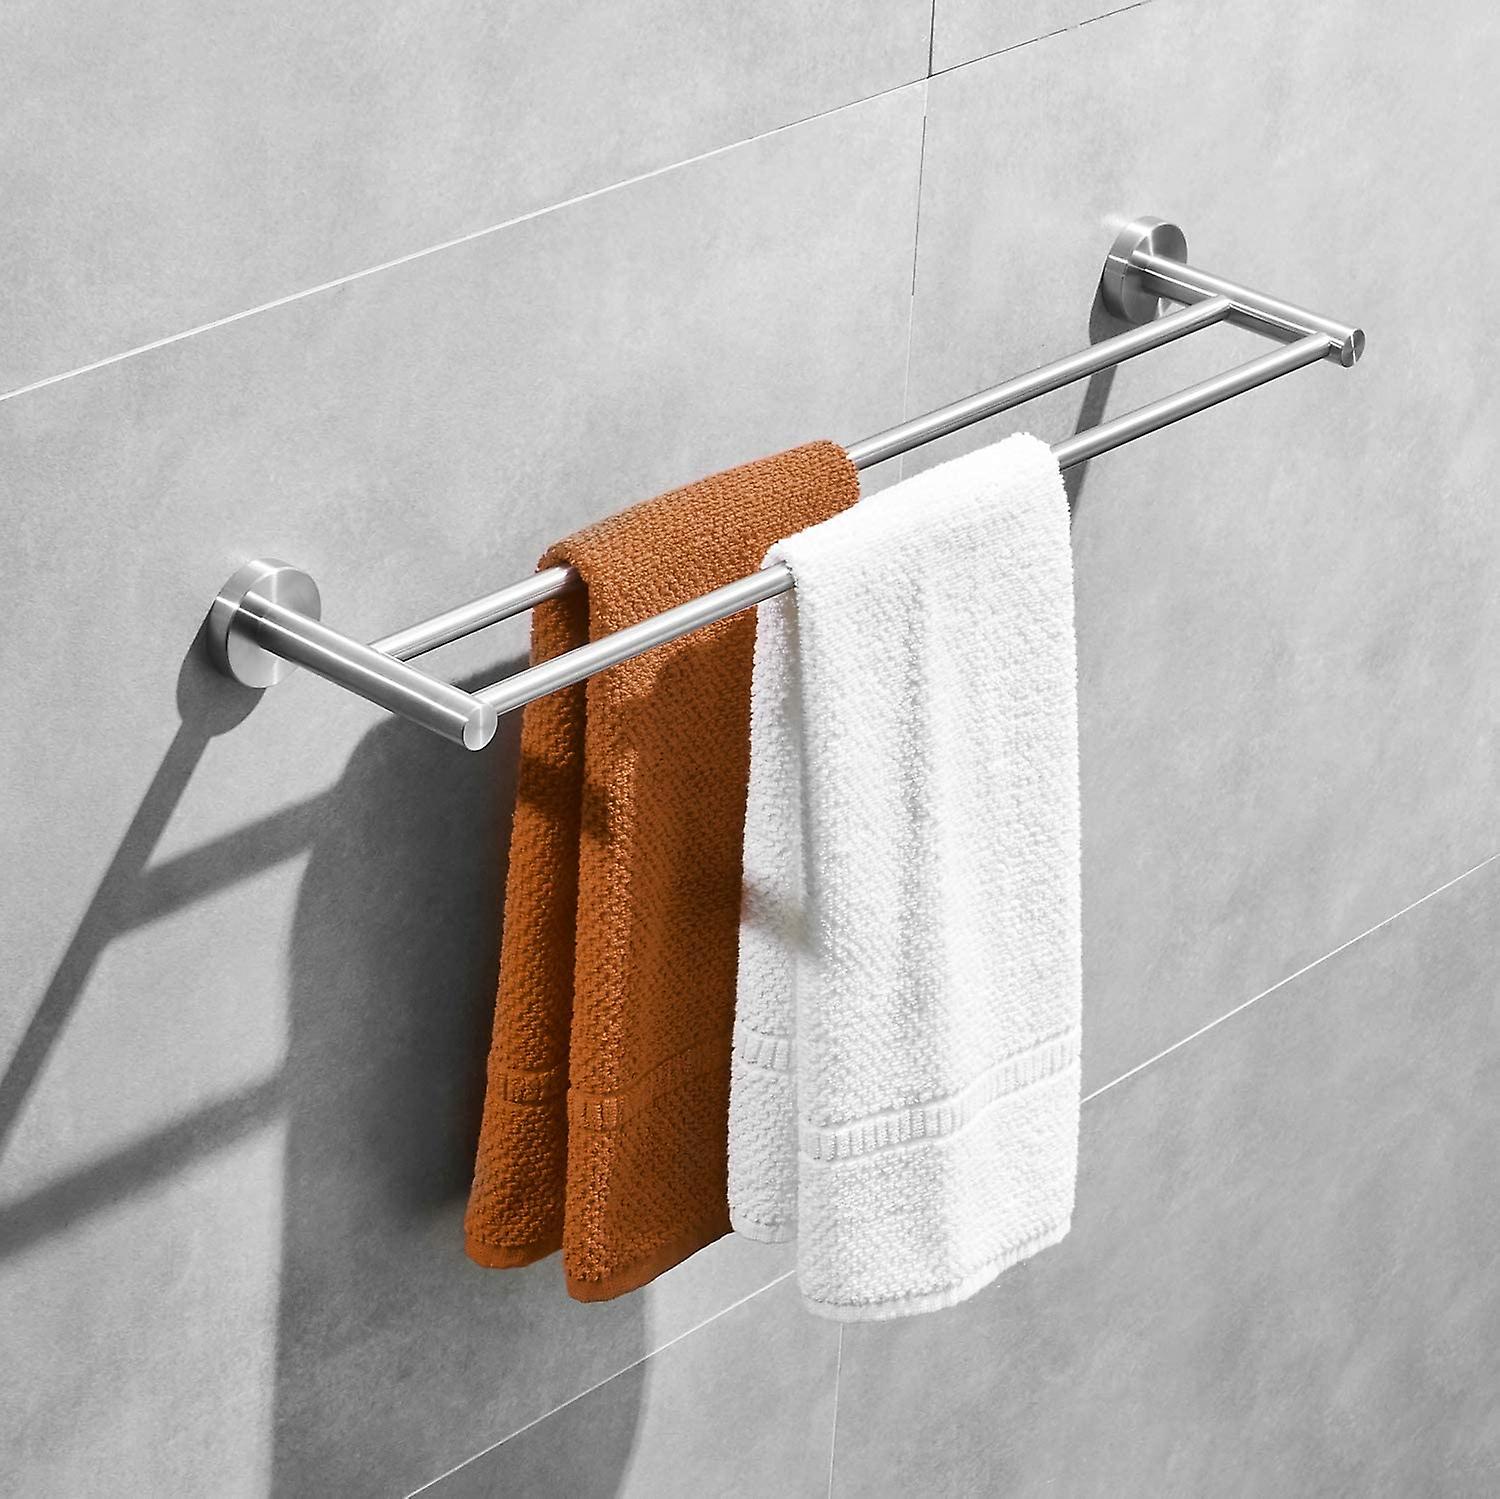
1. Hang towels: Take a few towels or other lightweight objects and hang them on the towel bar. Make sure to distribute the weight evenly across the bar.
2. Apply pressure: Gently push down on the towels or objects to simulate the weight they would apply. Test different pressure points along the towel bar to ensure its stability.
3. Observe for movement: Watch closely for any movement or wobbling of the towel bar. If you notice any significant movement, it could indicate that the towel bar is not securely installed. In that case, you may need to revisit the previous steps and make necessary adjustments.
4. Adjust if required: If you notice any instability, gently remove the towels and reevaluate the towel bar’s mounting brackets and screws. Check for any loose connections and tighten them if necessary. Make sure the towel bar is properly aligned and level.
By testing the towel bar’s stability, you can ensure that it is securely installed and capable of withstanding the weight of towels or other items. A stable towel bar will provide convenience and functionality in your bathroom. Once you are satisfied with the stability of the towel bar, you can move on to the final step: cleaning up and adding some final touches.
Step 7: Clean up and final touches
After successfully installing and testing the ceramic towel bar, it’s time to clean up the area and add some final touches. Follow these steps to complete the process:
1. Remove any debris: Take a soft cloth or sponge and clean up any dust, debris, or fingerprints from the towel bar and its surroundings. This will give the towel bar a polished and clean appearance.
2. Touch up the wall: If any touch-ups are needed on the wall, now is the time to address them. Fill in any small holes or imperfections with spackling compound, and then sand it smooth once it’s dry. Finally, paint or touch up the area to match the surrounding wall.
3. Mount decorative hardware: If your towel bar includes decorative hardware, such as end caps or finials, now is the time to attach them. Follow the manufacturer’s instructions to ensure proper and secure installation.
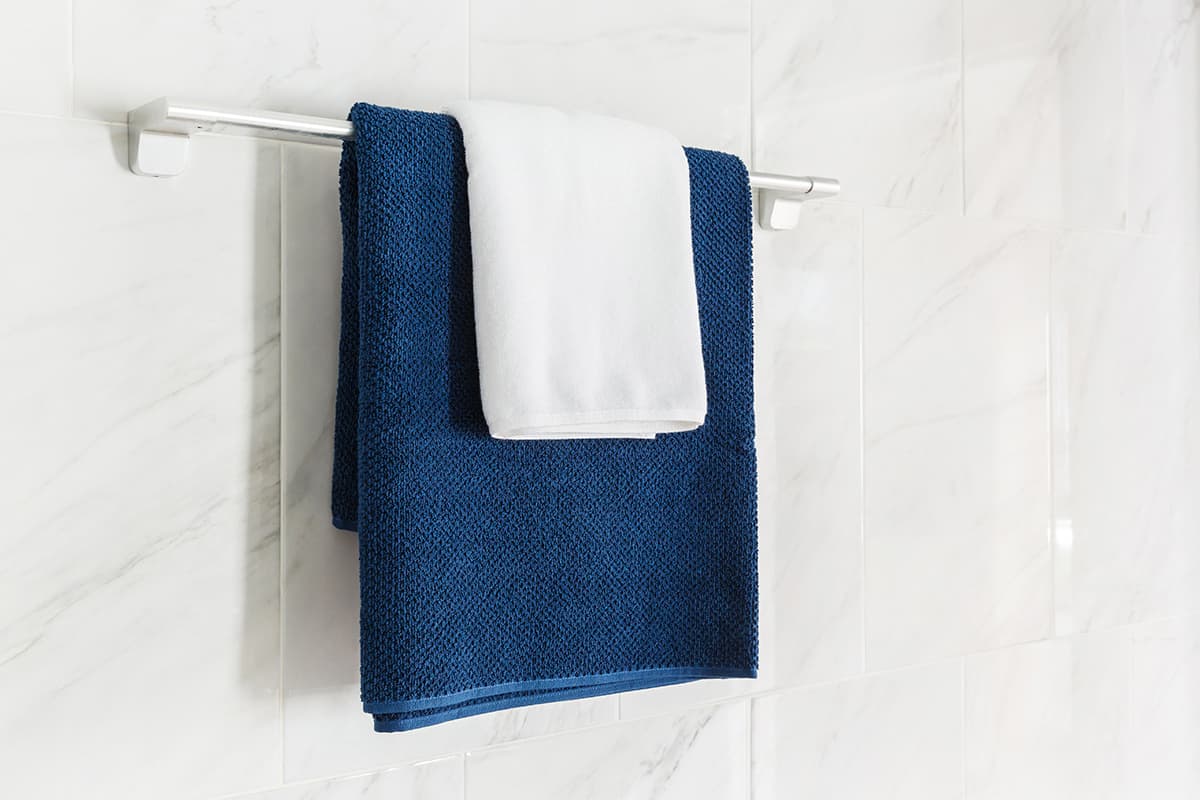
4. Add towels and accessories: To complete the look of your ceramic towel bar, hang your towels and any other bathroom accessories you may have. Consider coordinating the colors and styles of your towels to enhance the overall aesthetic of your bathroom.
5. Stand back and admire your work: Take a moment to step back and appreciate your newly installed ceramic towel bar. Admire how it adds functionality and style to your bathroom while also providing a convenient storage solution.
Remember to periodically check the towel bar for any signs of loosening or damage. If you notice any issues, immediately address them to maintain the towel bar’s stability and functionality.
By following these final steps, you will have successfully completed the installation of your ceramic towel bar and added the finishing touches to enhance the overall look of your bathroom.
Conclusion
Replacing a ceramic towel bar is a simple and rewarding project that can instantly enhance the functionality and aesthetics of your bathroom. By following the step-by-step guide outlined in this article, you can successfully replace an old towel bar or install a new one with ease.
From gathering the necessary tools and materials to removing the old towel bar, preparing the installation area, and securely installing the new ceramic towel bar, each step is crucial to ensuring a stable and long-lasting result. Testing the towel bar’s stability and making any necessary adjustments is also essential to guarantee its ability to support the weight of towels and other items.
Once the installation is complete, cleaning up the area and adding final touches, such as decorative hardware and properly coordinating towels, adds the perfect finishing touch to your bathroom’s new focal point.
With a properly installed and stylish ceramic towel bar, you’ll enjoy convenient and neatly organized towels while adding a touch of elegance to your bathroom decor.
Remember to periodically check and maintain the towel bar to ensure its stability and functionality. Enjoy the benefits of your newly installed ceramic towel bar and revel in the improved functionality and aesthetic appeal it brings to your bathroom.
So, roll up your sleeves, gather your tools, and embark on this DIY project to replace your ceramic towel bar. You’ll be proud of the end result and enjoy the benefits for years to come.
Frequently Asked Questions about How To Replace A Ceramic Towel Bar
Was this page helpful?
At Storables.com, we guarantee accurate and reliable information. Our content, validated by Expert Board Contributors, is crafted following stringent Editorial Policies. We're committed to providing you with well-researched, expert-backed insights for all your informational needs.


0 thoughts on “How To Replace A Ceramic Towel Bar”