Home>Furniture & Design>Interior Design Trends>What To Do With Old Picture Frames Without Glass
Interior Design Trends
What To Do With Old Picture Frames Without Glass
Modified: August 17, 2024
Discover creative ways to repurpose old picture frames without glass to stay on top of the latest interior design trends. Explore DIY ideas for transforming frames into stylish decor pieces.
(Many of the links in this article redirect to a specific reviewed product. Your purchase of these products through affiliate links helps to generate commission for Storables.com, at no extra cost. Learn more)
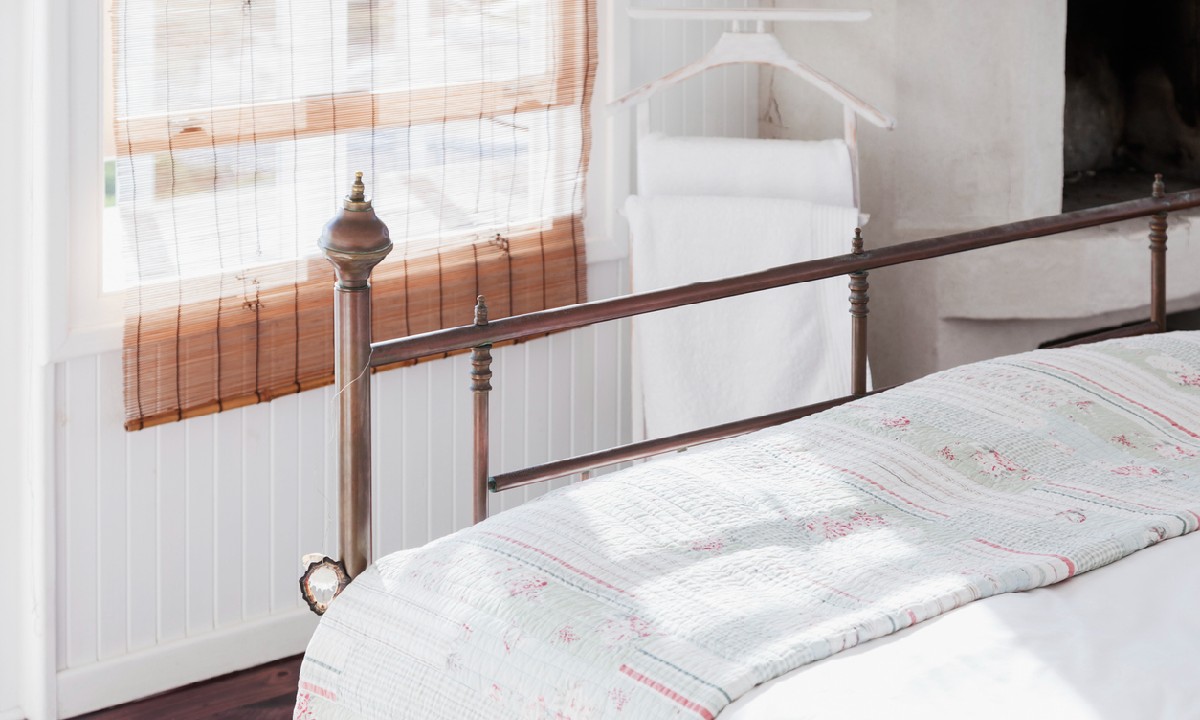
Repurpose as a Jewelry Organizer
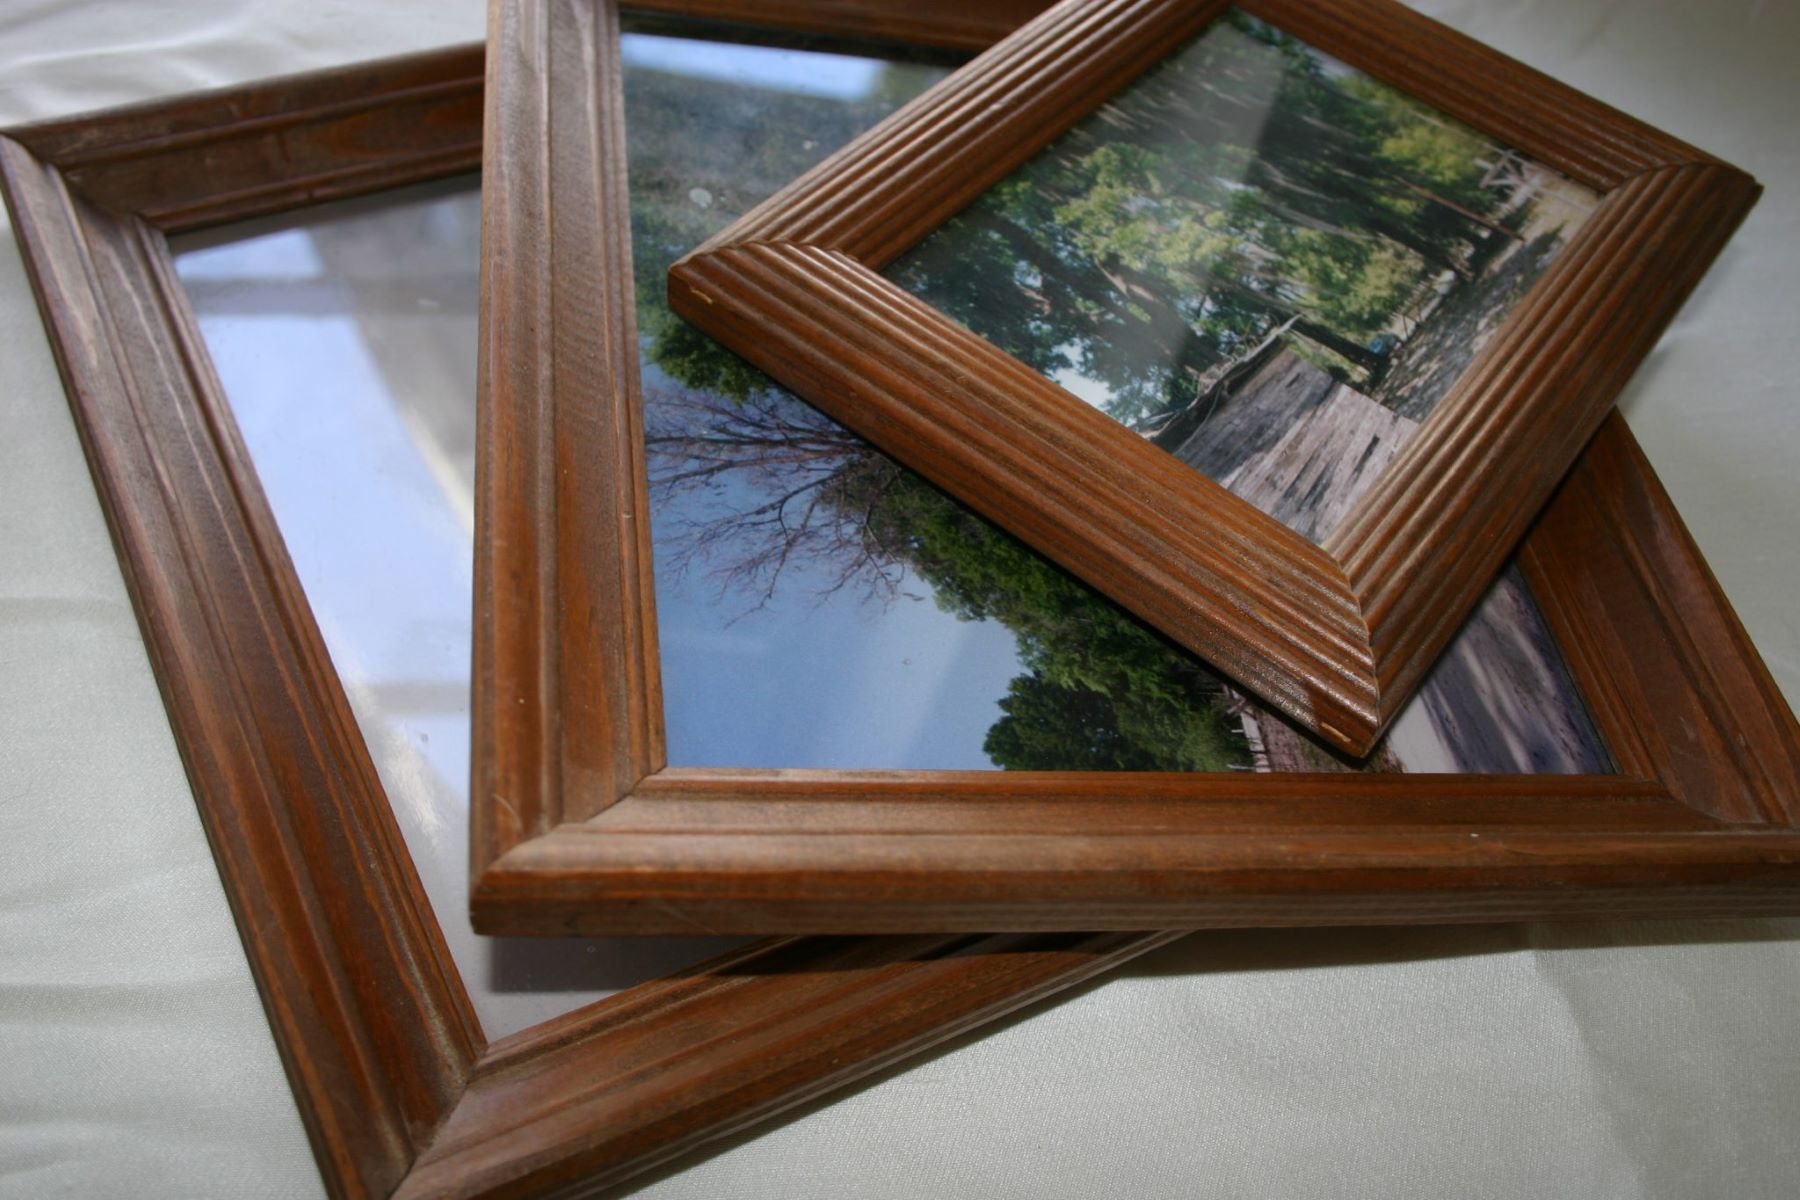
Do you have old picture frames lying around without their glass? Don't let them gather dust in a forgotten corner. Instead, consider repurposing them into a stylish and functional jewelry organizer. This creative project not only breathes new life into your old frames but also provides a practical solution for organizing your jewelry collection.
To begin, gather your old frames and remove any remaining glass and backing. Next, decide on the layout for your jewelry organizer. You can opt for a single large frame or mix and match different sizes and styles for a more eclectic look. Once you have your frames selected, it's time to transform them into a stunning jewelry display.
Start by painting or staining the frames to complement your decor. Whether you prefer a distressed shabby-chic finish or a sleek modern look, the choice of color and technique is entirely up to you. After the frames have dried, attach small hooks, knobs, or even repurposed drawer pulls to the bottom edge of the frame. These will serve as the perfect hanging spots for necklaces, bracelets, and even rings.
For earrings, consider adding a piece of wire mesh or a decorative metal sheet to the frame's interior. This provides a charming backdrop for displaying your earrings while keeping them organized and easily accessible. You can also incorporate small dishes or cups within the frame to hold rings, pins, and other small accessories.
Once your jewelry organizer is complete, hang it in your bedroom or dressing area. Not only does it add a touch of personal style to your space, but it also ensures that your favorite pieces are beautifully displayed and tangle-free. Plus, repurposing old frames in this manner is an eco-friendly and budget-conscious way to create a custom jewelry storage solution.
By repurposing old picture frames as a jewelry organizer, you not only breathe new life into forgotten items but also showcase your creativity and flair for upcycling. This project is a wonderful way to infuse your living space with both style and functionality while reducing waste and embracing sustainable living. So, gather those old frames, unleash your creativity, and transform them into a stunning jewelry organizer that reflects your unique personality.
Key Takeaways:
- Give new life to old picture frames by repurposing them into jewelry organizers, decorative chalkboards, serving trays, earring holders, memo boards, and gallery wall displays. This creative and eco-friendly project adds style and functionality to your living space.
- Transform forgotten picture frames into practical and visually appealing items such as jewelry organizers, chalkboards, serving trays, earring holders, memo boards, and gallery wall displays. Infuse your living space with creativity and sustainable living while showcasing your unique style.
Read more: What Is HD Glass In Picture Frames
Create a Decorative Chalkboard
Do you have old picture frames without glass taking up space in your home? Instead of letting them languish unused, consider transforming them into charming decorative chalkboards. This creative project not only repurposes your old frames but also adds a touch of whimsical functionality to your living space.
To begin, gather your unused frames and remove any remaining glass and backing. Select frames of various sizes and styles to add visual interest to your chalkboard display. Once you have your frames ready, it's time to unleash your creativity and turn them into delightful chalkboards.
Start by preparing the frames for their new role. Consider giving them a fresh coat of paint in a color that complements your decor. Whether you prefer a classic blackboard look or want to add a pop of color, the choice is yours. After the paint has dried, apply a coat of chalkboard paint to the frame's interior. This special paint creates a smooth, erasable surface that is perfect for jotting down notes, creating artwork, or leaving messages.
Once the chalkboard paint has dried, it's time to add a personal touch. Consider embellishing the frames with decorative elements such as ribbons, stenciled designs, or even small trinkets to infuse them with character. You can also attach small baskets or hooks to the bottom of the frames to hold chalk and erasers, adding both functionality and charm to your chalkboard display.
Once your decorative chalkboards are complete, hang them in key areas of your home where they can shine. Whether it's the kitchen for jotting down grocery lists, the entryway for leaving welcoming messages, or the children's play area for unleashing creativity, these repurposed frames will bring both practicality and charm to your daily life.
By repurposing old picture frames as decorative chalkboards, you not only breathe new life into forgotten items but also infuse your home with a touch of whimsy and functionality. This project is a delightful way to add personalized charm to your living space while reducing waste and embracing sustainable living. So, gather those old frames, unleash your creativity, and transform them into delightful chalkboards that reflect your unique style and personality.
Make a Unique Serving Tray
Do you have old picture frames without glass gathering dust in your attic or basement? Instead of letting them go to waste, consider repurposing them into unique and stylish serving trays. This creative project not only breathes new life into your old frames but also provides a practical and visually appealing addition to your home decor.
To begin, gather your unused frames and remove any remaining glass and backing. Select frames of varying sizes and styles to add visual interest to your serving tray ensemble. Once you have your frames ready, it's time to transform them into stunning and functional serving trays.
Start by preparing the frames for their new role. Consider giving them a fresh coat of paint or stain to complement your decor. Whether you prefer a rustic, weathered look or a sleek and modern finish, the choice is entirely up to you. After the paint or stain has dried, attach handles to the sides of the frames. You can opt for sleek metal handles for a modern touch or vintage-style handles for a more eclectic look.
Next, consider adding a decorative element to the tray. This could be a piece of patterned fabric, wallpaper, or even a personalized photo or artwork placed beneath the glassless frame. This not only adds a unique and personalized touch to your serving tray but also protects the frame from spills and stains.
Once your serving trays are complete, they can be used in a variety of ways. Whether you're hosting a brunch, serving drinks at a gathering, or simply adding a touch of elegance to your everyday meals, these repurposed frames will elevate your serving experience. Additionally, they can be used as decorative accents on ottomans or side tables when not in use, adding both style and functionality to your living space.
By repurposing old picture frames as unique serving trays, you not only breathe new life into forgotten items but also showcase your creativity and flair for upcycling. This project is a wonderful way to infuse your living space with both style and functionality while reducing waste and embracing sustainable living. So, gather those old frames, unleash your creativity, and transform them into stunning serving trays that reflect your unique personality and style.
You can repurpose old picture frames without glass by turning them into a decorative tray, a jewelry organizer, a chalkboard, or a hanging planter. Just remove the glass and get creative with your ideas!
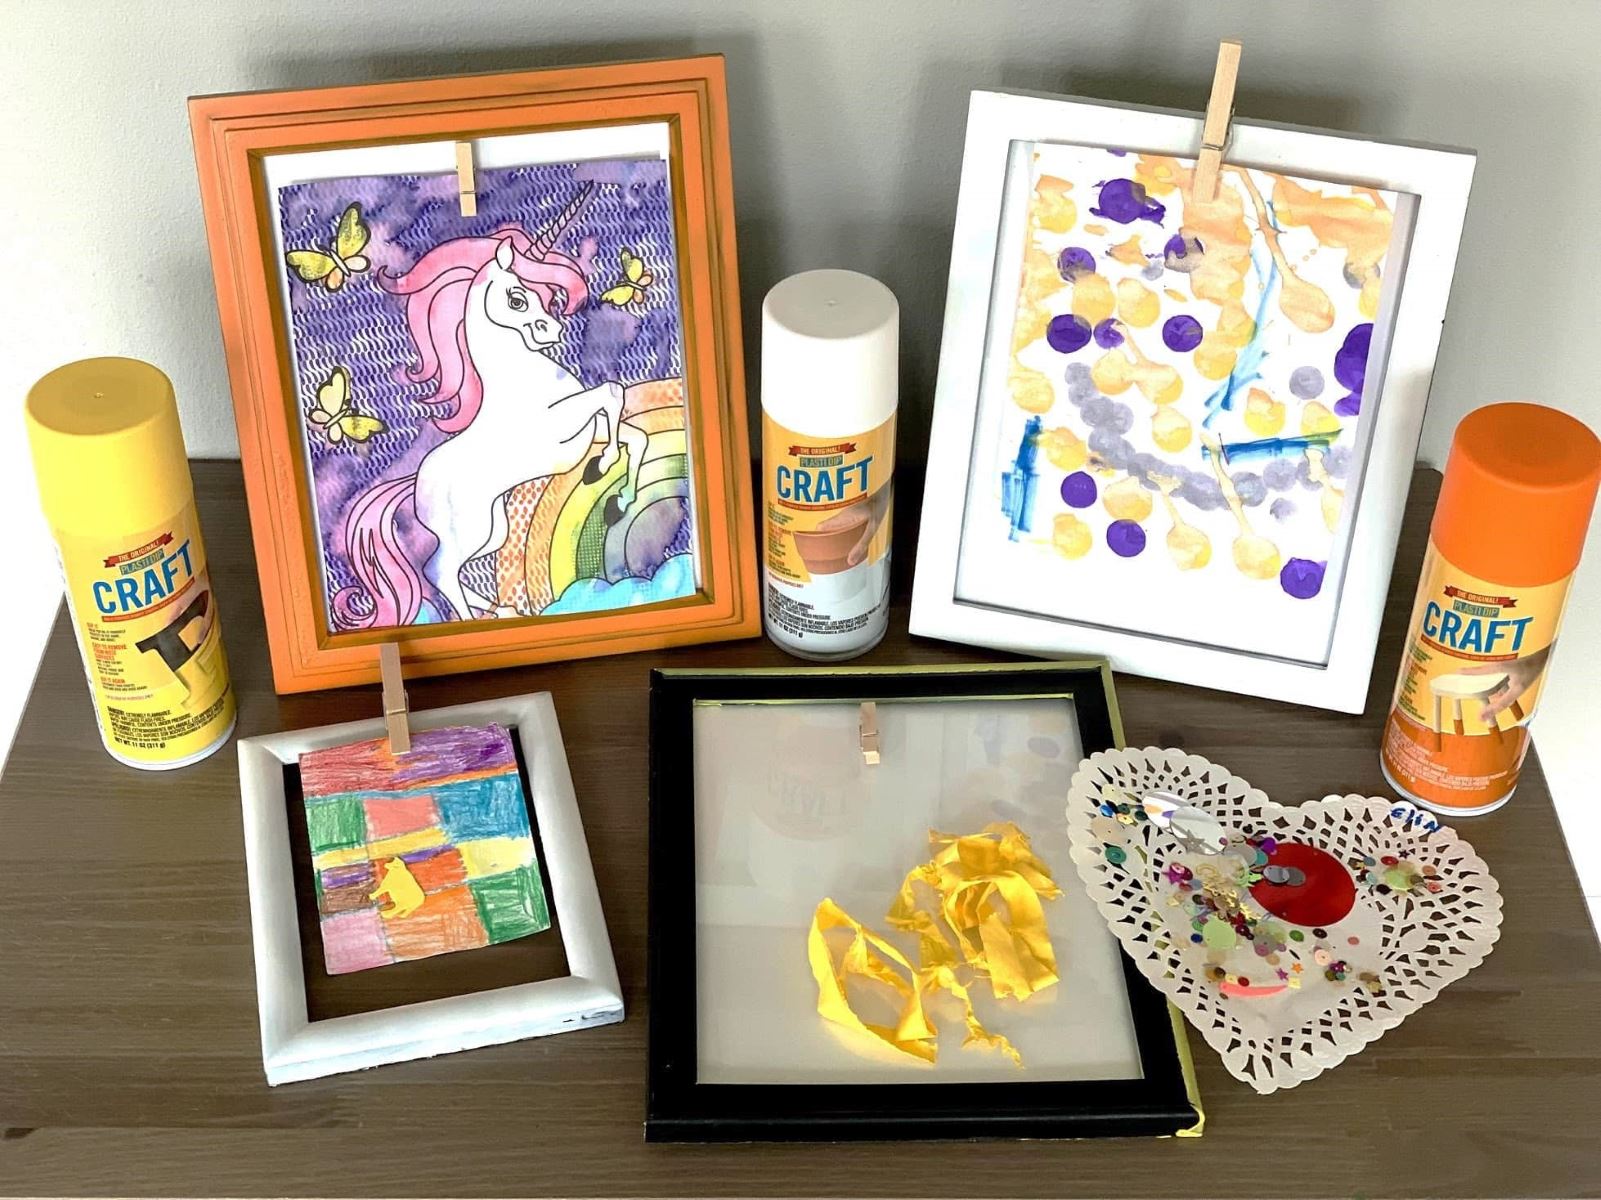
Design a DIY Earring Holder
Do you have old picture frames without glass lying around, waiting to be repurposed? Consider transforming them into a stylish and practical DIY earring holder. This creative project not only gives new life to your old frames but also provides an elegant and organized solution for storing and displaying your earring collection.
To begin, gather your old frames and remove any remaining glass and backing. Select frames of various sizes and styles to add visual interest to your earring holder. Once you have your frames ready, it's time to unleash your creativity and turn them into a stunning earring display.
Start by preparing the frames for their new role. Consider giving them a fresh coat of paint or stain to complement your decor. Whether you prefer a distressed, shabby-chic finish or a sleek and modern look, the choice of color and technique is entirely up to you. After the paint or stain has dried, it's time to add the earring-holding elements.
One creative option is to attach a piece of wire mesh or a decorative metal sheet to the frame's interior. This provides a charming and functional backdrop for displaying your earrings while keeping them organized and easily accessible. You can also incorporate small dishes or cups within the frame to hold studs, rings, and other small accessories.
Another approach is to use ribbons or strings across the frame to hang hook-style earrings. This method not only keeps your earrings organized but also adds a touch of elegance to the display. Additionally, you can attach small hooks or knobs to the bottom edge of the frame to hang dangling earrings, creating a visually appealing and organized arrangement.
Once your DIY earring holder is complete, place it in your dressing area or bedroom. Not only does it add a personalized touch to your space, but it also ensures that your favorite earrings are beautifully displayed and easily accessible. Repurposing old frames in this manner is an eco-friendly and budget-conscious way to create a custom earring storage solution.
By repurposing old picture frames as a DIY earring holder, you not only breathe new life into forgotten items but also showcase your creativity and flair for upcycling. This project is a wonderful way to infuse your living space with both style and functionality while reducing waste and embracing sustainable living. So, gather those old frames, unleash your creativity, and transform them into a stunning DIY earring holder that reflects your unique personality and style.
Construct a Memo Board
Do you have old picture frames without glass gathering dust in your attic or basement? Instead of letting them go to waste, consider repurposing them into stylish and functional memo boards. This creative project not only breathes new life into your old frames but also provides a practical and visually appealing addition to your home decor.
To begin, gather your unused frames and remove any remaining glass and backing. Select frames of varying sizes and styles to add visual interest to your memo board ensemble. Once you have your frames ready, it's time to transform them into stunning and functional memo boards.
Start by preparing the frames for their new role. Consider giving them a fresh coat of paint or stain to complement your decor. Whether you prefer a rustic, weathered look or a sleek and modern finish, the choice is entirely up to you. After the paint or stain has dried, it's time to add the memo-holding elements.
One creative option is to attach wire mesh or corkboard to the frame's interior. This provides a practical and versatile surface for pinning notes, reminders, and mementos. You can also use fabric or patterned paper to cover the backing, adding a personalized touch to your memo board while creating a charming backdrop for your notes.
Another approach is to repurpose old window frames, utilizing the divided panes as separate memo sections. This not only adds a unique and vintage charm to your memo board but also allows for organized categorization of your notes and reminders.
Once your memo boards are complete, they can be placed in key areas of your home where they can serve as both functional and decorative elements. Whether it's the kitchen for jotting down grocery lists, the home office for organizing tasks, or the entryway for leaving messages, these repurposed frames will bring both practicality and charm to your daily life.
By repurposing old picture frames as memo boards, you not only breathe new life into forgotten items but also showcase your creativity and flair for upcycling. This project is a wonderful way to infuse your living space with both style and functionality while reducing waste and embracing sustainable living. So, gather those old frames, unleash your creativity, and transform them into stunning memo boards that reflect your unique personality and style.
Read more: How To Make Old Windows Into Picture Frames
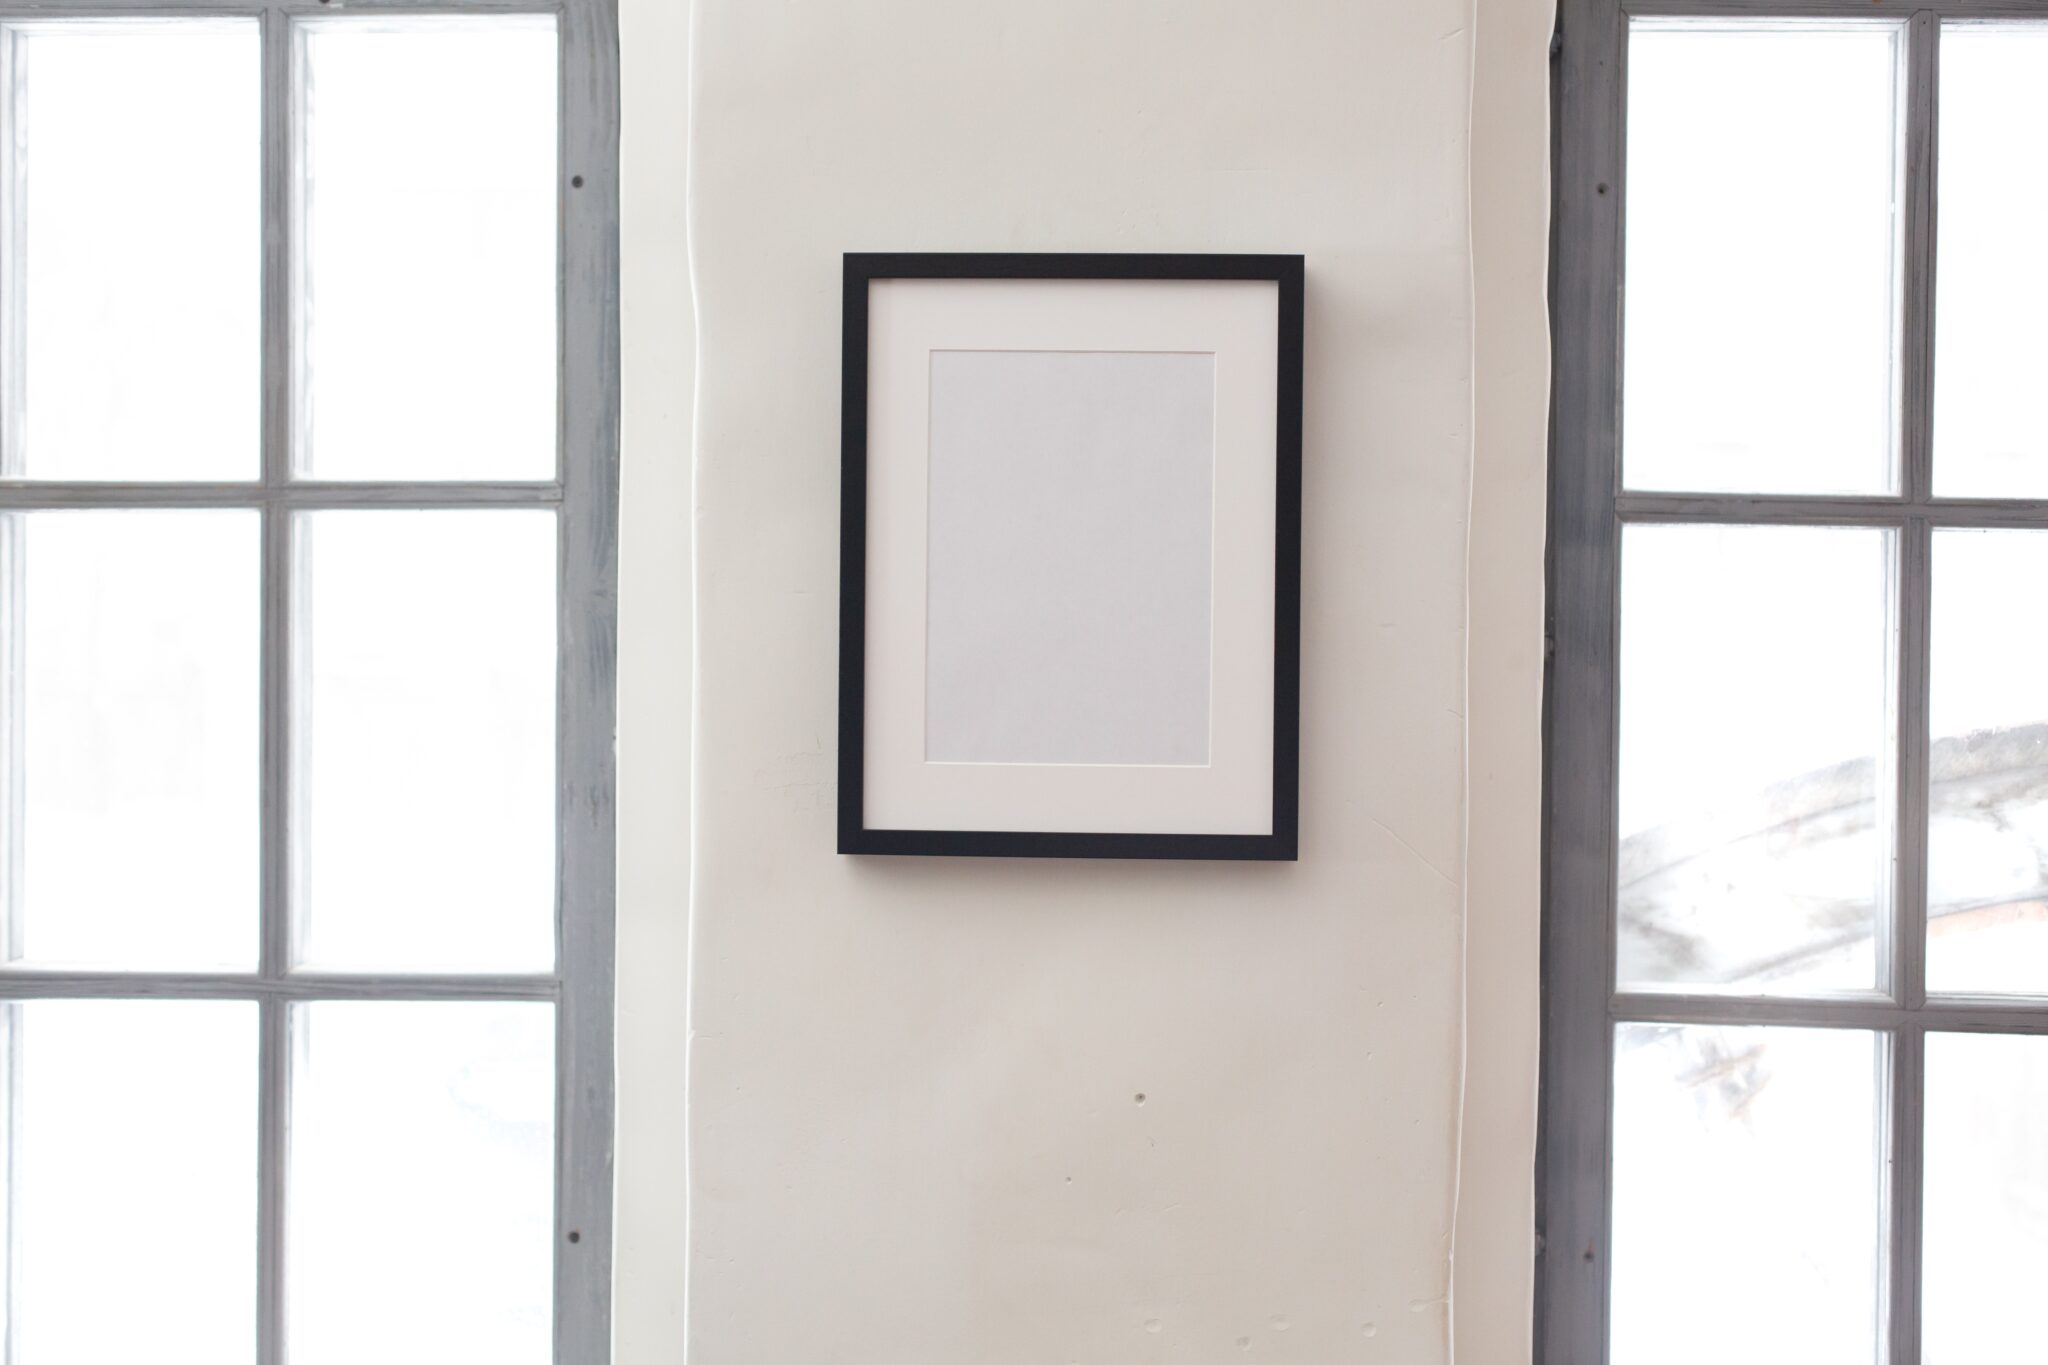
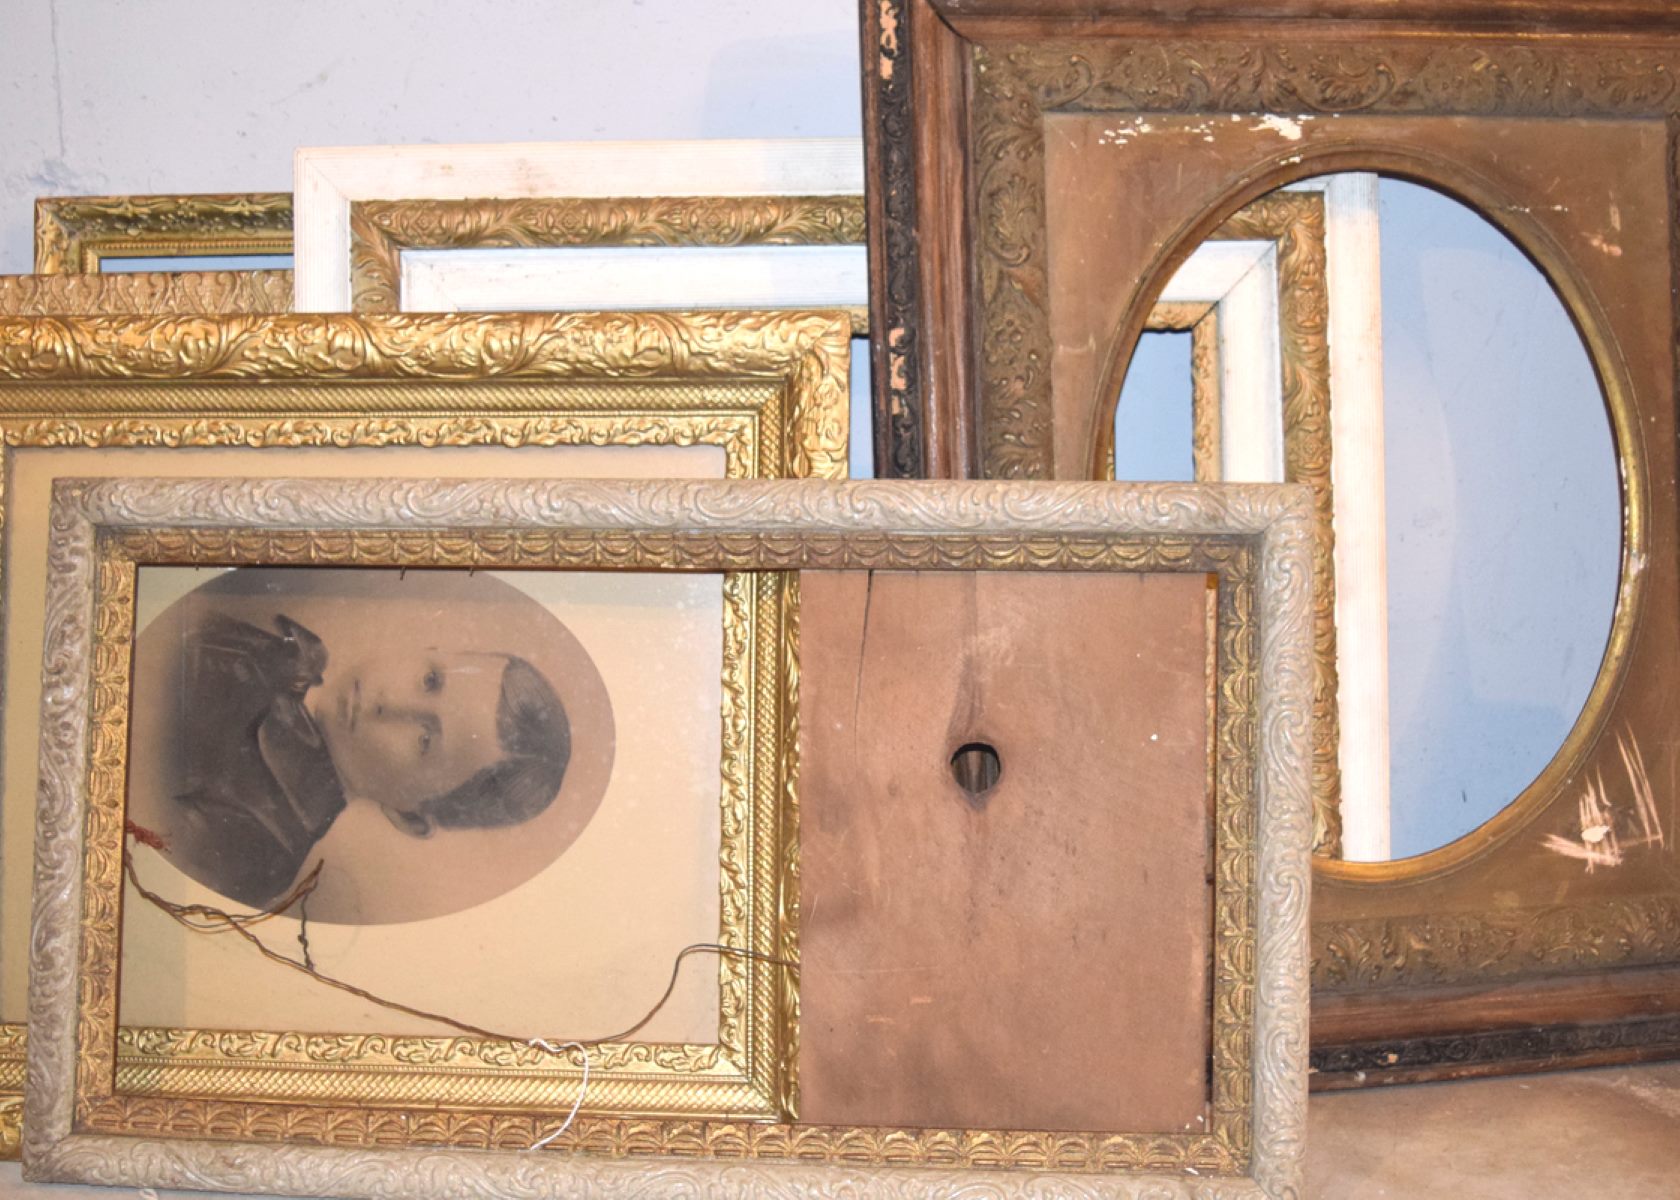
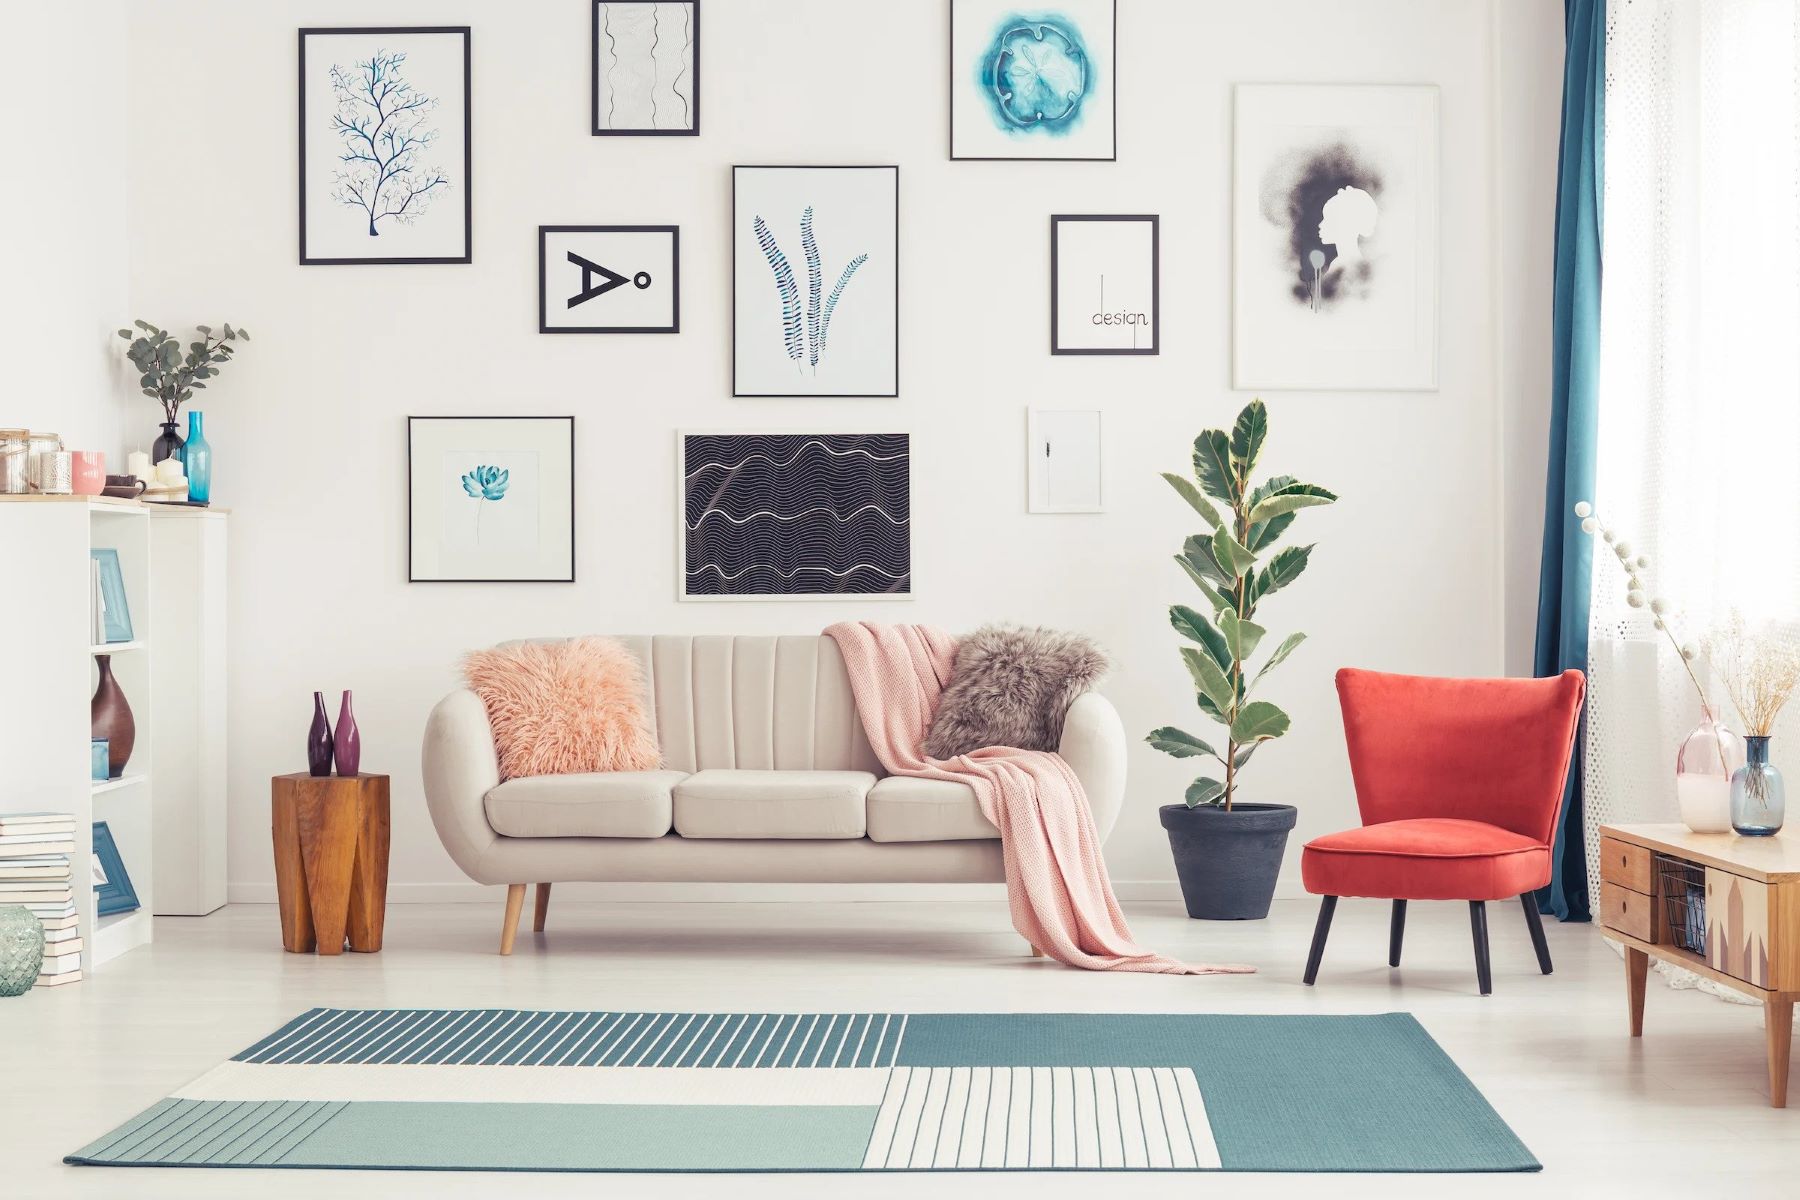
Build a Gallery Wall Display
Do you have a collection of old picture frames without glass that are tucked away in storage, waiting to be repurposed? Instead of letting them gather dust, consider transforming them into a captivating gallery wall display. This creative project not only breathes new life into your old frames but also allows you to curate a visually stunning showcase of memories, art, and personal style.
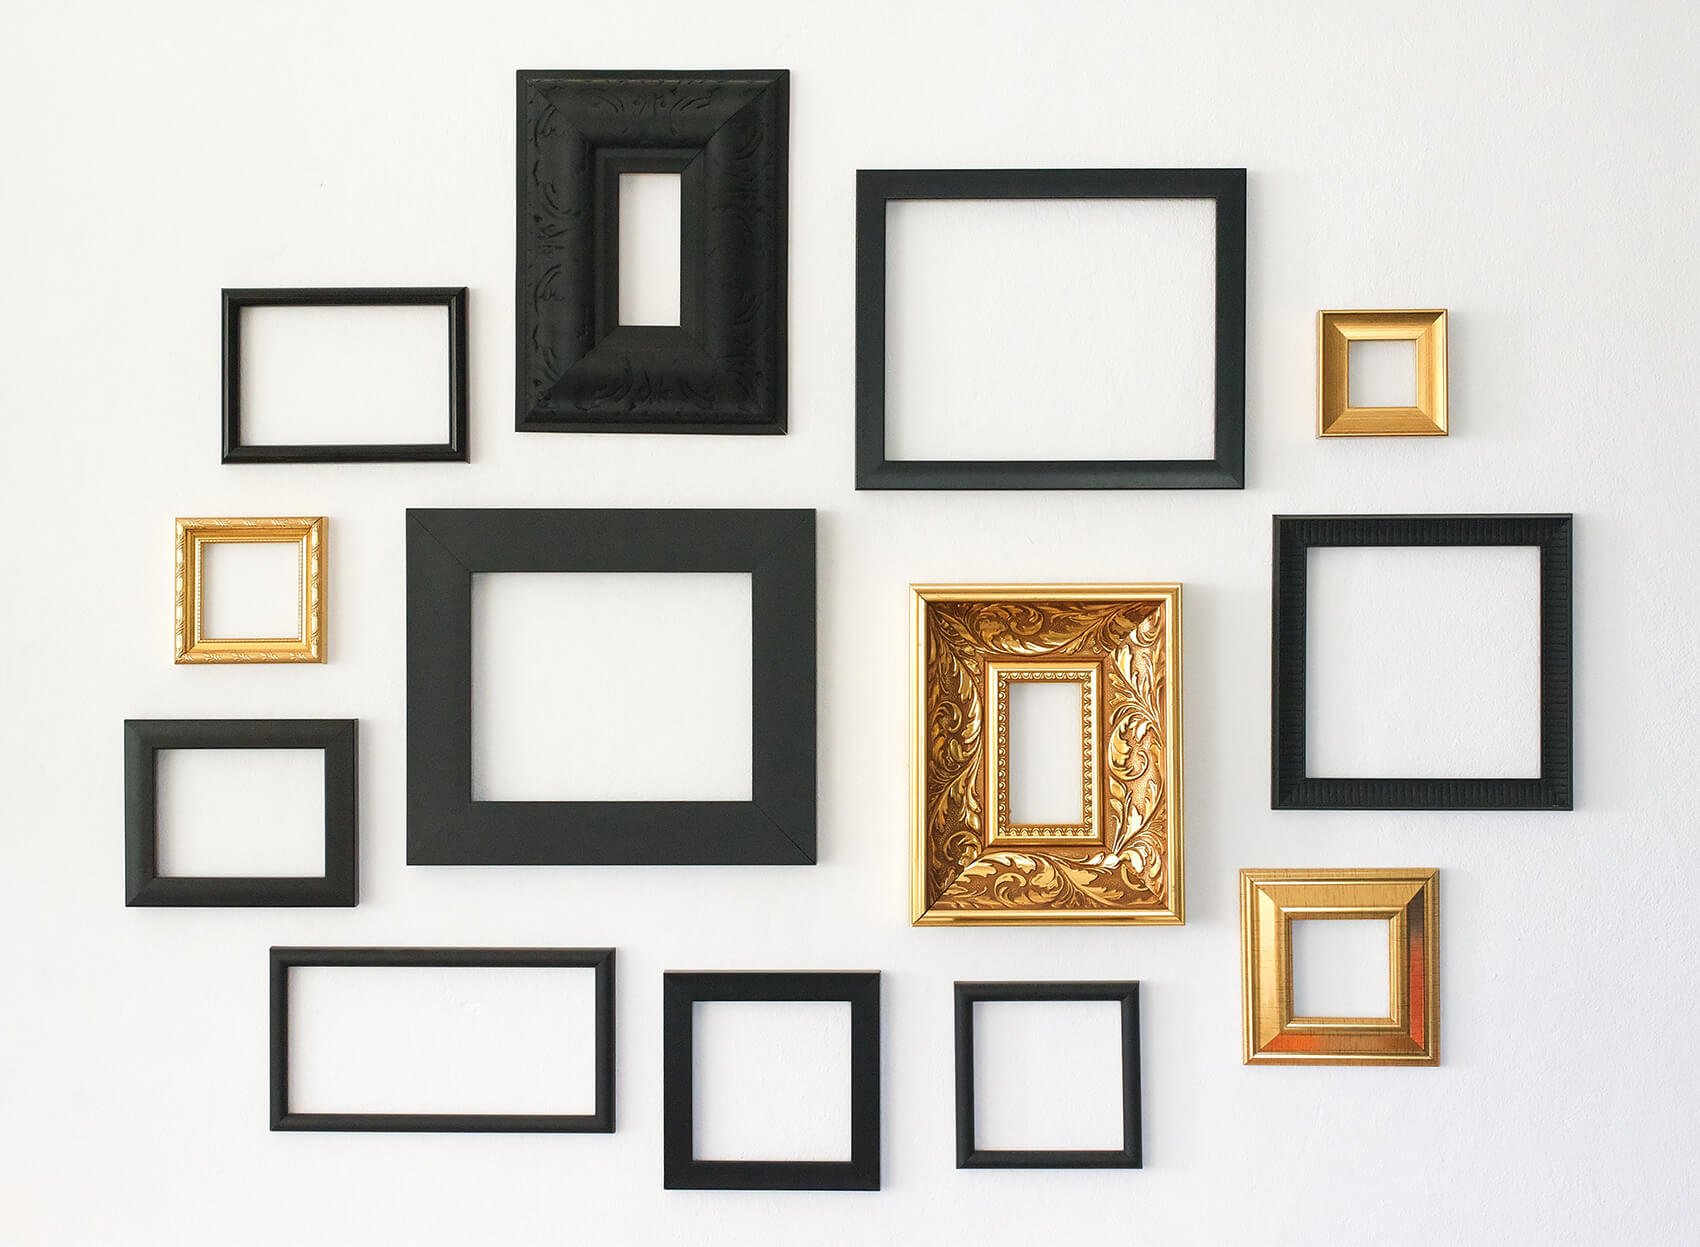
To begin, gather your unused frames and remove any remaining glass and backing. Select frames of various sizes, shapes, and styles to add depth and visual interest to your gallery wall. Once you have your frames ready, it's time to unleash your creativity and turn them into a captivating display.
Start by preparing the frames for their new role. Consider giving them a fresh coat of paint or stain to complement your decor. Whether you prefer a cohesive monochromatic look or a vibrant mix of colors, the choice is entirely yours. After the paint or stain has dried, arrange the frames on the floor to experiment with different layouts and compositions. This allows you to find the perfect arrangement before hanging the frames on the wall.
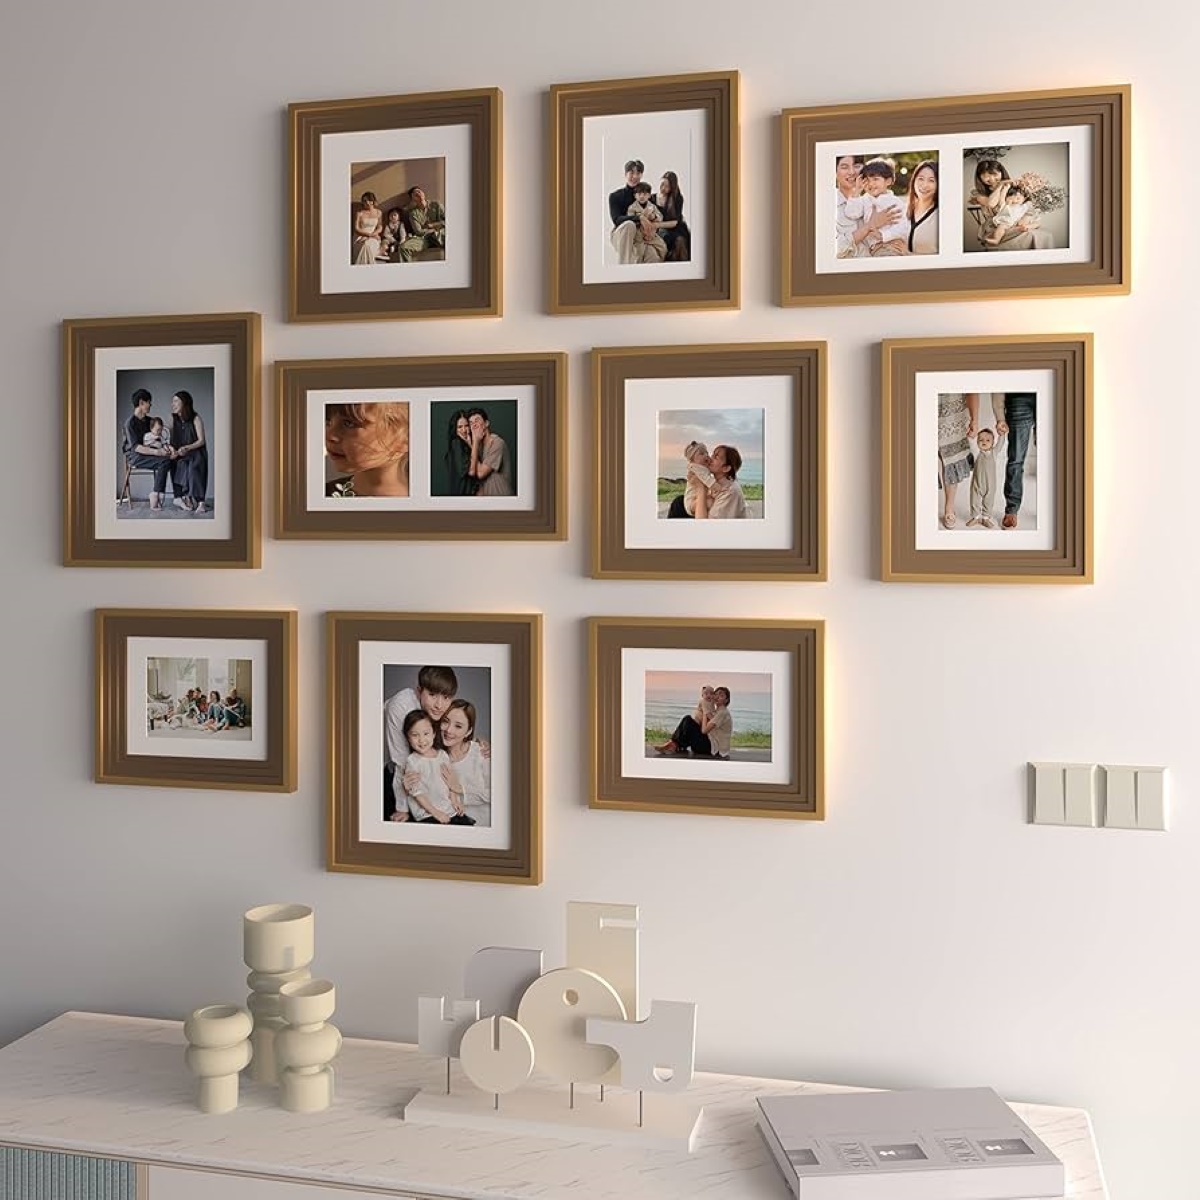
When it comes to creating a gallery wall, the possibilities are endless. You can showcase a mix of family photos, artwork, inspirational quotes, and even 3D objects such as decorative plates or small sculptures. The key is to strike a balance between cohesion and diversity, ensuring that the display reflects your personal style and resonates with the overall aesthetic of the room.
As you begin hanging the frames, consider using a level and painter's tape to map out the arrangement on the wall. This helps maintain a balanced and visually appealing display. Whether you opt for a symmetrical grid, an organic salon-style layout, or a mix of both, the goal is to create a gallery wall that serves as a focal point while adding character and charm to the space.
Once your gallery wall display is complete, step back and admire the visual tapestry you've created. Not only does it breathe new life into forgotten frames, but it also allows you to showcase cherished memories and artistic expressions in a captivating and personalized manner. Whether it graces the living room, hallway, or bedroom, your gallery wall becomes a dynamic and engaging feature that sparks conversation and evokes emotions.
By repurposing old picture frames into a gallery wall display, you not only infuse your living space with creativity and personal style but also contribute to sustainable living by giving new purpose to existing items. So, gather those old frames, unleash your creativity, and transform them into a captivating gallery wall that reflects your unique personality and storytelling prowess.
Frequently Asked Questions about What To Do With Old Picture Frames Without Glass
Was this page helpful?
At Storables.com, we guarantee accurate and reliable information. Our content, validated by Expert Board Contributors, is crafted following stringent Editorial Policies. We're committed to providing you with well-researched, expert-backed insights for all your informational needs.


0 thoughts on “What To Do With Old Picture Frames Without Glass”