
Articles
How Picture Frames Are Measured
Modified: December 7, 2023
Discover how picture frames are measured in this comprehensive guide. Learn about different sizing options and find the perfect frame for your artwork.
(Many of the links in this article redirect to a specific reviewed product. Your purchase of these products through affiliate links helps to generate commission for Storables.com, at no extra cost. Learn more)
Introduction
Welcome to the world of picture frames, where art meets craftsmanship. Picture frames not only enhance the visual appeal of artwork and photographs but also provide protection and support. Whether you’re an artist framing your own masterpiece or simply looking to display treasured memories, understanding how picture frames are measured is essential in finding the perfect fit.
In this article, we will guide you through the process of measuring a picture frame, including its length, width, depth, mat opening size, back opening size, and the total frame size. By the end, you’ll have a clear understanding of how to measure picture frames and make informed decisions for displaying your artwork or photographs.
Let’s dive in and explore the world of picture frame measurements!
Key Takeaways:
- Understanding picture frame measurements is crucial for a perfect fit. From standard sizes to mat and back opening measurements, accuracy is key for a visually appealing and secure display of your artwork or photographs.
- Accurate measurements ensure the right frame size. Consider inside and outside dimensions, mat and back opening sizes, and total frame dimensions for a perfect fit that elegantly showcases your artwork or photographs.
Read more: How To Distress Picture Frames
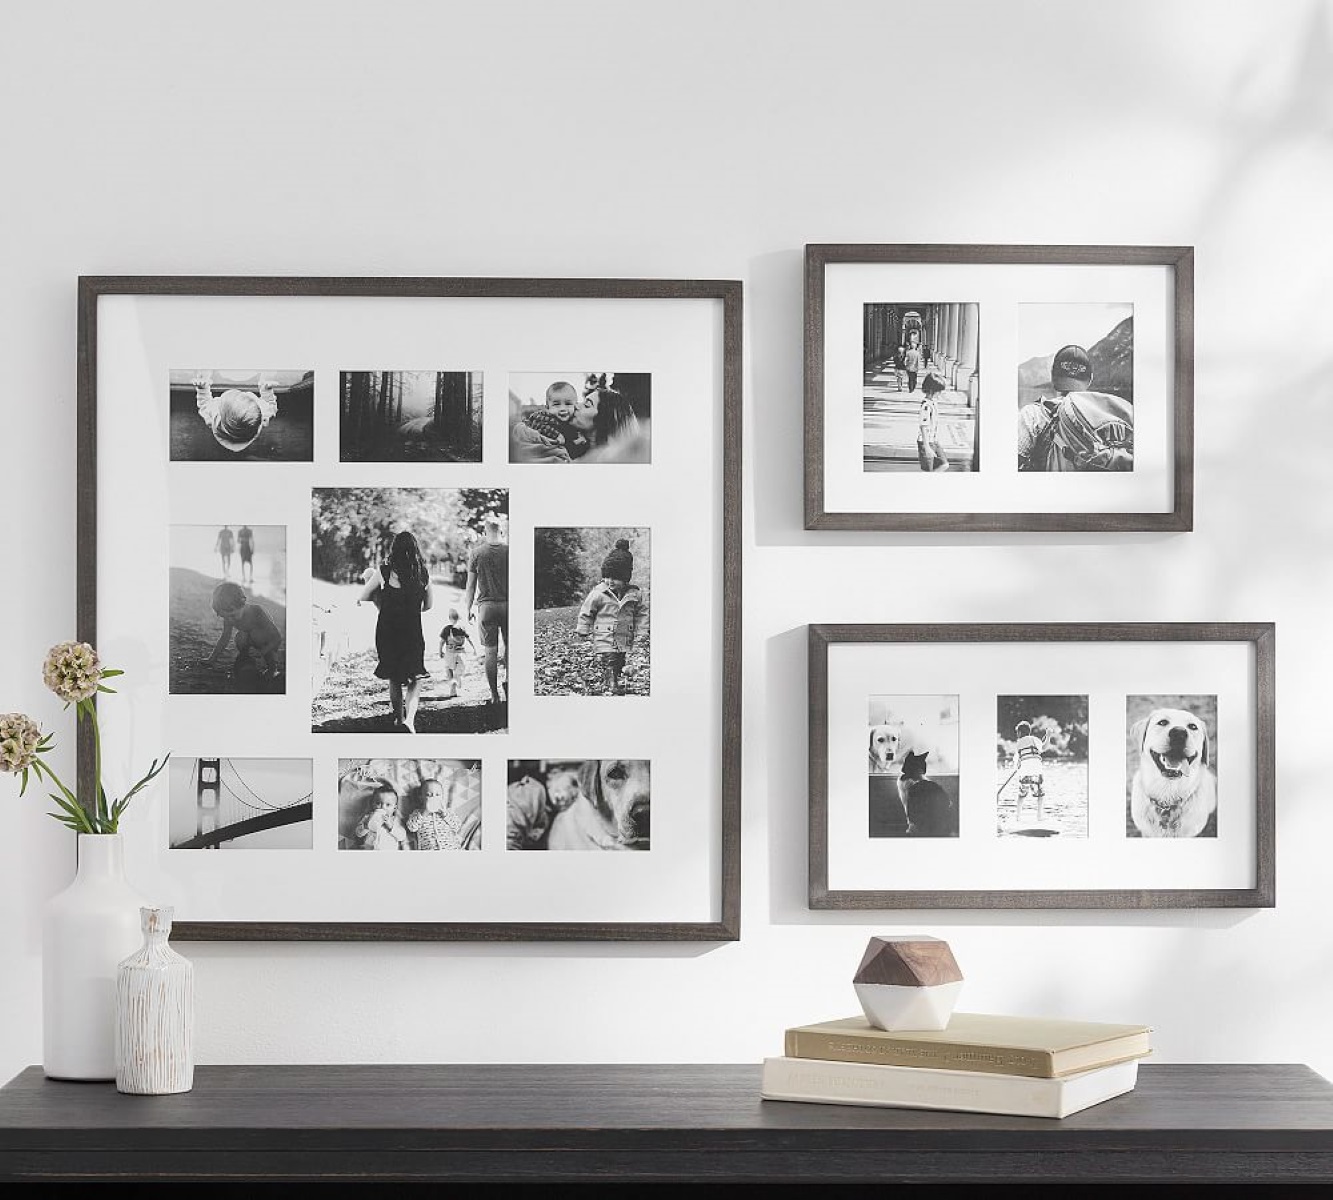
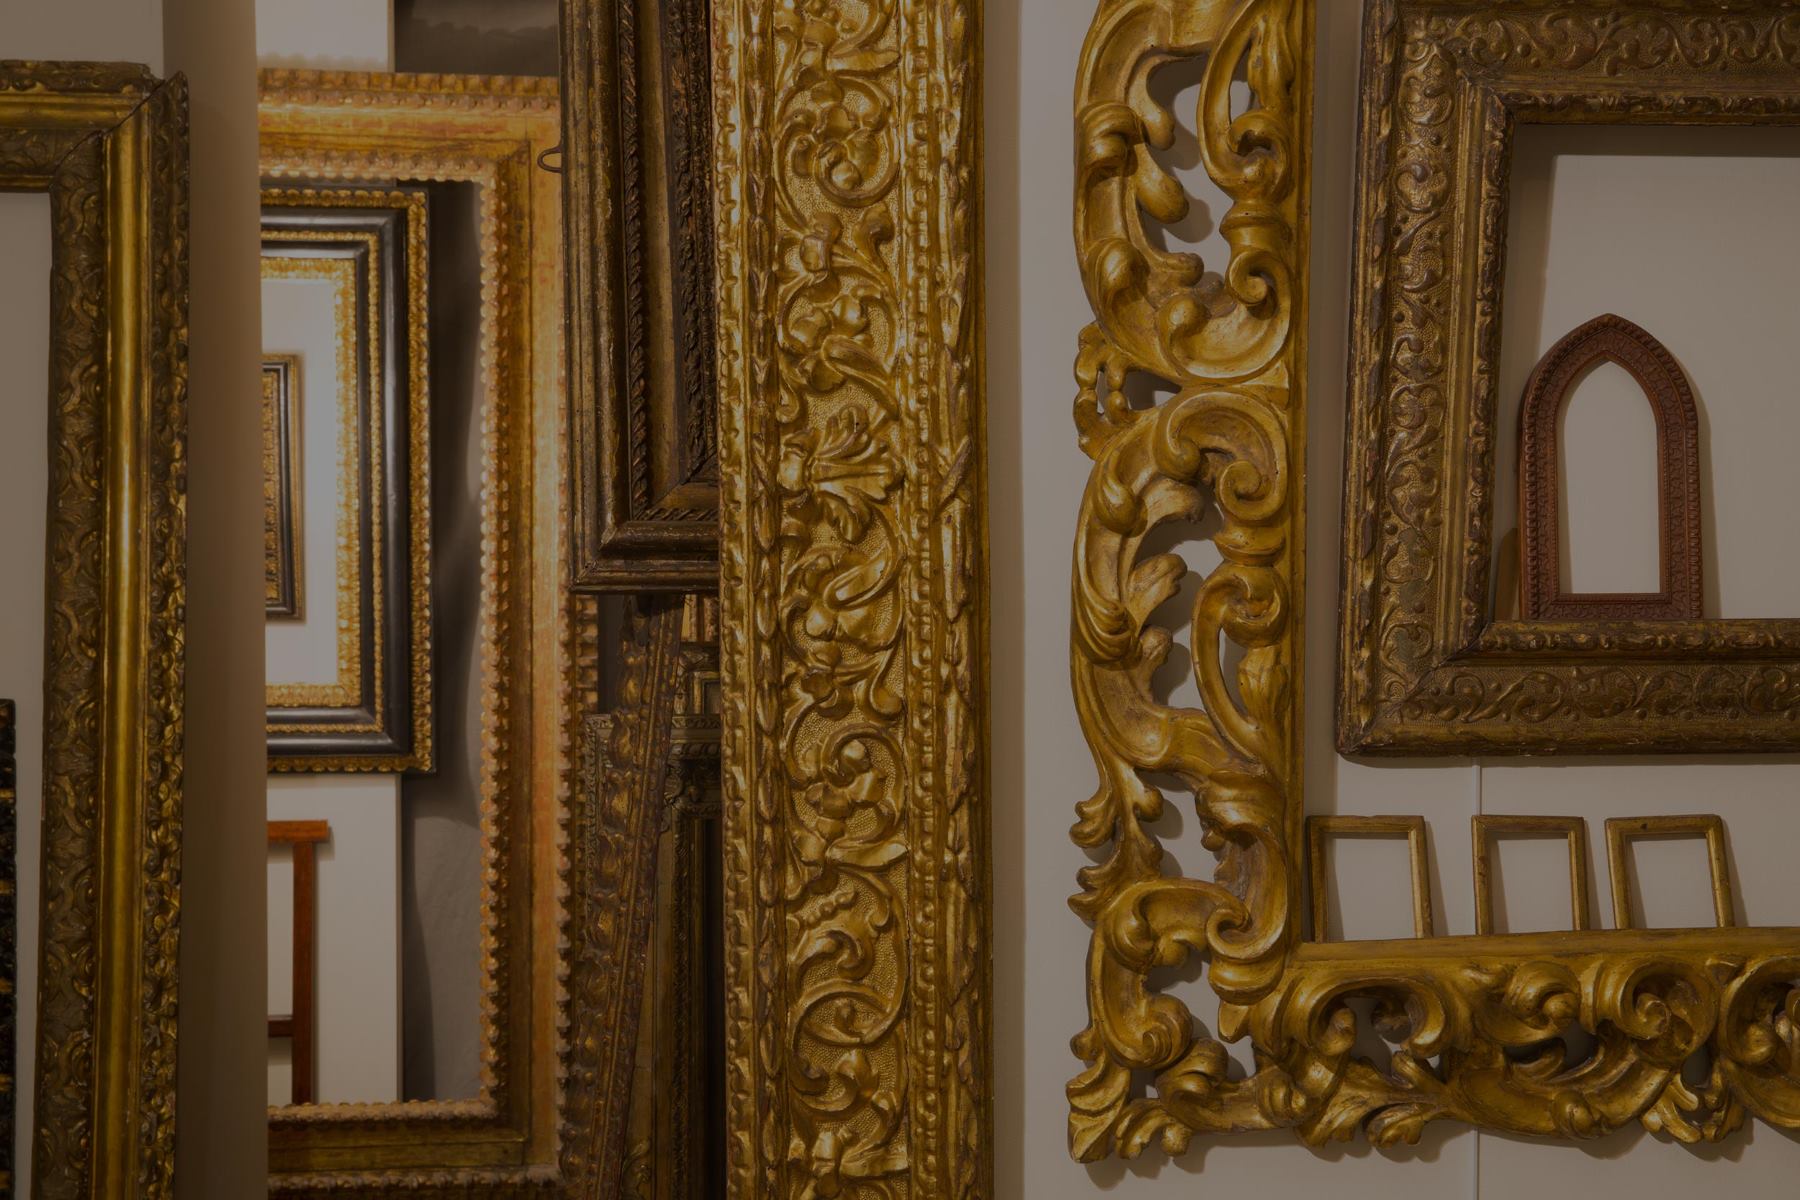
Standard Picture Frame Sizes
Before we delve into the process of measuring picture frames, let’s first familiarize ourselves with standard picture frame sizes. Standard sizes are commonly available and widely used, making it easier to find pre-made frames to fit your artwork or photographs.
Here are some of the most common standard picture frame sizes:
- 4×6 inches
- 5×7 inches
- 8×10 inches
- 11×14 inches
- 16×20 inches
- 18×24 inches
- 24×36 inches
These sizes are commonly used for displaying photographs, artwork, and prints. However, it’s important to note that custom sizes are also available to accommodate non-standard dimensions.
When choosing a picture frame, it is recommended to select a size slightly larger than your artwork or photograph. This allows for the inclusion of a mat or to accommodate the thickness of the artwork itself.
Now that you’re familiar with standard picture frame sizes, let’s move on to the process of measuring a picture frame to ensure the perfect fit.
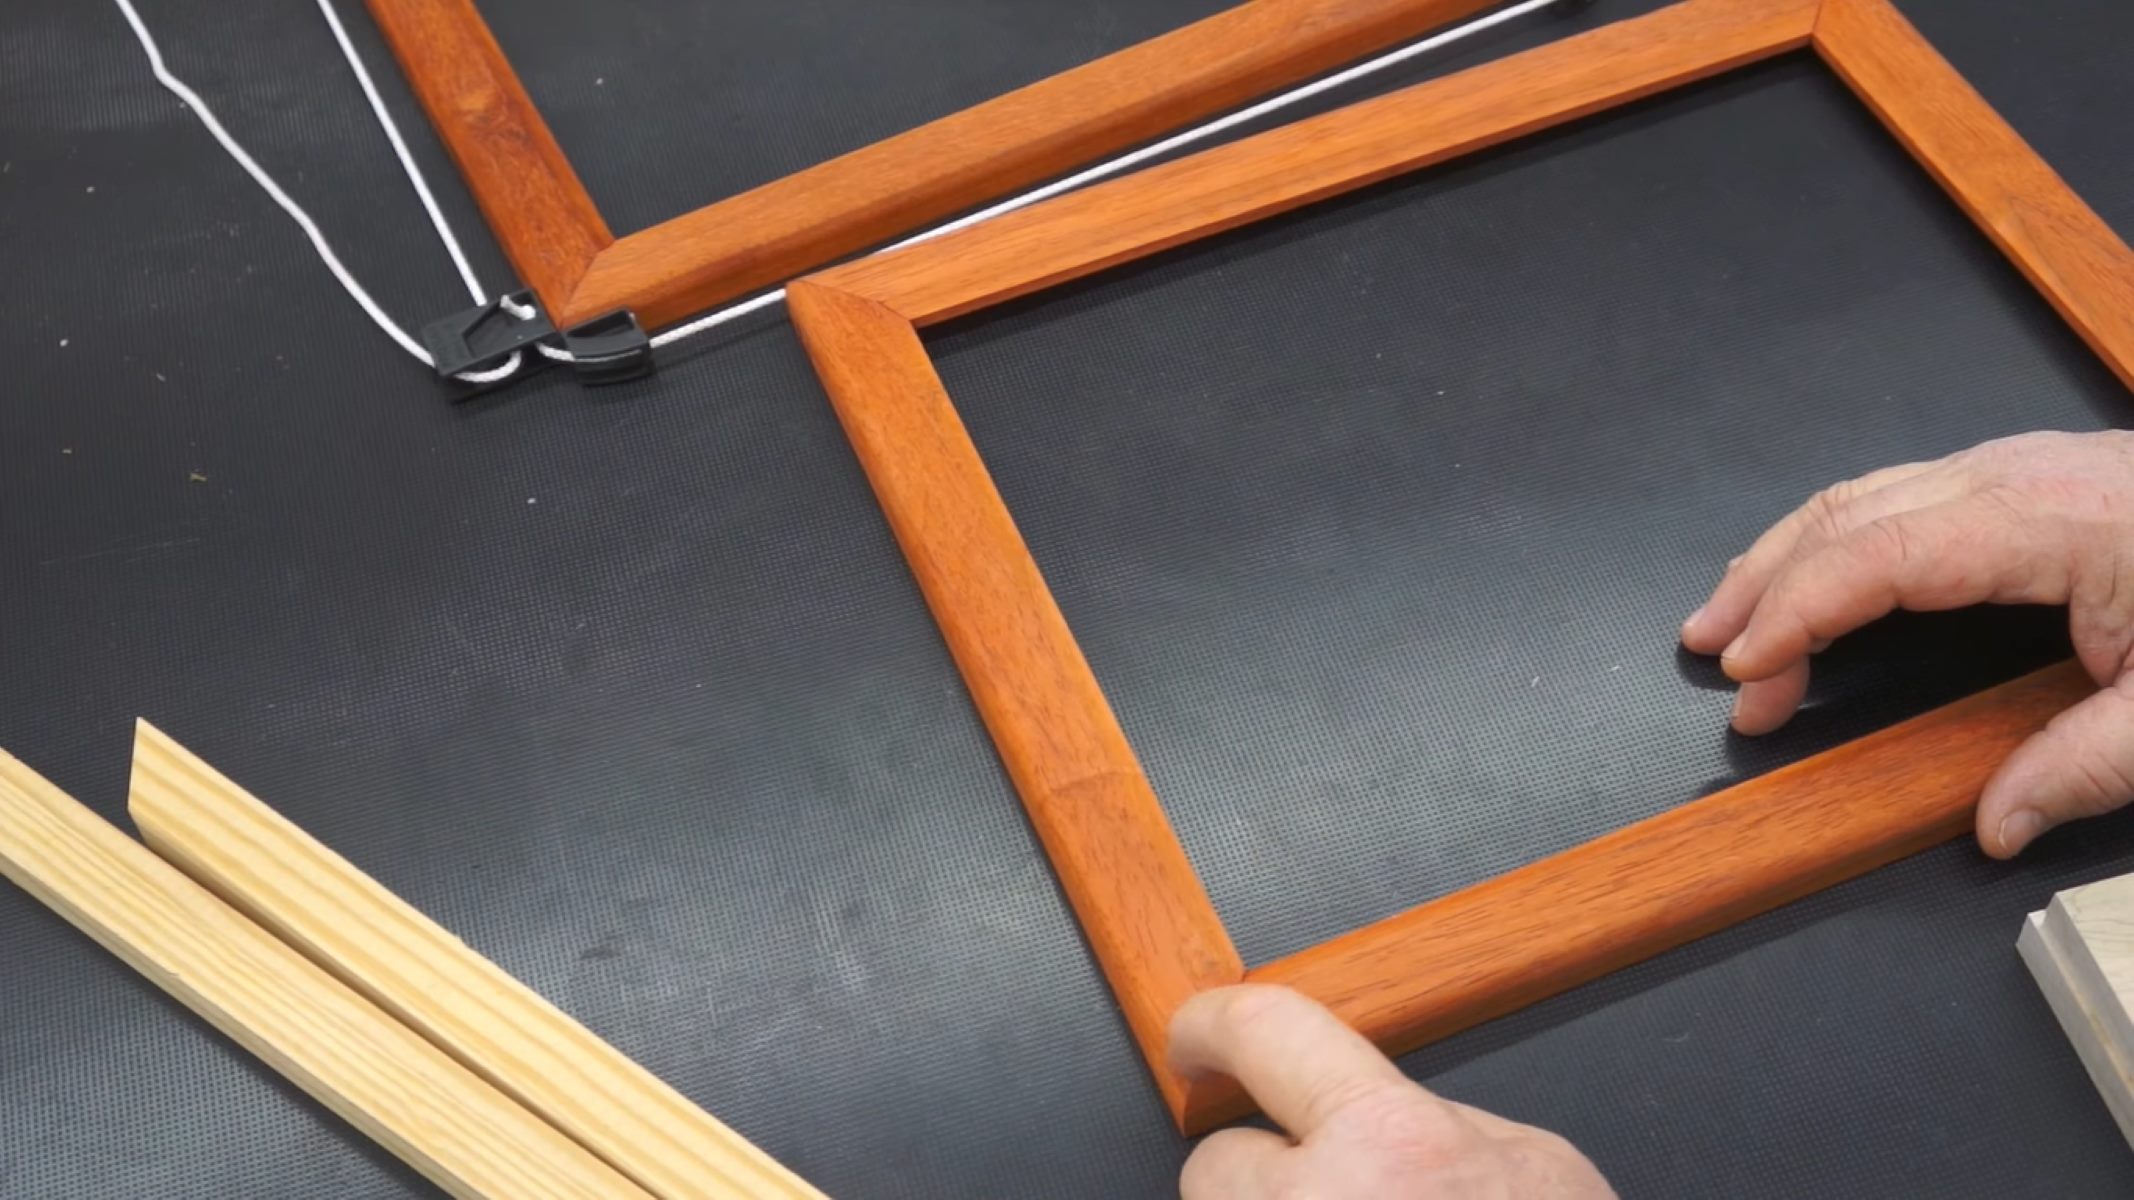
Measuring the Length and Width of a Picture Frame
When measuring the length and width of a picture frame, it’s important to measure both the inside dimensions and the outside dimensions. The inside dimensions refer to the space where your artwork or photograph will be placed, while the outside dimensions encompass the entire frame.
To measure the inside length of a picture frame, take a measuring tape and measure from the top inside edge to the bottom inside edge. Make sure to measure from the furthest points of the frame to ensure accuracy.
Next, measure the inside width of the frame by measuring from the left inside edge to the right inside edge. Again, measure from the furthest points of the frame to get an accurate measurement.
Once you have the inside dimensions, you can also measure the outside length and outside width of the frame. This will give you the overall dimensions, including the frame’s thickness.
It’s important to note that picture frames are typically measured in inches. If you prefer using centimeters, make sure to convert the measurements accordingly.
Remember to double-check your measurements to ensure accuracy before purchasing or ordering a picture frame. Having precise dimensions will ensure a perfect fit for your artwork or photograph.
Now that you know how to measure the length and width of a picture frame, let’s move on to measuring its depth.
Measuring the Depth of a Picture Frame
When it comes to measuring the depth of a picture frame, it is essential to consider the space required to accommodate your artwork or photograph, as well as any additional components, such as mats or spacers.
The depth of a picture frame refers to the distance between the front surface, where the artwork or photograph is displayed, and the back surface, which is typically where the backing and hanging hardware are located.
To measure the inside depth of a picture frame, place the frame on a flat surface with the back facing up. Use a ruler or tape measure and measure the distance from the back surface to the inner lip of the frame, where the artwork or photograph will rest. This measurement will give you the space available to accommodate your artwork or photograph.
It’s important to note that the depth measurement does not include any components that may protrude from the back of the frame, such as hanging hardware or clips.
Keep in mind that if you are planning to include a mat or spacer between the artwork and the glass, you will need to account for this additional depth. Add the desired thickness of the mat or spacer to the inside depth measurement to ensure a proper fit.
By accurately measuring the depth of a picture frame, you can ensure that your artwork or photograph will fit comfortably within the frame, with enough space to prevent any damage or distortion.
Now that you understand how to measure the depth of a picture frame, let’s move on to measuring the mat opening size.
When measuring a picture frame, always measure the inside dimensions (the opening) rather than the outside dimensions to ensure a proper fit for your artwork or photo.
Measuring the Mat Opening Size
If you’re planning to use a mat in your picture frame, it’s crucial to measure the mat opening size. The mat opening size refers to the exact dimensions of the window cut into the mat, through which your artwork or photograph will be visible.
To measure the mat opening width, take a ruler or tape measure and measure the distance between the left and right edges of the window cut in the mat. Be sure to measure the exact opening rather than the overall size of the mat.
Next, measure the mat opening height by measuring the distance between the top and bottom edges of the window cut in the mat. Again, measure the opening itself to ensure accuracy.
It’s important to note that the mat opening size should be slightly smaller than the dimensions of your artwork or photograph to provide a border around it. This border can enhance the overall presentation and prevent the edges of the artwork from being covered by the mat.
When choosing a mat opening size, consider the dimensions of your artwork or photograph and the desired amount of border you’d like to leave. It’s common for the mat opening size to be around 1/4 inch smaller than the artwork on all sides.
By measuring the mat opening size accurately, you can ensure that your artwork or photograph fits perfectly within the window cut of the mat, creating an aesthetically pleasing display.
Now that you understand how to measure the mat opening size, let’s move on to measuring the back opening size.
Read more: How To Store Picture Frames
Measuring the Back Opening Size
When it comes to measuring the back opening size of a picture frame, we are referring to the dimensions of the opening where the backing material, such as cardboard or foam board, is inserted.
Measuring the back opening size is essential to ensure that you have the correct dimensions for the backing material and any other components you may use, such as mounting boards or spacers.
To measure the back opening width of the frame, use a ruler or tape measure and measure the distance between the left and right edges of the frame’s back opening.
Next, measure the back opening height by measuring the distance between the top and bottom edges of the frame’s back opening.
It’s important to note that the back opening size should be slightly larger than the dimensions of your backing material. This allows for easy insertion and a secure fit.
When choosing the back opening size, consider the thickness of your backing material and any additional components you may be using. Ensure that the dimensions of your backing material align with the back opening size to prevent any difficulties during assembly.
By measuring the back opening size accurately, you can ensure that your backing material fits securely within the frame and provides the necessary support for your artwork or photograph.
Now that you understand how to measure the back opening size, let’s move on to measuring the total frame size.
Measuring the Total Frame Size
Measuring the total frame size involves taking into account all the dimensions we have discussed so far, including the length, width, depth, mat opening size, and back opening size. The total frame size refers to the overall dimensions of the assembled frame, including all its components.
To measure the total frame width, simply measure the outside width of the frame, including any additional width added by the mat or other components.
Next, measure the total frame height by measuring the outside height of the frame, including any additional height added by the mat or other components.
In addition to the length and width, the total frame depth should also be considered. Measure the depth of the frame from the front surface to the back surface, taking into account the thickness of the frame, the artwork or photograph, the mat or spacer, as well as the backing material.
By accurately measuring the total frame size, you can ensure that you have the correct dimensions to fit your artwork or photograph, mat, and backing material, while also considering the overall dimensions for display or placement.
Once you have the total frame size, you can match it with the available frame options or order a custom frame that perfectly fits your specifications.
Now that you understand how to measure the total frame size, let’s conclude our discussion on measuring picture frames.
Conclusion
Measuring picture frames is a fundamental step in ensuring that your artwork or photographs are displayed beautifully and securely. By understanding the various measurements involved, you can confidently choose a frame that fits your specific needs.
We started by exploring standard picture frame sizes, which provide a convenient starting point for finding pre-made frames. However, if your artwork or photograph has non-standard dimensions, custom frames can be tailored to your exact specifications.
We then discussed how to measure the length, width, and depth of a picture frame, both on the inside and outside. Accuracy is key when it comes to ensuring a proper fit and maintaining the integrity of your artwork or photograph.
Additionally, we explored measuring the mat opening size, which allows for the perfect presentation and border around your artwork. The back opening size was also discussed, enabling you to choose the appropriate dimensions for the backing material and other components.
Finally, we covered the importance of measuring the total frame size, encompassing all the dimensions discussed above. This ensures a complete understanding of the frame’s overall dimensions and compatibility with your artwork or photograph.
Now armed with the knowledge of how picture frames are measured, you can confidently select the perfect frame that will elegantly showcase your artwork or photographs.
Remember to take accurate measurements, considering the dimensions of your artwork, mat, backing material, and any desired components, to create a visually appealing and secure display that will protect and enhance your precious memories or artistic creations for years to come.
Happy framing!
Frequently Asked Questions about How Picture Frames Are Measured
Was this page helpful?
At Storables.com, we guarantee accurate and reliable information. Our content, validated by Expert Board Contributors, is crafted following stringent Editorial Policies. We're committed to providing you with well-researched, expert-backed insights for all your informational needs.


0 thoughts on “How Picture Frames Are Measured”