
Articles
How To Make Picture Frames
Modified: August 26, 2024
Learn how to make picture frames with these informative articles. Step-by-step instructions and helpful tips for creating beautiful frames to showcase your favorite photos.
(Many of the links in this article redirect to a specific reviewed product. Your purchase of these products through affiliate links helps to generate commission for Storables.com, at no extra cost. Learn more)
Introduction
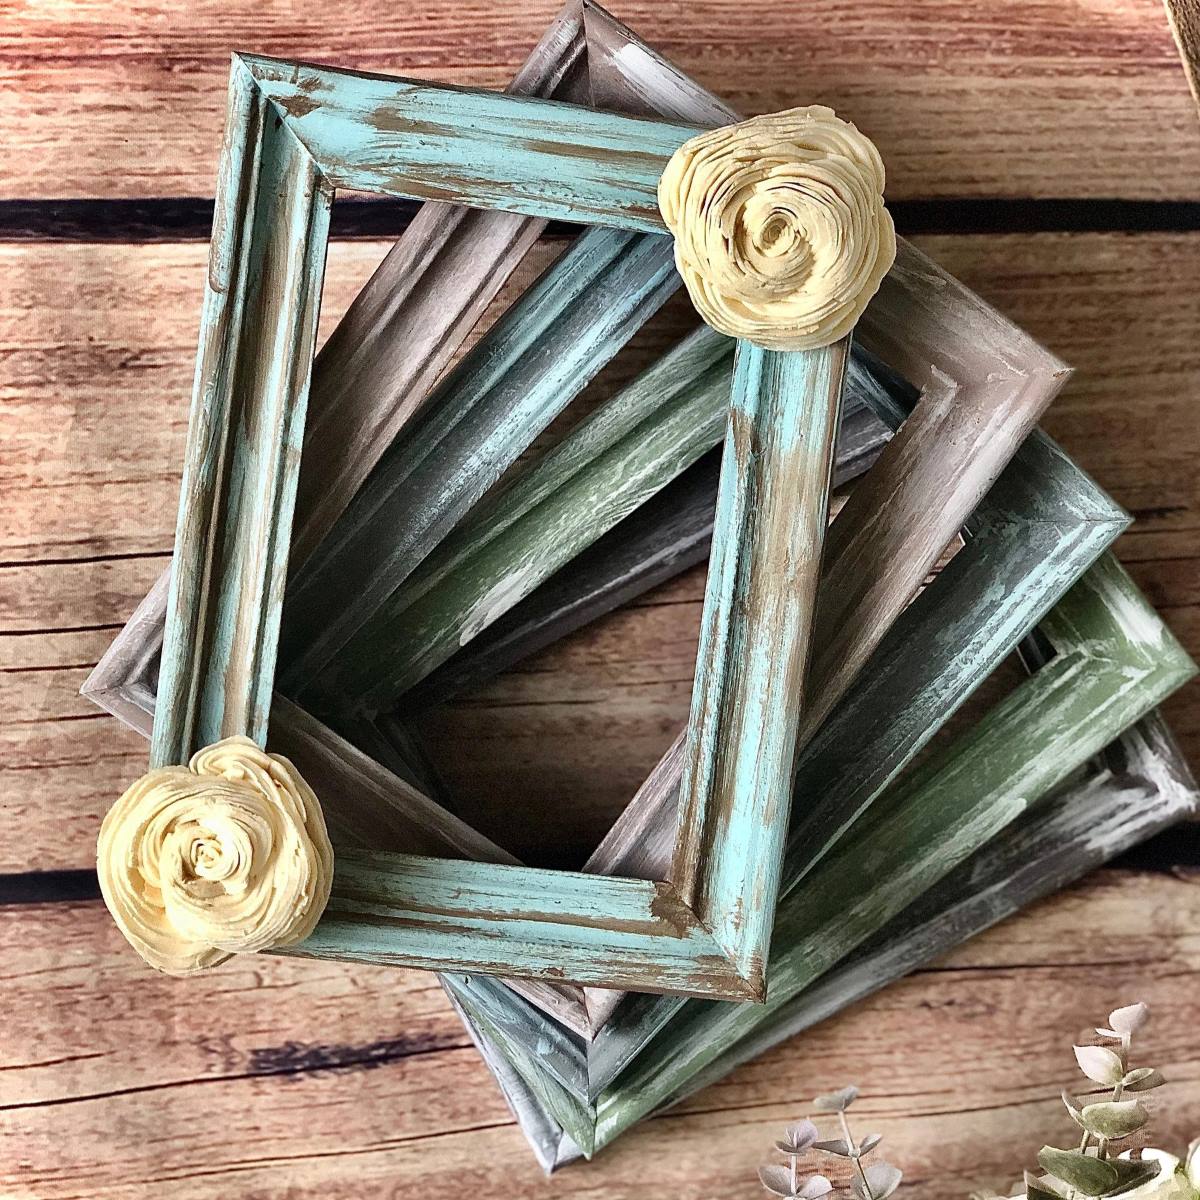
Welcome to the world of DIY picture frames! Picture frames are not only functional but also serve as a decorative element in your home. Instead of purchasing expensive frames from the store, why not try making your own? Not only will you save money, but you’ll also have the satisfaction of creating something unique and personalized.
In this article, we will guide you step by step on how to make picture frames from scratch. Whether you’re a seasoned DIY enthusiast or a beginner looking for a fun project, this guide is for you. With just a few materials and some basic tools, you’ll be able to create beautiful frames that showcase your favorite memories and artwork.
Before we dive into the process, let’s go over the materials you’ll need to get started.
Key Takeaways:
- Create personalized picture frames with basic materials and tools, saving money and adding a unique touch to your home decor. Unleash your creativity and showcase your favorite memories with DIY frames.
- Master the art of making picture frames from scratch, paying attention to detail and embracing the satisfaction of crafting something beautiful. Enjoy the process and proudly display your cherished pictures in handmade frames.
Read more: How To Make Stands For Picture Frames
Materials Needed
To create your own picture frames, you’ll need the following materials:
- Wooden boards: Choose a type of wood that suits your preference. Common options include pine, oak, or poplar.
- Miter saw or a hand saw with a miter box: This will be used to make precise angle cuts on the frame pieces.
- Sandpaper: Get a variety of grits ranging from coarse to fine to smooth out the surfaces of the frame.
- Wood glue: This will be used to join the frame pieces together.
- Clamps: They will help hold the frame pieces in place while the glue dries.
- Picture hanging hardware: Choose between wire, D-rings, or sawtooth hangers, depending on your preference.
- Screws or nails: These will be used to attach the picture hanging hardware to the frame.
- Finishing supplies: This includes wood stain, paint, or varnish to give your frame the desired look.
- Measuring tape: Used to measure the dimensions of your picture and frame pieces accurately.
- Pencil: To mark the measurements on the frame pieces before cutting.
- Ruler or straight edge: Used to ensure your cuts are straight and precise.
- Protective gear: Safety goggles and a dust mask are recommended when working with wood and sanding.
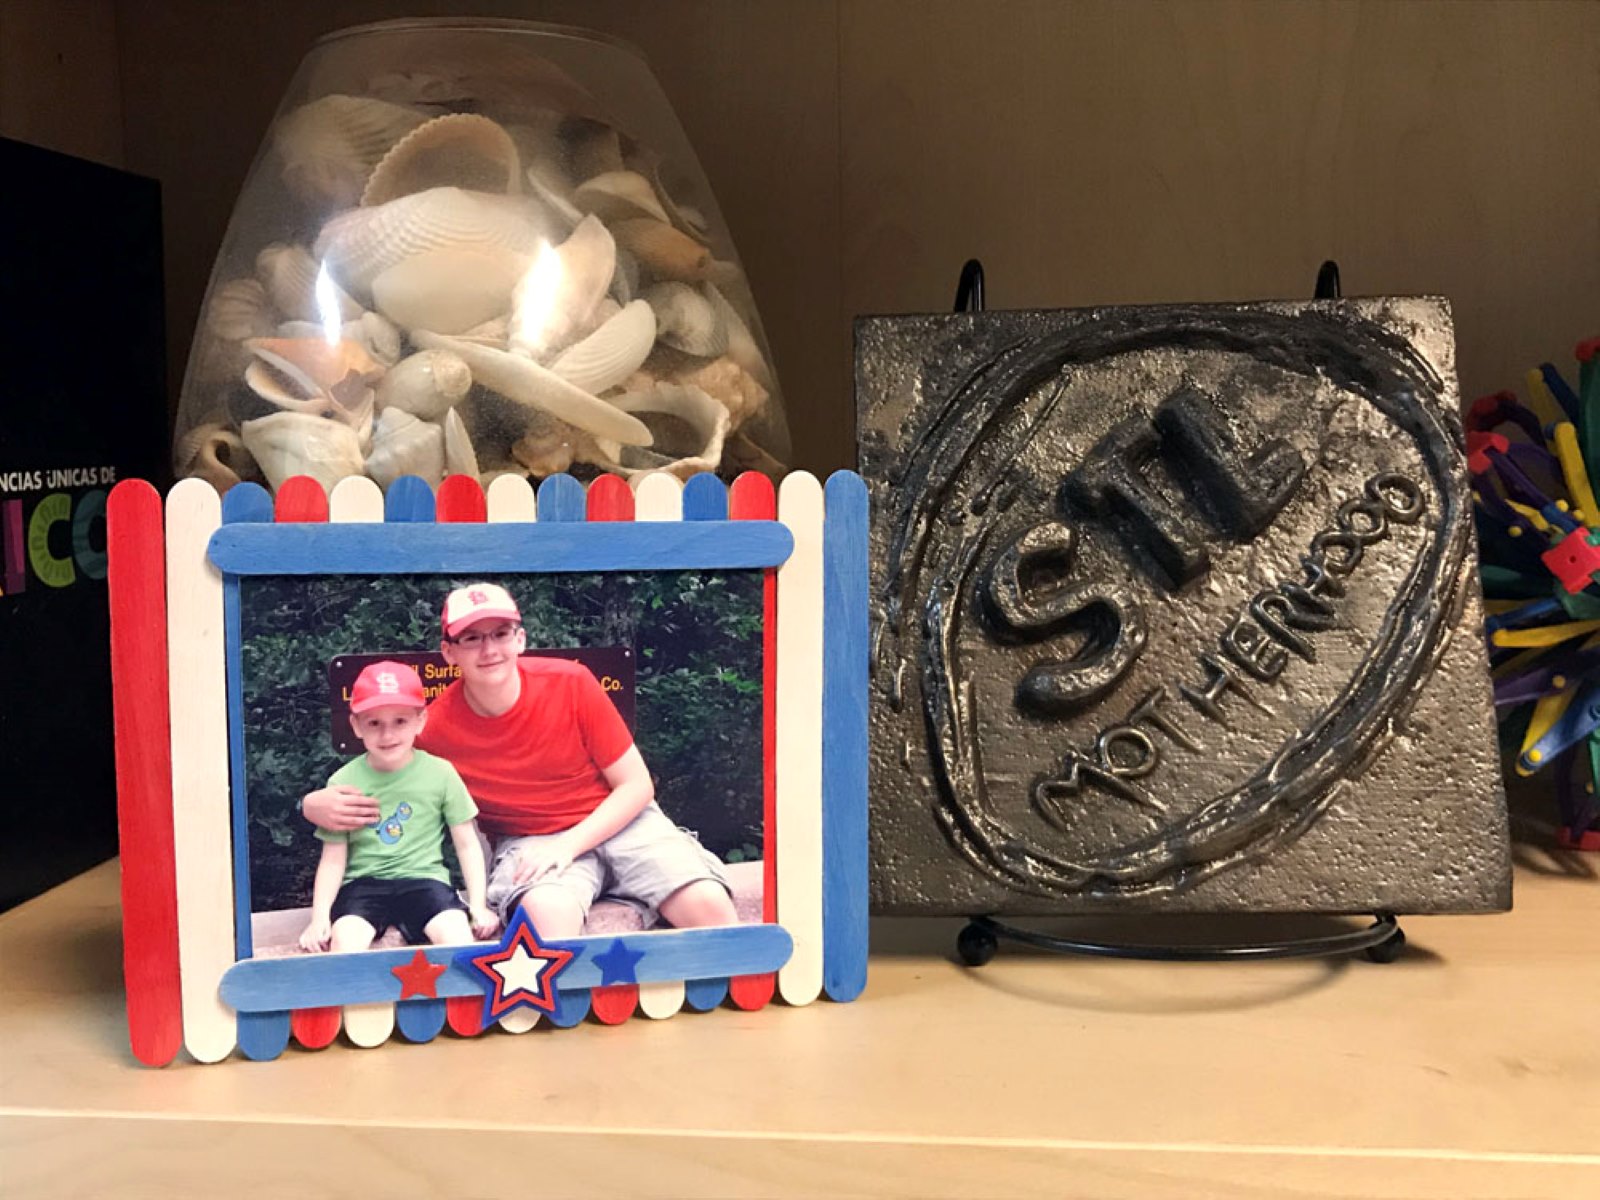
These are the basic materials you’ll need to make a simple picture frame. Depending on your design preferences, you may also consider additional embellishments such as decorative trim, corner brackets, or stencils.
Step 1: Measure and Cut the Frame Pieces
The first step in making a picture frame is to measure and cut the frame pieces to the desired dimensions. Here’s how:
- Measure your picture: Take the measurement of the picture you plan to frame. Make note of the width and height.
- Determine the size of the frame: Decide how wide you want the frame to be. This will determine the dimensions of the frame pieces.
- Calculate the dimensions: To calculate the length of each frame piece, add twice the frame width to the picture dimensions. For example, if your picture is 8×10 inches and you want a 2-inch wide frame, the frame pieces should be cut to 12×14 inches.
- Mark the measurements: Use a pencil and a ruler or straight edge to mark the measurements on the wooden boards. Make sure to mark both the length and width of each frame piece.
- Cut the frame pieces: Using a miter saw or a hand saw with a miter box, carefully cut along the marked lines to create the frame pieces. Remember to cut at a 45-degree angle for each of the corners to ensure they fit together neatly.
- Check the fit: Once all the frame pieces are cut, dry fit them together to ensure they line up properly and create a square or rectangular shape. Adjust the cuts if necessary.
By following these steps, you will have accurately measured and cut the frame pieces for your picture frame. Now, it’s time to move on to the next step: sanding and finishing the frame pieces.
Step 2: Sand and Finish the Frame Pieces
After cutting the frame pieces, it’s important to sand and finish them to create a smooth and polished look. Follow these steps to achieve the desired finish:
- Start with coarse sandpaper: Begin by using a coarse-grit sandpaper, such as 80 or 100, to remove any rough edges or splinters from the frame pieces. Sand along the grain of the wood to create a consistent surface.
- Progress to finer sandpaper: Once the rough edges are removed, switch to a finer-grit sandpaper, such as 220 or 320, to smooth out the surfaces of the frame pieces. This will give the wood a silky feel and a professional finish.
- Sand the edges: Pay special attention to sanding the edges of the frame pieces. Smooth out any unevenness or sharp corners to create a seamless and comfortable frame.
- Remove dust: After sanding, wipe away any dust or debris from the frame pieces using a clean, dry cloth or a tack cloth.
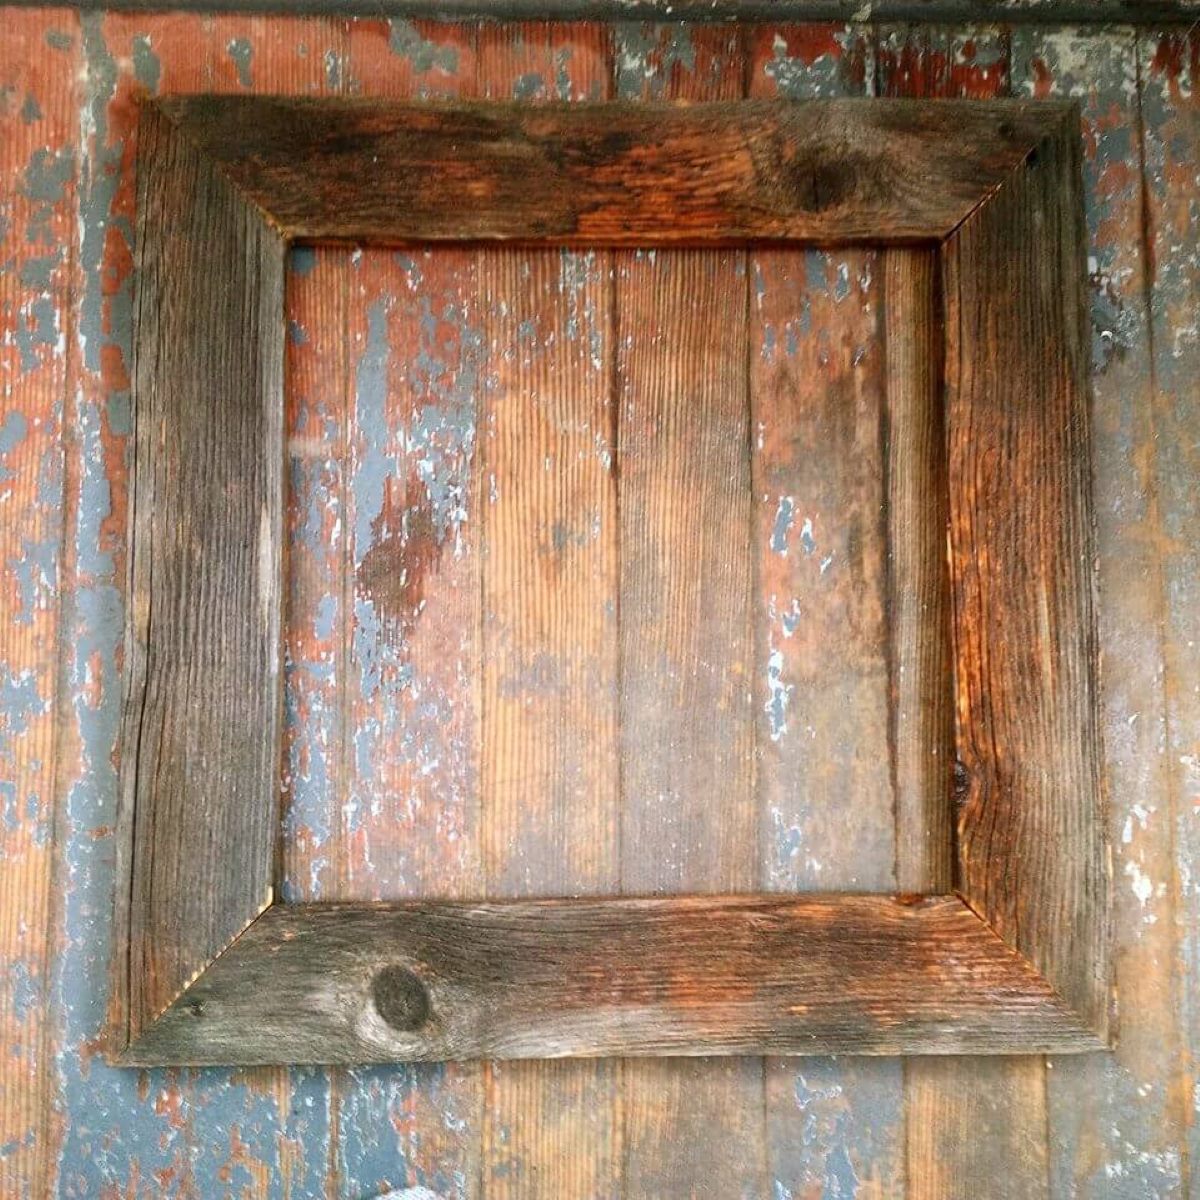
- Choose a finish: Decide on the type of finish you want for your frame. This can include staining the wood to enhance its natural beauty or painting it to add a pop of color. Alternatively, you can choose to leave the wood unfinished for a rustic look.
- Apply the finish: If you’re staining or painting the frame pieces, carefully apply the chosen finish using a brush or a cloth. Follow the instructions provided by the manufacturer and allow the finish to dry completely.
- Optional: Add additional embellishments: If desired, you can add decorative elements to the frame, such as wood trim or stenciled designs. Apply these embellishments after the finish has dried.
- Inspect the finish: Once the finish has dried, inspect the frame pieces for any imperfections or areas that need touch-ups. Sand or apply additional finish as needed.
By taking the time to sand and finish the frame pieces, you’ll ensure a professional and polished appearance for your picture frame. Now, let’s move on to the next step: assembling the frame.
When cutting the wood for your picture frame, be sure to measure and mark accurately before making any cuts. This will ensure that your frame pieces fit together perfectly.
Step 3: Assemble the Frame
Now that you have cut and finished the frame pieces, it’s time to assemble them and create the structure of the picture frame. Follow these steps to properly assemble the frame:
- Lay out the frame pieces: Start by laying out the frame pieces on a flat surface, forming the shape of the frame. Make sure the inside edges of the frame pieces are touching each other.
- Apply wood glue: Apply a thin and even layer of wood glue along the inside edges of the frame pieces. Be sure to spread the glue evenly to create a strong bond.
- Join the frame pieces: Carefully align the corners of the frame pieces and press them together firmly. The wood glue should hold the pieces in place.
- Secure with clamps: To ensure the frame pieces stay in place while the glue dries, use clamps to hold them together tightly. Place the clamps at each corner of the frame.
- Wipe off excess glue: Use a damp cloth or sponge to immediately remove any excess glue that squeezes out from the corners. This will prevent visible glue marks once the frame is finished.
- Let the glue dry: Allow the frame to sit undisturbed with the clamps in place until the wood glue dries completely. Refer to the manufacturer’s instructions for the recommended drying time.
- Remove the clamps: Once the glue is dry, carefully remove the clamps from the frame. The frame should now be sturdy and secure.
- Inspect and make any necessary adjustments: Examine the corners and joints of the frame to ensure they are securely bonded. If any areas need reinforcement, apply a small amount of additional wood glue and clamp them again.
By following these steps, your frame pieces will be properly assembled and ready to showcase your picture. The next step is to insert the picture into the frame.
Read more: How To Make Acrylic Picture Frames
Step 4: Insert the Picture
After assembling the frame, it’s time to carefully insert your desired picture into the frame. Follow these steps to securely place the picture:
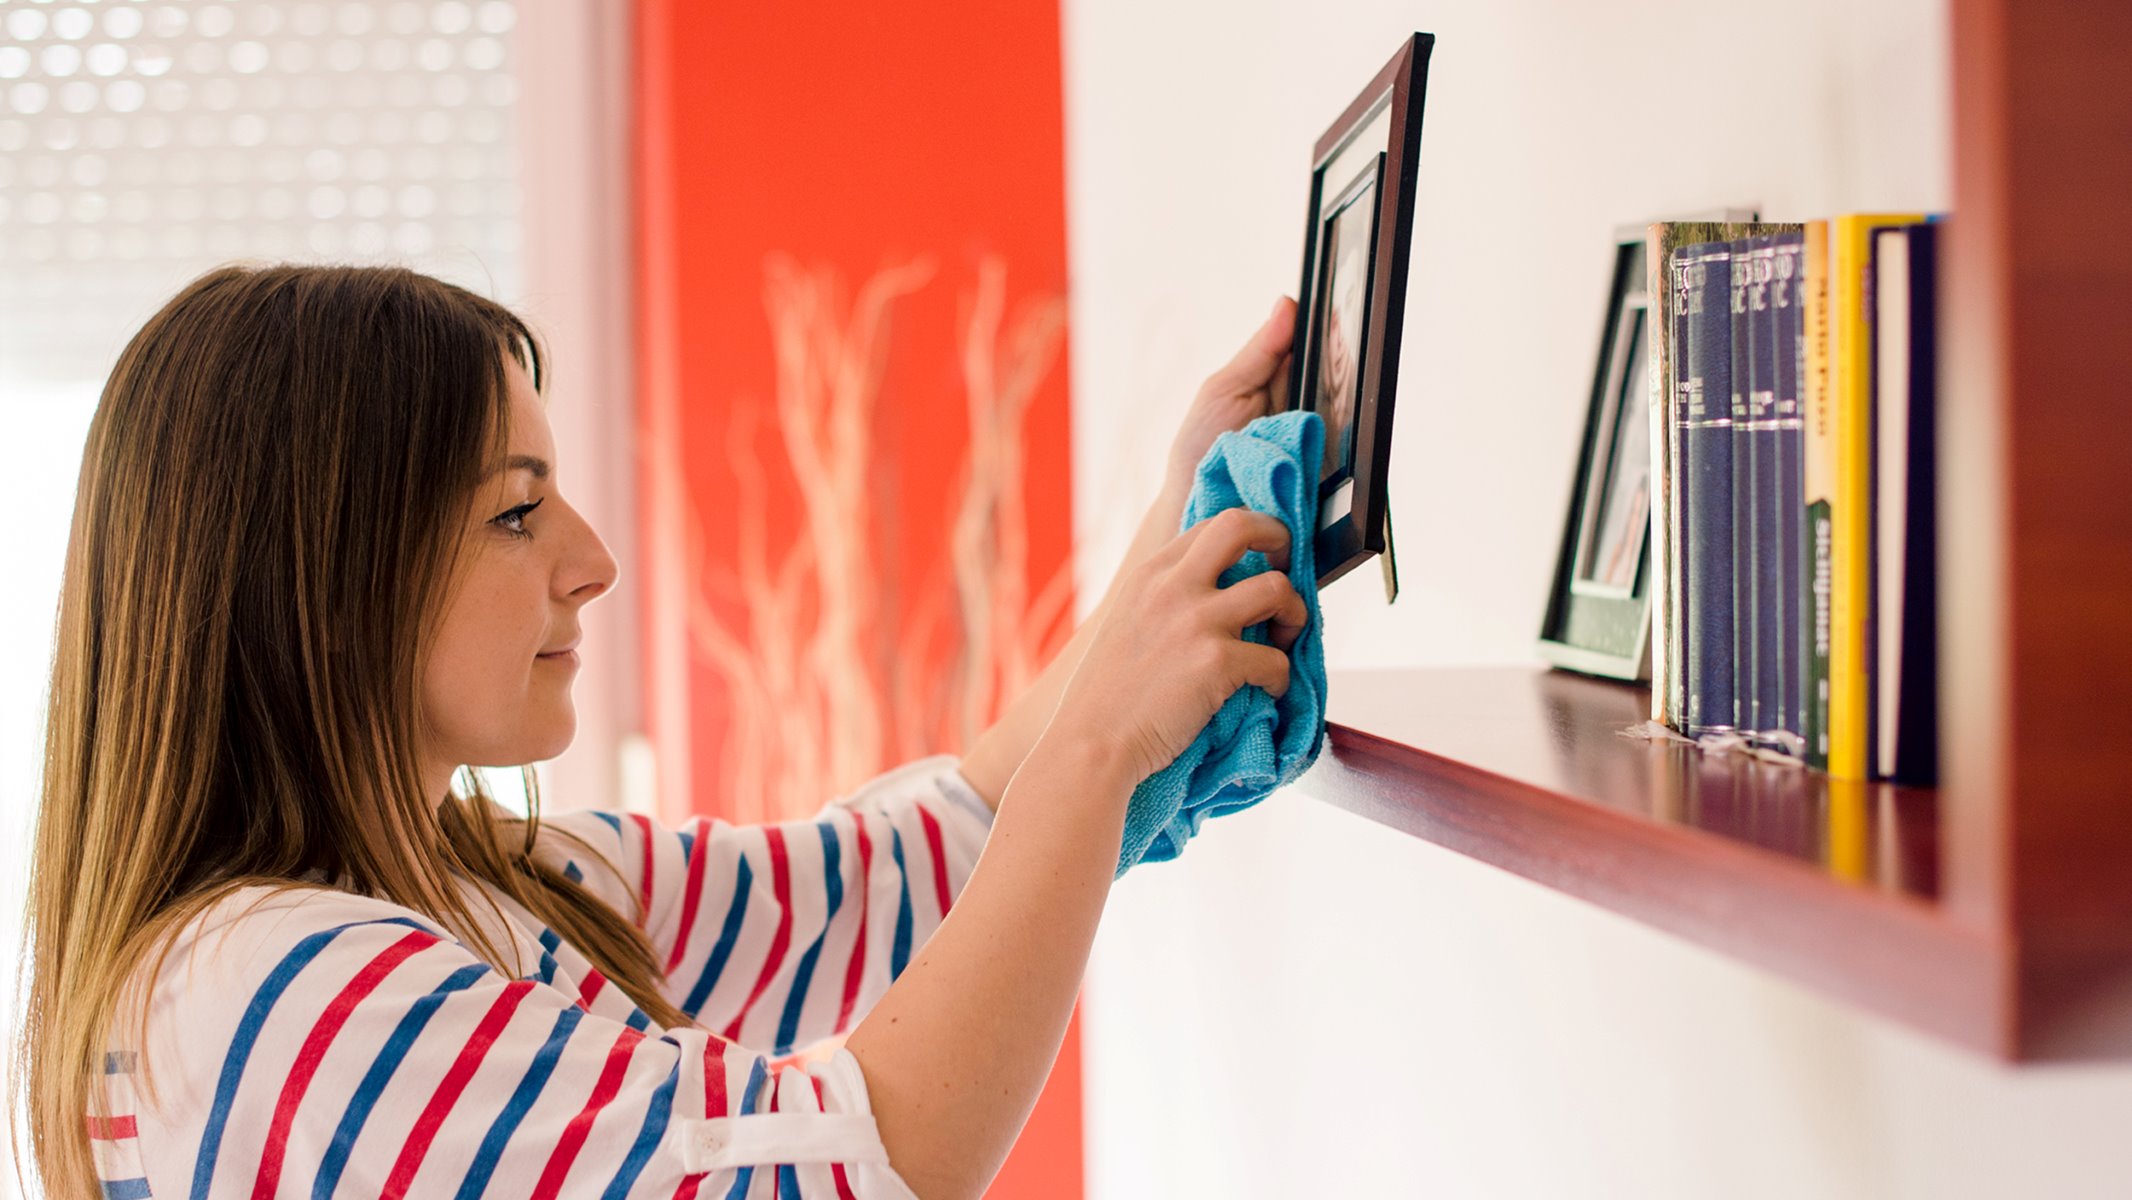
- Clean the glass or acrylic: If your frame includes a protective glass or acrylic cover, make sure to clean it thoroughly to remove any dust or fingerprints.
- Remove the back panel: Most frames have a back panel that can be easily removed. Gently unfasten or slide out the back panel to create an opening for the picture.
- Place the picture inside the frame: Carefully slide the picture into the frame from the open side. Make sure it fits snugly within the frame and aligns properly.
- Reattach the back panel: Once the picture is in place, reattach the back panel securely. Ensure that it is aligned and fastened properly with screws or clips.
- Check for any gaps or misalignments: Inspect the frame to ensure there are no gaps or misalignments between the picture and the frame. Adjust if necessary.
By following these steps, you will successfully insert your picture into the frame, providing a secure and visually pleasing display. The final step is to attach the necessary hanging hardware.
Step 5: Attach the Hanging Hardware
The last step in making your picture frame is to attach the appropriate hanging hardware so you can easily display it on your wall. Follow these steps to securely attach the hanging hardware:
- Choose the type of hanging hardware: Depending on your preference, you can use wire, D-rings, or sawtooth hangers to hang your frame.
- Position the hardware: Determine the placement of the hanging hardware on the back of the frame. Measure and mark the spots with a pencil.
- Attach the hardware: Using screws or nails, carefully attach the chosen hanging hardware to the back of the frame. Make sure it is securely fastened.
- Double-check the stability: Test the stability of the hanging hardware by gently applying pressure. Ensure that it is securely attached and capable of holding the weight of the frame.
- Prepare the wall: Before hanging the frame, prepare the wall by cleaning it and locating the desired placement.
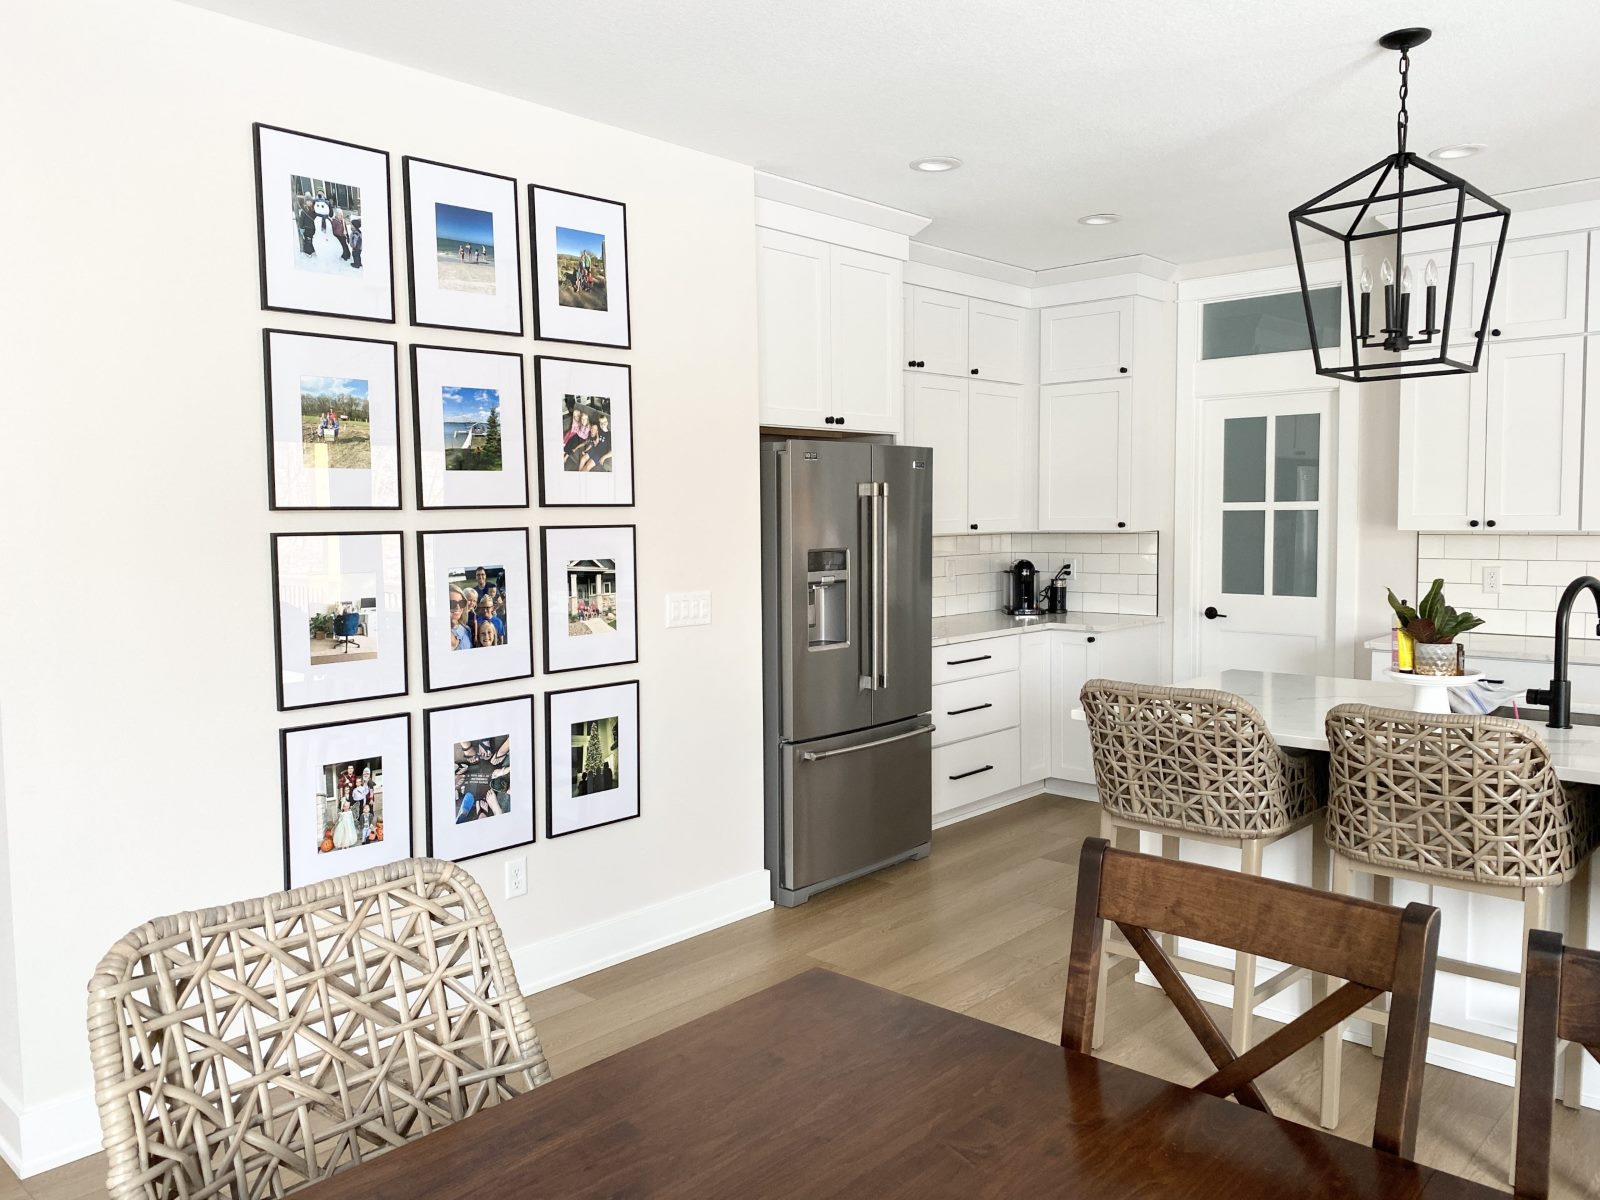
- Hang the frame: With the help of a wall hook or nail, hang the frame on the wall at the desired height and alignment.
- Adjust if necessary: Step back and check the levelness and position of the frame. Make any necessary adjustments to ensure it is hanging straight and in the desired location.
By following these steps, you’ll be able to securely attach the hanging hardware and hang your picture frame on the wall. Now, step back and admire your work!
Conclusion
Congratulations! You have successfully learned how to make picture frames from scratch. By following the steps outlined in this guide, you can create personalized frames that showcase your favorite memories and artwork.
Making your own picture frames not only allows you to unleash your creativity but also saves you money compared to buying pre-made frames. Plus, you have the freedom to choose the size, material, and finish that perfectly complements your style and decor.
Remember, the key to a successful DIY picture frame is in the details. Take your time to measure and cut the frame pieces accurately, sand and finish them meticulously, and assemble them with care. By paying attention to each step, you’ll create a professional-looking frame that adds a special touch to your home or makes a thoughtful gift for someone you care about.
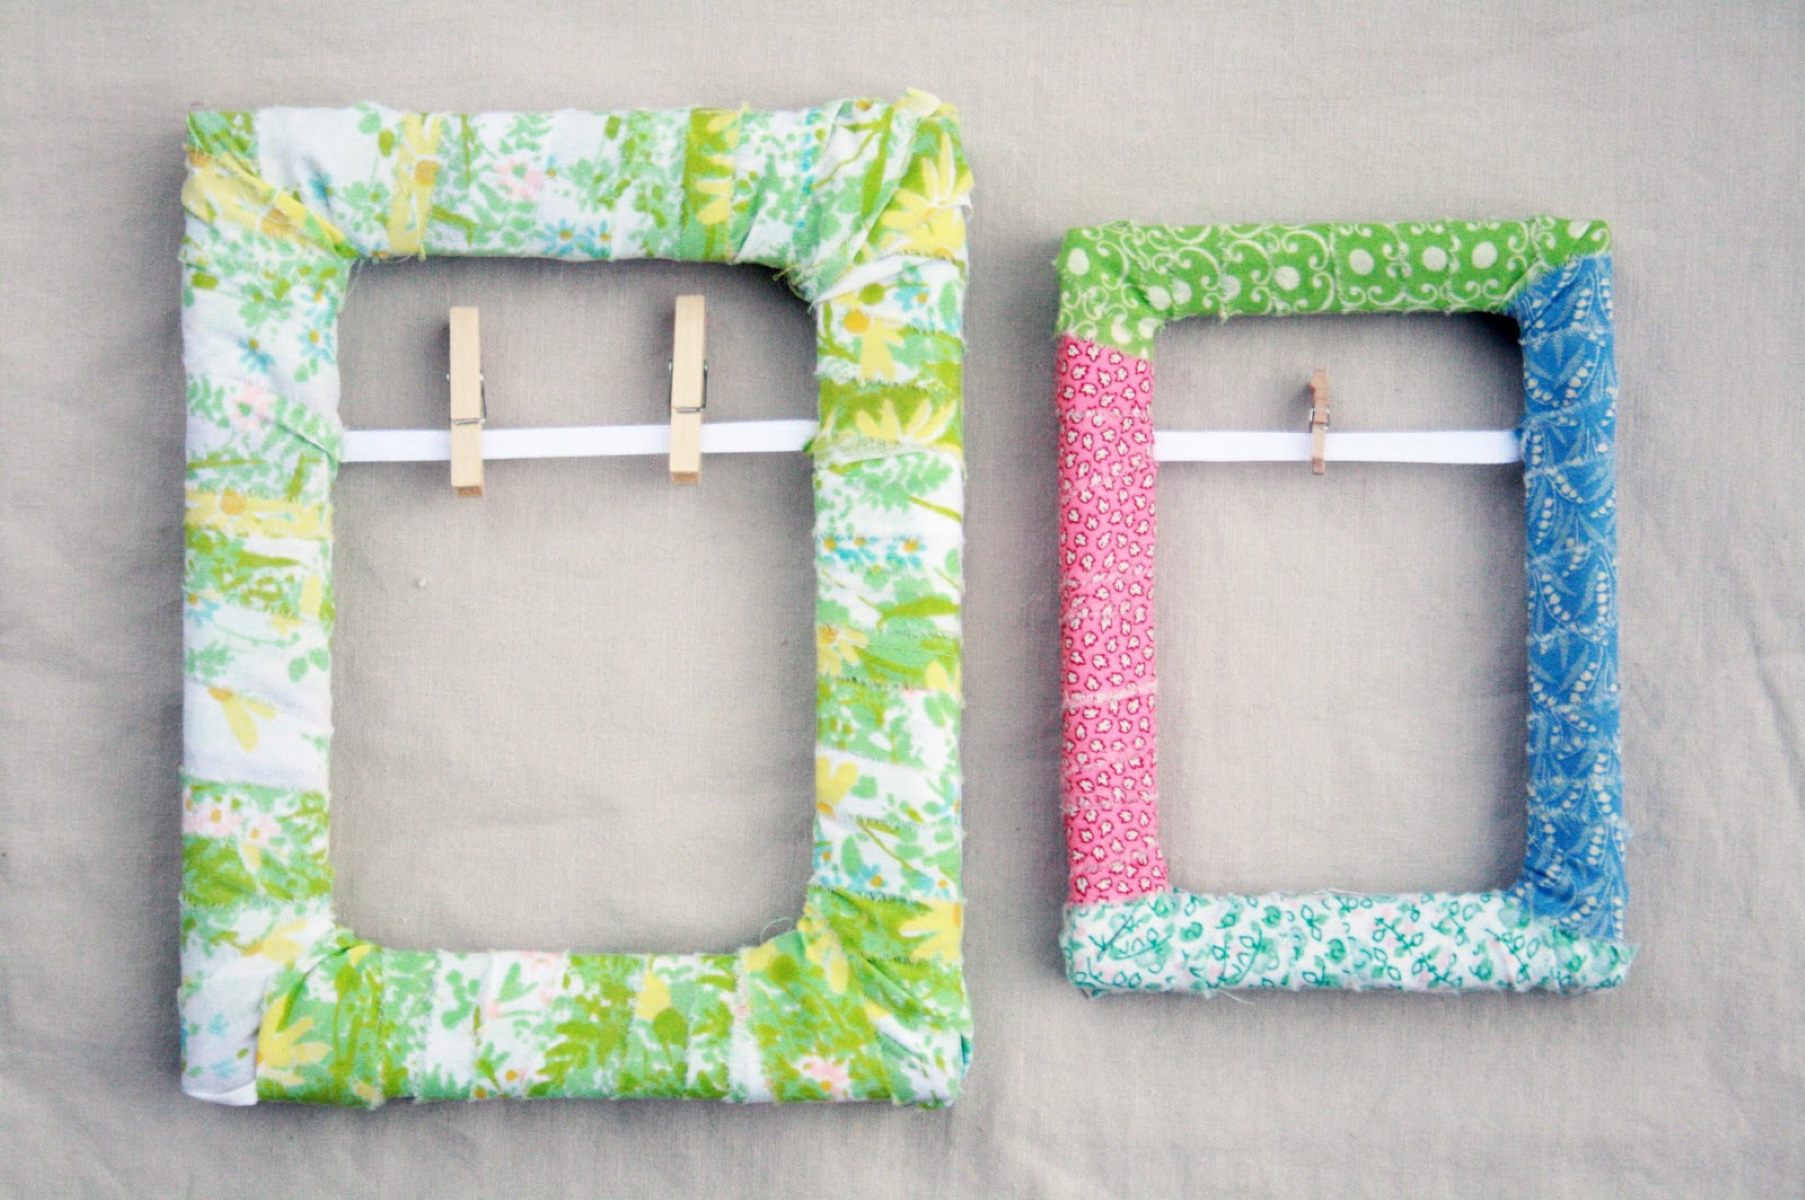
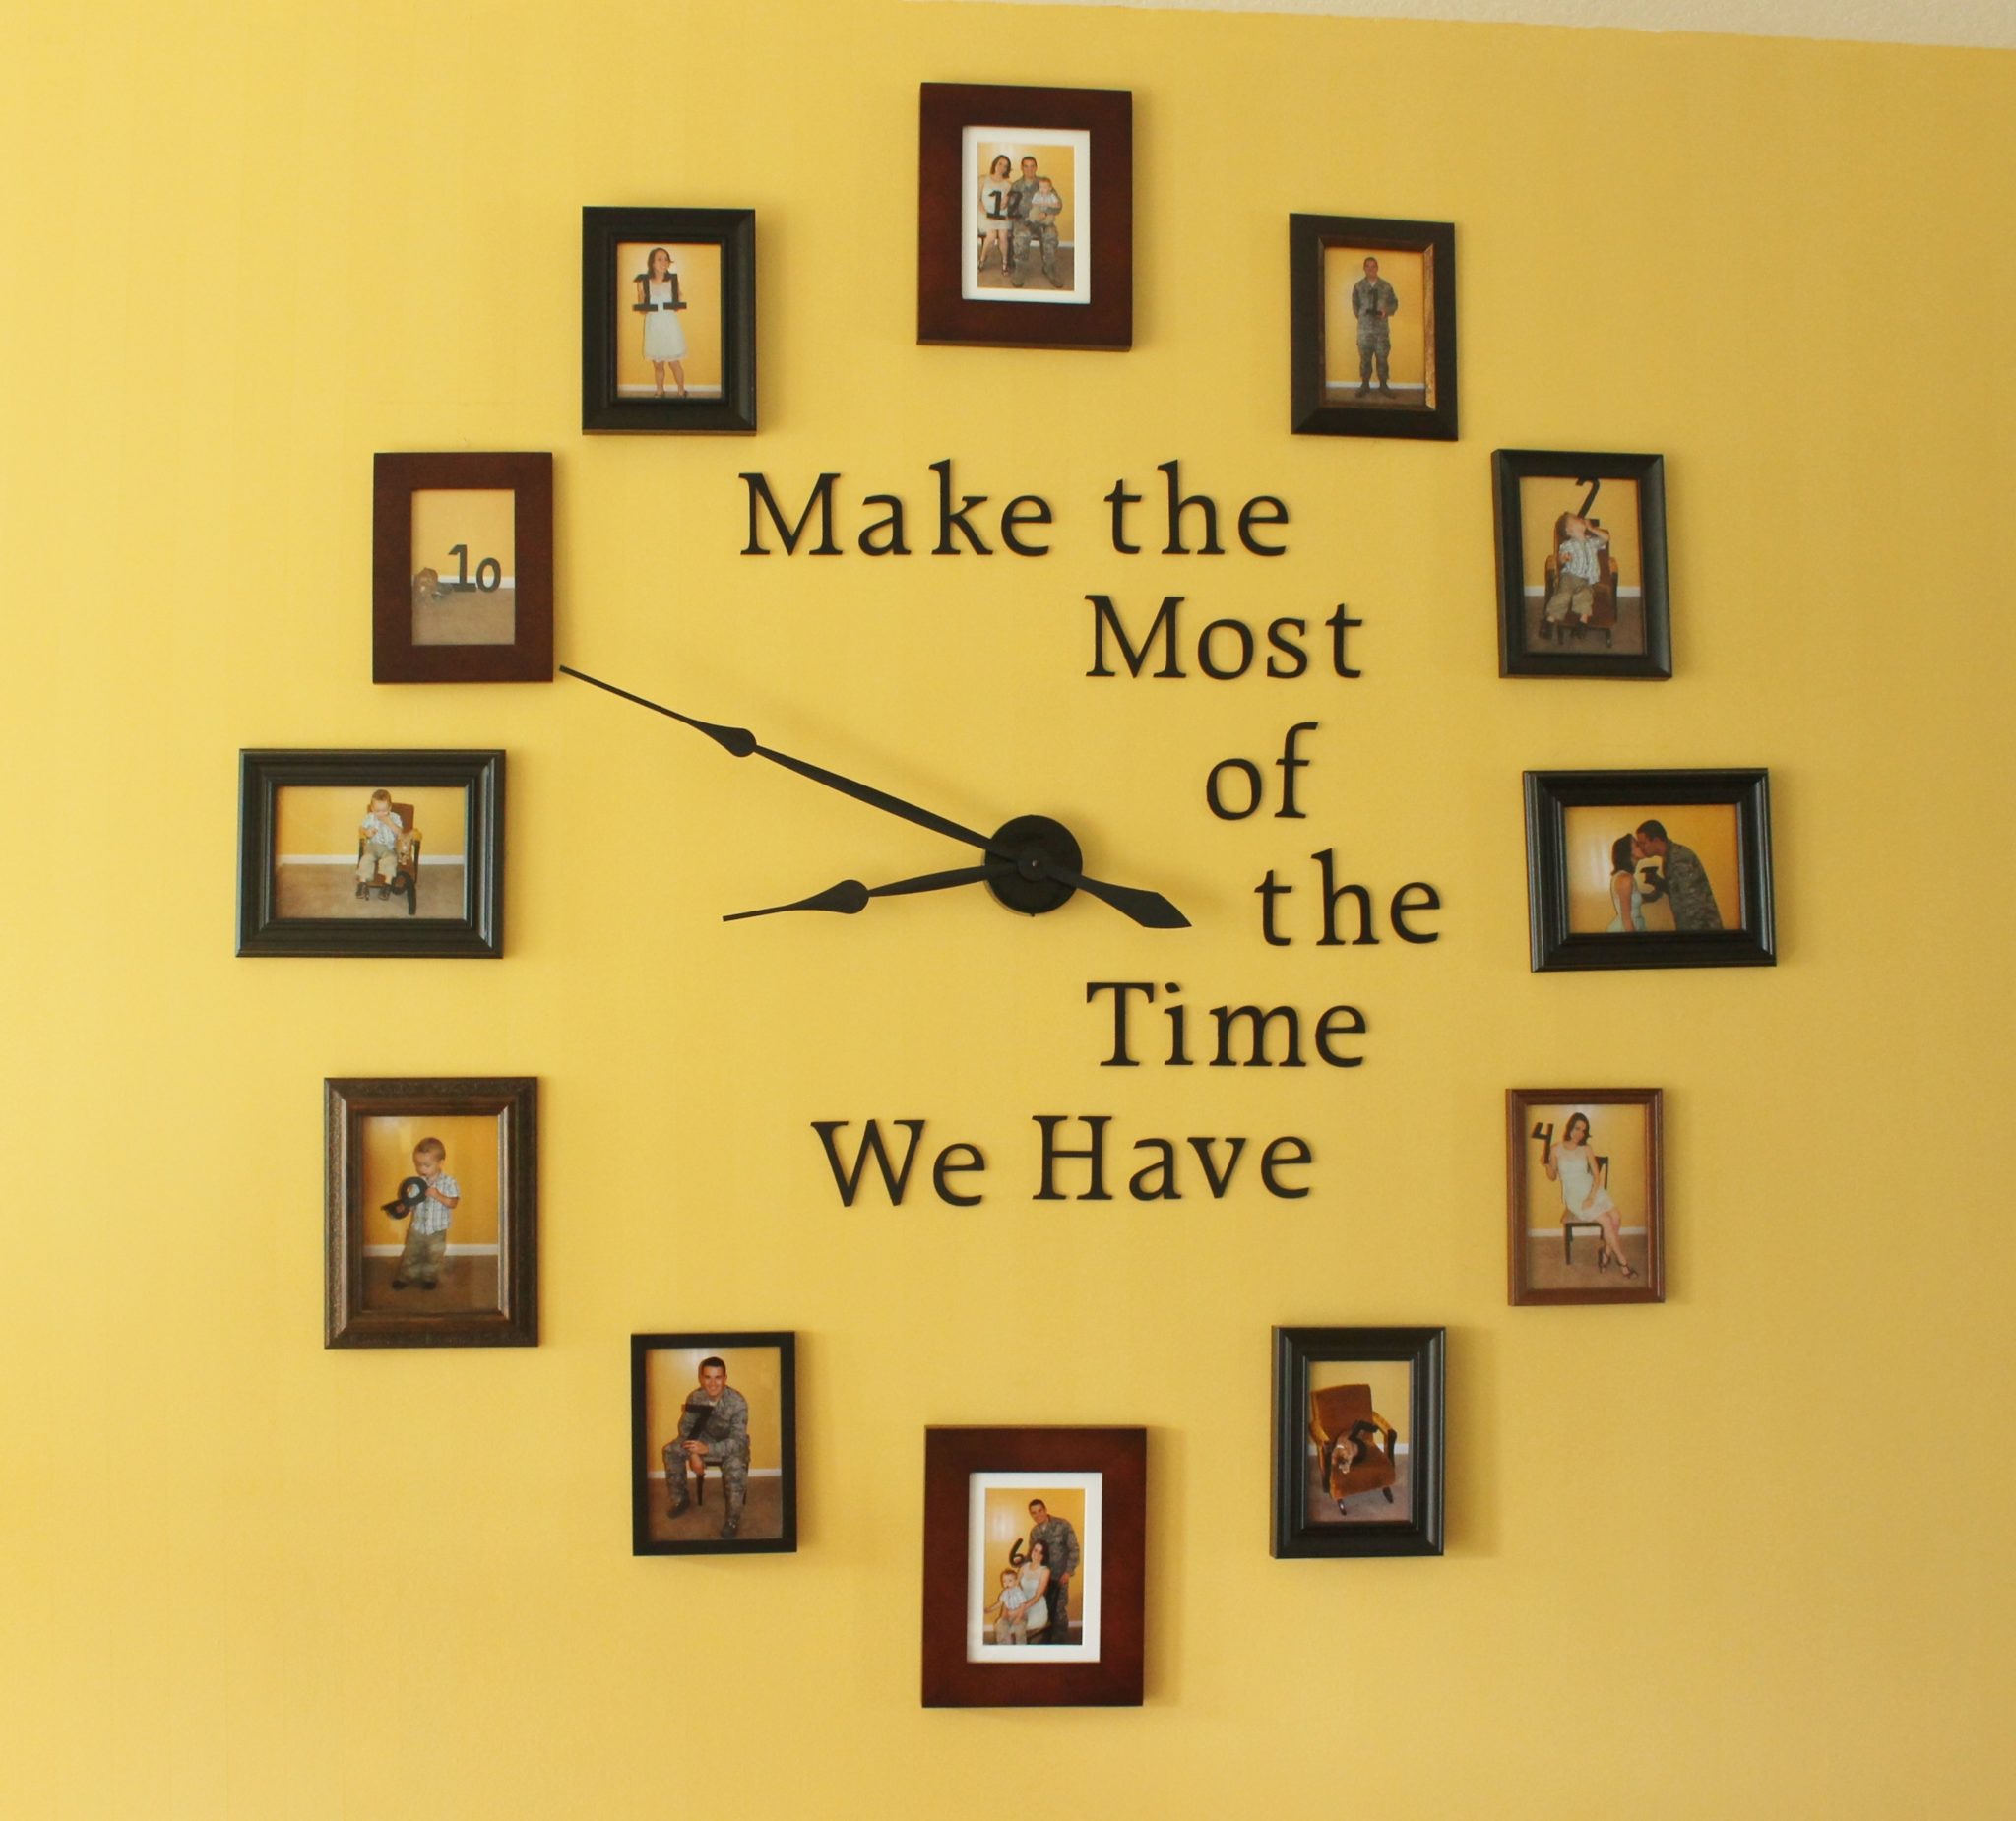
Don’t limit yourself to traditional rectangular frames; feel free to experiment with different shapes, sizes, and embellishments to make your frames truly unique. Let your imagination run wild and enjoy the process of creating something beautiful.
Now that you have the knowledge and skills, gather your materials, set up your workspace, and start crafting your own picture frames. Get ready to proudly display your cherished pictures or artwork in frames that you made with your own hands!
Frequently Asked Questions about How To Make Picture Frames
Was this page helpful?
At Storables.com, we guarantee accurate and reliable information. Our content, validated by Expert Board Contributors, is crafted following stringent Editorial Policies. We're committed to providing you with well-researched, expert-backed insights for all your informational needs.


0 thoughts on “How To Make Picture Frames”