Articles
How To Make Old Windows Into Picture Frames
Modified: August 26, 2024
Learn how to repurpose old windows into beautiful picture frames with our step-by-step articles. Transform your space with these creative DIY projects!
(Many of the links in this article redirect to a specific reviewed product. Your purchase of these products through affiliate links helps to generate commission for Storables.com, at no extra cost. Learn more)
Introduction
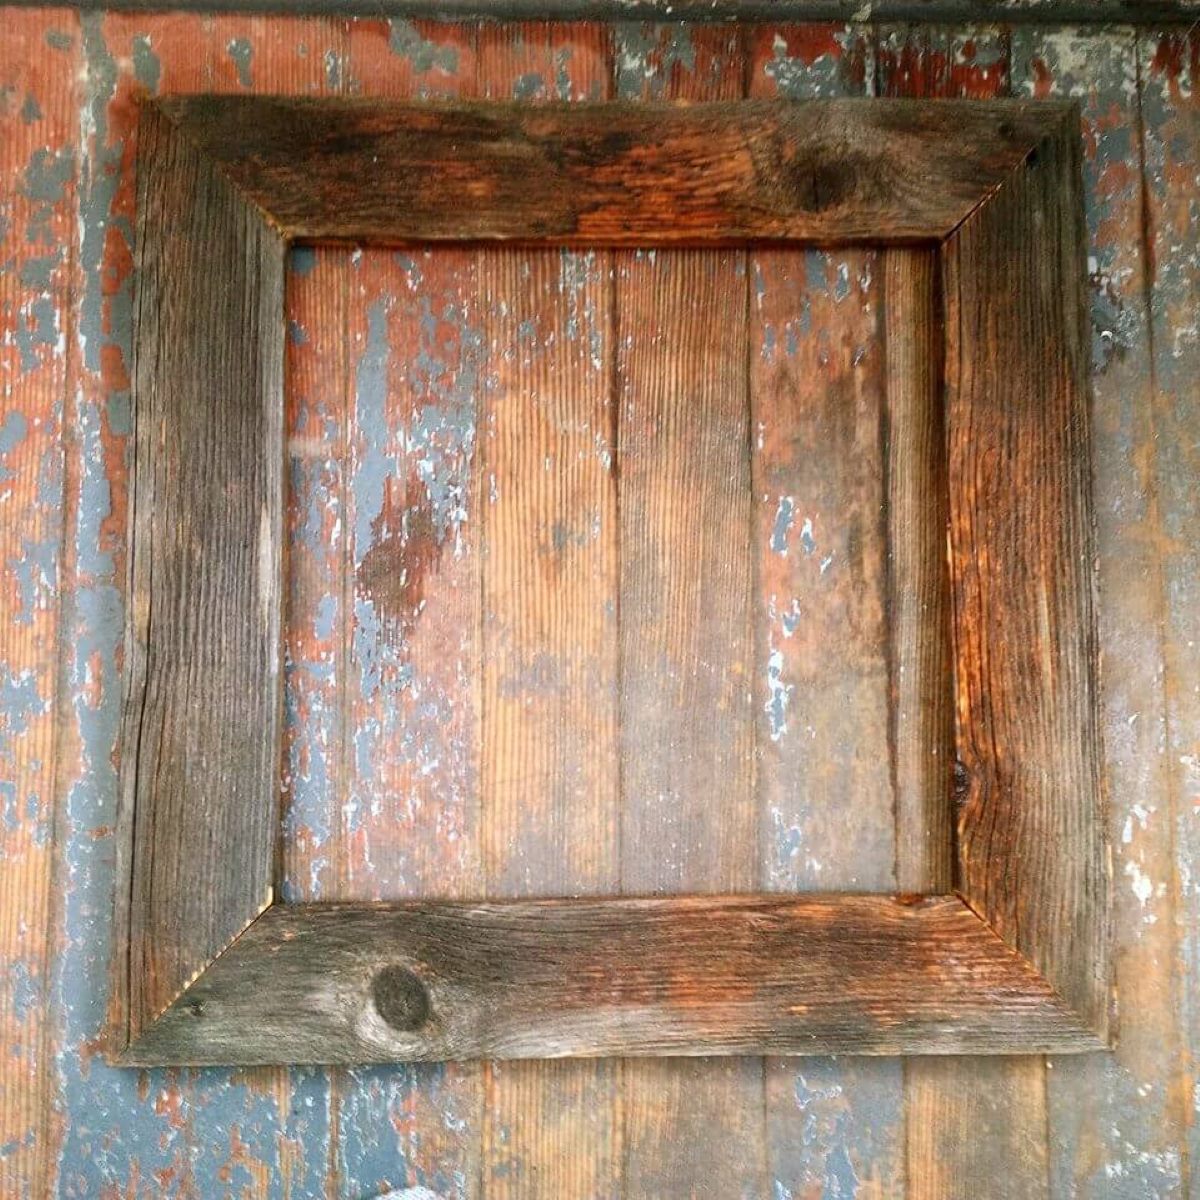
Turning old windows into picture frames is a creative and cost-effective way to give new life to vintage or salvaged windows. Instead of discarding these beautiful pieces of architectural history, repurposing them as picture frames adds charm and character to any space. Whether you have inherited old windows or found them at a flea market, this DIY project allows you to showcase your favorite photos while adding a touch of nostalgia to your home decor.
In this article, we will guide you through the step-by-step process of transforming your old windows into unique picture frames. From preparing the window frame to hanging the finished product, we will provide all the information you need to successfully complete this project. So, gather your materials and let’s get started!
Key Takeaways:
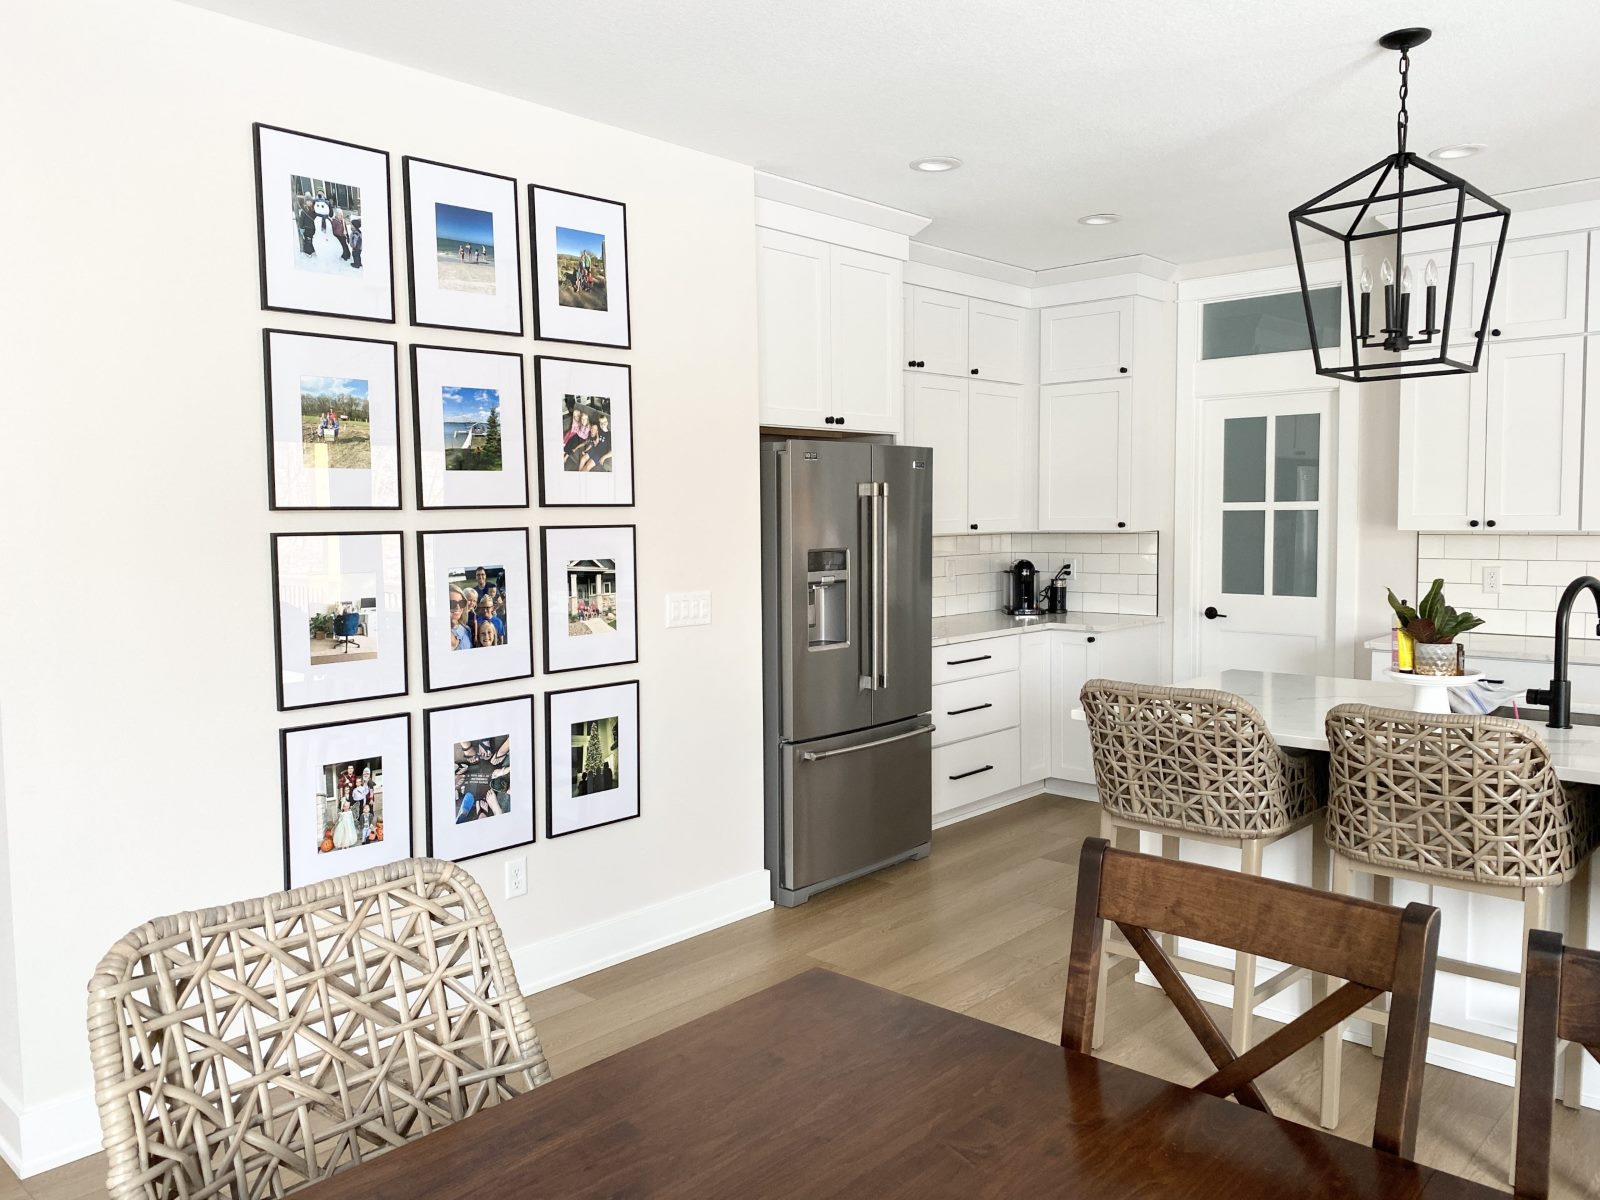
- Transform old windows into charming picture frames with these DIY steps. Showcase your favorite photos and add a touch of nostalgia to your home decor while repurposing architectural treasures.
- Save money and preserve history by repurposing old windows into unique picture frames. Let your creativity shine as you transform these vintage pieces into captivating works of art.
Read more: How To Make Picture Frames
Materials Needed
Before diving into the project, it’s important to gather all the necessary materials. Here’s a list of items you’ll need to turn your old windows into picture frames:
- Old window frame
- Glass scraper or putty knife
- Sandpaper (medium grit)
- Clean cloth
- Primer
- Paint or stain
- Paintbrush or foam roller
- Backboard material (such as plywood or foam board)
- Wire or picture hanging kit
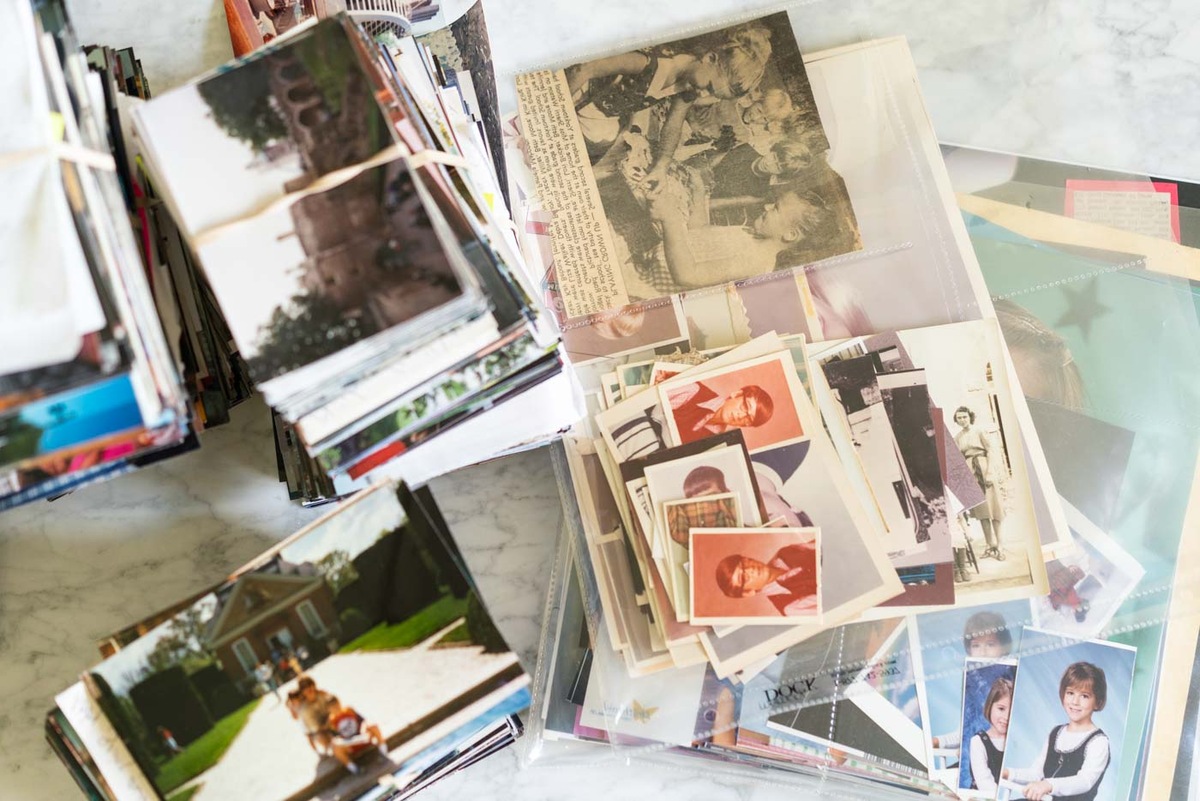
- Pictures or artwork
- Hammer and nails or picture hanging hooks
With these materials on hand, you’re ready to transform your old windows into beautiful picture frames!
Step 1: Prep Work
The first step in repurposing old windows into picture frames is to prepare the window frame for the transformation. Follow these steps to ensure a smooth and successful project:
- Remove any hardware or nails: Before you begin, it’s important to remove any hinges, handles, or nails from the window frame. Use a screwdriver or pliers, depending on the type of hardware, to carefully detach them.
- Clean the window frame: Use a damp cloth to wipe down the window frame, removing any dust, dirt, or debris. This will ensure that the surface is clean and ready for the next steps.
- Inspect for damage: Take a close look at the window frame for any signs of damage or decay. If you notice any cracks or rotted areas, make the necessary repairs before proceeding.
- Measure the dimensions: Measure the dimensions of the back side of the window frame. This will determine the size of the backing material you will need later in the process.
By completing these preparatory steps, you’ll set the stage for a successful transformation of your old window into a beautiful picture frame. With a clean and structurally sound frame, you’re ready to move on to the next step of the process: removing the glass.
Step 2: Removing the Glass
Now that you’ve prepped the window frame, the next step is to remove the glass. Follow these instructions to safely and effectively remove the glass from the old window:
- Protective gear: Before starting, put on gloves and safety goggles to protect yourself from any potential glass shards or debris.
- Secure the window: Lay the window frame on a flat and steady surface to ensure stability during the glass removal process.
- Loosen the putty: Use a glass scraper or putty knife to gently loosen the putty around the edges of the glass. Carefully insert the scraper or knife between the putty and the glass, applying gentle pressure to break the seal.
- Remove the glazing points: Glazing points are small metal pieces that hold the glass in place. Use pliers or a flathead screwdriver to carefully remove the glazing points from the window frame.
- Remove the glass: Once the putty and glazing points are loosened, carefully lift the glass out of the window frame. Be cautious not to apply too much pressure or twist the glass, as it may break.
Once the glass is removed, set it aside in a safe place or dispose of it properly. Don’t worry if some putty residue remains on the window frame; we will address that in the next step. With the glass safely removed, you’re ready to move on to step 3: sanding and cleaning the window frame.
Step 3: Sanding and Cleaning
After removing the glass from the window frame, it’s important to prepare the frame itself by sanding and cleaning it. Follow these steps to ensure a smooth surface for painting or staining:
- Sanding the frame: Use medium-grit sandpaper to gently sand the entire surface of the window frame. Focus on any rough or uneven areas, as well as any remaining putty residue. Sanding will create a smooth surface for painting or staining.
- Cleaning the frame: Once you have finished sanding, wipe down the frame with a clean cloth to remove any dust or debris generated during the sanding process. Ensure that the frame is completely clean and free of any particles.
By sanding and cleaning the window frame, you’re preparing it for the next step: painting or staining. These steps are crucial to achieving a professional and polished look for your old window picture frame. Once the frame is sanded and clean, you can move on to the exciting part of the project: adding color and finish!
When repurposing old windows into picture frames, be sure to clean and sand the surface before painting or staining. This will ensure a smooth and professional finish for your new picture frame.
Read more: How To Make Stands For Picture Frames
Step 4: Painting or Staining
With the window frame sanded and cleaned, it’s time to add a fresh coat of paint or stain to enhance its appearance. Follow these steps to achieve the desired finish for your old window picture frame:
- Prime the frame (optional): If you want to ensure better adhesion and durability of the paint or stain, consider applying a primer to the window frame. This step is especially recommended if the frame is made of wood or if you’re planning to paint a light color over a dark-colored frame.
- Choose your color or stain: Select the paint color or wood stain that matches your desired aesthetic. Consider the overall style of your space and the colors that complement your decor.
- Paint or stain application: Using a paintbrush or foam roller, apply an even coat of paint or stain to the entire window frame. Be sure to cover all surfaces, edges, and corners for a uniform finish. Allow the first coat to dry completely before applying additional coats, if desired.
- Optional distressing or antiquing: If you prefer a vintage or distressed look, you can gently sand the painted or stained frame in certain areas to create a worn effect. This step adds character and enhances the charm of the old window picture frame.
- Allow for drying time: Follow the instructions on the paint or stain can for drying time. Be patient and ensure that the frame is completely dry before moving on to the next step.
By painting or staining the window frame, you’re personalizing and transforming it into a unique piece of decorative art. Once the paint or stain is dry, you’re ready to move on to step 5: adding backing and pictures to your window picture frame.
Step 5: Adding Backing and Pictures
Now that you have a beautifully painted or stained window frame, it’s time to add the backing and pictures to complete the transformation into a picture frame. Follow these steps to showcase your favorite photos:
- Prepare the backing: Measure the dimensions you took earlier and cut a piece of plywood or foam board to match the size of the back side of the window frame. Alternatively, you can have a professional cut the backing for you at a local hardware store.
- Attach the backing: Place the cut backing inside the window frame, making sure it fits snugly. If needed, use small nails or screws to secure the backing to the frame. Ensure that the backing is centered and aligned properly.
- Add picture hanging hardware: Depending on the weight and size of your window frame, attach a wire or picture hanging kit to the back of the frame. This will allow you to easily hang the picture frame on a wall later.
- Arrange and insert pictures: Now comes the fun part! Select your favorite pictures or artwork and arrange them on the backing inside the frame. Use clips, adhesive photo corners, or double-sided tape to secure the pictures in place.
By adding the backing and pictures, you’re turning your old window into a functional and visually appealing picture frame. Take your time to arrange the pictures in a way that you find most pleasing. Once everything is in place, you’re ready for the final step: hanging the window picture frame!
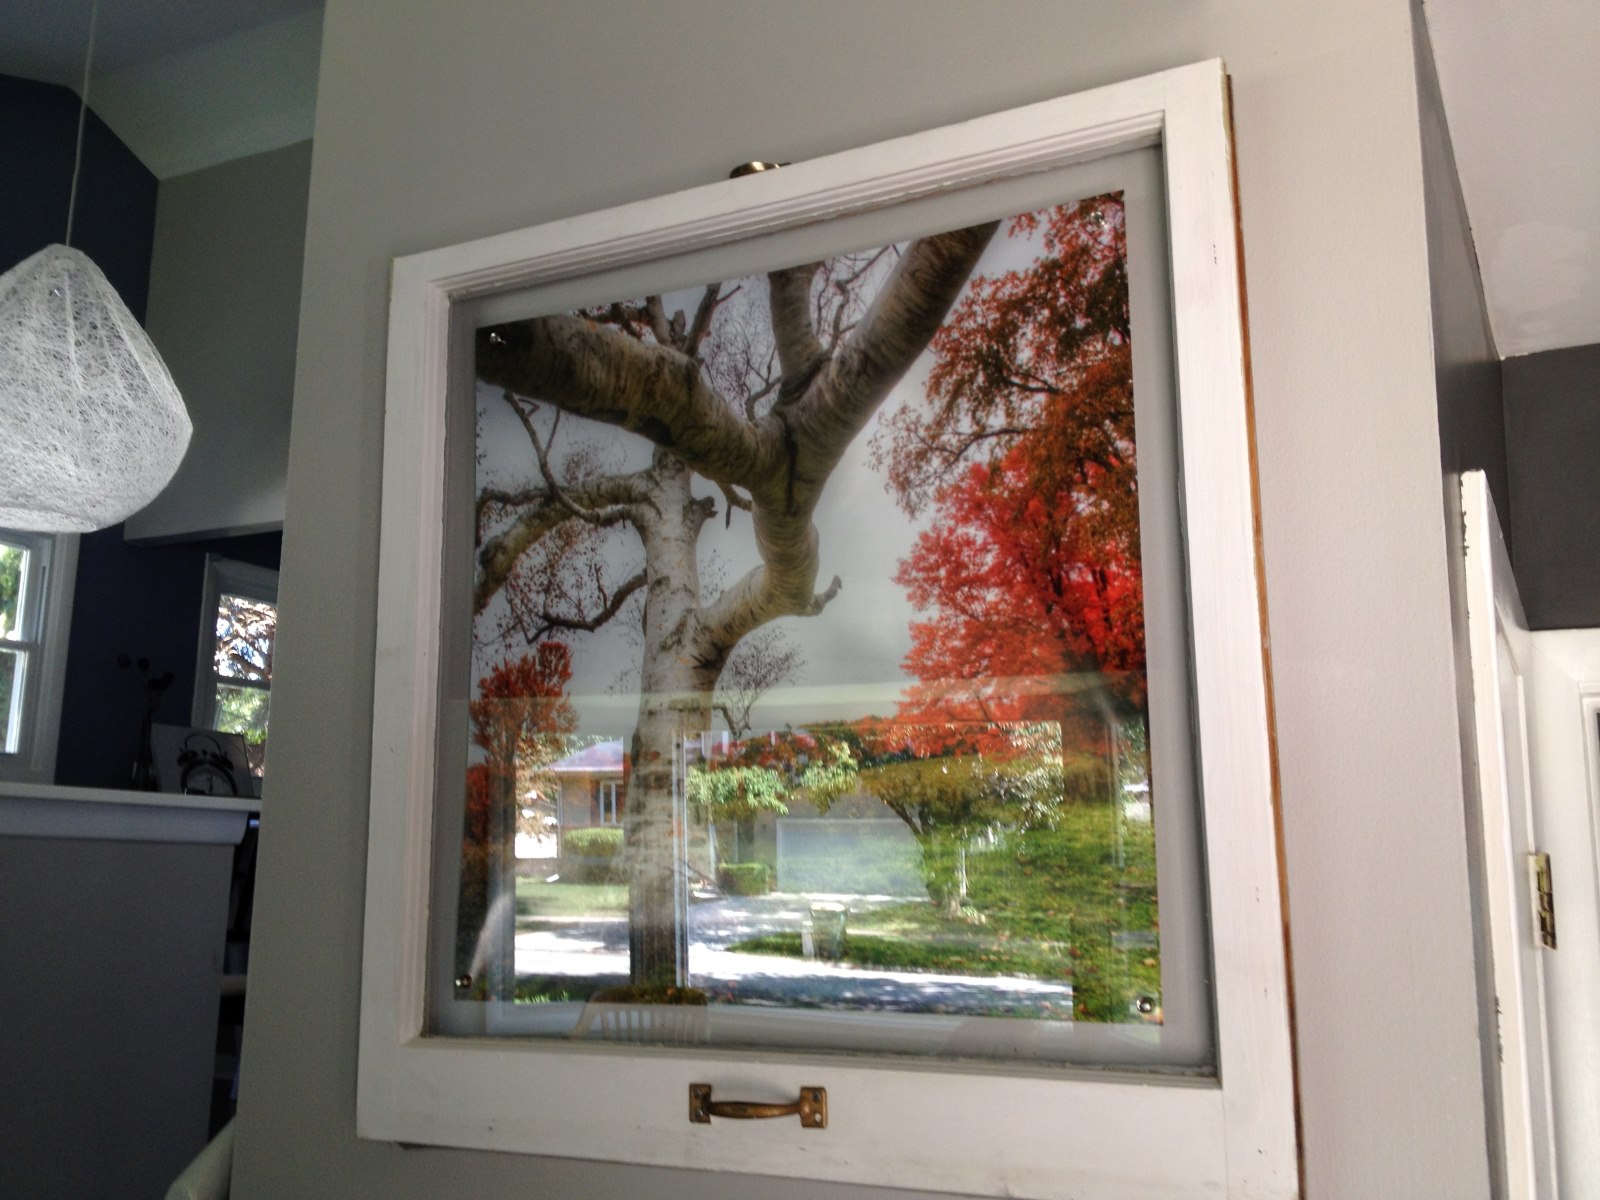
Step 6: Hanging the Window Picture Frame
With your old window picture frame complete, it’s time to hang it and proudly display your cherished memories. Follow these steps to securely hang the frame on a wall:
- Choose a suitable location: Decide where you want to hang your window picture frame. Consider the size and weight of the frame, as well as the overall aesthetic of the room.
- Mark the wall: Use a pencil or painter’s tape to mark the desired position of the frame on the wall. Use a level to ensure the marks are straight and even.
- Install the hanging hardware: Depending on the type of wall you have (drywall, brick, etc.), choose the appropriate hanging hardware. Follow the instructions provided with the hardware to securely attach it to the wall.
- Hang the frame: Once the hanging hardware is in place, carefully lift the window picture frame and align it with the marked position on the wall. Gently hang the frame on the hardware and adjust as needed.
- Test the stability: Give the frame a gentle push to ensure that it is securely hanging on the wall. Make any necessary adjustments to ensure the frame is level and straight.
By hanging your window picture frame, you’re completing the transformation and showcasing your creativity and personal style. Stand back and admire your work, knowing that you’ve turned an old window into a unique and meaningful piece of art.
Conclusion
Congratulations! You have successfully repurposed your old windows into beautiful picture frames. By following the step-by-step guide in this article, you have transformed these architectural treasures into unique pieces of decor that showcase your favorite memories.
Throughout the process, you learned how to properly prep the window frame, remove the glass, sand and clean the surface, apply paint or stain, add backing material, insert pictures, and hang the finished frame on a wall. Each step contributed to the overall transformation, ensuring that your window picture frames are not only visually captivating but also durable and secure.
Not only did repurposing old windows save you money compared to buying new picture frames, but it also allowed you to preserve a piece of history and add character and charm to your home. These DIY creations serve as conversation starters, capturing the attention and admiration of guests who see your unique display of creativity.
Remember, the possibilities are endless when it comes to repurposing old windows. You can experiment with different paint colors, stains, and even collage-style arrangements with multiple windows. Let your imagination run wild and create picture frames that truly reflect your personal style.
So go ahead, find those hidden treasures in your attic or scout flea markets for unique old windows. With the knowledge and skills you’ve gained from this article, you can turn them into stunning picture frames that blend nostalgia, artistry, and functionality.
Happy crafting!
Frequently Asked Questions about How To Make Old Windows Into Picture Frames
Was this page helpful?
At Storables.com, we guarantee accurate and reliable information. Our content, validated by Expert Board Contributors, is crafted following stringent Editorial Policies. We're committed to providing you with well-researched, expert-backed insights for all your informational needs.


0 thoughts on “How To Make Old Windows Into Picture Frames”