Articles
Where Is Compressor On Kegerator
Modified: August 30, 2024
Discover the location of the compressor on your kegerator with helpful articles and step-by-step guides. Ensure your kegerator is functioning properly and troubleshoot any issues.
(Many of the links in this article redirect to a specific reviewed product. Your purchase of these products through affiliate links helps to generate commission for Storables.com, at no extra cost. Learn more)
Introduction
Welcome to this article on the topic of “Where is the compressor on a kegerator?” If you are a proud owner of a kegerator or are considering purchasing one, it is important to have a good understanding of its components and how they work. One crucial component of a kegerator is the compressor, which plays a vital role in maintaining the optimal temperature for your draft beer. In this article, we will delve deeper into the world of kegerators, explore the importance of locating the compressor, and provide you with step-by-step instructions on how to find it. So, let’s dive right in!
Key Takeaways:
- Knowing the location of the compressor on your kegerator is crucial for maintenance, troubleshooting, and ensuring a continuous flow of cold, refreshing draft beer. By locating and inspecting the compressor, you can address potential issues early on and enjoy an optimal draft beer experience.
- Troubleshooting common compressor issues, such as noise, cooling problems, leakage, excessive vibration, and overheating, is essential for maintaining the performance of your kegerator. While some issues can be resolved with simple adjustments, others may require professional assistance to ensure proper diagnosis and repair.
Read more: Where Is AC Compressor Located
Understanding the Kegerator
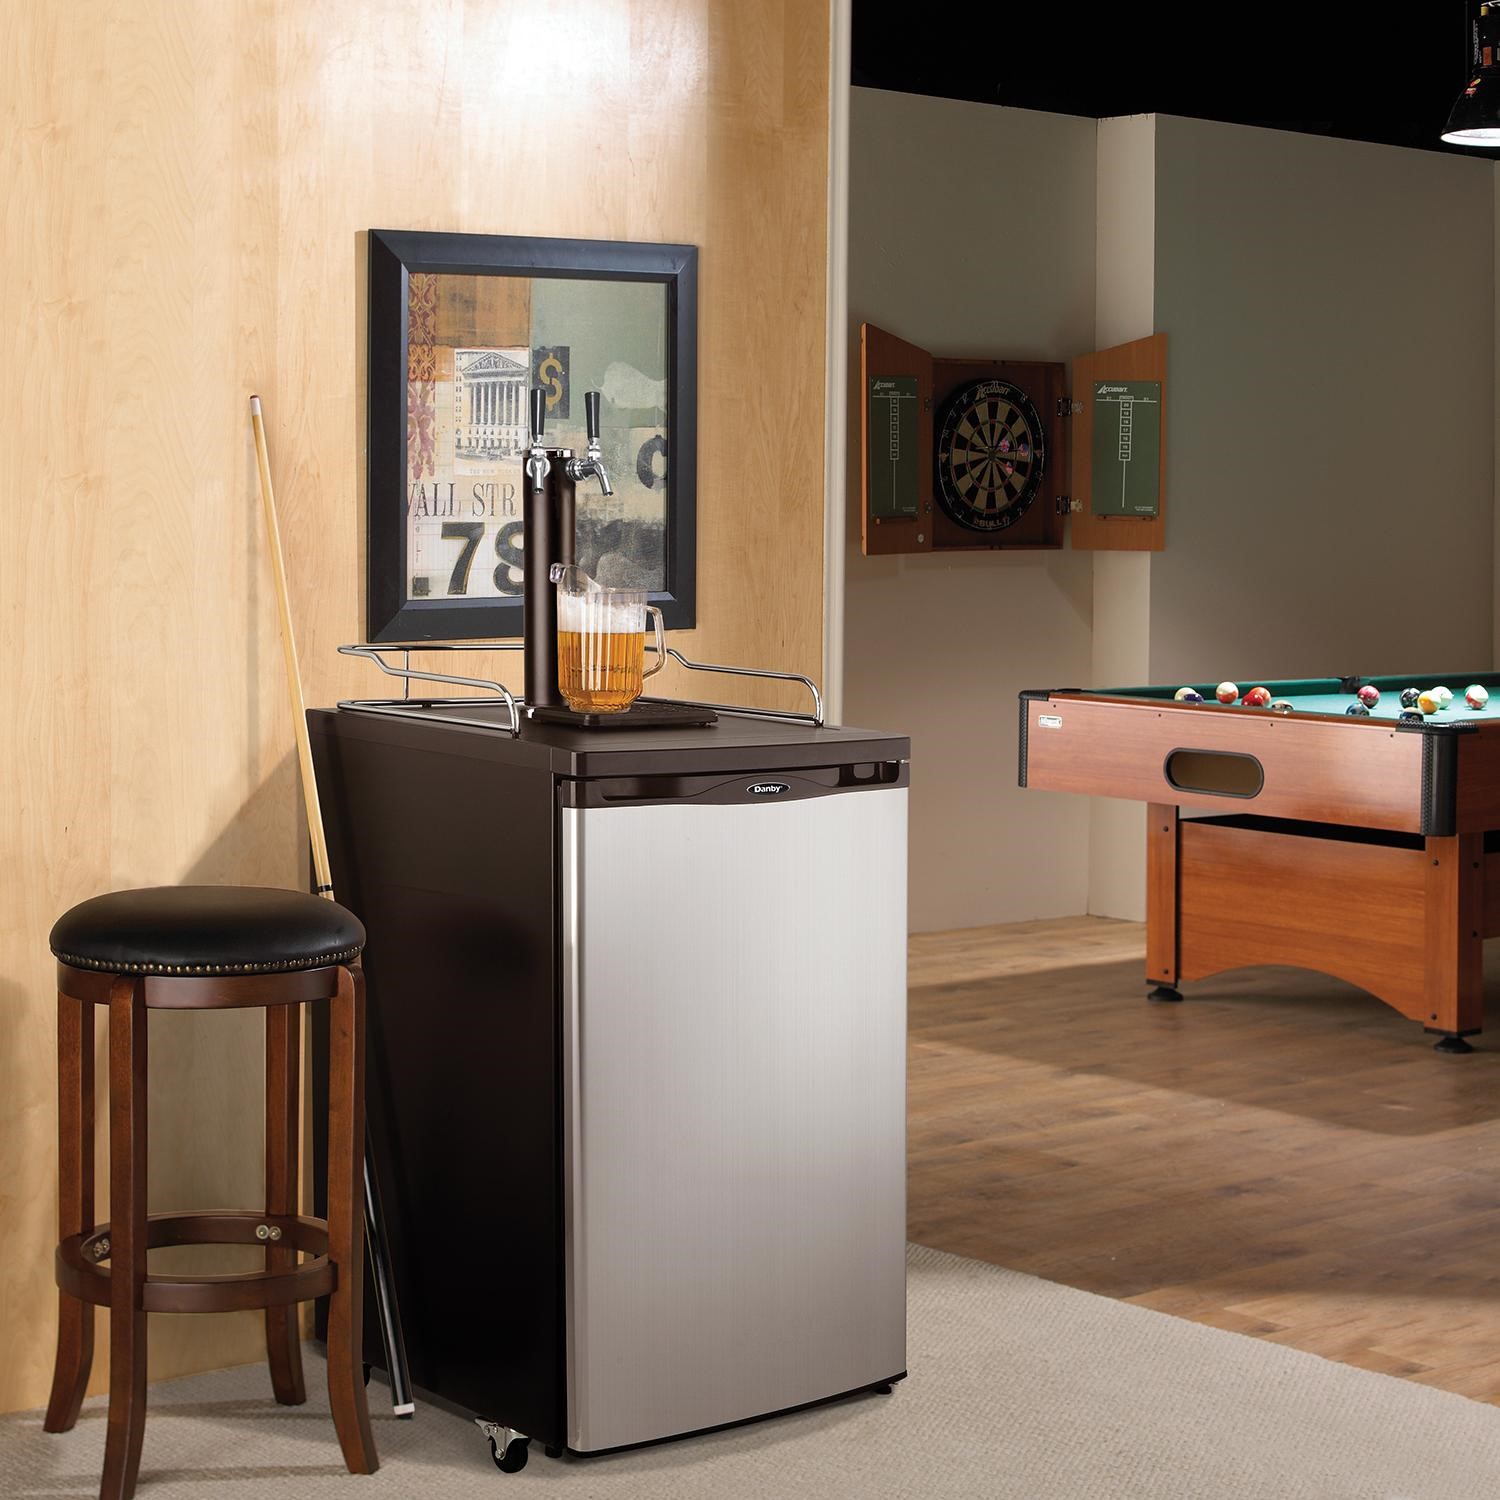
Before we jump into locating the compressor on a kegerator, let’s first understand what a kegerator is and how it functions. A kegerator is a specialized refrigerator designed to store and dispense draft beer. It is a popular choice for beer enthusiasts, homebrewers, and commercial establishments alike.
A typical kegerator consists of several key components that work together to provide a perfect draft beer experience. These components include a CO2 tank, a regulator, a beer tower, a faucet, a beer line, a keg coupler, and, of course, the compressor. Each of these components has a specific role in the dispensing process, but the compressor is particularly important for maintaining the ideal temperature inside the kegerator.
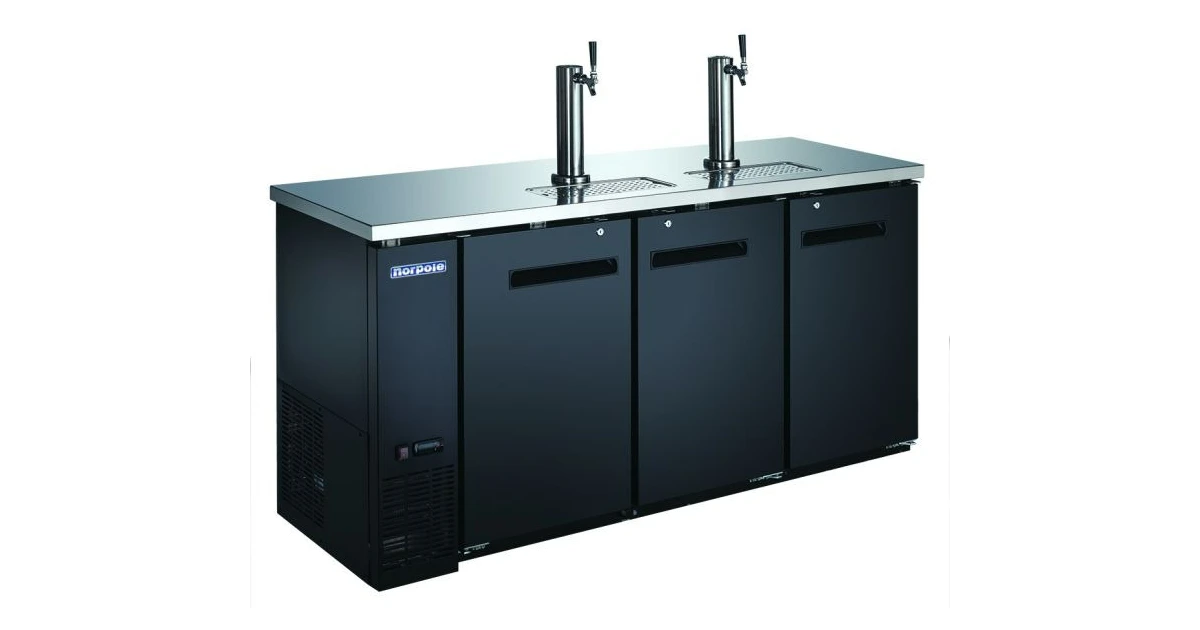
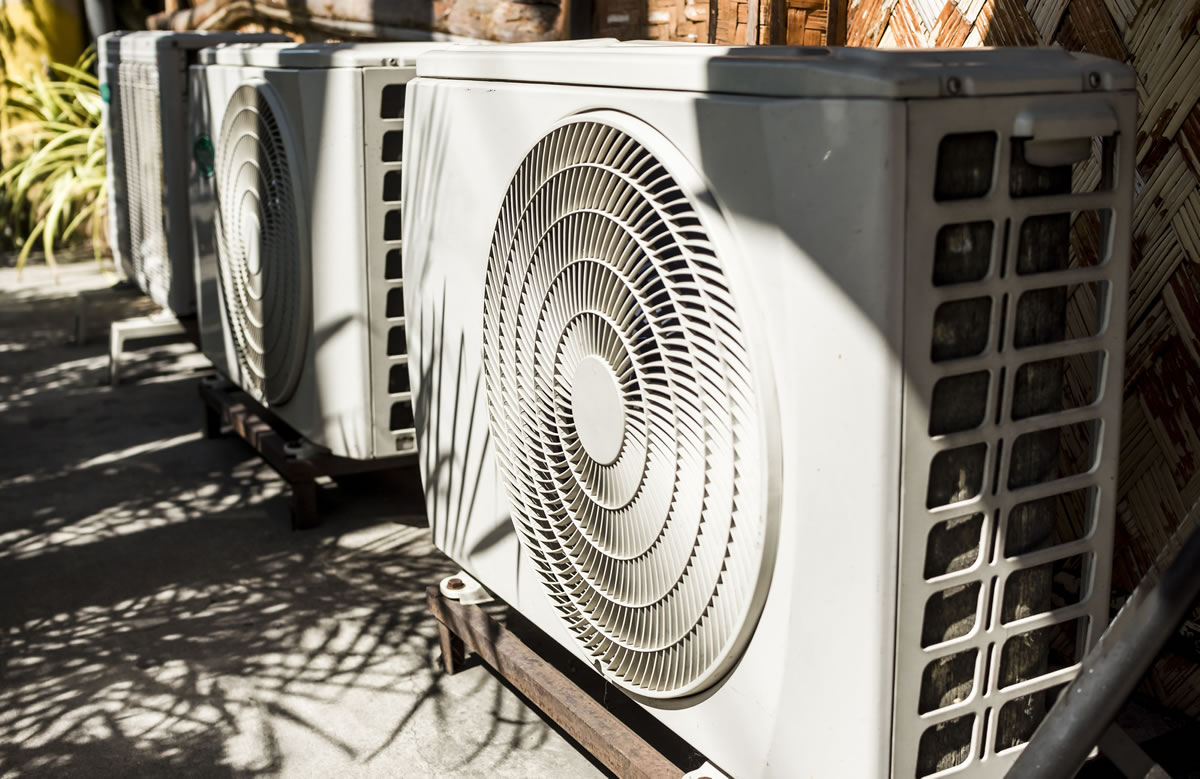
The compressor, which is often located at the back of the kegerator, is responsible for cooling the unit. It works by circulating refrigerant through a series of coils and removing heat from the interior compartment. Without a properly functioning compressor, the kegerator would not be able to cool the beer to the desired serving temperature.
Now that we have a basic understanding of the kegerator and the importance of the compressor, let’s explore the process of finding the compressor on your kegerator.
Components of a Kegerator
To understand how to locate the compressor on a kegerator, it’s important to familiarize yourself with the different components of this appliance. Here are the key components you need to know:
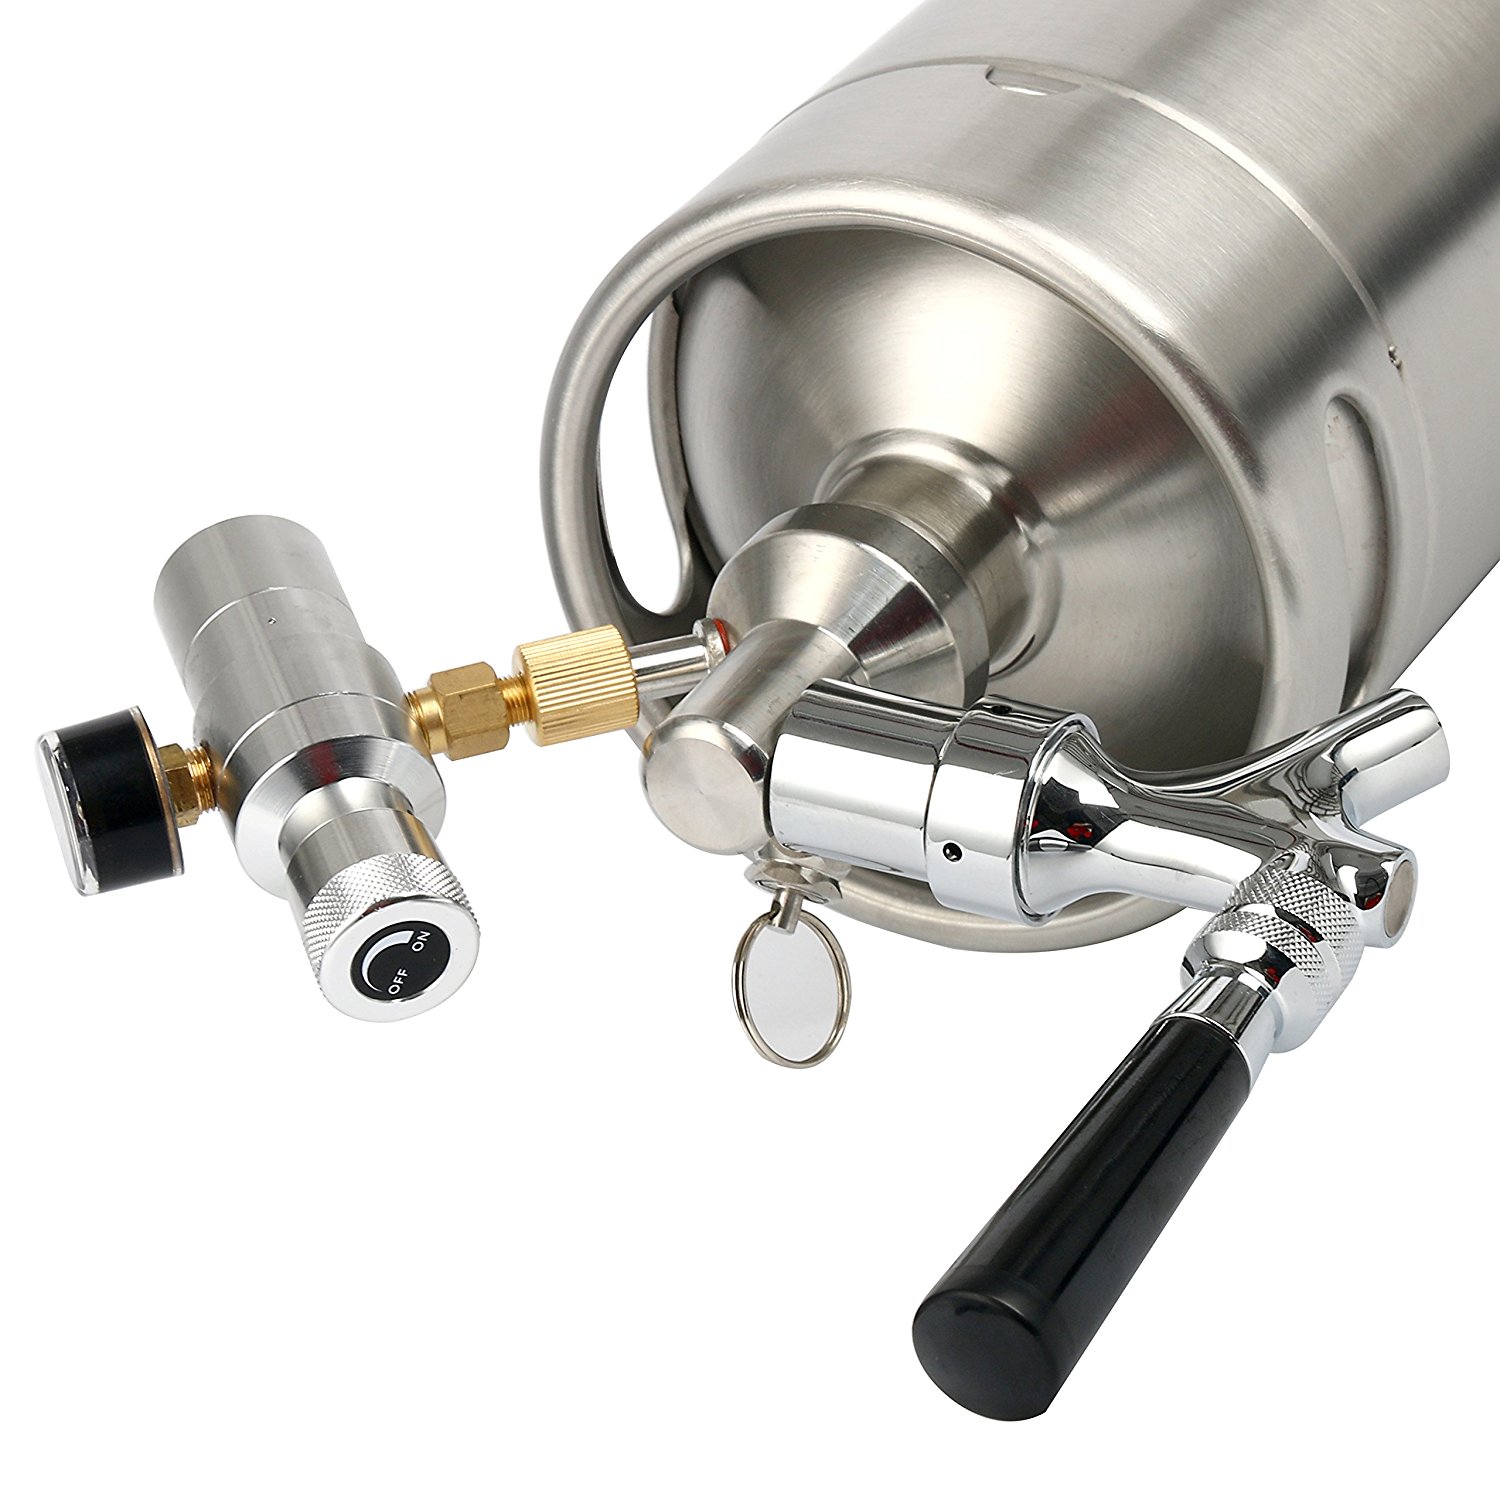
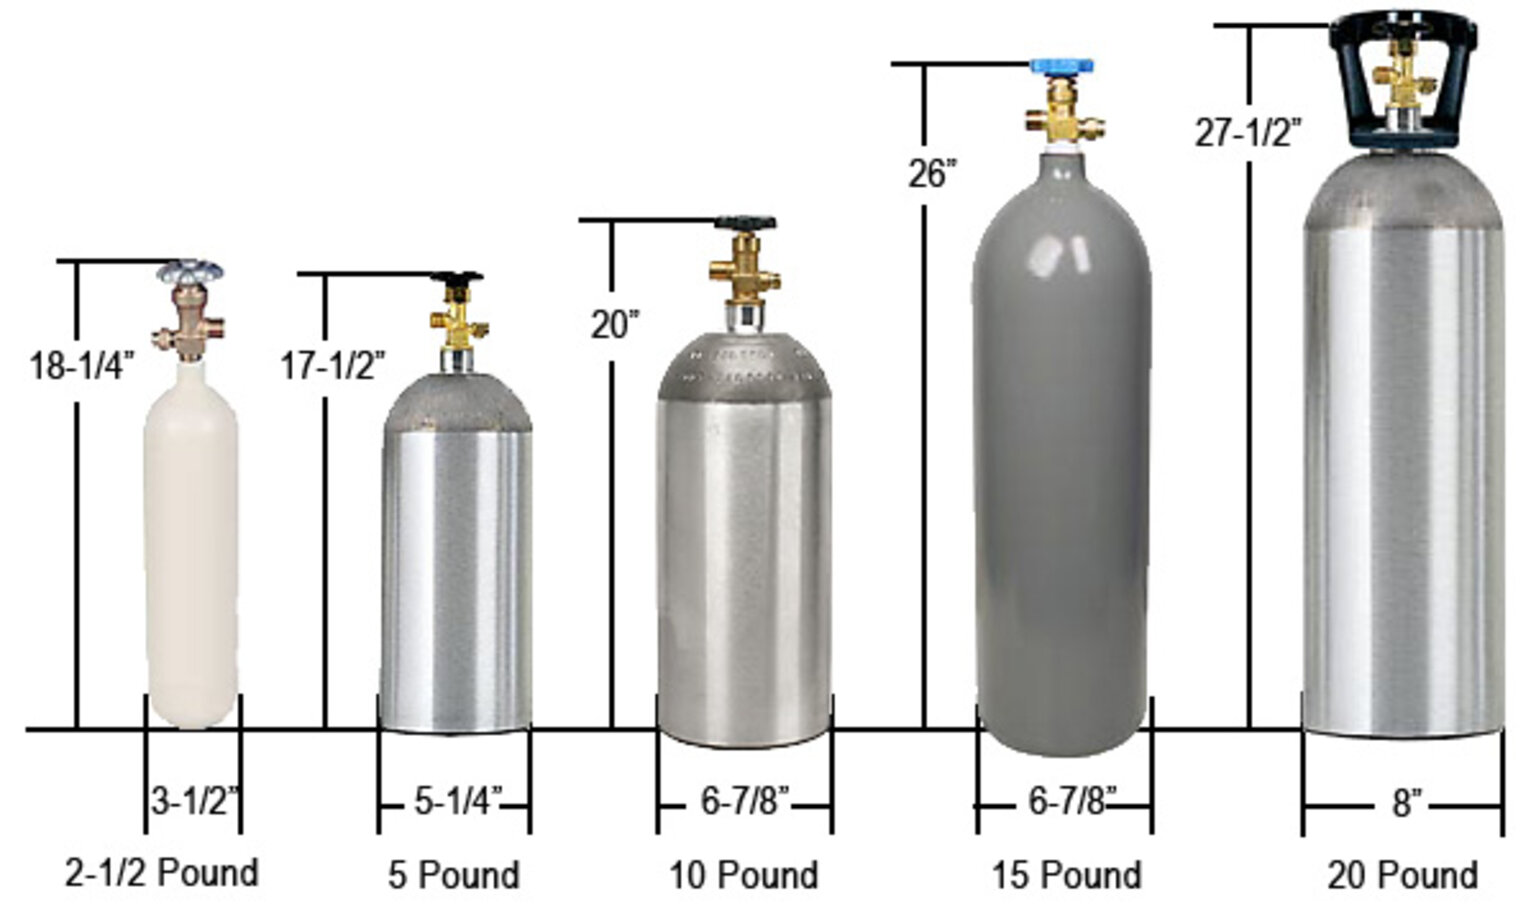
- CO2 Tank: The CO2 tank is responsible for providing the carbonation needed to dispense the beer.
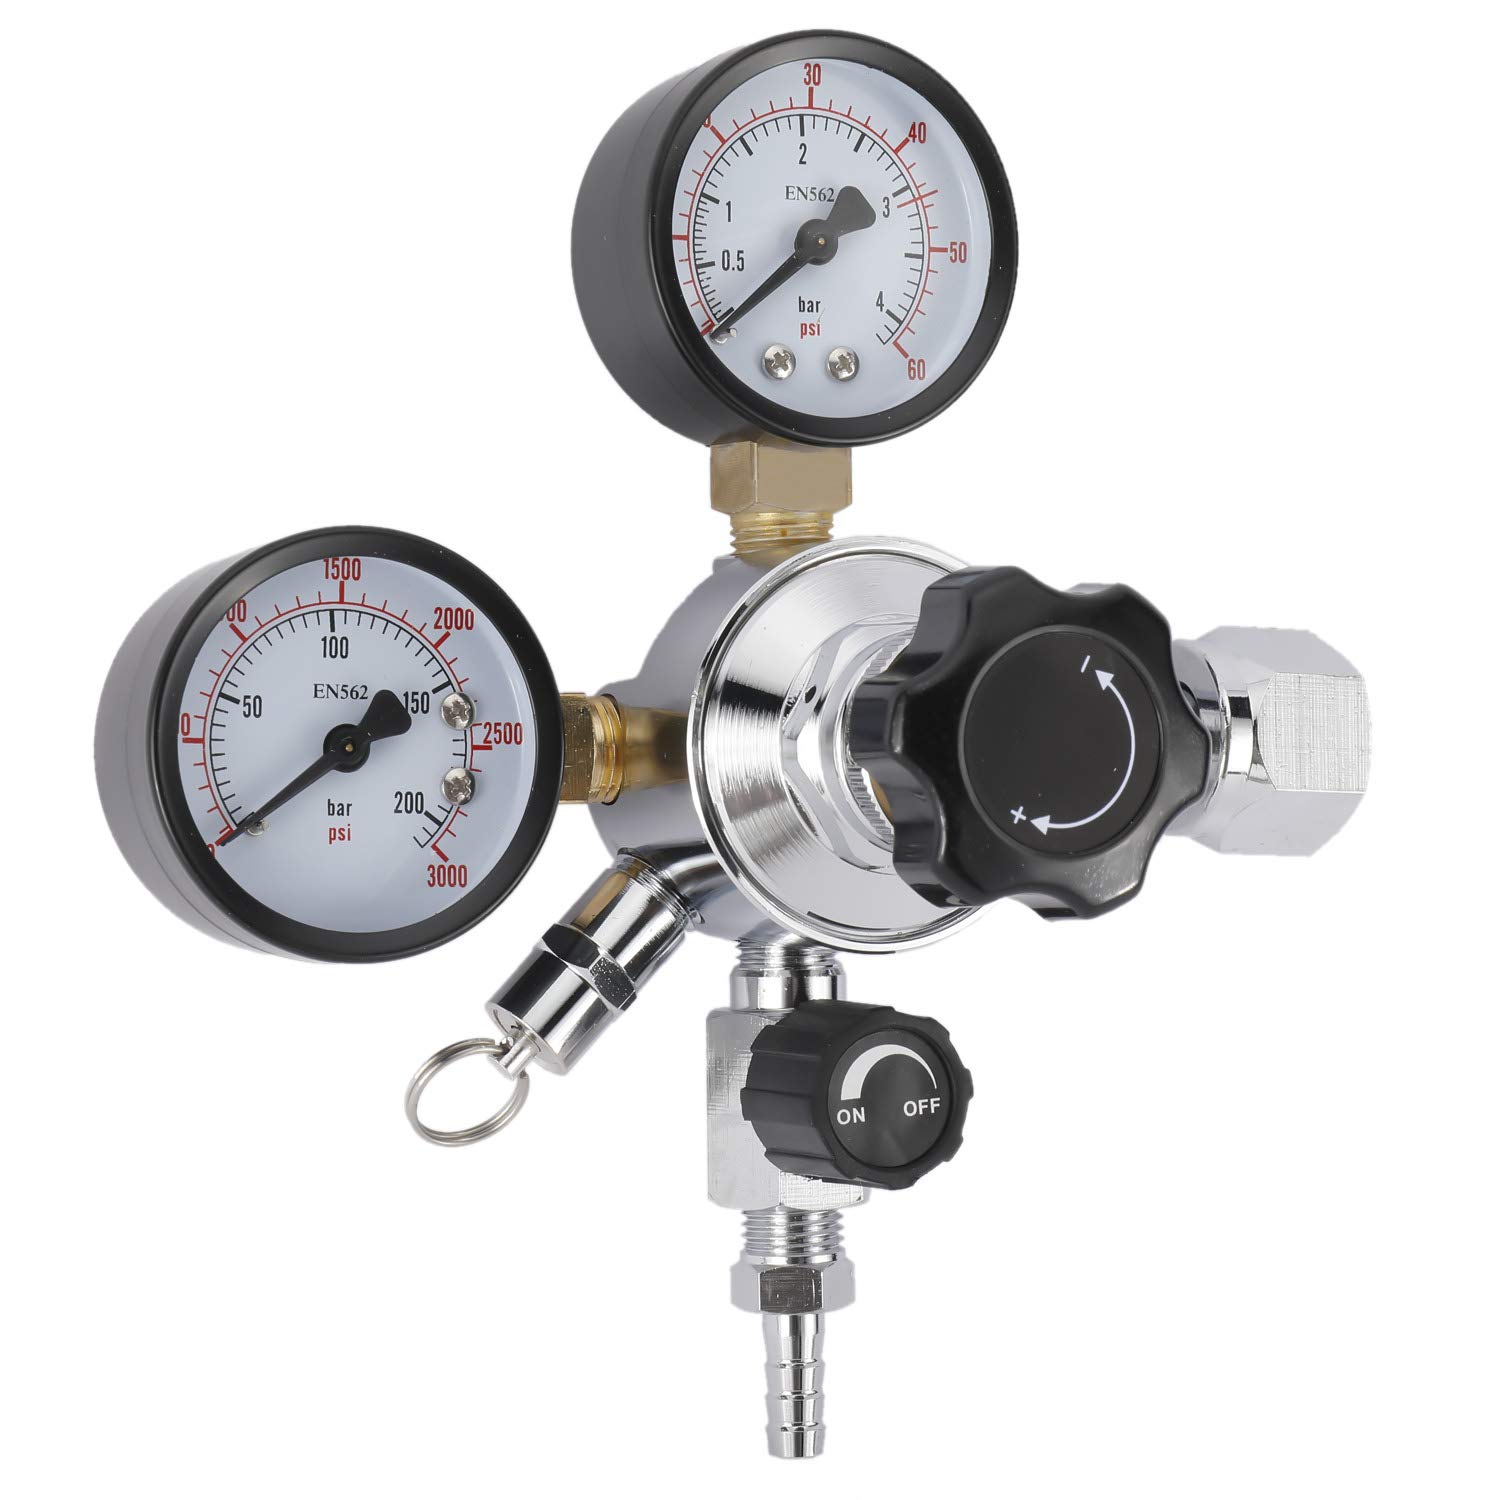
- Regulator: The regulator controls the pressure of the CO2 that is being delivered to the keg. It allows you to adjust the carbonation level and maintain consistent pressure for a perfect pour.
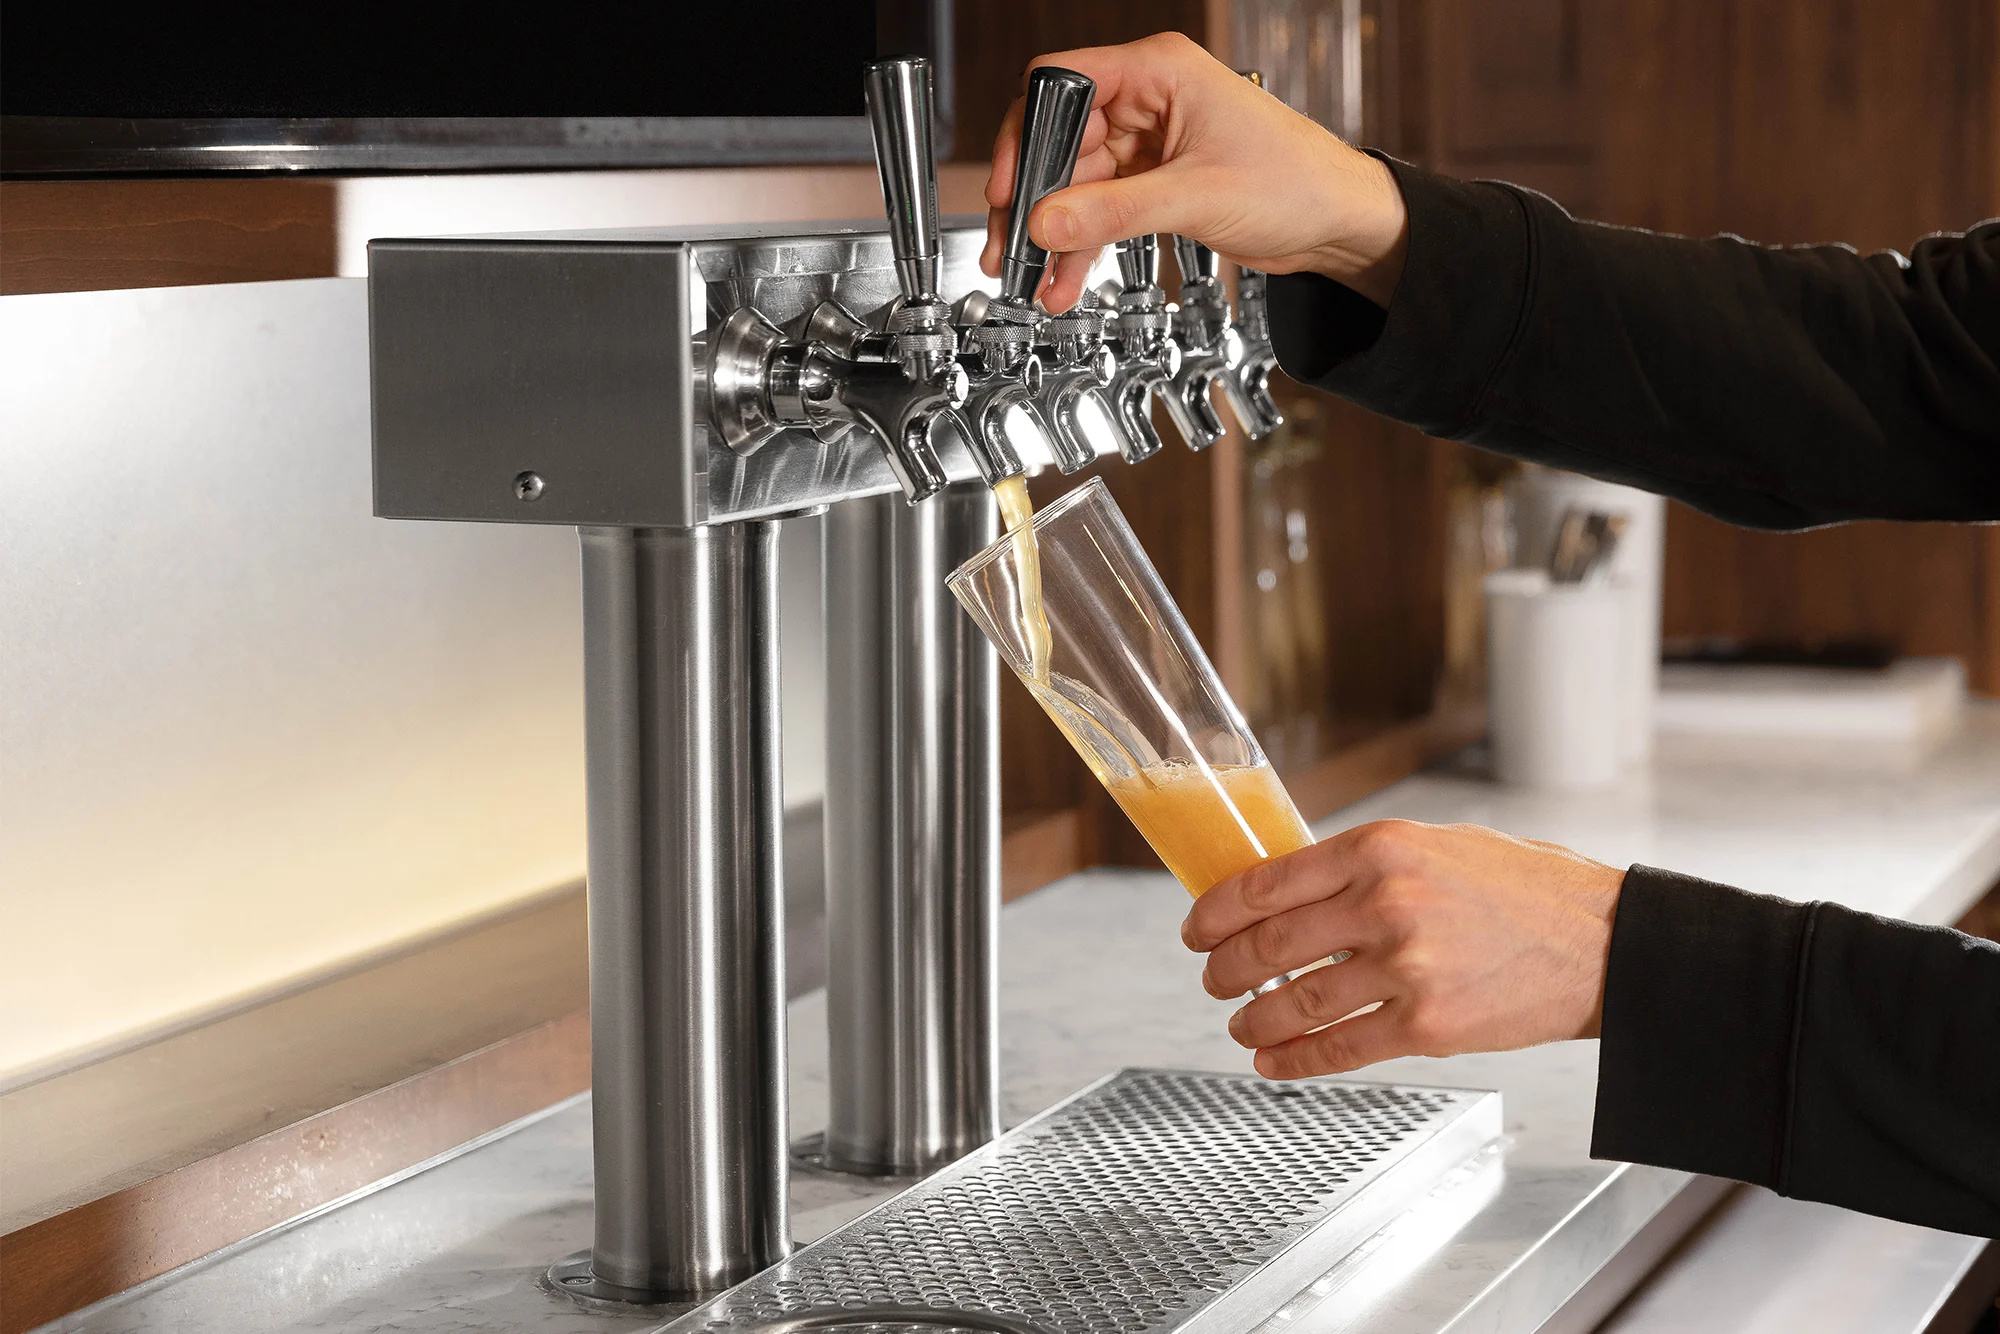
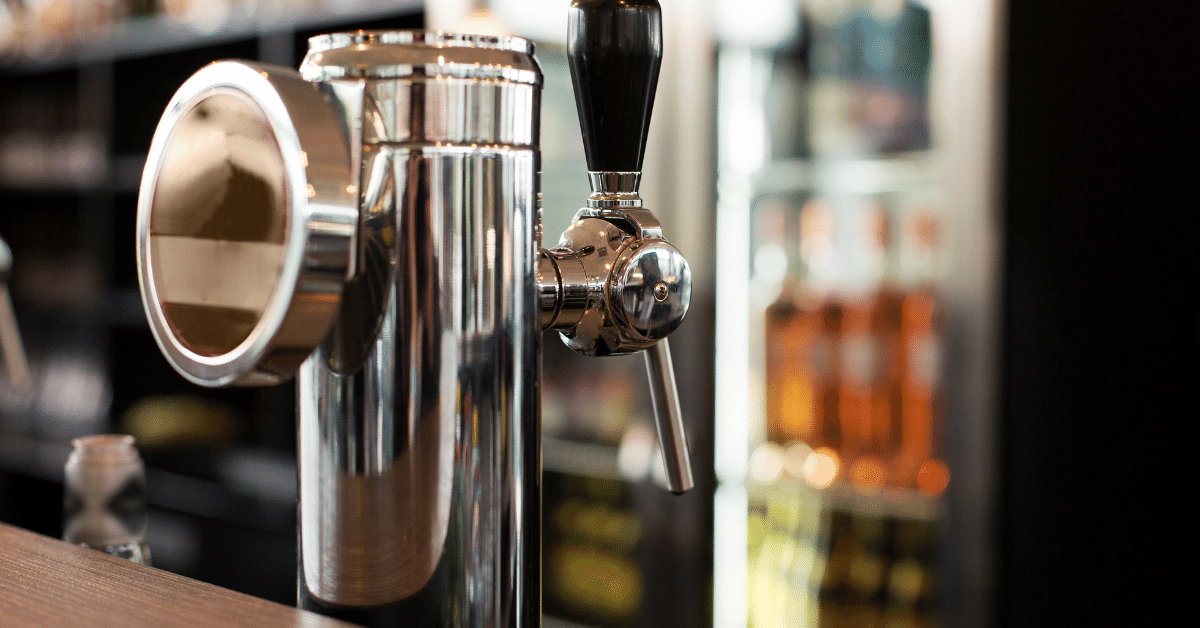
- Beer Tower: The beer tower is the vertical column that sits on top of the kegerator and houses the beer lines and faucets. It allows you to conveniently dispense the beer.
- Faucet: The faucet is the tap that you pull to pour the beer. It controls the flow of the beer from the keg to your glass.
- Beer Line: The beer line is the tube that connects the keg coupler to the faucet. It carries the beer from the keg to the faucet, ensuring a smooth and consistent flow.
- Keg Coupler: The keg coupler is the device that attaches to the keg and allows the beer to flow out. It connects the beer line to the keg and ensures a secure connection.
- Compressor: Finally, the compressor is the heart of the kegerator. It is responsible for cooling the interior compartment and maintaining the temperature necessary for serving delicious, cold draft beer.
With these components in mind, let’s move on to the process of locating the compressor on your kegerator.
Locating the Compressor
Locating the compressor on a kegerator can be a relatively straightforward process once you are familiar with the layout of the appliance. Although the specific placement of the compressor can vary depending on the model and brand of the kegerator, it is typically found at the rear of the unit.
Here are the steps to help you locate the compressor on your kegerator:
- First, unplug the kegerator from the power source to ensure your safety.
- Next, remove any items that may be stored inside the kegerator, such as kegs or bottles, to access the interior compartment.
- Take a look at the back of the kegerator. You should see a metal panel or grille covering the compressor area.
- Using a screwdriver or a suitable tool, carefully remove the screws or clips securing the panel or grille. Set them aside in a safe place.
- Once the panel or grille has been removed, you should have a clear view of the compressor. It is a bulky, metal device with copper coils and usually has a fan positioned nearby.
- Take note of the location of the compressor for future reference. You may want to take a photo or make a mental note of its position for easier identification later.
- Once you have located the compressor, observe if there are any signs of damage, such as leaks, strange noises, or excessive vibration. These may indicate potential issues that need to be addressed.
- Finally, after inspecting the compressor, securely reattach the panel or grille by fastening the screws or clips back into place.
- Plug the kegerator back into the power source and ensure that it turns on and starts cooling.
By following these steps, you will be able to locate the compressor on your kegerator and ensure its proper functioning. Remember, if you encounter any difficulties or are unsure about any part of the process, it is always a good idea to consult the manufacturer’s manual or contact their customer support for assistance.
The compressor on a kegerator is typically located at the back of the unit, near the bottom. It is responsible for cooling the system and should have proper ventilation to function efficiently. Regularly cleaning the area around the compressor can help maintain its performance.
Reasons for Finding the Compressor
Locating the compressor on your kegerator is not just about knowing its physical position within the appliance. It is also crucial to understand why finding the compressor is important. Here are a few reasons why knowing the location of the compressor is essential:
- Maintenance and Cleaning: The compressor is a vital component of the kegerator that requires regular maintenance and cleaning. By knowing where the compressor is located, you can easily access it for routine maintenance tasks like dusting off the coils or checking for any potential issues.
- Troubleshooting and Repairs: In the event of a malfunction or problem with your kegerator, being able to quickly locate the compressor can aid in troubleshooting. If the unit is not cooling properly, the compressor may be the culprit. By identifying its location, you can visually inspect it and check for any signs of damage or malfunction.
- Efficient Cooling: The compressor plays a crucial role in maintaining the optimal temperature inside the kegerator. If the compressor is not functioning properly or is obstructed, it can lead to inadequate cooling, resulting in warm draft beer or spoilage. By regularly checking the compressor, you can ensure that it is operating efficiently and keeping your beer perfectly chilled.
- Extended Lifespan: The compressor is one of the most critical and expensive components of a kegerator. By taking care of it and promptly addressing any issues, you can help extend the lifespan of your kegerator. Regular inspection and maintenance can help identify and resolve compressor-related problems early on, preventing further damage to the appliance.
- Optimal Draft Beer Experience: Ultimately, the reason for finding the compressor is to ensure a top-notch draft beer experience. A properly functioning compressor will maintain the ideal temperatures required to serve crisp, refreshing beer. By understanding the location and condition of the compressor, you can guarantee that your kegerator is working at its best and delivering the perfect beer.
Now that we have explored the reasons behind finding the compressor, let’s move on to the specific steps to locate the compressor on your kegerator.
Read more: Where To Buy Kegerator Supplies
Steps to Locate the Compressor
Locating the compressor on your kegerator is a relatively simple process that can be accomplished by following these steps:
- Power Off: Start by unplugging the kegerator from the power source. This ensures your safety while working on the appliance.
- Clear Interior: Remove any kegs, bottles, or other items stored inside the kegerator to access the interior compartment. This creates a clear workspace for locating the compressor.
- Inspect Rear Panel: Take a look at the back of the kegerator. You should see a metal panel or grille covering the compressor area. This panel is usually secured with screws or clips.
- Remove the Panel: Using a screwdriver or a suitable tool, carefully remove the screws or clips securing the panel or grille. Set them aside in a safe place. Be cautious not to damage the panel or the kegerator while removing it.
- Identify the Compressor: Once the panel or grille is removed, you will have a clear view of the compressor. It is a bulky, metal device with copper coils and is typically located at the rear of the kegerator. Take a moment to familiarize yourself with its appearance and location.
- Inspect Compressor: While you have access to the compressor, it is a good idea to visually inspect it for any signs of damage, leaks, or excessive buildup of dirt or dust. If you notice anything concerning, it may be an indication of a problem that needs to be addressed.
- Document the Location: It can be helpful to take a photo or make a note of the location of the compressor for future reference. This will make it easier to locate it again if needed.
- Reattach the Panel: Once you have inspected the compressor, securely reattach the panel or grille by fastening the screws or clips back into place. Ensure that it is tightly secured to avoid any loose parts.
- Power On: Plug the kegerator back into the power source and ensure that it turns on and starts cooling properly. Listen for the sound of the compressor running, indicating that it is functioning as it should.
By following these steps, you should be able to locate the compressor on your kegerator and perform a basic inspection. Remember, if you encounter any difficulties or have concerns about the compressor or your kegerator’s performance, it is always advisable to consult the manufacturer’s manual or reach out to their customer support for assistance.
Troubleshooting Common Issues with Compressor
While the compressor of your kegerator is a crucial component responsible for cooling the unit, it may encounter issues from time to time. When faced with problems related to the compressor, it’s important to troubleshoot the situation to identify and resolve the issue. Here are some common issues that you may encounter with the compressor and steps to troubleshoot them:
- Noise: If you notice unusual or loud noises coming from the compressor, it could be an indication of a problem. First, check if there are any loose parts or debris that might be causing the noise and remove them if present. If the noise persists, it may indicate a faulty compressor motor or other internal issues. In such cases, it’s best to contact a professional technician for further diagnosis and repair.
- Not Cooling: If your kegerator is not cooling properly, it could be due to a problem with the compressor. Start by checking if the compressor is running when the kegerator is powered on. If the compressor is not running, check if it’s receiving power or if there is a possible issue with the thermostat or control board. If the compressor is running but not cooling, it may be low on refrigerant or have a malfunctioning component. In such cases, it is recommended to consult a professional technician to diagnose and repair the problem.
- Leakage: Refrigerant leakage is a serious issue that should be addressed promptly. If you notice a refrigerant leak, it may appear as oily spots or stains near the compressor or refrigerant lines. In such cases, it is best to turn off the kegerator and contact a professional technician to assess and repair the leak. Refrigerant leaks require expertise and specialized equipment to resolve safely.
- Excessive Vibration: If the compressor is causing excessive vibration, it could be due to several factors. First, check if the compressor is securely mounted and that all fasteners are properly tightened. Excessive vibration can also be caused by unleveling of the kegerator, which can be resolved by adjusting the leveling feet or using shims to stabilize it. If the issue persists, it is advisable to consult a professional technician for further evaluation.
- Overheating: An overheating compressor can be a concerning issue that can lead to further damage if not addressed. Check if the compressor is receiving proper airflow and that the cooling fan is functioning correctly. Make sure that the surrounding area is well-ventilated and free from obstructions. If the compressor continues to overheat, it may require professional attention to diagnose and resolve any underlying issues.
Remember, troubleshooting and repairing compressor issues can be complex tasks that require expertise. If you encounter any persistent or complicated problems with your kegerator’s compressor, it is recommended to seek the help of a professional technician to ensure proper diagnosis and resolution of the issue.
Conclusion
Locating the compressor on your kegerator is an essential step in understanding and maintaining your appliance. By knowing the location of the compressor, you can perform regular maintenance, troubleshoot issues, and ensure optimal performance of your kegerator for a perfect draft beer experience.
In this article, we discussed the various components of a kegerator, including the importance of the compressor in cooling the unit. We provided step-by-step instructions on how to locate the compressor on your kegerator, emphasizing the need for safety and proper handling throughout the process.
We also highlighted the reasons why finding the compressor is important, such as maintenance, troubleshooting, efficient cooling, and extending the lifespan of your kegerator. By taking the time to locate and inspect the compressor, you can address any potential issues early on and enjoy a continuous flow of cold, refreshing draft beer.
Lastly, we discussed some common issues that may arise with the compressor and provided troubleshooting steps for noise, cooling problems, leakage, excessive vibration, and overheating. While some issues can be resolved with simple adjustments, others may require professional assistance to ensure proper diagnosis and repair.
Remember, always refer to the manufacturer’s manual or consult their customer support if you have any doubts or concerns about locating or troubleshooting the compressor on your kegerator. Taking proper care of your kegerator and its compressor will not only enhance your draft beer experience but also prolong the life of your appliance.
So, now that you have a comprehensive understanding of how to locate the compressor on your kegerator, put your knowledge into action and ensure that your draft beer always flows smoothly and stays refreshingly cold!
Frequently Asked Questions about Where Is Compressor On Kegerator
Was this page helpful?
At Storables.com, we guarantee accurate and reliable information. Our content, validated by Expert Board Contributors, is crafted following stringent Editorial Policies. We're committed to providing you with well-researched, expert-backed insights for all your informational needs.


0 thoughts on “Where Is Compressor On Kegerator”