Articles
How To Remove Spout From Homestead Kegerator
Modified: October 19, 2024
Learn how to remove the spout from your Homestead kegerator with our informative articles. Step-by-step instructions and expert tips for a smooth process.
(Many of the links in this article redirect to a specific reviewed product. Your purchase of these products through affiliate links helps to generate commission for Storables.com, at no extra cost. Learn more)
Introduction
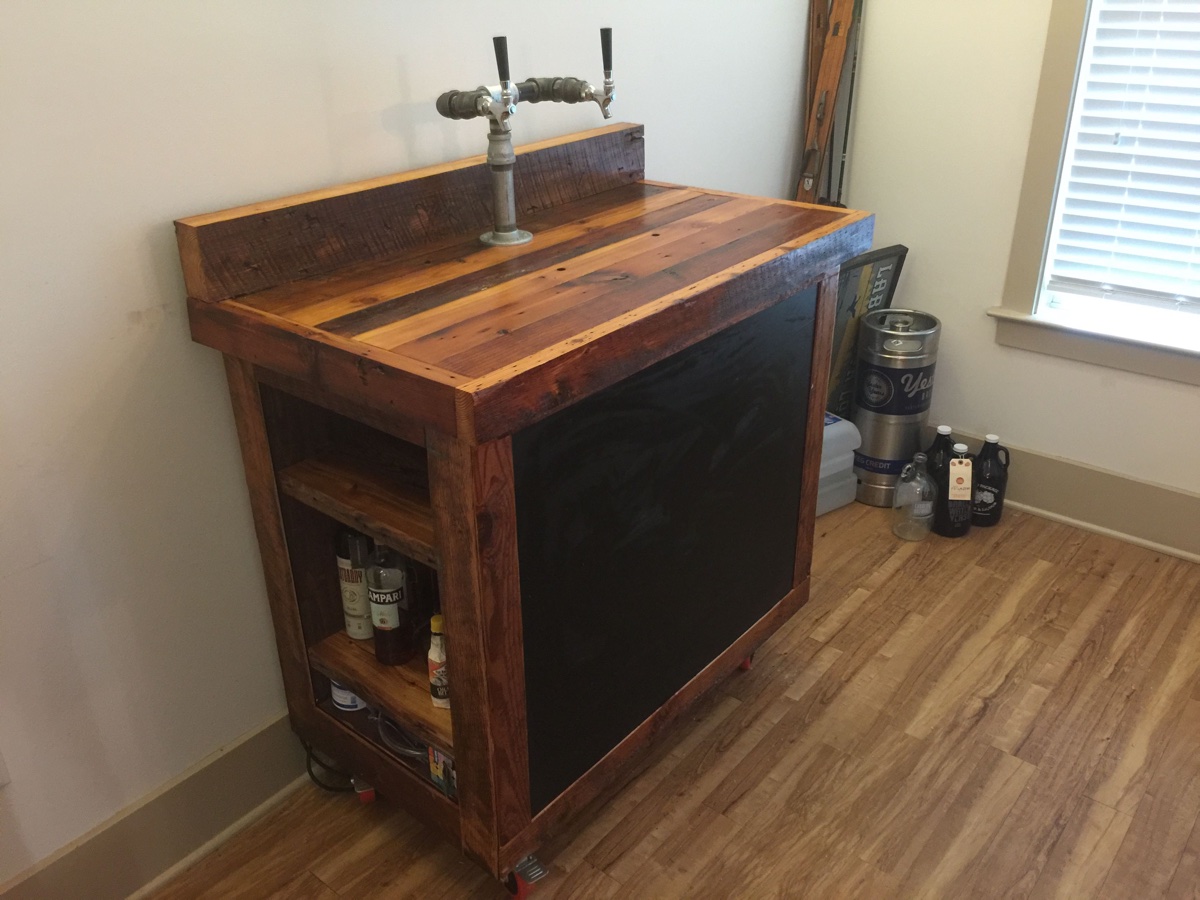
The Homestead Kegerator is a popular appliance for beer enthusiasts who enjoy cold, draft beer in the comfort of their own home. If you own a Homestead Kegerator and are looking to remove the spout for cleaning or maintenance purposes, you’ve come to the right place. In this article, we will guide you through the step-by-step process of removing the spout from your Homestead Kegerator.
Before we dive into the details, it’s important to note that the spout removal process may vary slightly depending on the specific model of your Homestead Kegerator. However, the general principles and steps outlined in this article should apply to most models.
Removing the spout from your kegerator can be a straightforward task with the right tools and a bit of patience. By following the steps outlined in this guide, you’ll be able to remove the spout safely and efficiently, allowing you to clean or replace it as needed.
So let’s gather our tools and materials, and get ready to remove the spout from your Homestead Kegerator!
Key Takeaways:
- Safely and efficiently remove the spout from your Homestead Kegerator by following the step-by-step guide, ensuring optimal performance and hygiene for refreshing, perfectly poured beers at home.
- Regularly cleaning and maintaining the spout will extend the life of your kegerator, allowing you to enjoy fresh, well-functioning beers for years to come. Cheers to a clean and well-maintained kegerator!
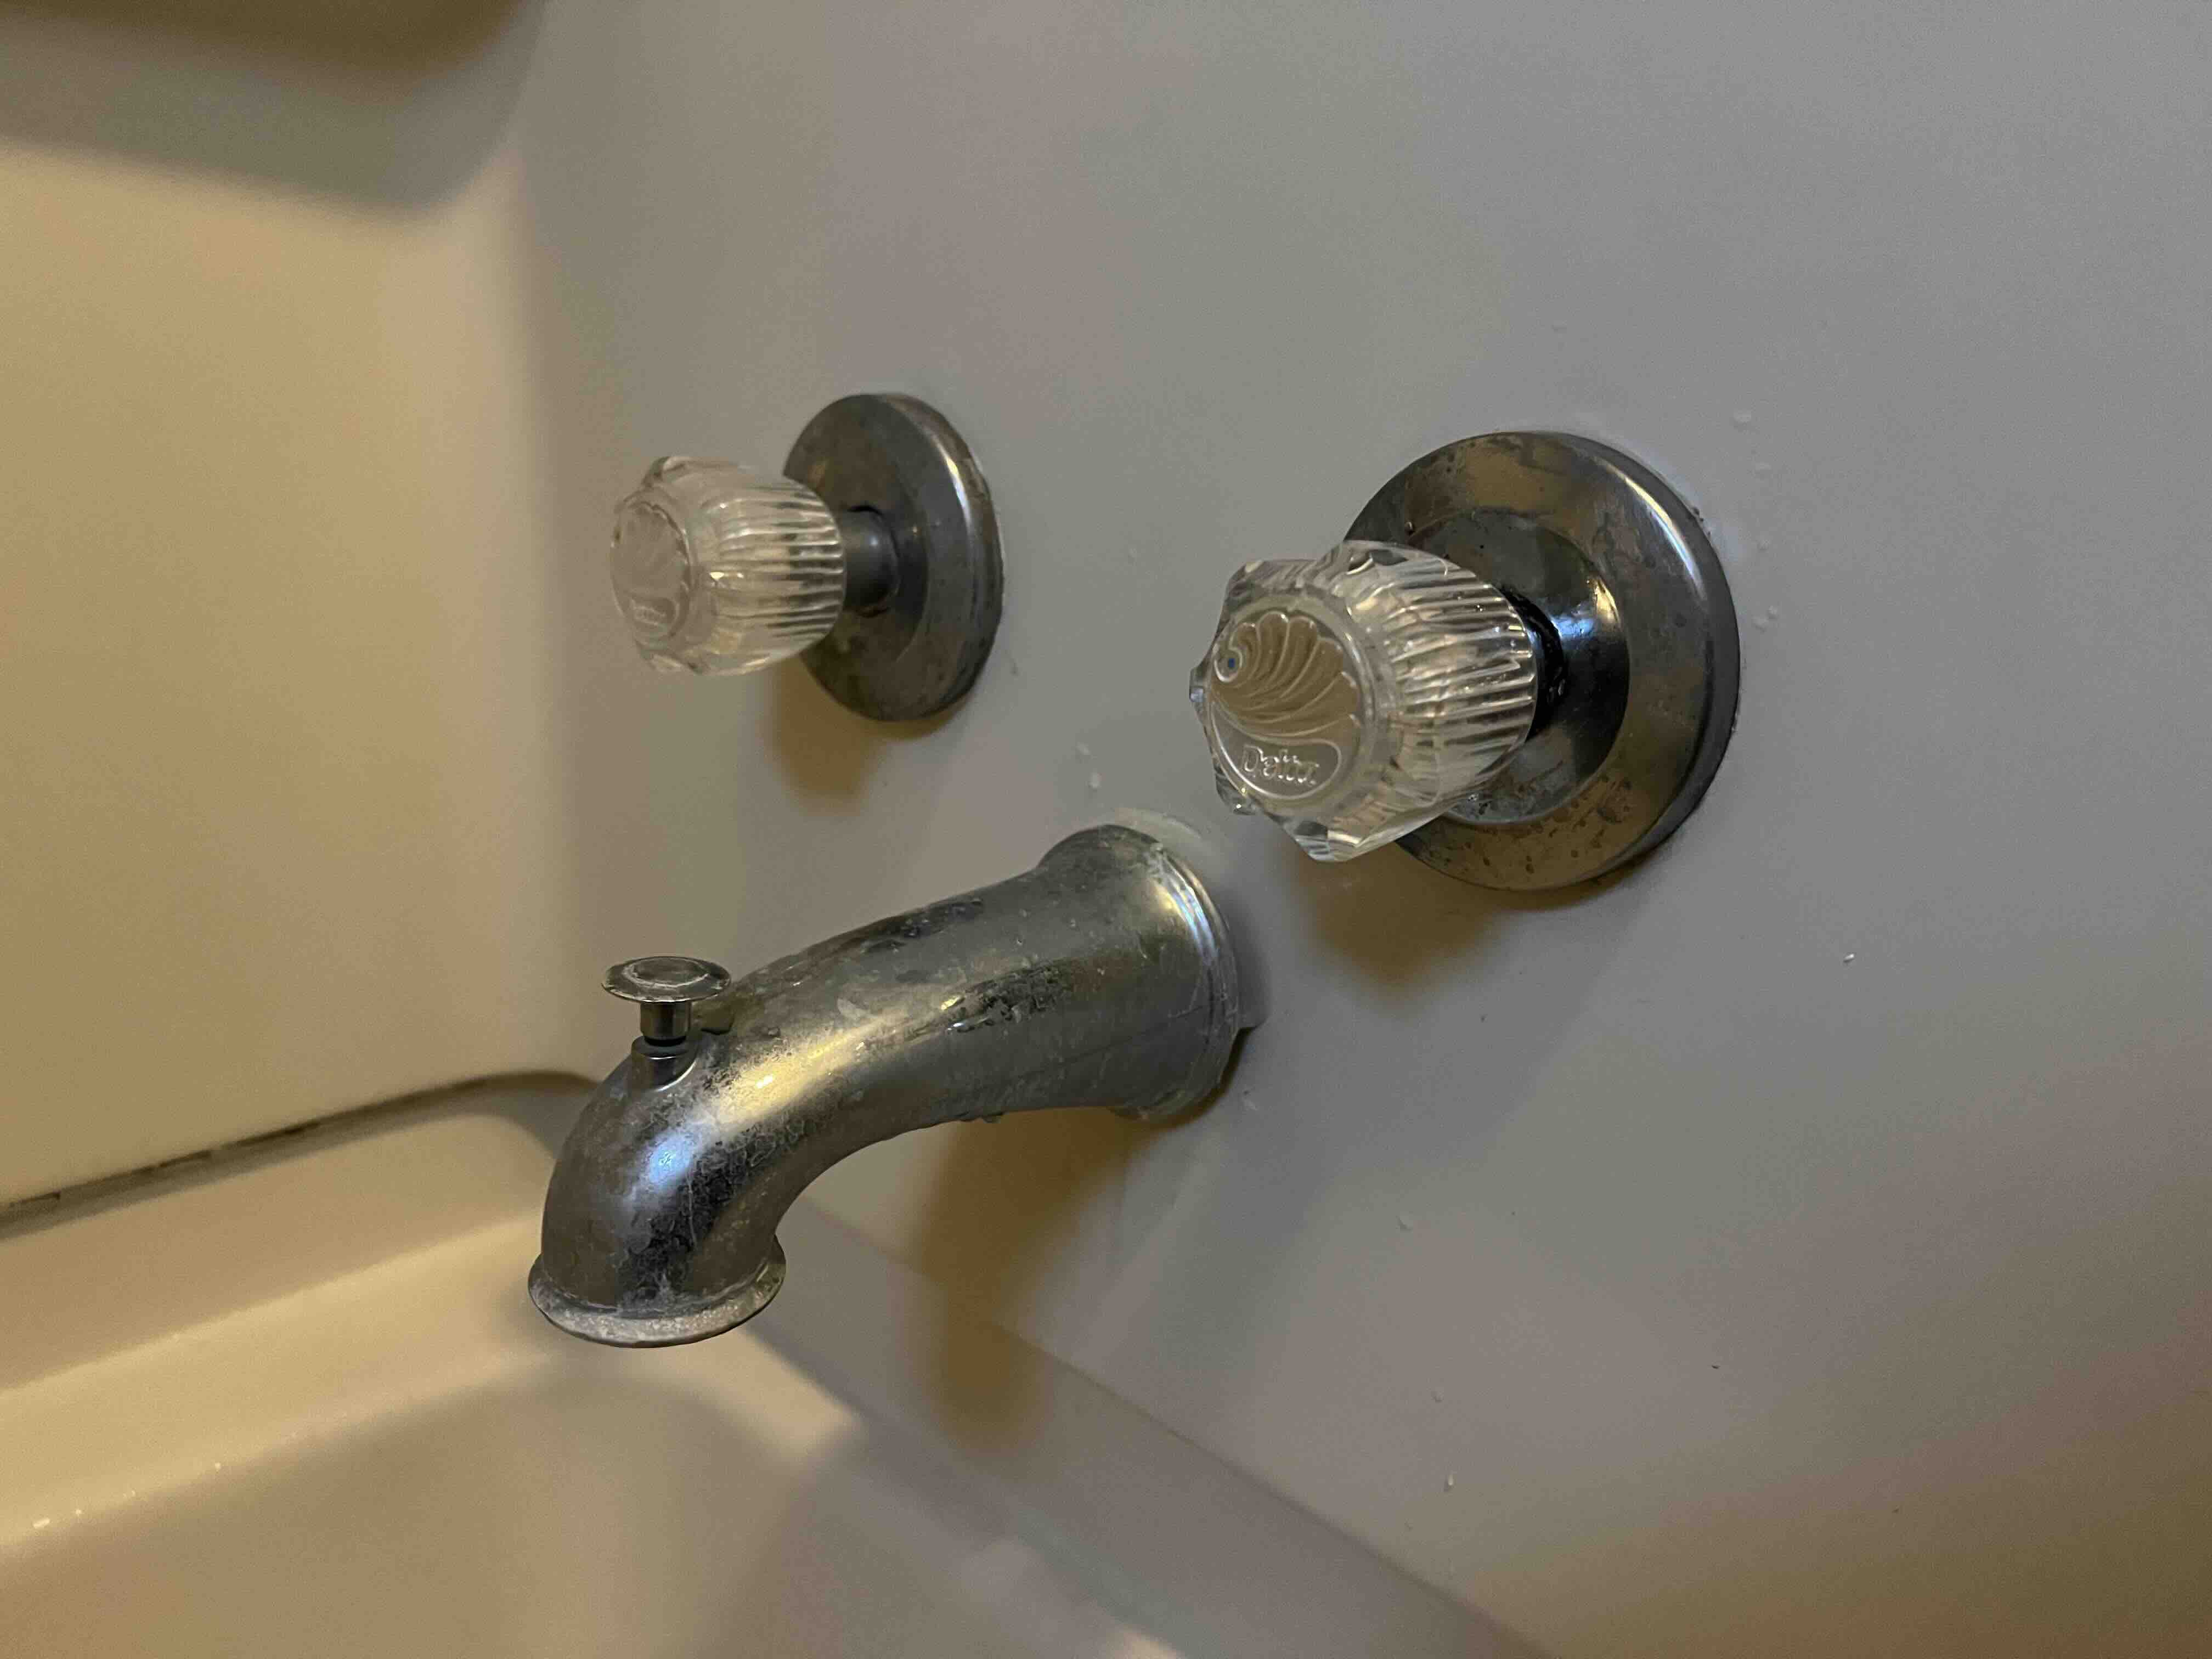
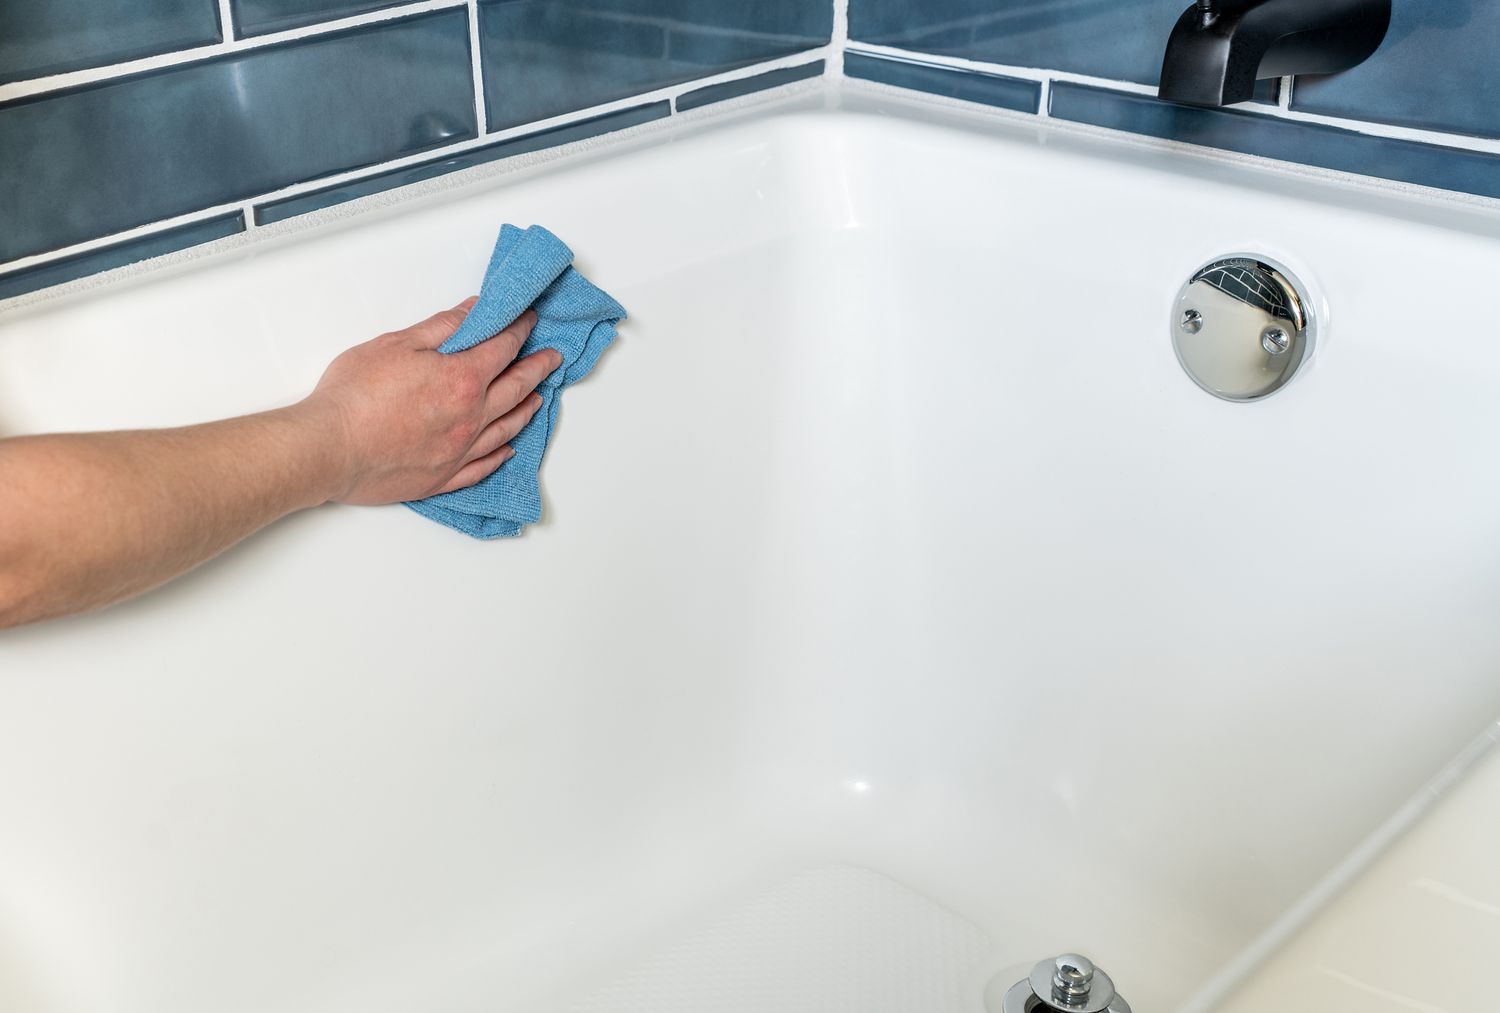
Read more: How To Remove A Bathtub Spout
Tools and Materials Needed
Before you begin the process of removing the spout from your Homestead Kegerator, make sure you have the necessary tools and materials on hand to complete the task. Here’s a list of what you’ll need:
- Phillips screwdriver
- Adjustable wrench
- Clean cloth or towel
- Bucket or container
- Warm, soapy water
- Cleaning brush or sponge
- Replacement spout (if necessary)
The Phillips screwdriver will be useful for removing any screws that may be securing the spout in place. The adjustable wrench will help with loosening any connections or fittings that are attached to the spout.
A clean cloth or towel is necessary to wipe away any spilled beer or moisture during the removal process. A bucket or container will come in handy to catch any liquid that may be present in the keg or tubing. Warm, soapy water and a cleaning brush or sponge will be needed to clean the spout thoroughly before reinstalling it.
If you find that your spout is damaged or not functioning correctly, you may want to consider purchasing a replacement spout before starting the removal process. This way, you can easily swap out the old spout with the new one, ensuring your kegerator is ready for use once the cleaning or maintenance is complete.
Now that you have all the necessary tools and materials, let’s move on to the step-by-step process of removing the spout from your Homestead Kegerator.
Step 1: Turn off the kegerator and unplug it
Before you begin working on removing the spout from your Homestead Kegerator, it is essential to ensure the kegerator is turned off and unplugged. This step is crucial for your safety and to prevent any potential damage to the appliance.
Start by locating the power switch on your kegerator. Typically, the switch is located either on the front or back of the appliance. Make sure the switch is in the “Off” position to ensure no power is flowing to the kegerator’s components.
After turning off the kegerator, unplug it from the electrical outlet. This step ensures that you won’t accidentally activate any electrical components while working on the spout.
It’s important to allow the kegerator to sit for a few minutes after being unplugged. This will help to ensure any residual power is safely discharged before proceeding to the next steps.
Once you have confirmed that the kegerator is turned off and unplugged, you’re ready to move on to the next step. It’s crucial to follow this step to avoid any potential electrical hazards and to make the spout removal process safer and more efficient.
Now that the kegerator is completely powered down and disconnected from the electrical outlet, we can proceed with the process of removing the spout. Let’s move on to the next step: locating the spout on the kegerator.
Step 2: Locate the spout on the kegerator
Now that your Homestead Kegerator is turned off and unplugged, it’s time to locate the spout on the appliance. The spout is the part of the kegerator through which the beer is dispensed.
The exact location of the spout may vary depending on the specific model of your Homestead Kegerator. In most cases, the spout is located on the front of the appliance, near the bottom. It is typically attached to the kegerator through a connection or fitting.
Take a moment to visually inspect your kegerator and look for the spout. The spout may have a handle or lever that is used to control the flow of beer. It may also have a tap or faucet-like structure from which the beer is dispensed. Some spouts may even have additional features such as a foam control valve.
If you’re having trouble locating the spout, refer to the user manual or manufacturer’s instructions that came with your Homestead Kegerator. These resources should provide specific information on the location and appearance of the spout.
Once you have located the spout, take note of any additional connections or fittings that are attached to it. These connections may include tubing, couplers, or other components that are necessary for the proper operation of the kegerator.
With the spout and its associated connections identified, you are now ready to move on to the next step: removing any keg or tubing connected to the spout.
Step 3: Remove any keg or tubing connected to the spout
Before you can remove the spout from your Homestead Kegerator, it’s essential to disconnect any keg or tubing that may be connected to the spout. This step will ensure that you have clear access to remove the spout without any obstructions.
To begin, carefully lift the keg from the kegerator and place it aside in a safe location. Be cautious while handling the keg, as it may be heavy and filled with beer or other liquids. If there is any liquid present in the keg, use a bucket or container to catch any spills during this process.
Once the keg is removed, check for any tubing that may be connected to the spout. This tubing is responsible for carrying the beer from the keg to the spout. Look for any clamps, fittings, or connectors that are securing the tubing in place.
Using your hands or a pair of pliers, carefully loosen and remove any clamps or fittings that are holding the tubing in place. Slowly disconnect the tubing from the spout, being mindful of any liquid that may be present. If necessary, use a clean cloth or towel to wipe away any spills or moisture.
Set the tubing aside or clean it separately, if needed. It’s important to keep the tubing clean and free from any blockages or buildup to ensure proper beer flow and taste.
With the keg and tubing disconnected from the spout, you have successfully cleared the way for removing the spout itself. The next step will guide you through the process of loosening the spout from the kegerator. Let’s move on to step 4: loosening the spout from the kegerator.
Before removing the spout from your Homestead kegerator, make sure to turn off the CO2 and release any pressure in the keg. Then, use a wrench to carefully unscrew the spout from the keg.
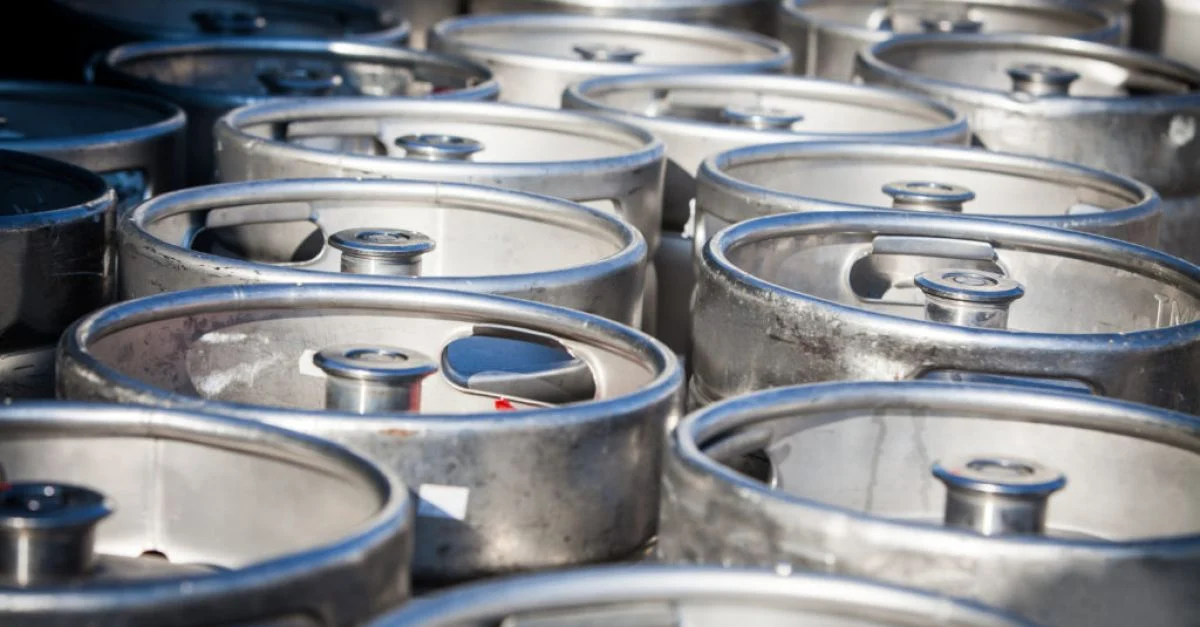
Read more: How To Remove A Keg From A Kegerator
Step 4: Loosen the spout from the kegerator
With the keg and tubing disconnected from the spout, it’s time to proceed with loosening the spout from the kegerator itself. This step will prepare the spout for removal and allow you to clean or replace it as needed.
Start by inspecting the area around the spout for any screws or fasteners that may be securing it in place. Using a Phillips screwdriver, carefully remove any screws that are holding the spout in position. Place the screws in a safe location to avoid misplacing them.
If you don’t see any screws, your spout may be held in place by a different type of fastening mechanism. In this case, look for any threaded fittings or connections that may require the use of an adjustable wrench.
Using an adjustable wrench, carefully loosen any connections or fittings that are attached to the spout. Be gentle during this process to avoid causing any damage to the kegerator or the spout itself. Slowly and carefully rotate the wrench counterclockwise to loosen the spout from the kegerator.
Depending on the model of your Homestead Kegerator, the spout may be threaded or secured in place using a different type of connection. Pay close attention to how the spout is attached to the kegerator so that you can easily reverse the process when reinstalling or replacing the spout.
Once the spout is loosened, you should be able to wiggle it slightly or feel it becoming loose in its mounting position. Take your time and ensure the spout is fully detached from the kegerator before proceeding to the next step.
Now that the spout is loosened from the kegerator, we can move on to the next step and disconnect any additional connections that may be attached to the spout itself. Let’s continue to step 5: disconnecting any additional connections to the spout.
Step 5: Disconnect any additional connections to the spout
With the spout loosened from the kegerator, it’s time to disconnect any additional connections that may be attached to the spout. These connections could include things like drip trays, beer line cleaner systems, or foam control valves.
Start by visually inspecting the spout for any additional components that may need to be disconnected. Look for any clamps, fittings, or connectors that are securing these components in place.
Using your hands or a pair of pliers, gently loosen and remove any clamps or fittings that are holding the additional connections to the spout. Take care not to damage the connections or the spout itself during this process.
If there are any drip trays or drain pans attached to the spout, carefully detach them by unscrewing or unclipping them from the spout. Follow any specific instructions provided by the manufacturer to ensure proper removal.
If your kegerator has a beer line cleaner system or a foam control valve, it’s important to disconnect them from the spout as well. These components may have specific instructions or procedures for removal, so refer to the user manual or manufacturer’s instructions if needed.
Once all additional connections are disconnected, set them aside for cleaning or maintenance, if necessary. Take a moment to inspect the spout and ensure that it is free from any remaining connections or attachments.
By removing any additional connections, you have now prepared the spout for complete removal from the kegerator. The next step will guide you through the process of carefully removing the spout. Let’s proceed to step 6: removing the spout from the kegerator.
Step 6: Carefully remove the spout from the kegerator
With all connections and attachments disconnected, it’s time to carefully remove the spout from your Homestead Kegerator. This step requires caution and precision to avoid any damage to the kegerator or the spout itself.
Gently grasp the spout with your hand and slowly pull it away from the kegerator. Apply a slight twisting motion if necessary, but be careful not to exert too much force as it may cause damage to the spout or the kegerator.
As you remove the spout, you may encounter some resistance due to the presence of any o-rings or gaskets. Take your time and ensure that the spout is free from any obstructions before proceeding further.
If you notice any o-rings or gaskets still attached to the kegerator or the spout, carefully remove them and set them aside for cleaning or replacement if needed. It’s crucial to keep these components clean and in good condition to ensure proper sealing when reattaching the spout later on.
Once the spout is fully removed from the kegerator, inspect it for any signs of wear, damage, or blockage. If necessary, clean the spout using warm, soapy water and a cleaning brush or sponge. Pay close attention to the spout’s openings to remove any residue or buildup that could affect the taste or flow of the beer.
Take this opportunity to inspect the area where the spout was positioned on the kegerator. Clean away any debris or spills using a clean cloth or towel. Ensure that the area is dry and ready for reinstallation or replacement of the spout.
With the spout successfully removed and cleaned, you have completed the main part of the process. However, there’s one more step to consider: cleaning and maintaining the spout. Let’s move on to step 7.
Step 7: Clean and maintain the spout
After removing the spout from your Homestead Kegerator, it’s essential to clean and maintain it before reinstallation or replacement. This step will help ensure optimal performance and hygiene for your kegerator.
Start by thoroughly cleaning the spout using warm, soapy water and a cleaning brush or sponge. Pay special attention to the openings and internal components of the spout, as these areas can collect residue or buildup over time.
Gently scrub the spout to remove any dirt, beer residue, or mold that may have accumulated. Rinse the spout thoroughly with clean water to remove any soap residue, and pat it dry with a clean cloth or towel.
If you notice any stubborn stains or clogs in the spout, you may need to use a specialized cleaner or pipe brush to dislodge and remove them. Refer to the manufacturer’s instructions or consult a kegerator specialist for guidance on the best cleaning methods for your specific spout type.
Once the spout is clean and dry, inspect it for any signs of wear or damage. Check for cracks, leaks, or worn-out components that may require repair or replacement. It’s important to address any issues with the spout promptly to ensure the proper functioning of your Homestead Kegerator.
If you encounter any damaged or worn-out parts, consider replacing them with genuine Homestead Kegerator parts or compatible alternatives. This will help maintain the quality and performance of your kegerator’s spout.
Before reattaching the spout to the kegerator, take a moment to clean and dry the surrounding area where the spout will be installed. This will ensure a clean and secure connection between the spout and the kegerator.
Finally, if you’re not planning to immediately reinstall the spout, store it in a clean and dry location to prevent dust, debris, or moisture from causing any damage or contamination.
With the spout now cleaned and maintained, you’re ready to reattach it to your Homestead Kegerator or replace it with a new spout if necessary. Follow the reverse steps of the removal process to safely and securely reinstall the spout.
By regularly cleaning and maintaining the spout, you’ll enjoy a consistently great-tasting and well-functioning kegerator for years to come.
With the final step complete, you’ve successfully removed and cleaned the spout from your Homestead Kegerator. With the spout reinstalled or replaced, you can now enjoy refreshing, perfectly poured beers once again!
Remember, proper maintenance and cleaning are essential for the longevity and performance of your kegerator. Be sure to consult the user manual or manufacturer’s instructions for any specific cleaning or maintenance guidelines tailored to your Homestead Kegerator model.
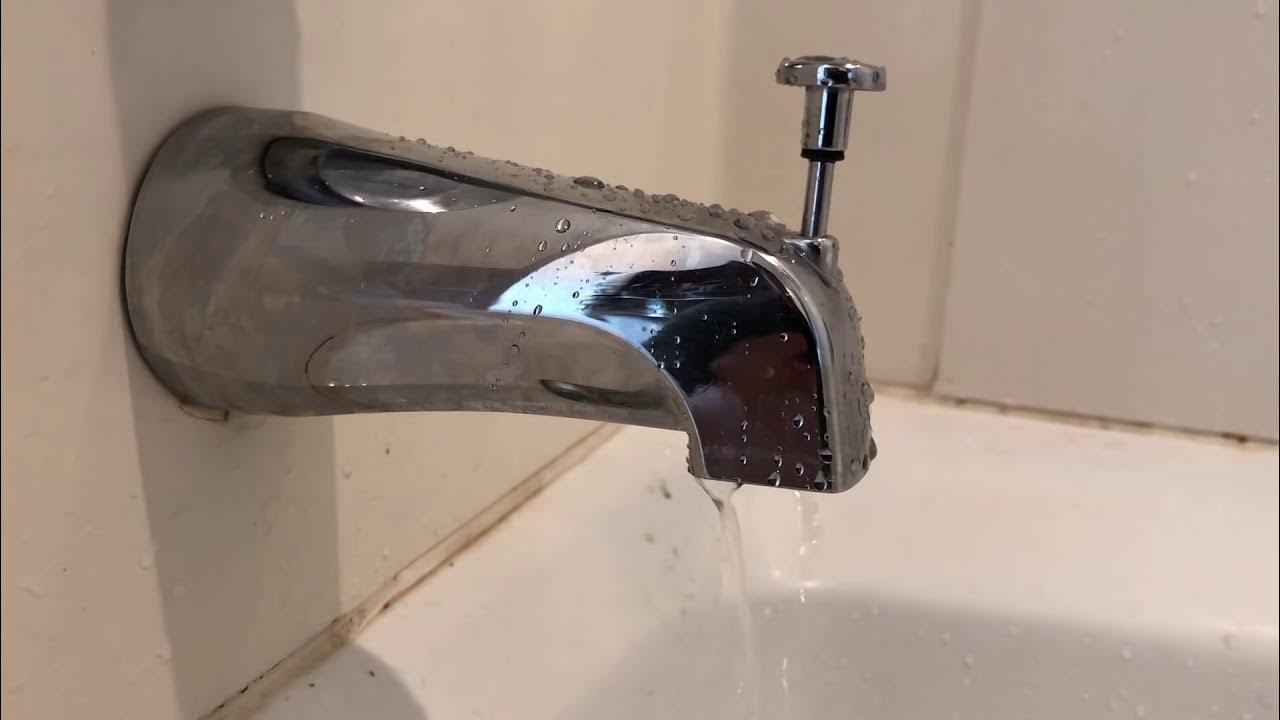
Read more: How To Remove Delta Tub Spout Adapter
Conclusion
Removing the spout from your Homestead Kegerator is a simple process that can be done with the right tools, a little patience, and attention to detail. By following the step-by-step guide outlined in this article, you can safely and efficiently remove the spout for cleaning or replacement purposes.
Remember to always start by turning off and unplugging the kegerator to ensure your safety. Take the time to locate the spout and disconnect any keg or tubing connected to it. Loosen the spout from the kegerator and disconnect any additional connections or attachments.
Once the spout is removed, it’s important to clean and maintain it to ensure optimal performance and hygiene. Thoroughly clean the spout using warm, soapy water, and inspect it for any signs of wear or damage. Replace any worn-out components if necessary.
By regularly cleaning and maintaining the spout, you’ll extend the life of your Homestead Kegerator and continue enjoying fresh, perfectly poured beers right in your own home.
Remember, always consult the user manual or manufacturer’s instructions for any specific guidelines or recommendations tailored to your particular Homestead Kegerator model. If you encounter any issues or are unsure about any steps in the process, it’s best to seek assistance from a kegerator specialist.
So, go ahead and confidently remove the spout from your Homestead Kegerator when it’s time for cleaning or maintenance. Cheers to a clean and well-functioning kegerator!
Frequently Asked Questions about How To Remove Spout From Homestead Kegerator
Was this page helpful?
At Storables.com, we guarantee accurate and reliable information. Our content, validated by Expert Board Contributors, is crafted following stringent Editorial Policies. We're committed to providing you with well-researched, expert-backed insights for all your informational needs.


0 thoughts on “How To Remove Spout From Homestead Kegerator”