Articles
How To Replace A Refrigerator Compressor
Modified: September 2, 2024
Learn how to replace a refrigerator compressor with our step-by-step guide. Find the best articles on compressor replacement and DIY tips here.
(Many of the links in this article redirect to a specific reviewed product. Your purchase of these products through affiliate links helps to generate commission for Storables.com, at no extra cost. Learn more)
Introduction
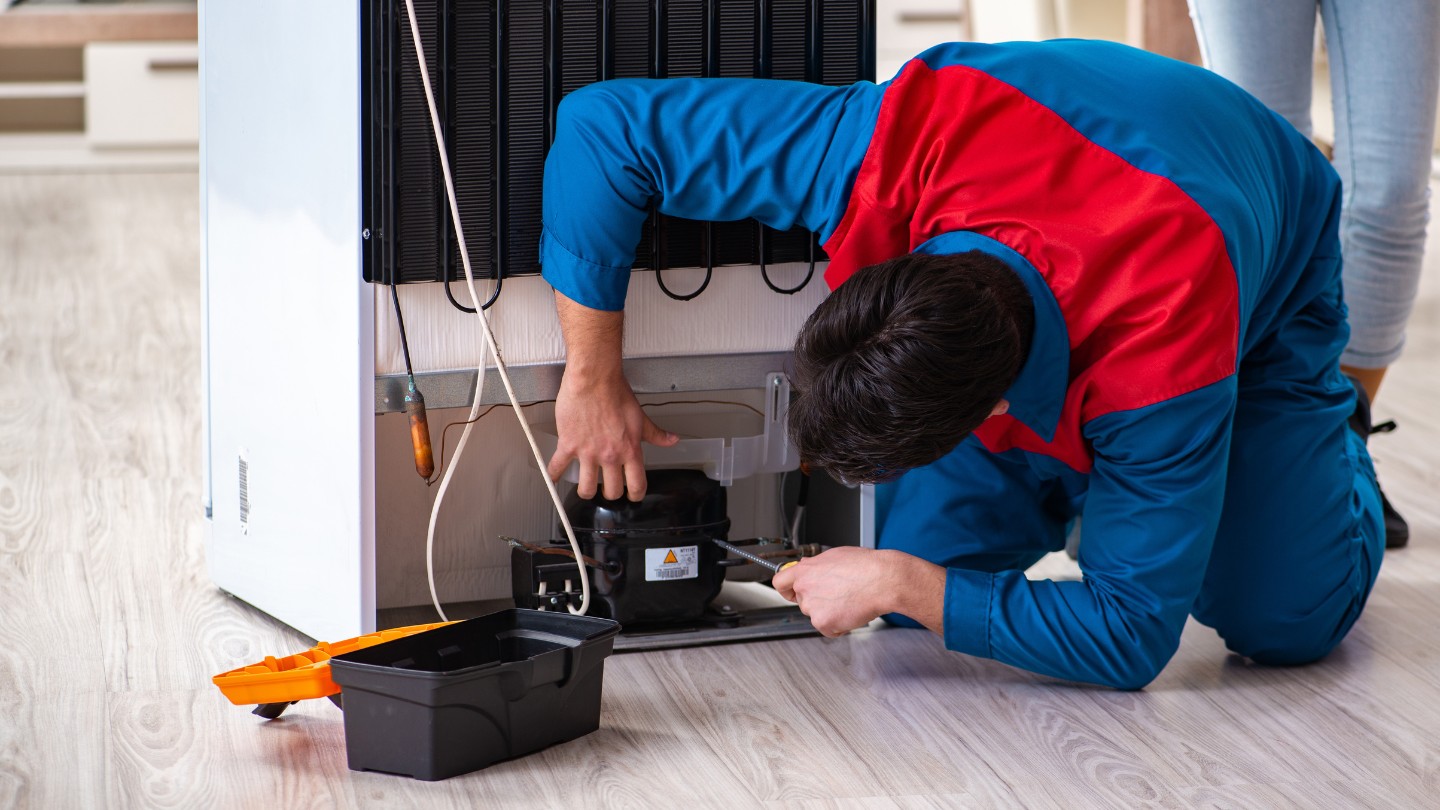
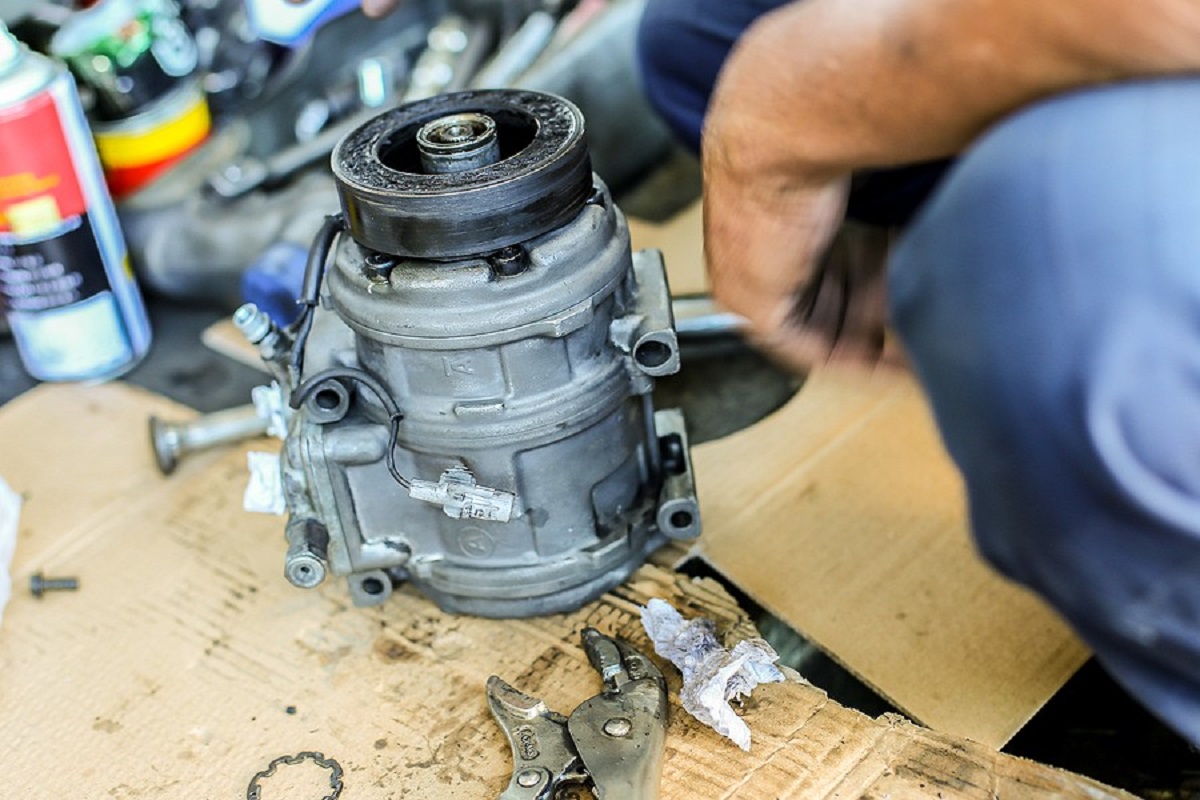
Replacing a refrigerator compressor can be a daunting task, but with the right tools and knowledge, it is something you can do yourself. The compressor is a vital component of your refrigerator, responsible for circulating refrigerant and maintaining the temperature inside the unit. Over time, compressors can wear out or fail, resulting in cooling problems and potentially spoiled food.
In this article, we will guide you through the process of replacing a refrigerator compressor step by step. It is important to note that refrigerators can vary in design and model, so the exact steps may differ slightly. Always consult your refrigerator’s manufacturer manual for specific instructions. With that said, let’s get started on replacing your refrigerator compressor!
Key Takeaways:
- Replacing a refrigerator compressor is a feasible DIY project with the right tools and precautions. Prioritize safety, gather necessary materials, and follow each step carefully for a successful repair.
- By replacing a faulty compressor, you can restore your refrigerator’s cooling capabilities and extend its lifespan. Take control of the repair process, save money, and enjoy a fully functioning appliance.
Read more: How To Replace An Air Conditioner Compressor
Step 1: Gather the necessary tools and materials
Before diving into the compressor replacement process, it is crucial to gather all the necessary tools and materials. Here is a list of what you will need:
- Screwdriver set
- Socket set
- Adjustable wrench
- Replacement compressor
- Safety goggles
- Gloves
Having these tools on hand will make the replacement process smoother and more efficient. Make sure to wear safety goggles and gloves throughout the process to protect yourself from any potential hazards.
Additionally, ensure that you have the correct replacement compressor for your refrigerator model. Consult the refrigerator’s manufacturer manual or contact a professional to ensure compatibility.
Once you have gathered all the tools and materials, you are ready to move on to the next step.
Step 2: Disconnect the power supply
Prior to starting any work on your refrigerator, it is crucial to disconnect the power supply to avoid any electrical accidents. Follow these steps to safely disconnect the power:
- Locate the power cord of your refrigerator.
- Unplug the power cord from the electrical outlet.
- If your refrigerator has a dedicated circuit breaker, locate it and turn it off.
By taking these steps, you are ensuring your safety and preventing any potential damage to the electrical system or the refrigerator itself.
It’s important to note that some refrigerators may have additional power sources, such as batteries or backup power systems. Consult your refrigerator’s manual or contact a professional to ensure that all power sources are disconnected before proceeding.
Now that the power supply has been disconnected, you can move on to the next step with peace of mind.
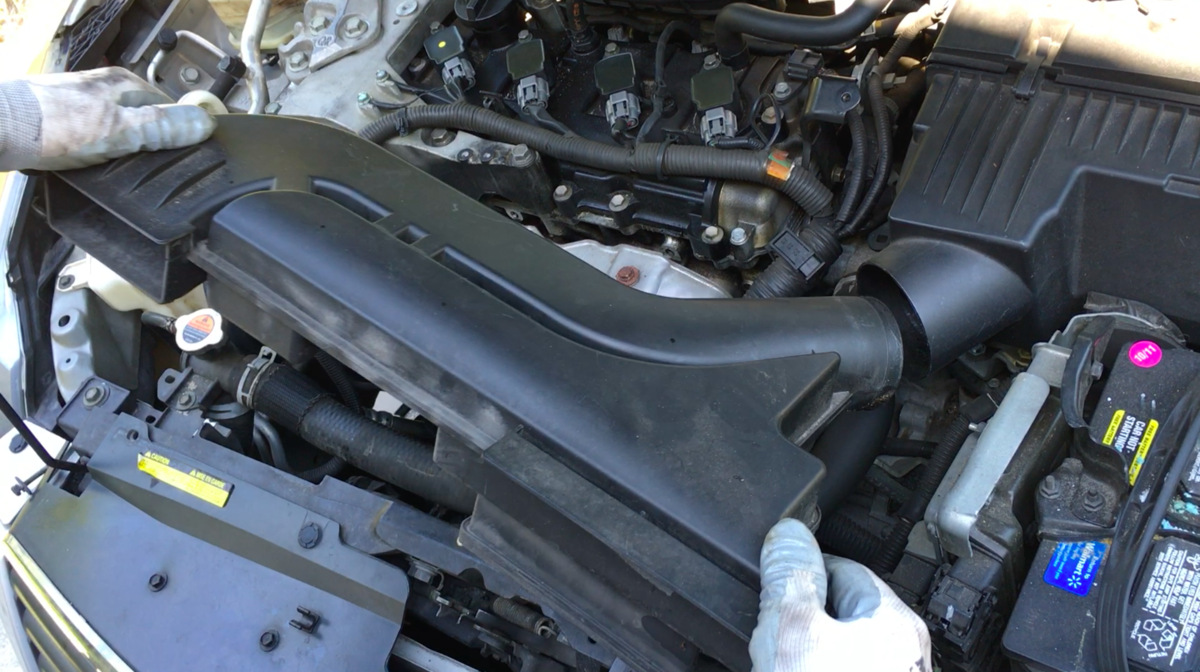
Step 3: Remove the access panel
In order to gain access to the compressor, you will need to remove the access panel. The location of the access panel may vary depending on the make and model of your refrigerator, but it is typically located at the back of the unit. Follow these steps to remove the access panel:
- Locate the access panel at the back of your refrigerator.
- Using a screwdriver or socket set, remove the screws securing the access panel in place. Set the screws aside in a safe place.
- Gently pull the access panel away from the refrigerator to detach it.
With the access panel removed, you will now have a clear view of the compressor and the surrounding components. Take a moment to familiarize yourself with the layout and the connections.
It is worth noting that some refrigerators may have additional panels or covers that need to be removed to access the compressor. Refer to your refrigerator’s manual or consult a professional if you encounter any additional panels or covers.
Now that the access panel is removed, you are ready to move on to the next step of the compressor replacement process.
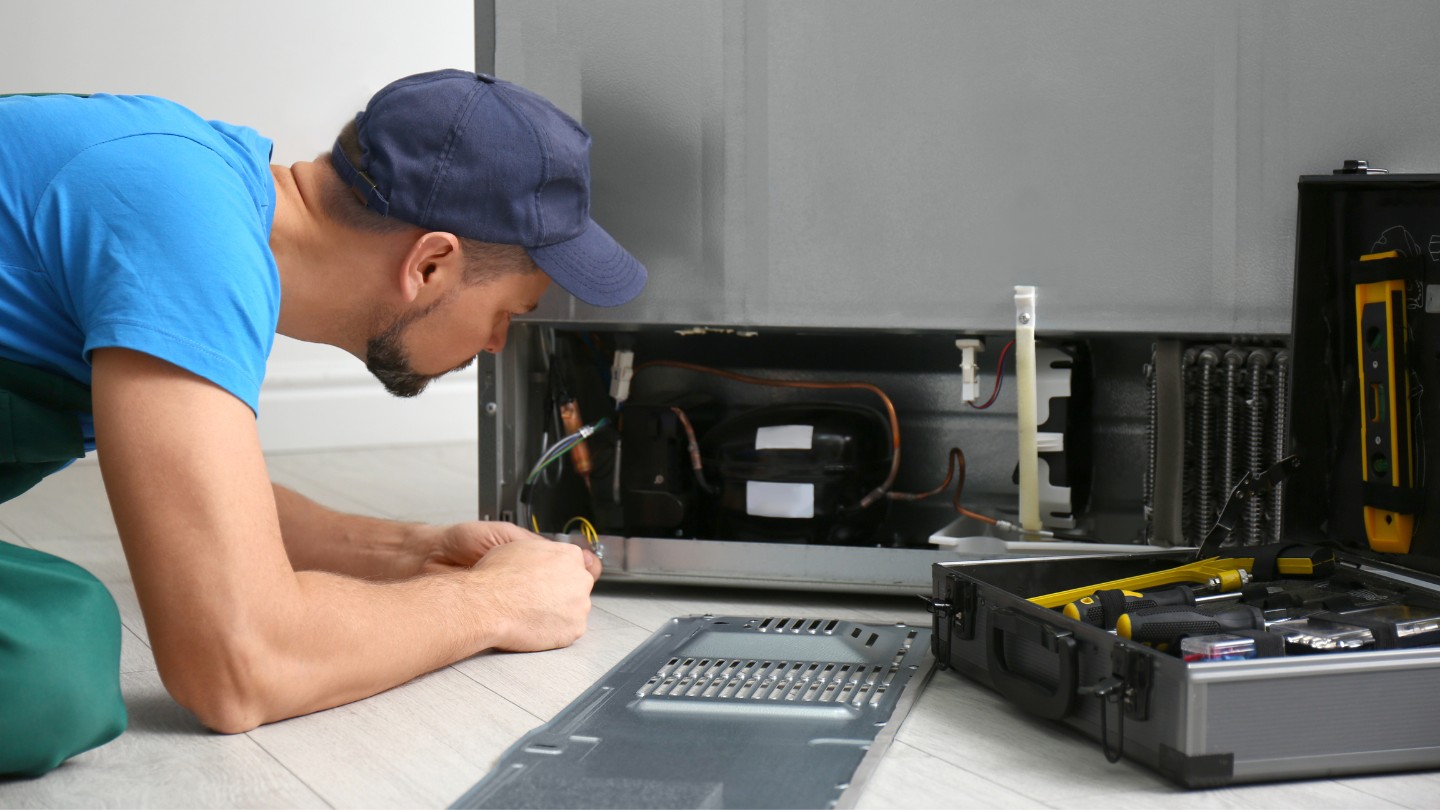
Step 4: Identify and detach the compressor wires
Before removing the old compressor, it is essential to identify and detach the compressor wires. The wires are responsible for supplying power to the compressor and other components. Follow these steps to properly identify and detach the compressor wires:
- Locate the wires connected to the compressor. They are usually color-coded for easy identification.
- Using your screwdriver or socket set, carefully loosen the screws or nuts securing the wires to the compressor terminals.
- Gently pull the wires away from the terminals to detach them. It’s important to handle the wires with care to avoid damaging them.
- Take note of the wire placements and connections for future reference when installing the new compressor.
It is crucial to ensure that the power supply is disconnected before handling the compressor wires. Double-check that the refrigerator is unplugged and any circuit breakers are turned off before proceeding.
Some refrigerators may have additional wires or connectors attached to the compressor. Take your time to inspect and detach any additional connections as necessary. Refer to your refrigerator’s manual or seek professional assistance if you encounter any complexities.
With the compressor wires detached, you are now ready to remove the old compressor in the next step.
Read more: How Does A Refrigerator Compressor Work
Step 5: Unscrew and remove the compressor’s mounting bolts
With the compressor wires detached, you can now proceed to unscrew and remove the mounting bolts that secure the compressor in place. Follow these steps to safely remove the compressor’s mounting bolts:
- Locate the mounting bolts that secure the compressor to the refrigerator’s chassis. These bolts are typically located at the bottom or side of the compressor.
- Using a suitable wrench or socket set, carefully loosen and unscrew the mounting bolts. Be sure to keep track of any washers or spacers that may be attached to the bolts.
- Once the bolts are completely unscrewed, gently lift the compressor off its mounting brackets and carefully set it aside.
Some compressors may have additional brackets or support structures that need to be removed before the compressor can be lifted. Take note of any additional components and carefully detach them as required.
Remember to handle the compressor with care as it may be heavy or have sharp edges. If necessary, enlist the help of another person to safely lift and remove the compressor.
With the compressor’s mounting bolts removed, you are now ready to proceed to the next step of replacing the compressor, which involves installing the new compressor.
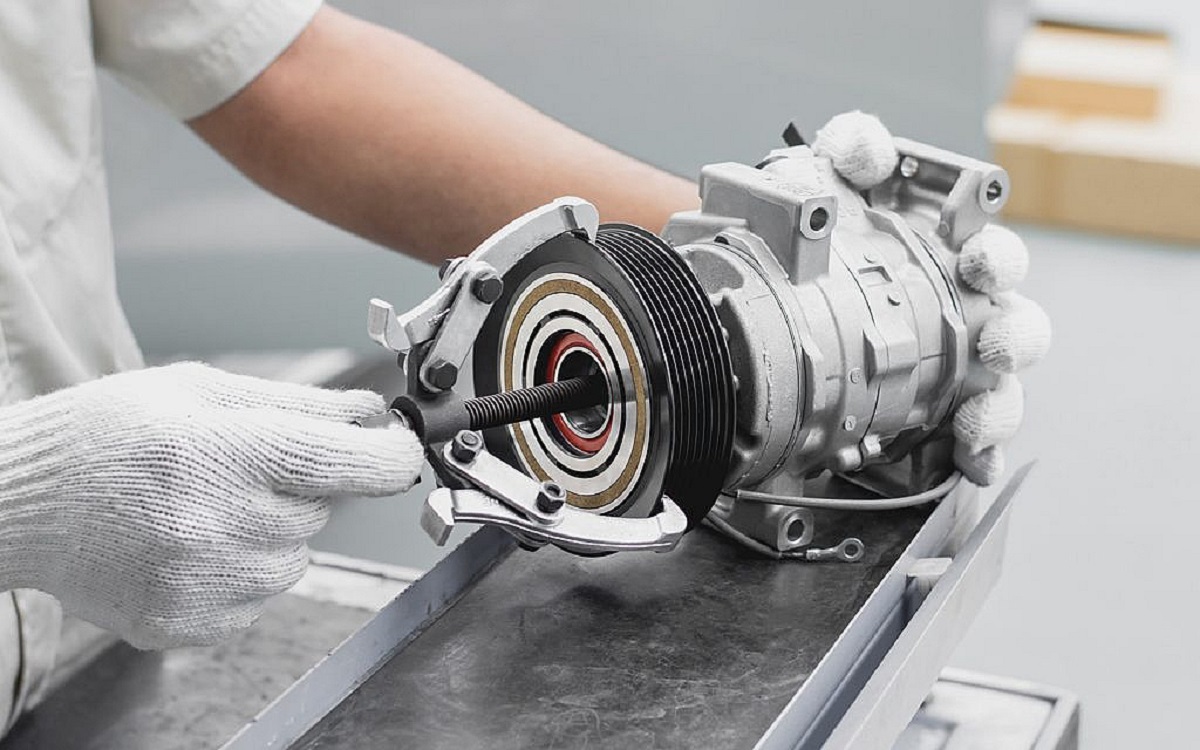
Step 6: Carefully remove the old compressor
With the mounting bolts unscrewed, it’s time to carefully remove the old compressor from your refrigerator. The old compressor may be heavy, so proceed with caution and have a safe space prepared to set it down. Follow these steps to remove the old compressor:
- Gently lift the old compressor from its mounting brackets, taking care not to strain yourself or damage any surrounding components.
- Slowly maneuver the compressor out of its designated space, being mindful of any wiring or tubing that may still be connected.
- If there are any remaining connections or hoses attached to the compressor, carefully detach them according to your refrigerator’s manual or seek professional assistance.
- Set the old compressor aside in a safe and designated area, away from any potential hazards.
When removing the old compressor, take note of any refrigerant that may leak. Refrigerant is harmful to the environment and should be handled and disposed of properly. If you are unsure of how to handle refrigerant, it is best to contact a professional for assistance.
Ensure that the area where the old compressor was removed from is clean and free from any debris or obstructions. This will make the installation of the new compressor easier and more efficient.
Now that the old compressor has been safely removed, you can proceed to the next step of the replacement process, which involves installing the new compressor.
When replacing a refrigerator compressor, make sure to properly discharge the refrigerant and follow all safety precautions. It’s also important to carefully follow the manufacturer’s instructions and use the correct tools for the job.
Step 7: Install the new compressor
Now that you have successfully removed the old compressor, it’s time to install the new one. Follow these steps to properly install the new compressor in your refrigerator:
- Position the new compressor in the designated space, aligning it with the mounting brackets.
- Take note of any rubber grommets or vibration pads that were present on the old compressor. Transfer them to the corresponding spots on the new compressor if necessary.
- Gently lower the new compressor onto the mounting brackets, ensuring that it is securely in place.
- If your refrigerator model requires it, reattach any brackets, support structures, or additional components that were removed during the old compressor removal process.
It’s important to ensure that the new compressor is properly aligned and seated in its designated position. This will ensure optimal performance and prevent any potential issues down the line.
Take your time to double-check all the connections and attachments on the new compressor. Make sure all bolts, brackets, and support structures are securely fastened.
It’s worth noting that each refrigerator model may have its own specific installation instructions. If you are unsure about any step or encounter any complications, consult your refrigerator’s manual or contact a professional for assistance.
With the new compressor securely installed, you can now proceed to the next step, which involves reconnecting the compressor wires.
Step 8: Reattach the mounting bolts
With the new compressor properly installed, the next step is to reattach the mounting bolts to secure it in place. Follow these steps to ensure a secure and stable attachment:
- Align the mounting brackets on the compressor with their corresponding slots or holes in the refrigerator’s chassis.
- Insert the mounting bolts through the holes in the brackets and into the chassis.
- Tighten the bolts using a suitable wrench or socket set, ensuring that they are securely fastened but not over-tightened.
- Check for any wobbling or looseness in the compressor. If necessary, adjust the mounting bolts to achieve a stable and secure fit.
It’s crucial to ensure that the mounting bolts are tightened properly. Over-tightening can damage the compressor or the refrigerator’s chassis, while under-tightening can result in instability and vibration issues.
For some refrigerator models, there may be additional brackets or support structures that need to be reattached before securing the compressor with the mounting bolts. Follow the specific instructions for your refrigerator to ensure a proper installation.
Once you are confident that the compressor is securely fastened, you can move on to the next step, which involves reconnecting the compressor wires.
Read also: 6 Amazing Refrigerator Compressor for 2025
Step 9: Connect the compressor wires
With the compressor securely in place, it’s time to reconnect the compressor wires. Follow these steps to properly connect the wires:
- Refer to the notes or documentation you made earlier regarding the wire placements and connections.
- Identify the corresponding terminals on the new compressor for each wire.
- Hold the wire against the terminal, ensuring a proper fit.
- Using your screwdriver or socket set, tighten the screws or nuts to secure the wires to the terminals. Make sure they are securely fastened but avoid over-tightening.
- Go through each wire, double-checking that they are all properly connected and secure.
It’s crucial to handle the wires with care to avoid any damage or breakage. Ensure that the wire insulation is intact, and there are no exposed wires. If you notice any damage to the wires, it is recommended to replace them before proceeding.
Take your time to carefully connect each wire to the correct terminal. Incorrect connections can lead to malfunctioning or damage to the compressor or other components.
Once all the wires are properly connected, you can proceed to the final steps of the compressor replacement process, which involve replacing the access panel and restoring the power supply.
Step 10: Replace the access panel
Now that the compressor wires are securely connected, it’s time to replace the access panel on your refrigerator. Follow these steps to properly reattach the access panel:
- Align the access panel with the corresponding slots or hooks on the refrigerator’s back.
- Gently push the panel into place, ensuring that it fits snugly.
- Using a screwdriver or socket set, fasten the screws back into their respective holes to secure the access panel. Make sure to tighten them adequately but avoid over-tightening.
It’s essential to ensure that the access panel is correctly aligned and securely attached. A loose or improperly fitted panel can result in noise, vibrations, or compromised cooling efficiency.
Double-check that all the screws are tightened evenly, making sure there are no gaps or misalignments in the panel. This will provide a secure seal and prevent any dust, dirt, or moisture from entering the refrigerator’s internal components.
With the access panel securely in place, you’re almost done with the compressor replacement process. Let’s move on to the final step, which involves restoring the power supply to your refrigerator.
Step 11: Restore the power supply
Now that you’ve completed the installation and everything is securely in place, it’s time to restore the power supply to your refrigerator. Follow these steps to safely restore the power:
- Ensure that all the connections and components are properly in place, including the compressor, wires, and access panel.
- Double-check that the power cord is not damaged and that it is securely plugged into a working electrical outlet.
- If your refrigerator has a dedicated circuit breaker, turn it on. This will restore power to the refrigerator.
With the power restored, listen for any unusual sounds or vibrations coming from the refrigerator. Pay attention to ensure that the compressor is running smoothly and that the refrigerator is cooling properly.
It is normal to hear some initial noise as the compressor starts up and the refrigerant begins circulating. However, if you notice any unusual or persistent noises, or if the refrigerator is not cooling as expected, it is advisable to consult a professional for further assistance.
Now that the power supply has been restored, allow some time for the refrigerator to reach the desired temperature. Check that it is cooling effectively and that everything is functioning as it should.
Congratulations! You have successfully replaced the compressor in your refrigerator. By following these steps and taking proper precautions, you have saved both time and money by completing the task yourself.
Remember to consult your refrigerator’s manual for specific instructions and safety guidelines. If you ever feel unsure or uncomfortable with any step, it is always best to seek professional help.
Thank you for following along with this guide. We hope that your refrigerator is now running smoothly with its new compressor!
Conclusion
Replacing a refrigerator compressor may seem like a daunting task, but with the right tools, knowledge, and careful execution, it is an achievable DIY project. By following the step-by-step guide outlined in this article, you can successfully replace a faulty compressor and restore your refrigerator’s cooling capabilities.
Throughout the process, it is crucial to prioritize safety. Always disconnect the power supply before starting any work, and be mindful of any electrical components or refrigerant present. Wearing safety goggles and gloves is highly recommended to protect yourself from any potential hazards.
Gathering the necessary tools and materials is the first step in any successful compressor replacement. This includes a screwdriver set, socket set, adjustable wrench, replacement compressor, safety goggles, and gloves. Double-check that you have the correct replacement compressor for your refrigerator model to ensure compatibility.
From there, each step of the process – disconnecting the power supply, removing the access panel, detaching the compressor wires, unscrewing and removing the mounting bolts, safely removing the old compressor, installing the new compressor, reattaching the mounting bolts, connecting the compressor wires, replacing the access panel, and restoring the power supply – should be followed carefully and attentively.
Remember, each refrigerator model may have slight variations in design and steps required for replacing the compressor. Always refer to your refrigerator’s manual for specific instructions or seek professional assistance if needed.
By successfully replacing your refrigerator’s compressor, you can restore its cooling capabilities and extend the life of your appliance. It is a cost-effective solution compared to purchasing a new refrigerator and allows you to take control of the repair process.
We hope that this guide has provided you with the necessary information and guidance to confidently replace a refrigerator compressor. Always prioritize safety, take your time, and seek professional help if necessary. With the right approach, you can successfully complete this repair and enjoy the benefits of a fully functioning refrigerator.
After mastering the steps on replacing a refrigerator compressor, you might ponder what to do if your fridge still isn't working right. For those pesky problems that go beyond compressor issues, our detailed guide on how to mend refrigerators will surely come in handy. It breaks down common malfunctions and offers practical solutions to get your fridge back in tip-top shape without a hitch. Don't let a faulty fridge disrupt your daily routine; check out our comprehensive refrigerator repair advice and keep your kitchen running smoothly.
Frequently Asked Questions about How To Replace A Refrigerator Compressor
Was this page helpful?
At Storables.com, we guarantee accurate and reliable information. Our content, validated by Expert Board Contributors, is crafted following stringent Editorial Policies. We're committed to providing you with well-researched, expert-backed insights for all your informational needs.

0 thoughts on “How To Replace A Refrigerator Compressor”