
Articles
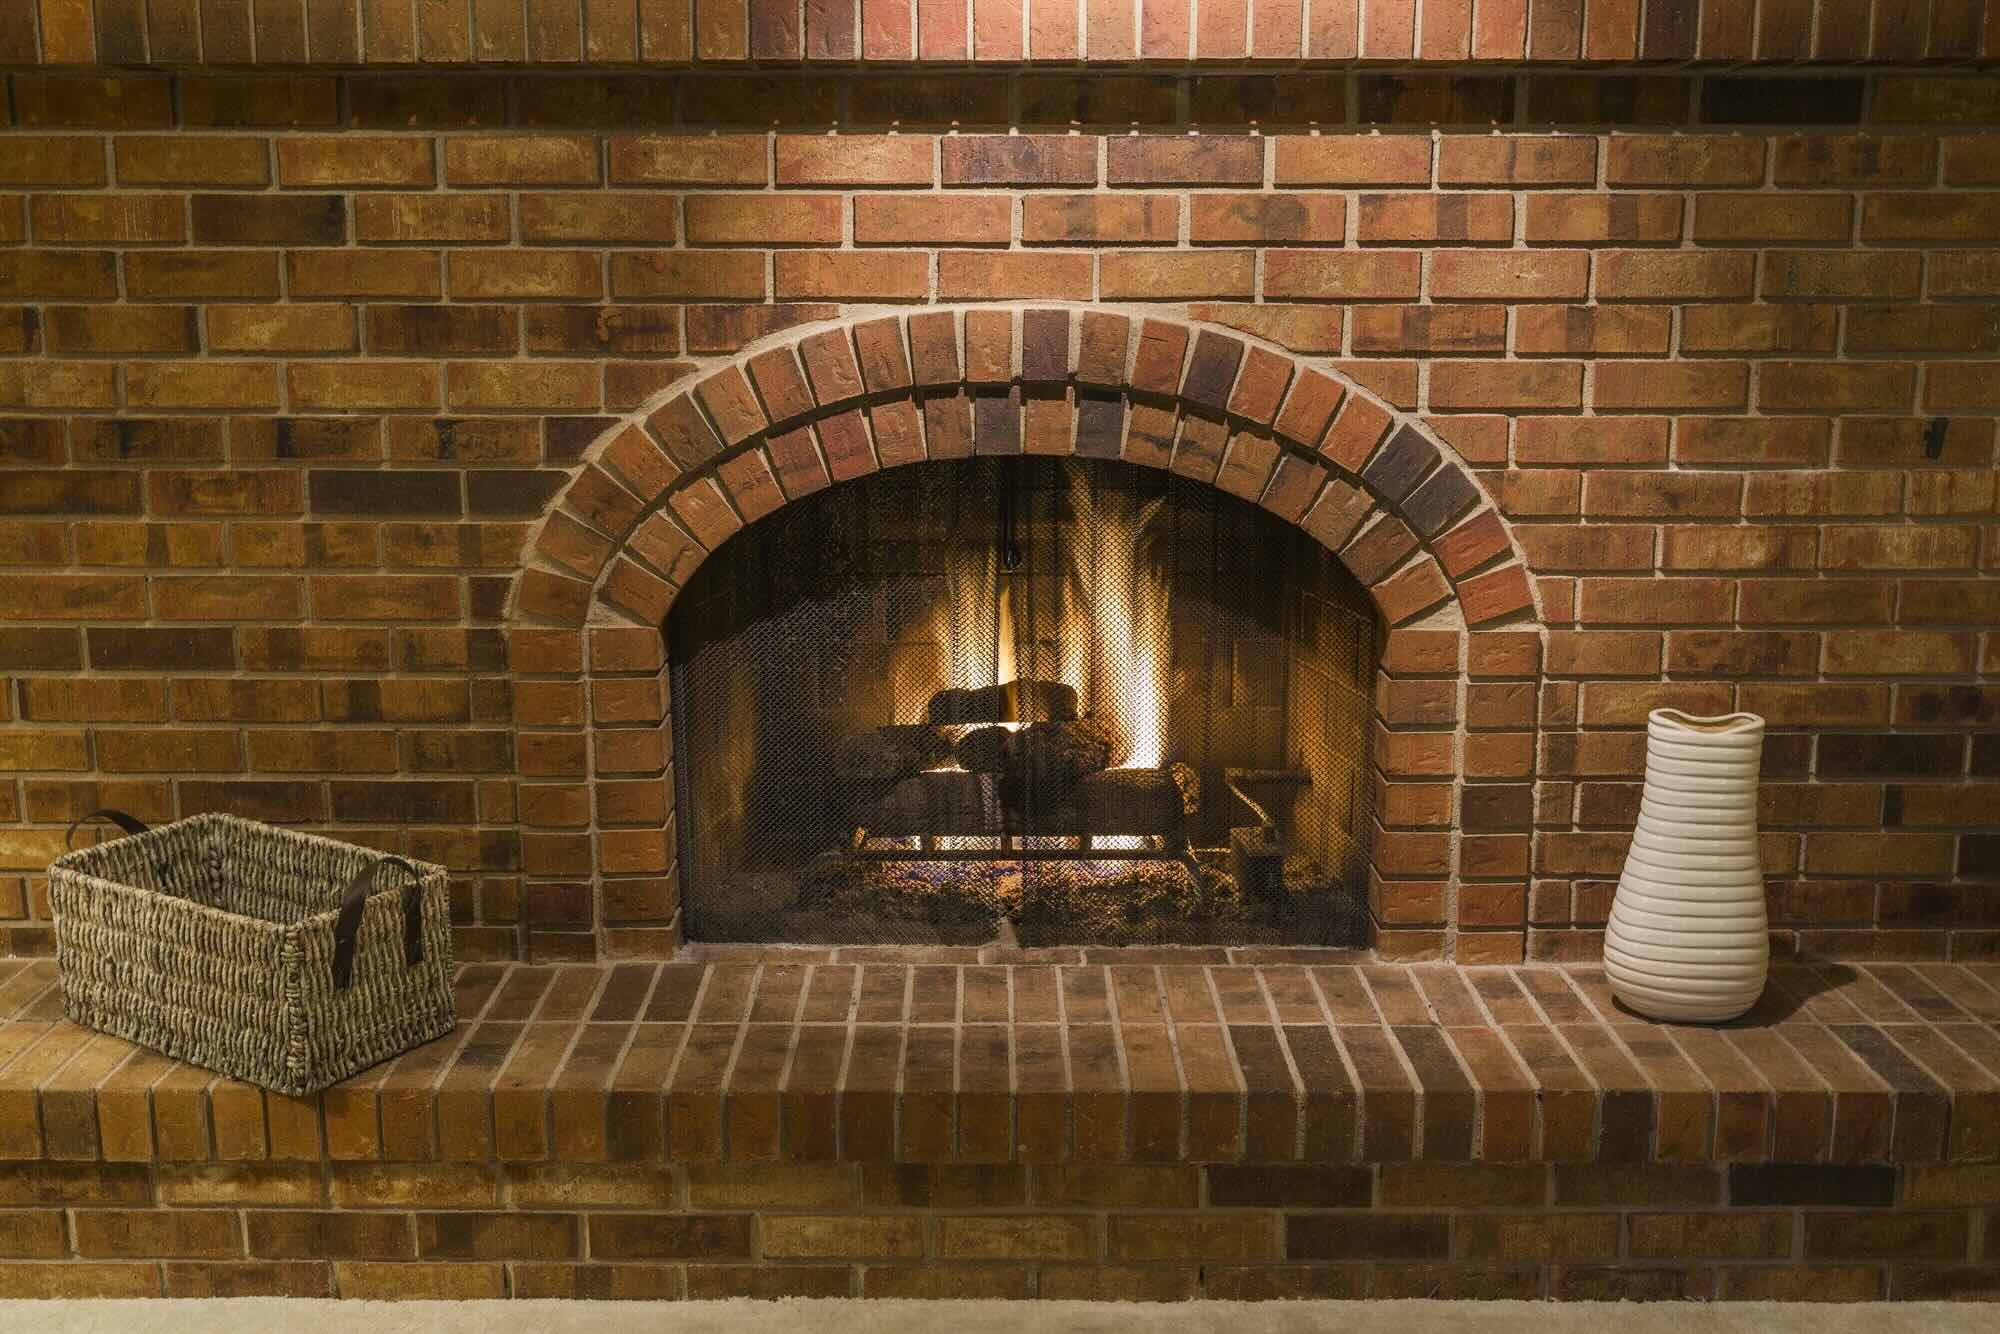
How To Replace A Fireplace Hearth
Modified: January 9, 2024
Learn how to replace a fireplace hearth with our informative articles. Find step-by-step guides and expert tips for a successful fireplace hearth replacement.
(Many of the links in this article redirect to a specific reviewed product. Your purchase of these products through affiliate links helps to generate commission for Storables.com, at no extra cost. Learn more)
Introduction
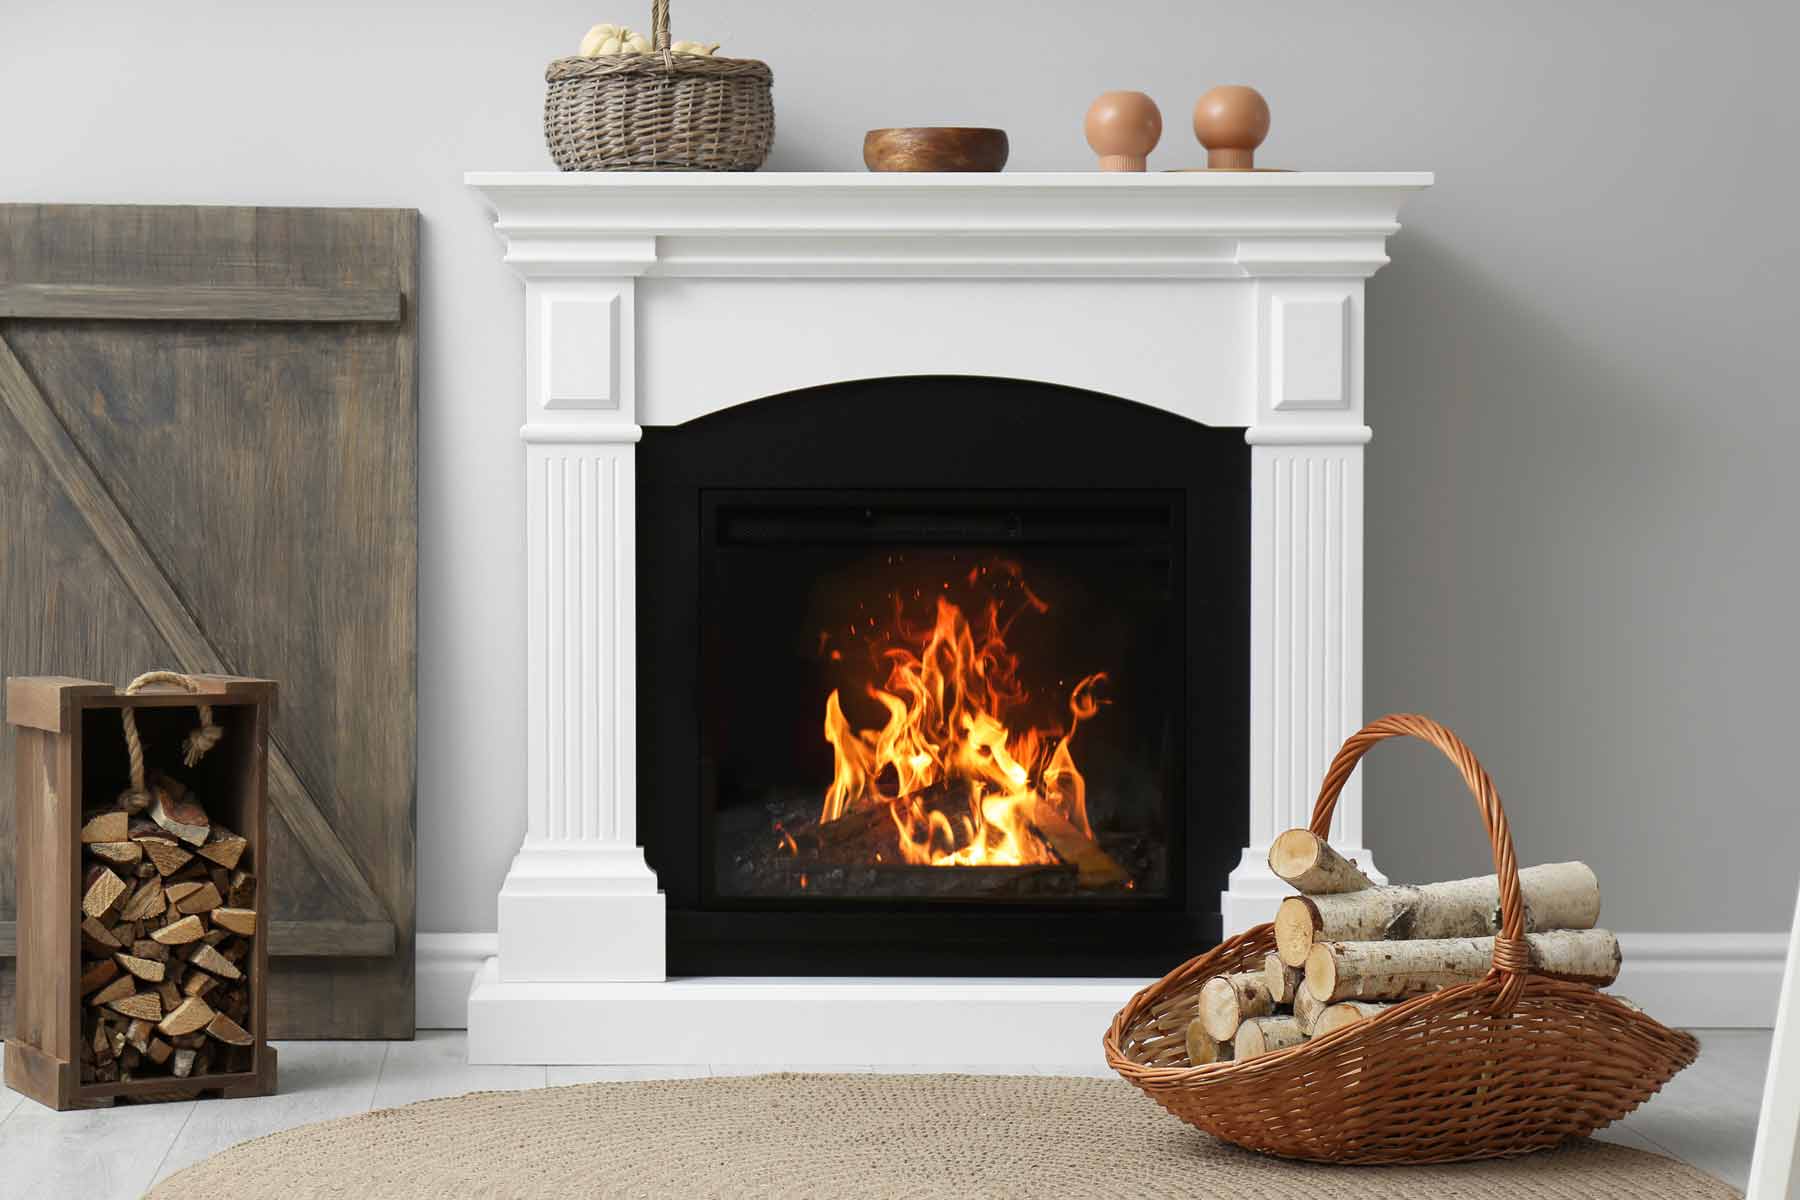
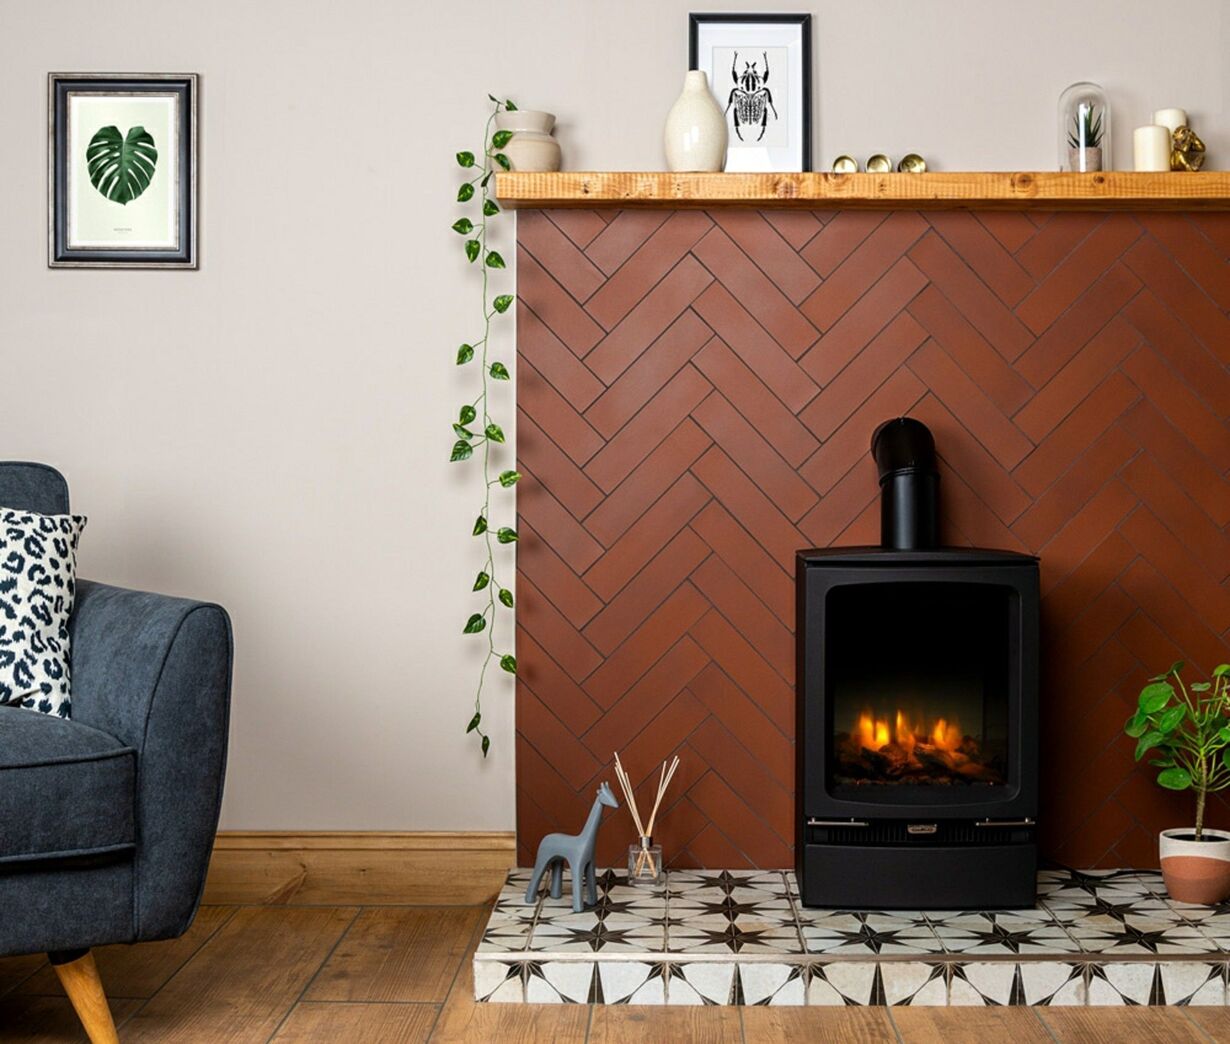
Welcome to our comprehensive guide on how to replace a fireplace hearth. The fireplace hearth is not only a functional part of your fireplace, but it also contributes to the overall aesthetic appeal of your living space. Over time, hearths can become worn, cracked, or outdated, necessitating a replacement to maintain the safety and beauty of your fireplace. While it may seem like a daunting task, with the right tools and knowledge, you can easily replace your fireplace hearth and give your fireplace a fresh new look.
In this step-by-step guide, we will walk you through the process of replacing a fireplace hearth. We will cover everything from gathering the necessary tools and materials to the final touches that will make your new hearth look seamless and professionally installed. So, let’s get started!
Key Takeaways:
- Transform your fireplace with a new hearth by following our step-by-step guide. From preparation to finishing touches, achieve a seamless and professional installation for a fresh, updated look.
- Ensure safety, gather tools, and follow each step carefully to replace your fireplace hearth. Enjoy the warmth and beauty of your updated fireplace with confidence in your handiwork.
Read more: What Is The Hearth On A Fireplace
Step 1: Gather Tools and Materials
Before you begin the process of replacing your fireplace hearth, it is essential to gather all the necessary tools and materials. Having everything on hand will help ensure a smooth and efficient workflow. Here are the tools and materials you will need:
- A safety mask and goggles to protect yourself from dust and debris
- A pry bar and a hammer for removing the old hearth
- A measuring tape to accurately measure and cut the new hearth
- A circular saw or a tile cutter, depending on the type of material you choose for your new hearth
- Protective gloves to keep your hands safe while working
- A level to ensure that the new hearth is straight and even
- Masonry adhesive or thin-set mortar to secure the new hearth in place
- Grout or caulk to fill in the gaps between the hearth and the surrounding tiles or flooring
- A sponge and a bucket of water for cleaning up the work area
Once you have gathered all the necessary tools and materials, you will be well-prepared to start the replacement process. Make sure to double-check that you have everything on the list before proceeding to the next step.
Step 2: Prepare the Work Area
Now that you have all the tools and materials ready, it’s time to prepare the work area for the hearth replacement. Preparing the work area properly will make the process smoother and help prevent any accidental damage to surrounding surfaces. Follow these steps to prepare the work area:
- Clear the area: Start by removing any furniture, decorations, or obstacles near the fireplace. This will give you enough space to work comfortably and avoid any potential hazards.
- Protect the floor: Place drop cloths or plastic sheets over the surrounding flooring to protect it from any debris or damage during the removal and installation process.
- Turn off the fireplace: Ensure that the fireplace is not in use and has cooled down completely. This will prevent any accidents and ensure your safety during the replacement process.
- Seal off the fireplace opening: To minimize the amount of dust and debris entering the living space, cover the fireplace opening with a plastic sheet or tarp and secure it with tape.
- Ventilate the area: Open windows or use fans to improve ventilation in the area. This will help with dust control and keep the air fresh while you work.
By taking the time to properly prepare the work area, you can minimize the mess and potential damage to your surroundings. Once the work area is ready, you can move on to the next step of removing the old hearth.
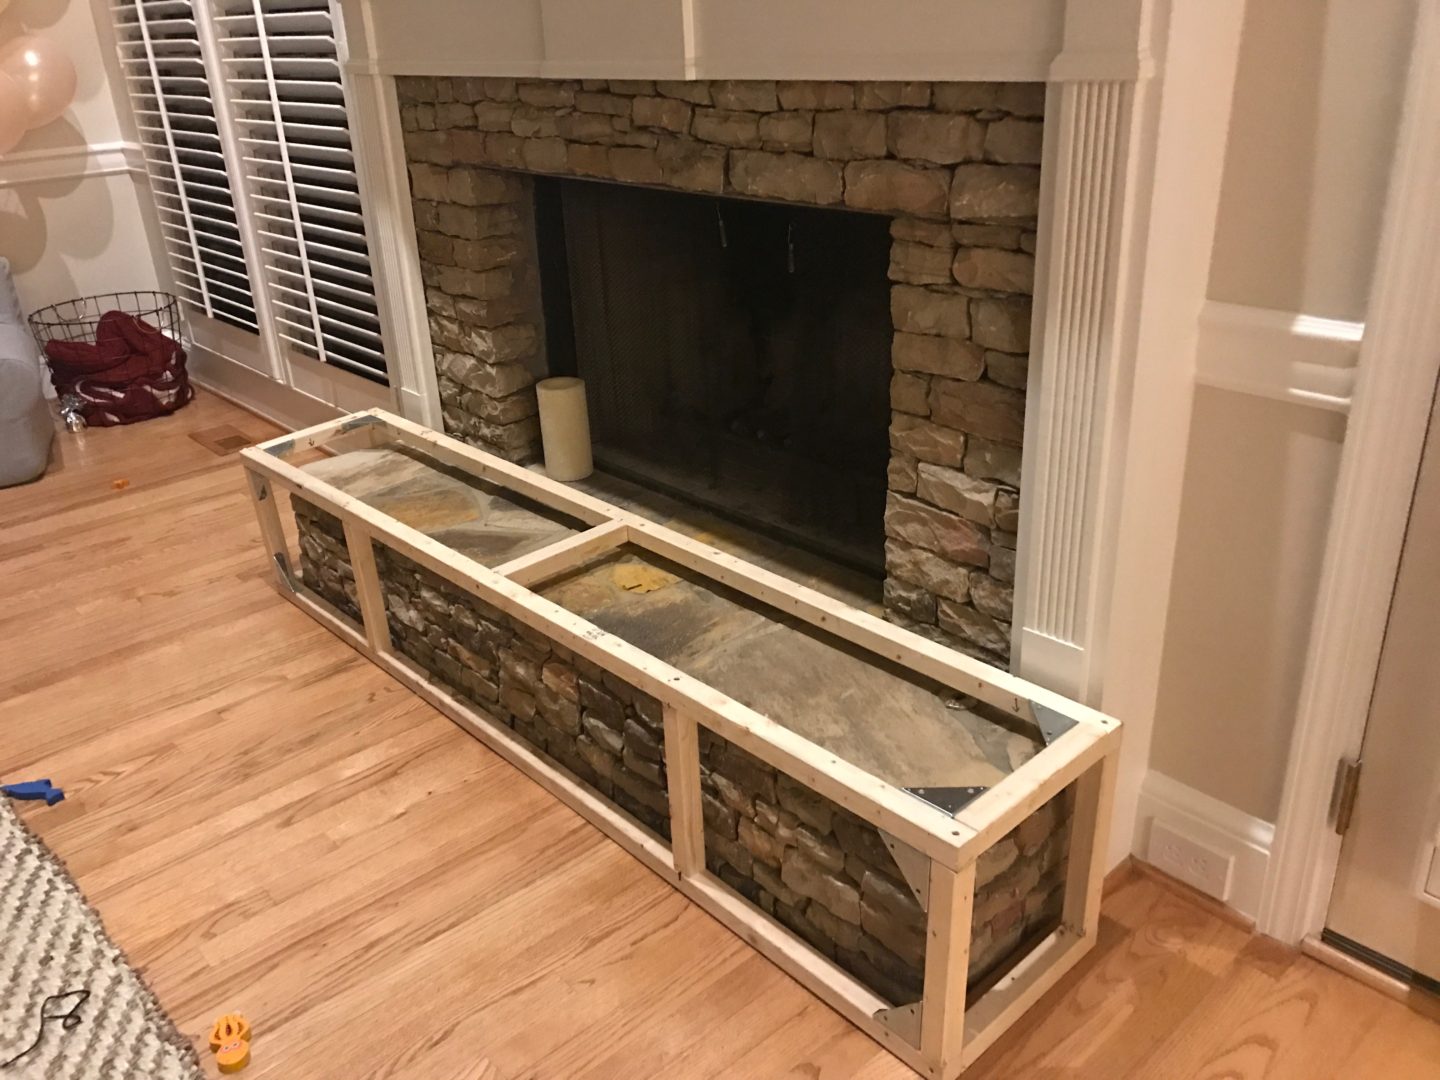
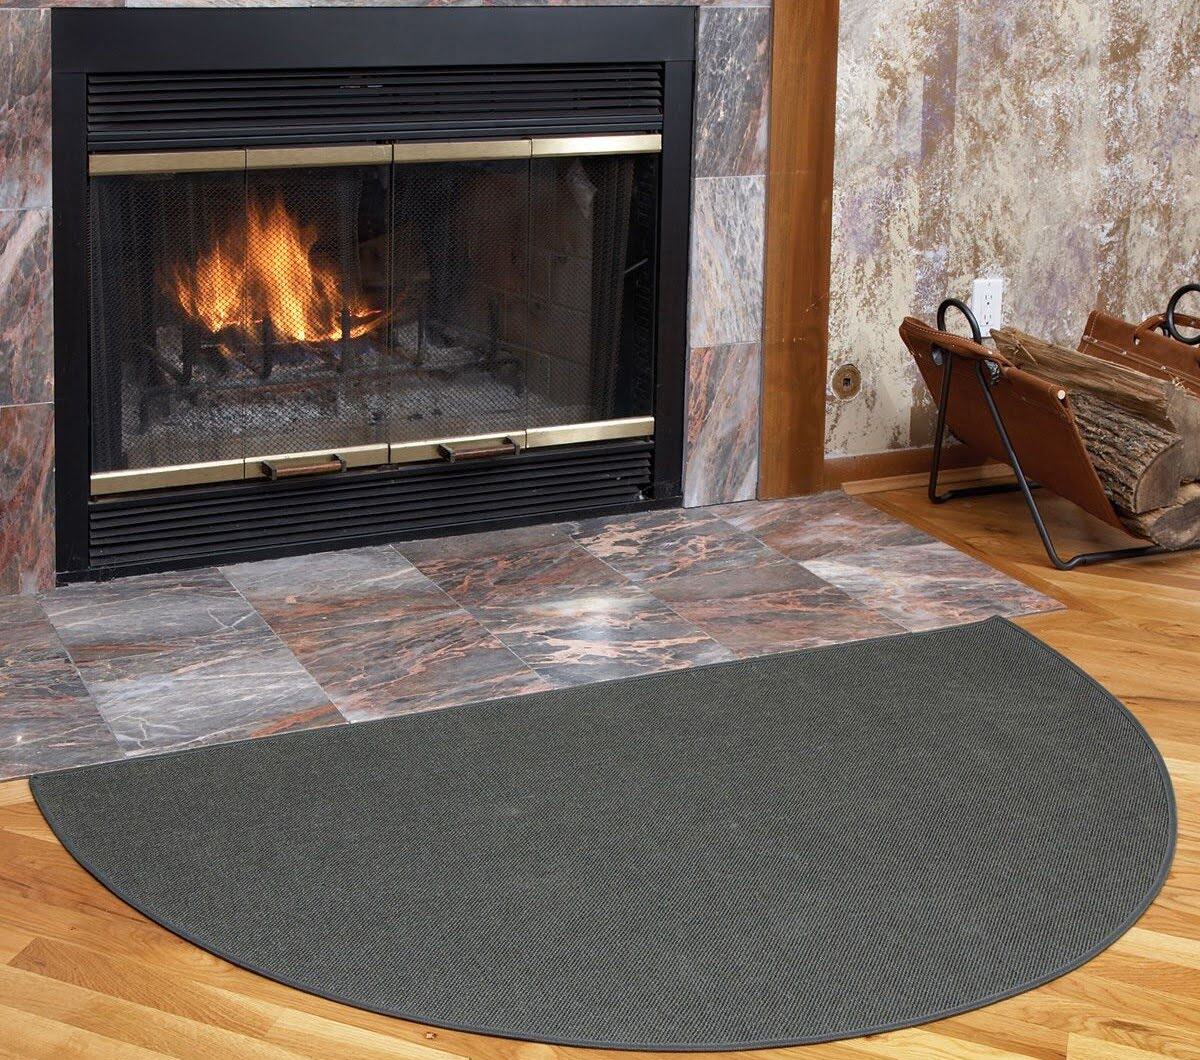
Step 3: Remove the Old Hearth
With the work area prepared, it’s time to remove the old hearth. This step requires some physical effort and caution, so be sure to follow these steps carefully:
- Wear protective gear: Put on your safety mask, goggles, and gloves to protect yourself from dust and debris.
- Inspect the old hearth: Look for any screws or fasteners that may be holding the hearth in place. Use a screwdriver or a pry bar to remove them if necessary.
- Start removing the hearth: Use a pry bar and a hammer to carefully lift and loosen the old hearth. Start from the edges and work your way towards the center. Be cautious not to damage the surrounding tiles or flooring.
- Break up the old hearth if needed: If the hearth is made of solid materials, such as concrete or stone, you may need to break it up into smaller pieces for easier removal. Use a sledgehammer or a masonry chisel to do this, but be careful not to damage the floor or surrounding surfaces.
- Remove any remaining debris: Once the old hearth is removed, clean up any debris or loose material left behind. Use a broom and a dustpan to sweep it up, and a vacuum cleaner to ensure a thorough cleaning.
Remember to work slowly and carefully to avoid any injuries or damage to the surrounding area. Once the old hearth is completely removed and the area is clean, you are ready to move on to the next step of measuring and cutting the new hearth.
When replacing a fireplace hearth, be sure to measure the dimensions accurately before purchasing a new hearth. This will ensure a proper fit and save you from any unnecessary hassle during the installation process.
Step 4: Measure and Cut the New Hearth
Now that you have successfully removed the old hearth, it’s time to measure and cut the new hearth to fit perfectly into the fireplace. This step is crucial to ensure a seamless and professional-looking installation. Follow these steps to measure and cut the new hearth:
- Take precise measurements: Use a measuring tape to measure the length, width, and thickness of the opening where the new hearth will be placed. Measure twice to ensure accuracy.
- Transfer the measurements: Mark the measurements on the new hearth material using a pencil or a marker. Double-check the markings before proceeding.
- Cut the new hearth: Depending on the material you have chosen for your new hearth (such as stone, tile, or wood), use a circular saw, a tile cutter, or the appropriate cutting tool to make straight and precise cuts according to your measurements. Follow the manufacturer’s instructions for cutting the specific material.
- Smooth the edges: After cutting, use sandpaper or a file to smooth out any rough or sharp edges on the new hearth. This will help achieve a clean and polished look.
It is crucial to take accurate measurements and make precise cuts to ensure a proper fit of the new hearth. Keep in mind that it is always better to slightly undersize the new hearth and make small adjustments during installation if needed. Once you have measured and cut the new hearth, you can proceed to the next step of installing it in the fireplace.
Read more: How To Remove A Fireplace Hearth
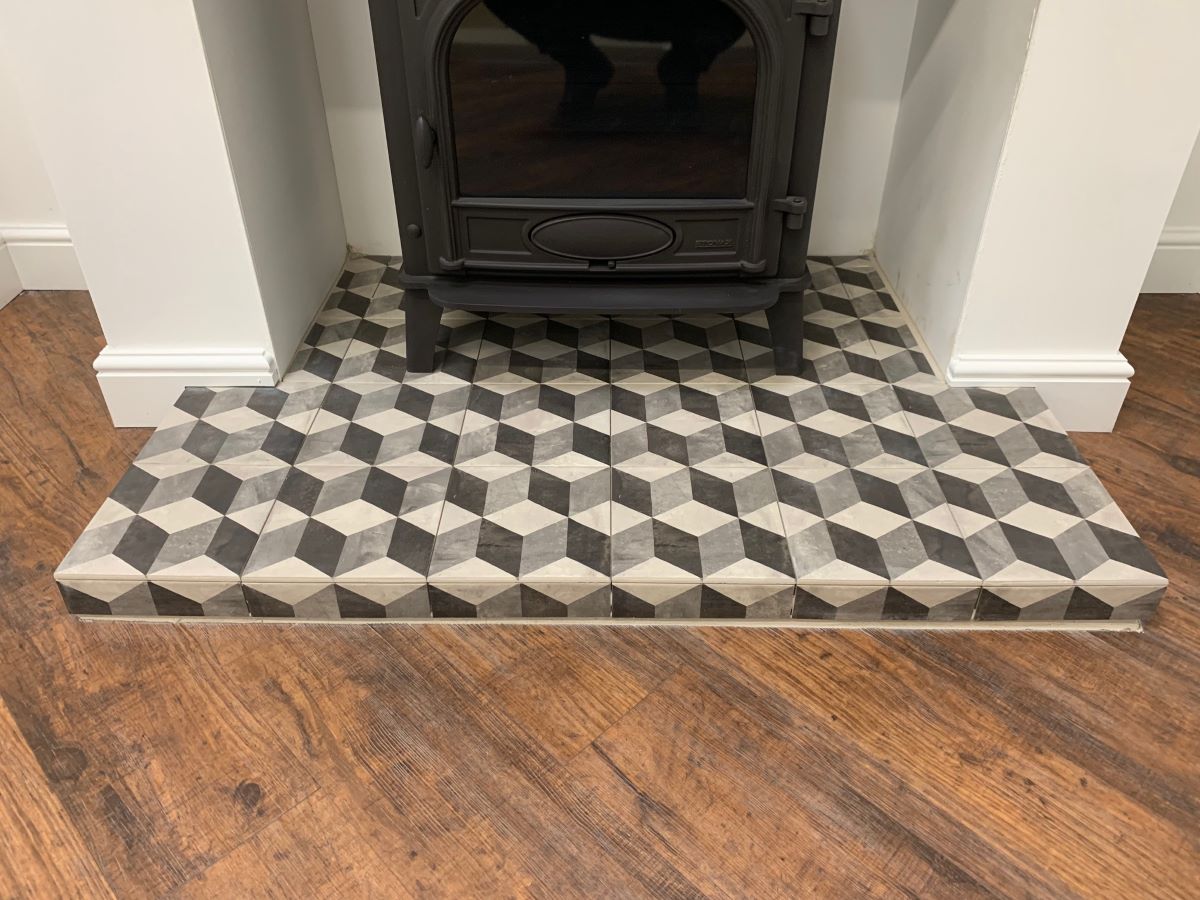
Step 5: Install the New Hearth
With the new hearth cut to size, it’s time to proceed with the installation. Follow these steps to properly install the new hearth:
- Clean the surface: Make sure the area where the new hearth will be installed is clean and free of any dust or debris. Use a damp cloth or sponge to wipe down the surface if needed.
- Apply adhesive or mortar: Depending on the type of material you are using for the new hearth, apply a layer of masonry adhesive or thin-set mortar to the back of the hearth piece. Spread it evenly using a notched trowel.
- Position the new hearth: Carefully place the new hearth into position, aligning it with the fireplace opening. Press it firmly onto the surface, ensuring it is level and snugly fitted.
- Check for levelness: Use a level to ensure that the new hearth is perfectly level. Make any necessary adjustments by tapping gently with a rubber mallet.
- Allow for curing time: Follow the manufacturer’s instructions for the adhesive or mortar you used. Allow the hearth to cure and set for the recommended amount of time before proceeding.
Taking the time to properly position and level the new hearth will ensure a secure and visually appealing installation. Allow sufficient curing time for the adhesive or mortar to ensure a strong bond. Once the new hearth is in place and has cured, you can move on to the final step of adding the finishing touches.
Step 6: Finishing Touches
With the new hearth installed, it’s time to add the finishing touches to complete the project. Follow these steps to give your fireplace hearth a polished and professional look:
- Fill in the gaps: Use grout or caulk to fill in the gaps between the new hearth and the surrounding tiles or flooring. Select a color that matches the existing grout or blends well with the hearth material.
- Smooth and clean the grout: Use a grout float or a putty knife to smooth out the grout lines. Wipe away any excess grout with a damp sponge while being careful not to disturb the freshly applied grout.
- Allow for drying time: Follow the manufacturer’s instructions for drying time of the grout. Avoid placing any weight or applying pressure on the hearth until the grout is fully dried and cured.
- Inspect the installation: Take a step back and carefully examine the installation. Look for any imperfections or areas that may require touch-ups. Make any necessary adjustments or repairs.
- Clean the hearth surface: Give the new hearth a thorough cleaning to remove any fingerprints, dust, or debris. Use a mild cleaning solution appropriate for the material of the hearth.
- Restore the surrounding area: Replace any furniture or decorations that were moved during the installation process. Remove the protective covering from the fireplace opening and clean up any remaining debris in the work area.
By focusing on these finishing touches, you can ensure that your fireplace hearth replacement project results in a beautiful and seamless integration. Take the time to inspect and clean the hearth to achieve a professional and polished appearance.
With the finishing touches complete, you can now enjoy your newly replaced fireplace hearth. Sit back, relax, and bask in the warmth and beauty of your updated fireplace.
Conclusion
Congratulations on successfully replacing your fireplace hearth! By following the steps outlined in this guide, you have transformed your fireplace and given it a fresh new look. Not only does a new hearth enhance the visual appeal of your living space, but it also ensures the safety and functionality of your fireplace.
Throughout this process, we discussed gathering the necessary tools and materials, preparing the work area, removing the old hearth, measuring and cutting the new hearth, installing the new hearth, and adding the finishing touches. Each step is crucial in achieving a seamless and professional installation.
Remember, safety should always remain a top priority. Ensure you wear the appropriate protective gear, work with caution, and follow the manufacturer’s instructions for any materials or tools used during the process.
Now that your fireplace hearth replacement is complete, take a moment to admire your handiwork and enjoy the refreshed look of your fireplace. Gather around the warmth and ambiance it provides during chilly evenings or social gatherings.
Should you ever need to replace your fireplace hearth again in the future, refer back to this guide as a handy reference. By following the steps outlined here, you can confidently undertake this project yourself and give your fireplace a stunning makeover.
Thank you for choosing this guide as your go-to resource for replacing a fireplace hearth. We hope it has been helpful and that you have enjoyed the process. Happy hearth replacement!
Frequently Asked Questions about How To Replace A Fireplace Hearth
Was this page helpful?
At Storables.com, we guarantee accurate and reliable information. Our content, validated by Expert Board Contributors, is crafted following stringent Editorial Policies. We're committed to providing you with well-researched, expert-backed insights for all your informational needs.


0 thoughts on “How To Replace A Fireplace Hearth”