Home>Articles>Why Is My Ge Refrigerator Water Dispenser Not Working
Articles
Why Is My Ge Refrigerator Water Dispenser Not Working
Modified: August 27, 2024
Discover common reasons and solutions for a non-functioning GE refrigerator water dispenser. Read our informative articles for troubleshooting tips and expert advice.
(Many of the links in this article redirect to a specific reviewed product. Your purchase of these products through affiliate links helps to generate commission for Storables.com, at no extra cost. Learn more)
Introduction
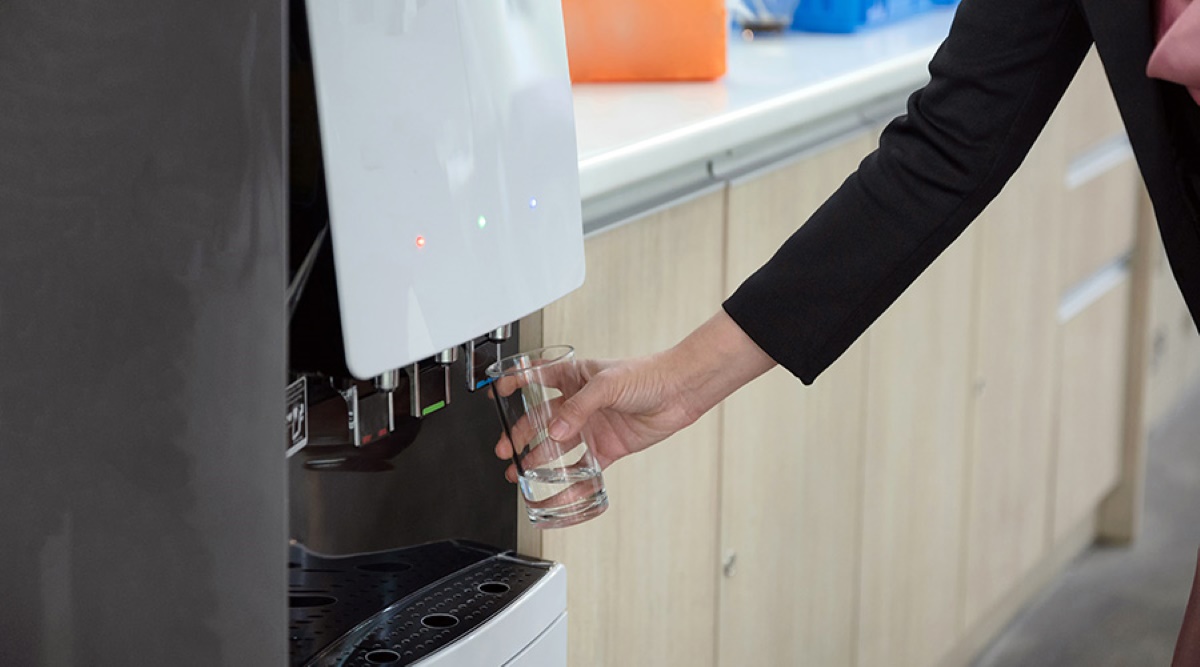
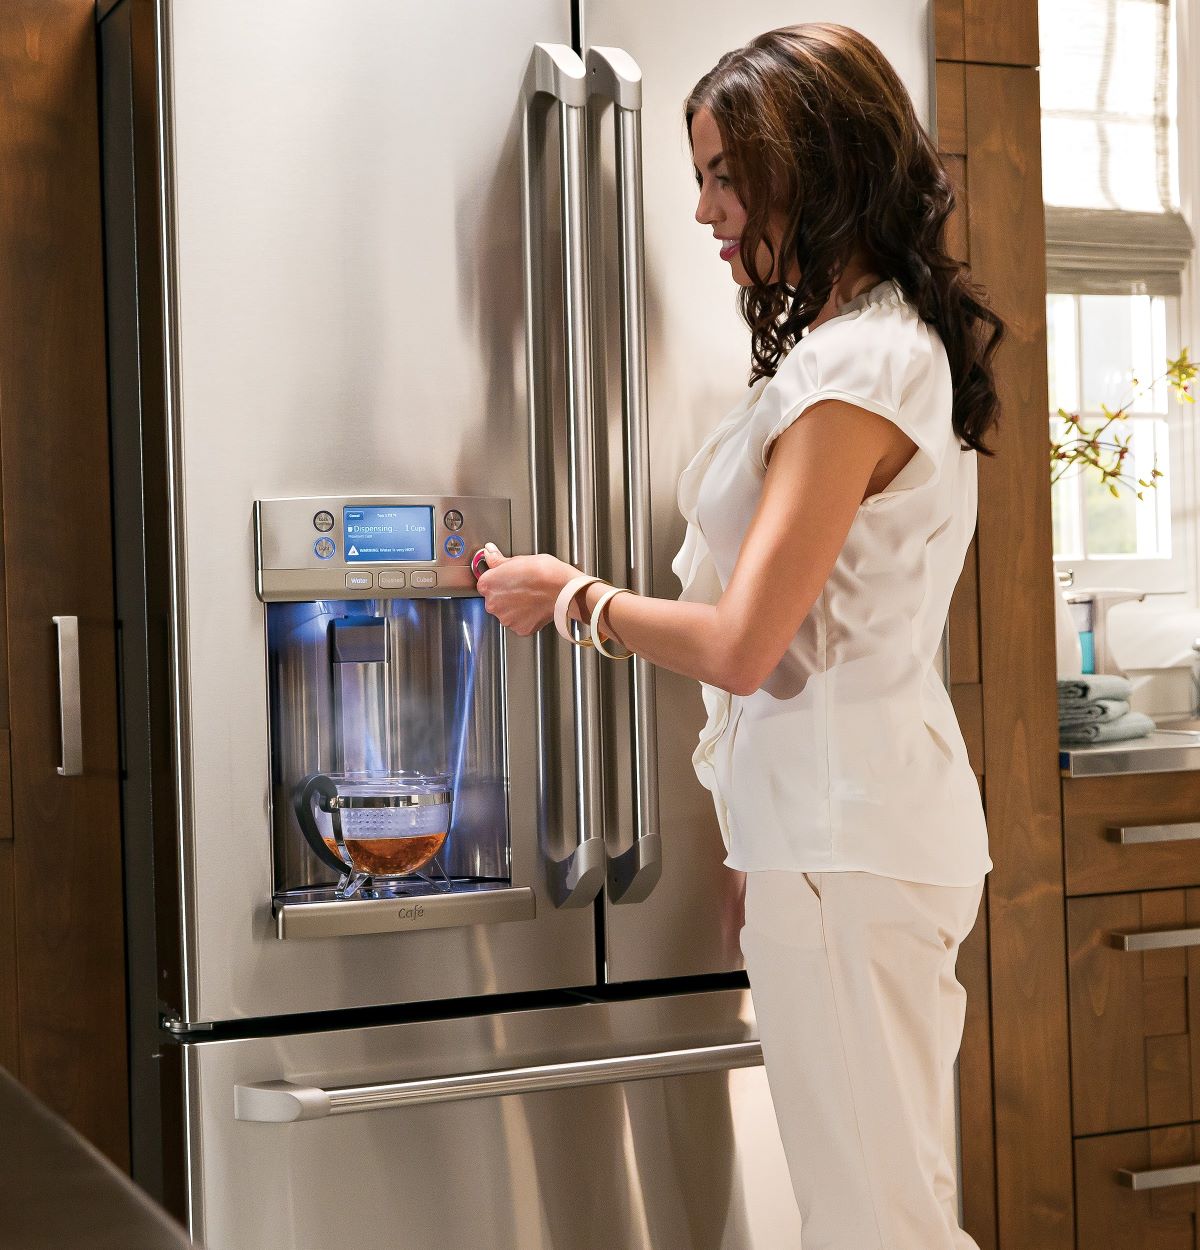
Having a refrigerator with a water dispenser is a convenient feature that allows you to easily access chilled water whenever you need it. However, sometimes you may encounter issues where the water dispenser on your GE refrigerator stops working. It can be frustrating when you’re expecting a refreshing glass of water, only to find that nothing comes out.
There can be various reasons why your GE refrigerator water dispenser is not working properly. It could be due to a malfunctioning water filter, frozen water lines, a faulty water inlet valve, or even a problem with the dispenser control board. In this article, we will explore these possible causes and provide troubleshooting steps to help you fix the issue.
Before diving into the troubleshooting, it’s important to note that each GE refrigerator model may have specific features and components, so make sure to consult your refrigerator’s manual for model-specific instructions. With that said, let’s explore the possible causes of a non-functioning GE refrigerator water dispenser.
Key Takeaways:
- Don’t let a non-functioning GE refrigerator water dispenser dampen your day. Troubleshoot common issues like frozen water lines and faulty inlet valves to enjoy refreshing water again.
- Regular maintenance, such as replacing water filters and inspecting water lines, can prevent future issues with your GE refrigerator water dispenser. Stay proactive to ensure continuous convenience.
Read more: Why Is My Hot Water Dispenser Not Working
Possible Causes of a Non-Functioning GE Refrigerator Water Dispenser
When your GE refrigerator water dispenser stops working, there can be several underlying causes. Understanding these possible issues will help you diagnose and fix the problem effectively. Here are some common reasons for a non-functioning water dispenser:
1. Water Filter Issues: The water filter in your GE refrigerator plays a crucial role in providing clean and fresh-tasting water. Over time, the filter can become clogged with impurities, reducing water flow. If you haven’t replaced the filter in a while, it may be time to do so. A dirty or expired filter can restrict water flow and lead to a malfunctioning water dispenser.
2. Frozen Water Lines: In cold climates or if the refrigerator’s temperature is set too low, the water lines leading to the dispenser can freeze. When this happens, the water flow is blocked, causing the dispenser to stop working. To resolve this issue, you can try defrosting the freezer or adjusting the temperature settings.
3. Faulty Water Inlet Valve: The water inlet valve controls the flow of water to the refrigerator. If this valve is defective or clogged with debris, it can prevent water from reaching the dispenser. A faulty water inlet valve may require replacement to restore proper functionality.
4. Dispenser Control Board Malfunction: The dispenser control board is responsible for regulating various functions of the water dispenser, including activating the water flow. If there is a malfunction or failure in the control board, it can lead to a non-functioning water dispenser. In such cases, professional repair or replacement of the control board may be necessary.
5. Faulty Dispenser Switch: The dispenser switch is the button or lever that you press to dispense water. If this switch becomes damaged or malfunctions, it can prevent the water dispenser from working. Inspect the dispenser switch for any visible signs of damage and replace if necessary.
6. Low Water Pressure: Insufficient water pressure can also cause a water dispenser to stop working. Low water pressure can occur due to various factors, such as clogged water supply lines, a faulty water pressure regulator, or issues with the main water supply. Check the water pressure in your home and ensure it meets the manufacturer’s recommended specifications.
7. Defective Water Dispenser Motor: The water dispenser motor is responsible for activating the mechanism that releases water. If the motor is faulty or worn out, it won’t be able to generate the necessary force to push the water through the dispenser. In such cases, professional repair or replacement of the motor may be needed.
These are some common causes of a non-functioning GE refrigerator water dispenser. By identifying the underlying issue, you can proceed with the appropriate troubleshooting steps to resolve the problem. In the next section, we will discuss the troubleshooting steps to help you fix a GE refrigerator water dispenser.
Water Filter Issues
A common cause of a non-functioning GE refrigerator water dispenser is related to water filter issues. The water filter plays a crucial role in removing impurities and ensuring that you have clean, fresh-tasting water. However, over time, the filter can become clogged with sediment and debris, restricting water flow and causing the dispenser to stop working.
To address water filter issues, follow these steps:
1. Locate the water filter compartment: The exact location of the water filter compartment may vary depending on your GE refrigerator model. Refer to your refrigerator’s manual to find the specific location.
2. Remove the water filter: Once you’ve located the compartment, carefully remove the old water filter. Some models may have a twist-off or push-button mechanism for removal, while others may require a wrench or tool.
3. Replace with a new water filter: Obtain a compatible replacement water filter for your GE refrigerator. It is important to use a genuine GE water filter or a recommended compatible filter to ensure optimal performance. Follow the manufacturer’s instructions for installation, ensuring a secure and proper fit.
4. Flush the new water filter: After installing the new filter, it is recommended to flush it to remove any air or loose carbon particles. Run water through the dispenser for a few minutes or until the water runs clear.
5. Reset the filter indicator light: Some GE refrigerators have a filter indicator light that alerts you when it’s time to replace the filter. After replacing the filter, reset the indicator light by holding down the appropriate button or following the instructions in your refrigerator’s manual.
6. Test the water dispenser: Once the new filter is installed and the indicator light is reset, test the water dispenser to ensure it is functioning properly. If the water flow is restored, congratulations! You have successfully resolved the water filter issue.
If replacing the water filter doesn’t resolve the problem, there may be another underlying cause for the non-functioning water dispenser. In the next section, we will explore other potential culprits and provide troubleshooting steps to get your GE refrigerator water dispenser back in working order.
Frozen Water Lines
Another potential cause of a non-functioning GE refrigerator water dispenser is frozen water lines. If the temperature inside the refrigerator or freezer is set too low or if you live in a cold climate, the water lines leading to the dispenser can freeze, causing a blockage and preventing water from flowing.
To address frozen water lines, follow these steps:
1. Check the temperature settings: Make sure the temperature settings in your refrigerator and freezer are properly calibrated. Refer to your refrigerator’s manual for the recommended temperature range. Adjust the settings if necessary.
2. Defrost the freezer: If you suspect frozen water lines, the next step is to defrost the freezer. Turn off the refrigerator and unplug it from the power source. Remove all food items from the freezer and place them in a cooler to keep them frozen. Leave the freezer door open to allow the ice to melt.
3. Use a hairdryer or warm towel: To speed up the defrosting process, you can use a hairdryer on a low heat setting or place a warm towel on the frozen water lines. Be cautious and avoid direct contact with water to prevent electrical hazards.
4. Monitor the defrosting progress: As the ice melts, monitor the progress and check the water lines for any signs of blockage. Gently clear away any remaining ice or debris using a soft cloth or cotton swab. Do not use sharp objects or excessive force to prevent damage to the water lines.
5. Restart the refrigerator: Once the water lines are thawed and clear of any obstructions, plug in the refrigerator and turn it back on. Allow it to reach the desired temperature before testing the water dispenser.
6. Test the water dispenser: Once the refrigerator has cooled down, test the water dispenser to see if the issue is resolved. If water flows smoothly from the dispenser, then the frozen water lines were likely the cause of the problem.
If the water dispenser remains non-functional after addressing frozen water lines, there may be another underlying issue. In the next section, we will explore additional potential causes and provide troubleshooting steps to help you resolve the problem.
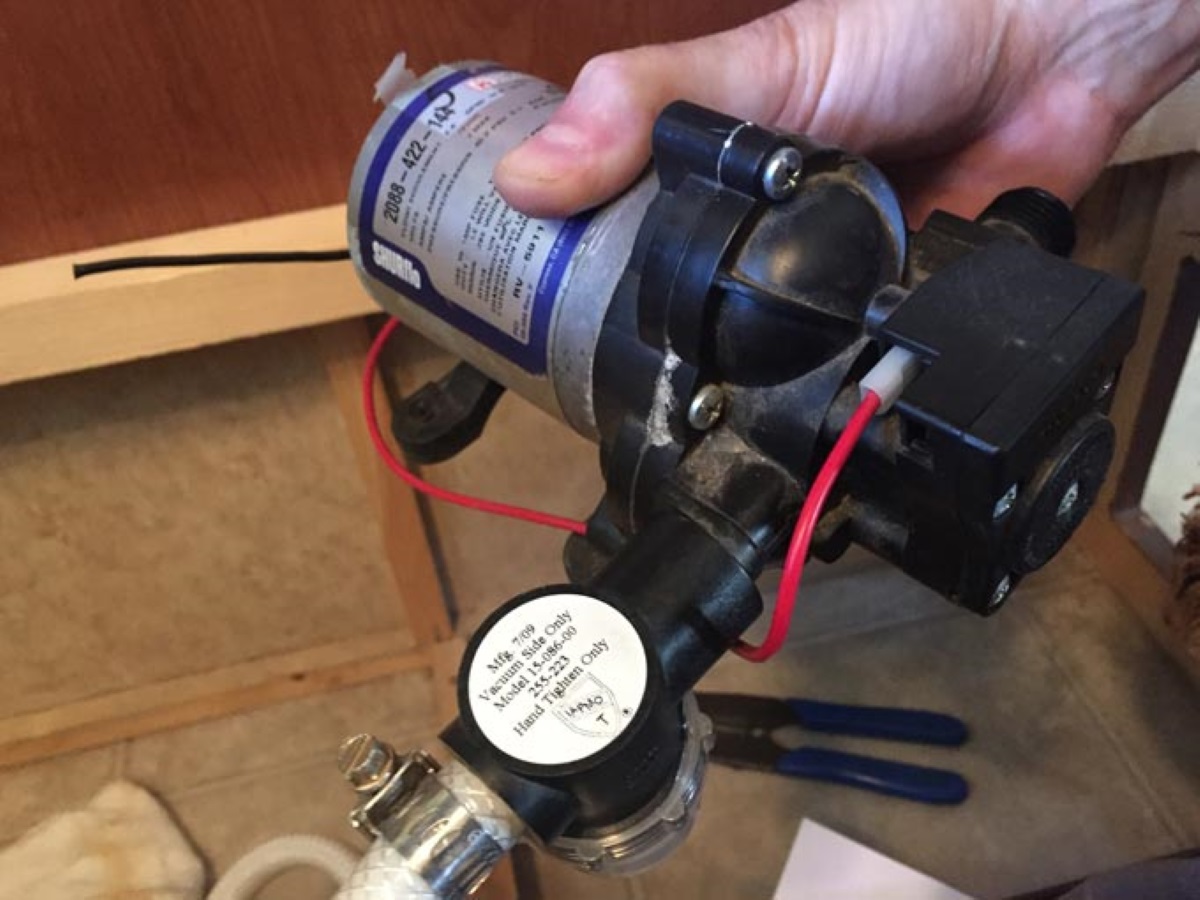
Faulty Water Inlet Valve
A faulty water inlet valve is another potential reason why your GE refrigerator water dispenser is not working. The water inlet valve is responsible for controlling the flow of water from the main supply to the refrigerator and dispenser. If this valve is defective or clogged with debris, it can restrict or block the water flow, causing the dispenser to malfunction.
To address a faulty water inlet valve, follow these steps:
1. Locate the water inlet valve: The water inlet valve is usually located at the back of the refrigerator, near the bottom. It is connected to the water supply line.
2. Turn off the water supply: To safely work on the water inlet valve, it is important to shut off the water supply. Locate the water shut-off valve behind the refrigerator or at the main water supply for your home and turn it off.
3. Check for blockages: Inspect the water inlet valve for any visible signs of blockages or debris. Clean the valve using a soft brush or cloth to remove any build-up that may be causing the restriction.
4. Test the valve with a multimeter: If cleaning the valve doesn’t resolve the issue, you can test its functionality using a multimeter. Set the multimeter to the resistance or continuity mode and place the probes on the corresponding terminals of the valve. If there is no continuity or the valve’s resistance is outside the acceptable range, it indicates a faulty valve that needs to be replaced.
5. Replace the water inlet valve: If the valve is found to be defective, you will need to replace it. Consult your refrigerator’s manual or contact a professional appliance repair technician for guidance on obtaining the correct replacement valve and installing it properly.
6. Test the water dispenser: Once the new water inlet valve is installed, turn the water supply back on and test the water dispenser. If water flows freely from the dispenser, the faulty water inlet valve was the likely cause of the issue.
If replacing the water inlet valve does not resolve the problem with your GE refrigerator water dispenser, there might be another underlying cause. In the next section, we will explore additional potential issues and provide troubleshooting steps to help you fix the non-functioning water dispenser.
Read more: Why Is My Primo Water Dispenser Not Working
Dispenser Control Board Malfunction
A malfunctioning dispenser control board can be the culprit behind a non-functioning GE refrigerator water dispenser. The dispenser control board is responsible for regulating various functions of the water dispenser, including activating the water flow. If there is a malfunction or failure in the control board, it can lead to a non-functioning water dispenser.
To address a dispenser control board malfunction, follow these steps:
1. Unplug the refrigerator: Before working on any electrical components, always unplug the refrigerator from the power source to ensure your safety.
2. Locate the control board: The dispenser control board is typically located behind the front display panel or inside the dispenser housing. Refer to your refrigerator’s manual to find the specific location.
3. Inspect for visible damage: Visually inspect the control board for any visible signs of damage, such as burned or broken components. If you notice any obvious issues, the control board may need to be replaced.
4. Reset the control board: Sometimes, a simple reset can fix minor glitches in the control board. Locate the reset button on the control board or refer to your refrigerator’s manual for the exact procedure. Press the reset button and hold it for a few seconds to reset the control board.
5. Test the water dispenser: Once the control board has been reset, plug the refrigerator back in and test the water dispenser. If the control board was the cause of the issue, the water dispenser should start working again.
6. Consult a professional: If resetting the control board doesn’t resolve the problem, it’s advisable to consult a professional appliance repair technician. They will have the specialized knowledge and equipment to diagnose and fix more complex issues with the dispenser control board.
Replacing the dispenser control board is a complex task that involves working with electrical components. It’s best to seek professional help to ensure it is done safely and correctly.
By addressing a malfunctioning dispenser control board, you can improve the functionality of your GE refrigerator water dispenser. However, if the water dispenser still doesn’t work after troubleshooting the control board, there may be another underlying issue. In the next section, we will explore additional potential causes and provide troubleshooting steps to help you fix the problem.
Check the water supply line for any kinks or blockages. Also, make sure the water filter is not clogged and needs to be replaced.
Faulty Dispenser Switch
If you’ve checked the previous potential causes and your GE refrigerator water dispenser still isn’t working, it’s time to examine the dispenser switch. The dispenser switch is the button or lever that you press to activate the water flow. If this switch becomes damaged or malfunctions, it can prevent the water dispenser from working.
To address a faulty dispenser switch, follow these steps:
1. Locate the dispenser switch: The dispenser switch is typically located behind the front panel of the dispenser. Refer to your refrigerator’s manual to find the specific location.
2. Inspect for visible damage: Visually inspect the dispenser switch for any visible signs of damage or wear. Check for loose connections or broken parts. If you notice any issues with the switch, it may need to be replaced.
3. Disconnect the power supply: Before working on any electrical components, always disconnect the power supply to ensure your safety. Unplug the refrigerator from the power source or switch off the circuit breaker.
4. Remove and replace the faulty switch: Depending on your refrigerator model, removing the dispenser switch may differ. Follow the instructions in your refrigerator’s manual or consult a professional technician if needed. Once removed, replace the faulty switch with a compatible replacement part, ensuring proper alignment and connections.
5. Reconnect the power supply: Once the new dispenser switch is installed, reconnect the power supply to the refrigerator and switch it on.
6. Test the water dispenser: After the power is restored, test the water dispenser to see if it’s now functioning properly. If the water flows smoothly from the dispenser, the faulty dispenser switch was likely the cause of the issue.
If replacing the dispenser switch doesn’t resolve the problem with your GE refrigerator water dispenser, there may be another underlying cause. In the next section, we will explore additional potential issues and provide troubleshooting steps to help you fix the non-functioning water dispenser.
Low Water Pressure
Low water pressure can also be a potential cause for a non-functioning GE refrigerator water dispenser. Insufficient water pressure can prevent the dispenser from getting an adequate flow of water, resulting in a weak or non-existent stream of water.
To address low water pressure, follow these steps:
1. Check other water sources: Start by checking other water sources in your home, such as faucets or showers. If all the water sources have low pressure, the issue may be with your main water supply. In such cases, contact your water utility provider to inquire about any ongoing issues or maintenance.
2. Inspect the water supply line: Locate the water supply line connected to your refrigerator and inspect it for any kinks, bends, or possible blockages. Make sure the supply line is free from any obstructions that could restrict water flow.
3. Adjust the water shut-off valve: The water shut-off valve controls the water flow to the refrigerator. Ensure that the valve is fully open to allow maximum water flow. Sometimes, the valve can become partially closed, leading to low water pressure. Turn the valve counterclockwise to open it fully.
4. Check for clogged water filters: If your refrigerator has a water filter, it’s important to check if it is clogged. A clogged filter can restrict water flow and cause low pressure. Follow the steps outlined in the “Water Filter Issues” section to replace the filter if necessary.
5. Consider using a pressure regulator: If your home has high water pressure, it can cause issues with the refrigerator’s water dispenser. Install a pressure regulator to regulate the water pressure and prevent it from exceeding the recommended levels.
6. Consult a plumber: If the above steps do not resolve the low water pressure issue, it may be best to consult a professional plumber. They can inspect your plumbing system, identify any underlying issues, and recommend appropriate solutions to improve water pressure.
By addressing low water pressure, you can ensure a steady and adequate flow of water to your GE refrigerator water dispenser. However, if the low water pressure persists or if there are no issues with the water pressure in your home, there may be another underlying cause for the non-functioning water dispenser. In the next section, we will explore additional potential causes and provide troubleshooting steps to help you fix the problem.
Defective Water Dispenser Motor
A defective water dispenser motor can cause a GE refrigerator water dispenser to stop working. The water dispenser motor is responsible for activating the mechanism that releases water when you press the dispenser lever or button. If the motor is faulty or worn out, it may not generate the necessary force to push the water through the dispenser, resulting in a non-functioning water dispenser.
To address a defective water dispenser motor, follow these steps:
1. Unplug the refrigerator: Before working on any electrical components, always unplug the refrigerator from the power source to ensure your safety.
2. Locate the water dispenser motor: The water dispenser motor is typically located behind the dispenser panel or inside the dispenser housing. Refer to your refrigerator’s manual to find the specific location.
3. Inspect for visible damage: Visually inspect the water dispenser motor for any visible signs of damage or wear. Check for loose connections, broken parts, or excessive dirt or debris. If you notice any issues with the motor, it may need to be replaced.
4. Test the motor with a multimeter: If the motor appears to be intact, you can test its functionality using a multimeter. Set the multimeter to the resistance mode and place the probes on the corresponding terminals of the motor. If there is no continuity or the motor’s resistance is outside the acceptable range, it indicates a faulty motor that needs to be replaced.
5. Replace the water dispenser motor: If the water dispenser motor is found to be defective, you will need to replace it. Consult your refrigerator’s manual or contact a professional technician for guidance on obtaining the correct replacement motor and installing it properly.
6. Reassemble and test: Once the new water dispenser motor is installed, reassemble the dispenser panel or housing. Plug the refrigerator back in and test the water dispenser to ensure the motor is functioning correctly and the water flows smoothly.
If replacing the water dispenser motor doesn’t resolve the problem with your GE refrigerator water dispenser, there may be another underlying issue. In such cases, it is recommended to consult a professional appliance repair technician for further diagnosis and assistance.
By addressing a defective water dispenser motor, you can restore the proper functionality of your GE refrigerator water dispenser and enjoy a refreshing glass of water whenever you need it.
Read more: Why Is Water Dispenser On Fridge Not Working
Troubleshooting Steps to Fix a GE Refrigerator Water Dispenser
If your GE refrigerator water dispenser is not working, you can follow these troubleshooting steps to help identify and fix the issue:
1. Check for power supply: Ensure that the refrigerator is properly plugged into a functioning power outlet. If the refrigerator is not receiving power, the water dispenser will not work. Check the circuit breaker and reset if necessary.
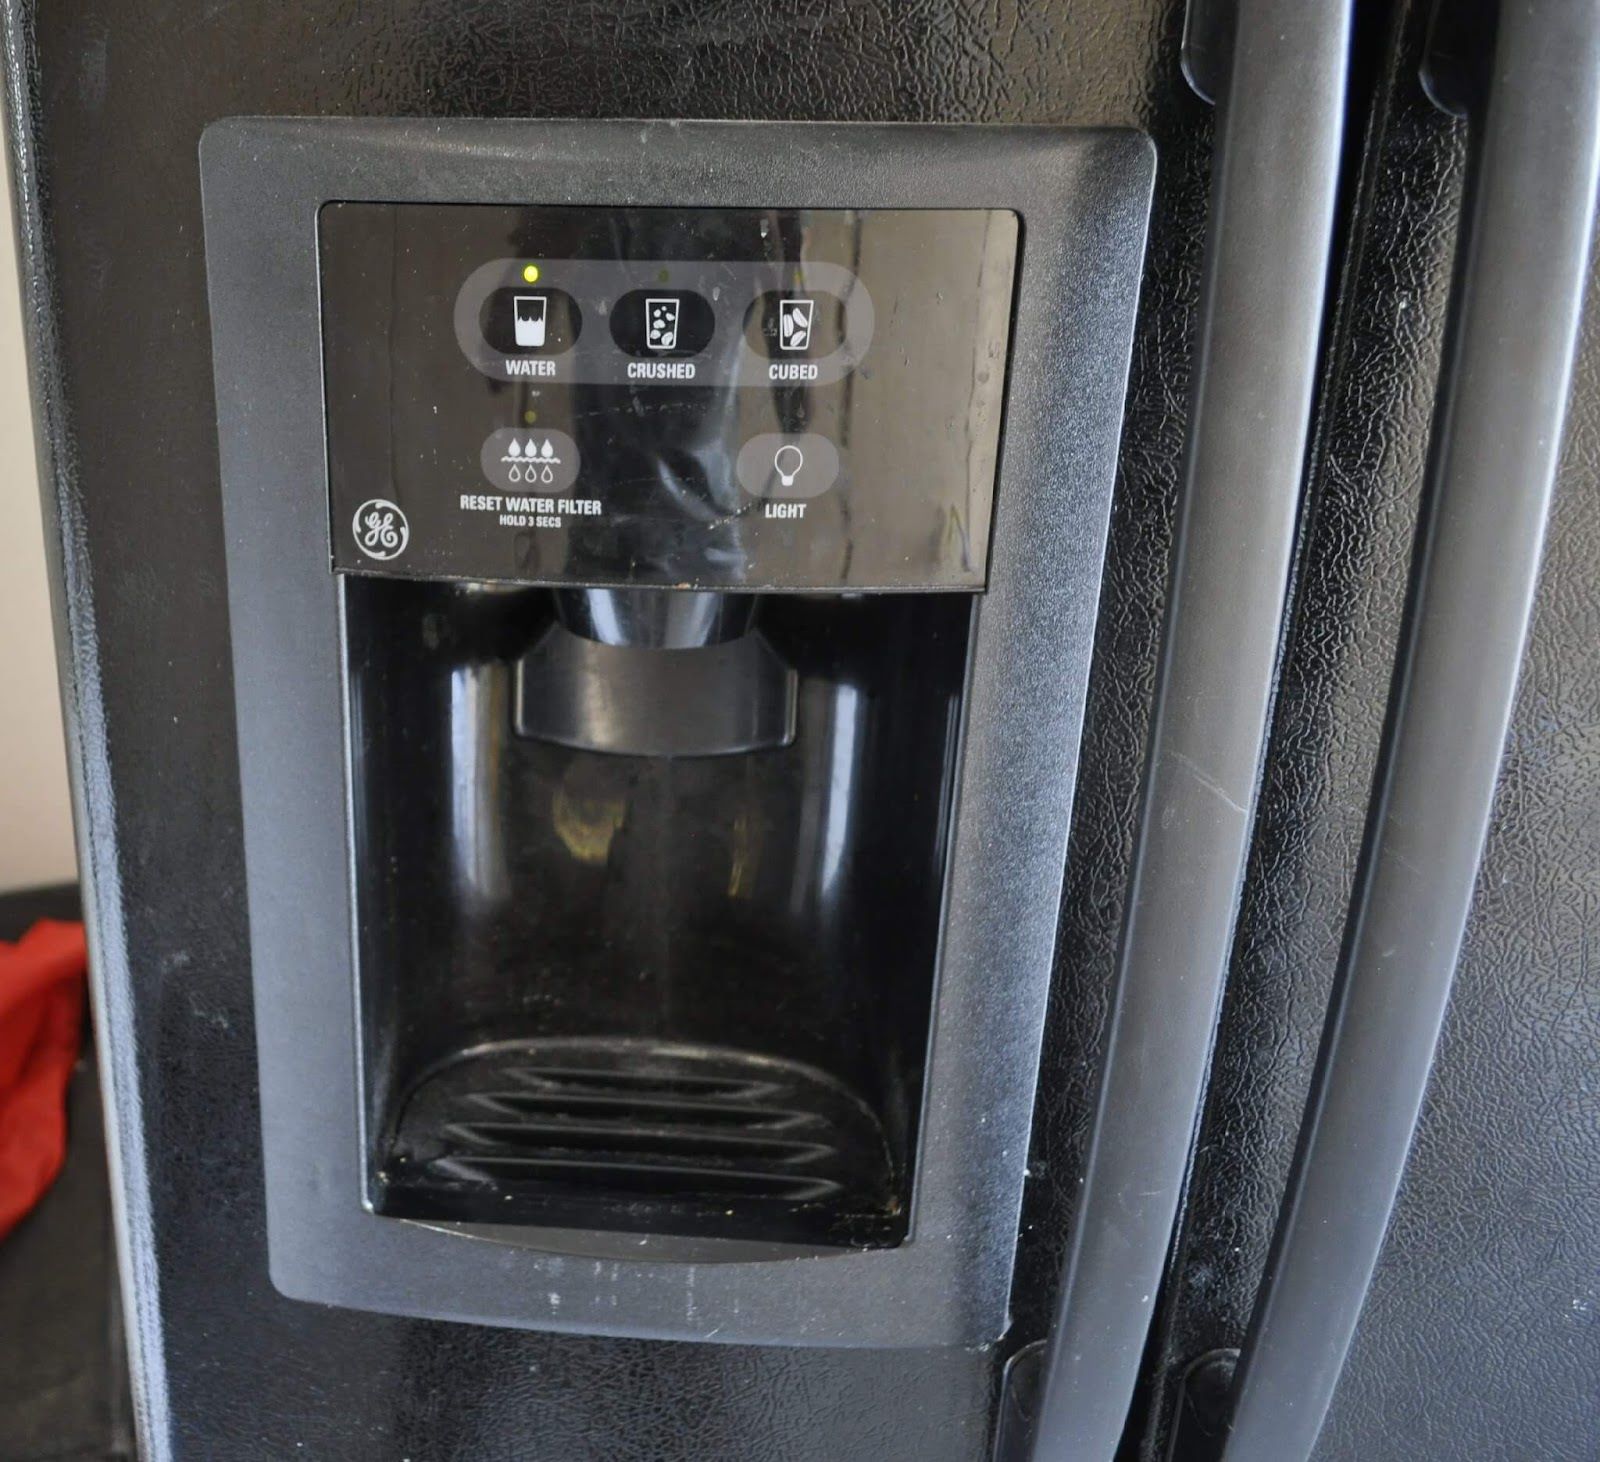
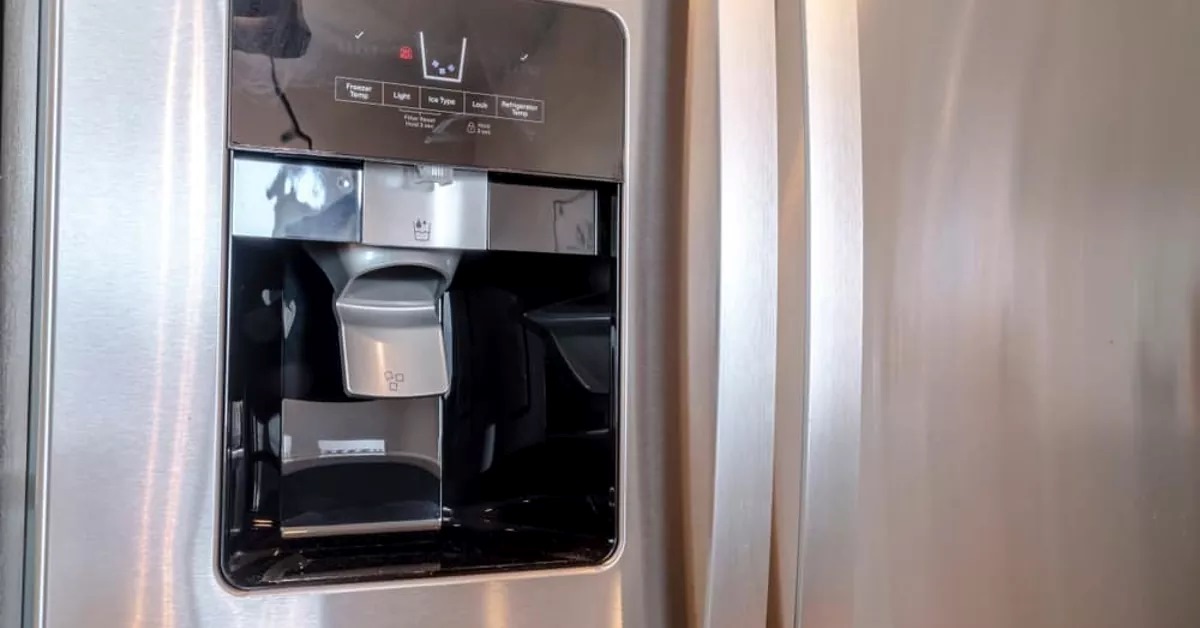
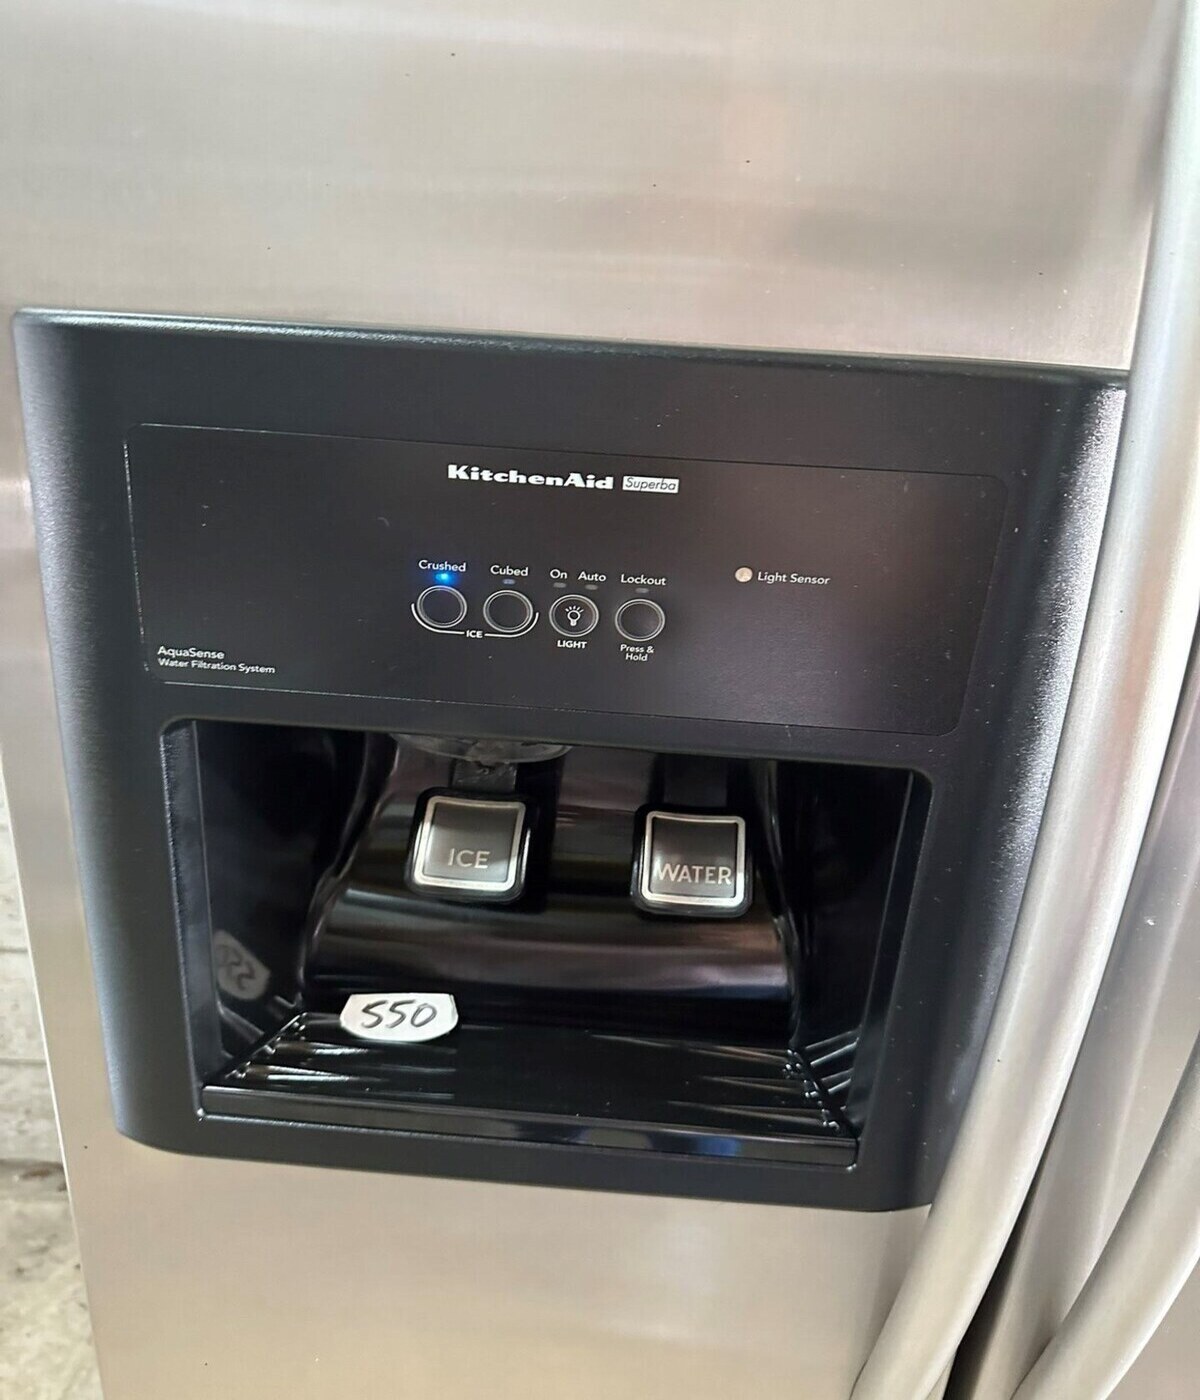
2. Verify the dispenser lock: Some GE refrigerators have a dispenser lock feature that prevents accidental dispensing. Make sure the dispenser lock is not engaged. Refer to your refrigerator’s manual to locate the dispenser lock button or switch and ensure it is in the unlocked position.
3. Inspect the dispenser control panel: Examine the control panel for any error codes or warning lights. If you see any indicators, consult your refrigerator’s manual for troubleshooting steps specific to the error code or contact GE customer support for assistance.
4. Clean the dispenser nozzle: Over time, the dispenser nozzle can become clogged with mineral deposits or debris, hindering water flow. Use a soft cloth or sponge to clean the nozzle and remove any blockages that may be affecting water dispensing.
5. Clear the water lines: If the water dispenser is sputtering or the flow is intermittent, there may be air trapped in the lines. To clear the lines, dispense water for a few minutes to purge any air pockets. It may take a couple of attempts to completely remove the air.
6. Check the water supply line: Ensure that the water supply line is firmly connected to the refrigerator and the water source. Check for any kinks or twists that may be restricting water flow. Straighten any kinks or replace the line if necessary.
7. Inspect the inlet valve screen: The water inlet valve has a small screen or filter that can become clogged with debris. Turn off the water supply and disconnect the water line. Remove the screen and clean it thoroughly. Reinstall the screen and reconnect the water line.
8. Defrost the freezer (if applicable): If you suspect frozen water lines, follow the steps outlined in the “2. Frozen Water Lines” section to defrost the freezer and clear any ice blockages.
9. Replace the water filter: If the water filter is dirty or expired, it can restrict water flow. Follow the steps outlined in the “1. Water Filter Issues” section to replace the water filter with a new one.
10. Consult a professional technician: If you’ve exhausted all the troubleshooting steps and the water dispenser still does not work, it’s recommended to seek the assistance of a qualified appliance repair technician. They can diagnose and repair any complex issues with your GE refrigerator water dispenser.
By following these troubleshooting steps, you can often identify and resolve common issues with your GE refrigerator water dispenser. Remember to consult your refrigerator’s manual for model-specific instructions and always prioritize safety when troubleshooting or working with electrical components.
Conclusion
A non-functioning water dispenser on your GE refrigerator can be frustrating, but with the right troubleshooting steps, you can often identify and fix the problem. We’ve explored several common causes of a non-functioning GE refrigerator water dispenser, including water filter issues, frozen water lines, faulty water inlet valves, dispenser control board malfunctions, faulty dispenser switches, low water pressure, and defective water dispenser motors.
By following the appropriate troubleshooting steps for each potential cause, you can address the issue and restore the functionality of your water dispenser. It is important to refer to your refrigerator’s manual for model-specific instructions and safety precautions.
Remember to start with the simplest solutions, such as checking the power supply and dispenser lock, and then gradually progress to more complex troubleshooting steps, depending on the symptoms and issues you encounter.
If you are uncomfortable or unsure about performing any of the troubleshooting steps, it’s always a good idea to contact a professional technician who specializes in appliance repair. They have the expertise and tools to diagnose and fix the specific issue with your GE refrigerator water dispenser efficiently and accurately.
Regular maintenance, such as replacing water filters as recommended and inspecting water lines for any obstructions, can also help prevent future issues and ensure the proper functioning of your water dispenser.
Having a fully functioning water dispenser on your GE refrigerator can greatly enhance your convenience and enjoyment. By understanding the possible causes of a non-functioning water dispenser and following the troubleshooting steps outlined in this article, you can resolve the issue and continue to enjoy refreshing, chilled water at your convenience – all with the reliability and quality that GE appliances are known for.
Frequently Asked Questions about Why Is My Ge Refrigerator Water Dispenser Not Working
Was this page helpful?
At Storables.com, we guarantee accurate and reliable information. Our content, validated by Expert Board Contributors, is crafted following stringent Editorial Policies. We're committed to providing you with well-researched, expert-backed insights for all your informational needs.


0 thoughts on “Why Is My Ge Refrigerator Water Dispenser Not Working”