Articles
How To Repair Water Dispenser Tap
Modified: August 24, 2024
Learn how to repair your water dispenser tap with our informative articles. Fixing common issues and troubleshooting tips to get your dispenser working again.
(Many of the links in this article redirect to a specific reviewed product. Your purchase of these products through affiliate links helps to generate commission for Storables.com, at no extra cost. Learn more)
Introduction
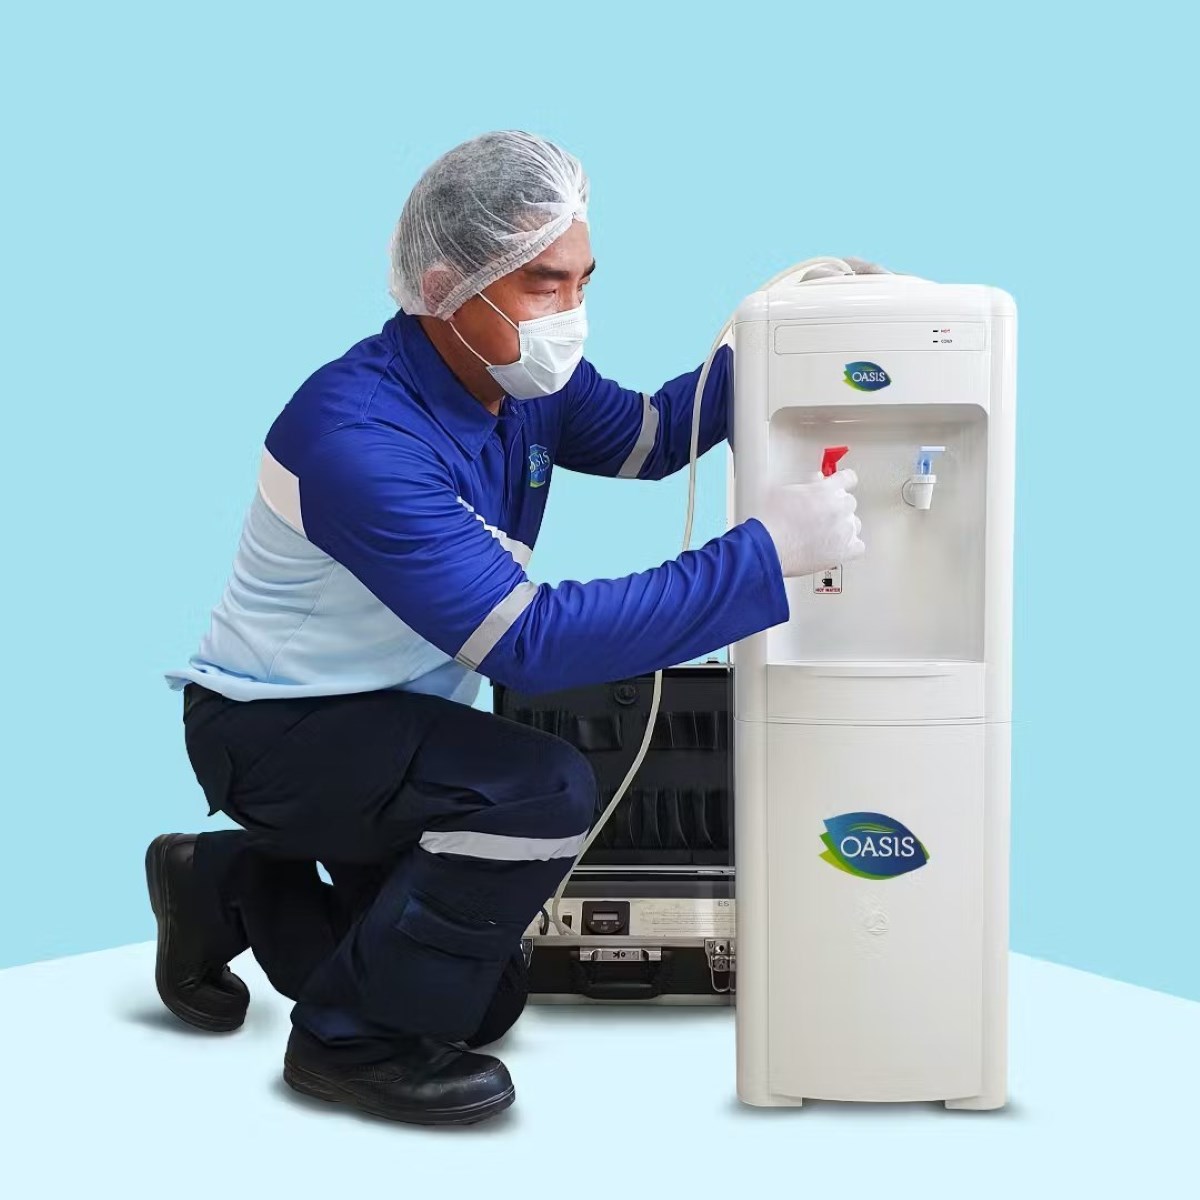
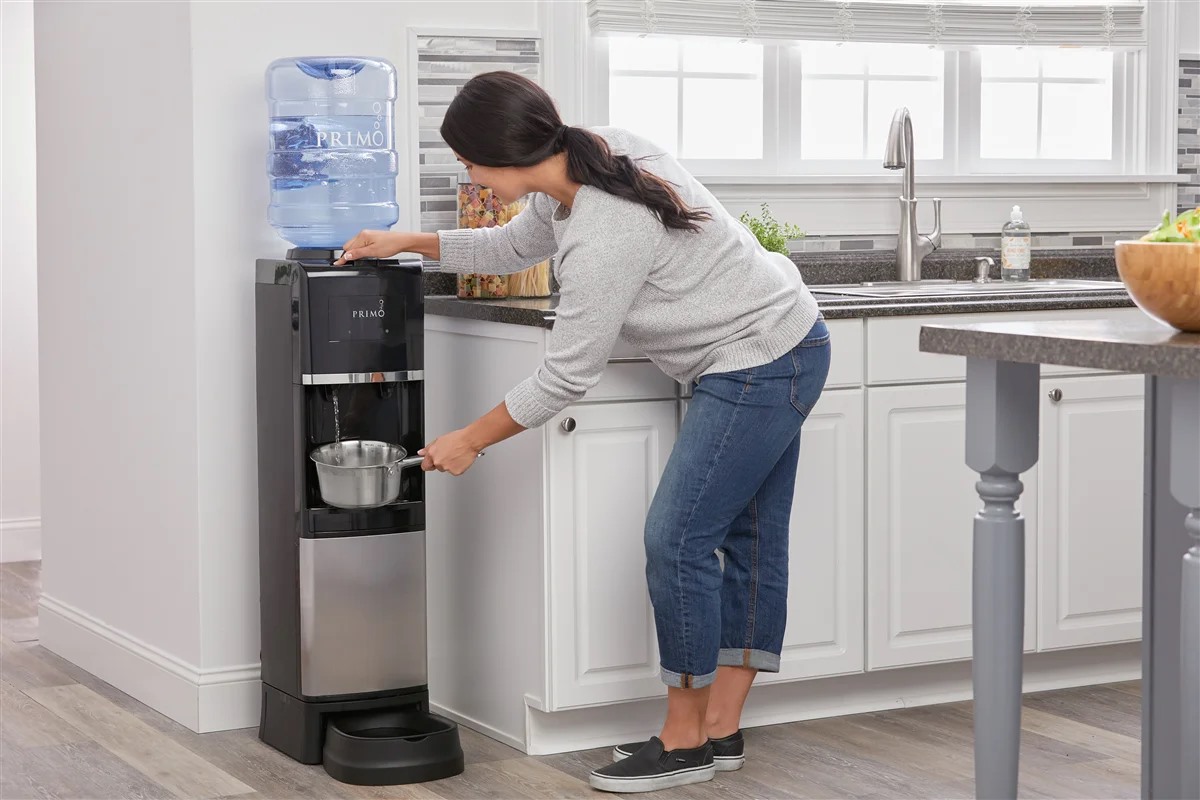
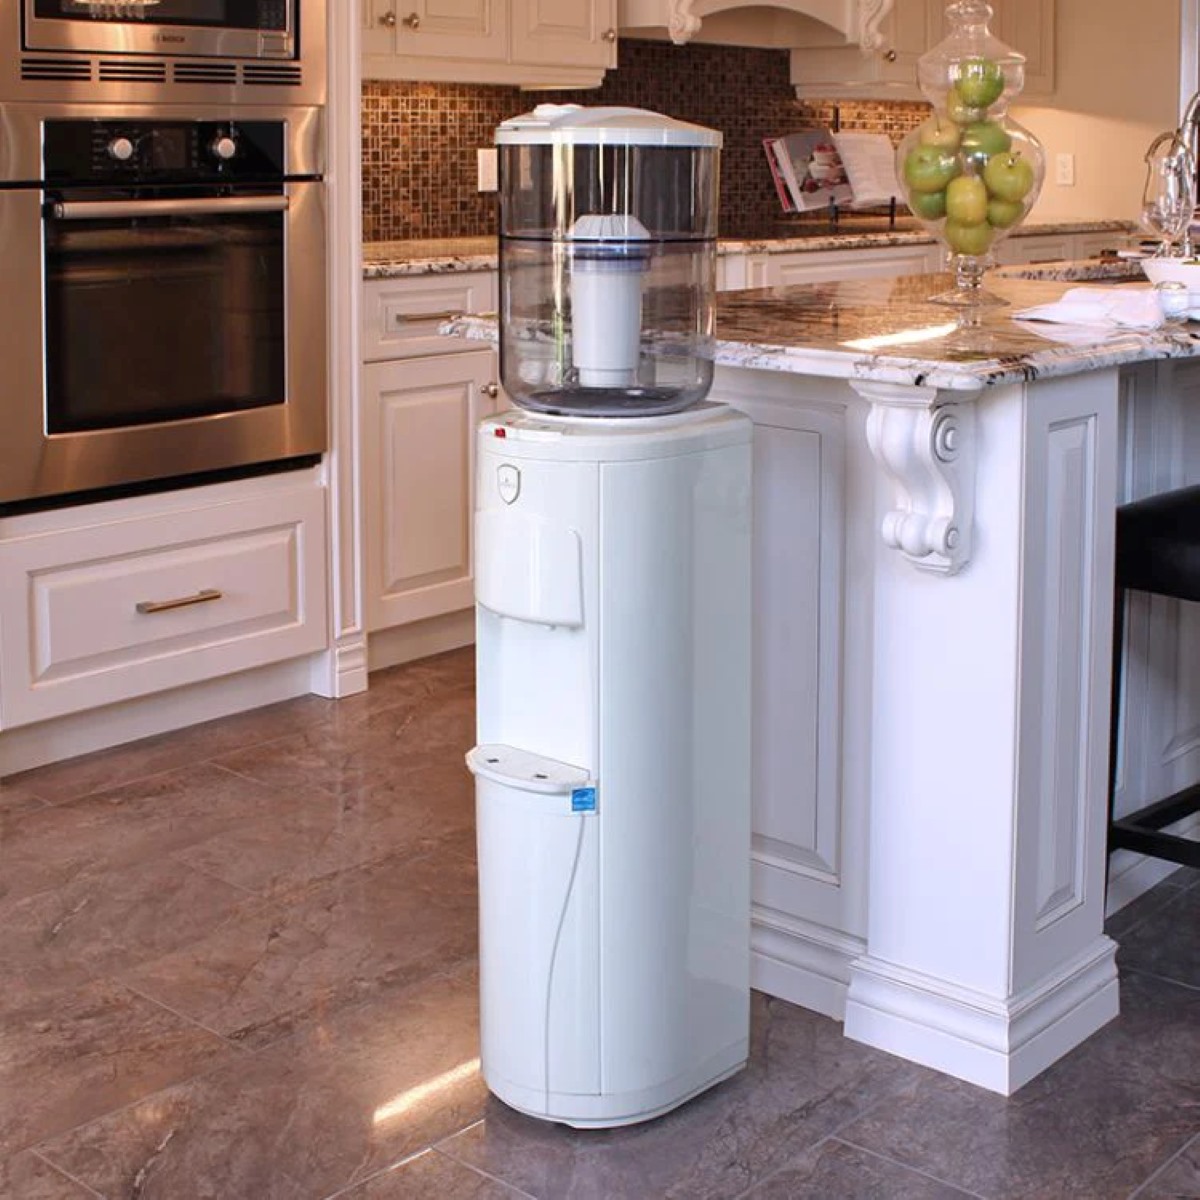
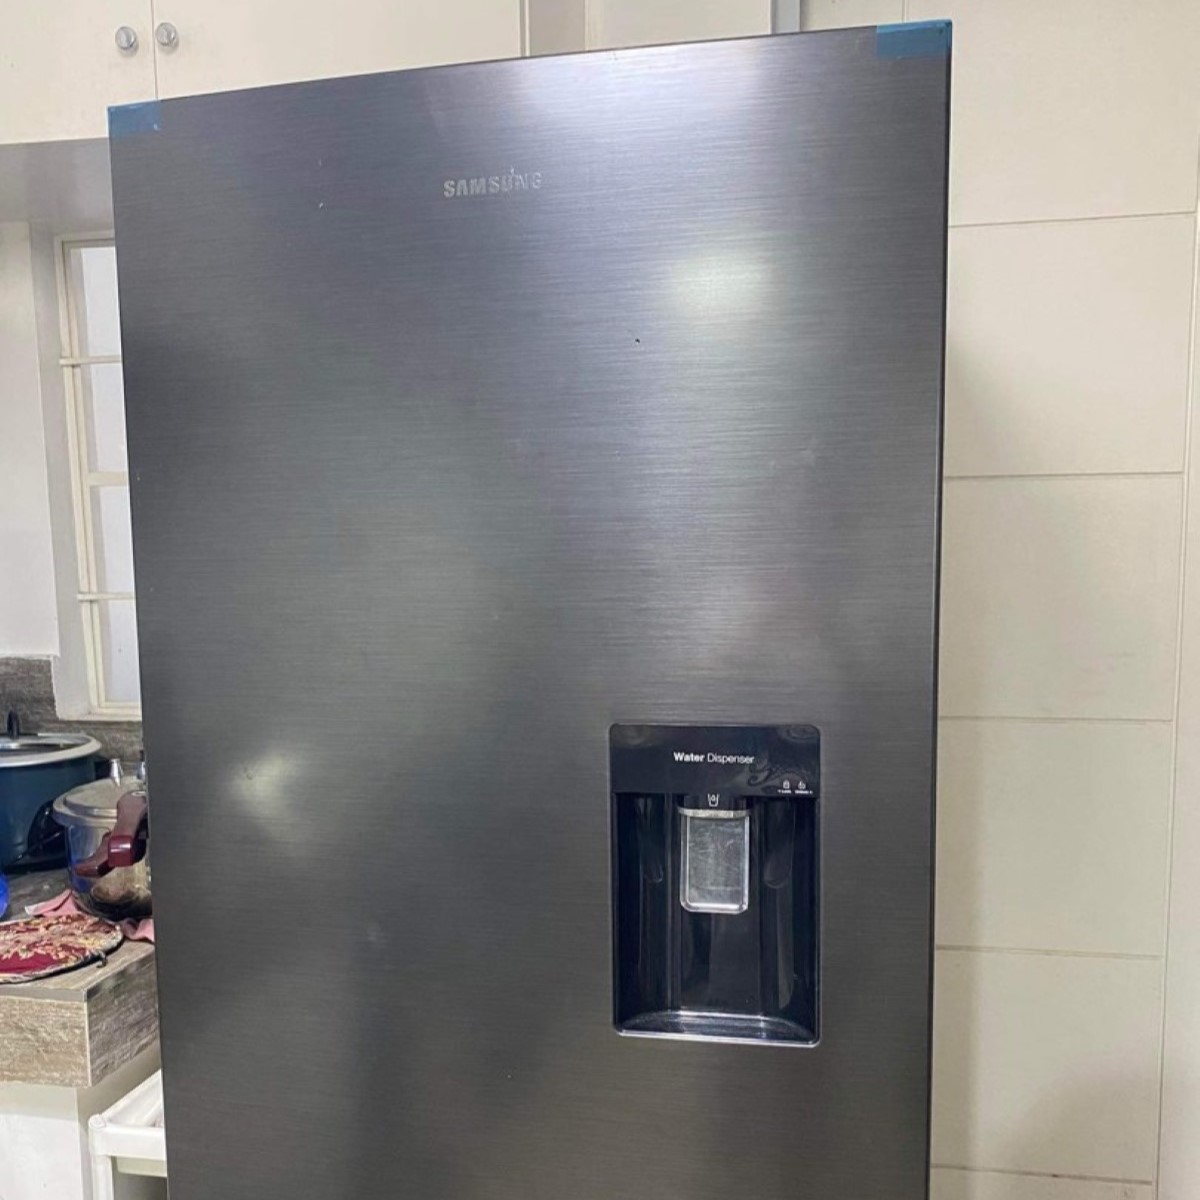
Water dispensers are a convenient and efficient way to access clean drinking water. However, over time, the tap on a water dispenser may start to leak or become damaged, affecting its functionality. It’s important to address these issues promptly to avoid water wastage and to ensure that your dispenser continues to work effectively.
In this article, we will guide you through the process of repairing a water dispenser tap. Whether you are a DIY enthusiast or have little experience with plumbing repairs, this step-by-step guide will help you fix the tap and have your water dispenser working like new.
Before we begin, it’s important to note that different models of water dispensers may have slight variations in their designs. It’s always a good idea to refer to the manufacturer’s instructions specific to your dispenser. Additionally, make sure to check if your dispenser is still under warranty. If it is, contacting the manufacturer or a professional technician might be the best course of action.
Now, let’s gather the necessary tools and materials before we dive into the repair process.
Key Takeaways:
- Easily repair your water dispenser tap with simple tools and materials, saving money and reducing water waste. Follow the step-by-step guide for a convenient and efficient fix.
- Prioritize safety and precision when repairing your water dispenser tap. With the right tools and careful attention to detail, you can restore functionality and enjoy clean drinking water hassle-free.
Read more: What Is A Water Dispenser
Tools and Materials Needed
Before you begin repairing the water dispenser tap, ensure that you have the following tools and materials on hand:
- Adjustable wrench
- Phillips screwdriver
- Replacement tap
- Teflon tape
- Clean cloth
- Bowl or bucket
Having these tools and materials ready will make the repair process smoother and more efficient. The adjustable wrench will help you remove and tighten any nuts or connections, while the Phillips screwdriver will enable you to remove screws and disassemble the tap. The clean cloth will come in handy for wiping away any water or debris during the repair process.
The replacement tap is a crucial component for fixing the water dispenser tap. It’s important to choose a tap that is compatible with your specific model and brand of water dispenser. Refer to the manufacturer’s instructions or consult a professional if you are unsure about the correct replacement tap.
Teflon tape, also known as plumber’s tape, is used to create a watertight seal when reconnecting the water line. This will prevent any leakage or drips once the repair is complete. Make sure to have enough Teflon tape to wrap around the threaded connections of the tap.
Lastly, have a bowl or bucket nearby to catch any water that may spill during the repair process. This will help prevent any mess and make the cleanup process easier.
Now that you have all the necessary tools and materials, it’s time to start the repair process. Follow the step-by-step instructions below to repair the water dispenser tap.
Step 1: Turn off the Water Supply
The first step in repairing a water dispenser tap is to turn off the water supply. This is essential to prevent any water leakage or potential damage during the repair process. Follow the steps below to turn off the water supply:
- Locate the water shut-off valve. This is usually located on the wall behind or below the water dispenser.
- Turn the valve clockwise to shut off the water supply. You may need to use an adjustable wrench if the valve is tight.
- Once the valve is closed, turn on the dispenser’s tap to release any remaining water in the system. This will help reduce the amount of water that may spill during the repair.
It’s important to ensure that the water supply is completely turned off before proceeding to the next steps. This will prevent any accidents or unnecessary water damage as you work on the tap.
With the water supply turned off, you can now move on to the next step: removing the handle of the water dispenser tap.
Step 2: Remove the Handle
Once the water supply is turned off, the next step is to remove the handle of the water dispenser tap. This will allow you to access the inner components and continue with the repair process. Follow the steps below to remove the handle:
- Inspect the handle for any visible screws or fasteners. These are typically located at the base of the handle or on the sides.
- Using a Phillips screwdriver, carefully remove any screws or fasteners that hold the handle in place. Place the screws in a safe location to avoid losing them.
- With the screws removed, gently lift the handle away from the tap mechanism. Take note of the handle’s orientation as it will need to be reinstalled in the same position later.
Some water dispensers may have a decorative cover or cap that conceals the screws. If this is the case, use a small flat-head screwdriver to carefully pry off the cover and reveal the underlying screws.
Once the handle is removed, set it aside in a secure location. This will prevent it from getting misplaced or damaged during the rest of the repair process.
Now that the handle is out of the way, you can proceed to the next step: disconnecting the water line.
Step 3: Disconnect the Water Line
After removing the handle, the next step in repairing a water dispenser tap is to disconnect the water line. This will allow you to access the faulty tap and replace it with a new one. Follow the steps below to disconnect the water line:
- Locate the water line connection underneath the tap. This is usually a threaded nut or connector.
- Using an adjustable wrench, carefully loosen the nut in a counterclockwise direction. Take care not to overtighten or force it, as this could cause damage to the water line connection.
- Continue loosening the nut until it comes free. Keep a towel or cloth handy to catch any water that may spill when the connection is loosened.
- Once the nut is loose, gently pull the water line away from the tap. It may require a bit of wiggling or twisting to fully detach.
Ensure that the water line is completely disconnected before proceeding to the next step. This will prevent any accidental spills or leaks as you replace the tap.
Set the disconnected water line aside and inspect it for any signs of damage or wear. If the water line appears to be in good condition, it can be reused with the new tap. However, if it is worn or damaged, it’s recommended to replace it with a new water line for optimal functionality.
With the water line disconnected, you’re now ready to move on to the next step: replacing the tap.
Check the water dispenser tap for any clogs or mineral buildup. Use a vinegar solution to clean and unclog the tap, then run water through it to ensure it’s working properly.
Read more: How To Store Tap Water Long Term
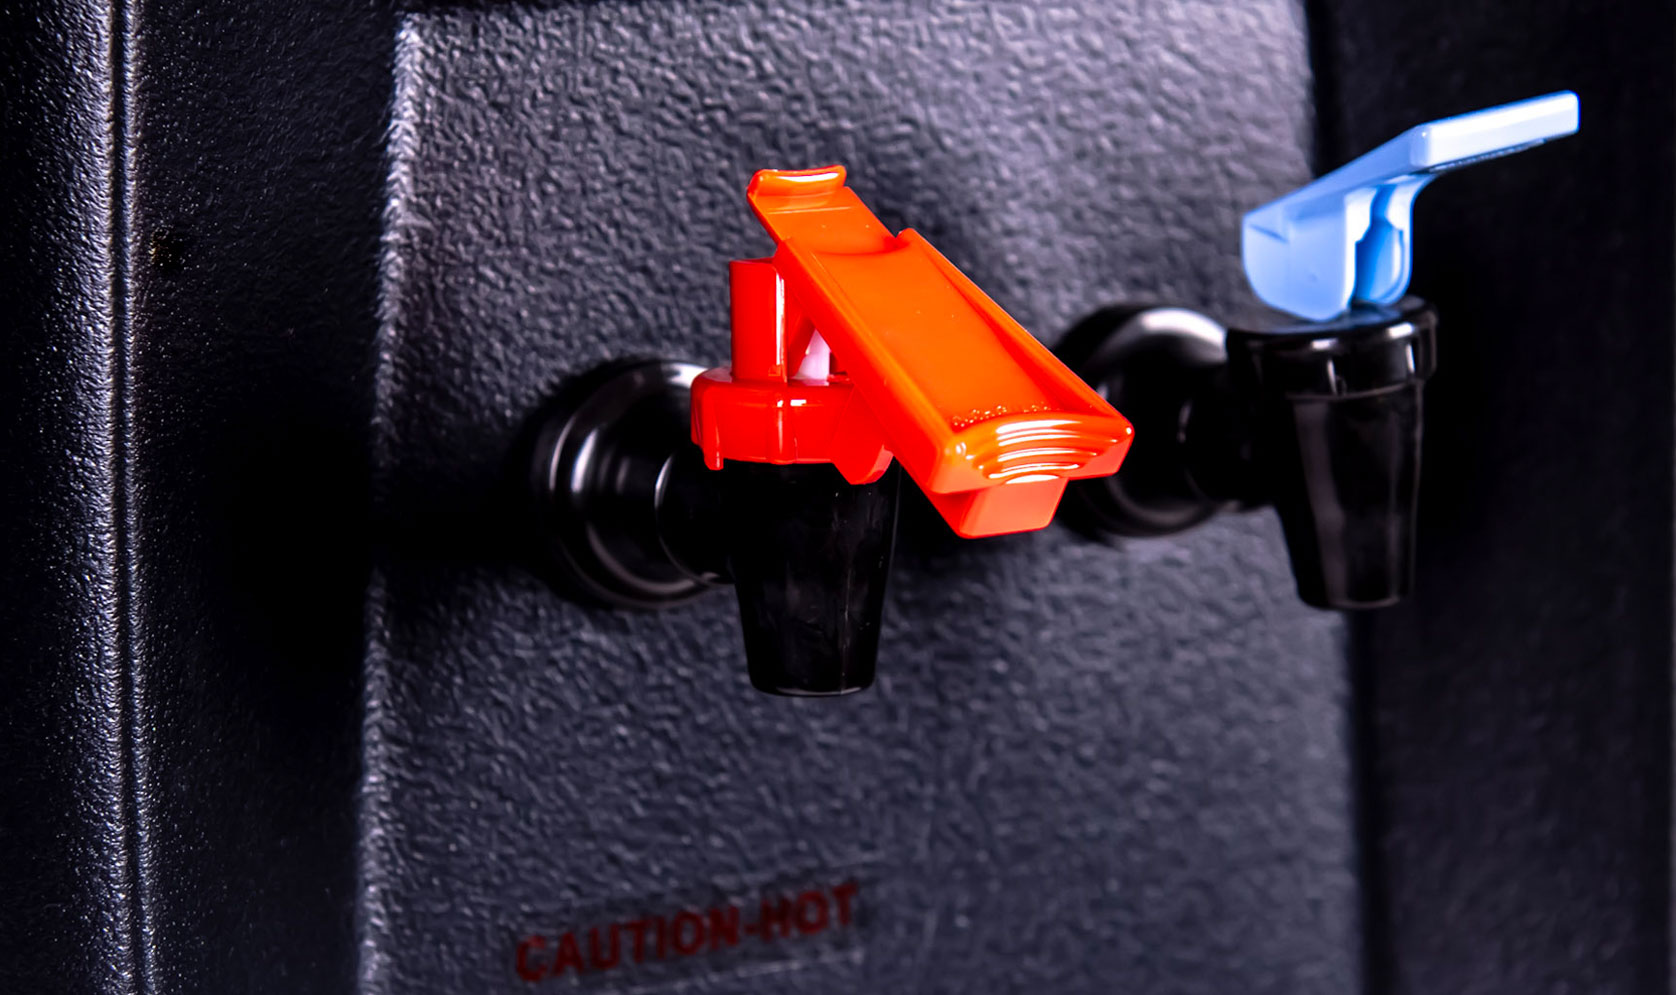
Step 4: Replace the Tap
Now that the water line is disconnected, it’s time to replace the tap on your water dispenser. Follow the steps below to successfully install the new tap:
- Take the new tap and remove any protective covers or packaging. Inspect it to ensure it matches the specifications of your water dispenser model.
- Apply a few wraps of Teflon tape on the threaded end of the tap. This will create a secure and watertight seal when it is connected.
- Align the threaded end of the tap with the opening where the previous tap was removed.
- Using your hand, carefully twist the new tap clockwise to start threading it onto the water line connection. Once it is hand-tight, use an adjustable wrench to gently tighten it further. Be cautious not to overtighten, as it could damage the connections.
- Ensure that the tap is securely attached and straight. Double-check that the threaded end is properly aligned with the opening.
With the new tap installed, you have successfully replaced the faulty tap on your water dispenser. The next step is to reconnect the water line.
Step 5: Reconnect the Water Line
Now that the new tap is securely installed, it’s time to reconnect the water line to complete the repair process. Follow the steps below to reconnect the water line:
- Take the water line that was previously disconnected and inspect it for any debris or damage. If needed, clean the ends of the water line before reconnecting.
- Align the threaded end of the water line with the corresponding opening on the new tap.
- Gently push the water line into the opening, ensuring it goes in all the way.
- Once the water line is in place, use an adjustable wrench to tighten the threaded nut in a clockwise direction. Be careful not to overtighten, as it could cause damage to the water line or the tap.
- Make sure the connection is secure and there are no visible leaks.
Once you have successfully reconnected the water line, ensure that all connections are tight and there are no signs of leakage. This will help prevent any water wastage or damage when you use the water dispenser.
With the water line reconnected, it’s time to move on to the final step: testing the water dispenser tap.
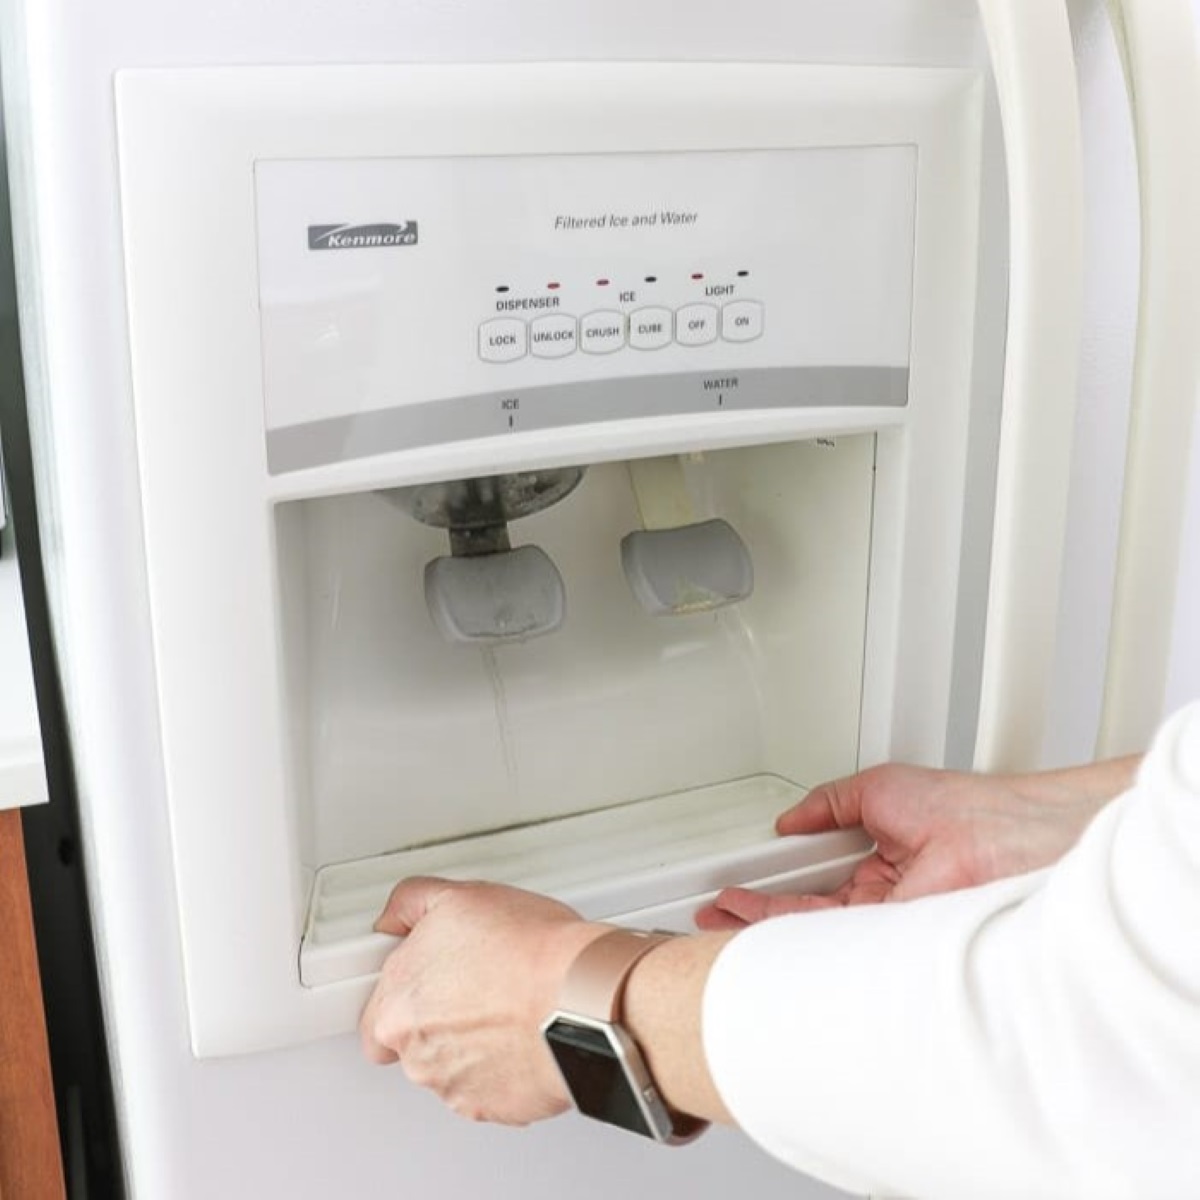
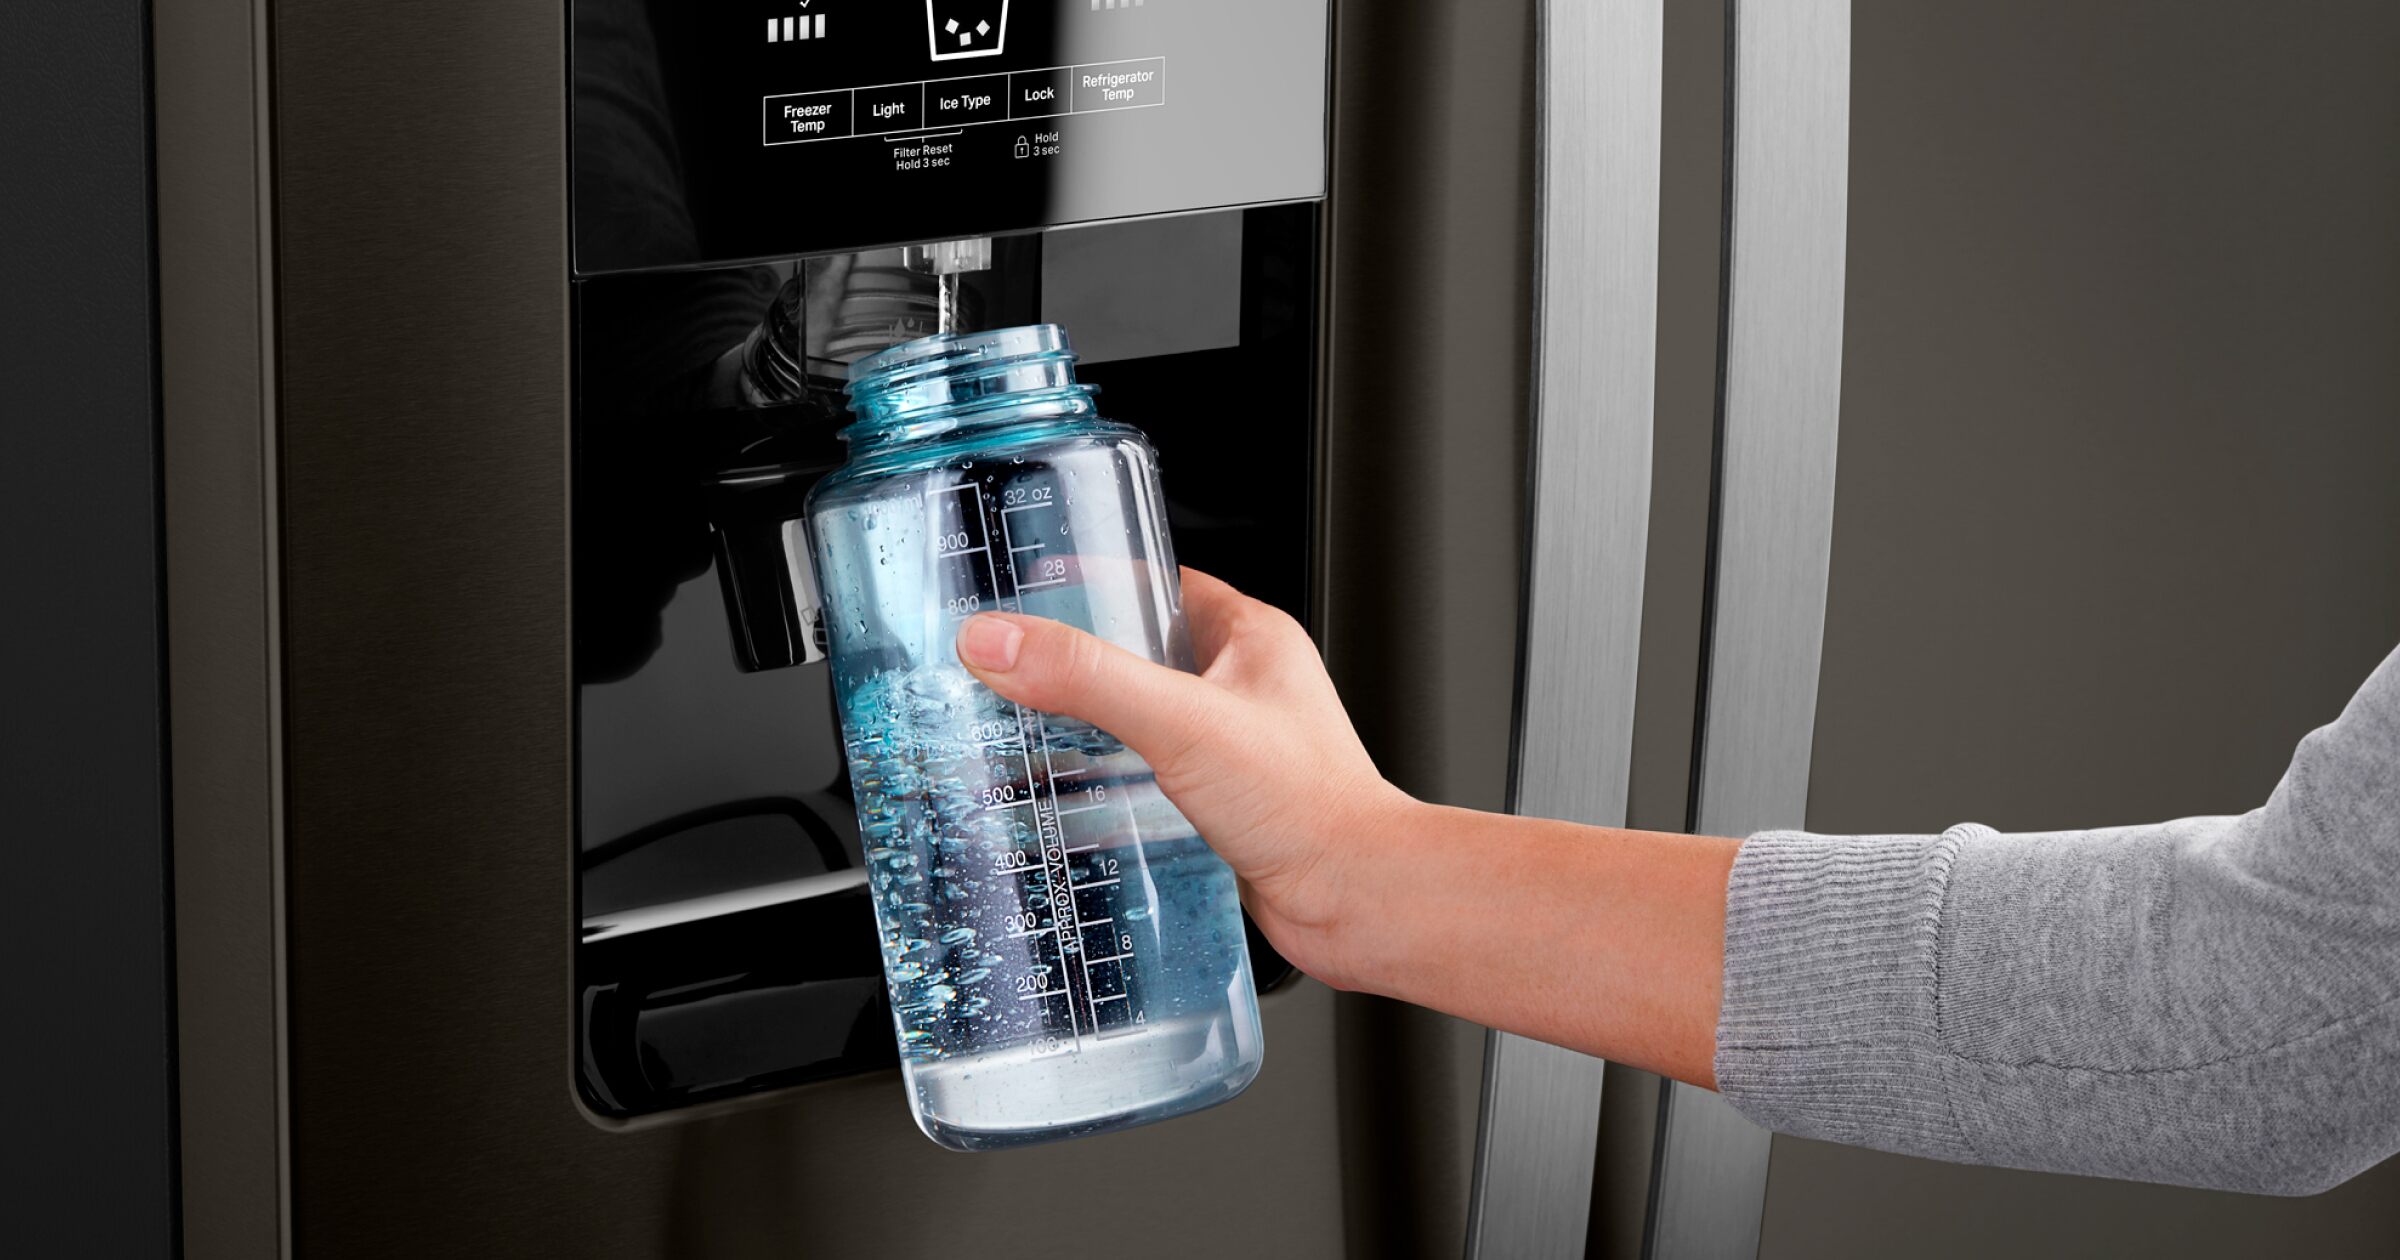
Step 6: Test the Water Dispenser Tap
Now that the repair is complete and the water line is securely connected, it’s time to test the water dispenser tap to ensure it is functioning properly. Follow the steps below to test the tap:
- Turn on the water supply by opening the shut-off valve. Ensure that water is flowing to the dispenser.
- Place a clean container, such as a glass or bowl, under the tap to catch any water that may come out during the testing process.
- With the container in place, turn on the tap and observe the flow of water. Ensure that water is coming out smoothly and there are no leaks or drips around the tap or its connections.
- Test both the hot and cold water functions, if applicable, to ensure they are working correctly.
- Check for any unusual noises or vibrations that may indicate a problem. If you notice anything out of the ordinary, double-check the connections and tighten them as needed.
If you have successfully completed the repair, the water dispenser tap should be working properly, providing a steady stream of water without any leaks or issues.
If you encounter any problems during the testing process, such as leaks or improper water flow, it may be necessary to retrace your steps and double-check the connections or consult a professional for further assistance.
Once you are satisfied with the performance of the water dispenser tap, congratulations! You have successfully repaired your water dispenser and can now enjoy its benefits.
Conclusion
Repairing a water dispenser tap doesn’t have to be a daunting task. By following the step-by-step guide outlined in this article, you can easily replace a faulty tap and restore the functionality of your water dispenser.
Throughout the repair process, it’s important to prioritize safety and precision. Remember to turn off the water supply before starting the repair, and handle the components with care to avoid any damage or accidents. Take your time to ensure that each step is completed correctly and that all connections are secure.
Having the right tools and materials on hand, such as an adjustable wrench, Phillips screwdriver, replacement tap, Teflon tape, and a clean cloth, will make the repair process smoother and more efficient.
Once you have successfully replaced the tap and reconnected the water line, be sure to test the water dispenser tap to ensure proper functionality. Check for any leaks, unusual noises, or vibrations and make any necessary adjustments. With a working tap, you can enjoy access to clean drinking water conveniently.
If you are unsure or uncomfortable with performing the repair yourself, it’s always best to seek professional assistance. Manufacturers’ instructions specific to your water dispenser and consulting a professional technician can provide additional guidance and ensure a successful repair.
Remember, regular maintenance and inspections of your water dispenser can help prevent issues from occurring in the first place. Keep an eye out for any signs of wear or damage and address them promptly to avoid more extensive repairs.
By taking the time to repair your water dispenser tap, you not only save money, but also contribute to reducing water waste and promote a more sustainable lifestyle.
So go ahead, follow the steps outlined in this article, and fix that leaky tap on your water dispenser. Your refreshing glass of water will be just a few steps away!
Now that you've got your water dispenser tap working smoothly, why not give your kitchen appliances some TLC? If your Kitchenaid dishwasher could use a bit of sprucing up, our guide on essential replacement parts for the upcoming year is just what you need. From enhancing performance to ensuring longevity, these key components will keep your appliance in top form. Don't miss out on making your dishwasher as efficient as possible!
Frequently Asked Questions about How To Repair Water Dispenser Tap
Was this page helpful?
At Storables.com, we guarantee accurate and reliable information. Our content, validated by Expert Board Contributors, is crafted following stringent Editorial Policies. We're committed to providing you with well-researched, expert-backed insights for all your informational needs.


0 thoughts on “How To Repair Water Dispenser Tap”