

Articles
How To Hang Picture Frames On A Brick Wall
Modified: February 23, 2024
Learn how to properly hang picture frames on a brick wall with these helpful articles. Step-by-step instructions and tips for achieving a secure and stylish display.
(Many of the links in this article redirect to a specific reviewed product. Your purchase of these products through affiliate links helps to generate commission for Storables.com, at no extra cost. Learn more)
Introduction
Picture frames can instantly transform a blank wall into a personalized and stylish display. However, hanging picture frames on a brick wall can present a unique challenge. The rough and uneven surface of the brick requires specialized tools and techniques to ensure that your frames are securely and accurately hung.
In this comprehensive guide, we will walk you through the step-by-step process of hanging picture frames on a brick wall. Whether you want to showcase cherished family photos or create an eye-catching gallery wall, this article will provide you with the knowledge and tips you need to successfully tackle this DIY project.
Before we dive into the specifics, let’s make sure you have everything you need to get started.
Key Takeaways:
- Transform a blank brick wall into a personalized display by following step-by-step instructions for hanging picture frames. Choose the right tools, prepare the wall, and secure the frames for a visually captivating result.
- Gain confidence and knowledge to successfully tackle the DIY project of hanging picture frames on a brick wall. From choosing the right hanging method to securing the frames, create a stunning and personalized display.
Read more: How To Hang A Picture On A Brick Wall
Step 1: Gather the necessary tools and materials
Before you begin hanging picture frames on a brick wall, it’s important to gather all the tools and materials you’ll need:
- Picture frames: Choose the frames you want to hang. Make sure they are the right size and weight for your wall and that you have the appropriate hardware for hanging them.
- Tape measure: Use a tape measure to determine the spacing and alignment of your frames.
- Pencil: A pencil will be handy for marking the hanging spots on the wall.
- Masonry drill bit: You’ll need a masonry drill bit designed for drilling into brick or concrete walls.
- Cordless drill: A cordless drill will make it easier to drill the necessary holes in the brick.
- Wall anchors: Wall anchors are essential for providing stability and support when hanging picture frames on a brick wall. Make sure to choose anchors that are suitable for brick and the weight of your frames.
- Screws or hooks: Depending on the type of wall anchors you use, you’ll need screws or hooks to attach the frames to the wall.
- Screwdriver or drill bits: Depending on the type of screws or hooks you’ll be using, you may need a screwdriver or drill bits for installation.
- Level: A level will help you ensure that your frames are perfectly straight.
- Masking tape: Masking tape can be used to create a template for the frame placement and make the installation process easier.
- Optional: Safety goggles and gloves: It’s always a good idea to protect your eyes and hands when working with tools.
Once you have gathered all the necessary tools and materials, you’re ready to move on to the next step: choosing the right hanging method for your brick wall.
Step 2: Choose the right hanging method
When it comes to hanging picture frames on a brick wall, there are a few different methods you can choose from. The right method for you will depend on the weight of your frames, the style you prefer, and your personal preference. Here are two popular hanging methods:
- Masonry screws and wall plugs: This method involves drilling pilot holes into the brick and then using masonry screws and wall plugs to secure the frames to the wall. This method provides a strong and stable hold, making it suitable for heavier frames or those that need extra security.
- Adhesive hooks or strips: Adhesive hooks or strips are a more temporary solution and are ideal for lightweight frames or situations where you don’t want to drill into the brick. These hooks or strips adhere to the wall and can be easily removed without leaving any residue or damage.
Consider the weight of your frames and the permanence you desire when choosing the hanging method. If you have large or heavy frames, or if you want a more secure installation, the masonry screws and wall plugs method is recommended. However, if you have smaller or lighter frames and prefer an easier and less invasive installation, adhesive hooks or strips may be the better option for you.
Once you have decided on the hanging method, you’re ready to prepare the brick wall for installation in the next step.
Step 3: Prepare the brick wall
Before you can start hanging picture frames on a brick wall, it’s important to properly prepare the wall surface to ensure a secure installation. Here are the steps to follow:
- Clean the wall: Begin by cleaning the brick wall surface with a brush or a damp cloth. Remove any dirt, dust, or debris that could interfere with the adhesion or drilling process.
- Locate the studs: If you’re using the masonry screws and wall plugs method, it’s helpful to locate the vertical studs behind the brick wall. You can use a stud finder to accurately find the studs or tap the wall lightly to listen for a solid sound, indicating the presence of a stud.
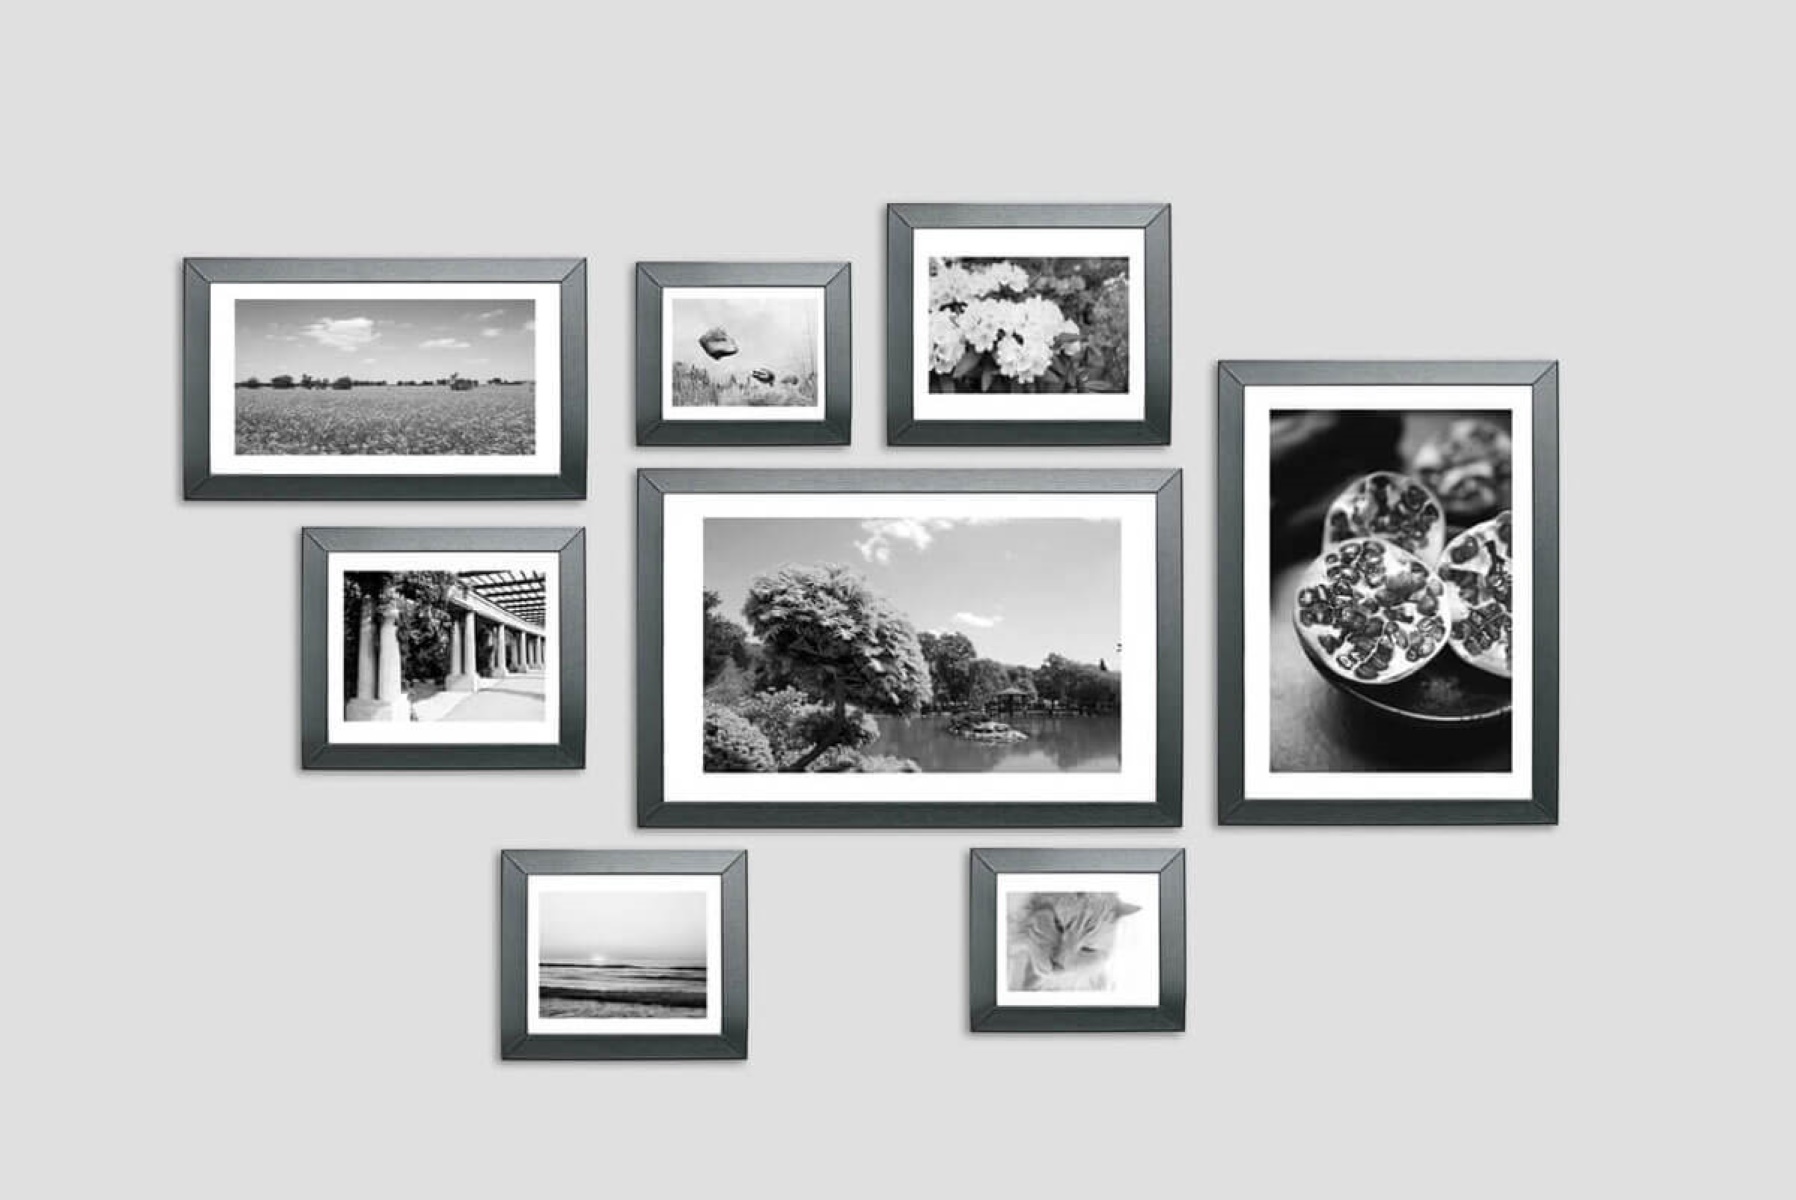
- Planning the layout: Use masking tape to create a template of your desired layout. This will allow you to experiment with different arrangements and ensure proper spacing and alignment of your picture frames.
- Mark the hanging spots: With the template in place, use a pencil to mark the exact spots where you will be drilling or attaching the wall anchors.
By properly preparing the brick wall, you will create a clean and organized surface to work with and ensure that your picture frames are hung in the desired locations.
Now that the wall is ready, it’s time to move on to the next step: marking the hanging spots on the brick wall.
Step 4: Mark the hanging spots
Once you have prepared the brick wall, it’s time to mark the exact spots where you will be hanging your picture frames. This step is crucial for ensuring that your frames are positioned correctly and evenly. Here’s how to mark the hanging spots:
- Align the template: If you created a template using masking tape in the previous step, align it with the desired height and spacing on the wall.
- Measure and mark: Use a tape measure to ensure that the template is level and at the desired height. Measure and mark the top edge of each frame’s position on the wall using a pencil.
- Account for frame size: Take into consideration the size of your frames and the spacing you want between them. Adjust the template and mark the corresponding spots accordingly.
- Check alignment: Stand back and check the alignment and spacing of the marked spots. Make any necessary adjustments to ensure that they are visually appealing and symmetrical.
Marking the hanging spots will provide a visual guide when it comes time to drill pilot holes or attach the wall anchors. It will help ensure that your frames are hung in the right positions and maintain a balanced and aesthetically pleasing arrangement.
With the hanging spots marked, you’re now ready to move on to the next step: drilling pilot holes in the brick wall.
Step 5: Drill pilot holes
Drilling pilot holes in the brick wall is an essential step to ensure a smooth and accurate installation of your picture frames. The pilot holes will provide a guide for inserting wall anchors and prevent the brick from cracking or splitting. Follow these steps to drill pilot holes:
- Select the right drill bit: Choose a masonry drill bit that matches the size of the wall anchors you will be using. It’s important to use a bit specifically designed for drilling into brick or concrete.
- Attach the drill bit: Insert the masonry drill bit into the chuck of your cordless drill and tighten it securely.
- Position the drill: Place the tip of the drill bit on one of the marked hanging spots on the wall.
- Start drilling: Apply firm and steady pressure as you slowly start drilling into the brick. Use a moderate speed and avoid exerting too much force, as this may cause the drill bit to overheat or become stuck.
- Drill to the desired depth: Continue drilling until you reach the desired depth for the wall anchors. The depth will depend on the length of the wall anchors and the thickness of your frames.
- Repeat for remaining spots: Repeat the drilling process for each marked hanging spot on the wall, ensuring that the pilot holes are at the same depth and alignment.
By drilling pilot holes, you create a clean and precise opening for inserting the wall anchors. This step ensures that the wall anchors will fit securely and provide optimal support for your picture frames.
With the pilot holes drilled, it’s time to move on to the next step: inserting wall anchors into the brick wall.
Use masonry screws or anchors to securely hang picture frames on a brick wall. Pre-drill holes in the brick, insert the screws or anchors, and then hang the frames using appropriate hardware.
Step 6: Insert wall anchors
Inserting wall anchors into the pilot holes is a crucial step in ensuring the stability and security of your picture frames on the brick wall. Wall anchors provide the necessary support and prevent the screws or hooks from pulling out of the brick. Here’s how to insert wall anchors:
- Choose the right wall anchors: Select wall anchors that are suitable for brick walls and the weight of your frames. Plastic or metal wall anchors are commonly used for this purpose.
- Align the anchor with the pilot hole: Take a wall anchor and align it with one of the drilled pilot holes on the wall. Make sure it fits snugly and is flush with the wall surface.
- Insert the anchor: Gently tap the wall anchor into the pilot hole using a hammer or a mallet. Apply steady pressure until it is firmly seated in the hole.
- Repeat for remaining holes: Repeat the process for each pilot hole, ensuring that each wall anchor is securely inserted in its respective hole.
Once the wall anchors are inserted, they provide a stable base for attaching the screws or hooks and hanging your picture frames. They ensure that the frames are securely held in place and help distribute the weight evenly along the brick wall.
With the wall anchors in place, you’re one step closer to hanging your picture frames. In the next step, we’ll guide you on how to hang the frames on the brick wall.
Step 7: Hang the picture frames
Now that the wall anchors are securely in place, it’s time to hang your picture frames on the brick wall. Follow these steps to ensure a proper and visually appealing installation:
- Attach screws or hooks: Depending on the type of wall anchors you used, attach screws or hooks into the wall anchors. Make sure they are securely fastened and properly aligned with the hanging spots marked on the wall.
- Check alignment: Use a level to ensure that the screws or hooks are perfectly straight. Adjust if necessary to achieve a level position.
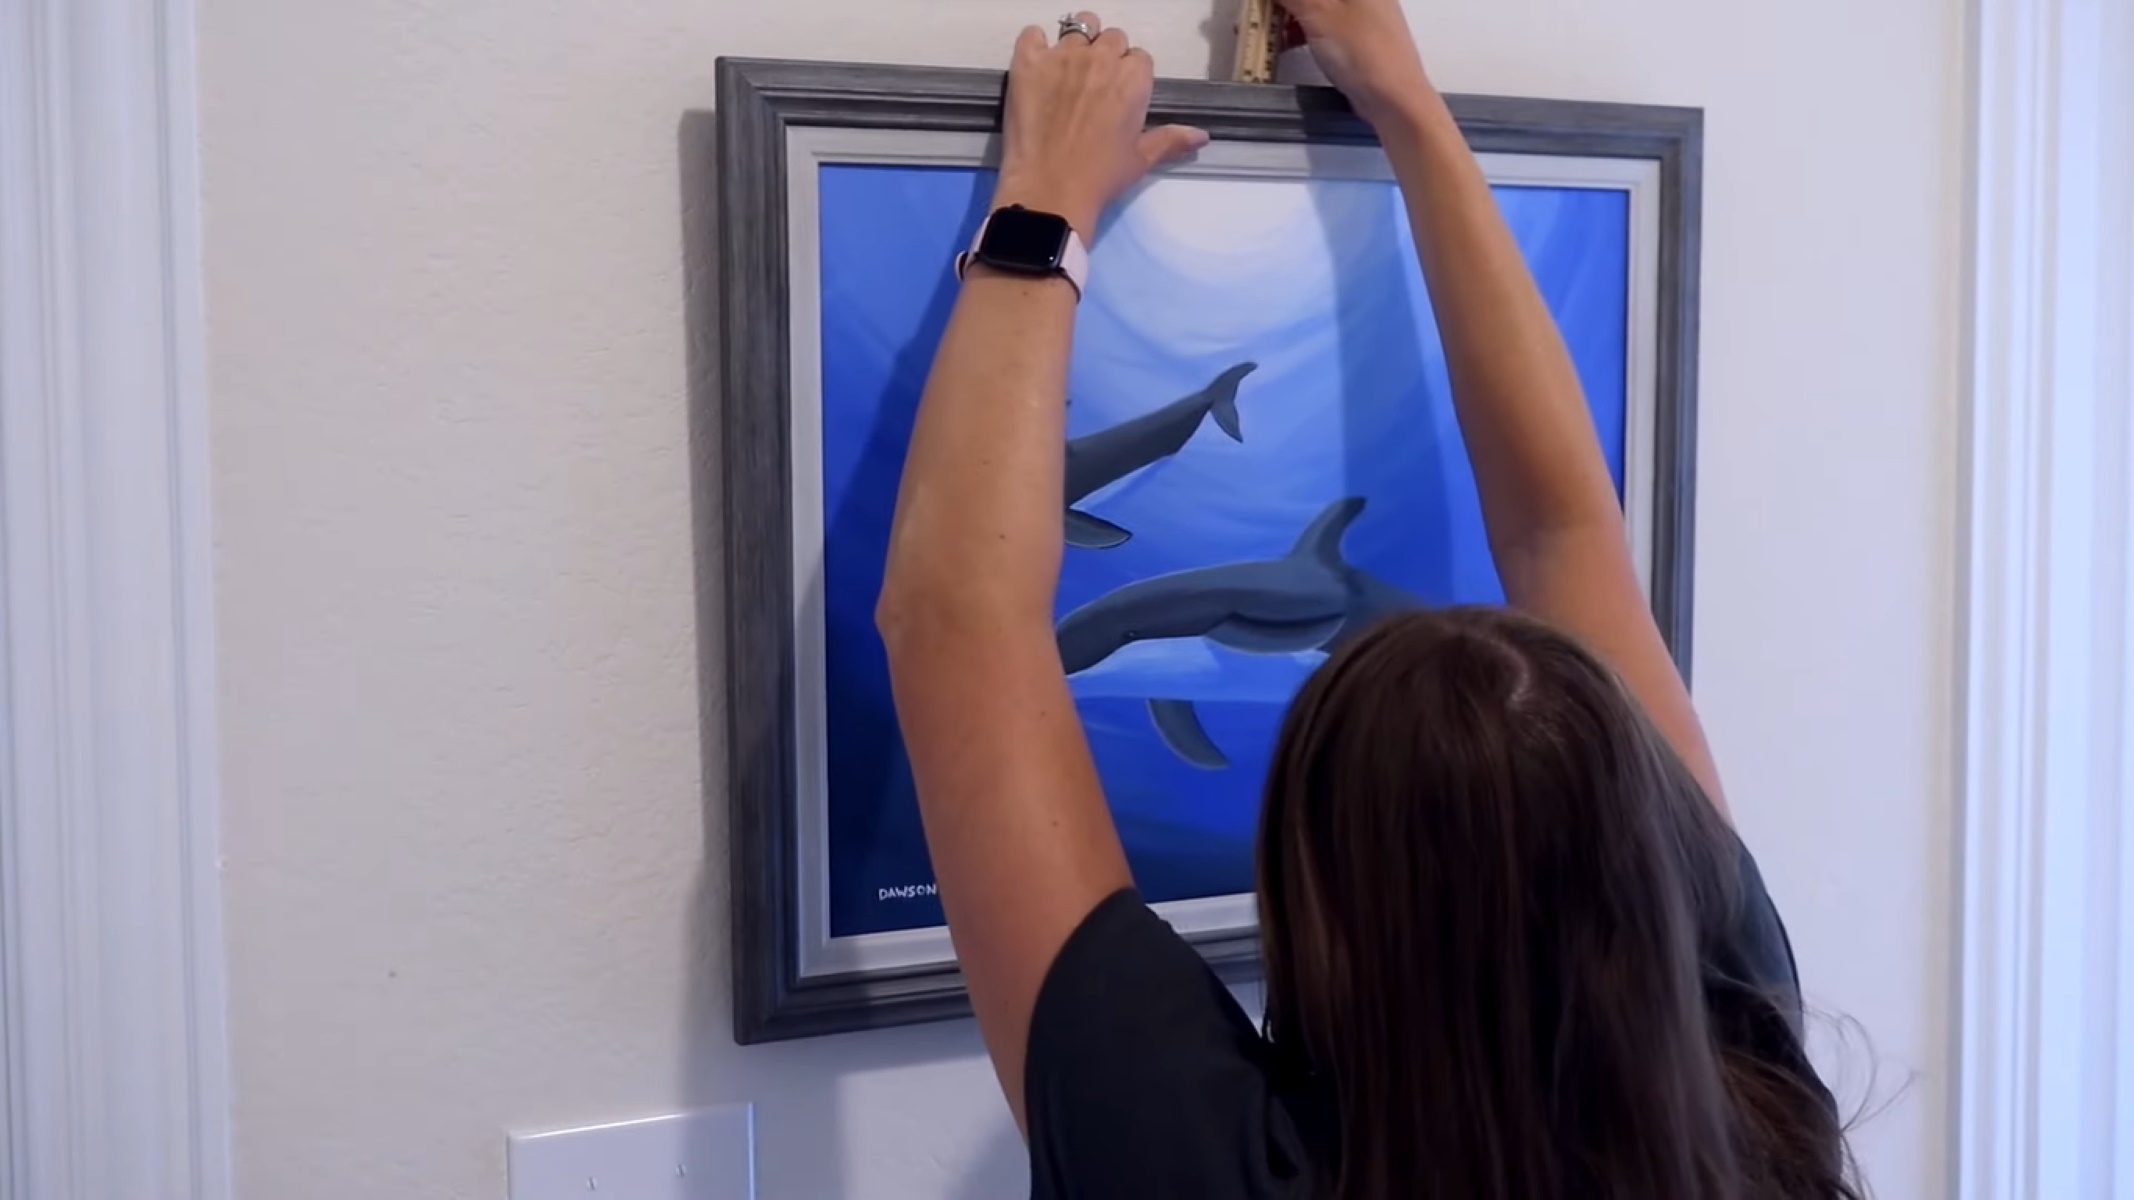
- Hang the frames: With the screws or hooks in place, carefully hang each picture frame on the corresponding attachment point. Take your time to ensure that they are level and evenly spaced.
- Step back and assess: Once all the frames are hung, step back and assess the overall look. Make any adjustments needed to ensure that the frames are positioned to your desired height and alignment.
Throughout the hanging process, it’s important to handle the picture frames with care to avoid any damage. Double-check that the screws or hooks are securely fastened to provide a stable and secure hold for your frames.
With the frames securely hung on the wall, it’s time to move on to the next step: securing the frames in place to prevent any shifting or movement.
Step 8: Secure the frames
Once your picture frames are hung on the brick wall, it’s important to secure them in place to prevent any accidental shifting or movement. This step will ensure that your frames stay level and aligned over time. Follow these guidelines to secure your frames:
- Use adhesive strips: If you opted for the adhesive hooks or strips method, follow the manufacturer’s instructions to secure your frames in place. Apply the adhesive strips to the back of the frames and press firmly against the wall for a strong bond.
- Use picture wire or brackets: If your frames have picture wire or brackets on the back, use screws or hooks to attach them to the wall. This will provide additional stability and prevent the frames from shifting.
- Check for stability: Gently give each frame a slight tug to ensure that it is securely anchored to the wall. Make any necessary adjustments or tighten the screws if needed.
- Consider earthquake safety: If you live in an earthquake-prone area, it’s recommended to use earthquake-resistant picture hanging hardware, such as security hangers or earthquake putty, to further secure your frames to the wall.
Securing your picture frames will give you peace of mind that they will remain in place and maintain their desired positioning. It will also help protect your frames from accidental bumps or knocks, ensuring that they stay beautifully displayed on your brick wall.
With your frames now securely in place, it’s time to step back and admire your handiwork in the final step of hanging picture frames on a brick wall.
Read more: How To Hang Up Multiple Picture Frames
Step 9: Step back and admire your work
Congratulations! You have successfully hung picture frames on your brick wall. Now it’s time to step back and take a moment to appreciate your hard work and creativity. Here are a few things to do during this final step:
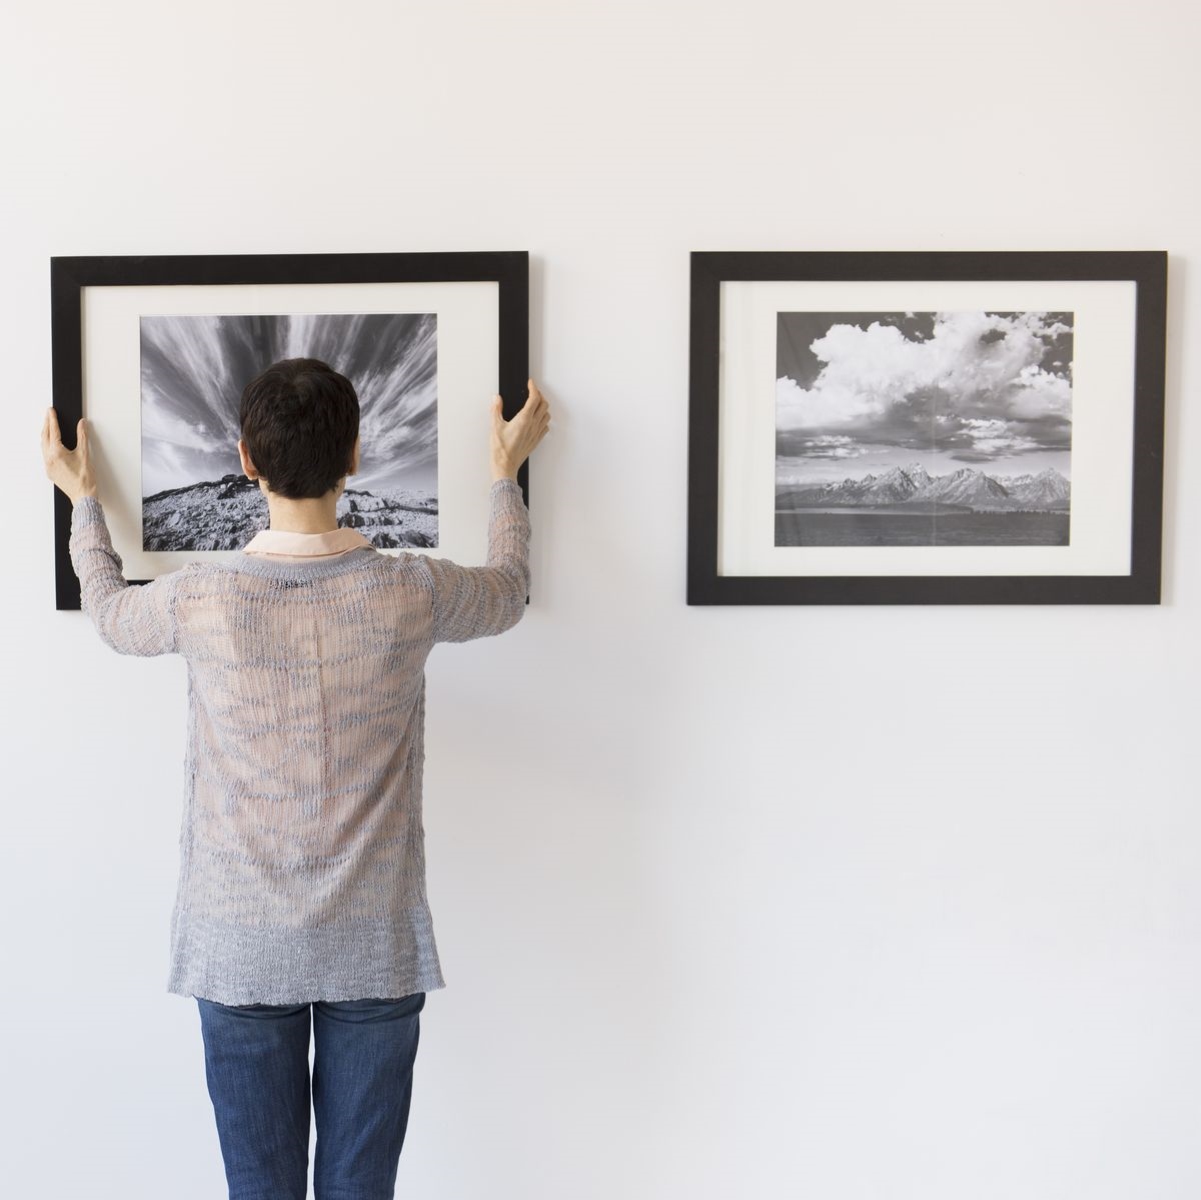
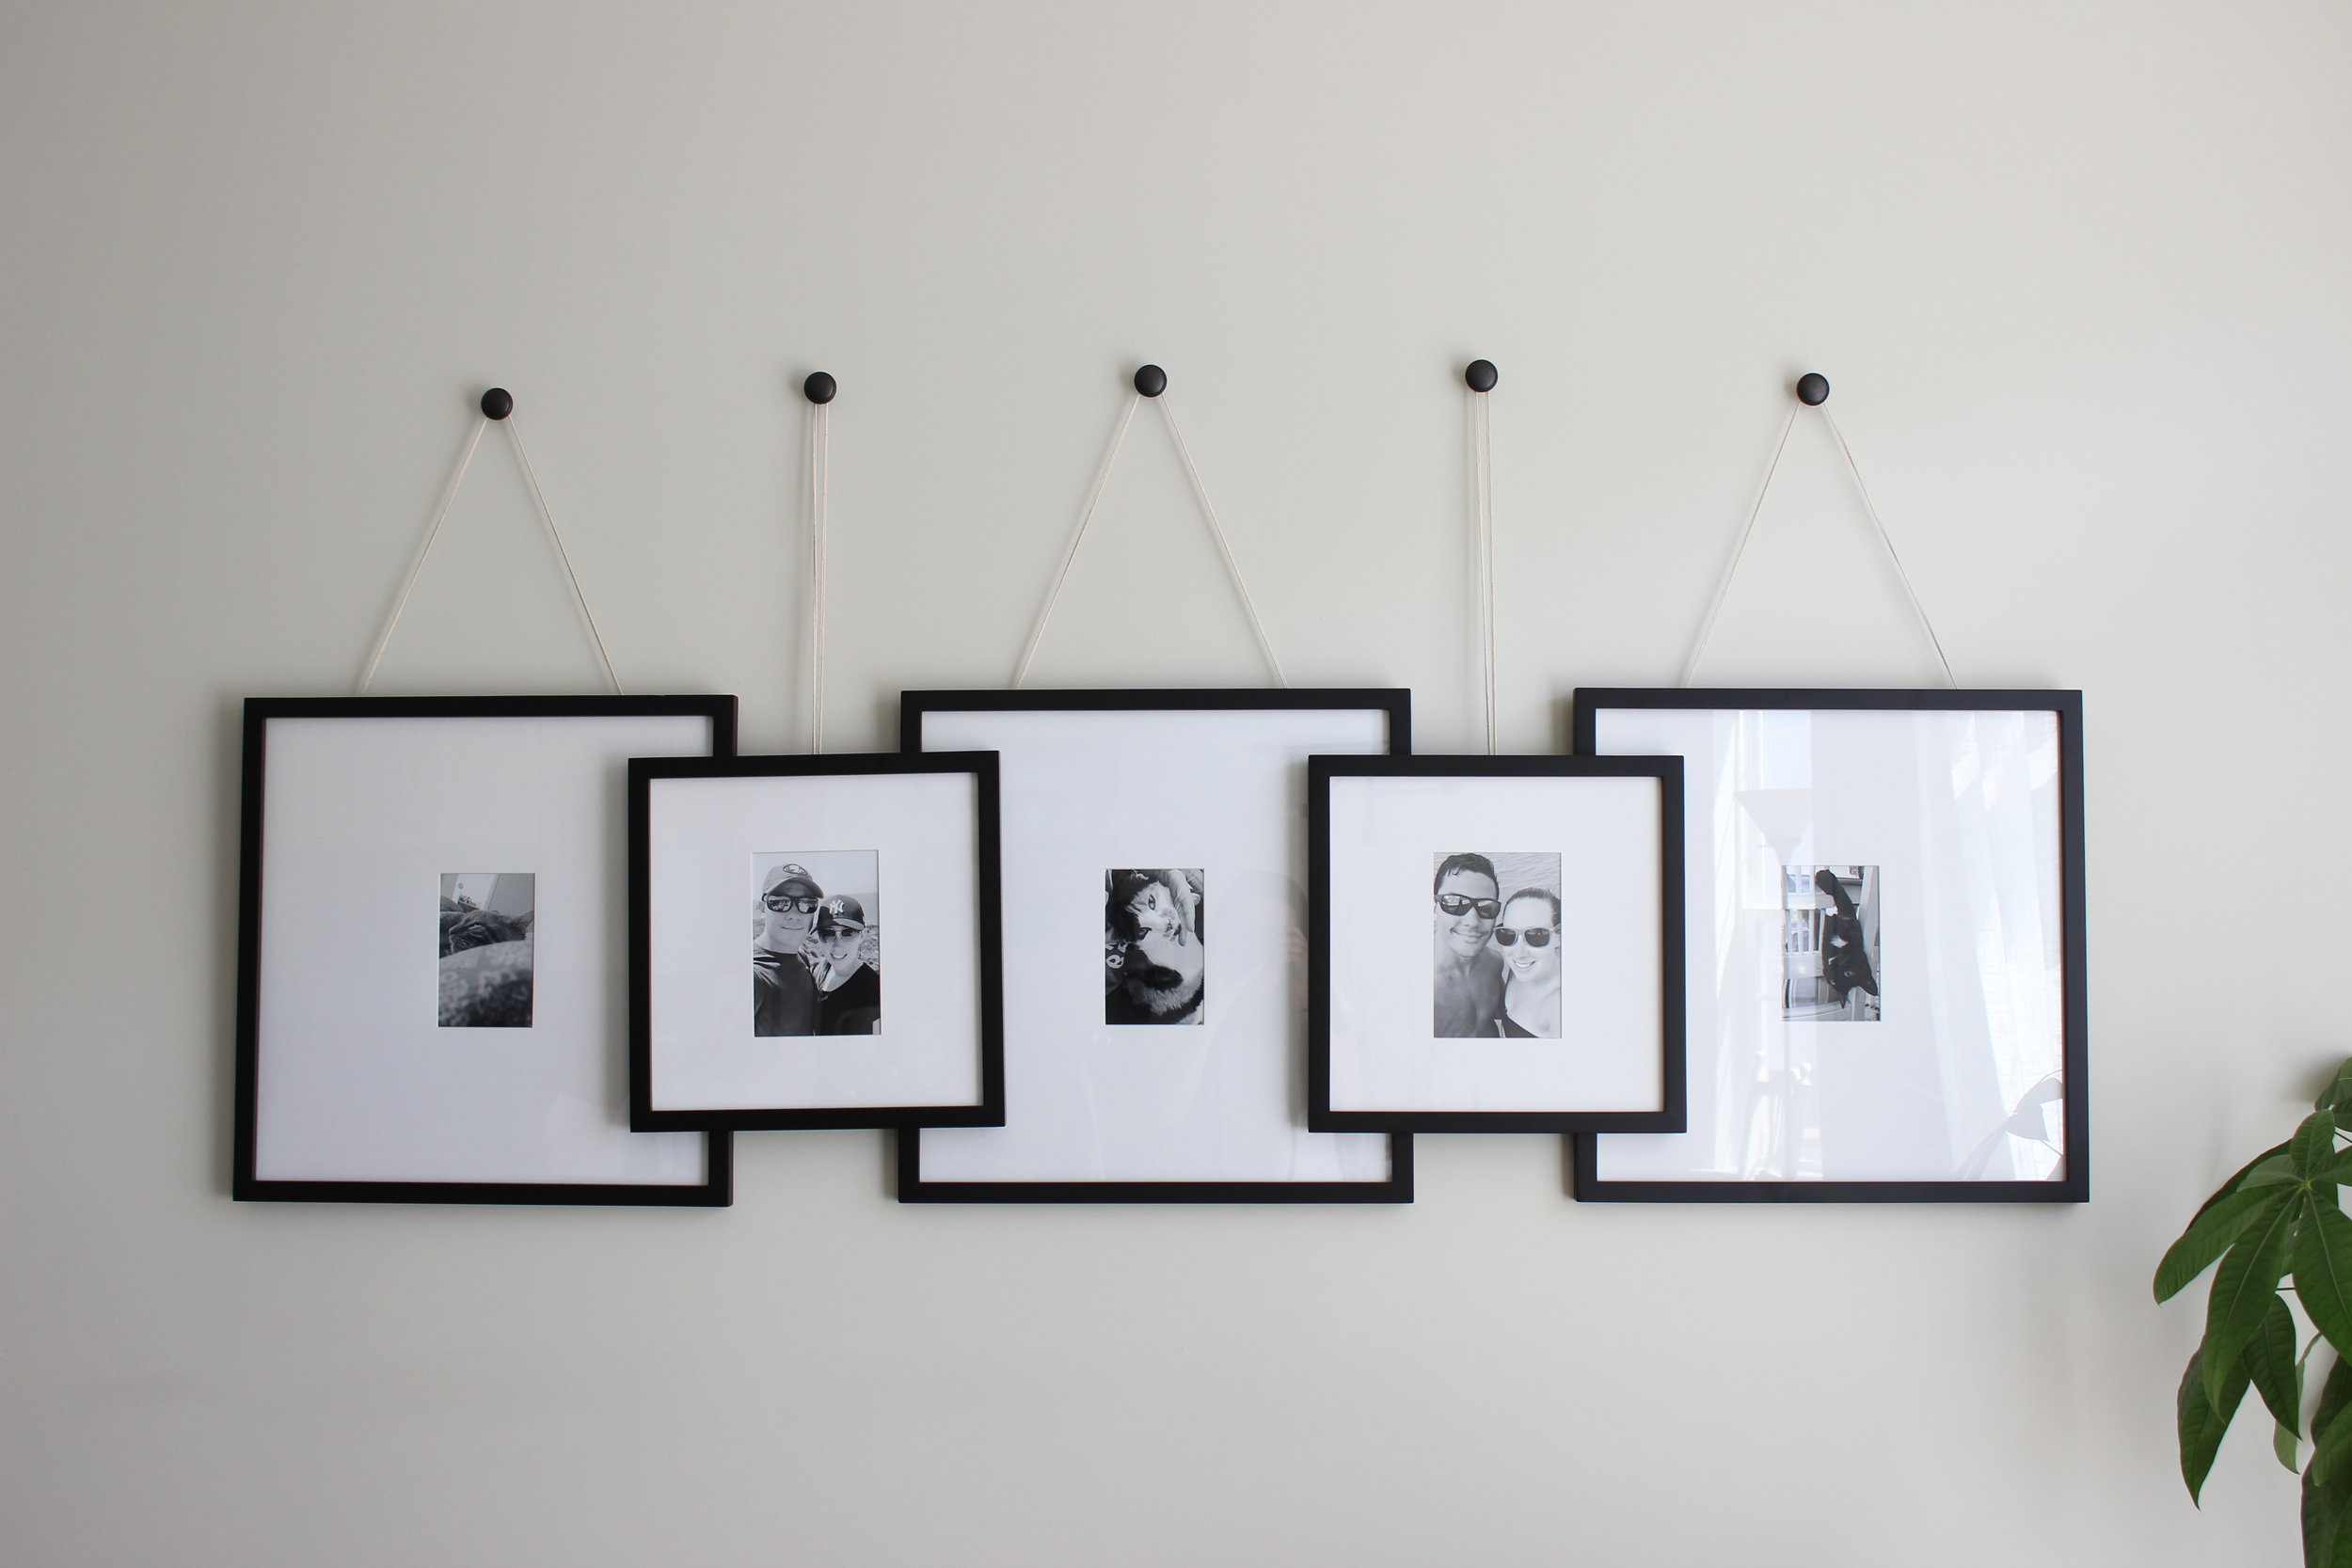
- Assess the arrangement: Take a few steps back and assess the overall arrangement of your picture frames. Check if the spacing, alignment, and height are visually appealing and balanced. Make any minor adjustments if needed.
- Enjoy the personal touch: Admire how the picture frames add a personal and decorative touch to your brick wall. They can instantly transform the space, showcasing your cherished memories, artwork, or any other meaningful pieces.
- Capture the moment: Take a photo of your beautifully hung frames to capture the moment and share your accomplishment with others.
- Share your creation: Share your creative display on social media or invite friends and family to admire your newly adorned brick wall. It’s a great conversation starter and can inspire others with their own decorative projects.
Remember, stepping back and enjoying your work is an important part of the process. Take a moment to appreciate the effort you put into creating a visually stunning and personalized display on your brick wall.
With this final step completed, you have successfully hung picture frames on your brick wall. You can now enjoy your beautiful display for years to come!
Thank you for following along with this comprehensive guide. We hope it has been helpful and that you have gained the confidence to tackle this DIY project. Happy decorating!
Conclusion
Hanging picture frames on a brick wall may seem daunting at first, but with the right tools, techniques, and a little patience, it can be a rewarding and straightforward process. By following the steps outlined in this comprehensive guide, you now have the knowledge and confidence to successfully hang picture frames on your brick wall.
From gathering the necessary tools and materials, choosing the right hanging method, and preparing the wall surface, to marking the hanging spots, drilling pilot holes, inserting wall anchors, and finally hanging and securing the frames, each step is essential in achieving a secure and visually captivating display.
Remember to consider the weight and size of your frames, as well as the permanence you desire, when choosing the hanging method. Take the time to properly clean and prepare the brick wall, ensuring a clean and stable surface for installation. Accurately marking the hanging spots and drilling pilot holes will provide a precise guide for inserting the wall anchors, ensuring a secure hold.
Once the frames are hung, take the final step of securing them in place, whether using adhesive hooks, picture wire, or brackets. This will help prevent unintended shifting and ensure that your frames remain level and aligned over time.
Finally, step back and appreciate your creativity and the personal touch you have added to your space. Admire how the picture frames transform your brick wall into a personalized gallery, displaying cherished memories, artwork, or any other meaningful pieces.
Now that you have completed this guide, go ahead and confidently tackle the task of hanging picture frames on your brick wall. Enjoy the process, embrace your creativity, and create a stunning display that will enhance the beauty of your space for years to come.
Thank you for joining us on this journey, and happy hanging!
Frequently Asked Questions about How To Hang Picture Frames On A Brick Wall
Was this page helpful?
At Storables.com, we guarantee accurate and reliable information. Our content, validated by Expert Board Contributors, is crafted following stringent Editorial Policies. We're committed to providing you with well-researched, expert-backed insights for all your informational needs.




0 thoughts on “How To Hang Picture Frames On A Brick Wall”