Home>Construction & Tools>Building Materials>How To Hang Christmas Lights On Brick
Building Materials
How To Hang Christmas Lights On Brick
Modified: January 23, 2024
Learn how to safely hang Christmas lights on brick using the right building materials and techniques. Get step-by-step instructions for a festive and secure display.
(Many of the links in this article redirect to a specific reviewed product. Your purchase of these products through affiliate links helps to generate commission for Storables.com, at no extra cost. Learn more)
Introduction
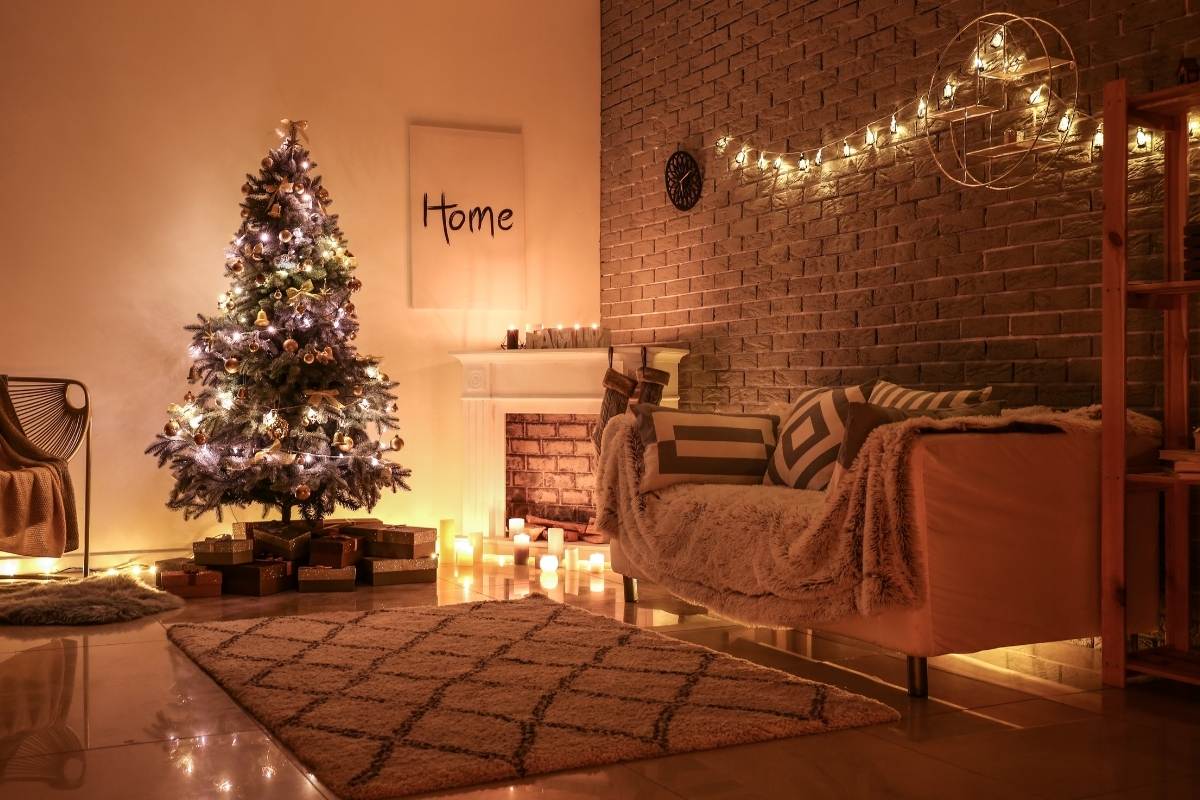
When the holiday season approaches, there's nothing quite like the warm and inviting glow of Christmas lights adorning the exterior of your home. However, if your home features a brick exterior, you may find yourself wondering how to hang Christmas lights without causing damage or creating an unsightly display. Fear not! With the right materials, a well-thought-out plan, and a bit of creativity, you can beautifully showcase your festive spirit while preserving the integrity of your brickwork.
In this comprehensive guide, we will walk you through the process of safely and securely hanging Christmas lights on a brick exterior. From selecting the appropriate materials to executing a visually stunning design, we've got you covered. So, grab a warm beverage, put on your favorite holiday tunes, and let's illuminate your home with the enchanting radiance of Christmas lights!
Key Takeaways:
- Hanging Christmas lights on a brick exterior requires LED lights, all-weather extension cords, and outdoor clips or hooks. Careful planning and testing ensure a dazzling and secure display that enhances the festive spirit.
- By following a thoughtful design plan and meticulously testing the lights, you can create a captivating and harmonious display that brings warmth and joy to your home and community during the holiday season.
Read more: How To Hang Christmas Lights On Siding
Materials Needed
Before embarking on your Christmas light hanging endeavor, it’s essential to gather the necessary materials to ensure a smooth and successful process. Here’s what you’ll need:
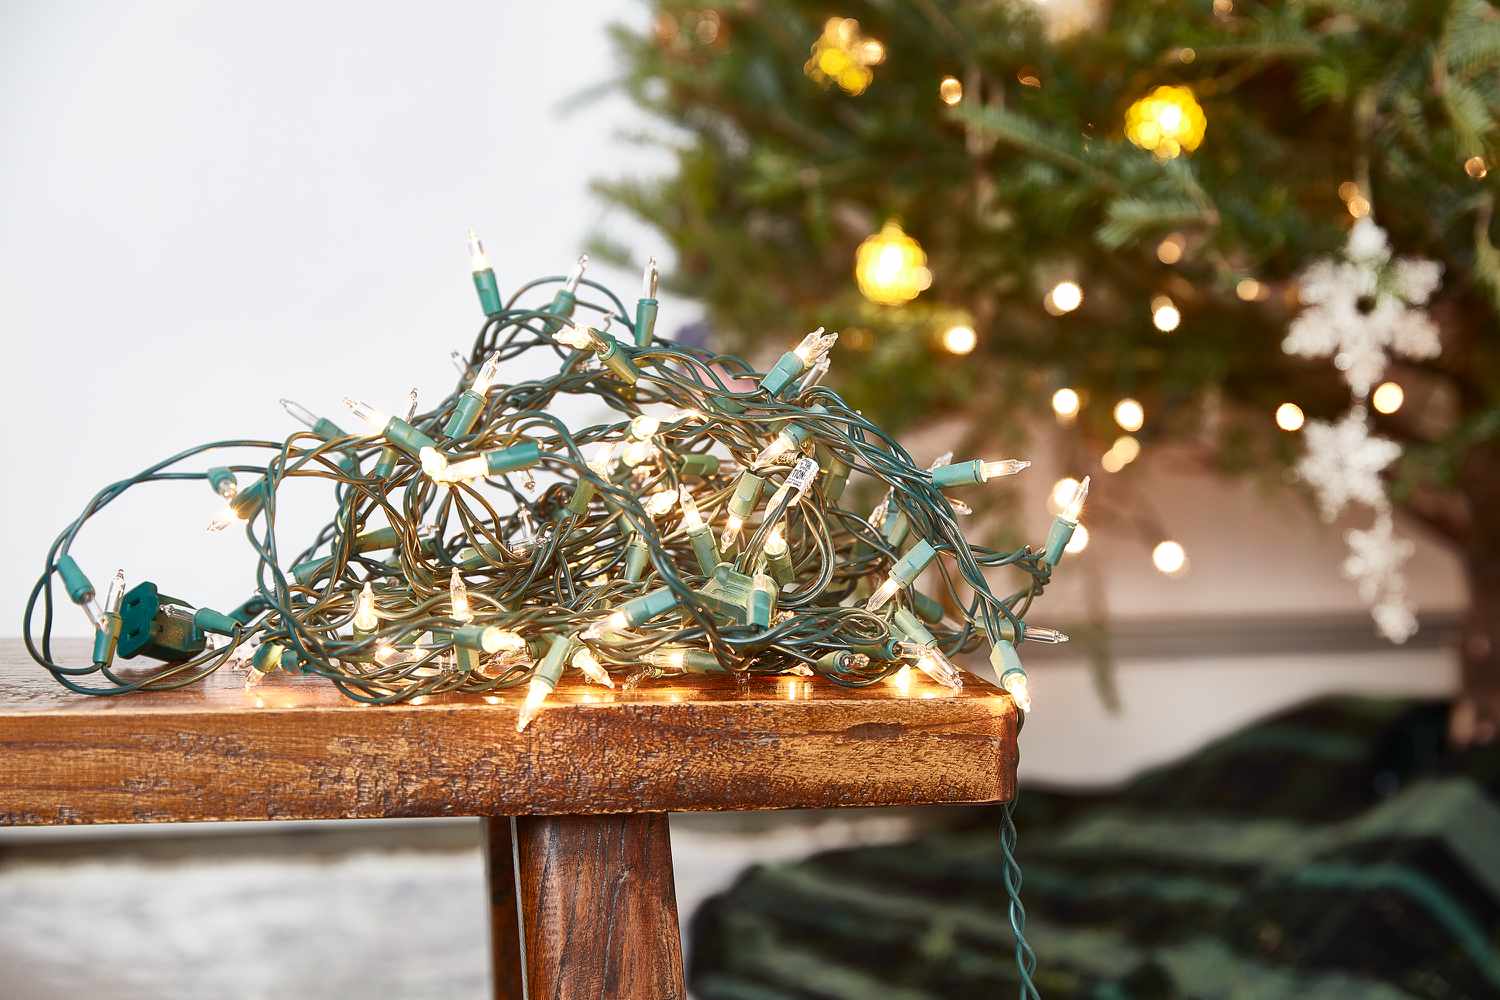
- Christmas lights: Opt for LED lights, as they are energy-efficient and emit less heat, reducing the risk of damage to the brick.
- All-weather extension cords: Ensure the extension cords are designed to withstand outdoor conditions to prevent hazards.
- Light clips or adhesive hooks: Select clips or hooks specifically designed for outdoor use on brick surfaces.
- Measuring tape: This will aid in determining the length of lights needed and in creating a symmetrical display.
- Outdoor timer: A timer will automate the lighting schedule, saving you the hassle of manually turning the lights on and off each day.
- Sturdy ladder: Choose a ladder that provides safe and stable access to the areas where you’ll be hanging the lights.
- Optional: Wreaths, garlands, or other decorative elements to complement your light display.
By ensuring you have these materials on hand, you’ll be well-prepared to bring your vision of a festive and inviting home exterior to life. Now that you’re equipped with the necessary materials, it’s time to move on to the next crucial step: planning your light display.
Planning Your Design
Creating a captivating and harmonious light display on your brick exterior begins with thoughtful planning. Consider the following steps to design a visually stunning arrangement that complements your home’s architecture and showcases the festive spirit of the season:
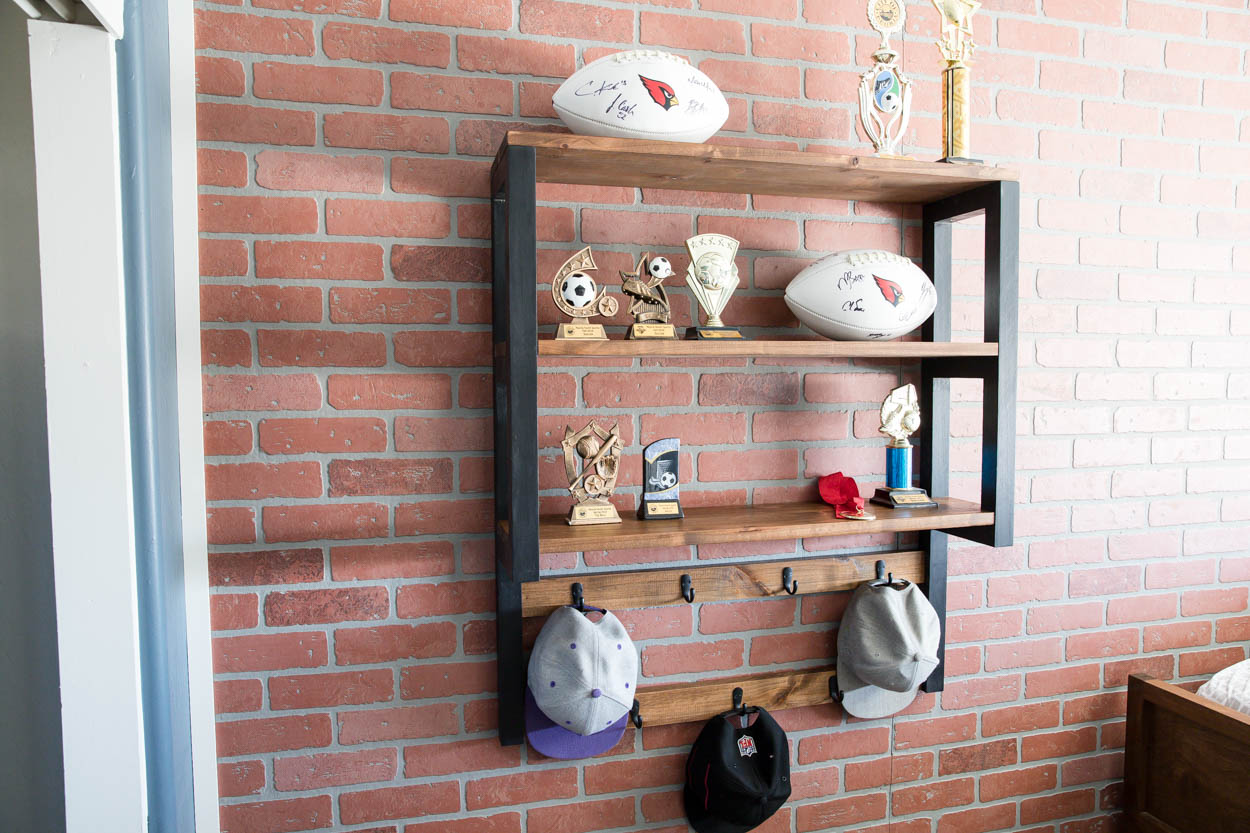
- Assess Your Brick Surface: Take a close look at your brick exterior to identify the most suitable areas for hanging lights. Look for flat, even surfaces that will allow the lights to be displayed attractively.
- Measure and Sketch: Use a measuring tape to determine the length of the areas where you plan to hang the lights. Sketching a rough outline of your home’s exterior and noting measurements will help you visualize the placement of the lights and ensure symmetry.
- Choose a Focal Point: Consider highlighting a prominent architectural feature, such as a doorway, window frames, or a charming arched entryway, as the focal point of your light display.
- Select a Color Scheme: Decide on a color scheme that complements your home’s exterior and aligns with your personal style. Whether you prefer classic white lights for an elegant look or vibrant multicolored lights for a festive feel, your choice of color will set the tone for your display.
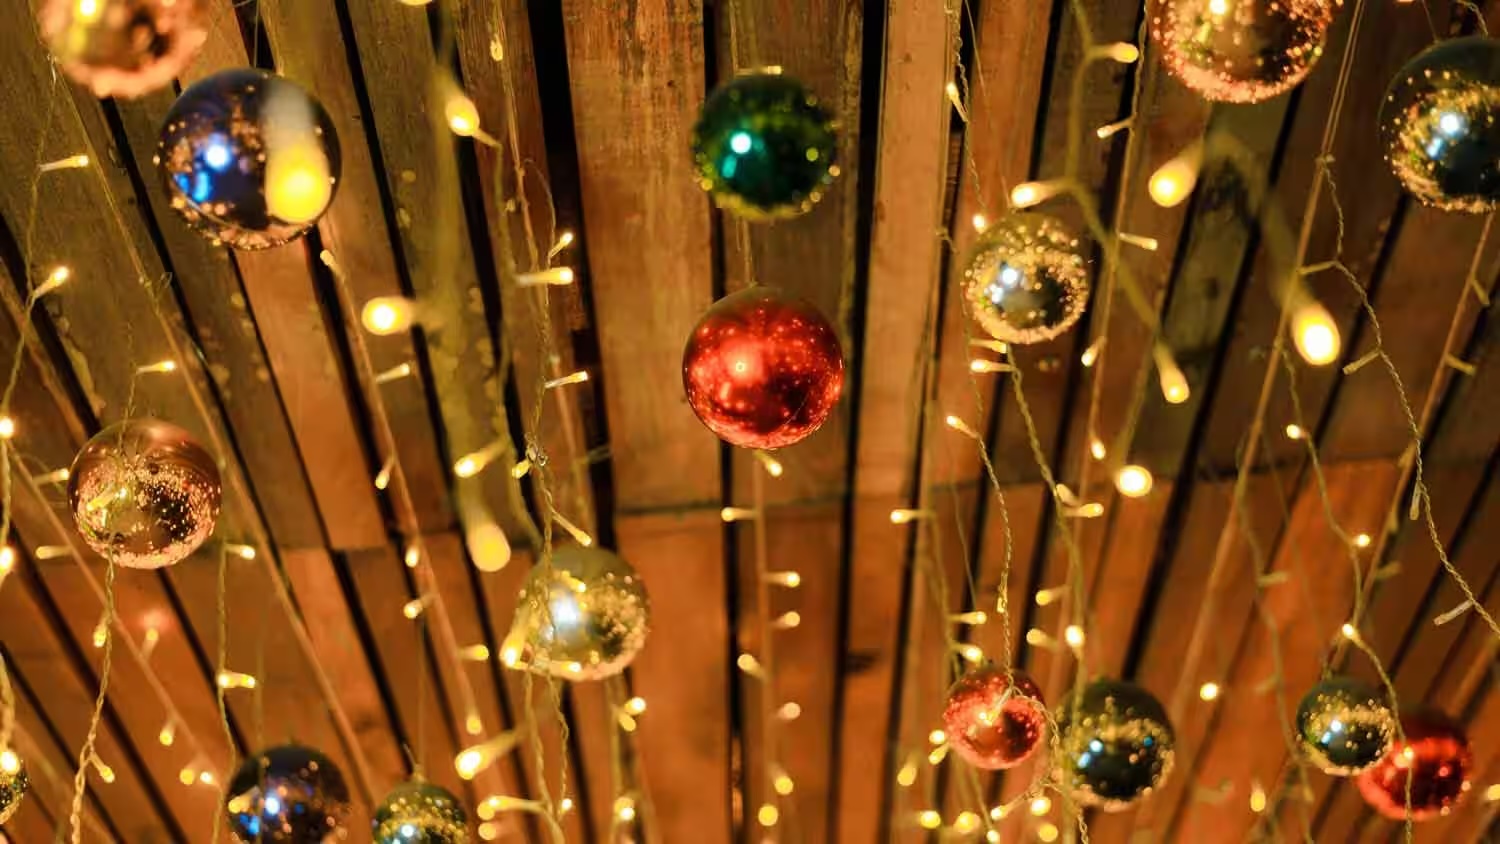
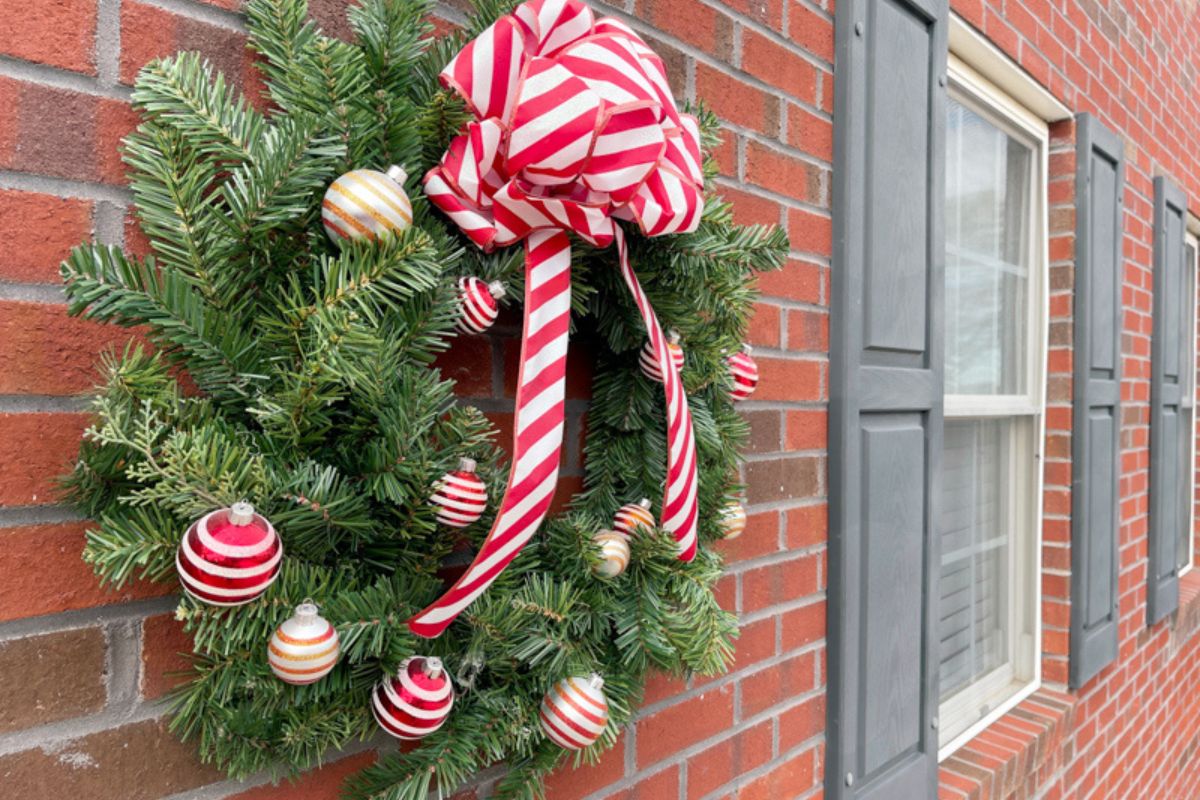
- Incorporate Additional Decorations: If desired, plan how you will incorporate wreaths, garlands, or other decorative elements into your light display to add depth and visual interest.
By carefully planning your design, you can ensure that your light display enhances the beauty of your brick exterior while exuding a warm and welcoming ambiance. With your design plan in place, the next step is to select the appropriate clips and hooks for securely attaching the lights to the brick surface.
Attaching Clips to the Brick
Properly securing the Christmas light clips or adhesive hooks to the brick surface is crucial for achieving a polished and secure display. Follow these steps to attach the clips or hooks without causing damage to the brick:
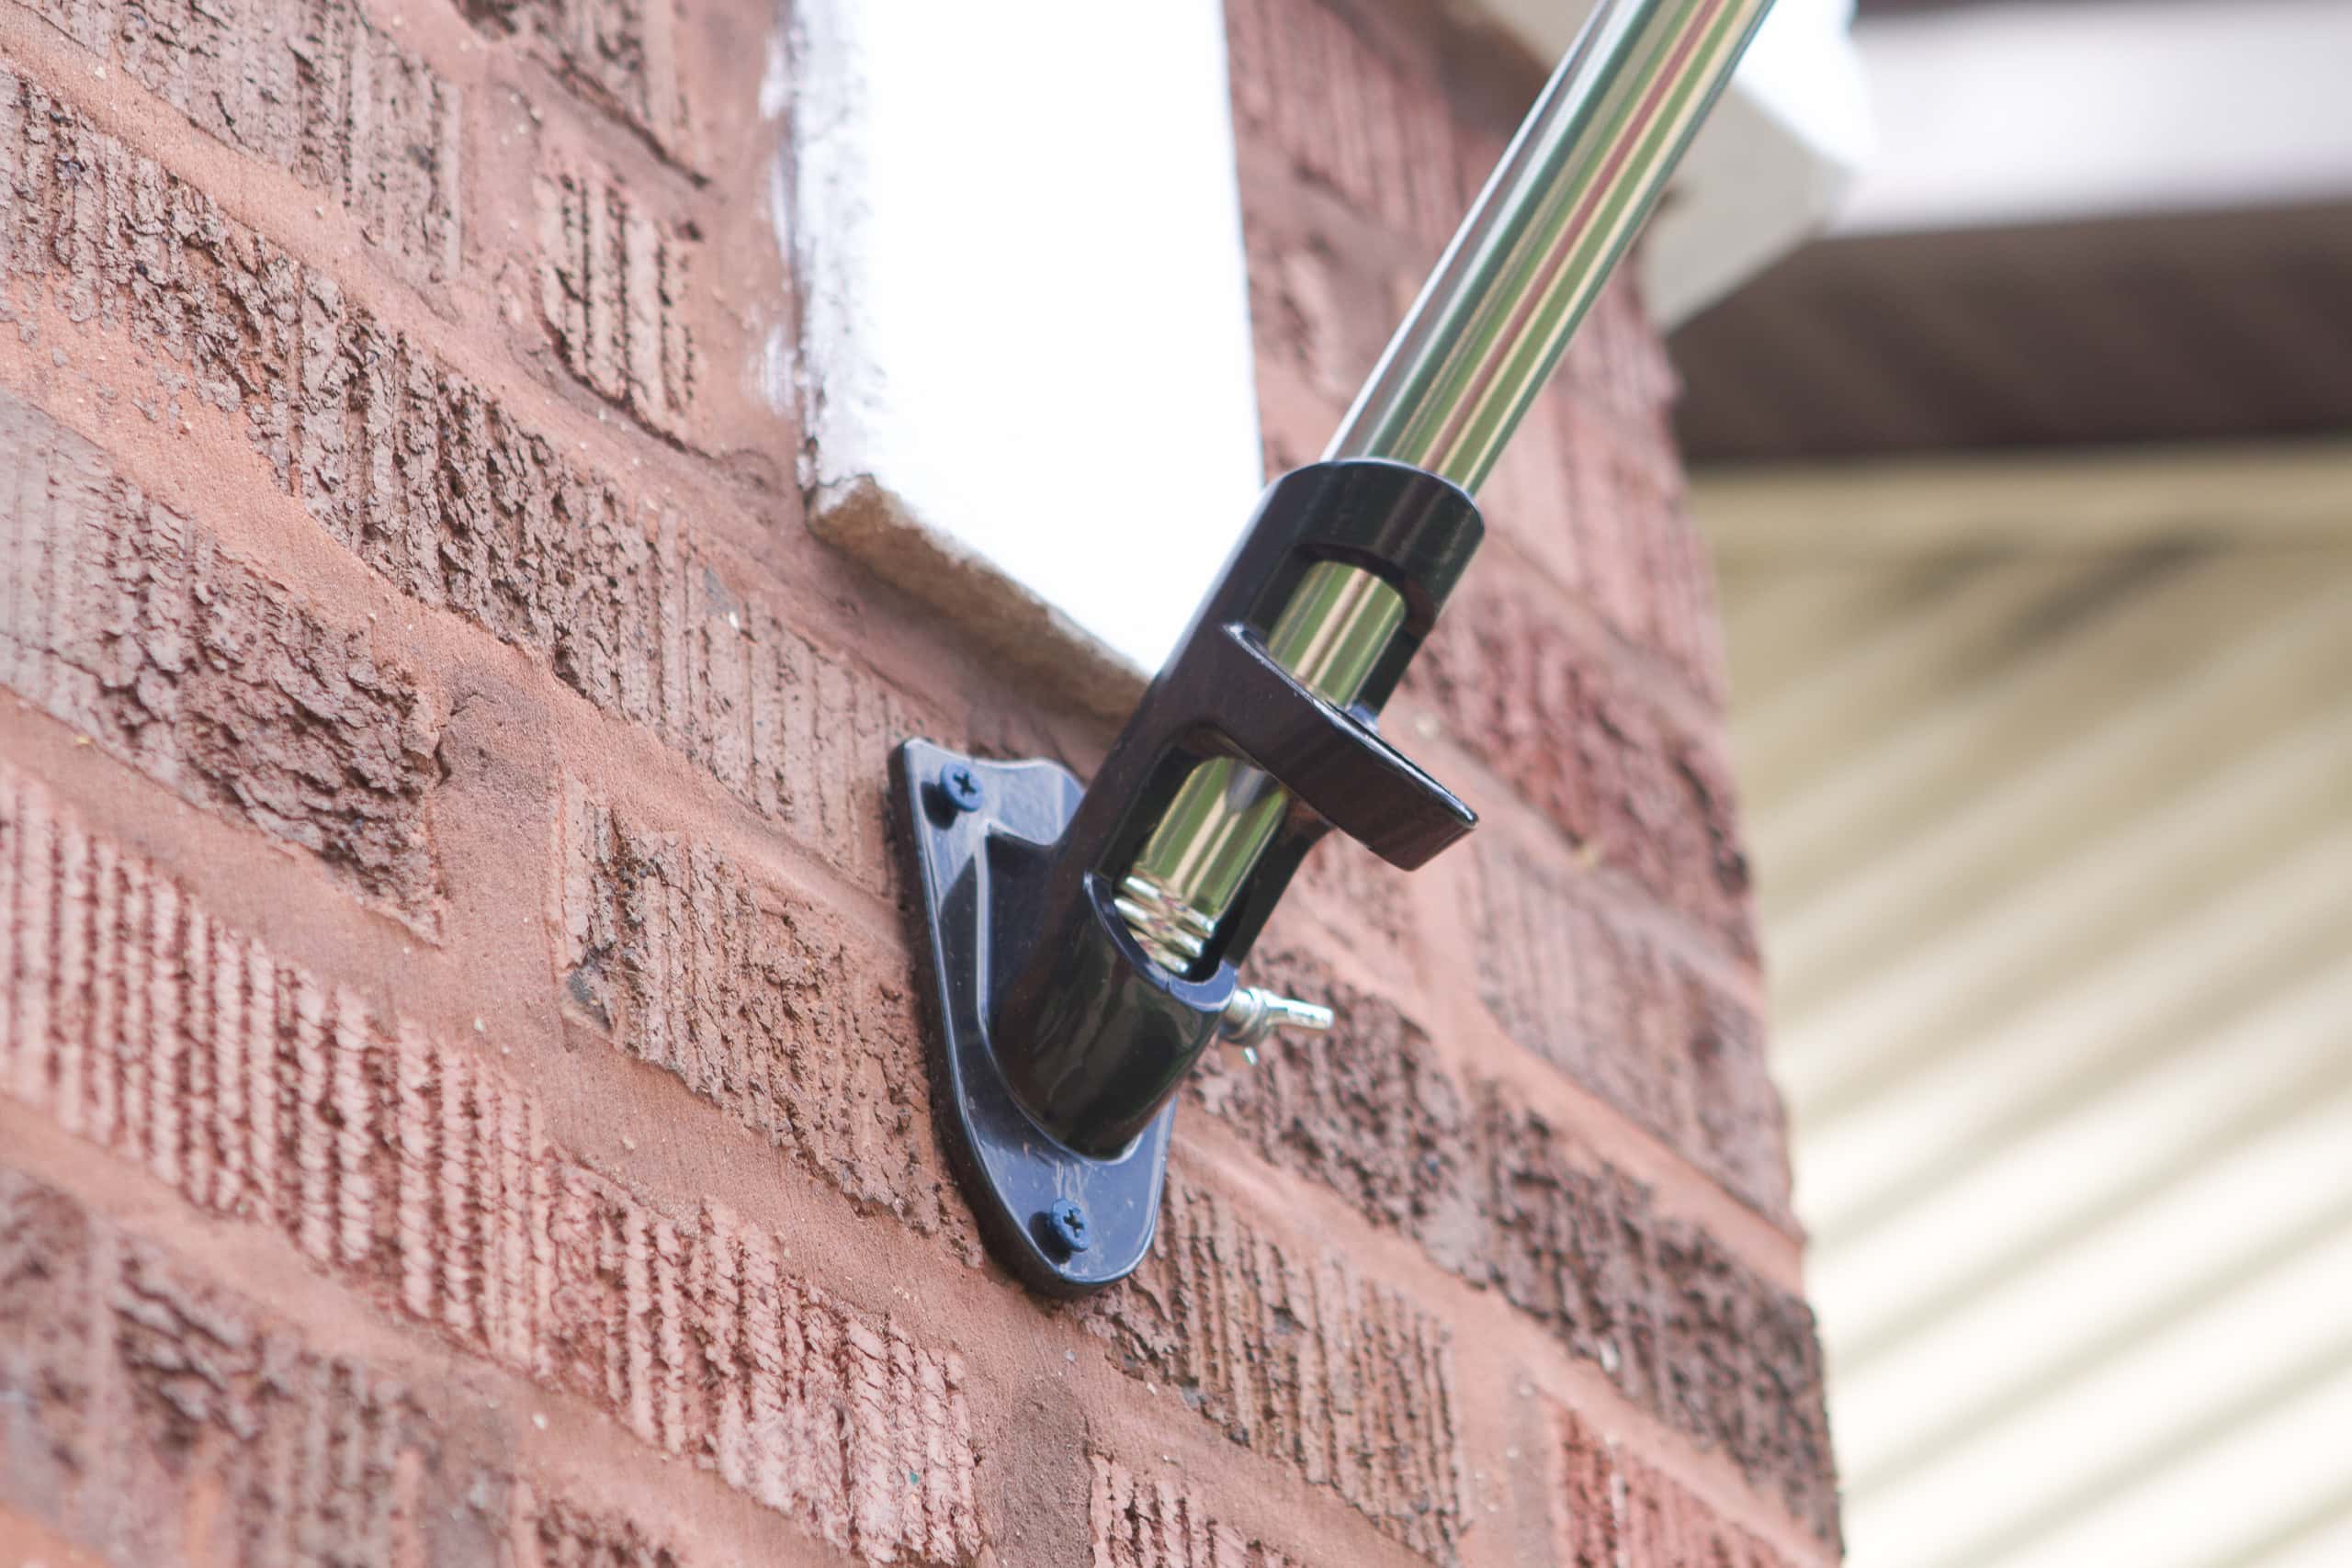
- Select Suitable Clips or Hooks: Choose clips or hooks specifically designed for outdoor use on brick surfaces. These should be durable, weather-resistant, and capable of securely holding the light strands.
- Clean the Brick Surface: Use a soft brush or cloth to gently remove any dirt, dust, or debris from the areas where the clips or hooks will be attached. This will ensure a clean and smooth surface for optimal adhesion.
- Apply Adhesive Hooks: If using adhesive hooks, carefully follow the manufacturer’s instructions for application. Ensure that the hooks are positioned at regular intervals along the designated areas for hanging the lights.
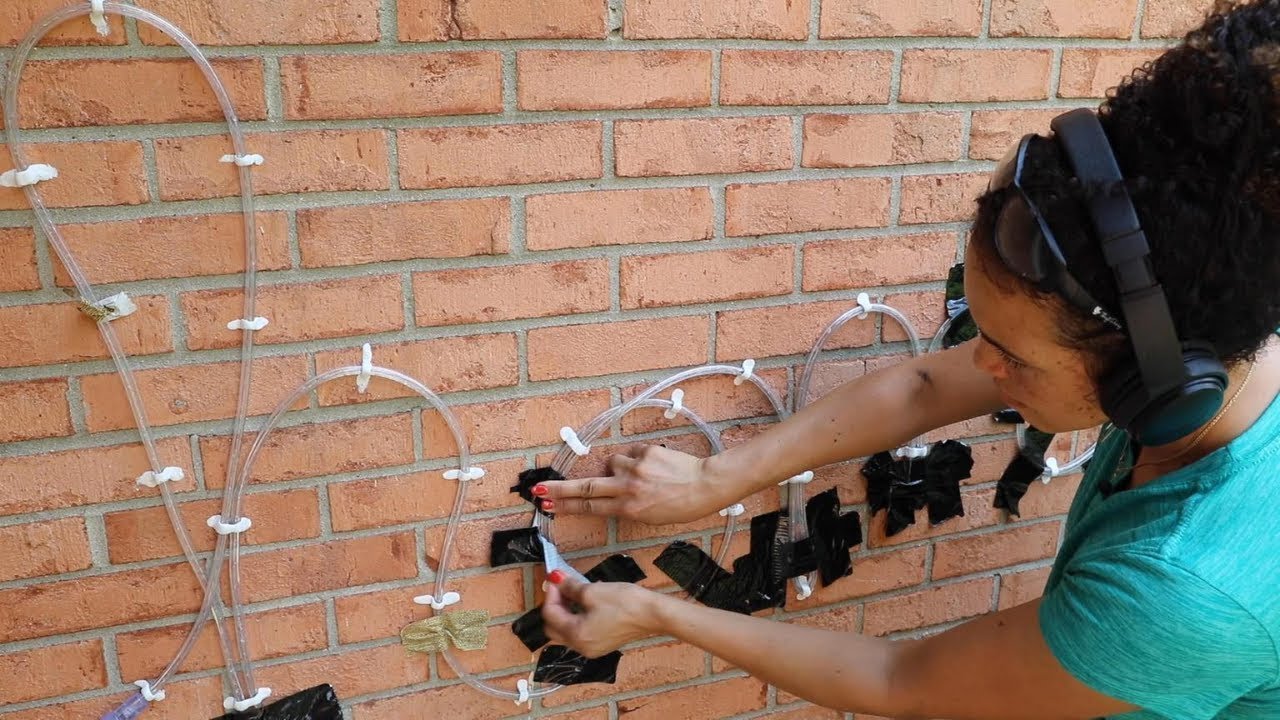
- Install Light Clips: For light clips that attach to the brick, gently press each clip onto the brick surface, ensuring a snug fit without excessive force that could cause damage. Space the clips evenly according to your design plan.
- Test the Stability: Once all clips or hooks are in place, gently tug on each one to verify that it is securely attached to the brick. Make any necessary adjustments to ensure that the clips or hooks are firmly in position.
By following these steps, you can safely and effectively attach the clips or hooks to the brick surface, setting the stage for the next exciting phase: hanging the lights. With the clips or hooks securely in place, you’re ready to bring your vision to life by adorning your home with the enchanting glow of Christmas lights.
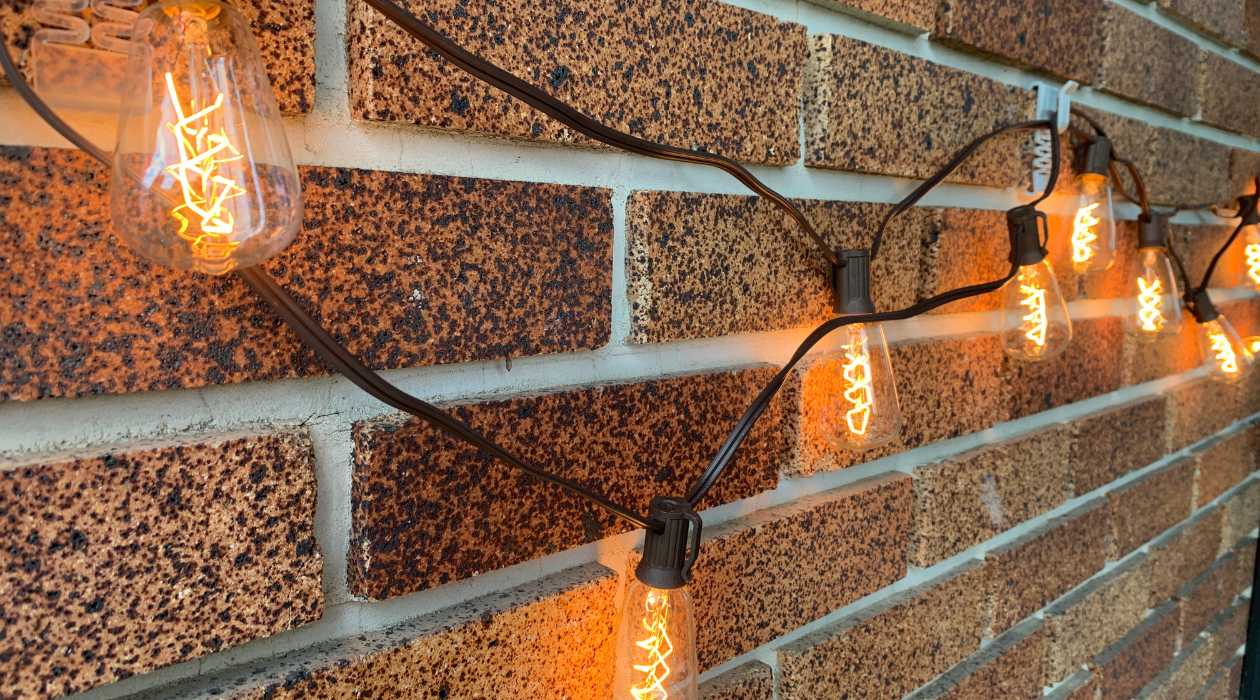
Use plastic clips or adhesive hooks made for outdoor use to attach the lights to the brick. Make sure to measure and plan the layout before starting. Use extension cords and outdoor-rated lights for safety.
Hanging the Lights
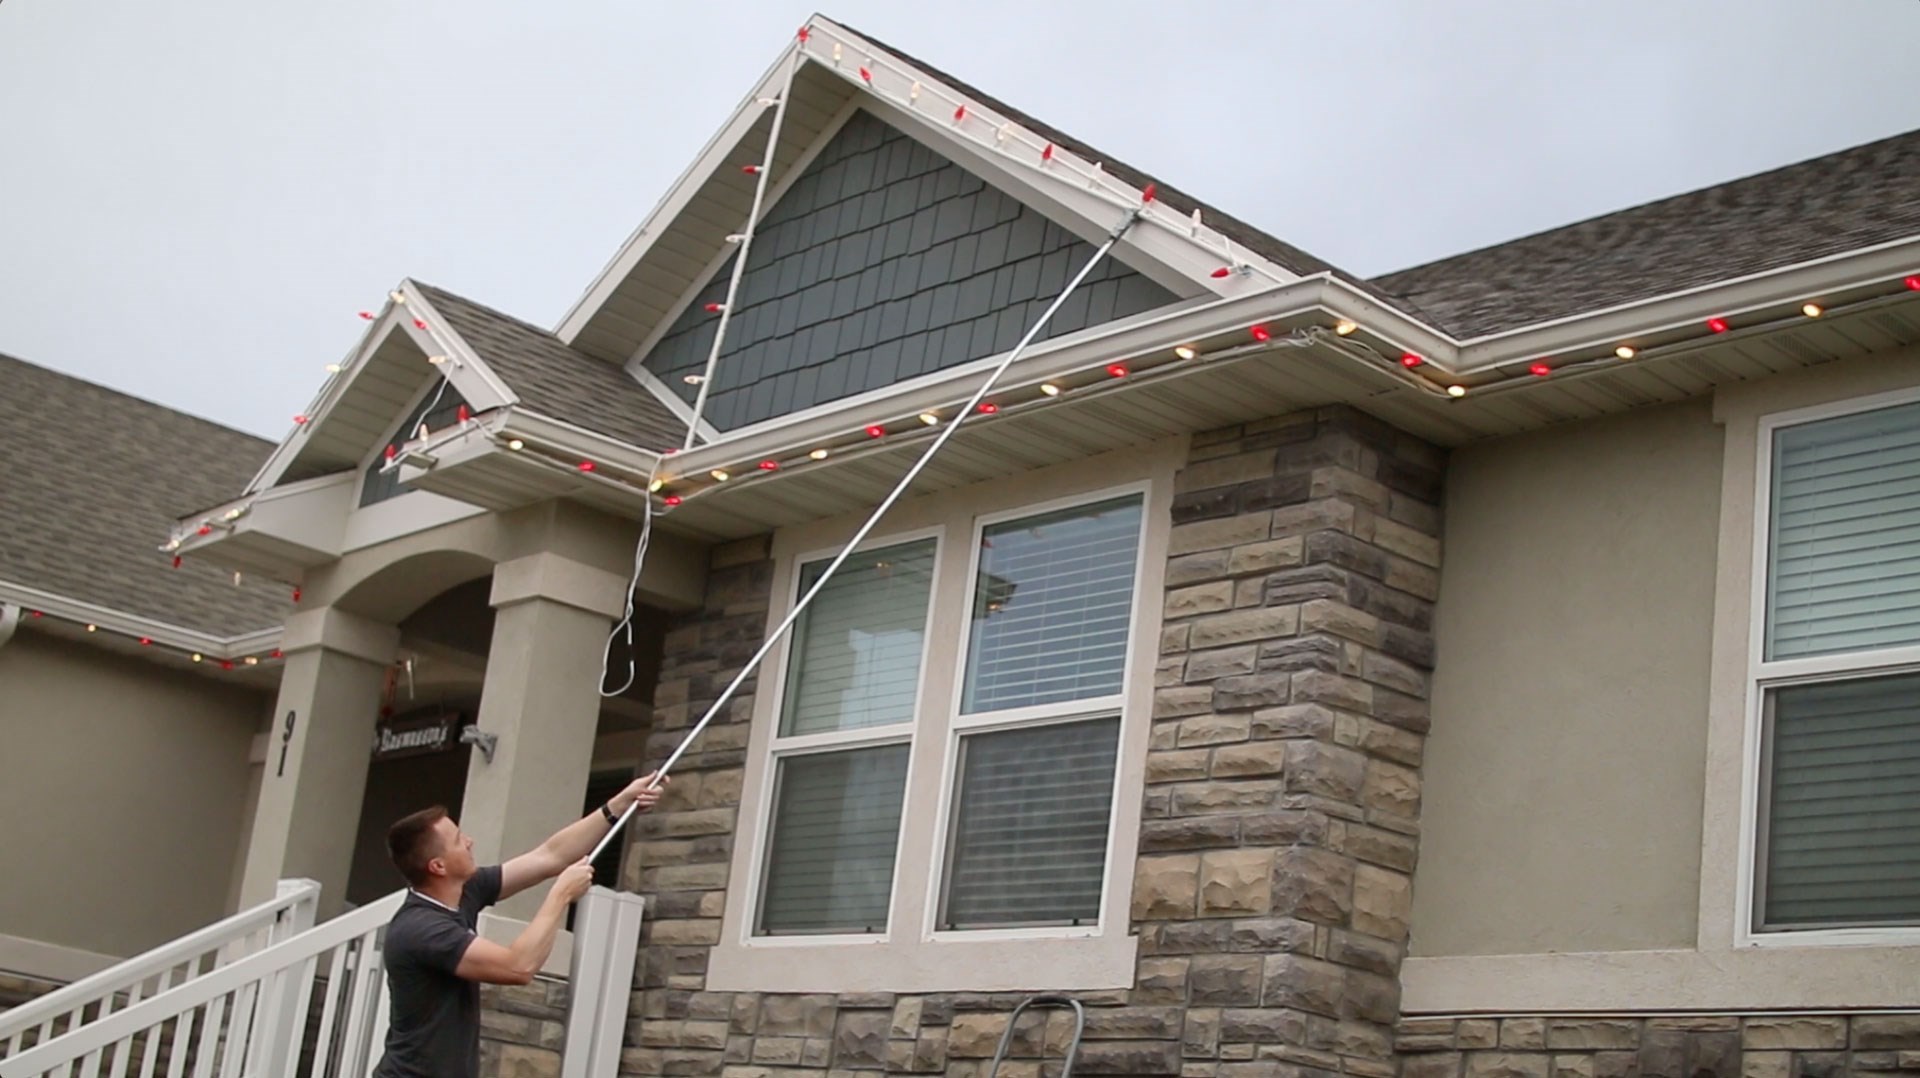
With the clips or hooks securely fastened to the brick surface, it’s time to bring your festive vision to life by hanging the Christmas lights. Follow these steps to achieve a captivating and well-illuminated display:
- Unravel and Test the Lights: Carefully unravel the strands of Christmas lights and plug them in to ensure they are in working condition before hanging them. This step will save you the hassle of troubleshooting once the lights are already in place.
- Begin at the Power Source: Start at the location of the outdoor power source or outlet, ensuring that the plug is within reach. This will allow for a seamless connection to the extension cord.
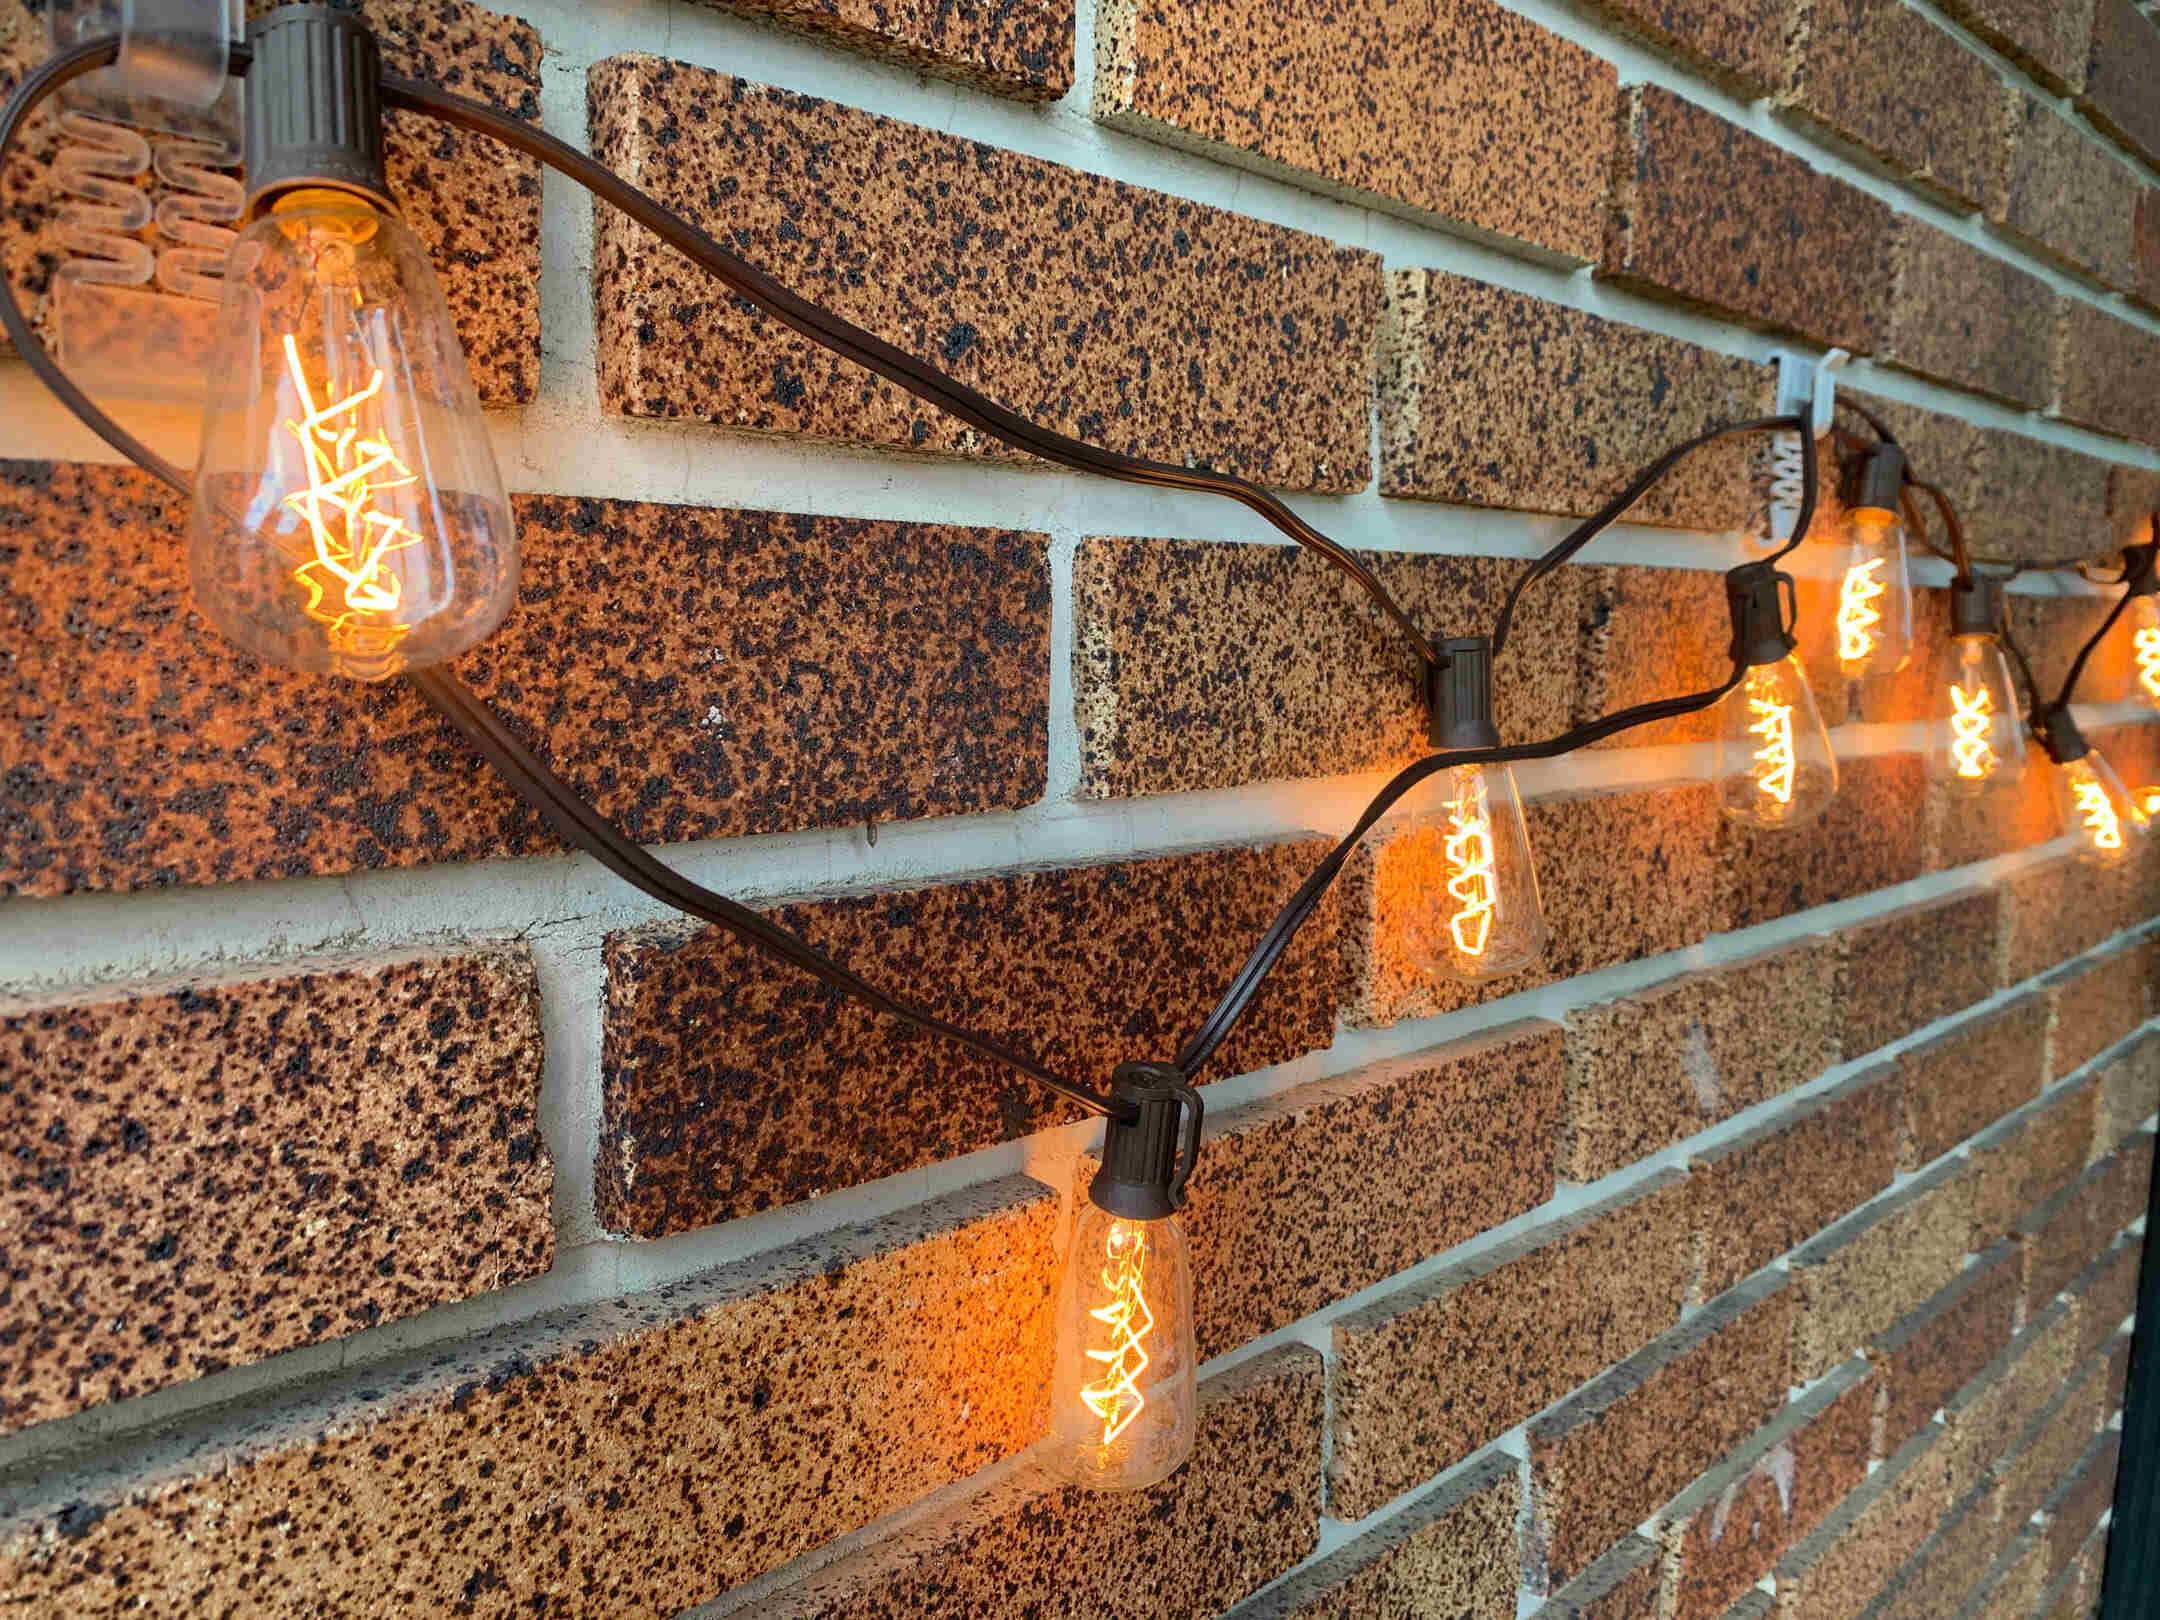
- Secure the Lights: Gently place the lights into the clips or hooks, following the designated path you’ve outlined. Take care to space the lights evenly and maintain a consistent height for a polished appearance.
- Adhere to Your Design Plan: Refer to your design plan and measurements to ensure that the lights are arranged according to your vision. Step back periodically to assess the overall look and make any necessary adjustments.
- Extend the Display: If desired, continue hanging the lights along other designated areas, such as windows, door frames, or architectural features, to create a cohesive and inviting display.
As you meticulously hang the lights, step back frequently to admire your progress and make any adjustments to achieve a balanced and visually appealing display. With the lights elegantly adorning your brick exterior, it’s time to move on to the final step: testing the lights to ensure a dazzling and flawless presentation.
Read more: How To Hang Christmas Lights To Stucco
Testing the Lights
Before unveiling your beautifully arranged Christmas lights to the neighborhood, it’s crucial to conduct a thorough testing process to ensure that every bulb is aglow and the display is flawless. Follow these steps to test the lights and address any issues that may arise:
- Inspect Each Section: Starting from the power source, carefully inspect each section of the light display to verify that all bulbs are illuminated. Look for any dark or flickering bulbs that may indicate loose connections or faulty strands.
- Replace Faulty Bulbs: If you encounter non-functioning bulbs, replace them with spare bulbs from the light packaging. Ensure that the replacements are securely seated to restore the seamless glow of the display.
- Check Extension Cord Connections: Examine the connections between the light strands and the extension cords to confirm that they are secure and weather-resistant. Address any loose connections to prevent interruptions in the lighting display.
- Activate the Timer: If using an outdoor timer, set the desired schedule for the lights to turn on and off automatically. Test the timer to ensure that it operates as intended, providing a hassle-free lighting experience throughout the holiday season.
- Step Back and Admire: Once the testing process is complete and any issues have been addressed, step back to admire the enchanting glow of your Christmas light display. Take pride in the festive ambiance you’ve created and anticipate the joy it will bring to all who behold it.
By meticulously testing the lights and addressing any concerns, you can guarantee a dazzling and seamless display that will captivate onlookers and spread holiday cheer. With the lights shining brightly and your home exuding a warm and inviting glow, it’s time to celebrate the successful completion of your Christmas light hanging endeavor.
Conclusion
Congratulations! You’ve successfully navigated the process of hanging Christmas lights on a brick exterior, transforming your home into a radiant beacon of holiday cheer. By carefully planning your design, selecting the right materials, and executing the hanging process with precision, you’ve achieved a captivating and festive display that beautifully complements your brick exterior.
As you bask in the enchanting glow of your meticulously arranged Christmas lights, take a moment to appreciate the warmth and joy they bring to your home and the surrounding community. Your thoughtful approach to hanging lights on brick has not only preserved the integrity of your exterior but has also enhanced its allure with a touch of seasonal magic.
Throughout the holiday season, your elegantly illuminated home will serve as a source of delight for passersby and a gathering place for cherished moments with loved ones. Whether you’ve opted for a classic white light display or a vibrant showcase of multicolored brilliance, your effort and creativity have contributed to the festive spirit that defines this special time of year.
As you revel in the radiant beauty of your Christmas light display, may the joy it brings serve as a reflection of the warmth and togetherness that define the holiday season. From all of us, we wish you a merry and bright celebration, illuminated by the magic of the holidays and the enduring spirit of goodwill.
Frequently Asked Questions about How To Hang Christmas Lights On Brick
Was this page helpful?
At Storables.com, we guarantee accurate and reliable information. Our content, validated by Expert Board Contributors, is crafted following stringent Editorial Policies. We're committed to providing you with well-researched, expert-backed insights for all your informational needs.


0 thoughts on “How To Hang Christmas Lights On Brick”