Home>Construction & Tools>Building Materials>How To Remove White Sealant From Brick
Building Materials
How To Remove White Sealant From Brick
Modified: August 27, 2024
Learn effective techniques for removing white sealant from brick with our expert guide. Discover safe methods using common building materials.
(Many of the links in this article redirect to a specific reviewed product. Your purchase of these products through affiliate links helps to generate commission for Storables.com, at no extra cost. Learn more)
Introduction
Dealing with white sealant on brick surfaces can be a challenging task, but with the right knowledge and tools, it's a task that can be accomplished effectively. Whether you're looking to refresh the appearance of your brickwork or preparing the surface for a new application, understanding the proper techniques for removing white sealant is essential.
In this comprehensive guide, we will explore the step-by-step process of removing white sealant from brick, providing you with the insights and practical tips needed to tackle this project with confidence. From understanding the nature of white sealant on brick to identifying the essential tools and materials required, we'll cover every aspect of the process, ensuring that you're well-equipped to restore the natural beauty of your brick surfaces.
By following the detailed instructions and recommendations outlined in this guide, you'll be able to navigate through the removal process seamlessly, effectively eliminating the white sealant and achieving a clean, revitalized brick surface. Let's dive into the intricacies of dealing with white sealant on brick and empower you to transform your brickwork with precision and finesse.
Key Takeaways:
- Removing white sealant from brick requires patience and precision to avoid damaging the surface. Softening the sealant with a heat gun and gently lifting it with a putty knife is crucial for successful removal.
- After removing the sealant, thoroughly cleaning the brick surface with a mild detergent and soft-bristled brush restores its natural allure. Adding finishing touches, such as sealing the brick, enhances its resilience and visual appeal.
Read more: How To Remove Shutters From Brick
Understanding White Sealant on Brick
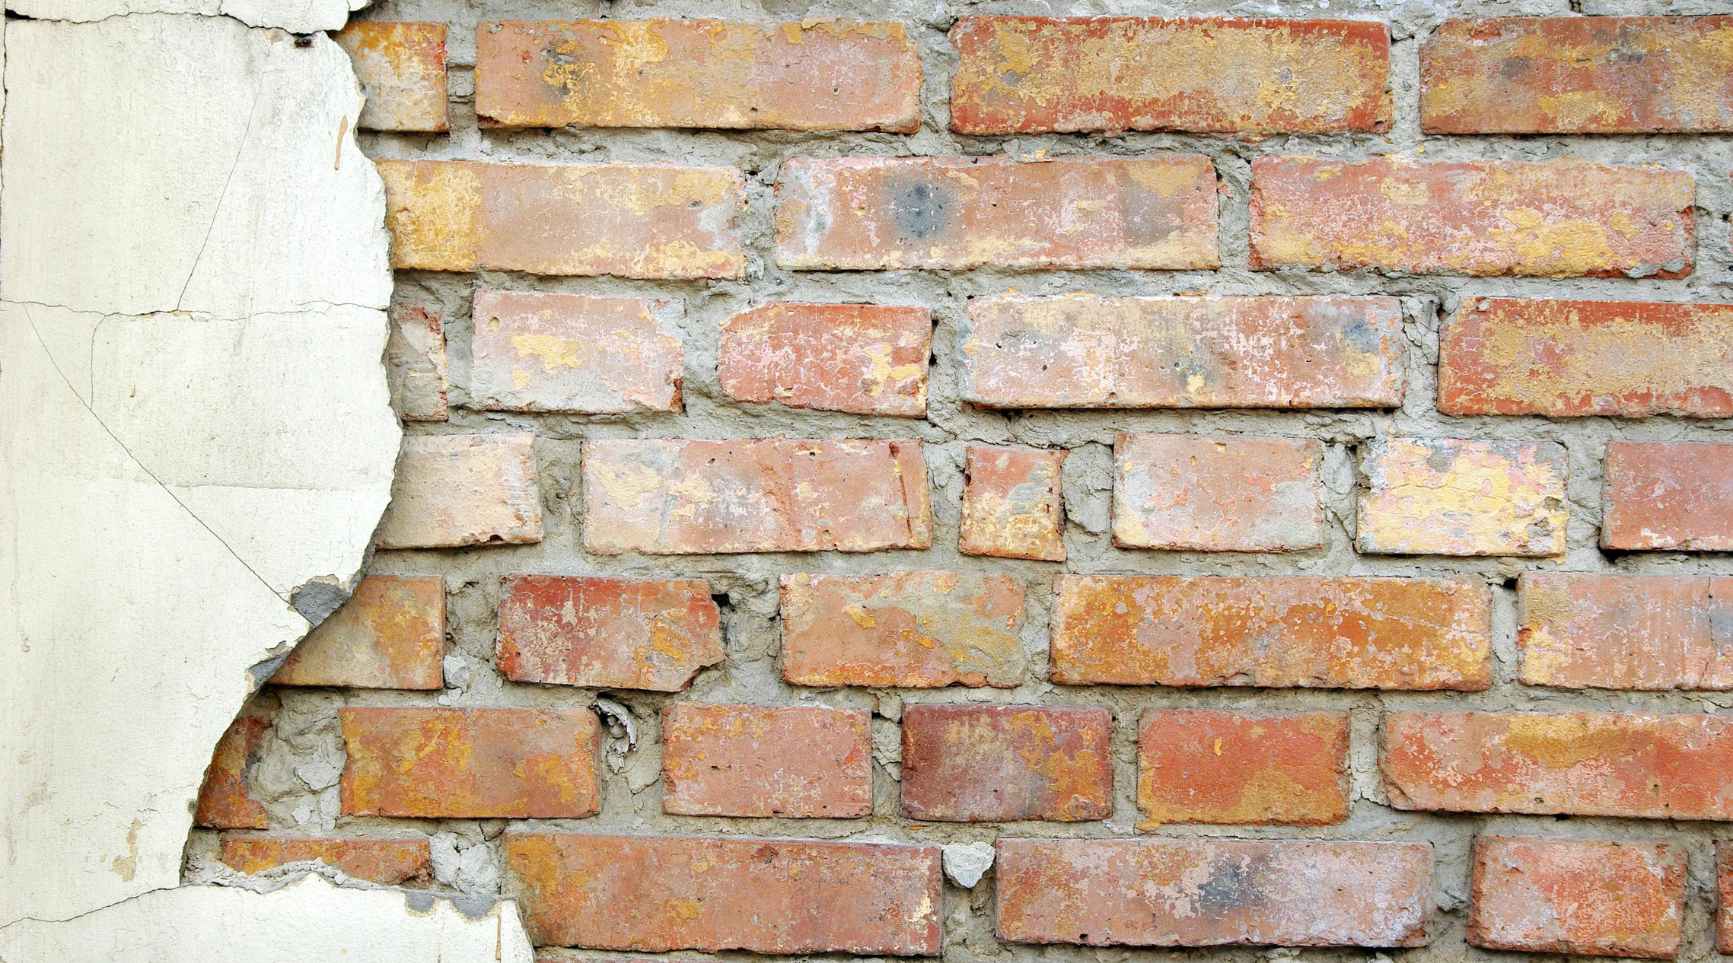
Before delving into the removal process, it’s crucial to grasp the nature of white sealant and its impact on brick surfaces. White sealant, often used for sealing joints and gaps, can inadvertently find its way onto brickwork during construction or renovation projects. While the sealant serves its purpose in creating a barrier against moisture and air infiltration, its presence on brick can detract from the natural aesthetic of the material.
Over time, white sealant on brick may discolor or become visually unappealing due to exposure to the elements, leading to a weathered and unkempt appearance. Additionally, the accumulation of dirt and debris on the sealant can further diminish the overall look of the brick surface, necessitating its removal and restoration.
It’s important to note that removing white sealant from brick requires a methodical approach to avoid damaging the brickwork. The porous nature of brick makes it susceptible to damage from harsh chemicals or abrasive techniques, underscoring the need for a gentle and precise removal process.
By understanding the characteristics of white sealant and its interaction with brick, you’ll be better equipped to choose the appropriate tools and techniques for its removal. With this knowledge in mind, you can proceed with confidence, knowing that the integrity of the brick surface will be preserved throughout the removal process.
Now that we’ve gained insight into the dynamics of white sealant on brick, it’s time to explore the essential tools and materials required for effectively addressing this common challenge.
Tools and Materials Needed
Before embarking on the task of removing white sealant from brick, it’s essential to gather the necessary tools and materials to ensure a smooth and efficient process. The following items are indispensable for this undertaking:
Tools:
- Putty knife or scraper: An essential tool for gently lifting and loosening the sealant from the brick surface without causing damage.
- Heat gun or hairdryer: Used to soften the sealant, making it easier to remove without harming the brick.
- Wire brush: Ideal for gently scrubbing and removing any remaining sealant residue from the brick after the initial removal process.
- Soft-bristled brush: Helpful for cleaning the brick surface and ensuring that any residual sealant particles are thoroughly removed.
- Bucket: To hold water and mild detergent for cleaning the brick surface.
Materials:
- Protective gloves: Essential for hand protection during the removal process, especially when using a heat gun or handling cleaning agents.
- Protective eyewear: To shield the eyes from any debris or particles that may dislodge during the removal process.
- Mild detergent: Used in combination with water for cleaning the brick surface after the sealant removal.
- Clean rags or towels: For wiping and drying the brick surface post-cleaning.
By ensuring that you have these tools and materials at your disposal, you’ll be well-prepared to tackle the task of removing white sealant from brick with precision and care. With the foundation laid for the project, we can now proceed to the step-by-step process of removing the sealant and restoring the natural allure of the brick surface.
Read more: How To Remove Graffiti From Brick
Step 1: Preparing the Work Area
Before initiating the removal process, it’s crucial to prepare the work area to facilitate a safe and efficient undertaking. Here’s a detailed outline of the essential steps for preparing the work area:
1. Gather Necessary Tools and Materials: Ensure that all the tools and materials required for the removal process are readily accessible. This includes the putty knife or scraper, heat gun or hairdryer, wire brush, soft-bristled brush, bucket, protective gloves, protective eyewear, mild detergent, and clean rags or towels.
2. Clear the Surrounding Area: Remove any obstacles or debris from the vicinity of the brick surface to create a clear and unobstructed workspace. This minimizes the risk of accidents and ensures unrestricted access to the sealant-affected areas.
3. Ventilate the Work Area: If working indoors, ensure adequate ventilation to disperse any fumes that may arise during the removal process, especially when using a heat gun or cleaning agents. Open windows and doors to facilitate air circulation.
4. Put on Protective Gear: Prior to commencing the removal process, don protective gloves and eyewear to safeguard against potential hazards, such as heat exposure and dislodged particles.
5. Secure the Surrounding Surfaces: If there are adjacent surfaces or materials that need protection, such as adjacent walls or landscaping features, consider covering them with a protective barrier to prevent inadvertent damage during the removal process.
6. Test the Heat Application: If using a heat gun, perform a test in an inconspicuous area to gauge the appropriate distance and duration for softening the sealant without overheating or damaging the brick surface.
By diligently preparing the work area, you’ll create a conducive environment for executing the subsequent steps of the removal process with precision and care. With the groundwork laid, we can now proceed to the next crucial phase: softening the white sealant to facilitate its removal from the brick surface.
Step 2: Softening the Sealant
Softening the white sealant is a pivotal step in the removal process, as it allows for easier and gentler extraction without causing damage to the underlying brick surface. Here’s a comprehensive guide to effectively softening the sealant:
1. Use a Heat Gun or Hairdryer: With the protective gear in place, aim the heat gun or hairdryer at the white sealant, maintaining a safe distance to prevent overheating. The application of heat will gradually soften the sealant, making it more pliable and easier to manipulate.
2. Apply Even Heat Distribution: Move the heat source evenly across the surface of the sealant to ensure uniform softening. Avoid concentrating the heat in one area for an extended period, as this may lead to excessive heating and potential damage to the brick.
3. Test the Softness: Periodically test the softness of the sealant with a gentle touch using the putty knife or scraper. Once the sealant exhibits increased pliability and can be easily lifted from the brick surface, it is ready for removal.
4. Exercise Patience: Depending on the thickness and type of sealant, the softening process may require patience. Avoid rushing this step, as thorough softening is essential for minimizing the effort and potential impact on the brick during the removal process.
5. Monitor the Surrounding Area: While softening the sealant, be mindful of the surrounding brick and any adjacent materials to ensure that they are not inadvertently exposed to excessive heat, which could compromise their integrity.
By adeptly softening the white sealant with precision and care, you’ll set the stage for the subsequent step of removing the sealant from the brick surface. With the sealant primed for extraction, we can now proceed to the crucial phase of gently lifting and removing the softened sealant to restore the natural allure of the brick.
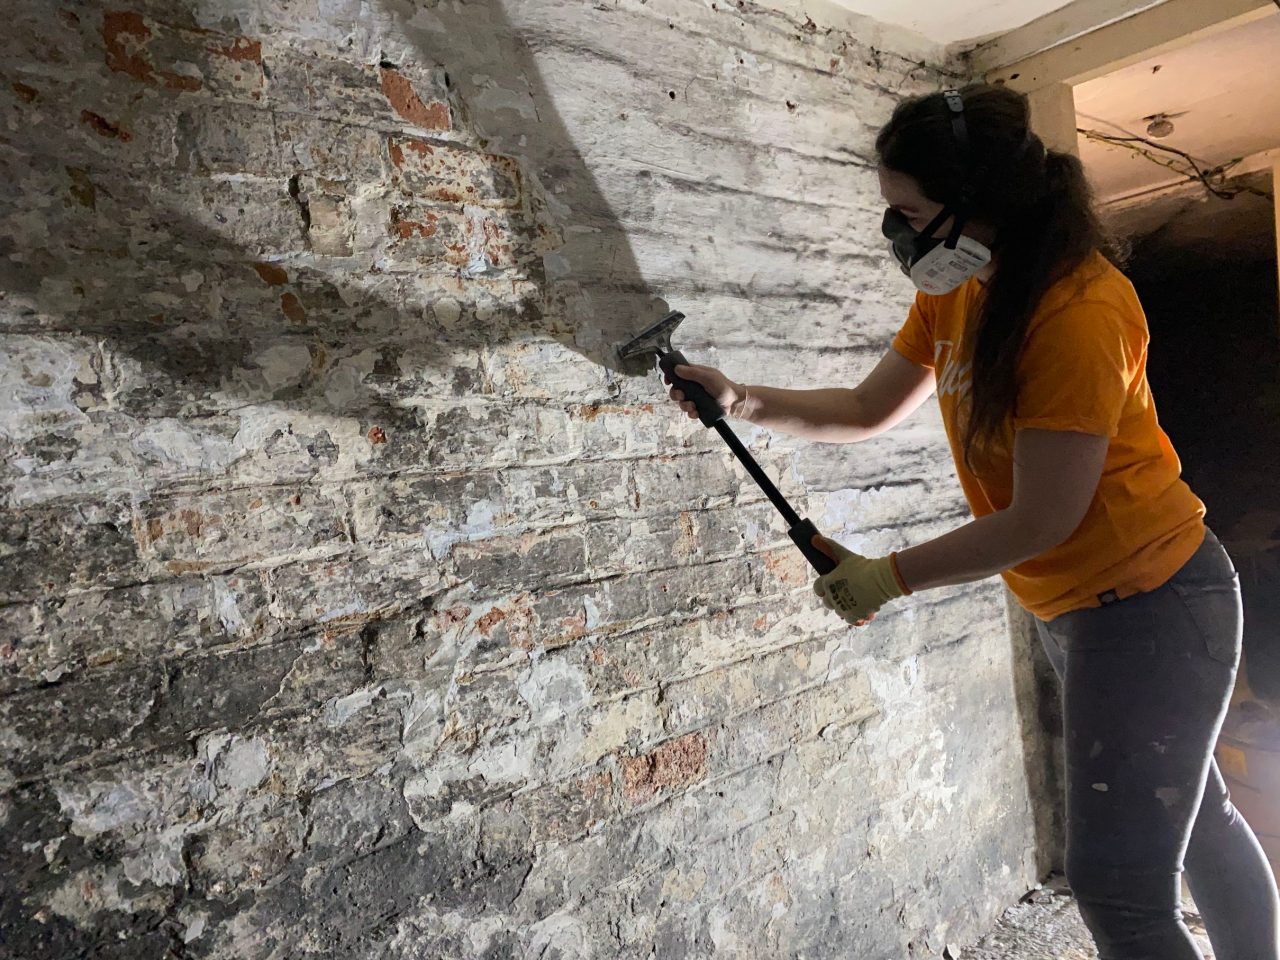
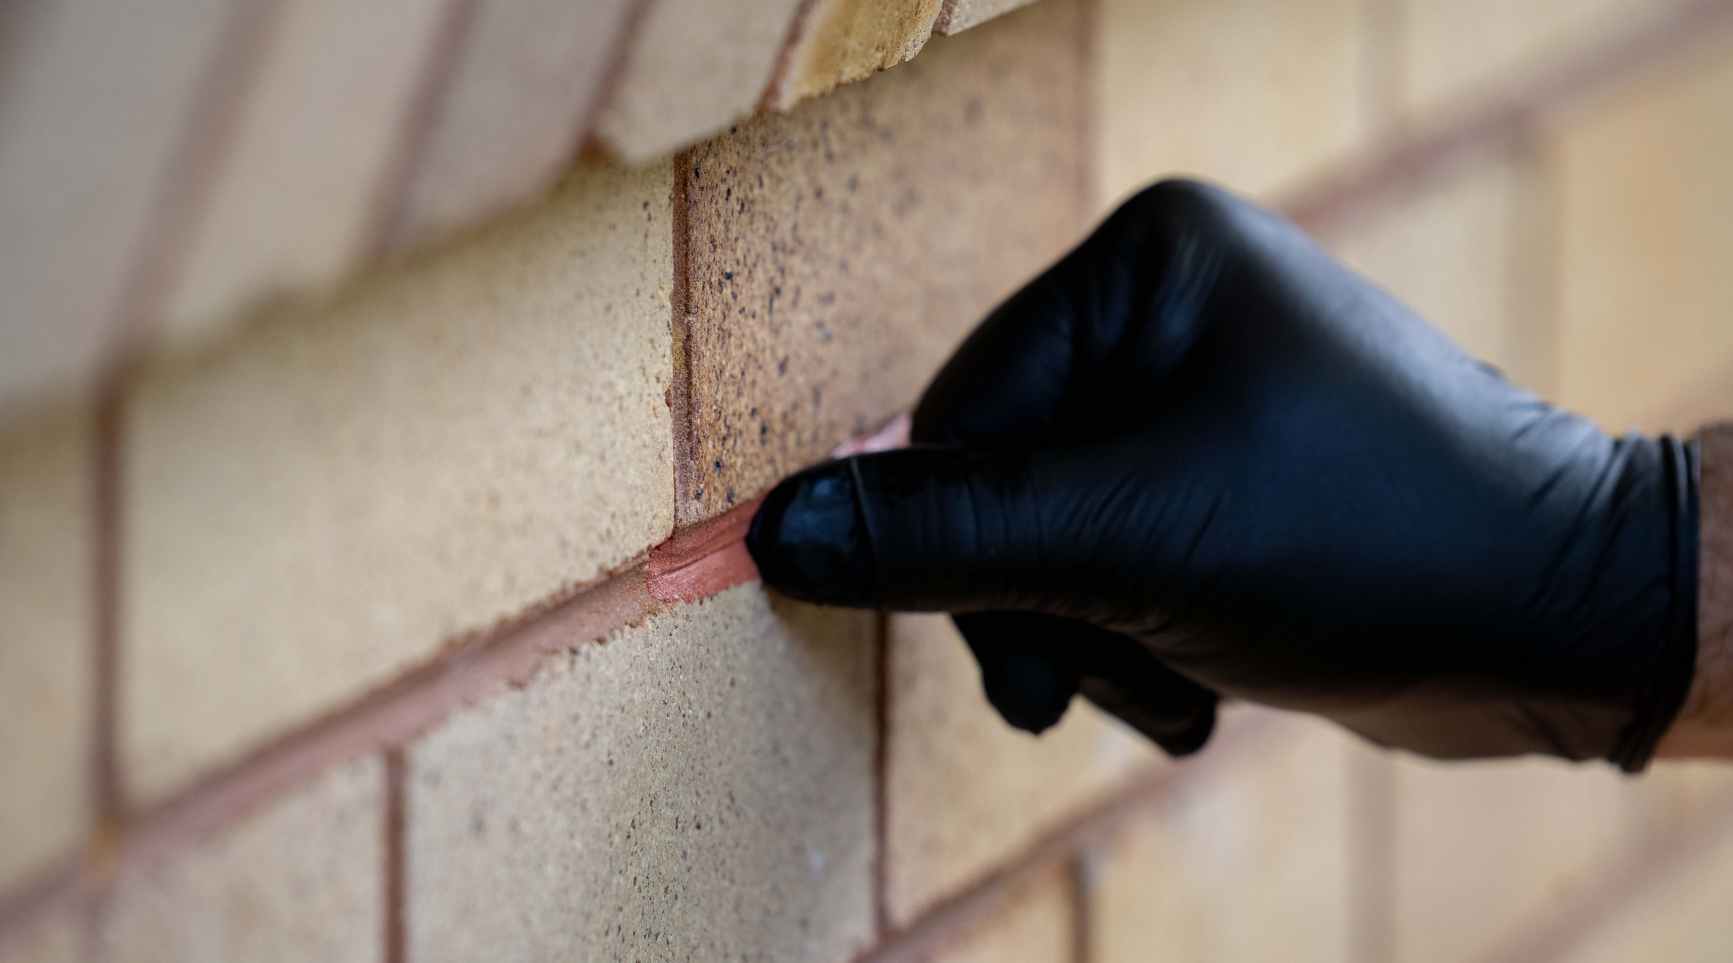
Step 3: Removing the Sealant
With the white sealant effectively softened, the next step involves delicately lifting and removing the sealant from the brick surface. This phase demands precision and care to ensure that the brick remains unscathed throughout the removal process. Here’s a detailed guide to removing the sealant:
1. Position the Putty Knife or Scraper: Hold the putty knife or scraper at a slight angle and gently insert it beneath the softened sealant. Exercise caution to avoid applying excessive pressure that could potentially damage the brick.
2. Gradually Lift the Sealant: With a subtle and controlled motion, begin lifting the softened sealant from the brick surface. Take care to lift small sections at a time, steadily progressing across the affected area to ensure thorough removal.
3. Refrain from Forceful Actions: Avoid forcefully prying or scraping the sealant, as this may lead to unintended damage to the brick. Instead, employ a patient and methodical approach to lift the sealant without impacting the underlying surface.
4. Dispose of the Removed Sealant: As sections of the sealant are lifted, promptly dispose of them in a designated waste receptacle to maintain a tidy work area and prevent the sealant from inadvertently spreading or resettling on the brick surface.
5. Address Residual Sealant: If any traces of sealant persist on the brick after the initial removal, revisit the affected areas and gently lift the remaining residue using the putty knife or scraper. Exercise caution to avoid aggressive scraping that could mar the brick surface.
6. Inspect the Brick Surface: Upon completing the removal process, carefully inspect the brick surface to ensure that all traces of the white sealant have been successfully eliminated, leaving the brick revitalized and free from blemishes.
By methodically removing the softened sealant with precision and diligence, you’ll effectively restore the natural allure of the brick surface, setting the stage for the subsequent phase of cleaning and refining the area. With the sealant successfully removed, we can now transition to the pivotal step of cleaning the brick surface to unveil its inherent beauty.
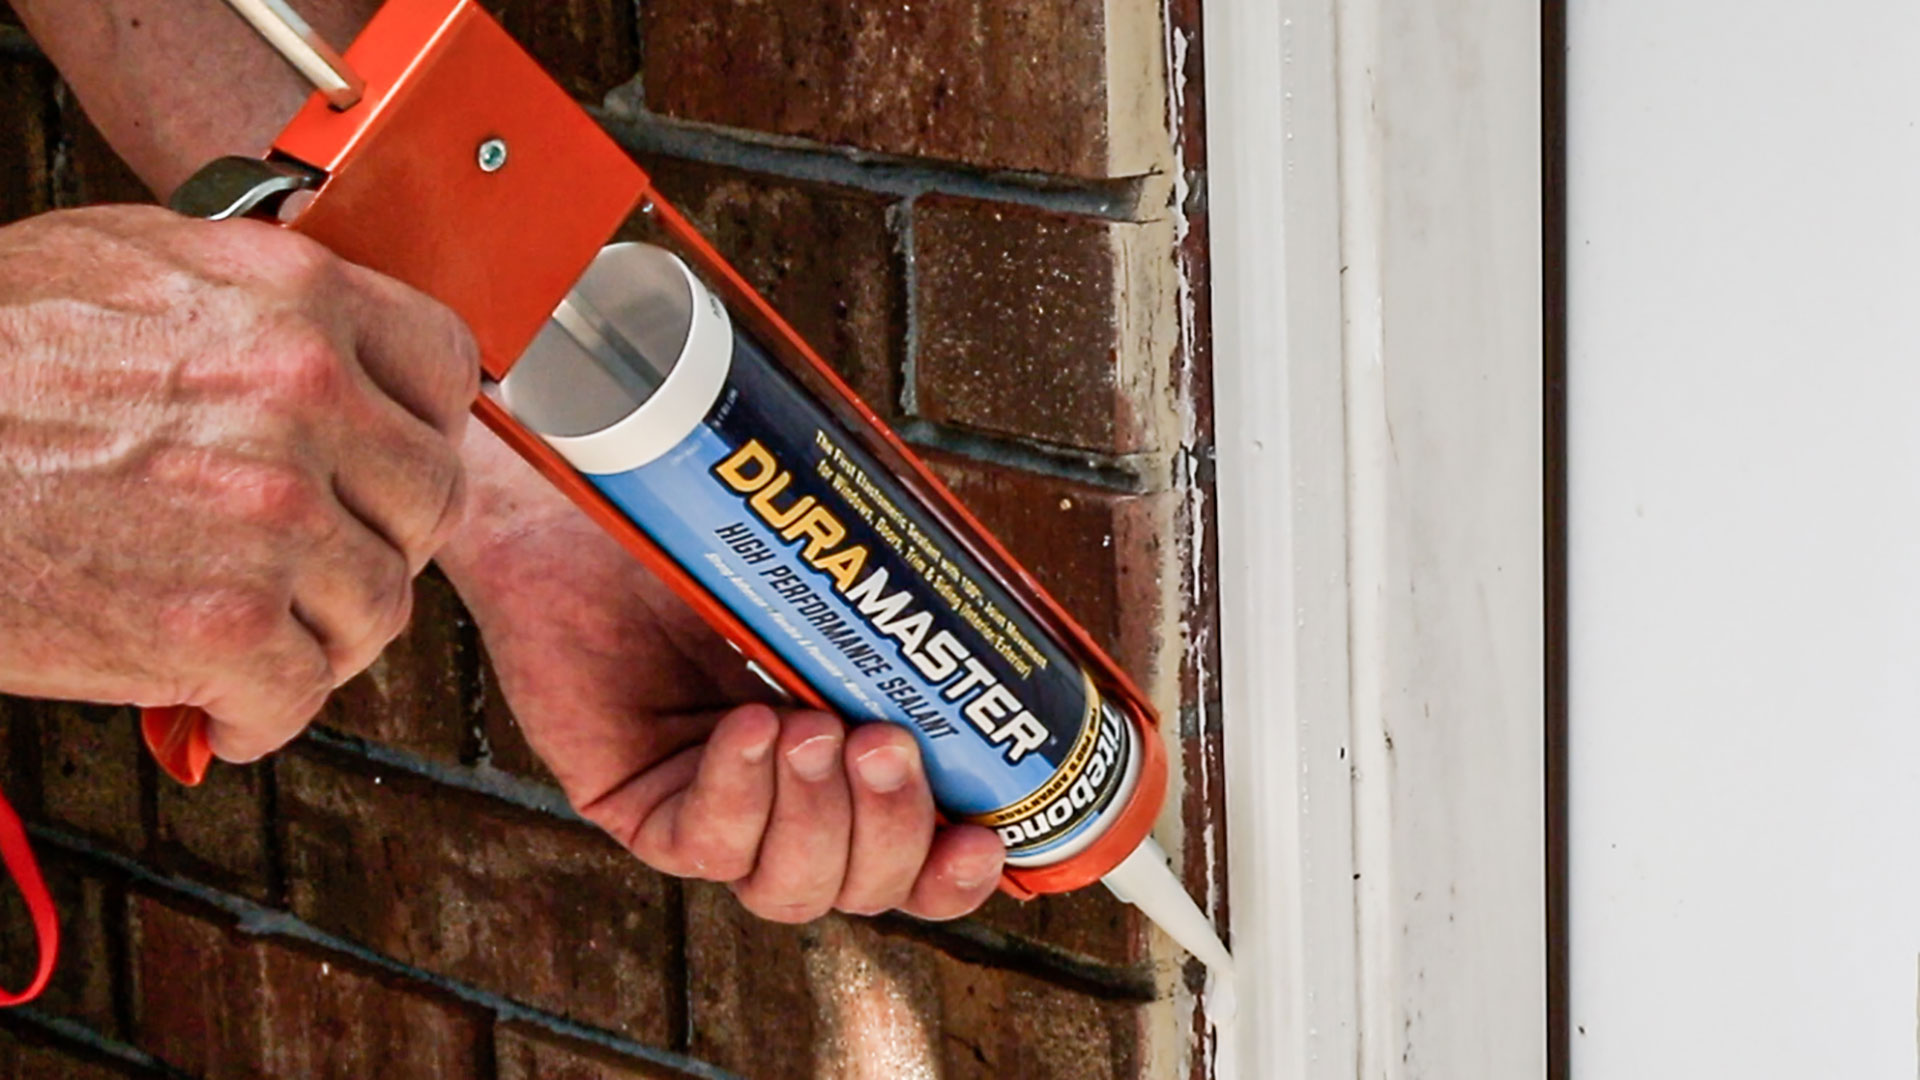
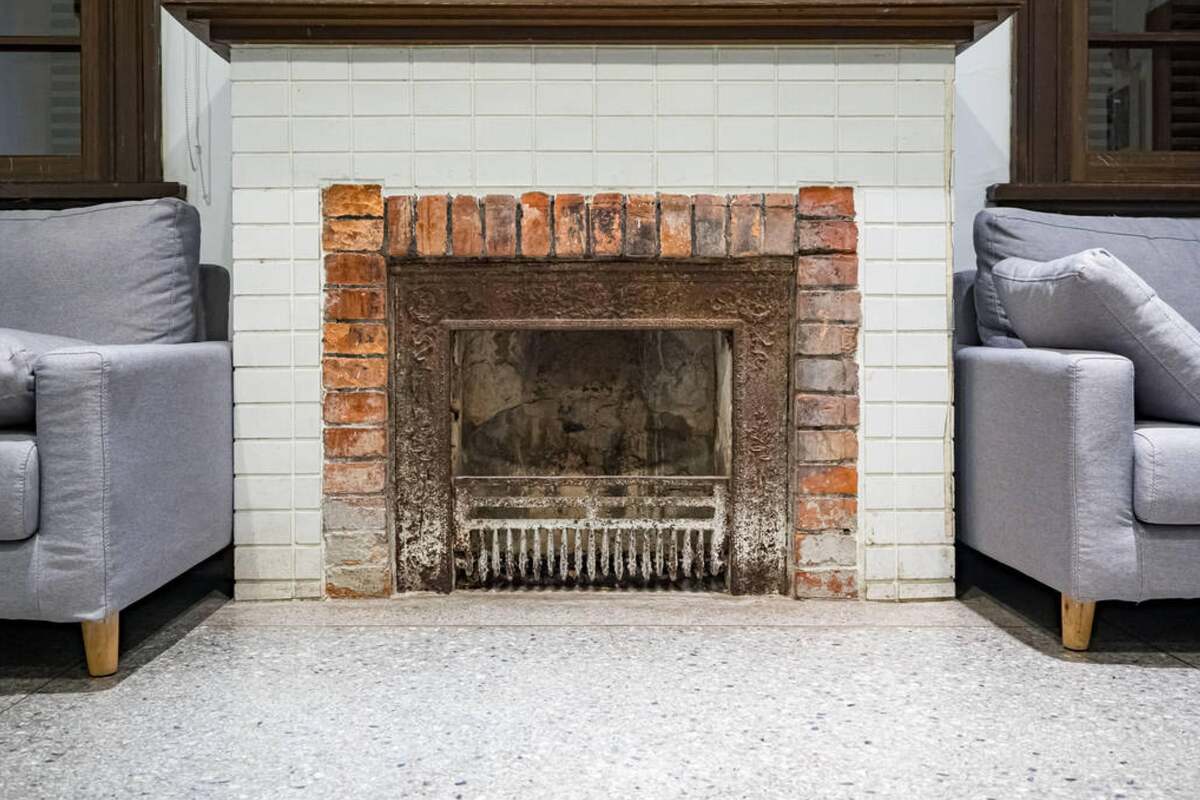
Use a heat gun or a hairdryer to soften the white sealant, then carefully scrape it off with a putty knife. Be sure to work in small sections and avoid overheating the brick.
Step 4: Cleaning the Brick Surface
After the successful removal of the white sealant, the next critical phase involves thoroughly cleaning the brick surface to eliminate any residual traces of the sealant and restore its pristine appearance. Here’s a comprehensive guide to effectively cleaning the brick surface:
1. Prepare a Cleaning Solution: Fill a bucket with water and add a mild detergent, creating a gentle cleaning solution that will effectively cleanse the brick surface without causing damage.
2. Dip the Soft-Bristled Brush: Immerse the soft-bristled brush into the cleaning solution, ensuring that it is sufficiently saturated without excess dripping. The soft bristles will aid in gently scrubbing the brick surface without abrasion.
3. Scrub the Brick Surface: With controlled and circular motions, gently scrub the entire brick surface, paying particular attention to areas where the sealant was removed. This process will effectively lift any residual sealant particles and restore the natural luster of the brick.
4. Rinse the Brick Surface: After thorough scrubbing, utilize clean water to rinse the brick surface, removing the soapy residue and any lingering remnants of the cleaning solution. This step will leave the brick surface refreshed and free from cleaning agents.
5. Inspect for Residual Sealant: Carefully examine the cleaned brick surface to ensure that all traces of the white sealant and cleaning residue have been successfully eradicated. Address any remaining remnants with gentle scrubbing using the soft-bristled brush if necessary.
6. Allow the Surface to Dry: Once the cleaning process is complete, allow the brick surface to air-dry thoroughly. This will reveal the revitalized appearance of the brick and ensure that it is primed for the finishing touches.
By meticulously cleaning the brick surface after the sealant removal, you’ll unveil its inherent beauty and pristine condition, setting the stage for the final phase of adding the finishing touches to complete the restoration process. With the brick surface now immaculately clean, we can proceed to the culminating step of adding the finishing touches to achieve a polished and revitalized appearance.
Read more: How To Remove Dynabolts From Brick
Step 5: Finishing Touches
As the brick surface has been thoroughly cleaned and restored to its natural allure, the final step involves adding the finishing touches to complete the revitalization process. This phase encompasses refining the appearance of the brick and ensuring that the surface is primed for a renewed visual impact. Here’s a detailed guide to the finishing touches:
1. Assess the Overall Condition: Carefully inspect the cleaned brick surface to evaluate its overall condition and identify any areas that may require additional attention or refinement.
2. Address Any Imperfections: If minor imperfections or residual sealant traces are still evident, gently address them with the appropriate tools and techniques, ensuring that the brick surface achieves a uniform and revitalized appearance.
3. Consider Sealing the Brick: Depending on the desired outcome and the specific characteristics of the brick, consider applying a suitable brick sealant to enhance its resilience and aesthetic appeal. This optional step can provide added protection and longevity to the revitalized surface.
4. Apply a Protective Finish: If the brick surface is intended to be exposed to outdoor elements, consider applying a protective finish to safeguard it against environmental factors and preserve its revitalized appearance over time.
5. Enhance the Visual Appeal: If desired, explore opportunities to enhance the visual appeal of the brick surface, such as applying a subtle sheen or enhancing the natural color variations to elevate its aesthetic impact.
6. Celebrate the Revitalized Brick: Take a moment to appreciate the transformation of the brick surface, celebrating the successful removal of the white sealant and the meticulous restoration that has revitalized its inherent beauty.
By adding the finishing touches with precision and care, you’ll elevate the brick surface to its full potential, ensuring that it radiates renewed allure and resilience. With the revitalization process now complete, we can reflect on the journey of restoring the brick to its pristine state and celebrate the successful transformation.
With the finishing touches applied, the brick surface stands as a testament to the meticulous effort and dedication invested in restoring its natural beauty, ready to captivate and endure for years to come.
Conclusion
Embarking on the journey of removing white sealant from brick surfaces is a testament to your commitment to preserving and enhancing the inherent beauty of these timeless materials. Through the meticulous application of the step-by-step process outlined in this guide, you have successfully navigated the complexities of addressing white sealant on brick, culminating in the revitalization of the brick surface.
By understanding the nature of white sealant and its interaction with brick, you gained valuable insights that informed your approach to the removal process. Equipped with essential tools and materials, you adeptly prepared the work area, setting the stage for a seamless and efficient undertaking.
Softening the sealant with precision and patience allowed for its gentle removal, ensuring that the integrity of the brick remained uncompromised. Thoroughly cleaning the brick surface eliminated any residual traces of the sealant, unveiling its inherent allure and pristine condition.
The application of finishing touches further elevated the revitalized brick, ensuring that it stands as a testament to your dedication and meticulous effort. Whether considering the optional sealing of the brick or enhancing its visual appeal, you have ensured that the revitalized surface radiates renewed allure and resilience.
As you celebrate the successful transformation of the brick surface, it serves as a testament to the enduring beauty and timeless appeal of this remarkable material. Your commitment to preserving and enhancing the natural allure of brick surfaces has not only revitalized the tangible elements but has also enriched your understanding and appreciation of these enduring materials.
With the revitalization process complete, the brick surface stands as a captivating testament to your dedication and the enduring allure of this timeless material. As you reflect on the journey of restoring the brick to its pristine state, may it serve as a source of pride and inspiration, ready to captivate and endure for years to come.
Frequently Asked Questions about How To Remove White Sealant From Brick
Was this page helpful?
At Storables.com, we guarantee accurate and reliable information. Our content, validated by Expert Board Contributors, is crafted following stringent Editorial Policies. We're committed to providing you with well-researched, expert-backed insights for all your informational needs.


0 thoughts on “How To Remove White Sealant From Brick”