Articles
How To Paint White Brick Fireplace
Modified: September 2, 2024
Learn how to paint a white brick fireplace with our step-by-step guide. Discover the best techniques and articles for transforming your outdated fireplace into a stunning focal point for your home.
(Many of the links in this article redirect to a specific reviewed product. Your purchase of these products through affiliate links helps to generate commission for Storables.com, at no extra cost. Learn more)
Introduction
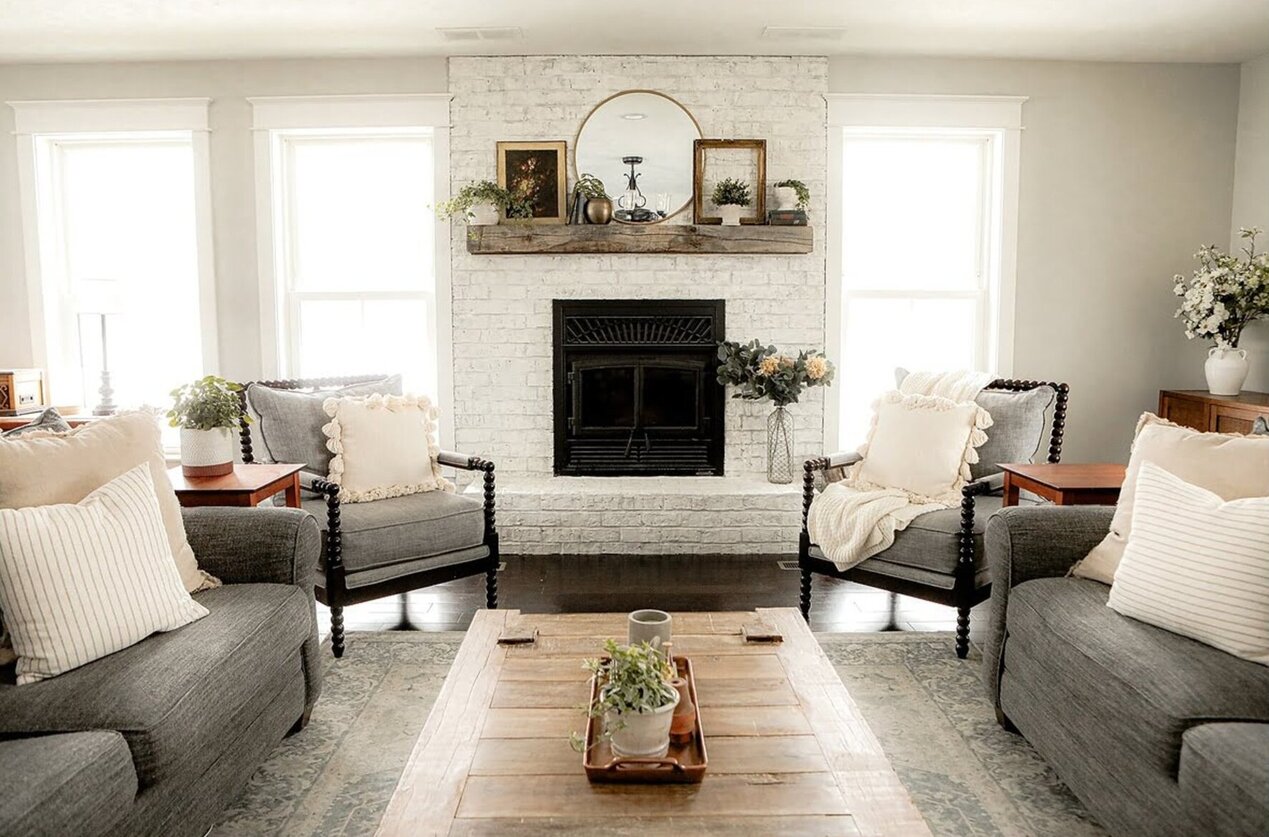
Welcome to this comprehensive guide on how to paint a white brick fireplace. A white brick fireplace can create a stunning focal point in any room, adding a touch of elegance and brightness to the space. Whether you want to update the look of your existing fireplace or transform a dated, old brick fireplace, painting it white can bring a fresh and modern aesthetic.
Painting a brick fireplace may seem like a daunting task, but with the right tools, materials, and technique, it can be a rewarding and relatively straightforward project. In this step-by-step guide, we will walk you through the process of preparing the fireplace, cleaning the brick, protecting the surrounding area, priming the brick, choosing the paint, applying the coats, and adding finishing touches.
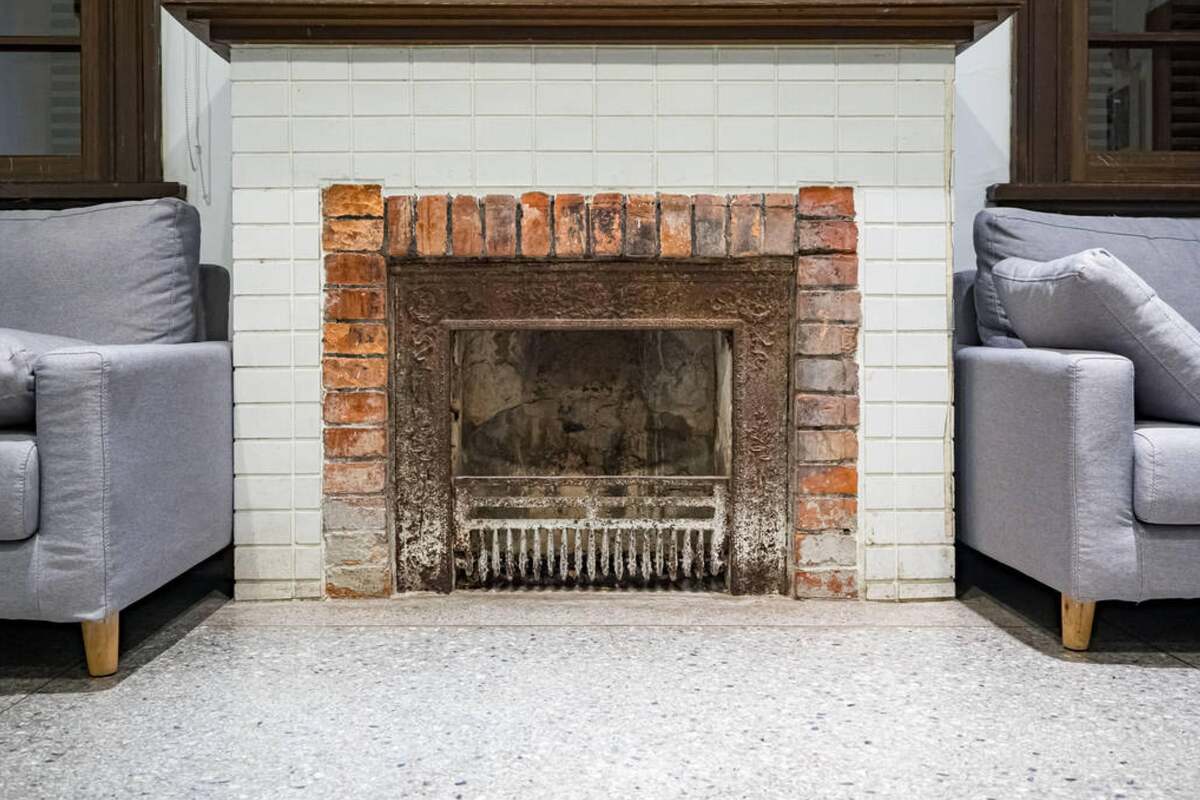
Before proceeding with the painting process, it is important to consider a few factors. First, ensure that painting your fireplace is the right choice for your space. Some homeowners prefer to keep the natural look of brick, while others may see painting as a way to update the aesthetics or to cover up stains or discoloration. Additionally, it is crucial to ensure that your fireplace is properly functioning and compliant with safety regulations before making any changes.
Now that you have determined that painting your white brick fireplace is the way to go, let’s dive into the step-by-step process that will help you achieve a beautiful end result. Follow these instructions carefully, and soon you’ll be enjoying the fresh, bright look of your newly painted white brick fireplace.
Key Takeaways:
- Transform your outdated fireplace into a modern focal point by following the step-by-step guide to painting a white brick fireplace. Achieve a fresh and elegant look with the right preparation, priming, and careful application of multiple coats of paint.
- Elevate the overall aesthetic of your space by adding finishing touches to your newly painted white brick fireplace. From accessorizing the mantel to updating the fireplace screen, these details bring your vision to life and create a cohesive and polished look.
Read more: How To Paint A Red Brick Fireplace White
Step 1: Preparing the Fireplace
Before you start the painting process, it’s essential to prepare the fireplace properly. This step ensures that the paint adheres well and provides a smooth and long-lasting finish. Here’s how to prepare your fireplace:
- Clean the surface: Remove any dust, dirt, or debris from the surface of the brick. Use a stiff brush or vacuum cleaner to get rid of loose particles. You can also use a mild detergent and water solution to scrub away any stubborn stains. Ensure that the surface is completely dry before moving on to the next step.
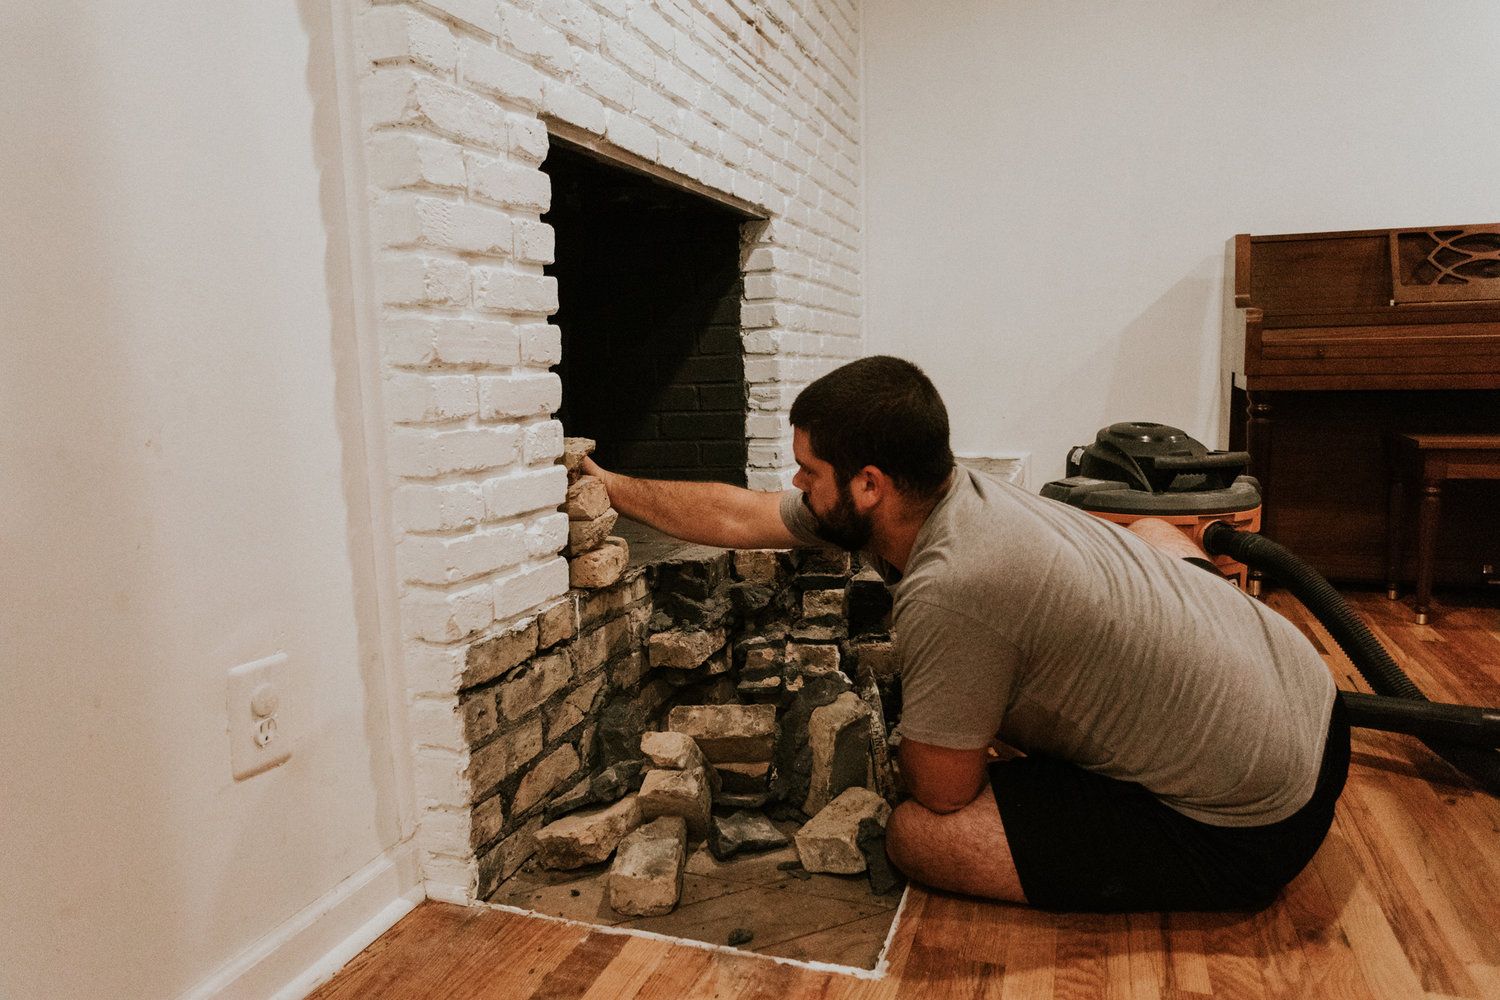
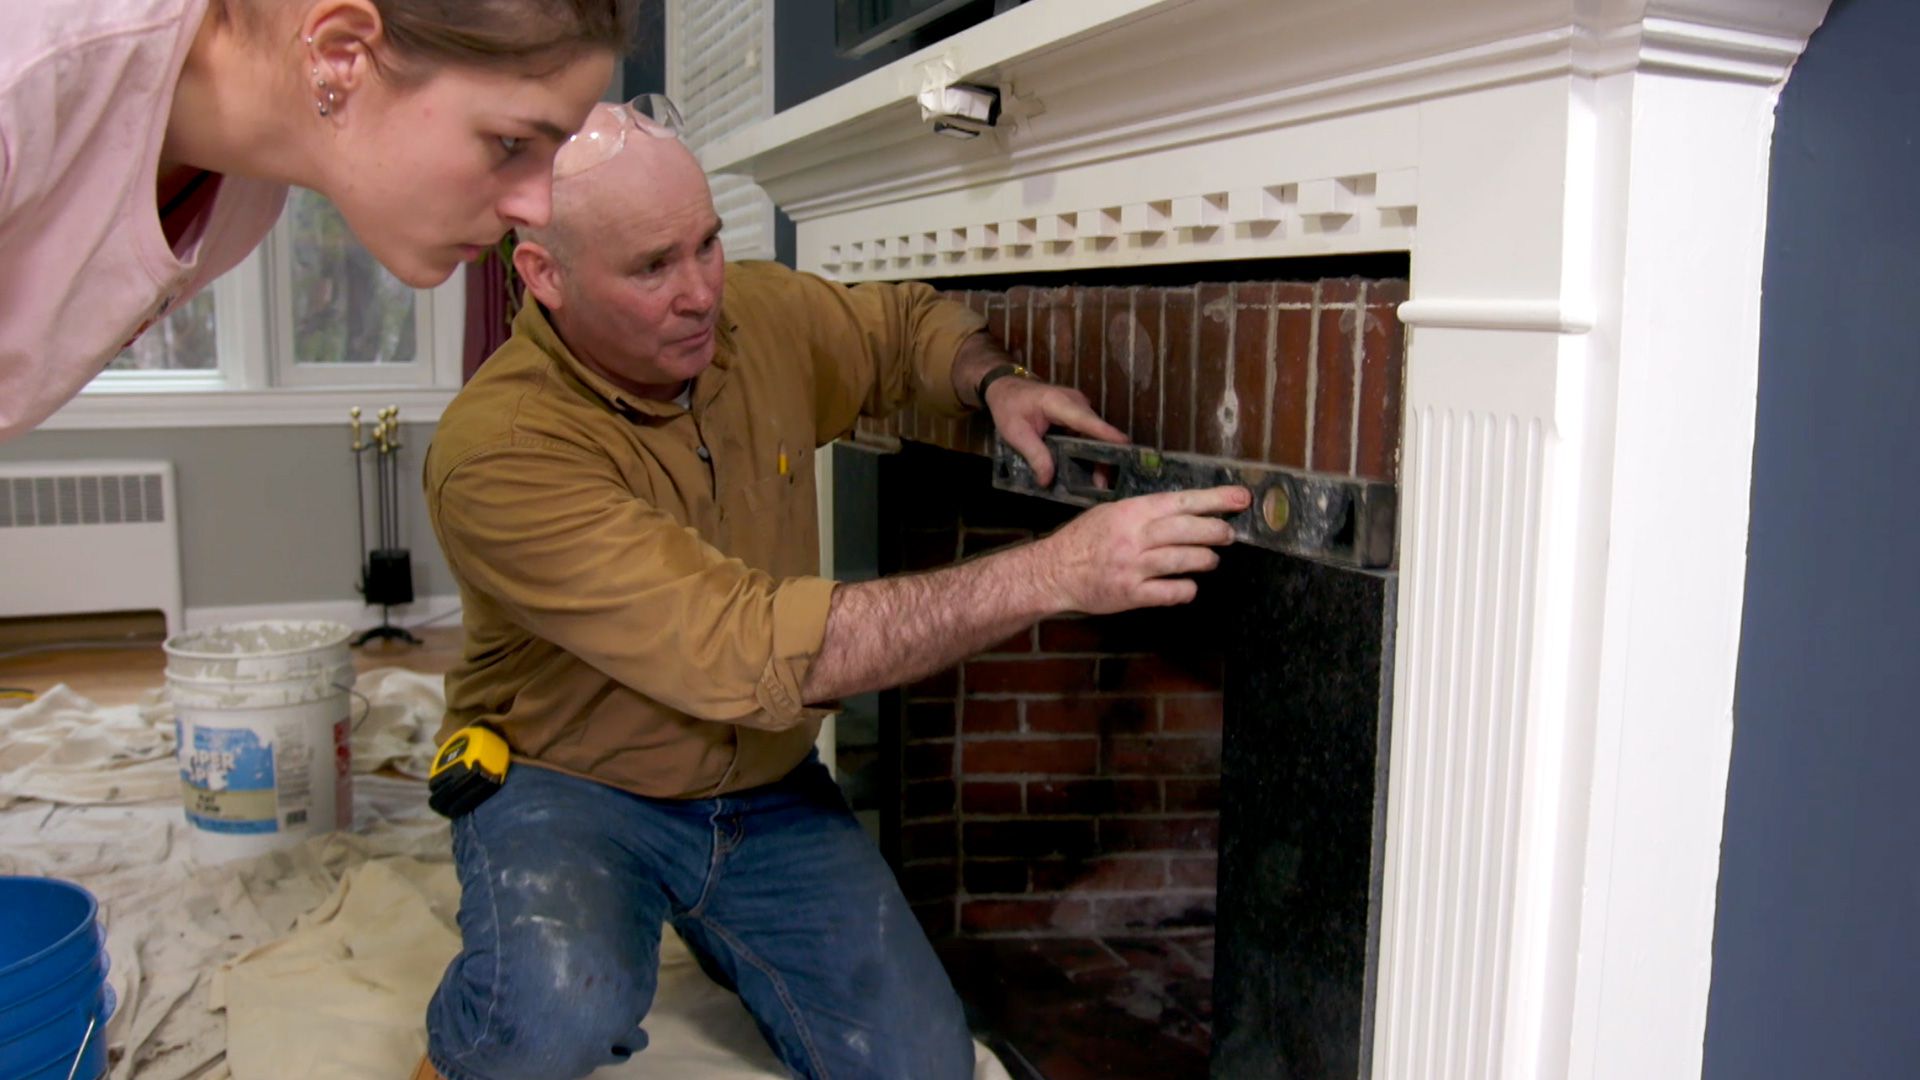
- Inspect for damage: Check the fireplace for any signs of damage, such as cracks or loose mortar. Repair any issues before proceeding with the painting process. You can use a brick patching compound to fill in any small cracks or gaps, and mortar repair for larger areas.
- Sand the brick: If your brick fireplace has a glossy or smooth surface, lightly sand it using medium-grit sandpaper. This step helps the paint adhere better by providing a slightly rougher texture. Sand in circular motions, focusing on the glossy areas, and wipe away the dust with a clean cloth or vacuum.
- Protect the surroundings: Cover the floor and any nearby furniture or objects with drop cloths or plastic sheets to prevent paint splatters. Use painter’s tape to mask off any areas that you don’t want to be painted, such as the edges of the fireplace, surrounding walls, or mantel. Take the time to properly protect your space to avoid any unwanted paint marks.
By following these steps, you’ll ensure that your fireplace is properly prepared for the painting process. Taking the time to prepare the surface will result in a smoother application and a more professional-looking finish. Now that your fireplace is ready, let’s move on to the next step: cleaning the brick.
Step 2: Cleaning the Brick
Once you have prepared the fireplace and protected the surrounding area, it’s time to clean the brick to remove any stubborn dirt, grime, or residue. Cleaning the brick surface ensures that the paint adheres properly and provides a smooth finish. Here’s how to clean the brick:
- Prepare a cleaning solution: Mix a solution of warm water and mild dish soap or all-purpose cleaner in a bucket. Avoid using harsh chemicals or abrasive cleaners, as they can damage the brick surface.
- Dampen the brick: Moisten a sponge or soft-bristle brush with the cleaning solution. Gently dampen the brick surface, focusing on small sections at a time. Avoid oversaturating the brick, as excessive water can cause issues during the painting process.
- Scrub the brick: Using the damp sponge or brush, scrub the brick surface in circular motions. Pay attention to any areas with stubborn stains or buildup. For tougher stains, you can use a soft scrub brush or a mix of baking soda and water to create a paste and gently scrub the affected areas.
- Rinse the brick: Once you have scrubbed the entire surface, rinse the brick with clean water. You can either use a clean sponge dampened with water or a hose with a gentle spray attachment. Make sure to remove all traces of the cleaning solution, as any remaining residue may interfere with the paint’s adhesion.
- Allow the brick to dry: After rinsing, allow the brick to air dry completely before proceeding. Depending on the humidity and ventilation, this may take anywhere from a few hours to a full day. Ensure that the brick is completely dry to the touch before moving on to the next steps.
By thoroughly cleaning the brick, you’ll create an optimal surface for the paint to adhere to. The removal of dirt, grime, and residue will result in a smoother and more professional-looking finish. Now that the brick is clean and dry, we can move on to the next step: protecting the surrounding area.
Step 3: Protecting the Surrounding Area
Protecting the surrounding area is crucial to ensure that paint doesn’t accidentally end up on surfaces that you don’t want to be painted. Taking the time to properly cover and mask off areas will save you time and effort in the long run. Here’s how to protect the surrounding area:
- Cover the floor: Lay down drop cloths or plastic sheets on the floor, extending several feet out from the fireplace. This will protect the floor from paint drips or spills.
- Mask off edges: Use painter’s tape to mask off any areas that you want to keep paint-free, such as the edges of the fireplace, adjacent walls, or mantel. Apply the tape carefully and ensure it adheres well to the surface.
- Protect furniture and objects: If you have nearby furniture, decorative items, or other objects, cover them with plastic sheets or old blankets to shield them from paint splatters. Secure the covers with tape or plastic wrap to keep them in place.
- Protect the fireplace interior: If you’re painting a fireplace with an open hearth, cover the interior with a large plastic sheet or use a fireplace insert cover to prevent any paint from entering the fireplace.
By taking the time to protect the surrounding area, you’ll minimize the risk of accidents and ensure that only the intended surfaces are painted. It’s worth investing the extra effort to avoid any unnecessary clean-up or touch-ups. Now that the area is properly protected, let’s move on to the next step: priming the brick.
Step 4: Priming the Brick
Priming the brick is an essential step in the painting process as it prepares the surface for better paint adhesion and helps to seal any porous areas of the brick. Priming also promotes an even and smooth finish. Follow these steps to properly prime the brick:
- Select a suitable primer: Choose a high-quality primer specifically designed for masonry or brick surfaces. Look for a product that is compatible with the type of paint you plan to use.
- Prepare the primer: Follow the manufacturer’s instructions to prepare the primer for application. This may involve stirring the primer or diluting it with water, depending on the product.
- Apply the primer: Use a brush or roller to apply a thin and even coat of primer on the brick surface. Work in small sections, starting from the top and working your way down. Pay special attention to the mortar lines and any recessed areas, ensuring they are adequately covered.
- Allow the primer to dry: Check the manufacturer’s instructions for the recommended drying time. It is generally advisable to let the primer dry overnight or as per the specified time. Make sure the primer is completely dry before proceeding to the next steps.
- Sand the primed surface (optional): If you notice any imperfections or rough spots on the primed surface, lightly sand them using fine-grit sandpaper. This will create a smoother texture for the paint application. Wipe away any dust with a clean cloth.
Priming the brick will create a solid foundation for the paint and improve the overall durability and longevity of the finish. It also helps to prevent the previous brick color from bleeding through the paint. Once the primer has dried, you’re ready to move on to the exciting step of choosing the paint color and type.
When painting a white brick fireplace, be sure to clean the surface thoroughly and use a high-quality primer to ensure the paint adheres properly. Consider using a paint sprayer for a smooth, even finish.
Read more: How To Paint A Brick House White
Step 5: Choosing the Paint
Choosing the right paint for your white brick fireplace is an important step to achieve the desired look and durability. Here are some factors to consider when selecting the paint:
- Paint type: Opt for a paint specifically formulated for masonry or brick surfaces. These types of paints are designed to adhere well to porous surfaces, such as brick, and provide excellent coverage.
- Finish: Decide on the desired finish for your fireplace. Satin or semi-gloss finishes are popular choices for brick fireplaces as they offer a subtle sheen and are easy to clean. Consider the overall look and feel you want to achieve in your space.
- Color: White is a classic and timeless choice for a brick fireplace, as it brightens the room and creates a clean, fresh look. However, there are various shades of white to choose from, so consider the existing color scheme in the room and select a white shade that complements it.
- Sample testing: Before committing to a large quantity of paint, it’s a good idea to test the color and finish on a small, inconspicuous area of the fireplace. This will allow you to see how the paint looks in your space and make any adjustments if needed.
- Durability: Look for a paint that is durable and can withstand the high temperatures that may occur near the fireplace. Some paints are specially designed to be heat-resistant, ensuring that they won’t peel or crack when exposed to heat.
Consider these factors and explore different paint options to find the one that best suits your style, preferences, and the specific requirements of your fireplace. Once you have chosen the paint, you’re ready to move on to the exciting steps of applying the paint coats and transforming your white brick fireplace.
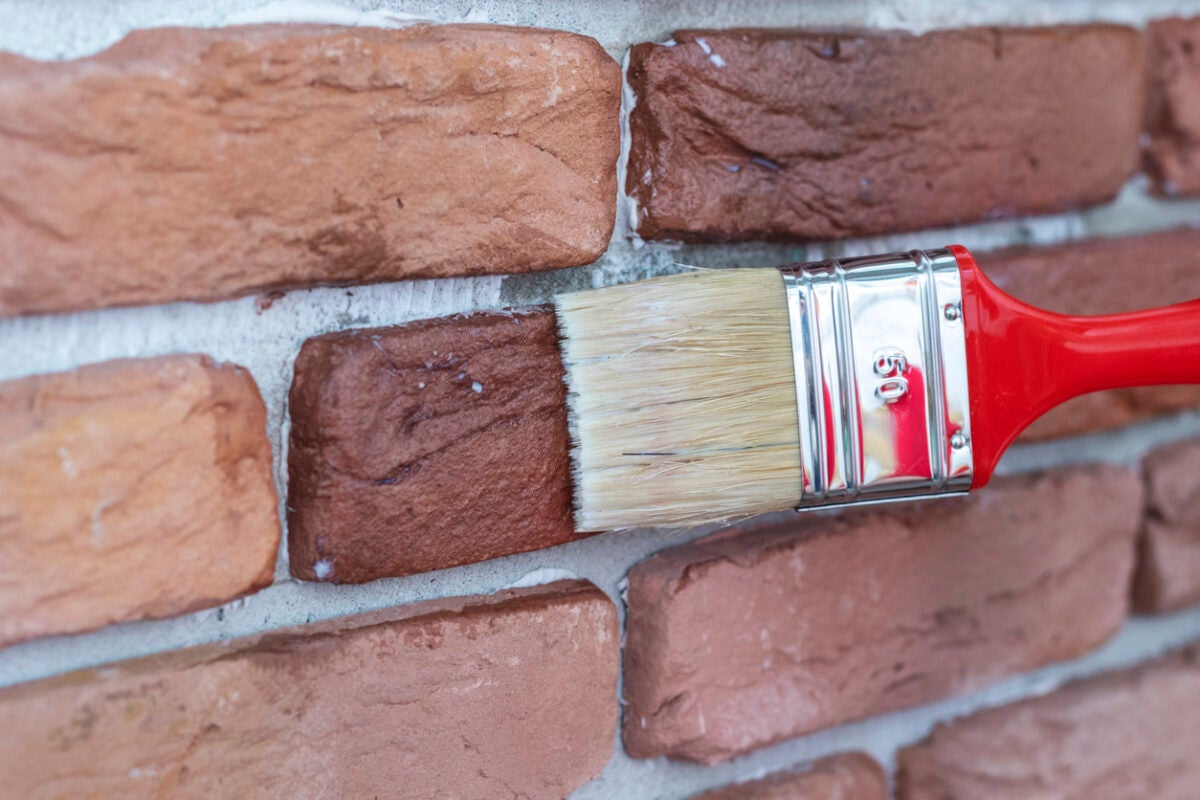
Step 6: Applying the First Coat
Now that you have prepared the surface, primed the brick, and selected the perfect paint, it’s time to start applying the first coat. This is where you will see your white brick fireplace transformation begin to take shape. Here’s how to apply the first coat of paint:
- Stir the paint: Before you begin, give the paint a good stir to ensure it is well mixed. This will help achieve a consistent color throughout the fireplace.
- Start from the top: Begin painting from the top of the fireplace, working your way down. This will help prevent any drips or splatters on already painted areas. Use a brush or a roller, depending on your preference and the size of the surface.
- Apply an even coat: Use long, smooth strokes to apply an even coat of paint on the brick surface. Work in small sections, ensuring proper coverage without leaving any gaps or thin spots. Be mindful of any intricate or recessed areas, making sure to reach into all the nooks and crannies.
- Allow the paint to dry: Check the paint label for the recommended drying time. It is typically advised to let the first coat of paint dry for several hours or as per the manufacturer’s instructions. Ensure the paint is completely dry before moving on to the next steps.
- Inspect for any touch-ups: Once the first coat is completely dry, inspect the painted surface for any areas that may require touch-ups or additional coverage. If you notice any unevenness or missed spots, gently sand those areas and apply a touch-up coat of paint.
Applying the first coat of paint is an exciting step as you begin to see the transformation of your white brick fireplace. Take your time, use smooth strokes, and ensure proper coverage for a professional-looking finish. Once the first coat is dry and any necessary touch-ups are made, it’s time to move on to applying the second coat of paint.
Step 7: Applying the Second Coat
Now that you’ve successfully applied the first coat of paint to your white brick fireplace, it’s time to move on to the second coat. This step will provide the finishing touch, ensuring a solid and beautiful white finish. Follow these steps to apply the second coat:
- Inspect the first coat: Before starting the second coat, inspect the first coat of paint for any imperfections or areas that may need touch-ups. If you notice any unevenness or missed spots, lightly sand those areas and apply touch-up paint as needed. It’s essential to have a smooth, even base before proceeding.
- Stir the paint: Give the paint a thorough stir to ensure it is well mixed. This will help maintain color consistency throughout the fireplace.
- Start from where you left off: Begin applying the second coat of paint from where you finished with the first coat. Use the same painting technique, whether it’s a brush or roller, and follow the same pattern to maintain a consistent finish.
- Apply a smooth and even coat: Use long, smooth strokes to apply an even second coat of paint. Make sure to cover any areas that may have been missed or require additional coverage. Pay attention to achieving a consistent color across the entire fireplace surface.
- Allow the paint to dry: Check the paint label for the recommended drying time between coats. Typically, you’ll need to wait several hours or follow the manufacturer’s instructions. Ensure the paint is completely dry before moving on to adding the finishing touches.
Applying the second coat will help ensure a solid and flawless white finish for your brick fireplace. Take your time and be meticulous in your application to achieve the desired result. Once the second coat is dry, you’re almost done. It’s time to add the final finishing touches to complete the transformation of your white brick fireplace.
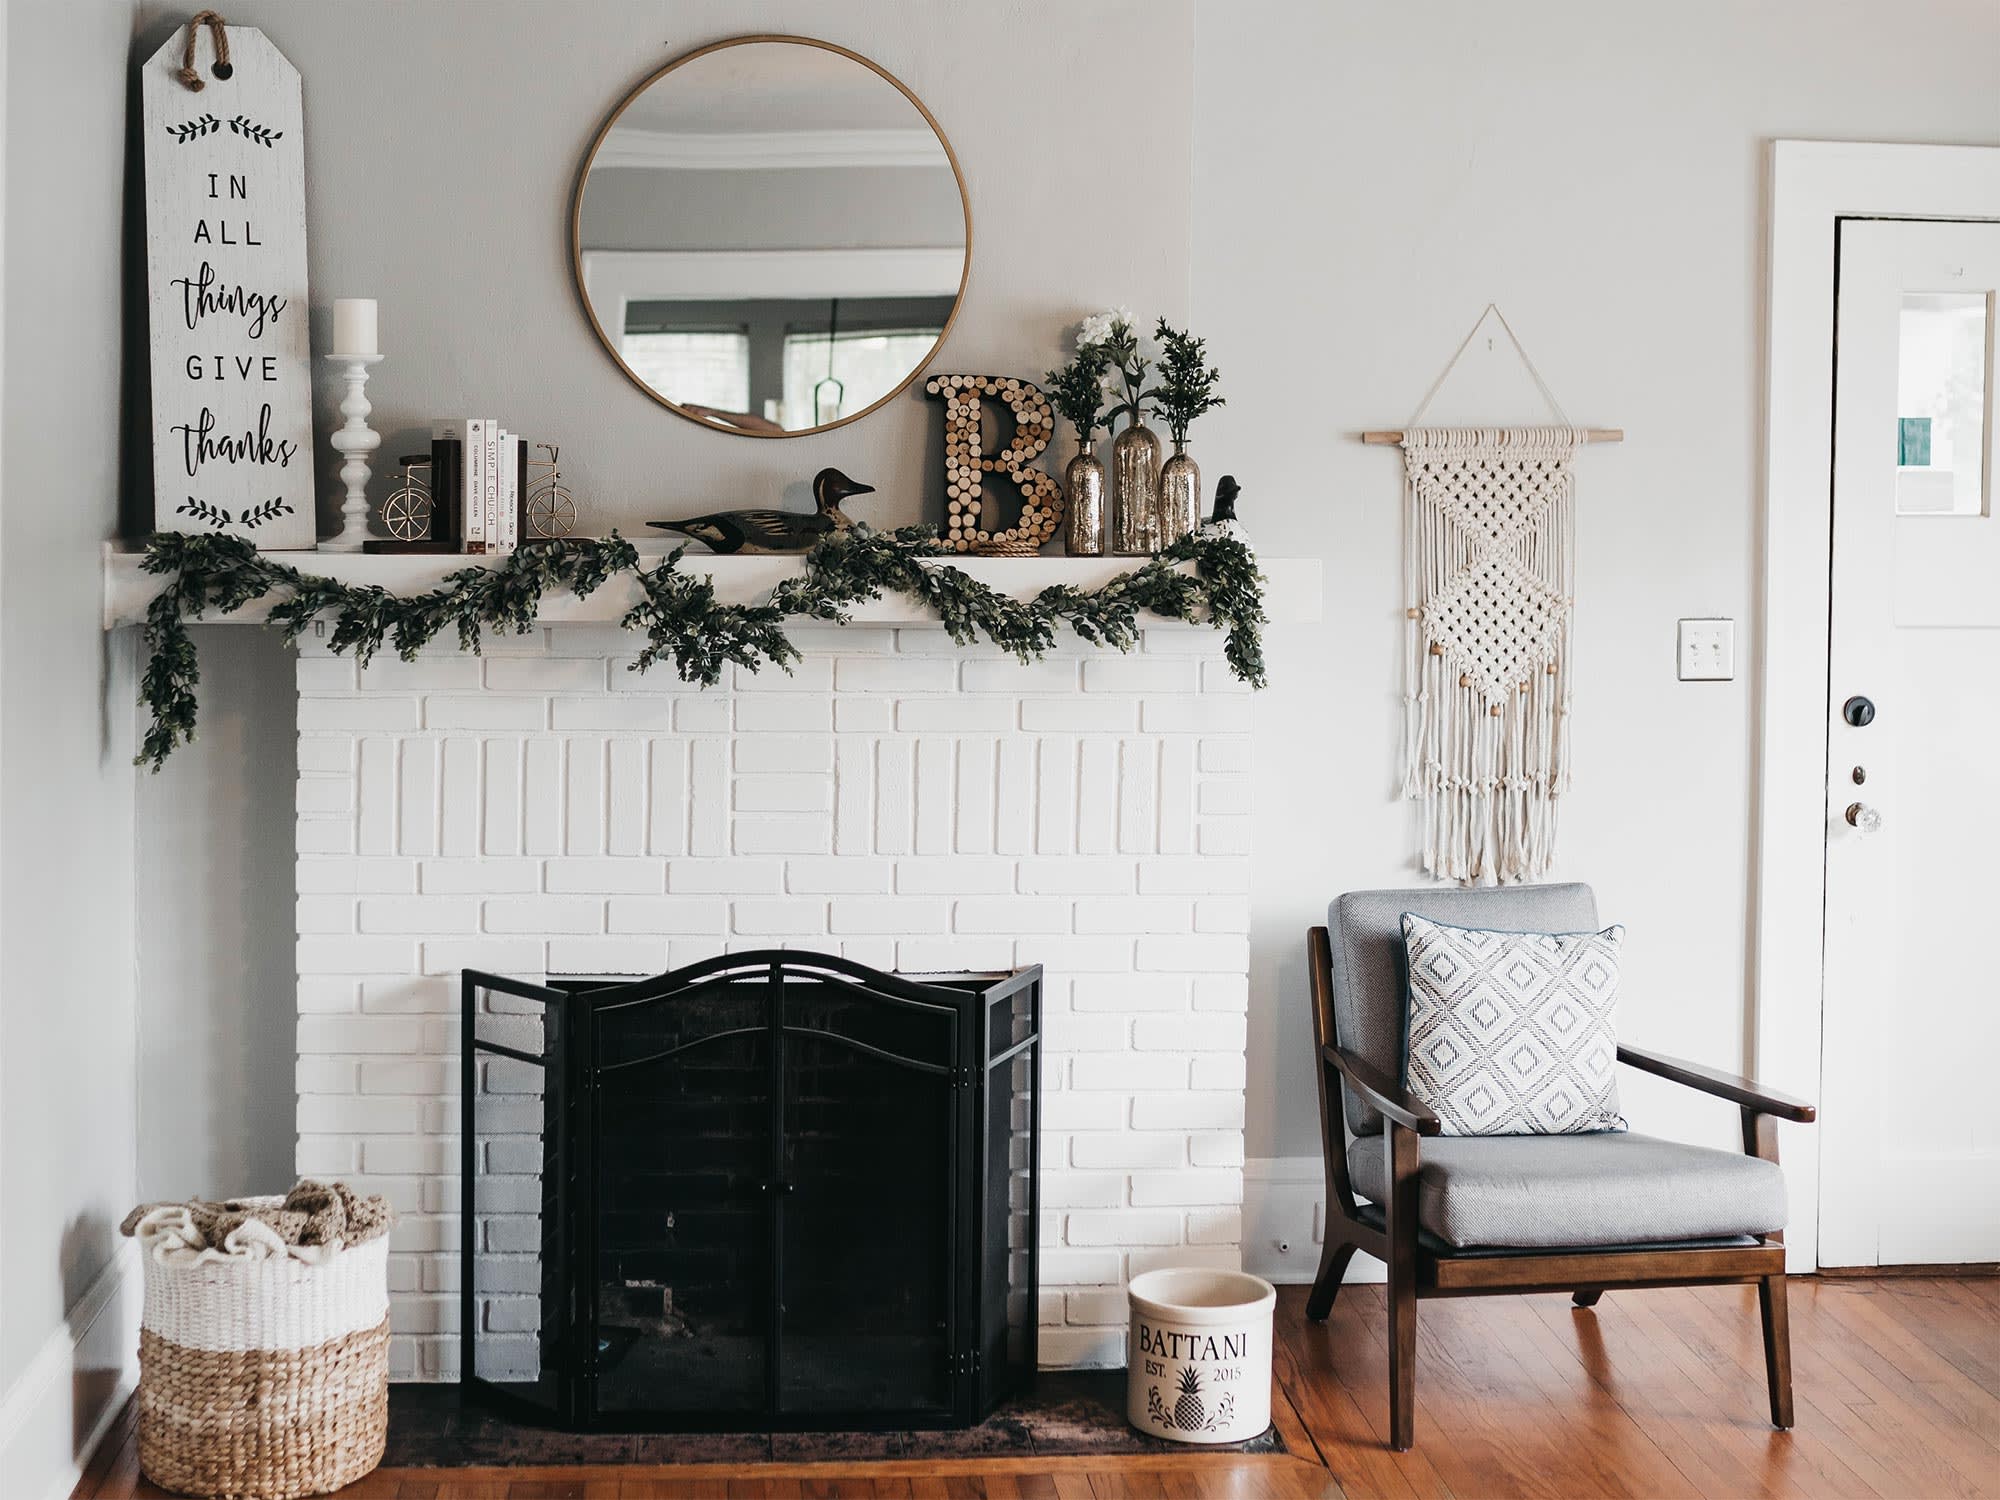
Step 8: Adding Finishing Touches
Congratulations on reaching the final step of transforming your white brick fireplace! Adding finishing touches will bring the project together and enhance the overall appearance of your newly painted fireplace. Here are some ideas for adding those final touches:
- Clean up: Before you start adding any decorative elements, take the time to clean up any paint splatters or debris around the fireplace. Wipe down the mantel, remove any tape or protective coverings, and tidy up the surrounding area.
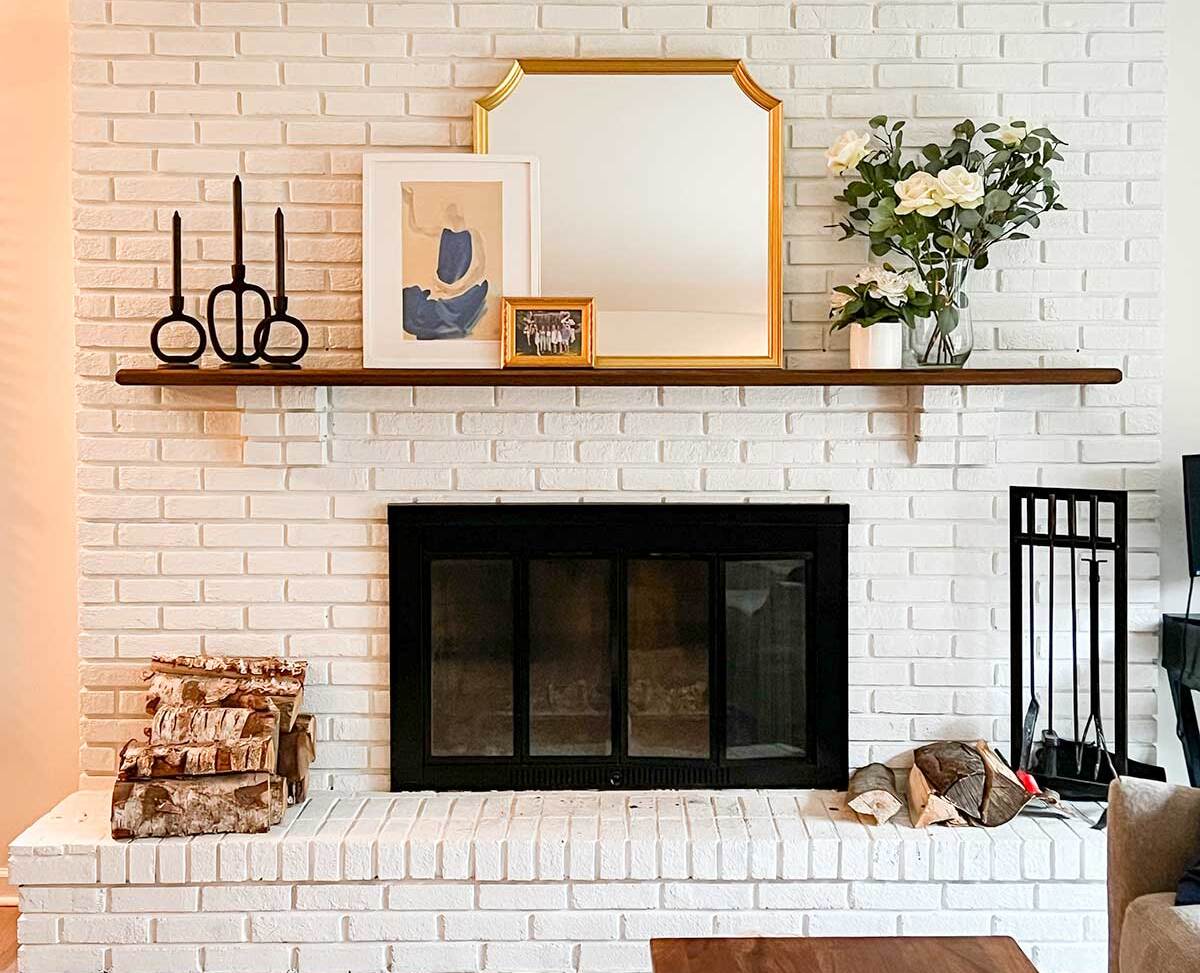
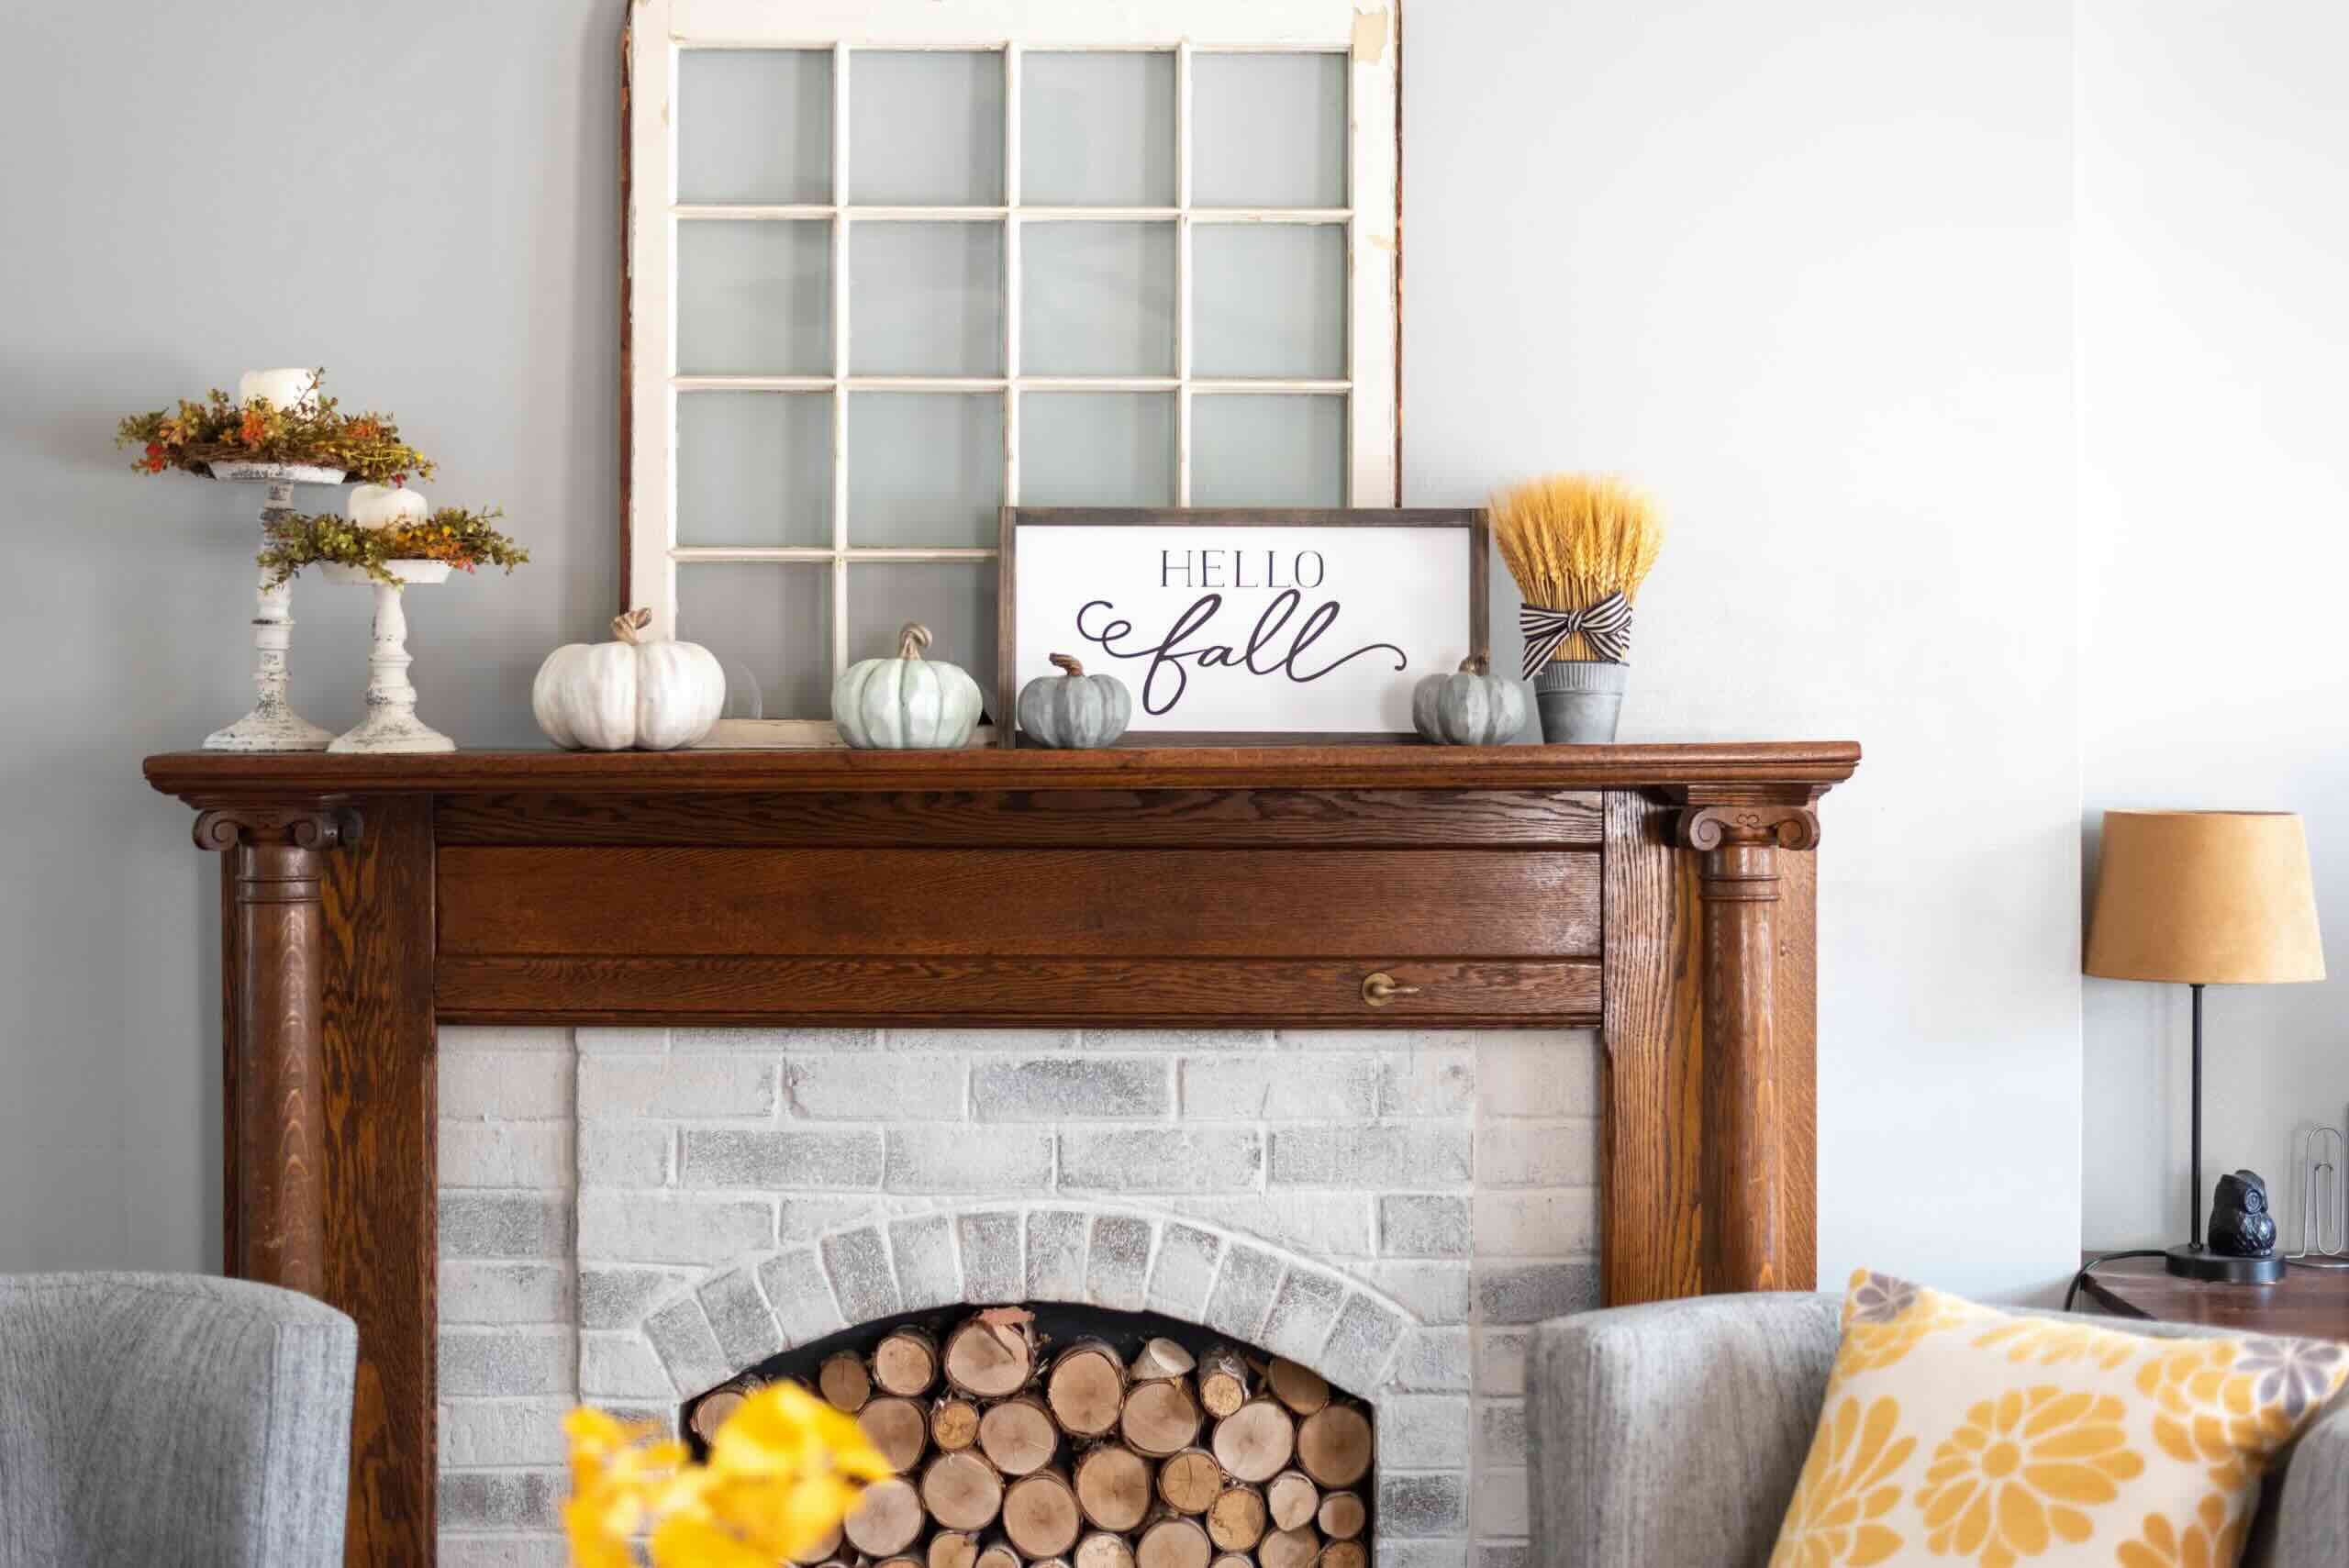
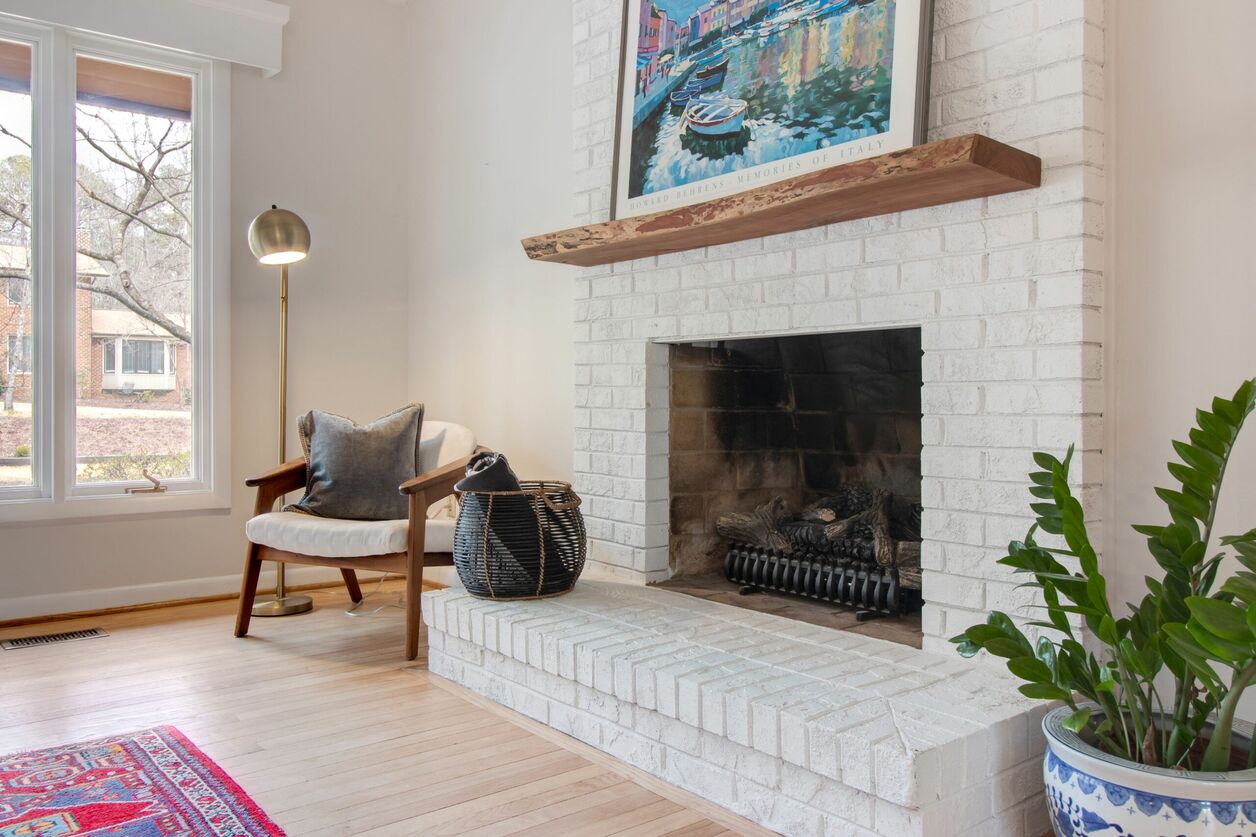
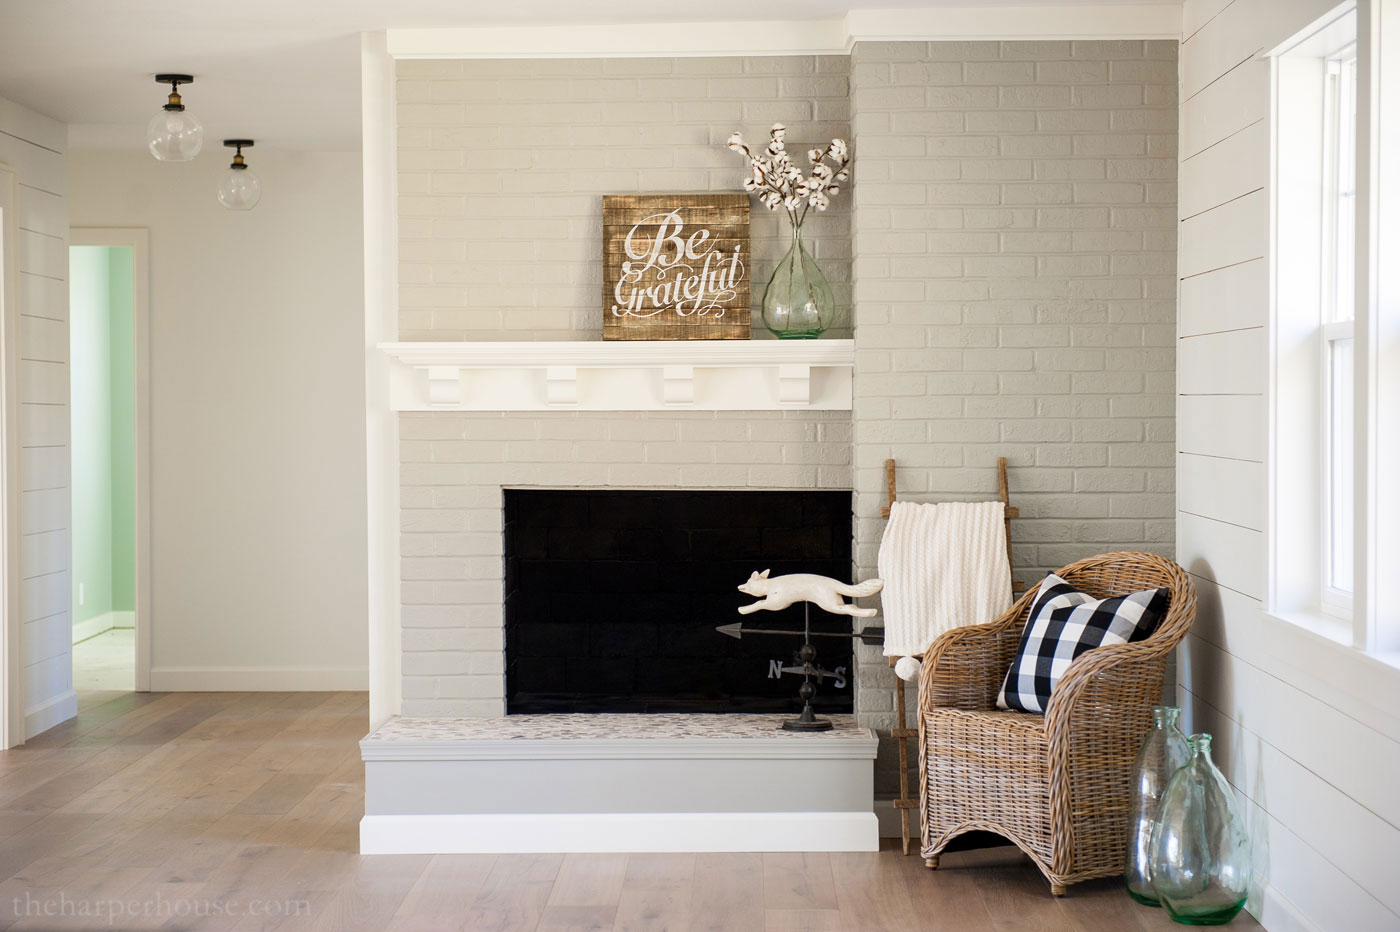
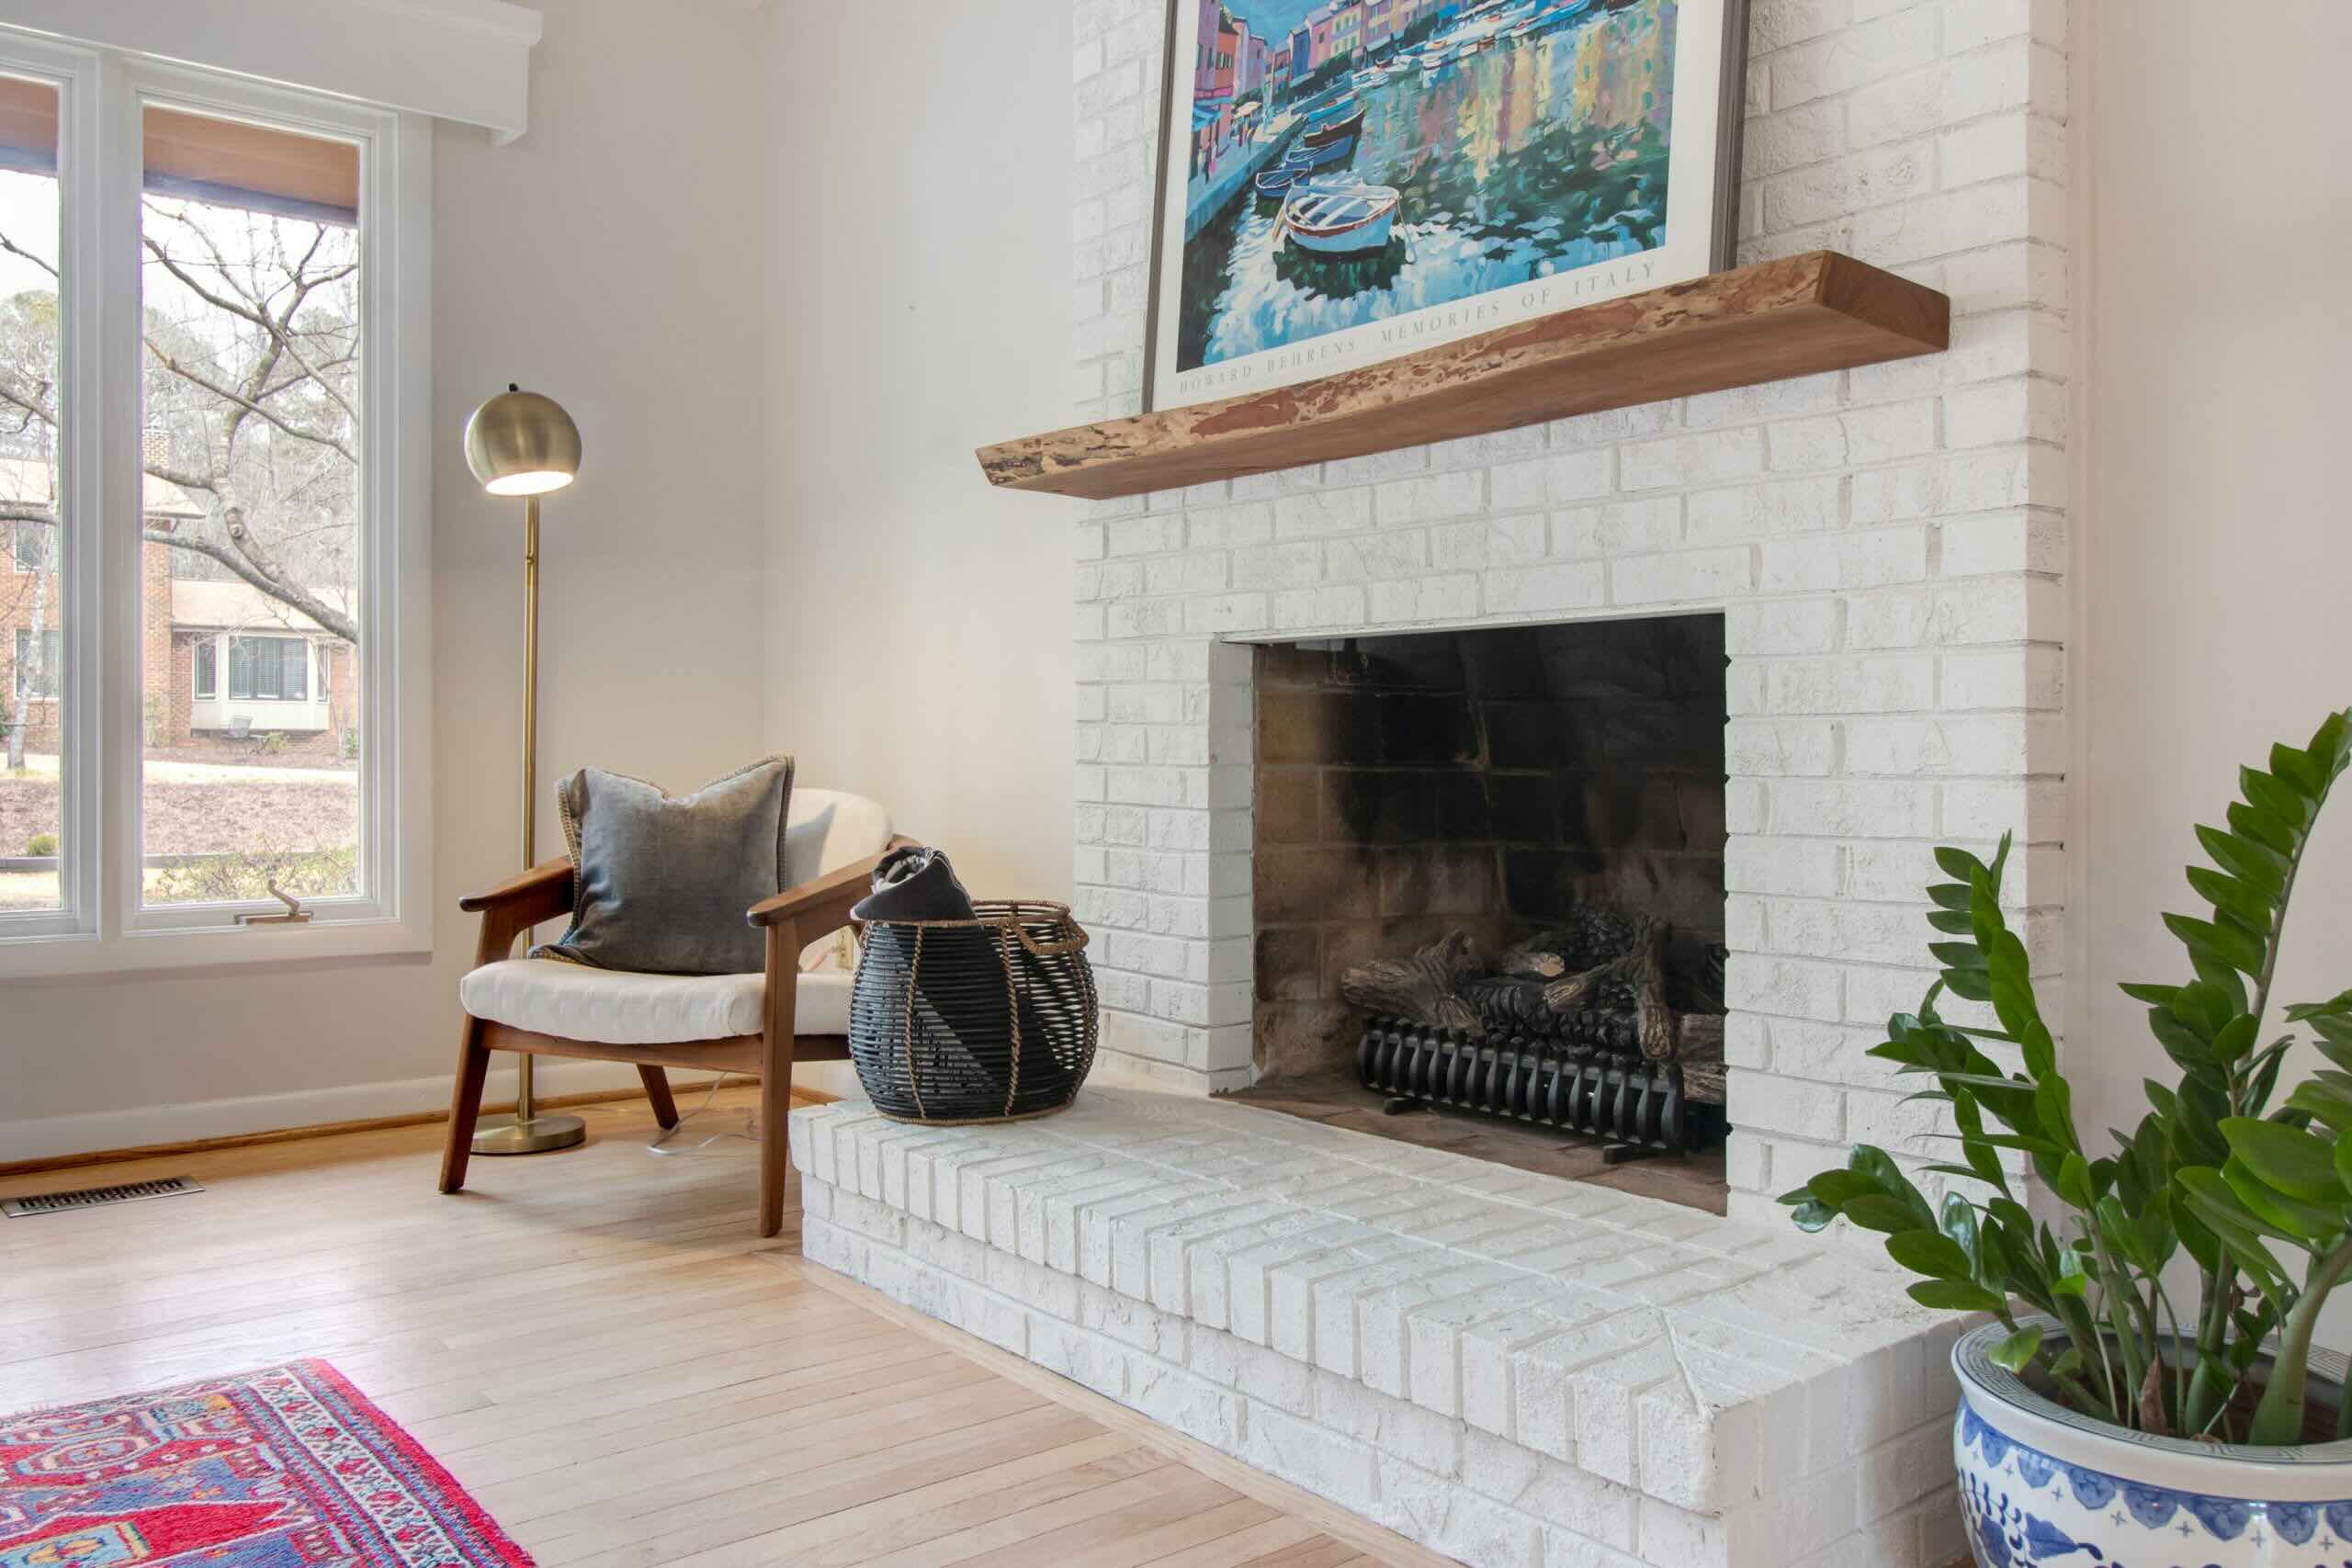
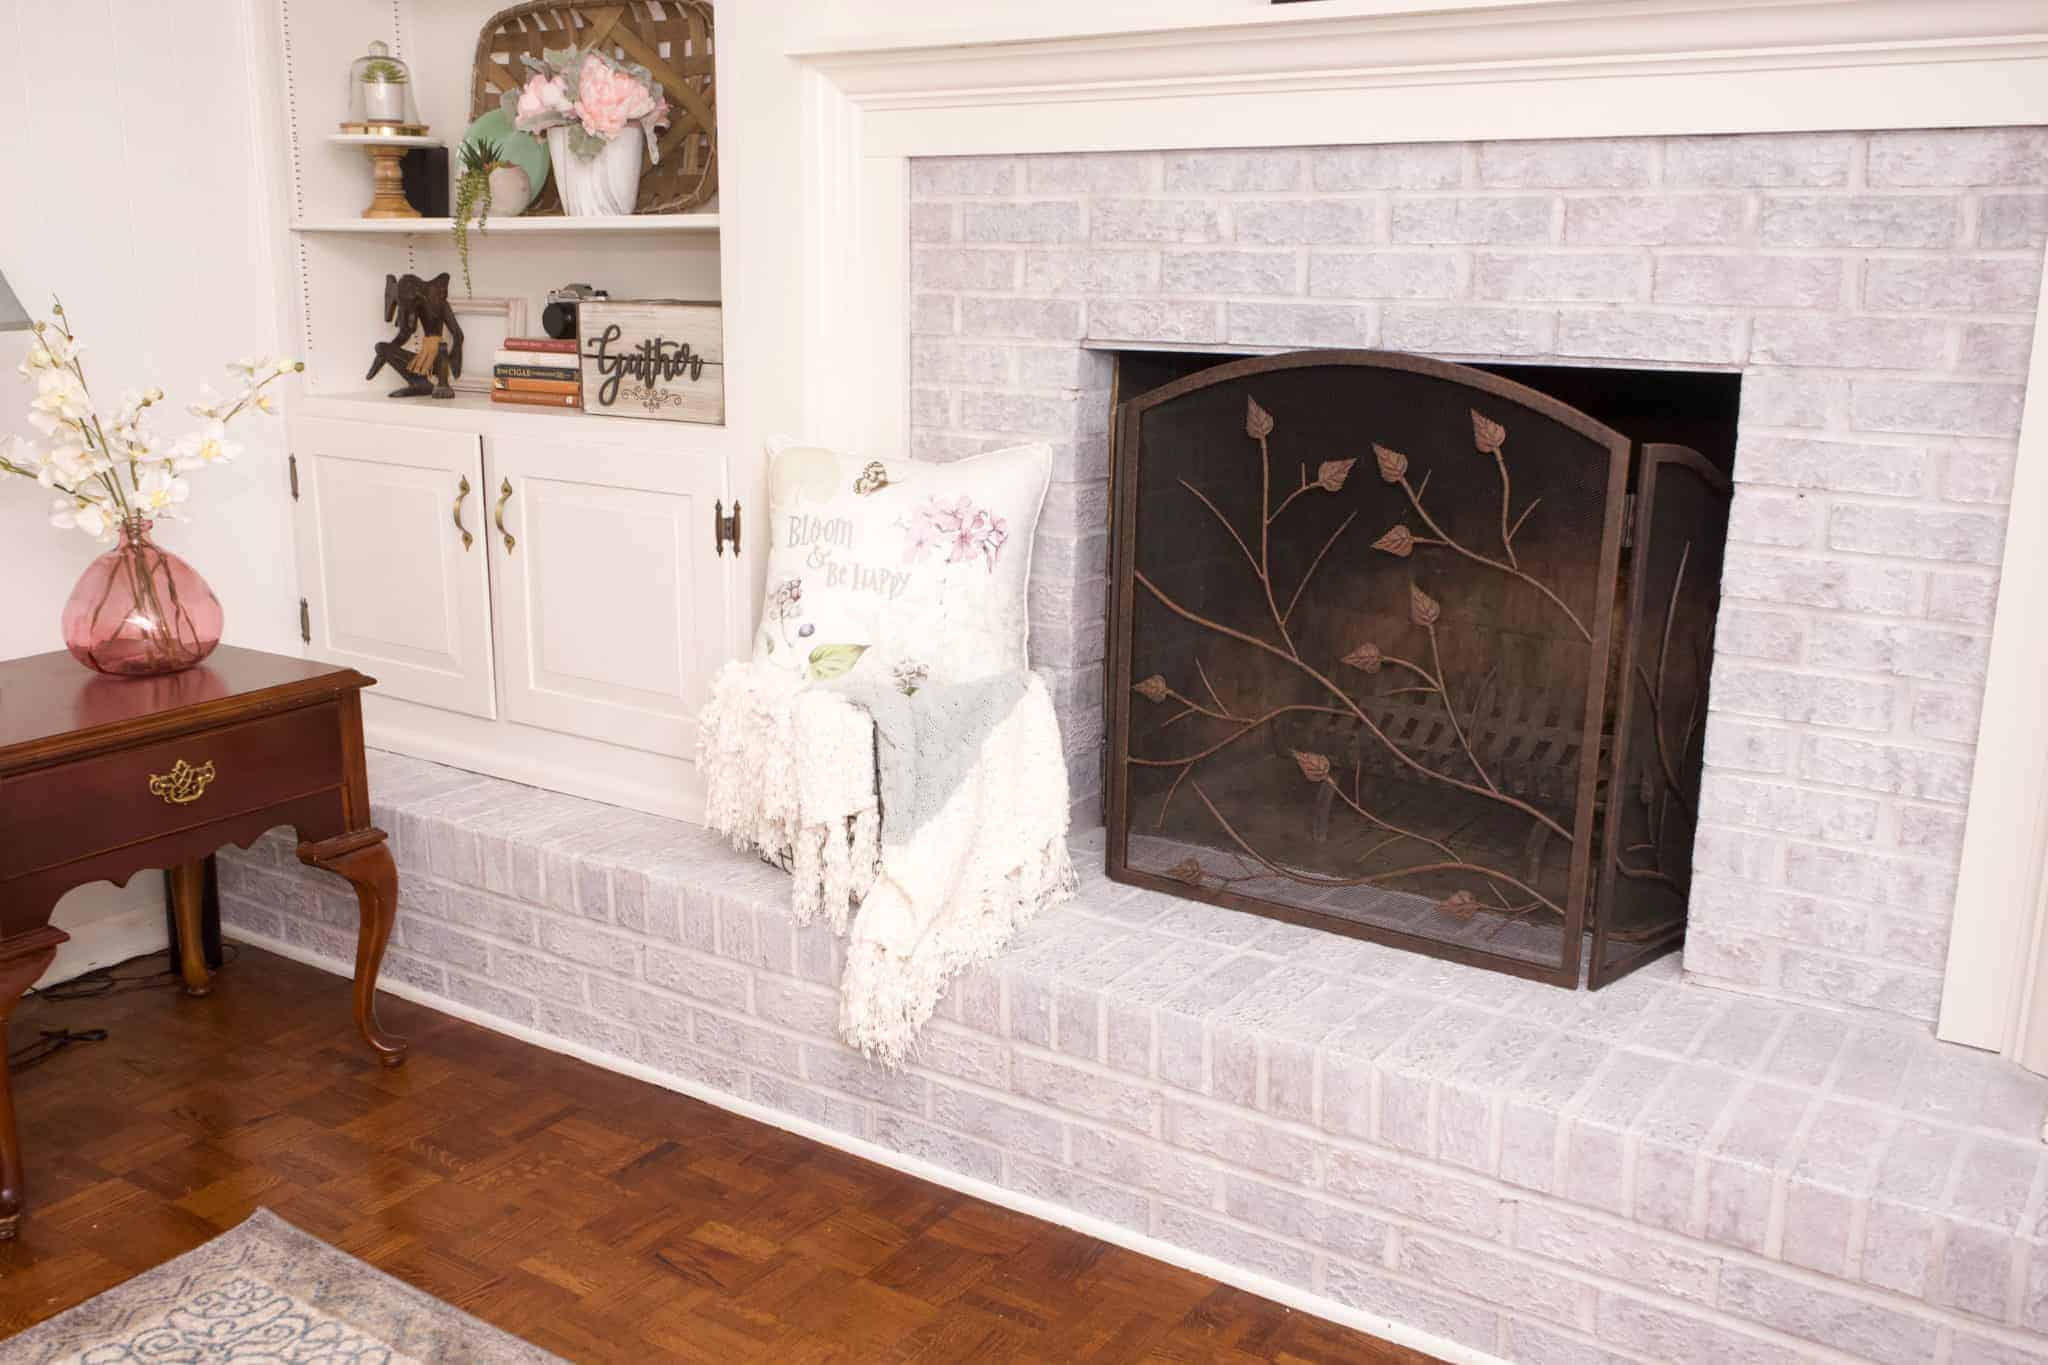
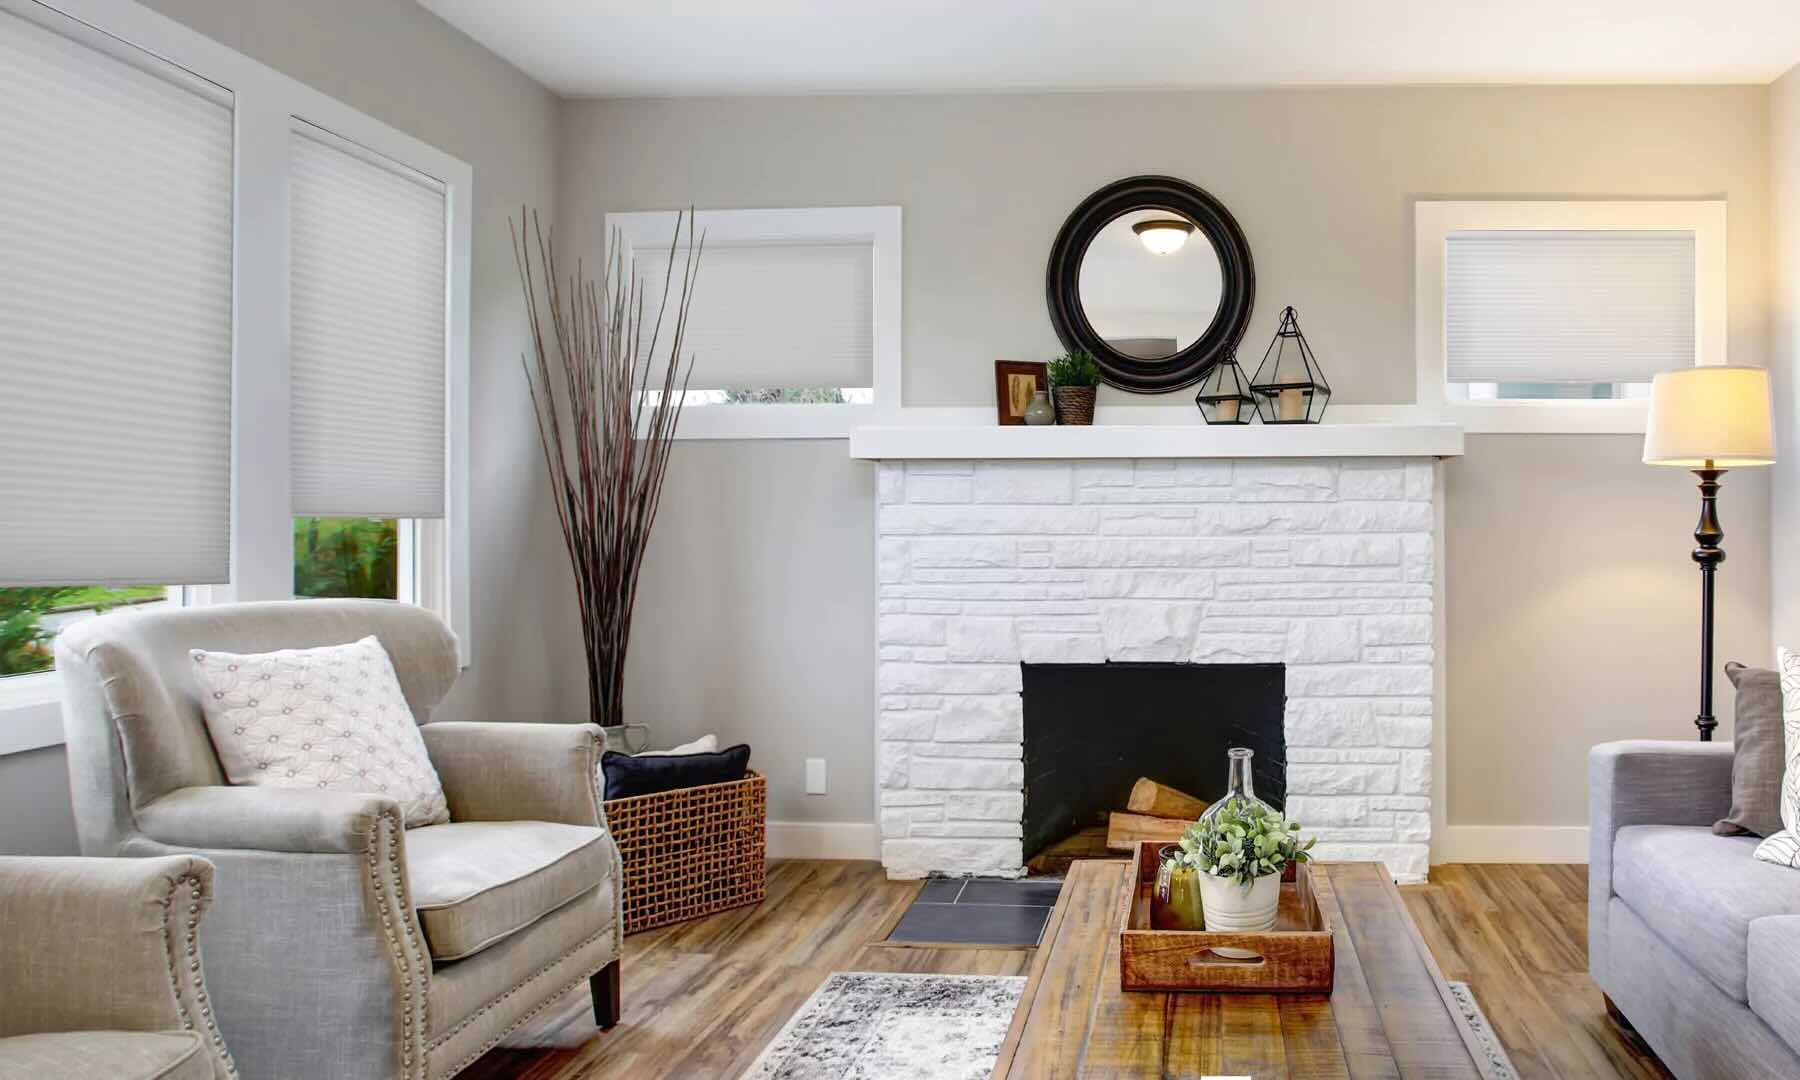
- Accessorize the mantel: Consider adding decor items to the mantel that complement the new look of your white brick fireplace. Vases filled with flowers, candles, or framed artwork can enhance the visual appeal and create a cohesive aesthetic.
- Update the fireplace screen or hearth: If you have a fireplace screen or hearth, consider giving them a fresh look as well. A new fireplace screen or a coat of paint on the existing one can help tie the entire fireplace design together.
- Consider a mantel makeover: If your fireplace has a mantel, consider giving it a makeover to match the new white brick look. You can paint the mantel in a complementary color or update it with a new finish. This will further enhance the overall aesthetic.
- Add artwork or a mirror: Hanging artwork or a mirror above the fireplace can create a stunning focal point. Choose pieces that complement the style of your space and help bring the room together.
- Accessorize the hearth area: Don’t forget the hearth area! Consider adding a rug, a basket of firewood, or decorative elements to enhance the cozy and inviting feel of your fireplace.
- Adjust the lighting: Proper lighting can make a significant difference in showcasing your newly painted white brick fireplace. Experiment with different light fixtures or adjust the existing lighting to highlight the fireplace as a focal point in the room.
- Step back and enjoy: Finally, step back and take a moment to appreciate your hard work and the transformation of your white brick fireplace. Bask in the warmth and inviting ambiance it brings to your space.
By adding these finishing touches, you will create a cohesive and polished look for your white brick fireplace. Remember, the details are what make a difference and bring your vision to life. Enjoy your updated fireplace and the renewed beauty it brings to your home!
Read more: What Color To Paint A Brick Fireplace
Conclusion
Congratulations! You have successfully learned how to paint a white brick fireplace. By following the step-by-step guide, you have transformed your fireplace from outdated or worn to fresh and modern. Painting a white brick fireplace can completely change the look and feel of a room, creating a beautiful focal point that adds brightness and elegance.
Throughout the process, you have learned the importance of preparing the fireplace, cleaning the brick, protecting the surrounding area, priming the brick, choosing the right paint, and applying the coats with care. These steps ensure a smooth and long-lasting finish that will bring enjoyment for years to come.
Remember to consider factors such as the type of paint, the desired finish, and the color that will best suit your space. Taking the time to properly prepare and prime the brick surface sets the foundation for a successful paint job. Applying multiple coats of paint provides a solid and consistent color, resulting in a professional-looking white brick fireplace.
Don’t forget the finishing touches, such as decorating the mantel, updating the fireplace screen, or adding artwork or mirrors to enhance the overall look of your fireplace. These final details elevate the style and create a cohesive design that complements your space.
As you sit back and admire your newly painted white brick fireplace, you can enjoy the warmth and ambiance it brings to your home. Take pride in your accomplishment and revel in the transformed space that reflects your personal style and creativity.
Thank you for joining us on this journey of painting a white brick fireplace. We hope this guide has been helpful and inspiring, and that your white brick fireplace becomes a cherished feature in your home.
Frequently Asked Questions about How To Paint White Brick Fireplace
Was this page helpful?
At Storables.com, we guarantee accurate and reliable information. Our content, validated by Expert Board Contributors, is crafted following stringent Editorial Policies. We're committed to providing you with well-researched, expert-backed insights for all your informational needs.
0 thoughts on “How To Paint White Brick Fireplace”