Home>Construction & Tools>Building Materials>How To Remove Old Caulk From Brick
Building Materials
How To Remove Old Caulk From Brick
Modified: February 18, 2024
Learn effective techniques for removing old caulk from brick surfaces with our expert tips and recommendations for building materials. Safely restore your brickwork with our step-by-step guide.
(Many of the links in this article redirect to a specific reviewed product. Your purchase of these products through affiliate links helps to generate commission for Storables.com, at no extra cost. Learn more)
Introduction
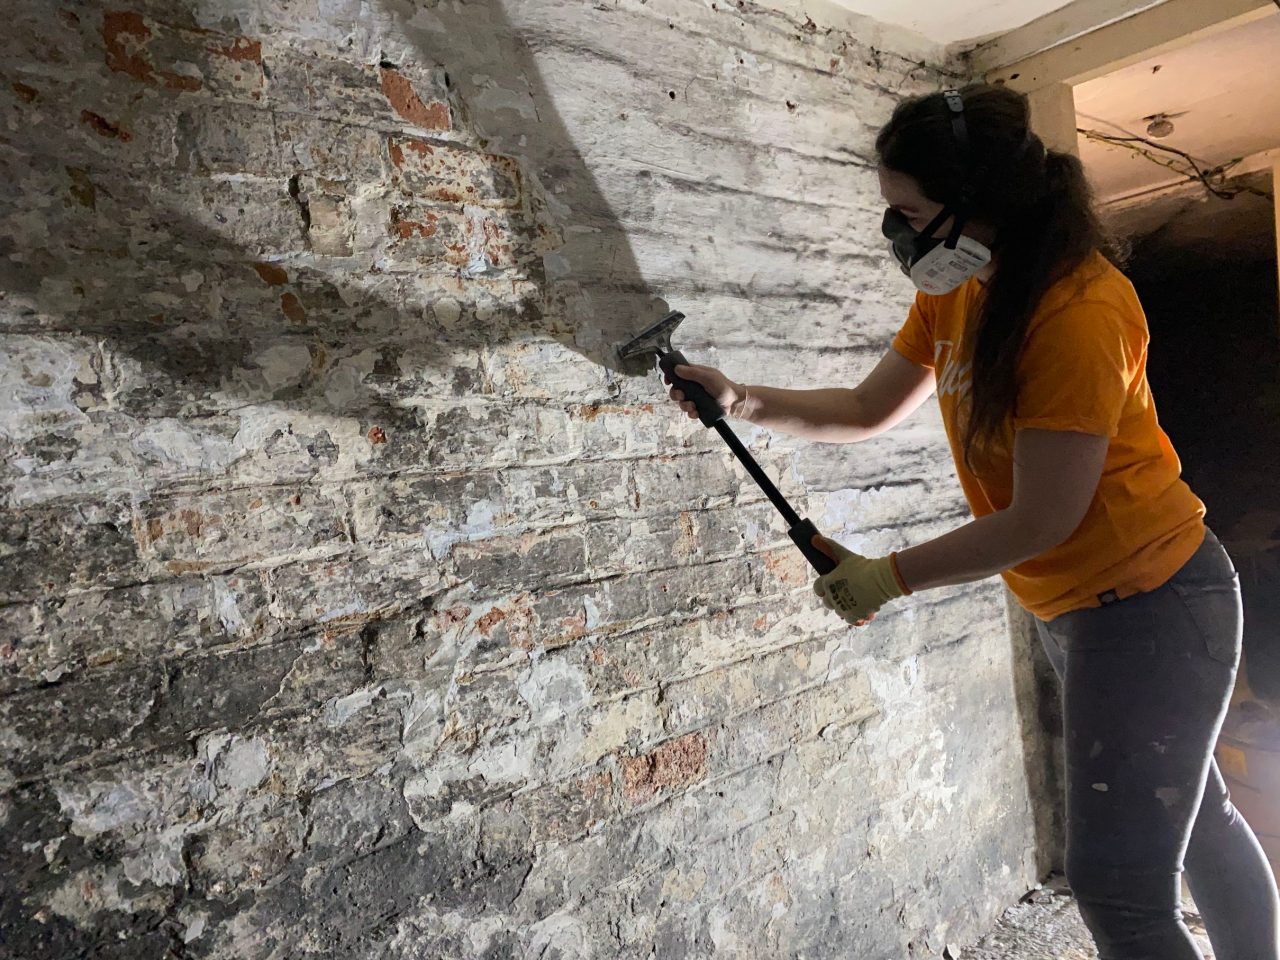
Removing old caulk from brick surfaces can be a challenging yet rewarding task. Over time, caulk can deteriorate, becoming unsightly and potentially compromising the integrity of the brickwork. Whether you're preparing the surface for a fresh application of caulk or aiming to restore the natural beauty of the brick, knowing how to effectively remove old caulk is essential.
In this guide, we will explore the step-by-step process of removing old caulk from brick, equipping you with the knowledge and techniques needed to tackle this project with confidence. From understanding the nature of old caulk on brick to outlining the tools and materials required, we will cover everything you need to know to successfully rejuvenate your brick surfaces.
So, roll up your sleeves and get ready to breathe new life into your brickwork as we delve into the art of removing old caulk from brick.
Key Takeaways:
- Removing old caulk from brick requires patience and precision. Soften the caulk with a solution, then carefully remove it using tools like a caulk removal tool or heat gun. Clean the brick surface thoroughly for a fresh look.
- Understanding the condition of old caulk is crucial for effective removal. Gather the right tools and materials, soften the caulk, remove it carefully, and clean the brick surface for a successful rejuvenation.
Read more: How To Remove Old Caulking From Bathtub
Understanding Old Caulk on Brick
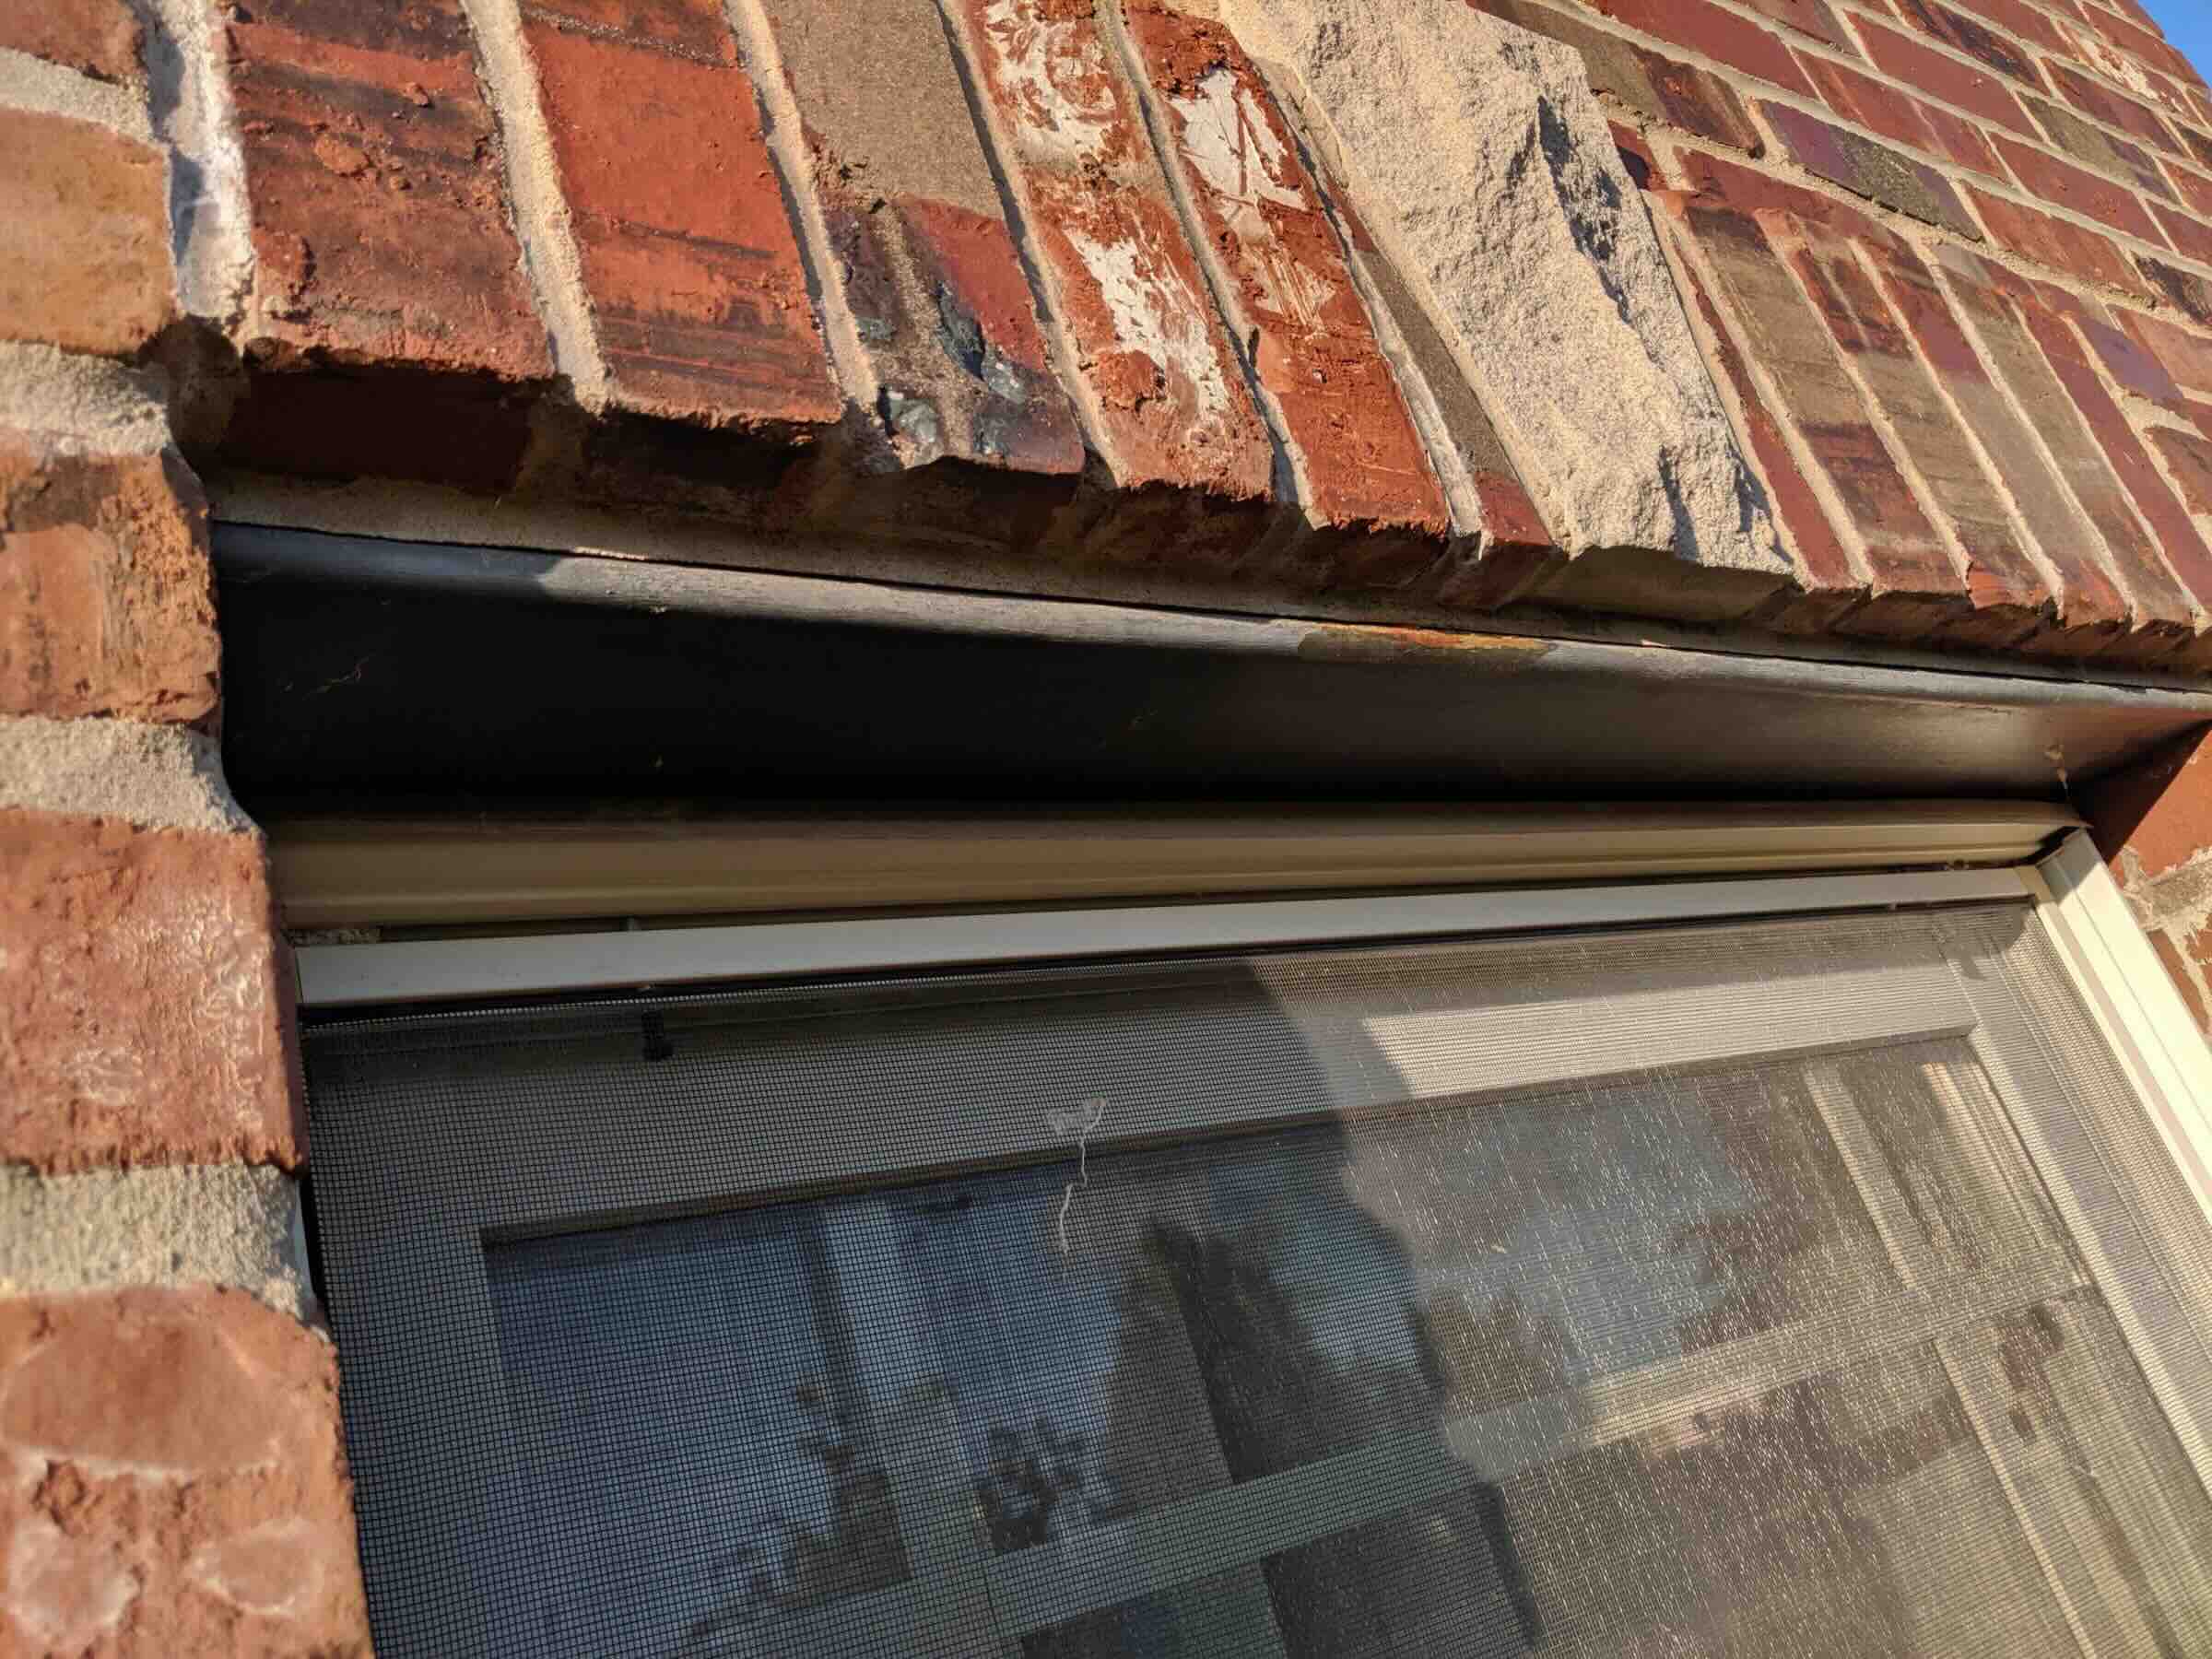
Before diving into the removal process, it’s important to understand the characteristics of old caulk on brick surfaces. Over time, caulk can deteriorate due to exposure to the elements, temperature fluctuations, and general wear and tear. As a result, it may lose its adhesion, become discolored, or develop cracks and gaps, detracting from the aesthetic appeal of the brickwork.
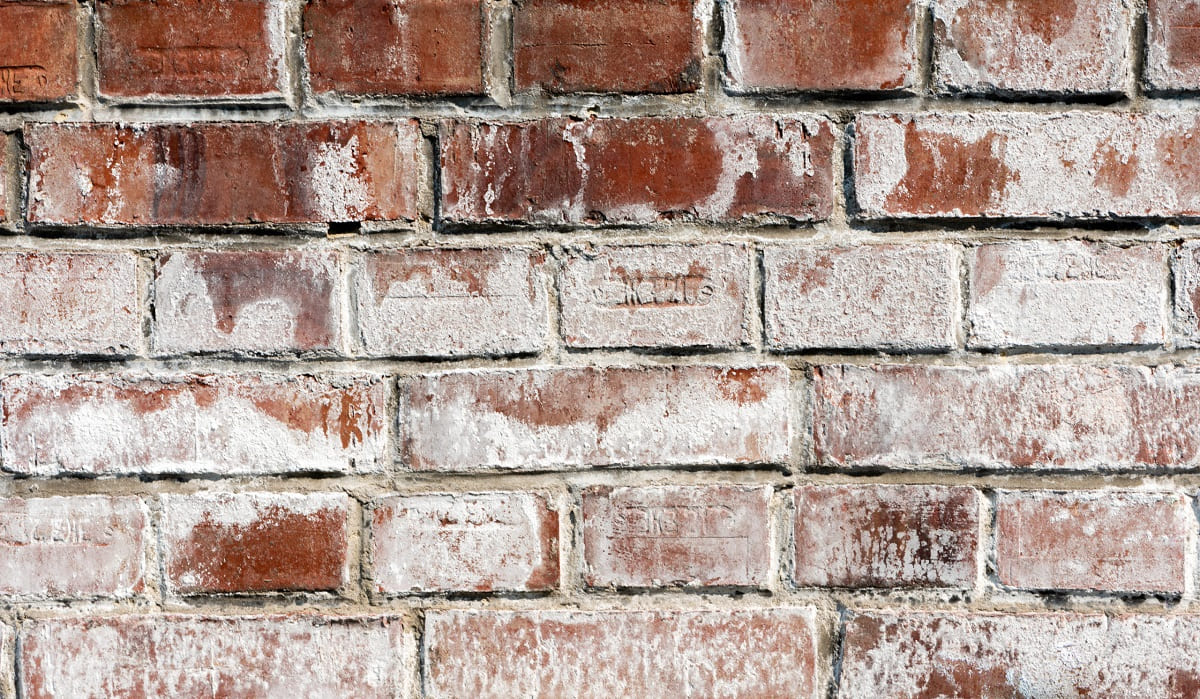
Old caulk can also harbor mold, mildew, and dirt, further diminishing the visual appeal of the brick surface. Additionally, deteriorated caulk may fail to provide an effective seal, potentially allowing moisture to penetrate the brickwork and leading to issues such as efflorescence and water damage.
Understanding the condition of the old caulk is crucial in determining the best approach for removal. Whether the caulk is partially cracked, fully intact, or exhibiting signs of mold and discoloration, these factors will influence the techniques and tools you employ to achieve a thorough removal.
By gaining insight into the state of the old caulk and its impact on the brick surface, you can tailor your removal strategy to effectively restore the integrity and appearance of the brickwork. With this understanding in mind, let’s explore the essential tools and materials needed for the caulk removal process.
Tools and Materials Needed
Equipping yourself with the right tools and materials is fundamental to successfully removing old caulk from brick surfaces. Here’s a comprehensive list of what you’ll need:
- Caulk softener: A caulk softening solution or gel will help loosen the old caulk, making it easier to remove.
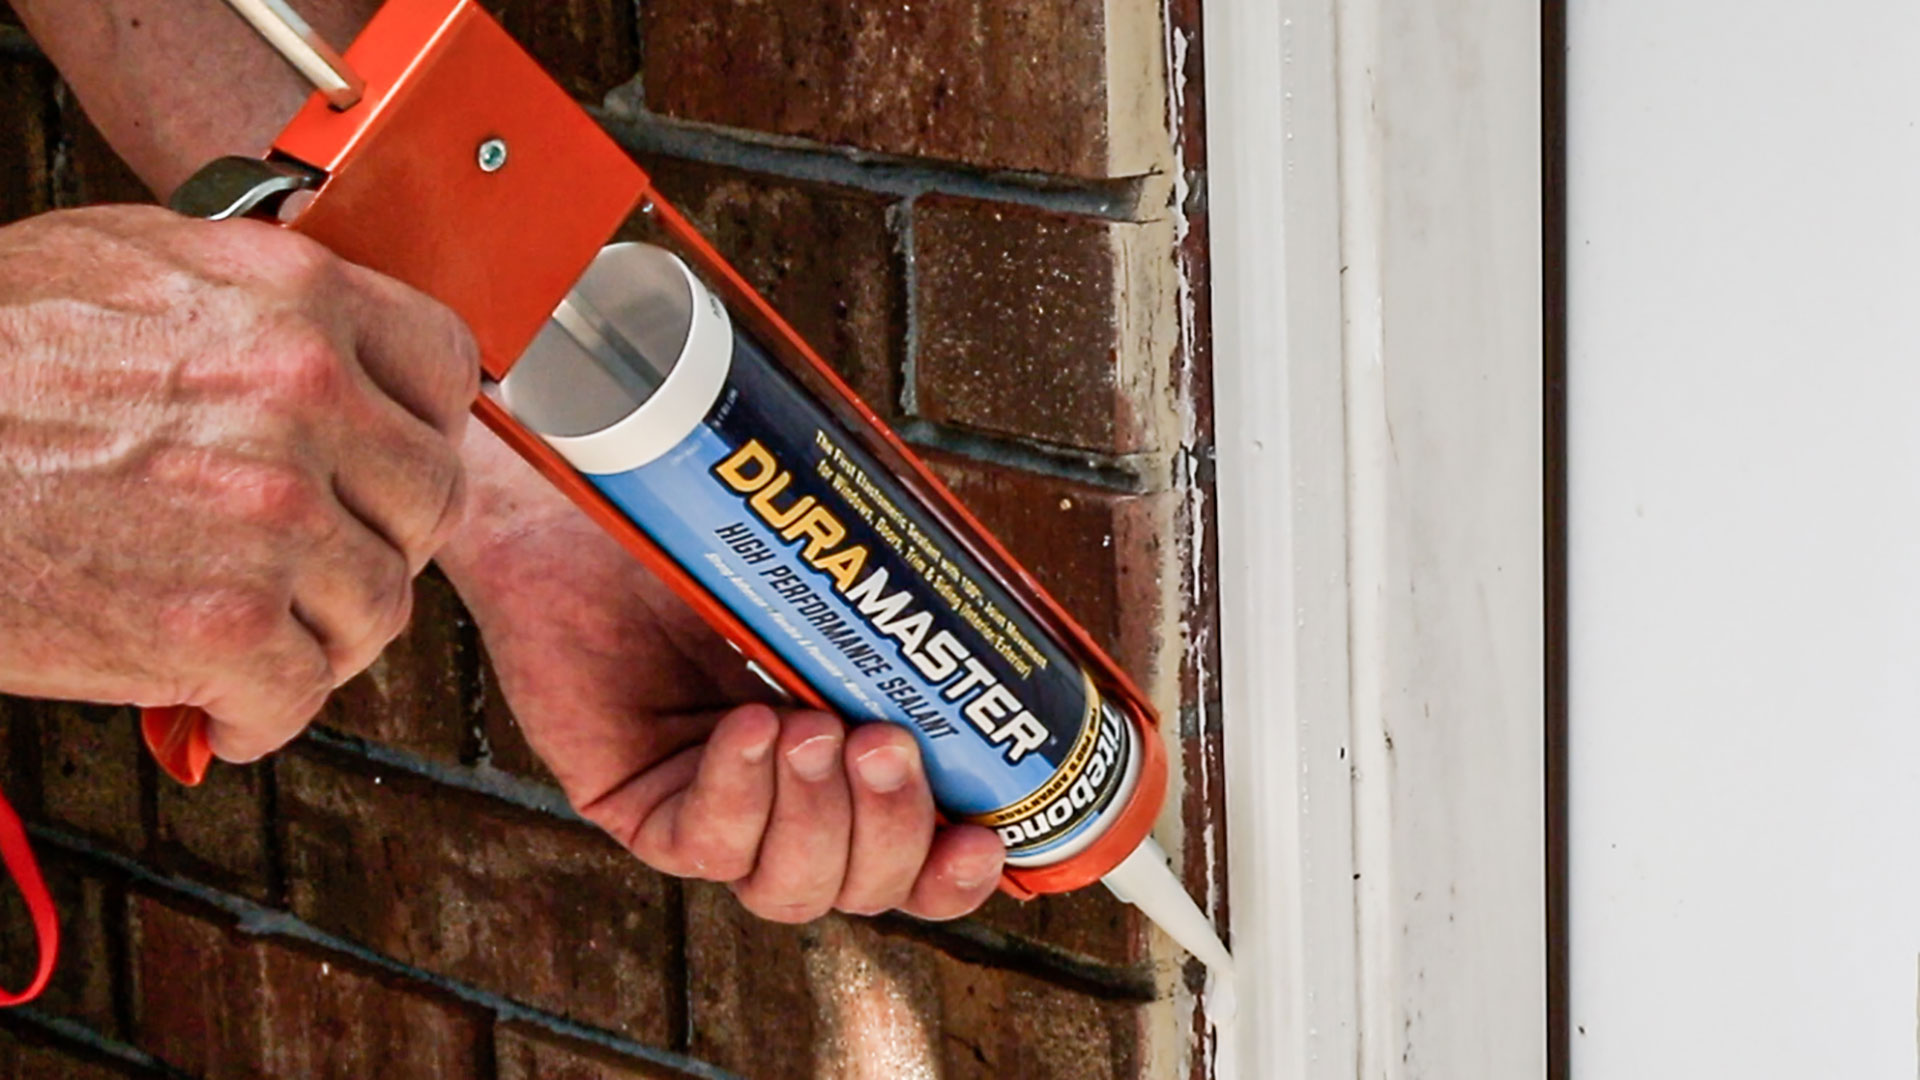
- Caulk removal tool: Utilize a caulk removal tool with a sharp edge or a utility knife to carefully cut and pry the old caulk from the brick.
- Heat gun: If the caulk is stubborn and resistant to traditional removal methods, a heat gun can be used to soften and loosen it.
- Protective gear: Safety goggles and work gloves are essential for eye protection and hand safety during the removal process.
- Clean cloth or rag: Use a cloth or rag to wipe away softened caulk and debris from the brick surface.
- Mild detergent: Prepare a solution of mild detergent and water to clean the brick surface after caulk removal.
- Scrub brush: A scrub brush will aid in removing any remaining residue and ensuring a clean brick surface.
- Painter’s tape: Painter’s tape can be used to mask off areas adjacent to the caulked joints, providing clean lines and preventing damage to surrounding surfaces.
- Putty knife: A putty knife can assist in scraping off stubborn caulk remnants and preparing the surface for recaulking if necessary.
By gathering these tools and materials, you’ll be well-prepared to tackle the task of removing old caulk from brick, setting the stage for a successful rejuvenation of the brick surfaces. With the essentials in hand, let’s proceed to the first step of the caulk removal process: softening the old caulk.
Step 1: Softening the Old Caulk
Before diving into the physical removal of the old caulk, it’s essential to soften it to make the extraction process more manageable. There are several methods to achieve this, depending on the type of caulk and the extent of its deterioration.
If the old caulk is silicone-based, a silicone caulk softener can be applied to break down its adhesion to the brick surface. For acrylic or latex-based caulk, a commercial caulk softening solution or gel can be used to effectively soften the material. These products work by penetrating the caulk, weakening its bond, and making it easier to remove.
To soften the old caulk, follow these steps:
- Prepare the area: Clear the surrounding area and ensure proper ventilation to minimize exposure to fumes from the caulk softening solution.
- Apply the softener: Using a brush or applicator, carefully apply the caulk softening solution or gel directly onto the old caulk, ensuring thorough coverage.
- Allow time for softening: Follow the manufacturer’s instructions regarding the recommended dwell time for the softener to effectively penetrate and soften the caulk.
- Test the caulk: After the designated time has elapsed, test a small section of the caulk to assess its softness. If it yields to gentle pressure or begins to lift from the brick, it is ready for removal.
Once the old caulk has been sufficiently softened, you’re ready to proceed to the next step: physically removing the softened caulk from the brick surface. This critical phase of the process requires precision and care to avoid damaging the underlying brickwork while achieving thorough caulk removal.
With the old caulk softened and your removal tools at the ready, you’re well on your way to restoring the pristine appearance of your brick surfaces. Let’s move on to the next step: removing the old caulk from the brick.
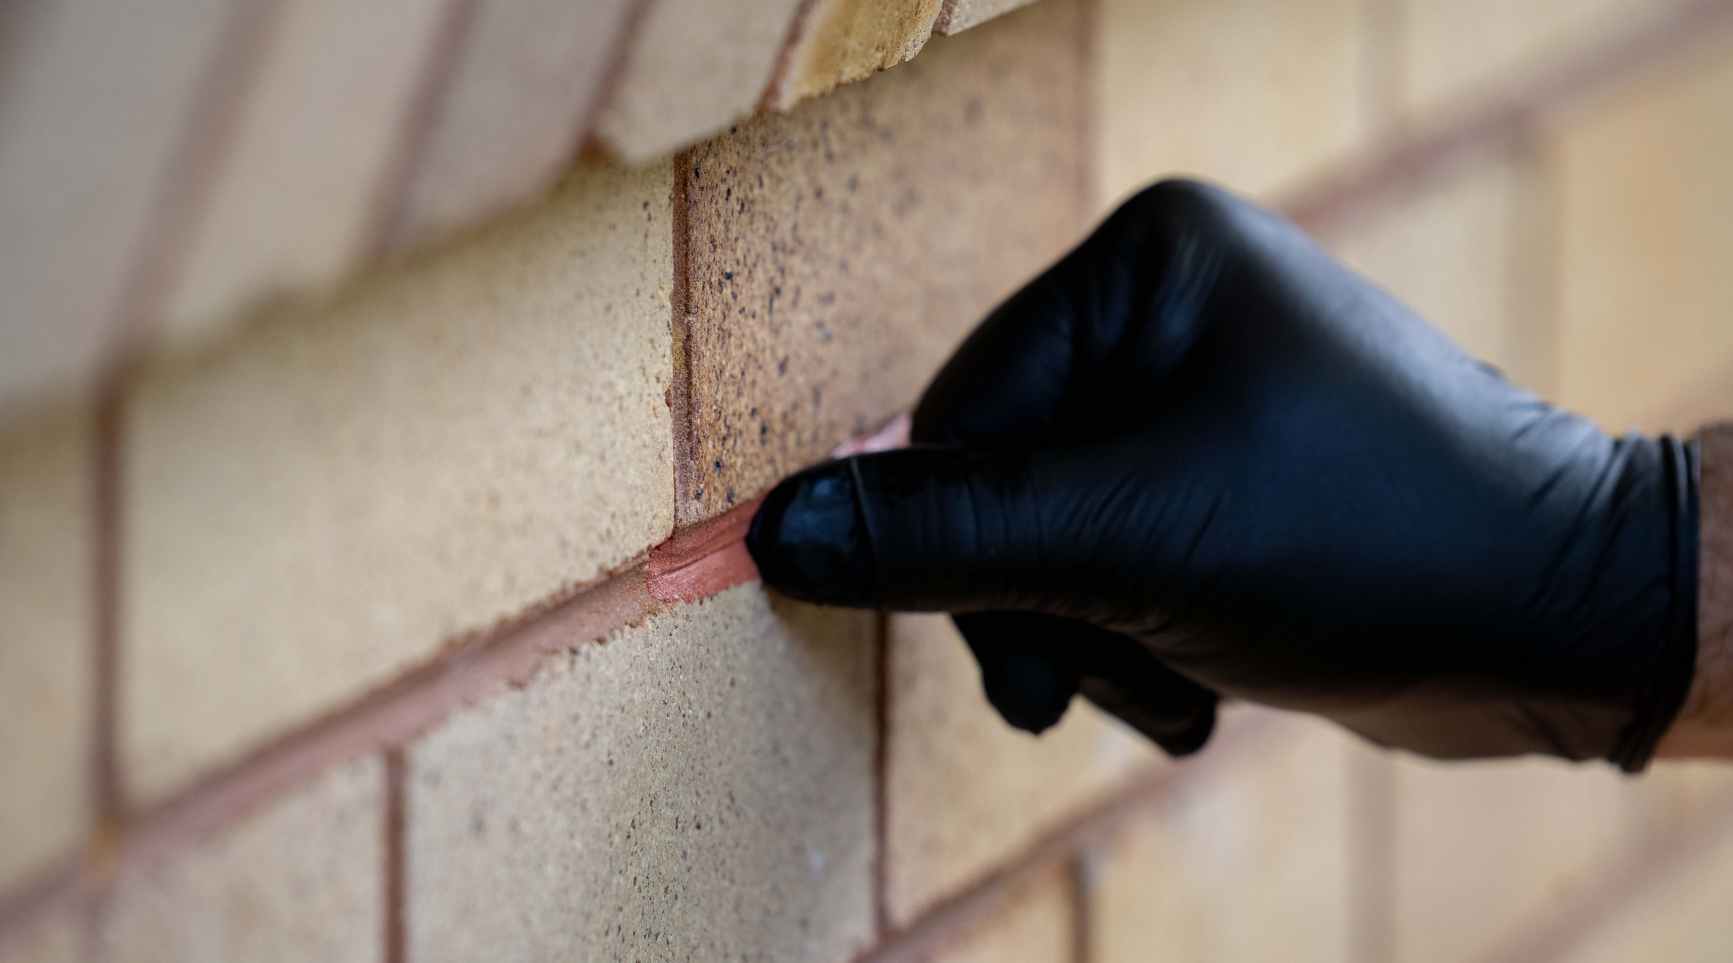
Use a caulk removal tool or a putty knife to carefully scrape away the old caulk from the brick surface. Be gentle to avoid damaging the brick. After removing the old caulk, clean the area with a damp cloth to remove any remaining residue.
Step 2: Removing the Old Caulk
With the old caulk effectively softened, it’s time to embark on the process of physically removing it from the brick surface. This step requires precision and care to ensure thorough removal without causing damage to the underlying brickwork.
Here’s a systematic approach to removing the old caulk from brick:
- Utilize a caulk removal tool: A caulk removal tool with a sharp edge or a utility knife can be used to carefully cut and pry the softened caulk from the brick joints. Exercise caution to avoid scratching or gouging the brick surface during this process.
- Apply gentle pressure: Work methodically, applying gentle pressure to lift and detach the softened caulk from the brick. Take care to avoid excessive force, which could result in damage to the surrounding brickwork.
- Use a heat gun if necessary: Stubborn or tenacious caulk may require the application of heat to further soften and loosen it. A heat gun can be employed judiciously to aid in the removal process, but be mindful of the heat’s impact on the brick and exercise caution to prevent overheating.
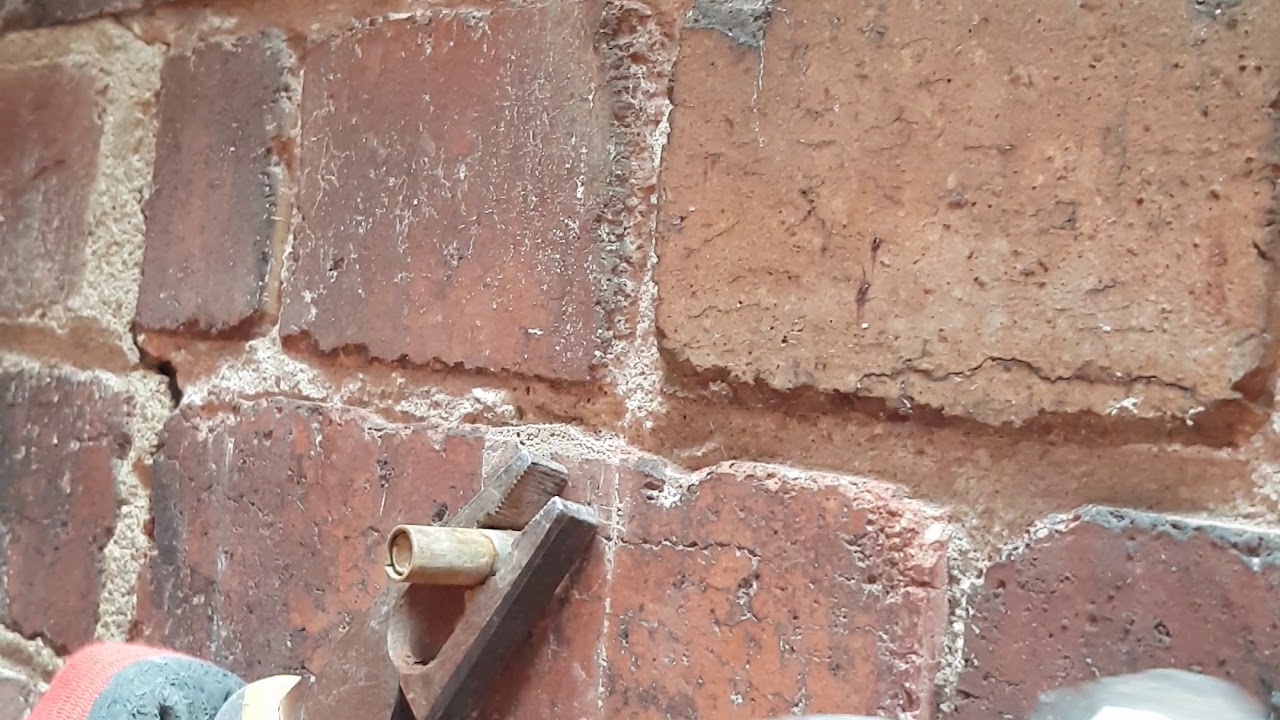
- Scrape off residual caulk: Once the majority of the old caulk has been removed, utilize a putty knife or a caulk removal tool to scrape off any remaining remnants and prepare the brick joints for cleaning.
Throughout the caulk removal process, it’s essential to maintain a steady hand and a keen eye, ensuring that the brick surface remains unblemished while achieving comprehensive caulk removal. By employing these techniques, you can effectively clear the brick joints of old caulk, setting the stage for the final step: cleaning the brick surface.
As you complete the caulk removal process, take pride in the progress made and the renewed potential of your brick surfaces. Now, let’s turn our attention to the next crucial phase: cleaning the brick surface to reveal its natural beauty once the old caulk has been removed.
Read more: How To Remove Caulk From Vinyl Siding
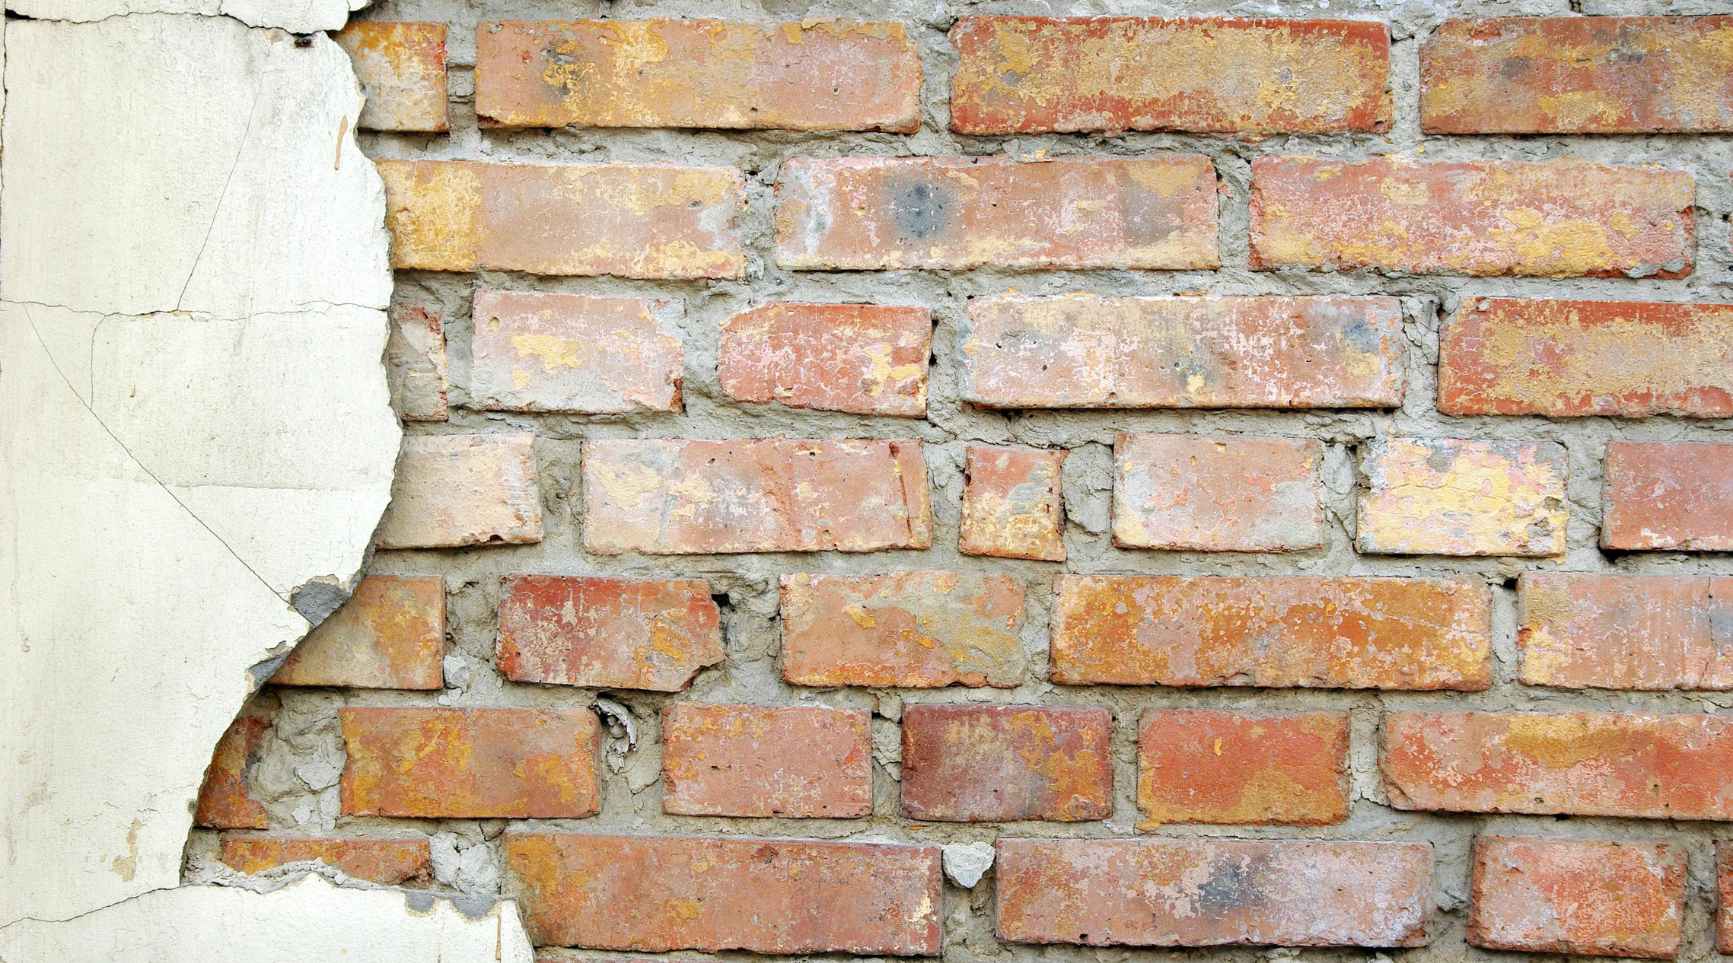
Step 3: Cleaning the Brick Surface
After successfully removing the old caulk from the brick joints, the next pivotal step is to thoroughly clean the brick surface, preparing it for potential recaulking or simply showcasing its natural allure. Cleaning the brick surface is essential to remove any residual caulk, dirt, or debris, ensuring a pristine appearance and optimal adhesion for future treatments.
Here’s a comprehensive approach to cleaning the brick surface:
- Wipe away debris: Use a clean cloth or rag to wipe away any loosened caulk, debris, and dust from the brick surface. This initial step sets the stage for deeper cleaning.
- Prepare a cleaning solution: Create a solution of mild detergent and water in a bucket, ensuring that the detergent is well-dissolved in the water.
- Apply the cleaning solution: Using a sponge or soft brush, apply the mild detergent solution to the brick surface, working in manageable sections to ensure thorough coverage.
- Scrub the brick surface: Gently scrub the brick surface with the sponge or brush, paying particular attention to areas that previously housed the old caulk. This step effectively removes any remaining residue and prepares the surface for inspection.
- Rinse the brick surface: With a separate clean sponge or cloth and fresh water, rinse the brick surface to remove the detergent solution and any lingering debris, ensuring a clean and refreshed appearance.
- Allow the brick surface to dry: After cleaning and rinsing, allow the brick surface to air dry thoroughly before proceeding with any additional treatments or maintenance.
By diligently following these steps, you can rejuvenate the brick surface, revealing its inherent beauty and restoring its visual appeal. Whether you’re preparing the surface for recaulking or simply aiming to showcase the natural elegance of the brick, a clean and well-maintained surface is the hallmark of a job well done.
As you complete the cleaning process, take a moment to admire the transformation and the potential for further enhancement. With the old caulk removed and the brick surface revitalized, you’ve successfully navigated the process of rejuvenating your brickwork. Congratulations on your achievement!
With the old caulk removed and the brick surface thoroughly cleaned, you’ve not only revitalized the aesthetic appeal of the brickwork but also laid the groundwork for future treatments or maintenance. Whether you’re embarking on a recaulking project or simply reveling in the natural allure of the brick, the removal of old caulk from brick surfaces is a transformative endeavor that yields lasting benefits.
Now, armed with the knowledge and techniques to masterfully remove old caulk from brick, you’re well-equipped to tackle this task with confidence and precision. By understanding the nature of old caulk on brick, gathering the essential tools and materials, and navigating the step-by-step removal process, you’ve unlocked the potential to elevate the beauty and integrity of your brick surfaces.
As you embark on your own caulk removal journey, may the revitalization of your brickwork bring a sense of accomplishment and pride, reflecting the care and dedication you’ve invested in preserving and enhancing your living spaces.
With the removal of old caulk from brick, you’ve not only restored the visual appeal of the brick surfaces but also reaffirmed the enduring charm and resilience of this timeless building material.
Conclusion
Congratulations on mastering the art of removing old caulk from brick surfaces! By delving into this comprehensive guide, you’ve gained valuable insights and techniques to rejuvenate and revitalize your brickwork. From understanding the nature of old caulk to navigating the step-by-step removal process, you’ve embarked on a transformative journey toward enhancing the beauty and integrity of your brick surfaces.
As you reflect on the intricacies of old caulk removal, it’s evident that this endeavor goes beyond mere maintenance—it’s a testament to your commitment to preserving and elevating the aesthetic appeal of your living spaces. The removal of old caulk from brick surfaces not only restores their visual allure but also reinforces the enduring charm and resilience of this timeless building material.
Armed with the knowledge and techniques acquired in this guide, you’re empowered to embark on your own caulk removal journey with confidence and precision. Whether you’re preparing the surface for recaulking or simply reveling in the natural beauty of the brick, the removal of old caulk marks a transformative endeavor that yields lasting benefits.
As you gaze upon the revitalized brick surfaces, may the sense of accomplishment and pride that accompanies this restoration serve as a testament to the care and dedication you’ve invested in preserving and enhancing your living spaces. The removal of old caulk from brick is not merely a task but a testament to your commitment to maintaining and enhancing the timeless allure of this enduring building material.
As you move forward, may the rejuvenated brick surfaces stand as a testament to your unwavering dedication to quality and aesthetics. The removal of old caulk from brick surfaces exemplifies your commitment to preserving the enduring charm and visual appeal of this timeless building material.
With the knowledge and techniques acquired in this guide, you’ve unlocked the potential to elevate the beauty and integrity of your brick surfaces. Embrace the transformative power of old caulk removal and revel in the renewed splendor of your brickwork.
Now, as you embark on your own caulk removal journey, may the revitalization of your brick surfaces bring a sense of accomplishment and pride, reflecting the care and dedication you’ve invested in preserving and enhancing your living spaces.
With the removal of old caulk from brick, you’ve not only restored the visual appeal of the brick surfaces but also reaffirmed the enduring charm and resilience of this timeless building material.
Frequently Asked Questions about How To Remove Old Caulk From Brick
Was this page helpful?
At Storables.com, we guarantee accurate and reliable information. Our content, validated by Expert Board Contributors, is crafted following stringent Editorial Policies. We're committed to providing you with well-researched, expert-backed insights for all your informational needs.

0 thoughts on “How To Remove Old Caulk From Brick”