Home>Construction & Tools>Building Materials>How To Remove Aluminum Windows From Brick
Building Materials
How To Remove Aluminum Windows From Brick
Published: January 23, 2024
Learn how to remove aluminum windows from brick with our step-by-step guide. Find the best building materials for this task and make the process easier.
(Many of the links in this article redirect to a specific reviewed product. Your purchase of these products through affiliate links helps to generate commission for Storables.com, at no extra cost. Learn more)
Introduction
Removing aluminum windows from a brick wall can seem like a daunting task, but with the right tools and know-how, it can be a manageable project. Whether you are renovating your home, replacing the windows, or simply need to access the area behind the window for maintenance, knowing how to remove aluminum windows from brick is a valuable skill.
In this guide, we will walk you through the step-by-step process of removing aluminum windows from a brick wall. By following these instructions, you can effectively and safely remove the old windows, allowing for a smooth transition to new windows or the necessary maintenance.
Before diving into the process, it's important to gather the necessary tools and materials to ensure a successful window removal. With the right preparation and attention to detail, you can tackle this project with confidence and achieve the desired results. So, let's gather our tools and get started on this rewarding home improvement endeavor.
Key Takeaways:
- Removing aluminum windows from a brick wall requires patience, the right tools, and careful preparation. By following the step-by-step process, you can successfully tackle this home improvement project with confidence.
- After removing the old windows, patching the holes and preparing the area for new windows or a temporary covering is crucial. This ensures both structural integrity and a visually appealing finish.
Read more: How To Remove Shutters From Brick
Tools and Materials Needed
Before embarking on the task of removing aluminum windows from a brick wall, it’s essential to gather the required tools and materials. Having the right equipment at your disposal will streamline the process and contribute to a successful window removal.
Here’s a comprehensive list of tools and materials you’ll need for this project:
Tools:
- Screwdriver or power drill
- Putty knife or utility knife
- Hammer
- Reciprocating saw with a metal-cutting blade
- Chisel
- Work gloves and safety goggles
- Vacuum cleaner or broom
- Measuring tape
Materials:
- Silicone caulk remover
- Painter's tape
- Brick patch or mortar mix
- Primer and paint (if planning to patch and paint the brick)
- New window or temporary covering for the opening
Having these tools and materials on hand will ensure that you can proceed with each step of the window removal process efficiently and safely. Additionally, it’s important to prioritize safety by wearing appropriate protective gear, such as work gloves and safety goggles, throughout the project.
Now that you have all the necessary tools and materials, it’s time to move on to the first step: preparation.
Step 1: Preparation
Before initiating the window removal process, thorough preparation is crucial to ensure a smooth and efficient execution. Here’s a step-by-step guide on how to prepare for the removal of aluminum windows from a brick wall:
1. Clear the Surrounding Area: Begin by clearing the area around the window both inside and outside. Remove any furniture, curtains, or obstacles that may obstruct your access to the window. This will create a safe and unobstructed workspace for the removal process.
2. Protect the Surrounding Surfaces: Cover the adjacent surfaces, such as the brick and the window frame, with painter’s tape to prevent accidental scratches or damage during the removal process. This precaution will help maintain the integrity of the surrounding areas.
3. Prepare the Work Area: Set up a sturdy work surface near the window, where you can place your tools and materials within easy reach. Having a well-organized work area will enhance efficiency and minimize the risk of misplacing essential tools during the removal process.
4. Inspect the Window Frame: Examine the window frame and surrounding brick for any visible signs of damage, deterioration, or structural issues. Identifying potential concerns at this stage will help you plan for any necessary repairs or reinforcements once the window is removed.
5. Ensure Proper Ventilation: If working indoors, ensure that the area is well-ventilated by opening windows or using fans. This will help dissipate any dust or fumes generated during the removal process, contributing to a healthier and more comfortable work environment.
By meticulously preparing the work area and assessing the condition of the window and surrounding surfaces, you’ll be well-equipped to proceed with the subsequent steps of removing the aluminum windows from the brick wall. With the preparation complete, you’re ready to move on to the next phase of the removal process.
Read more: How To Remove Graffiti From Brick
Step 2: Removing the Screws
Once the preparation is complete, the next crucial step in removing aluminum windows from a brick wall is tackling the screws that secure the window frame in place. Follow these detailed instructions to effectively remove the screws:
1. Locate and Examine the Screws: Inspect the window frame to identify the location of the screws. Depending on the design, there may be screws securing the frame to the brick or anchoring the window to the frame. Use a flashlight if necessary to ensure thorough visibility.
2. Choose the Right Tool: Select the appropriate screwdriver or power drill bit that matches the screw heads. Ensuring a proper fit will help prevent stripping the screw heads and facilitate smooth removal. If the screws are rusted or corroded, applying a penetrating oil may aid in loosening them.
3. Loosen and Remove the Screws: Carefully loosen each screw by turning it counterclockwise. Apply steady pressure to avoid stripping the screw heads. If using a power drill, set it to reverse mode at a low speed to gradually release the screws. Keep the removed screws in a safe place for reinstallation if needed.
4. Verify Frame Stability: After removing the screws, check the stability of the window frame. If the frame remains firmly in place, it may be additionally secured with adhesive or caulk. Proceed to the next step to address these attachments.
5. Dispose of the Screws: Once all the screws are removed, safely dispose of any damaged or unusable screws. Organize the salvaged screws for potential reuse, ensuring they are stored in a labeled and secure container for future use.
By effectively removing the screws, you have completed a critical phase in the window removal process, setting the stage for the subsequent steps. With the screws out of the way, you’re ready to address the next aspect of the removal process: cutting the caulk.
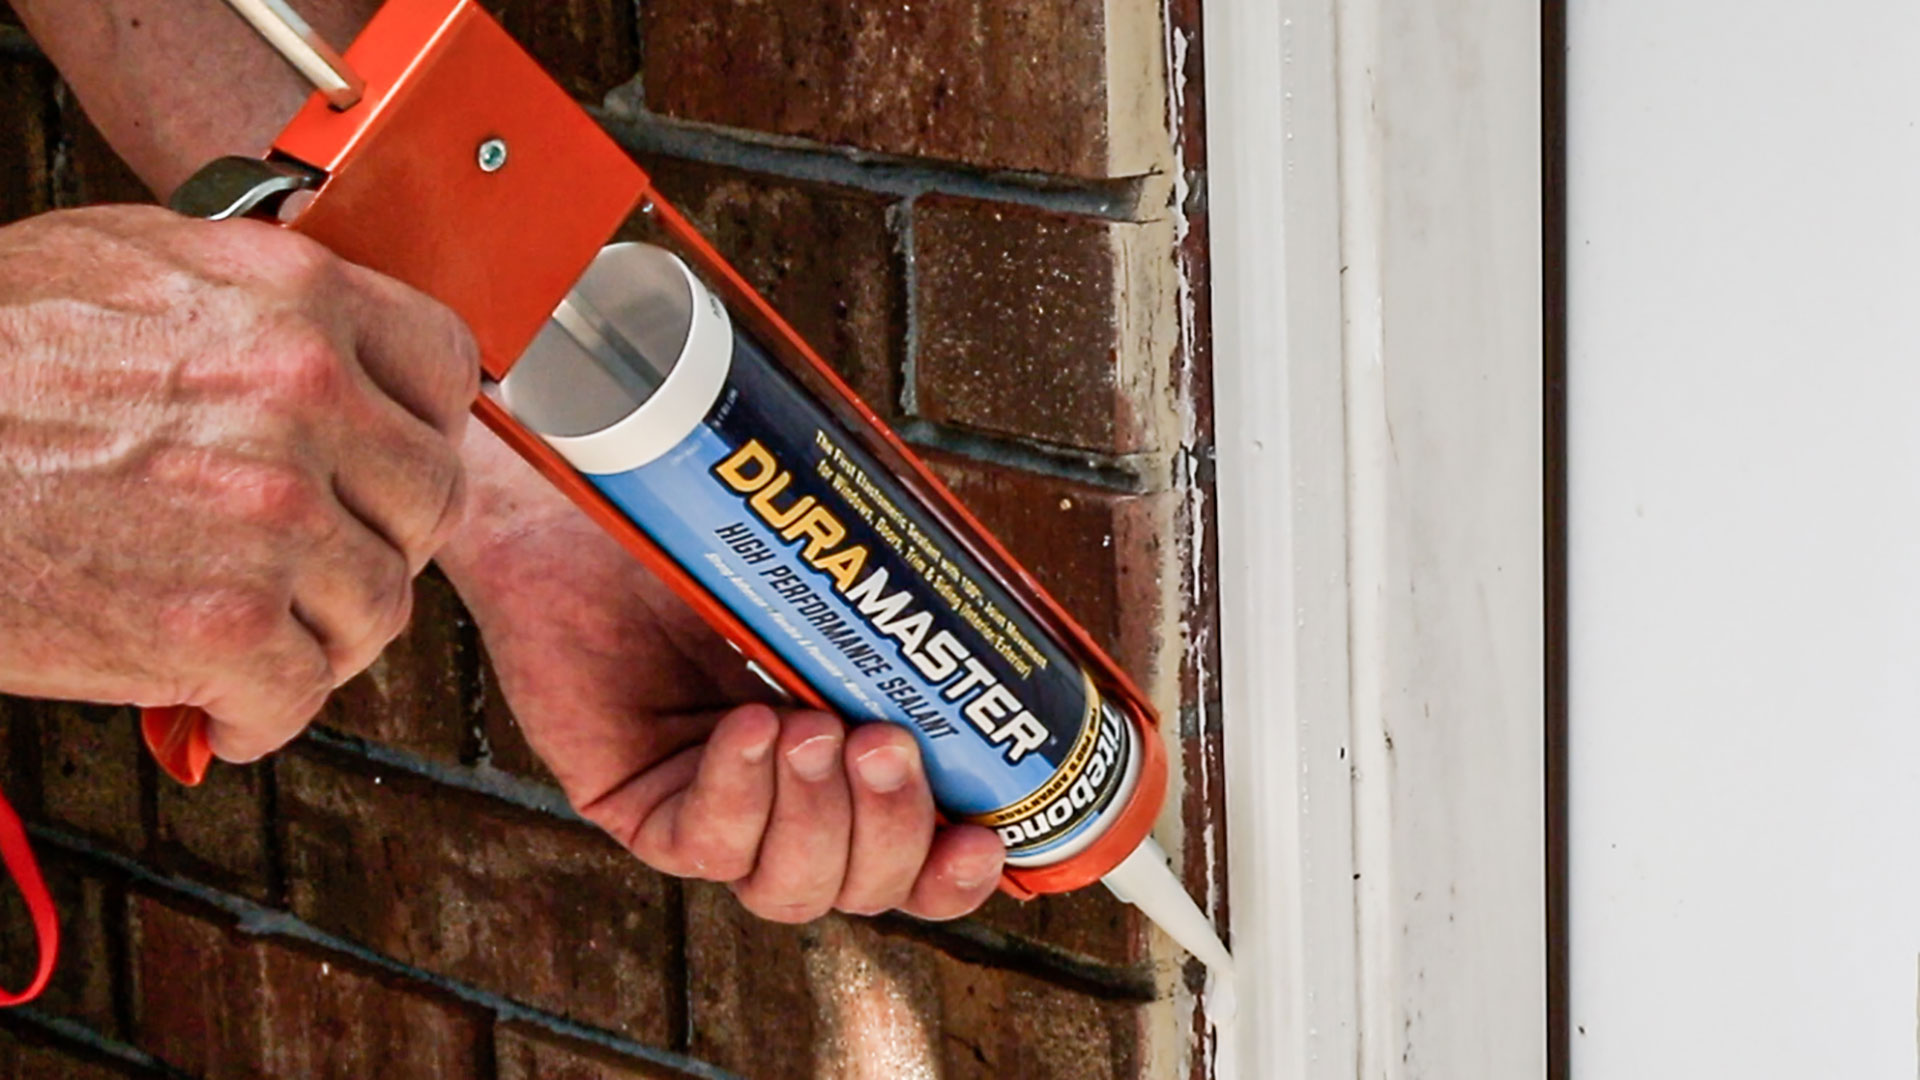
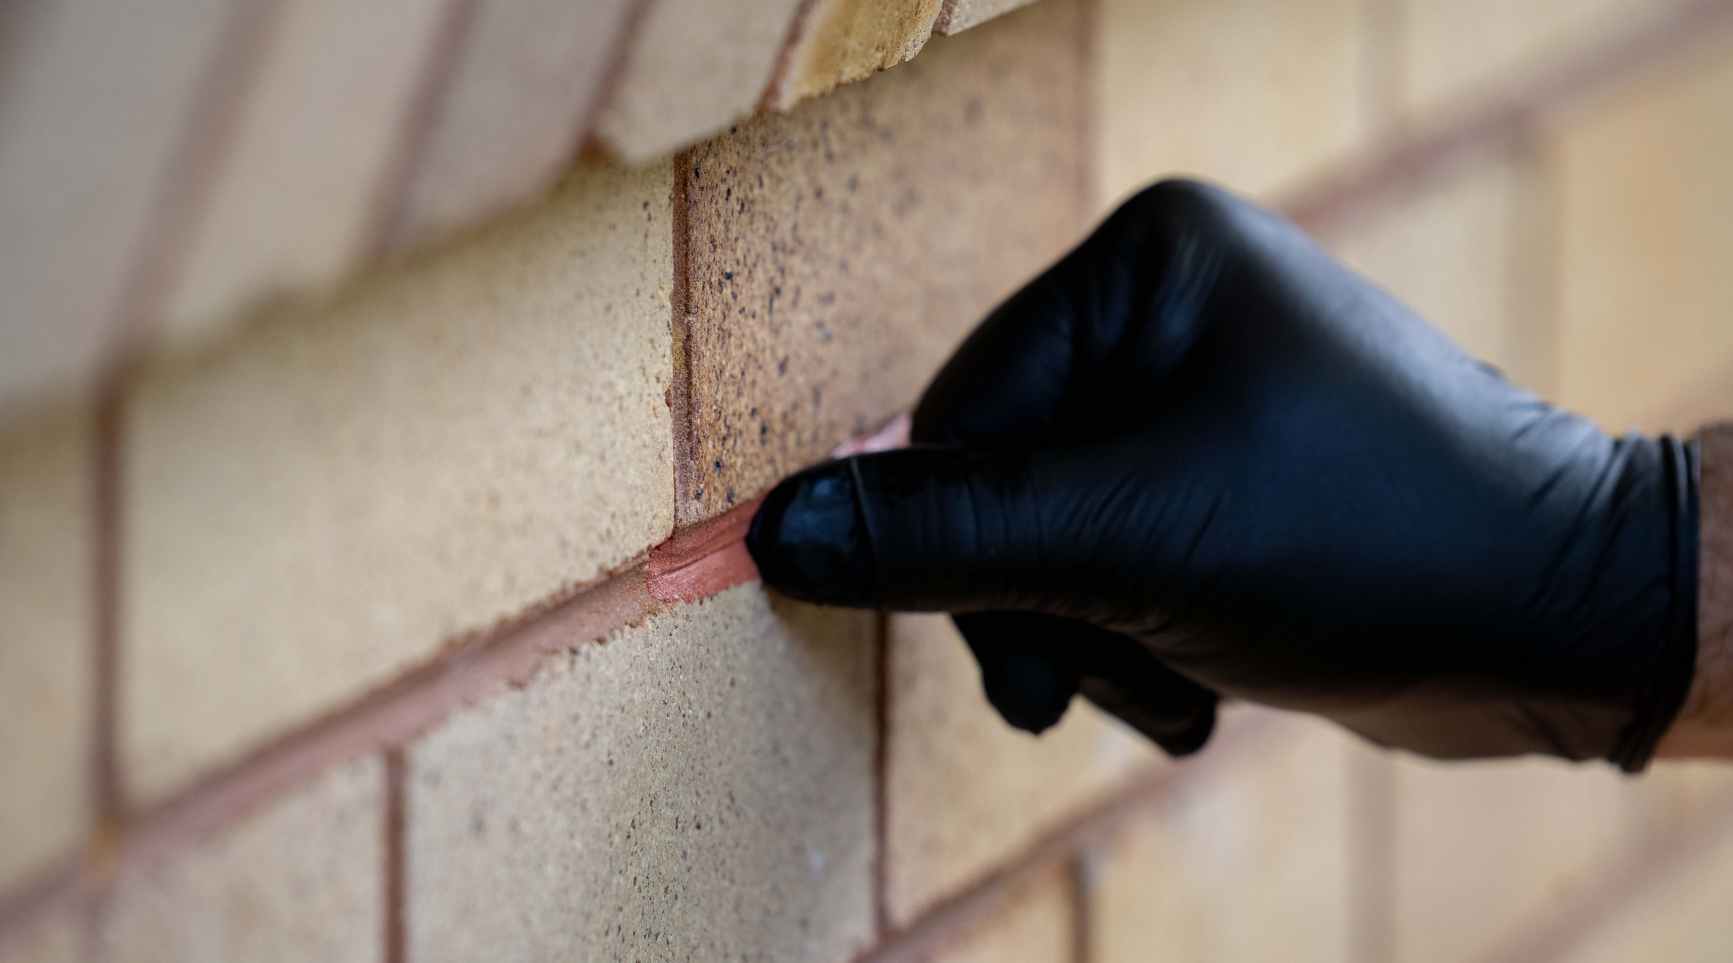
Step 3: Cutting the Caulk
Removing aluminum windows from a brick wall involves addressing the caulk that seals the window frame to the surrounding brick. Properly cutting the caulk is essential to facilitate the release of the window frame. Follow these steps to effectively cut through the caulk:
1. Assess the Caulk Seal: Inspect the perimeter of the window frame to identify the extent of the caulk seal. Look for areas where the caulk is visibly adhered to both the frame and the brick. This assessment will guide your approach to cutting through the caulk.
2. Use a Putty Knife or Utility Knife: Equip yourself with a sturdy putty knife or a sharp utility knife to carefully cut through the caulk. Position the blade against the caulk at a shallow angle, ensuring that you avoid scratching or damaging the brick surface during the process.
3. Apply Gentle Pressure: With a steady hand, apply gentle pressure to the knife as you guide it along the caulk line. Maintain a consistent motion, gradually separating the caulk from the brick and the window frame. Exercise patience to avoid rushing this delicate step.
4. Work Methodically Around the Frame: Begin cutting the caulk at one corner of the window frame and continue along the entire perimeter. Take care to address any stubborn or hardened sections of caulk, adjusting your technique as needed to ensure thorough separation.
5. Verify Complete Caulk Disconnection: After cutting through the caulk, verify that the seal between the window frame and the brick has been fully released. Gently attempt to wiggle the frame to confirm freedom of movement. If the frame remains firmly attached, revisit any areas where the caulk may still be intact.
6. Clear Debris and Residue: Use a vacuum cleaner or a brush to remove any loose caulk debris and residue from the brick surface. This will prepare the area for the subsequent phase of removing the window frame from the brick wall.
With the caulk effectively cut and the seal released, you have successfully navigated a pivotal stage in the window removal process. The next step will involve the physical removal of the window frame from the brick wall, marking significant progress toward completing the project.
To remove aluminum windows from brick, start by removing the screws or nails holding the frame in place. Then, use a pry bar to gently separate the frame from the brick, being careful not to damage the surrounding area.
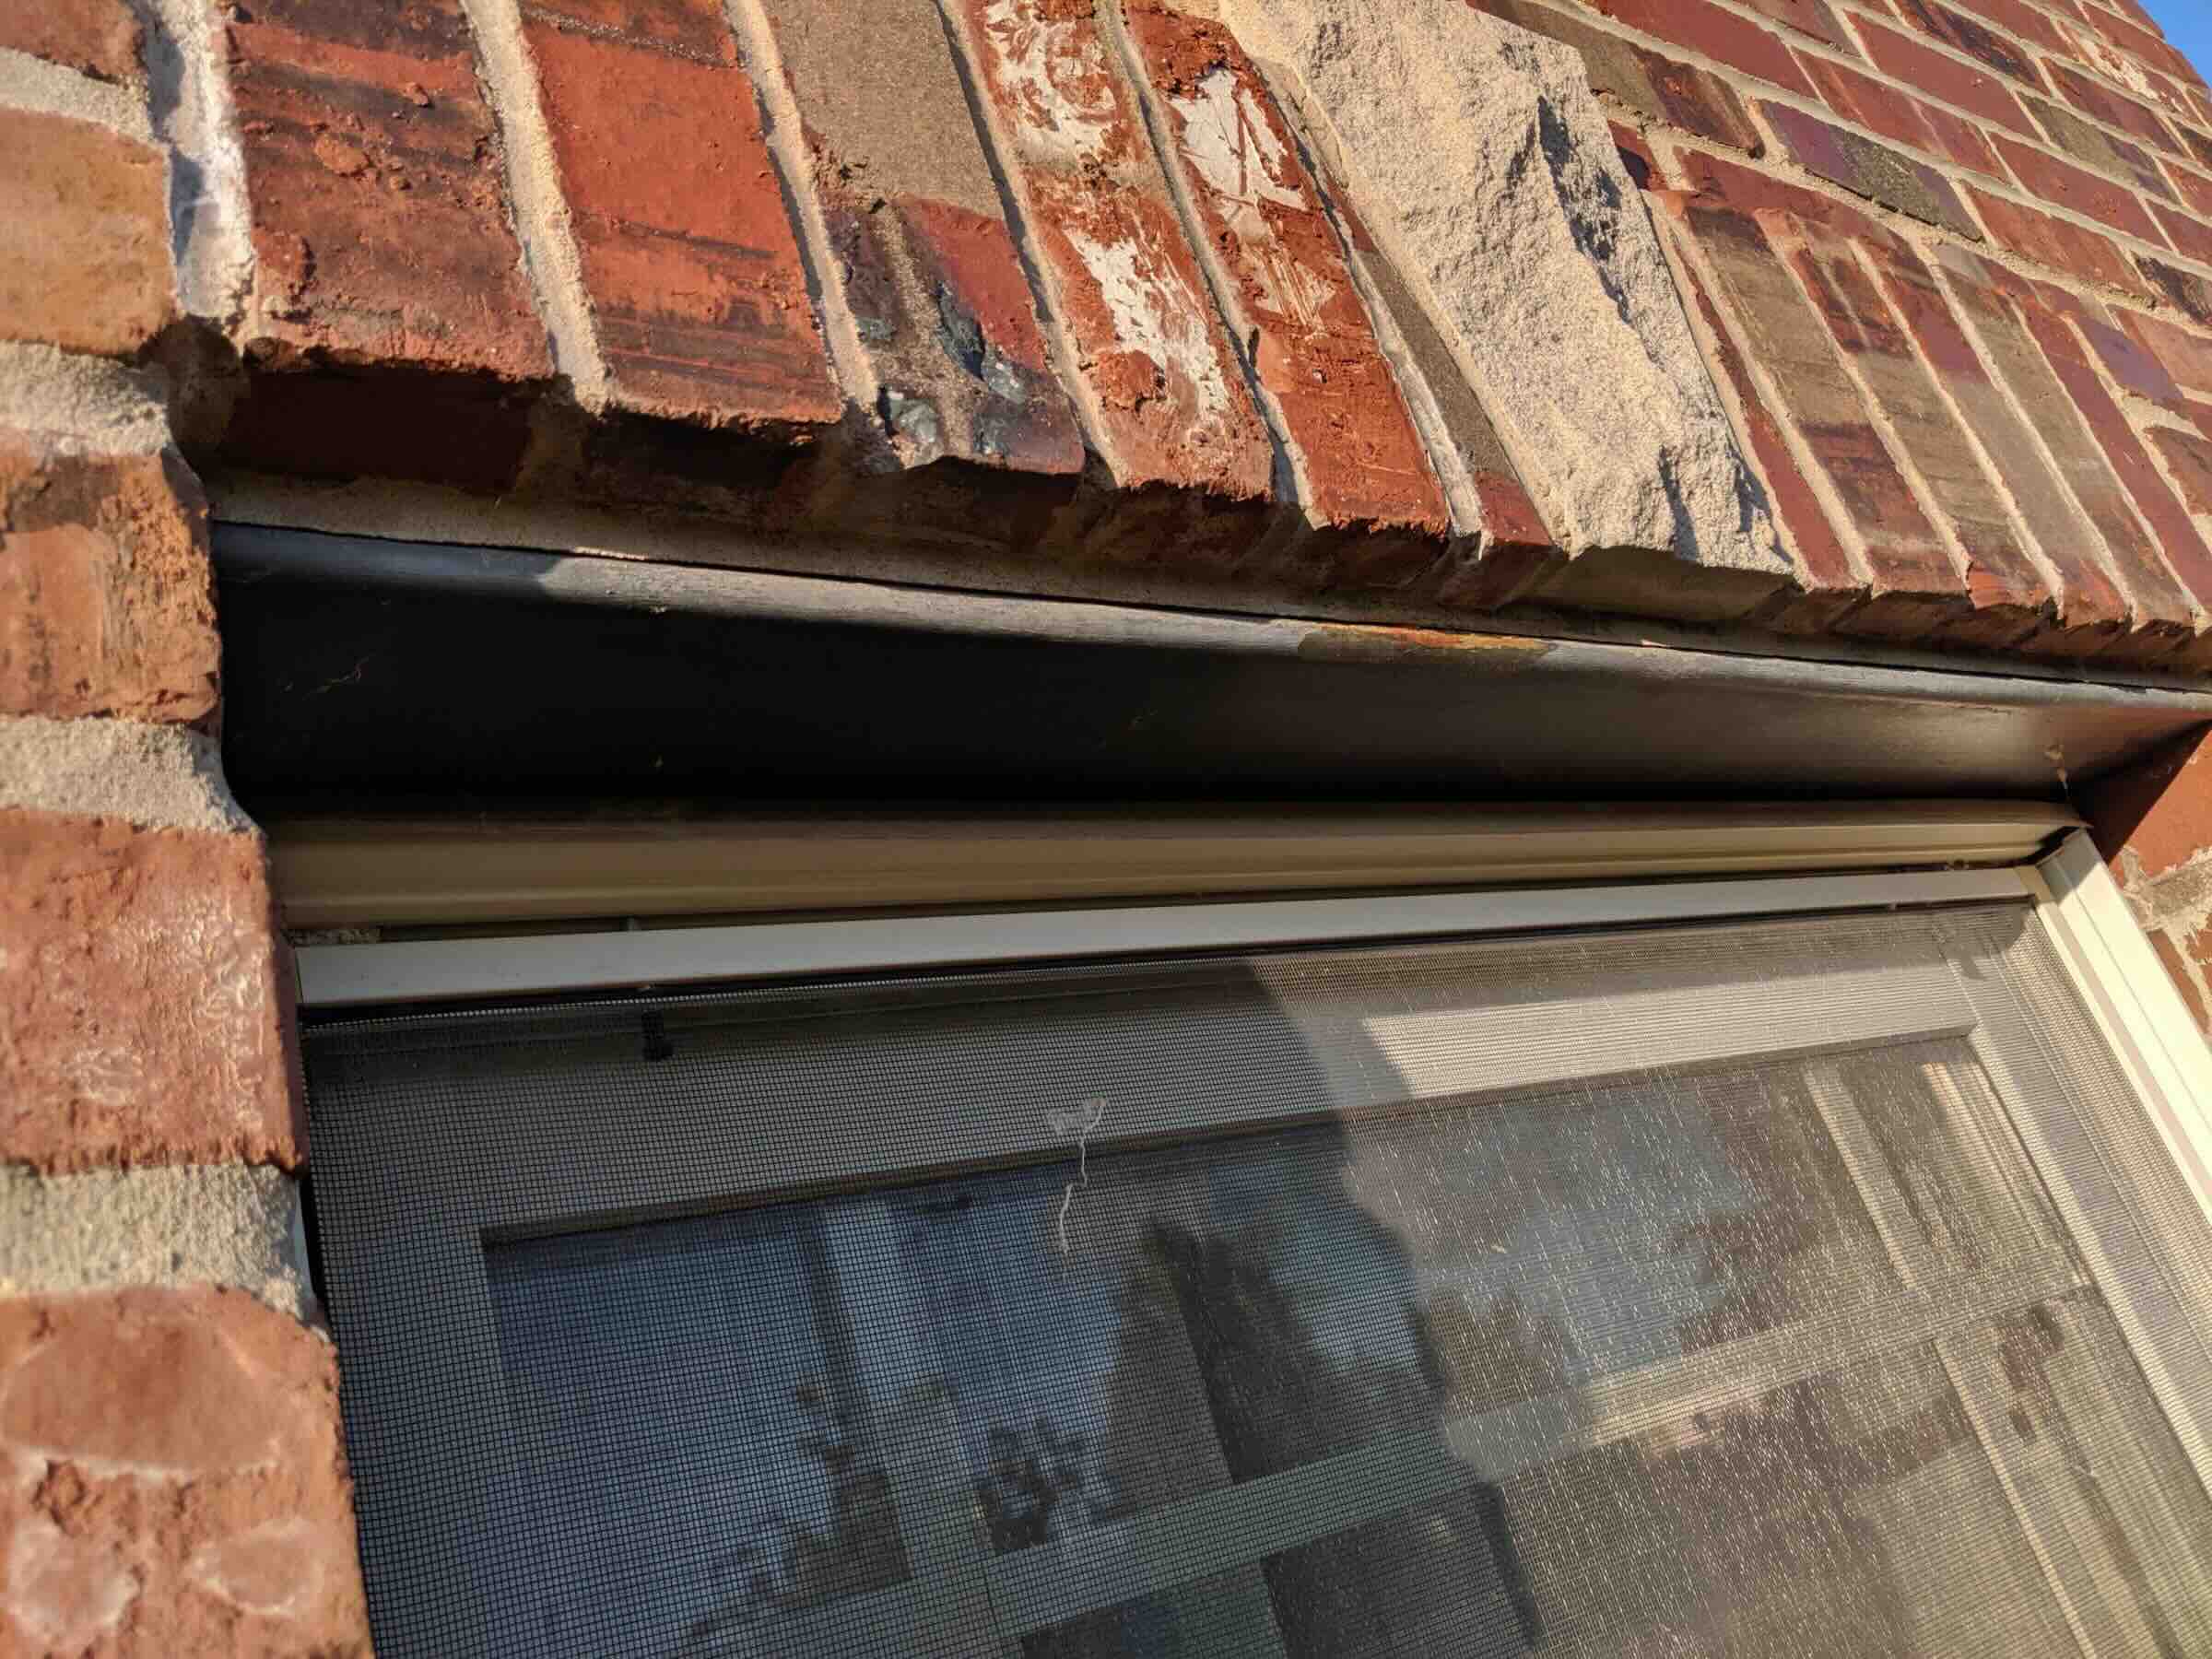
Step 4: Removing the Window Frame
With the screws removed and the caulk cut, the next pivotal phase in removing aluminum windows from a brick wall involves physically detaching the window frame from its position. Follow these detailed steps to effectively remove the window frame:
1. Apply Controlled Pressure: Place your hands on the window frame and apply gentle but firm pressure to assess its mobility. If the frame seems stuck, carefully insert a chisel or thin pry bar between the frame and the brick, using it as a lever to create separation.
2. Work Incrementally: Begin at one corner of the frame and gradually work your way around, applying controlled pressure and utilizing the chisel or pry bar as needed. Exercise caution to avoid excessive force that could cause damage to the frame or the surrounding brick.
3. Enlist Assistance if Necessary: If the window frame proves difficult to remove, consider enlisting the help of a partner to provide additional support. Working together can facilitate the safe and efficient extraction of the frame from the brick wall.
4. Inspect for Lingering Attachments: Once the frame begins to loosen, carefully inspect the perimeter for any remaining adhesives, caulk, or obstructions that may impede its removal. Address these attachments methodically to ensure the frame can be fully extracted.
5. Lift and Remove the Frame: Once all attachments are addressed, carefully lift and maneuver the window frame away from the brick wall. Exercise caution to prevent any sudden movements that could lead to damage or injury. Place the frame in a safe location, away from the work area.
6. Prepare the Opening: With the window frame successfully removed, take a moment to inspect the opening and address any loose debris, remaining caulk, or other remnants. This preparation will set the stage for the subsequent phase of patching the holes and preparing for the installation of a new window or temporary covering.
By effectively removing the window frame, you have achieved a significant milestone in the window removal process. With the frame successfully detached, the next step will involve addressing any resulting holes or gaps to prepare the area for the next phase of the project.
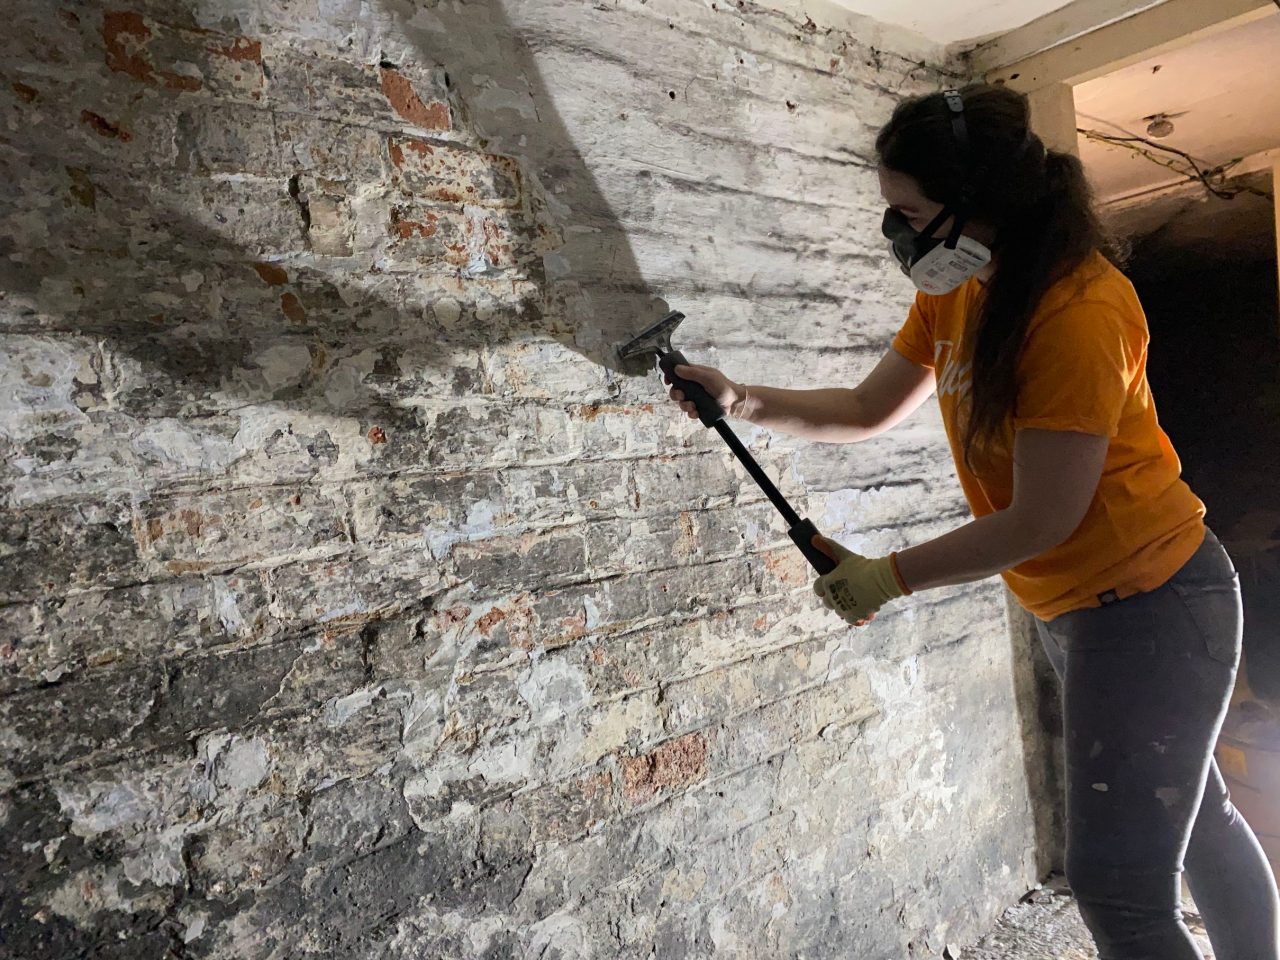
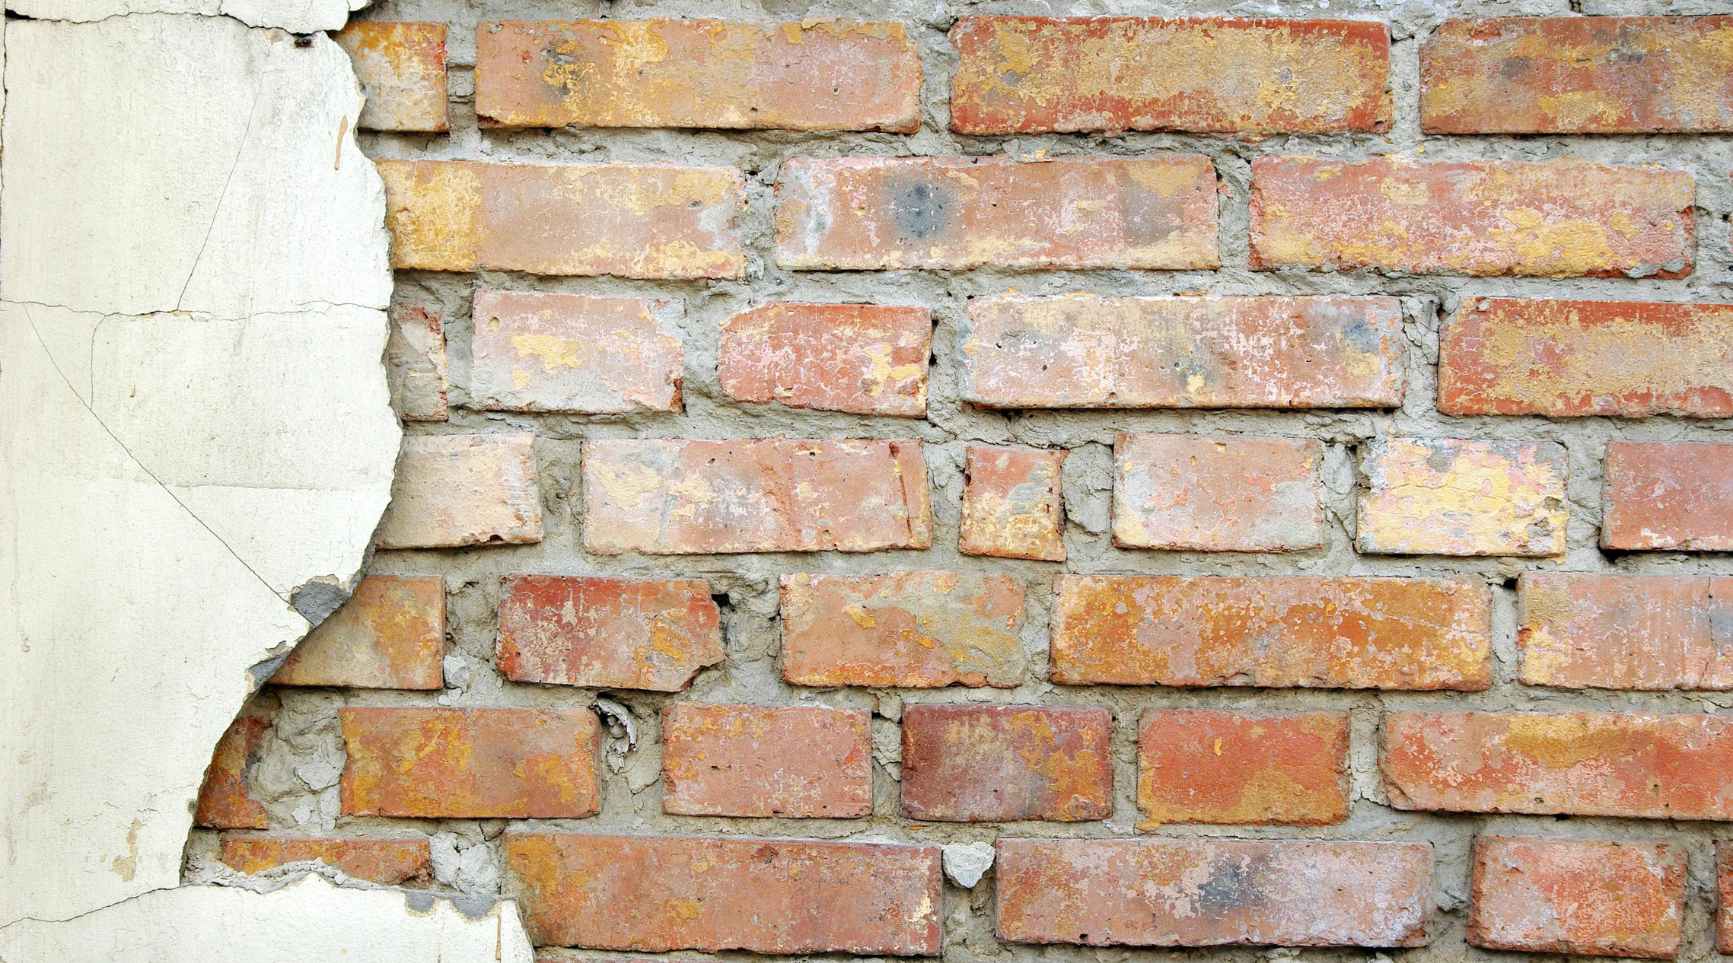
Step 5: Patching the Holes
After removing the window frame, it’s essential to address any resulting holes or gaps in the brick wall to ensure structural integrity and aesthetic appeal. Follow these comprehensive steps to effectively patch the holes left by the removed window frame:
1. Clean the Surrounding Area: Begin by clearing any debris, dust, or loose particles from the area surrounding the holes. Use a vacuum cleaner or a brush to ensure the surface is clean and ready for the patching process.
2. Prepare the Patching Material: Mix the brick patch or mortar according to the manufacturer’s instructions. Ensure a smooth and consistent texture to facilitate easy application and optimal adhesion to the brick surface.
3. Apply the Patching Material: Using a putty knife or trowel, carefully apply the prepared patching material to the holes and gaps left by the removed window frame. Work methodically to ensure thorough coverage and a seamless integration with the surrounding brick surface.
4. Smooth and Shape the Patch: Once the patching material is applied, use the putty knife or trowel to smooth and shape the surface, blending the patch with the adjacent brickwork. Aim for a uniform and level finish that aligns with the surrounding wall for a visually cohesive result.
5. Allow for Proper Drying Time: Follow the recommended drying time specified by the patching material’s manufacturer. Ensure that the patched areas are protected from disturbances or exposure to adverse weather conditions during the drying process.
6. Prime and Paint (if applicable): If the patched areas require painting for a seamless finish, apply a suitable primer followed by matching paint to ensure uniformity with the surrounding brickwork. This step will contribute to a polished and professional appearance.
7. Final Inspection: Once the patching material has fully dried and any painting is complete, carefully inspect the patched areas to ensure a satisfactory result. Verify that the patched holes are seamlessly integrated with the surrounding brick, providing a structurally sound and visually appealing finish.
By effectively patching the holes left by the removed window frame, you have completed a crucial phase in the window removal process. With the areas seamlessly restored, you have laid the groundwork for the installation of a new window or a suitable covering to finalize the project.
Read more: How To Remove Dynabolts From Brick
Conclusion
Congratulations on successfully completing the process of removing aluminum windows from a brick wall. By following the detailed steps outlined in this guide, you have not only achieved the removal of the old windows but also gained valuable insights into the intricacies of this home improvement endeavor.
Throughout the journey of window removal, you’ve demonstrated patience, precision, and a commitment to ensuring both the structural integrity and visual appeal of your home. From meticulous preparation to the careful handling of the window frame and the seamless patching of holes, your dedication has yielded a transformative outcome.
As you reflect on the completion of this project, take pride in the knowledge and skills you’ve acquired. The successful removal of aluminum windows from a brick wall speaks to your resourcefulness and determination to enhance your living space.
Whether you are preparing for the installation of new windows, planning for maintenance, or simply seeking to refresh the appearance of your home’s exterior, the experience gained from this endeavor will serve as a valuable foundation for future projects.
As you admire the newly opened space, take a moment to appreciate the journey you’ve completed. The removal of the old windows has not only transformed your home but has also empowered you with a deeper understanding of home improvement practices.
With the window removal process now behind you, take a well-deserved moment to celebrate your accomplishment. Your dedication and attention to detail have contributed to a successful outcome, marking this project as a testament to your capability and commitment to enhancing your living environment.
As you look toward future endeavors, may the knowledge and experience gained from this project continue to inspire and guide your pursuit of home improvement and the creation of a space that truly reflects your vision and aspirations.
Frequently Asked Questions about How To Remove Aluminum Windows From Brick
Was this page helpful?
At Storables.com, we guarantee accurate and reliable information. Our content, validated by Expert Board Contributors, is crafted following stringent Editorial Policies. We're committed to providing you with well-researched, expert-backed insights for all your informational needs.


0 thoughts on “How To Remove Aluminum Windows From Brick”