Home>Construction & Tools>Building Materials>How To Stick Plastic To Brick

Building Materials
How To Stick Plastic To Brick
Modified: August 28, 2024
Discover the best methods for adhering plastic to brick with our expert tips and advice. Find the right building materials for a secure and long-lasting bond.
(Many of the links in this article redirect to a specific reviewed product. Your purchase of these products through affiliate links helps to generate commission for Storables.com, at no extra cost. Learn more)
Introduction
When it comes to DIY projects or home renovations, the need to adhere plastic to brick surfaces may arise. Whether you are mounting a plastic fixture, affixing a sign, or installing a decorative element, knowing how to effectively bond plastic to brick is essential. While it may seem like a challenging task, with the right approach and materials, it can be accomplished successfully. In this comprehensive guide, we will explore the intricacies of sticking plastic to brick, including understanding the surfaces, choosing the right adhesive, preparing the surfaces, applying the adhesive, and ensuring a proper curing and finishing process. By the end of this article, you will be equipped with the knowledge and techniques to tackle this task confidently and effectively.
Key Takeaways:
- Choose the right adhesive for sticking plastic to brick by considering the type of plastic, brick composition, and environmental factors. This ensures a strong and lasting bond between the two materials.
- Prepare the plastic and brick surfaces by cleaning, roughening, and priming them before applying the adhesive. This creates an optimal foundation for a durable and reliable bond.
Read more: What Will Stick To Brick
Understanding the Surfaces
Before delving into the adhesive selection and application process, it is crucial to understand the nature of the surfaces involved. Both plastic and brick possess unique characteristics that directly impact the adhesion process.
Plastic, being a non-porous material, presents a smooth and often slippery surface. This makes it challenging for adhesives to form a strong bond. On the other hand, brick surfaces are porous and uneven, providing ample surface area for adhesion, but also posing challenges due to their irregular texture.
When these two surfaces are to be bonded, it’s essential to consider the specific type of plastic and the composition of the brick. Different types of plastics, such as polyethylene, polypropylene, or PVC, require different adhesive formulations for optimal bonding. Similarly, the composition of the brick, whether it’s standard clay brick, concrete brick, or a textured brick surface, can influence the choice of adhesive and the preparation required.
Understanding the porosity, texture, and composition of both the plastic and brick surfaces is paramount in selecting the right adhesive and preparing the surfaces effectively. In the subsequent sections, we will delve into the intricacies of choosing the appropriate adhesive and the necessary surface preparation techniques to ensure a durable and reliable bond between plastic and brick.
Choosing the Right Adhesive
When it comes to adhering plastic to brick, selecting the appropriate adhesive is a critical decision that significantly impacts the success and durability of the bond. With a myriad of adhesive options available, it’s essential to choose one that is specifically formulated to bond plastic to porous surfaces such as brick.
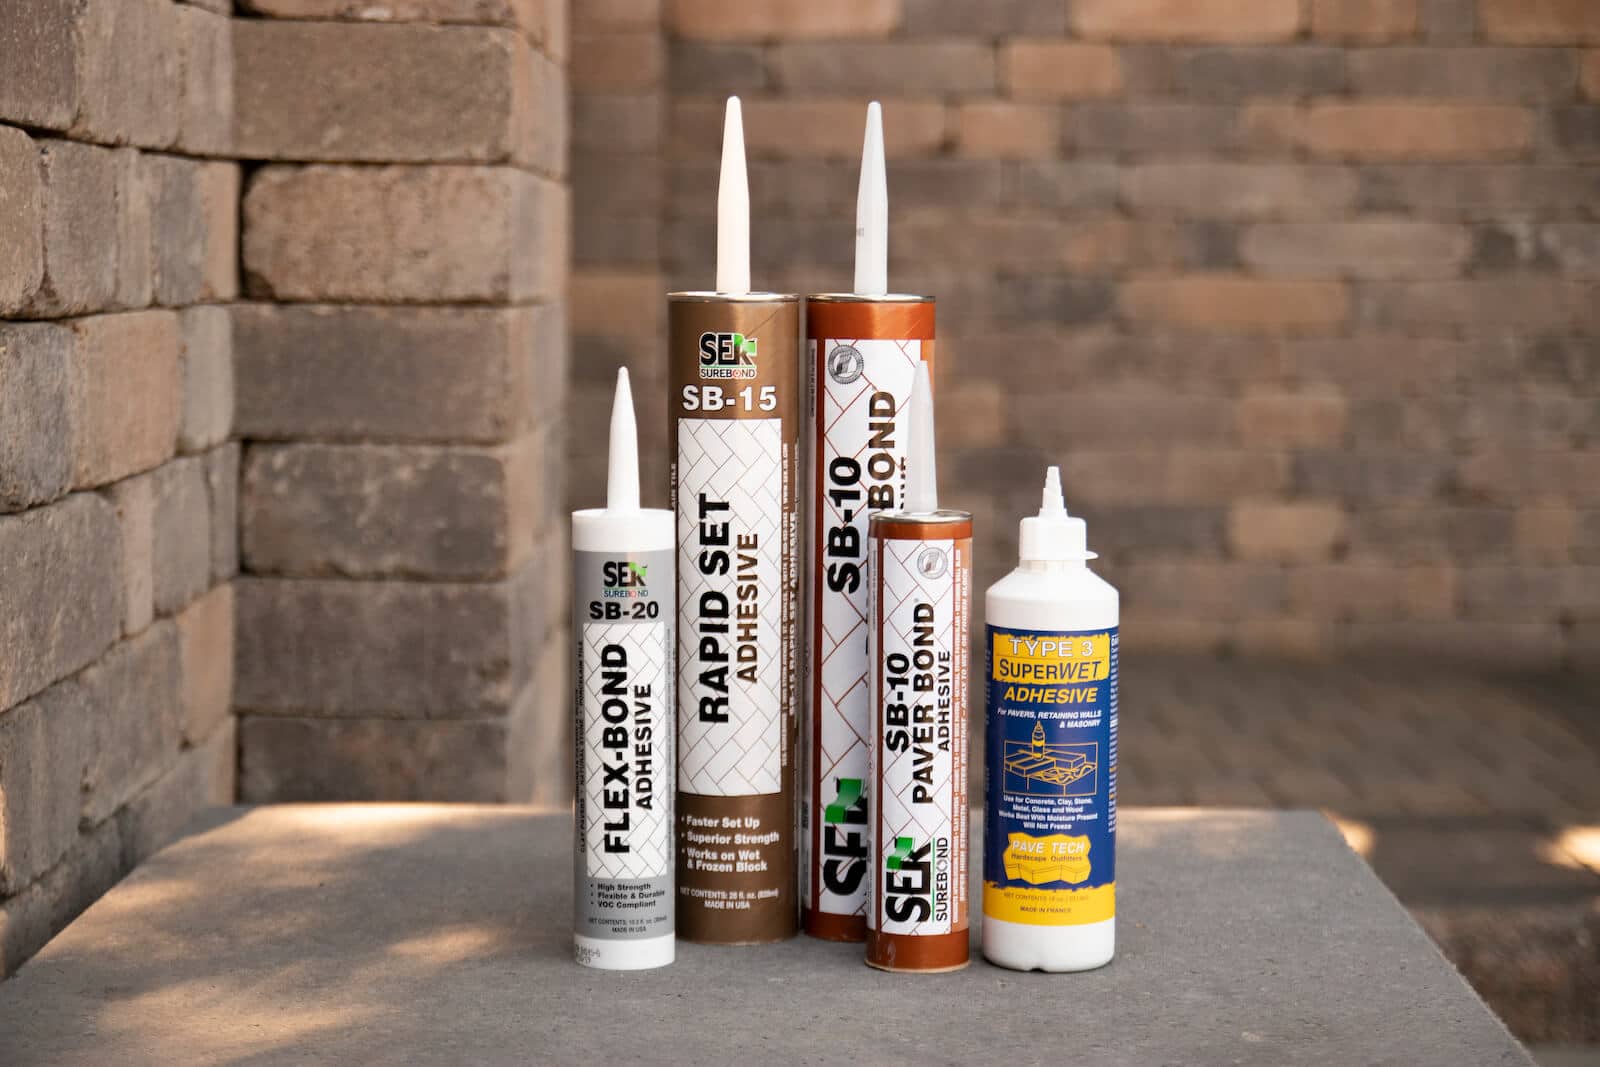
For bonding plastic to brick, it is advisable to opt for a high-quality construction adhesive or a specialized masonry adhesive. These adhesives are designed to create a strong and lasting bond between dissimilar materials and are formulated to withstand the challenges posed by porous and uneven surfaces.
It’s important to consider the specific type of plastic and the composition of the brick when selecting the adhesive. Some adhesives are formulated to bond with a wide range of plastics, while others may be tailored for specific types, such as PVC or polyethylene. Similarly, certain adhesives are optimized for bonding with different types of brick, including standard clay brick, concrete brick, or textured brick surfaces.
Additionally, considering the environmental factors is crucial in the adhesive selection process. If the bonded surfaces will be exposed to outdoor elements or fluctuating temperatures, choosing an adhesive with weather-resistant and temperature-resistant properties is imperative to ensure the longevity of the bond.
Furthermore, it’s recommended to opt for an adhesive that offers a gap-filling capability, especially when dealing with uneven brick surfaces. This ensures that the adhesive can effectively fill voids and irregularities, enhancing the overall contact and adhesion between the plastic and brick.
By carefully evaluating the compatibility of the adhesive with the specific plastic and brick materials, considering environmental factors, and ensuring gap-filling capabilities, you can select an adhesive that is tailored to the requirements of bonding plastic to brick, setting the stage for a successful and enduring bond.
Preparing the Surfaces
Effective surface preparation is fundamental to achieving a strong and durable bond between plastic and brick. Given the disparate nature of these materials, meticulous preparation is essential to optimize the adhesion process.
Begin by thoroughly cleaning both the plastic and brick surfaces to remove any dirt, dust, grease, or other contaminants that could hinder adhesion. For plastic surfaces, use a mild detergent and water to ensure a clean and residue-free surface. Similarly, brick surfaces may require cleaning with a wire brush or a solution of water and mild detergent to remove any debris or efflorescence.
Once clean, it’s crucial to roughen the surfaces to enhance adhesion. For plastic, lightly sanding the bonding area with fine-grit sandpaper can promote mechanical adhesion by creating a roughened surface for the adhesive to grip. When dealing with brick surfaces, ensure that any loose mortar or debris is removed, and consider using a wire brush or abrasive pad to roughen the surface and remove any glaze or contaminants that could impede adhesion.
In addition to roughening the surfaces, it’s beneficial to prime the surfaces to further improve adhesion. Utilize a primer specifically formulated for the respective materials – plastic and masonry. The primer facilitates a stronger bond by promoting adhesion and enhancing the compatibility between the adhesive and the surfaces.
Furthermore, when dealing with porous brick surfaces, it’s essential to consider moisture content. Excess moisture in the brick can compromise the adhesive bond. Therefore, allowing the brick surface to dry thoroughly before applying the adhesive is imperative. In some cases, using a dehumidifier or allowing additional time for the surface to dry may be necessary, especially in high-humidity environments.
By meticulously cleaning, roughening, and priming the surfaces, as well as ensuring proper moisture control, you can create an optimal foundation for the adhesive to form a robust and enduring bond between the plastic and brick surfaces.
Use a strong adhesive specifically designed for bonding plastic to brick. Clean the surfaces thoroughly before applying the adhesive to ensure a strong and lasting bond.
Applying the Adhesive
With the surfaces cleaned, roughened, and primed, the next crucial step in the process of bonding plastic to brick is the application of the chosen adhesive. Proper application techniques are essential to ensure a uniform bond and maximize the adhesive’s effectiveness.
Begin by carefully following the manufacturer’s instructions for the selected adhesive. Adhering to the recommended application guidelines is vital to achieve the optimal bond strength and durability. Some adhesives may require specific temperature ranges or curing times for the best results.
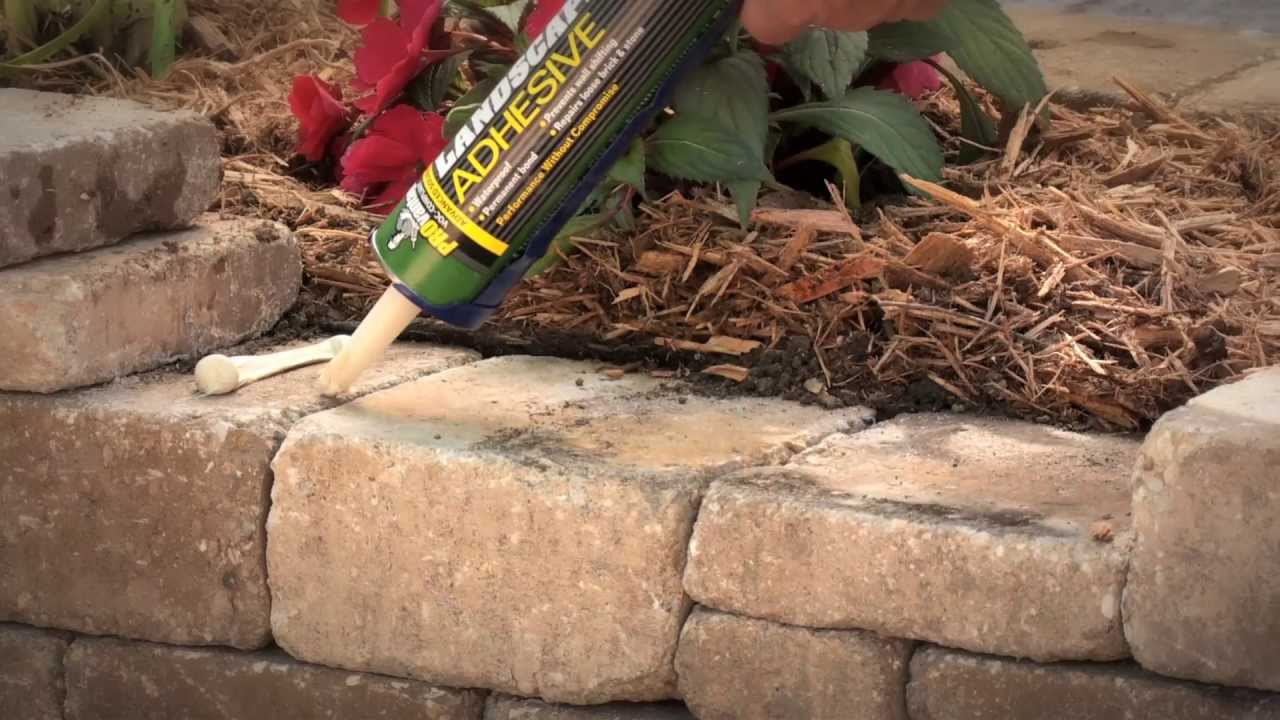
When applying the adhesive, use a caulking gun or a putty knife to dispense and spread the adhesive evenly on the prepared surfaces. Ensure that the adhesive is applied in a consistent layer, avoiding excessive buildup that could lead to uneven bonding or squeeze-out when pressure is applied to join the surfaces.
When bonding plastic to brick, consider the specific requirements of the application. If the plastic object is heavy or will be subjected to external forces, such as wind or physical impact, it may be necessary to apply the adhesive in a strategic pattern, such as dots, lines, or a grid, to provide ample coverage and support for the plastic object.
Additionally, when joining the plastic and brick surfaces, apply sufficient pressure to ensure intimate contact between the two materials. This can be achieved by firmly pressing or clamping the bonded surfaces together as per the adhesive manufacturer’s recommendations. Proper pressure helps to expel air and promote the adhesive’s penetration into the microscopic pores of the brick, enhancing the overall bond strength.
After the adhesive application and joining of the surfaces, carefully inspect the bond to ensure uniform contact and adhesion. Wipe away any excess adhesive that may have squeezed out from the edges to maintain a clean and professional finish.
By meticulously following the adhesive application guidelines, applying the adhesive evenly, and ensuring proper pressure during the joining process, you can maximize the effectiveness of the adhesive and establish a robust bond between the plastic and brick surfaces.
Read more: How To Stick Things On Brick
Curing and Finishing
After the adhesive has been applied and the plastic object has been securely bonded to the brick surface, the curing and finishing phase is crucial to ensure the longevity and aesthetic appeal of the bond.
Allow the adhesive to cure as per the manufacturer’s recommendations. This typically involves providing sufficient time for the adhesive to set and reach its full strength. During the curing period, it’s essential to avoid subjecting the bonded surfaces to excessive stress or loads that could compromise the adhesive’s integrity. Additionally, maintaining optimal temperature and humidity levels, as specified by the adhesive manufacturer, can contribute to the proper curing of the adhesive.
Once the adhesive has fully cured, inspect the bonded area to ensure a secure and uniform bond. Check for any signs of adhesive failure or areas that may require additional attention. If necessary, apply a sealant around the edges of the bonded plastic object to further fortify the bond and protect it from moisture or environmental factors.
Furthermore, consider the aesthetic aspects of the bonded surfaces. If the bond is visible and the appearance is a concern, you may opt to conceal the adhesive line or edges with a suitable paint or finish that complements the surrounding area. This finishing touch not only enhances the visual appeal but also provides an added layer of protection for the bond.
Throughout the curing and finishing phase, it’s important to adhere to the specific guidelines provided by the adhesive manufacturer and to consider the environmental conditions to ensure the durability and visual appeal of the bonded plastic to brick surfaces.
Conclusion
Bonding plastic to brick surfaces requires a thoughtful approach, meticulous preparation, and the use of suitable adhesives to achieve a durable and reliable bond. By understanding the nature of the surfaces, selecting the right adhesive, preparing the surfaces effectively, applying the adhesive with precision, and ensuring proper curing and finishing, you can successfully accomplish this task with confidence.
Throughout this guide, we have underscored the importance of considering the specific characteristics of plastic and brick, including their porosity, texture, and composition, in the bonding process. By acknowledging these factors, you can make informed decisions when selecting adhesives and preparing the surfaces, ultimately optimizing the adhesion between the two materials.
Additionally, we have emphasized the significance of following the manufacturer’s guidelines for adhesive application, ensuring uniform coverage, proper pressure during the joining process, and meticulous inspection to verify the integrity of the bond. These steps are instrumental in establishing a robust and enduring bond between plastic and brick surfaces.
Furthermore, the curing and finishing phase is critical in fortifying the bond and enhancing the overall appearance of the bonded surfaces. By allowing the adhesive to cure properly and addressing any aesthetic concerns with suitable finishes, you can ensure the longevity and visual appeal of the bonded plastic to brick surfaces.
In conclusion, the successful bonding of plastic to brick necessitates a comprehensive understanding of the surfaces, meticulous preparation, precise application of adhesives, and thoughtful consideration of curing and finishing processes. By integrating these insights and techniques, you can confidently undertake projects involving the adhesion of plastic to brick, knowing that the resulting bond will be resilient, visually pleasing, and enduring.
Frequently Asked Questions about How To Stick Plastic To Brick
Was this page helpful?
At Storables.com, we guarantee accurate and reliable information. Our content, validated by Expert Board Contributors, is crafted following stringent Editorial Policies. We're committed to providing you with well-researched, expert-backed insights for all your informational needs.







0 thoughts on “How To Stick Plastic To Brick”