Furniture
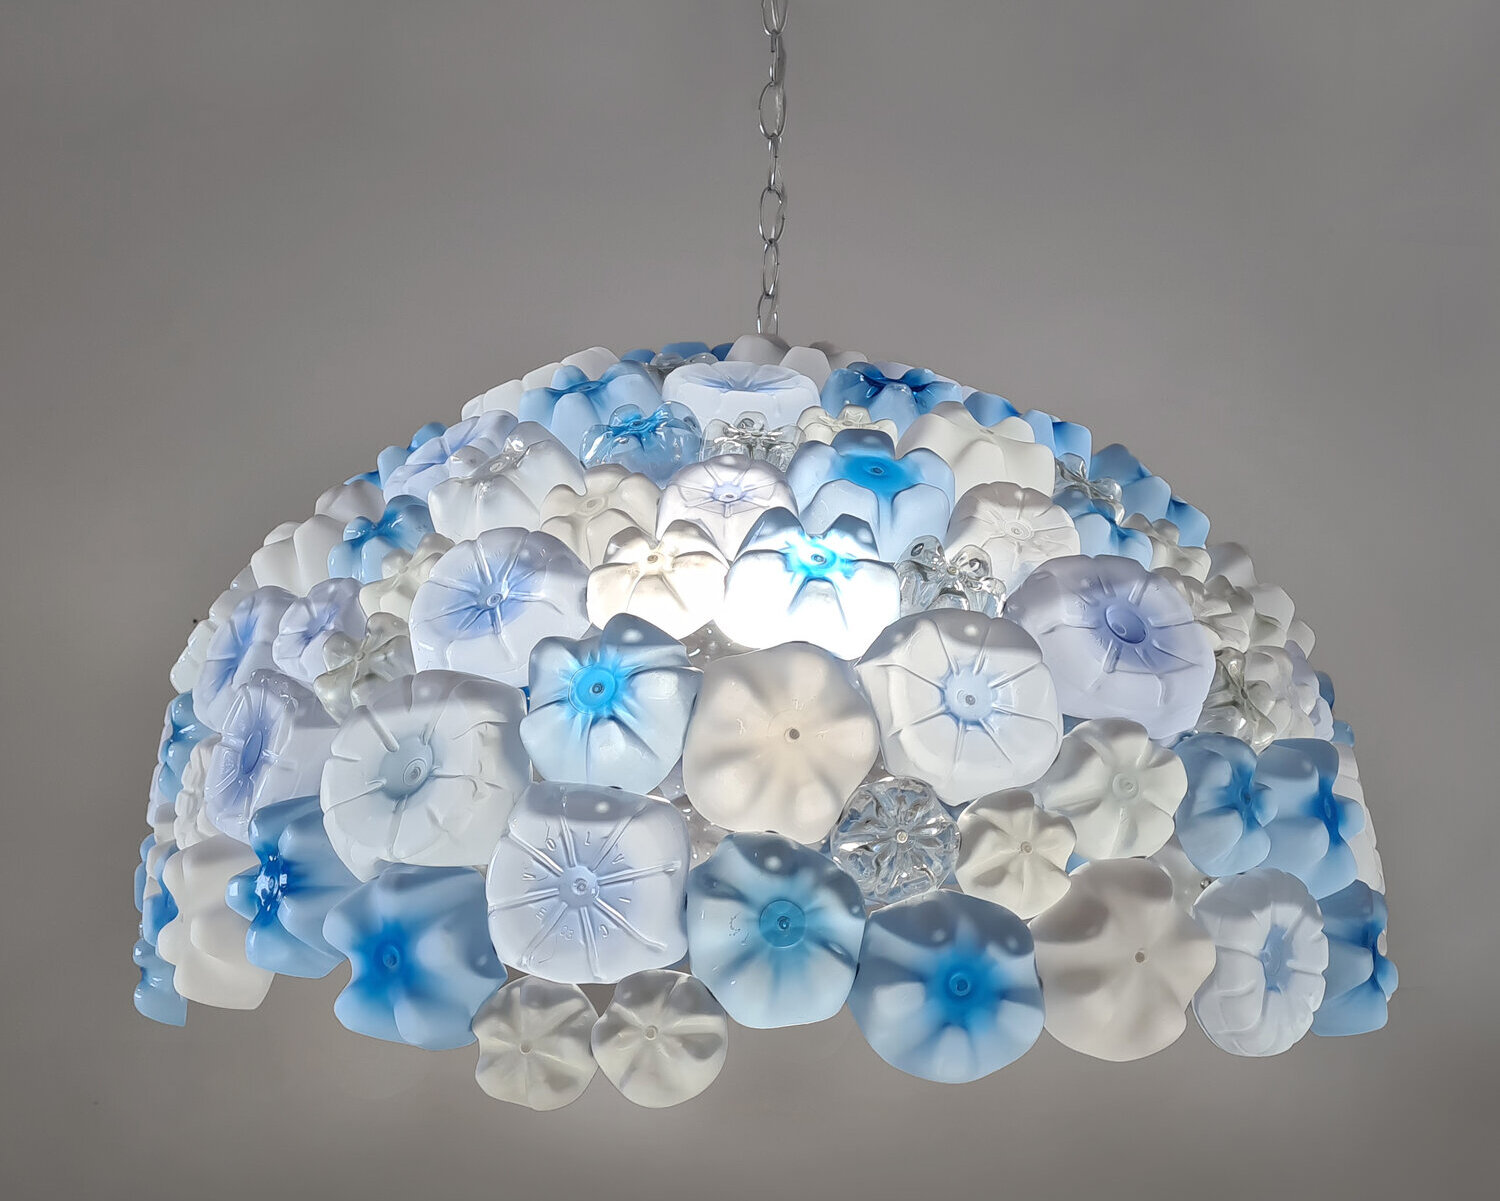
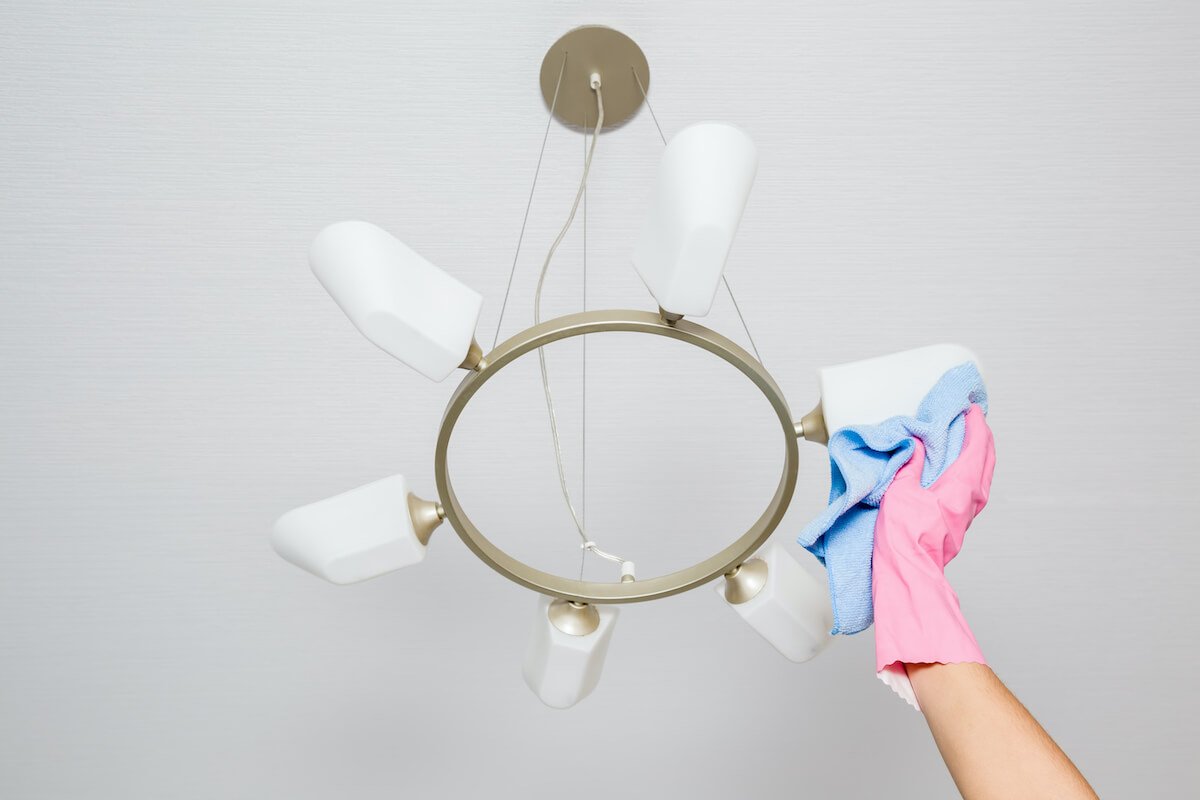
How To Clean A Plastic Chandelier
Modified: August 25, 2024
Learn the easy steps to clean your plastic chandelier and restore its shine. Expert tips and tricks for furniture maintenance from experienced professionals.
(Many of the links in this article redirect to a specific reviewed product. Your purchase of these products through affiliate links helps to generate commission for Storables.com, at no extra cost. Learn more)
Introduction
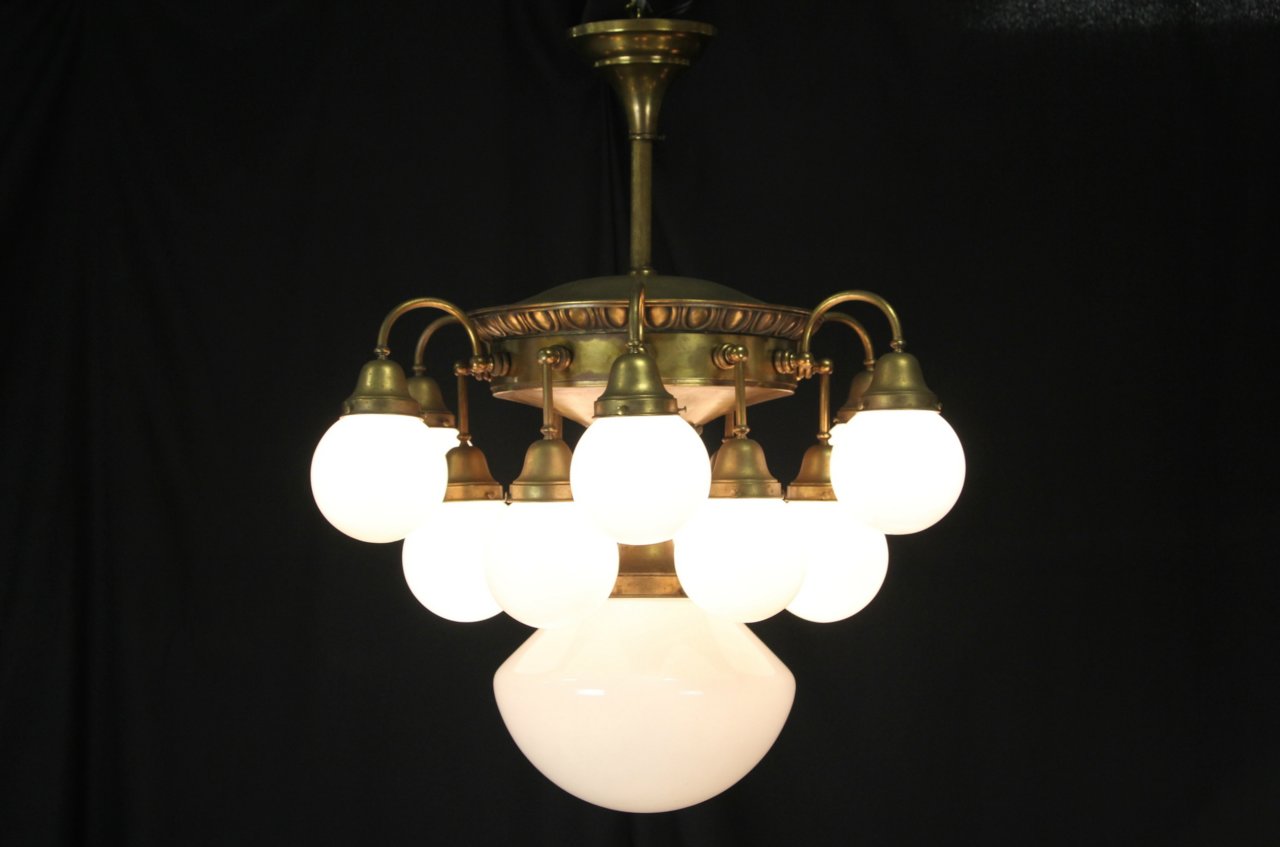
When it comes to decorating our homes, chandeliers are often the centerpiece of a room, adding elegance and sophistication to any space. However, over time, these beautiful fixtures can accumulate dust, dirt, and grime, which can dim their sparkle and detract from their overall beauty. Cleaning a plastic chandelier may seem like a daunting task, but with the right supplies and a step-by-step approach, you can have your chandelier looking as good as new in no time.
In this guide, we will outline the necessary supplies and provide a detailed step-by-step process to help you clean your plastic chandelier safely and effectively. By following these instructions, you can ensure that your chandelier remains a stunning focal point in your home for years to come.
Key Takeaways:
- Keep your plastic chandelier sparkling by following a step-by-step cleaning process using gentle supplies and safety precautions. Regular maintenance ensures a stunning focal point in your home for years to come.
- Safely disassemble, clean, and reassemble your plastic chandelier to restore its beauty and elegance. Prioritize safety, use gentle cleaning solutions, and take your time for a sparkling end result.
Read more: How To Clean A Plastic Tablecloth
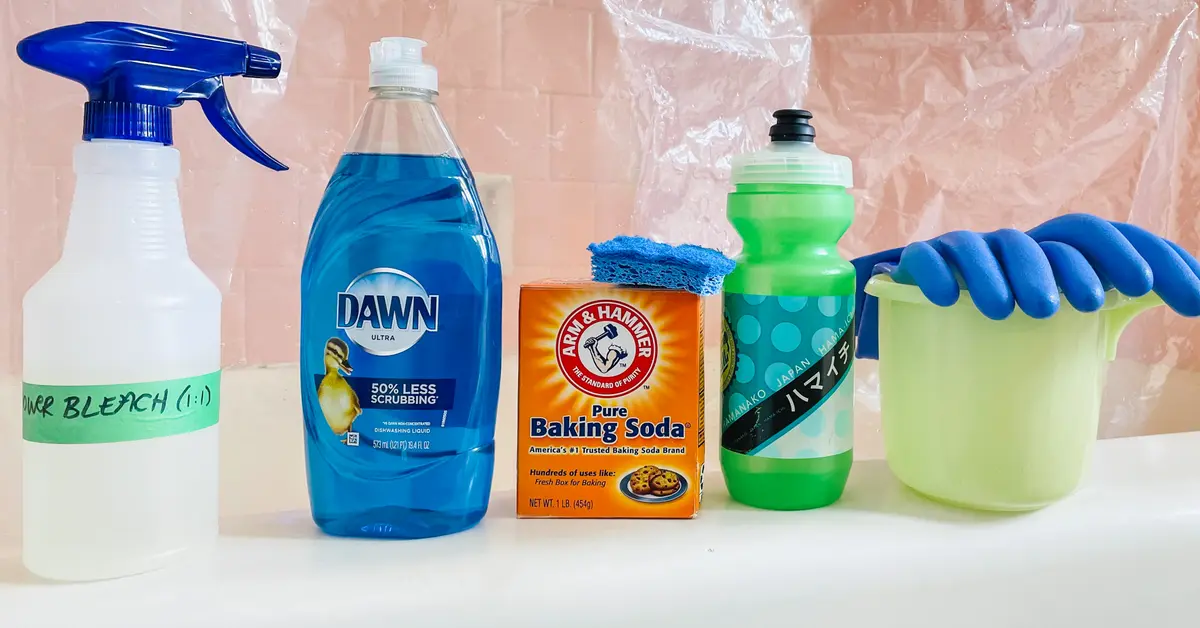
Supplies needed
Before you begin cleaning your plastic chandelier, it’s important to gather all the necessary supplies to ensure a thorough and successful cleaning process. Here is a list of the supplies you will need:
- Microfiber cloth: This soft, lint-free cloth will be your go-to tool for wiping down and polishing the chandelier.
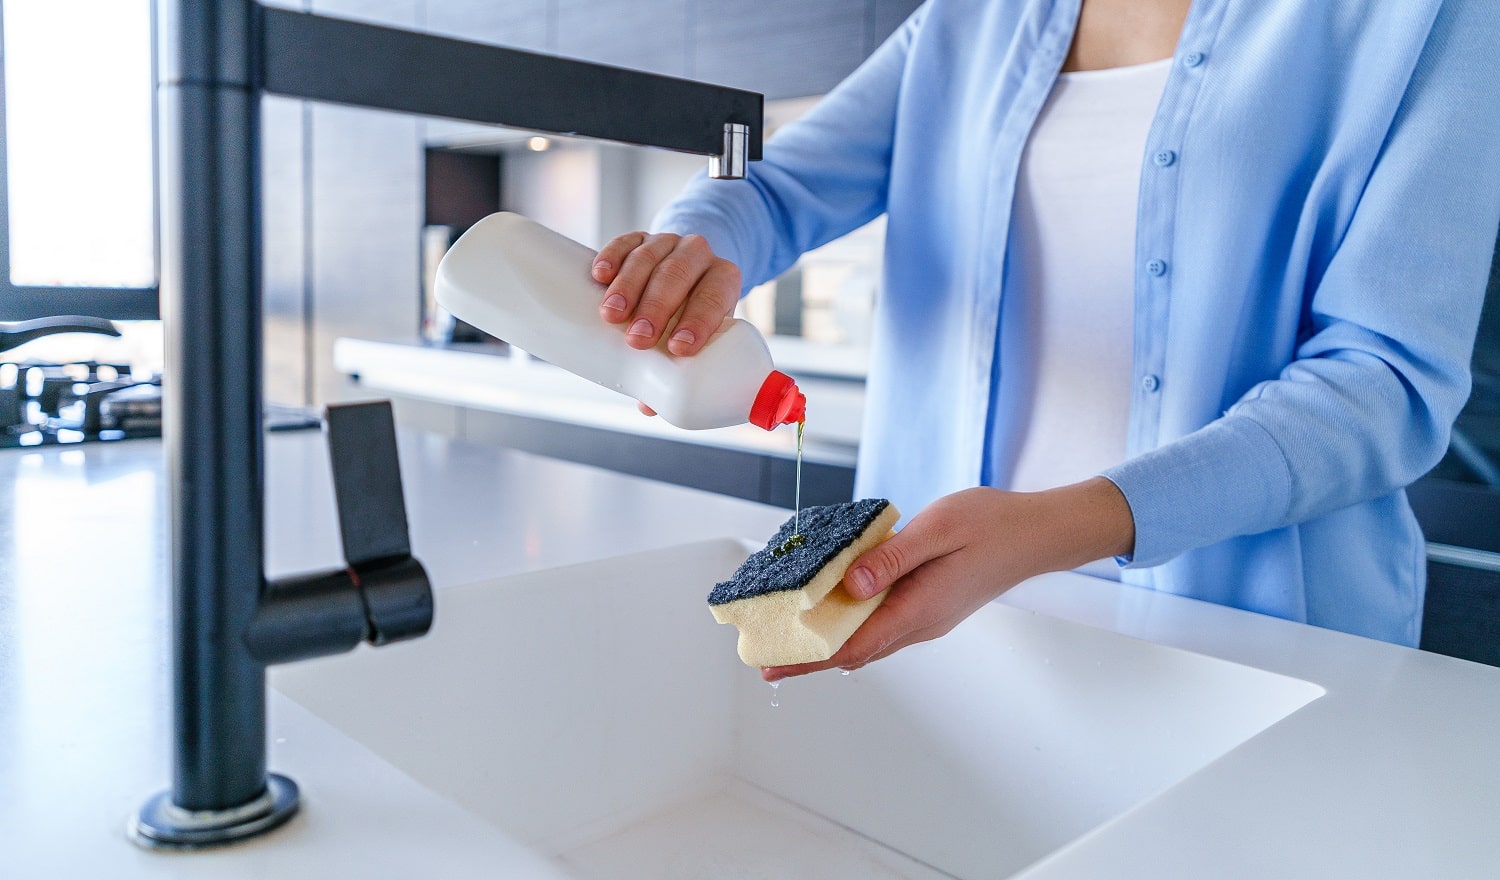
- Mild dish soap: Opt for a gentle dish soap that does not contain harsh chemicals or abrasive substances.
- Bucket: A bucket filled with warm water will be used to create a cleaning solution.
- Screwdriver: Depending on the design of your chandelier, you may need a screwdriver to remove the fixtures and crystals for cleaning.
- Soft bristle brush: This will come in handy for cleaning hard-to-reach areas and intricate details of the chandelier.
- Plastic cleaning solution: If there are stubborn stains or residues on the plastic components of your chandelier, a plastic cleaning solution specifically designed for delicate surfaces may be helpful.
- Gloves: To protect your hands from any cleaning chemicals and to ensure a hygienic cleaning process, it’s recommended to wear gloves.
By having these supplies ready, you can streamline the cleaning process and ensure that you have everything you need to make your plastic chandelier shine again.
Step 1: Safety precautions
Before you begin cleaning your plastic chandelier, it is essential to take the necessary safety precautions to protect yourself and your chandelier from any damage. Here are some key safety measures to keep in mind:
- Turn off the power: Before handling or cleaning your chandelier, ensure that the power is turned off at the circuit breaker. This will prevent any accidental shock or damage to the electrical components.
- Protect the surrounding area: Place a drop cloth or towel underneath the chandelier to catch any drips or falling debris during the cleaning process. This will protect your furniture and flooring.
- Ensure stability: If your chandelier is hanging from a ceiling hook or chain, make sure it is securely fastened. This will prevent any accidents or damage that may occur if the chandelier were to fall while cleaning.
- Wear protective gear: To protect yourself from any cleaning solutions or dust, it is advisable to wear gloves and safety goggles. Additionally, if you have any allergies or sensitivities, consider wearing a mask to prevent any potential reactions.
- Use a sturdy ladder or step stool: If your chandelier is located in a high-ceilinged room, use a stable ladder or step stool to reach it safely. Ensure that the ladder is on a level surface and always maintain your balance while cleaning.
By following these safety precautions, you can minimize the risk of accidents or damage and create a safe environment for both yourself and your chandelier.
Step 2: Removing the chandelier
Before you can start cleaning your plastic chandelier, you’ll need to remove it from its hanging position. Follow these steps to safely remove the chandelier:
- Turn off the power: As a reminder, ensure that the power is turned off at the circuit breaker to avoid any electrical accidents.
- Take a photo or make a diagram: It’s helpful to take a photo or make a diagram of the chandelier before removing it. This will serve as a reference when reassembling the chandelier later.
- Grab a sturdy ladder or step stool: Use a stable ladder or step stool to reach the chandelier. Make sure it is on a level surface and place it beneath the chandelier.
- Unhook the chandelier: Locate the ceiling hook or chain that holds the chandelier in place. Carefully unhook it and lower the chandelier down.
- Ask for assistance if needed: Depending on the size and weight of the chandelier, you may need someone to help you safely lower and hold the chandelier while you disconnect it.
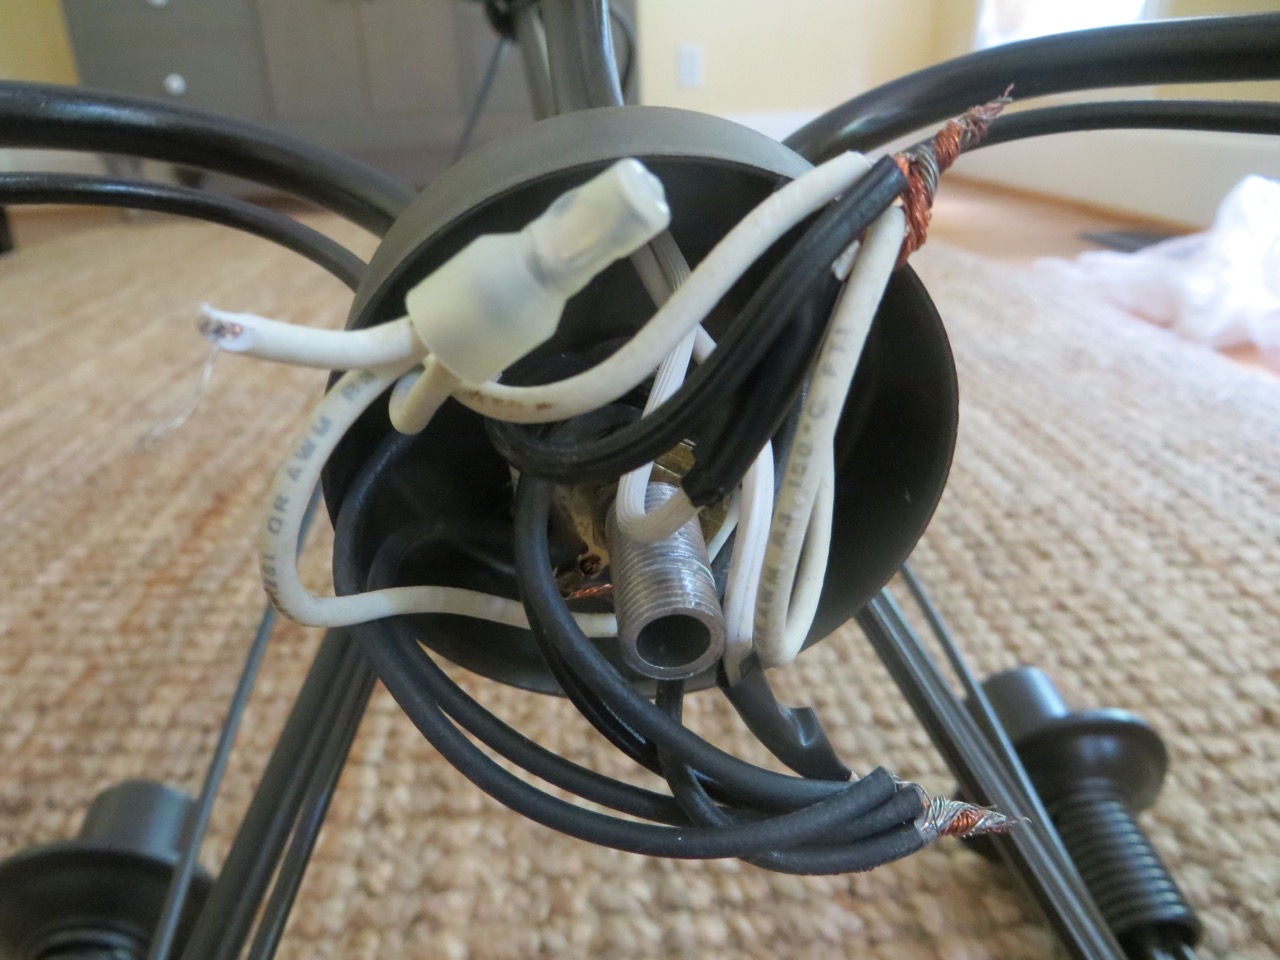
- Disconnect the electrical wires: If your chandelier is hardwired into the ceiling, you may need to disconnect the electrical wires. Consult a professional electrician if you are unsure about this step.
- Place the chandelier in a safe area: Once the chandelier is disconnected, find a safe and flat surface to place it while you clean it. Make sure it is away from any potential hazards or breakable objects.
By carefully removing the chandelier, you can ensure that it remains intact and ready for a thorough cleaning process. Remember to handle it with care to prevent any accidents or damage.
Step 3: Disassembling the chandelier
Now that you have safely removed the chandelier, it’s time to disassemble it to access the individual components for a more thorough cleaning. Follow these steps to disassemble your plastic chandelier:
- Refer to your photo or diagram: Use the photo or diagram you took earlier as a reference to identify the different parts of the chandelier and their arrangement.
- Remove the bulbs: Before disassembling the chandelier, remove all light bulbs and set them aside in a safe place. This will make it easier to handle the chandelier and prevent any potential damage to the bulbs.
- Detach the crystals or ornaments: Carefully remove any crystals, ornaments, or other decorative elements from the chandelier. These pieces can be delicate, so handle them with care to avoid any breakage.
- Unscrew the fixtures: Using a screwdriver, loosen and unscrew the fixtures or arms that hold the plastic components in place. Take note of the order in which they were attached for reassembly later.
- Separate the plastic components: Once the fixtures are removed, gently separate the plastic components of the chandelier. These may include the main body, arms, bobeches, and any other plastic parts.
By disassembling the chandelier, you can access each component individually, making it easier to clean and ensure a thorough and effective cleaning process.
Use a mixture of mild dish soap and warm water to gently clean the plastic chandelier. Avoid using harsh chemicals or abrasive materials to prevent damage. Dry thoroughly with a soft cloth to avoid water spots.
Read more: How To Clean A Crystal Chandelier
Step 4: Cleaning the plastic components
Now that you have disassembled the chandelier, it’s time to focus on cleaning the plastic components. Follow these steps to ensure a pristine and sparkling chandelier:
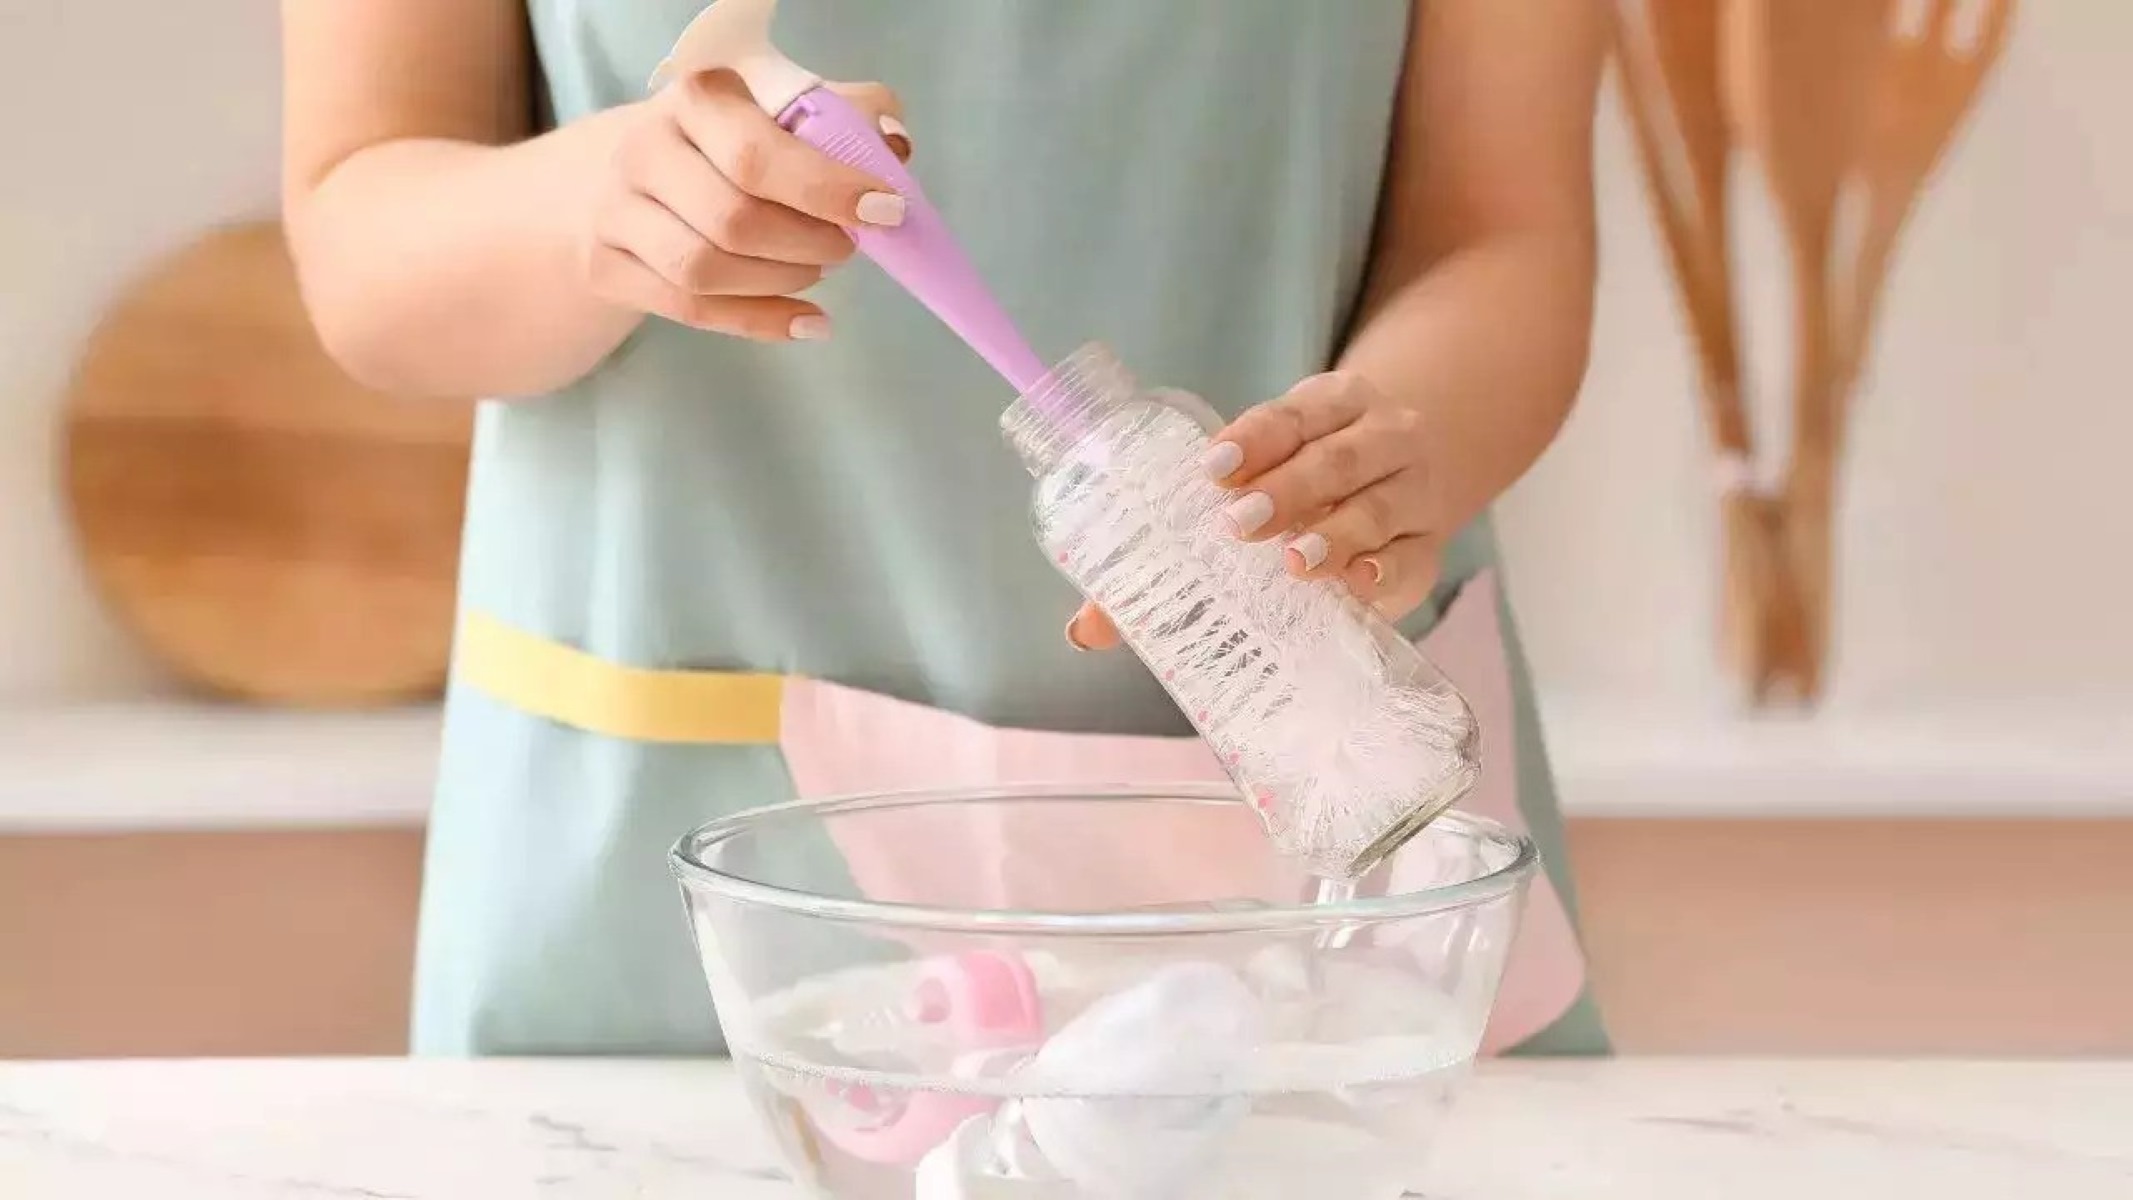
- Prepare a cleaning solution: In a bucket, mix warm water with a small amount of mild dish soap. This gentle solution will effectively clean the plastic components without causing any damage.
- Dip a microfiber cloth in the cleaning solution: Take a microfiber cloth and dip it into the cleaning solution. Wring out any excess water to avoid dripping.
- Wipe down the plastic components: Starting with the main body of the chandelier, wipe down the plastic components with the damp microfiber cloth. Pay special attention to areas that may have accumulated dust or grime.
- Use a soft bristle brush for intricate details: For any intricate details or hard-to-reach areas, use a soft bristle brush to gently scrub away any dirt or debris. Be careful not to exert too much pressure to avoid damaging the plastic.
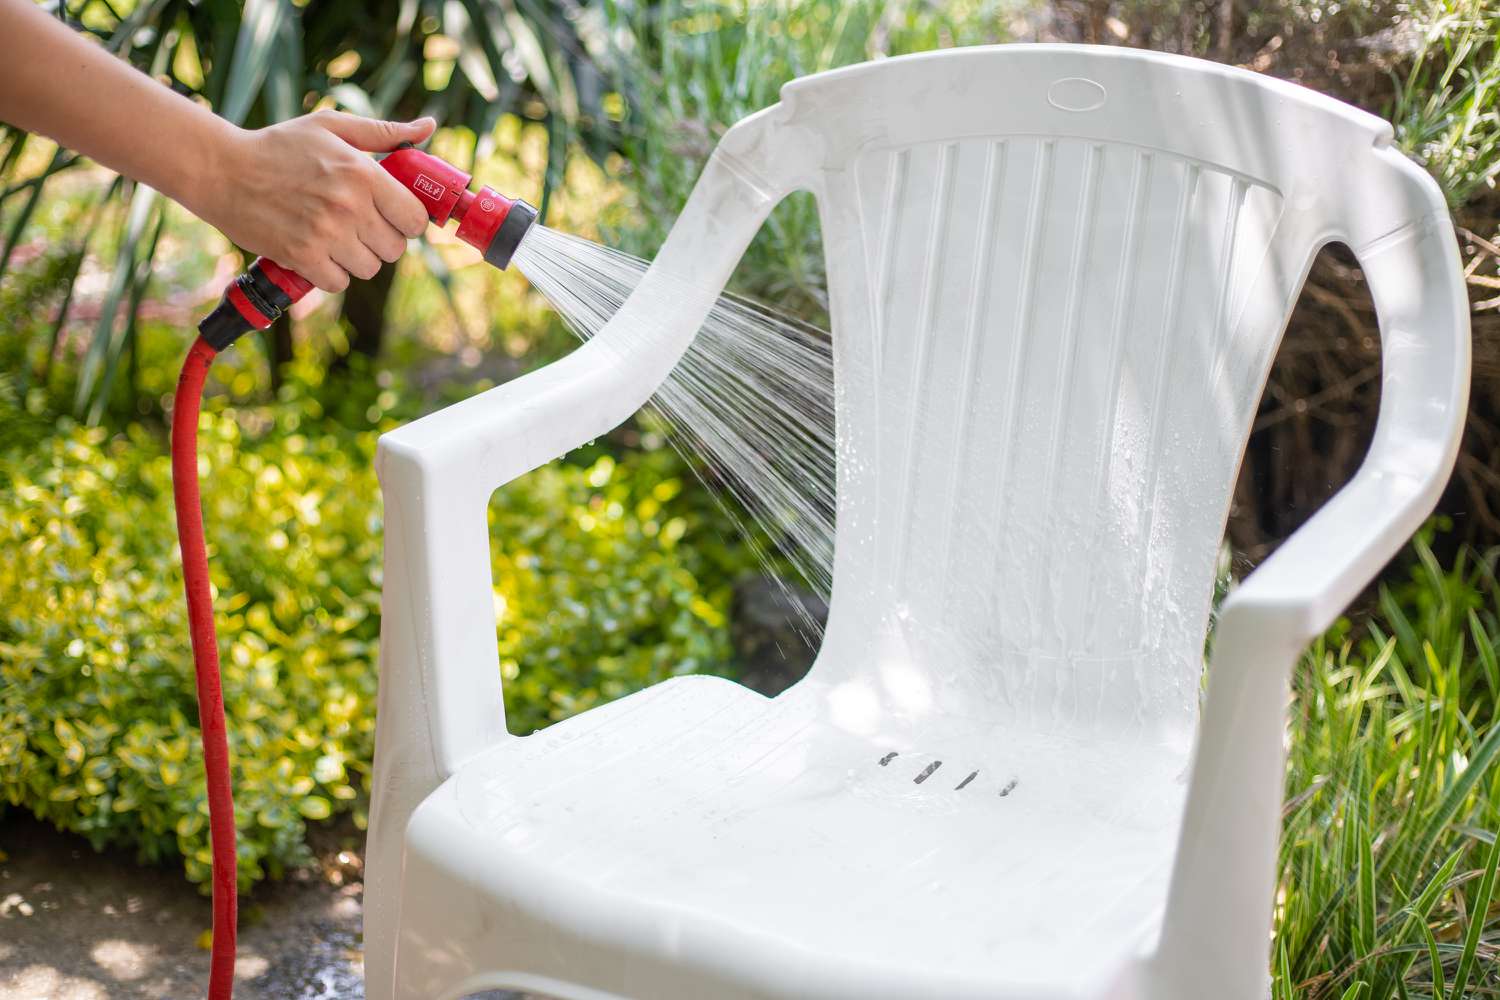
- Rinse with clean water: After cleaning each plastic component, rinse it with clean water to remove any soap residue. Ensure thorough rinsing to avoid leaving behind any film or streaks.
- Dry the components: Use a clean and dry microfiber cloth to carefully and gently dry each plastic component. Ensure that they are completely dry before reassembling the chandelier.
Remember to handle the plastic components with care and avoid using any abrasive cleaning materials or harsh chemicals, as they can damage the plastic surface. By using a gentle cleaning solution and following these steps, you can restore the vibrancy and shine of your plastic chandelier.
Step 5: Cleaning the metal components
In addition to the plastic components, the metal parts of your chandelier also require cleaning to maintain their shine and luster. Follow these steps to ensure that the metal components are sparkling clean:
- Prepare a metal cleaning solution: Depending on the type of metal used in your chandelier, you may need a specialized metal cleaning solution. Consult the manufacturer’s instructions or research the appropriate cleaning products for your specific metal.
- Apply the cleaning solution: If using a metal cleaning solution, apply it to a clean microfiber cloth or soft-bristle brush. Gently rub the metal components, ensuring that the solution reaches all areas.
- Remove tarnish with a polishing cloth: For metal components that have tarnished or lost their shine, use a metal polishing cloth or a mixture of baking soda and water to gently buff away the tarnish. Be sure to follow the recommended polishing technique for your specific metal.
- Dry and buff the metal components: After cleaning, use a dry and clean microfiber cloth to remove any excess moisture from the metal components. In circular motions, gently buff the metal surfaces to restore their shine.
- Pay attention to hardware and chains: Don’t forget to clean any hardware, such as chains or hooks, that are attached to the chandelier. Use a small brush or cloth to remove any dirt or grime that may have accumulated.
- Check for rust or corrosion: Inspect the metal components for any signs of rust or corrosion. If you notice any, gently remove it with a rust remover or a mixture of vinegar and baking soda. Rinse thoroughly and dry well before reassembling.
By giving the metal components the attention they deserve, you can ensure that every aspect of your chandelier shines brilliantly and complements the clean plastic components.
Step 6: Drying and reassembling the chandelier
After cleaning both the plastic and metal components of your chandelier, it’s time to dry them thoroughly and reassemble the chandelier. Follow these steps to complete the cleaning process:
- Ensure the components are fully dry: Before reassembling the chandelier, make sure all the components, both plastic and metal, are completely dry. Moisture can lead to spots or streaks that may diminish the overall appearance of your chandelier.
- Polish the crystals or ornaments: Take a moment to polish the crystals or ornaments that were removed earlier using a clean, dry microfiber cloth. This will ensure they are free from any smudges or remaining residue.
- Refer to your photo or diagram: If needed, refer back to the photo or diagram you took earlier to understand the correct arrangement of the components. This will help you reassemble the chandelier accurately.
- Attach the plastic components: Begin by reattaching the plastic components to the main body of the chandelier. Use the screwdriver to secure the fixtures or arms in their original positions.
- Add the crystals or ornaments: Carefully hang or attach the crystals or ornaments back onto the chandelier. Ensure they are securely in place and hanging evenly for a balanced and visually pleasing arrangement.
- Replace the light bulbs: Once the chandelier is reassembled, insert the light bulbs back into their respective sockets. Ensure they are properly seated and screwed in for proper illumination.
By carefully drying and reassembling the chandelier, you can restore its original beauty and functionality. Take your time during this step to ensure everything is correctly aligned and secure.
Step 7: Reattaching the chandelier
Now that your chandelier is clean and fully reassembled, it’s time to reattach it to its original position. Follow these steps to safely rehang your chandelier:
- Ensure the power is still turned off: Before reattaching the chandelier, double-check that the power is still turned off at the circuit breaker to prevent any electrical accidents.
- Have someone assist you if necessary: Depending on the size and weight of the chandelier, having someone assist you can make the reattachment process easier and safer.
- Position the ladder or step stool: Place a stable ladder or step stool beneath the original hanging position of the chandelier. Ensure that it is on a level surface.
- Lift the chandelier: Carefully lift the chandelier and align it with the ceiling hook or chain from which it was previously suspended. Take your time to position it correctly.
- Secure the chandelier: Once the chandelier is aligned, securely attach it to the ceiling hook or chain. Ensure that it is tightly fastened to prevent any accidents or damage.
- Turn the power back on: Finally, turn the power back on at the circuit breaker and test the chandelier to ensure it is functioning properly.
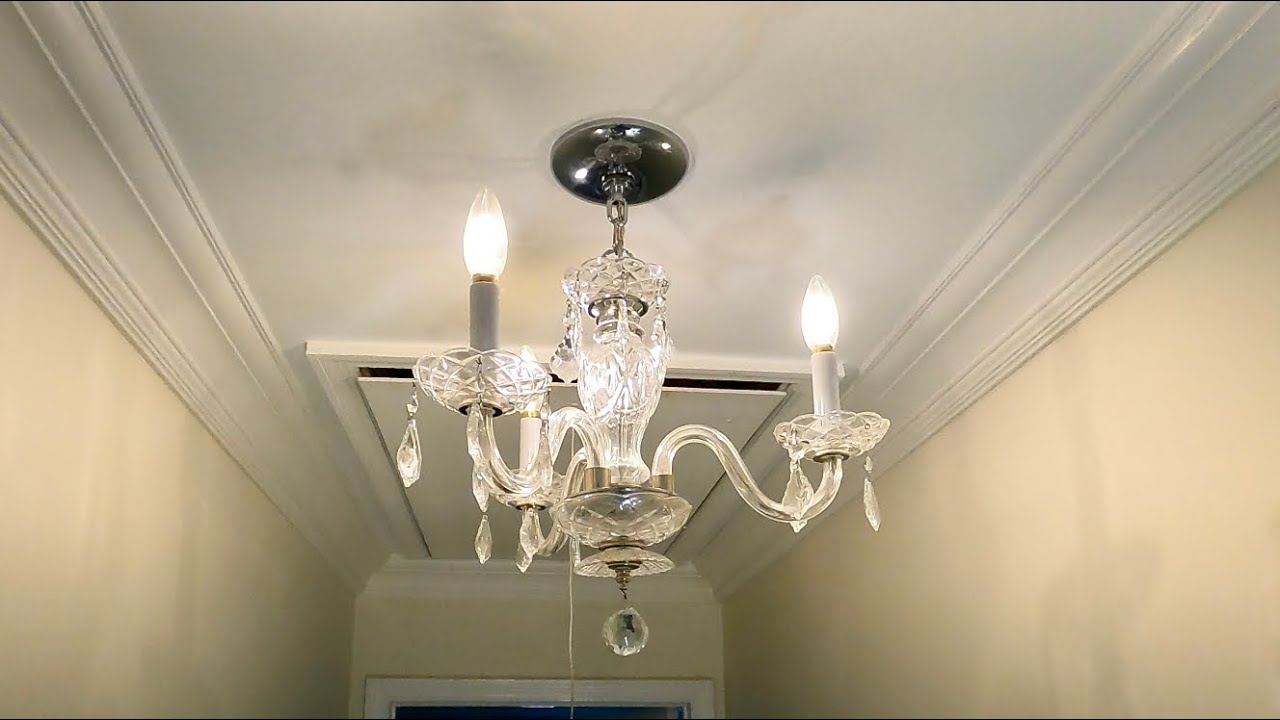
With these steps, you can safely and confidently reattach your chandelier, bringing a touch of elegance back to your space. Take a moment to admire your clean and sparkling chandelier, knowing that your efforts have paid off.
Read more: How To Clean Brass Chandelier
Conclusion
Cleaning a plastic chandelier may initially seem like a daunting task, but with the right supplies and a systematic approach, you can restore its beauty and shine. By following the steps outlined in this guide, you can safely and effectively clean both the plastic and metal components of your chandelier, ensuring a pristine finish.
Remember to always prioritize safety by turning off the power, protecting the surrounding area, and wearing the appropriate gear. Taking these precautions will ensure a smooth and accident-free cleaning process.
Through the disassembly process, you can easily access each component for a thorough cleaning. Use a gentle cleaning solution for the plastic components, along with a soft-bristle brush for intricate details. For the metal components, choose an appropriate cleaning solution or polishing technique based on the type of metal used.
Once all the components are clean and dry, carefully reassemble the chandelier, referring to any photos or diagrams you took during the process. Take your time to ensure that everything is positioned correctly and securely attached.
Finally, reattach the chandelier to its original position, following the necessary safety steps. Turn the power back on and enjoy the renewed beauty and ambiance that your clean chandelier brings to your space.
Regular maintenance and cleaning of your chandelier will not only keep it looking its best but also ensure its longevity. Make it a part of your routine to clean your chandelier regularly, removing any dust or dirt that may accumulate over time.
So, don’t let a dull and dirty chandelier detract from the beauty of your home. Take the time to give it the care it deserves and watch as it becomes a sparkling focal point once again.
Frequently Asked Questions about How To Clean A Plastic Chandelier
Was this page helpful?
At Storables.com, we guarantee accurate and reliable information. Our content, validated by Expert Board Contributors, is crafted following stringent Editorial Policies. We're committed to providing you with well-researched, expert-backed insights for all your informational needs.


0 thoughts on “How To Clean A Plastic Chandelier”