Home>Furniture>Outdoor Furniture>How To Install Plastic Decking
Outdoor Furniture
How To Install Plastic Decking
Modified: October 19, 2024
Learn how to easily install plastic decking for your outdoor furniture. Create a durable and low-maintenance outdoor space with our step-by-step guide.
(Many of the links in this article redirect to a specific reviewed product. Your purchase of these products through affiliate links helps to generate commission for Storables.com, at no extra cost. Learn more)
Introduction
Welcome to our guide on how to install plastic decking. If you’re looking to upgrade your outdoor space with a durable and low-maintenance decking solution, plastic decking is an excellent choice. Whether you’re a seasoned DIY enthusiast or a beginner, this step-by-step guide will help you navigate the installation process with ease.
Plastic decking offers a plethora of benefits, including resistance to rotting, warping, and insect damage. It is also highly durable and requires minimal maintenance, making it an ideal choice for outdoor furniture.
Before you start the installation process, it’s important to ensure that you have the necessary tools and materials. You’ll need a tape measure, circular saw or miter saw, drill, screws or clips, decking cleaner, a brush, and safety equipment such as gloves and safety glasses.
Additionally, take into consideration any local building codes or regulations that may apply to your area. It’s important to obtain any necessary permits and follow the required guidelines to ensure a safe and compliant installation.
Now that you’re equipped with the basics, let’s dive into the step-by-step process of installing plastic decking on your outdoor furniture.
Key Takeaways:
- Installing plastic decking involves preparing the area, checking the substructure, measuring and cutting the boards, securing them, and adding finishing touches. It’s a durable and low-maintenance solution for outdoor furniture.
- To install plastic decking, ensure a clean and level surface, secure the boards with screws or clips, trim any excess material, and add fascia boards for a polished look. Regular maintenance will keep your outdoor space looking great.
Read more: How To Install Veranda Decking
Step 1: Preparing the Deck Area
The first step in installing plastic decking is to carefully prepare the deck area. Start by removing any existing decking, if applicable, and clear the area of any debris or obstructions.
Next, inspect the substructure of your deck to ensure it is in good condition. Look for any signs of rot, decay, or structural damage. If you notice any issues, it’s crucial to address them before proceeding with the installation.
Once you’ve assessed the substructure, clean the deck thoroughly. Use a deck cleaner and a brush to remove dirt, mold, and mildew. This will help ensure a clean surface for the plastic decking to adhere to. Rinse the deck with water and allow it to dry completely before moving on to the next step.
If you’re installing plastic decking over an existing concrete surface, ensure that the concrete is clean, level, and free of any cracks. You may need to use a concrete sealant or filler to repair any damages or unevenness.
It’s essential to take accurate measurements of the deck area before proceeding. Measure the length, width, and any other relevant dimensions to determine the number of plastic deck boards and other materials you’ll need for the installation process.
With the deck area cleaned, inspected, and accurately measured, you’re now ready to move on to the next step of installing your plastic decking.
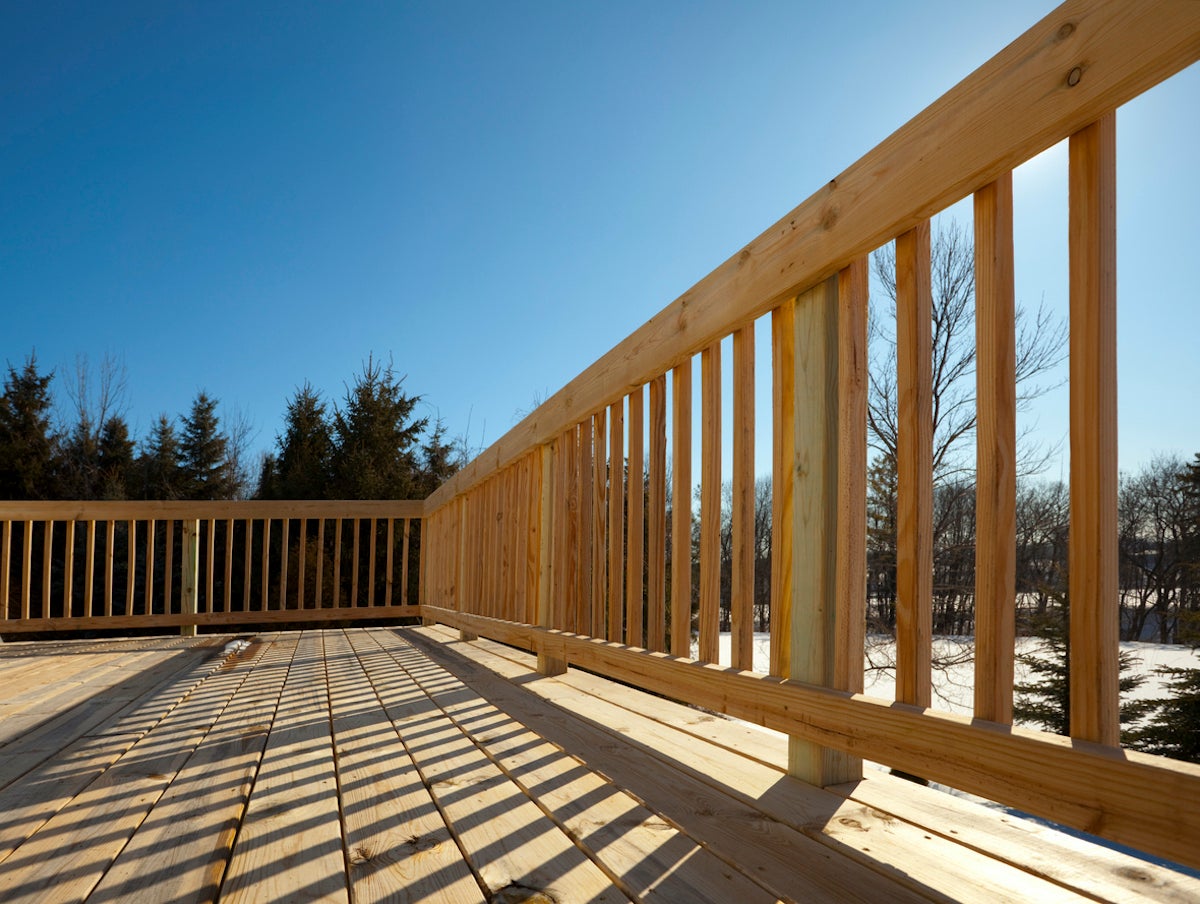
Step 2: Checking and Preparing the Substructure
After preparing the deck area, the next step in installing plastic decking is to check and prepare the substructure. The substructure serves as the foundation for your decking and is crucial for ensuring a stable and secure installation.
Start by inspecting the substructure for any signs of damage or deterioration, such as rot or decay. Pay close attention to the support posts, beams, and joists. If you notice any issues, it’s important to address them before proceeding.
Ensure that the support posts are level and securely anchored to the ground. If necessary, use a level and shims to make any adjustments. Replace any damaged or weakened support posts as needed.
Next, examine the beams and joists for any cracks, sagging, or warping. Replace any weakened or damaged beams and joists to ensure the structural integrity of your deck.
It’s also important to ensure proper spacing between the joists. The spacing should comply with the manufacturer’s recommendations for the specific plastic decking product you’re using. This information can usually be found in the installation guide provided by the manufacturer.
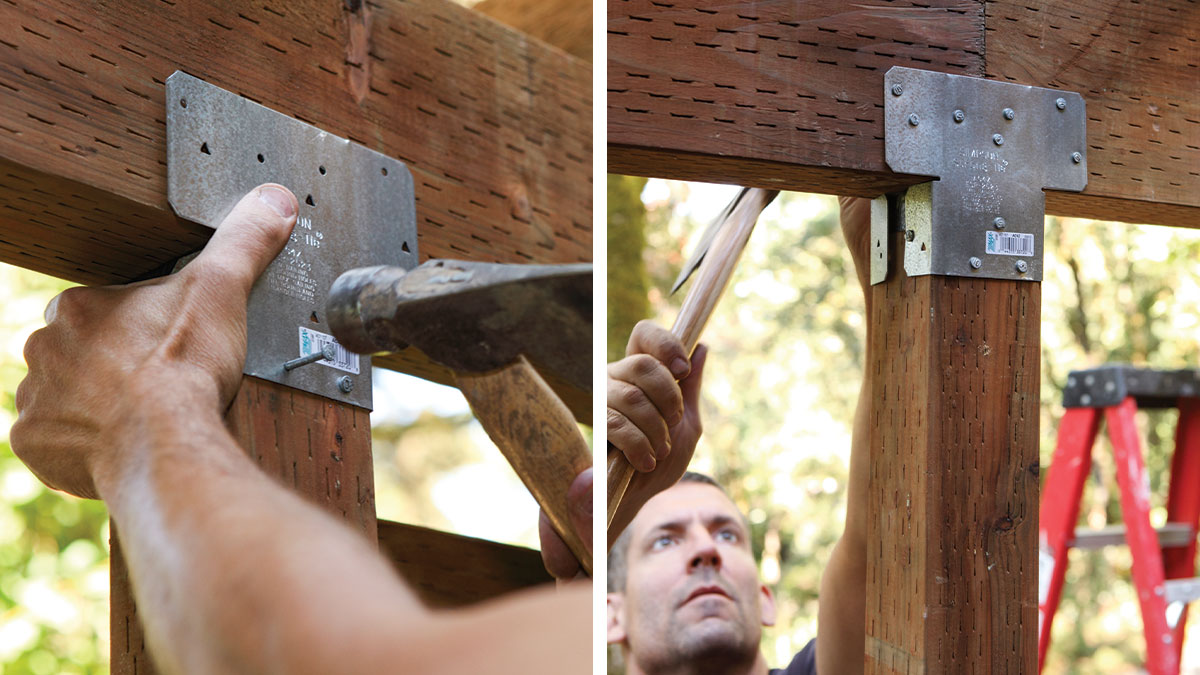
If necessary, add additional joists to achieve the recommended spacing. Secure the joists to the support posts using galvanized joist hangers or appropriate fasteners.
Before proceeding with the installation, it’s crucial to ensure that the substructure is level. Use a level to check the horizontal alignment of the beams and joists. If necessary, make any adjustments by adding shims or adjusting the support posts.
With the substructure thoroughly checked and prepared, you are now ready to move on to the next step of installing your plastic decking.
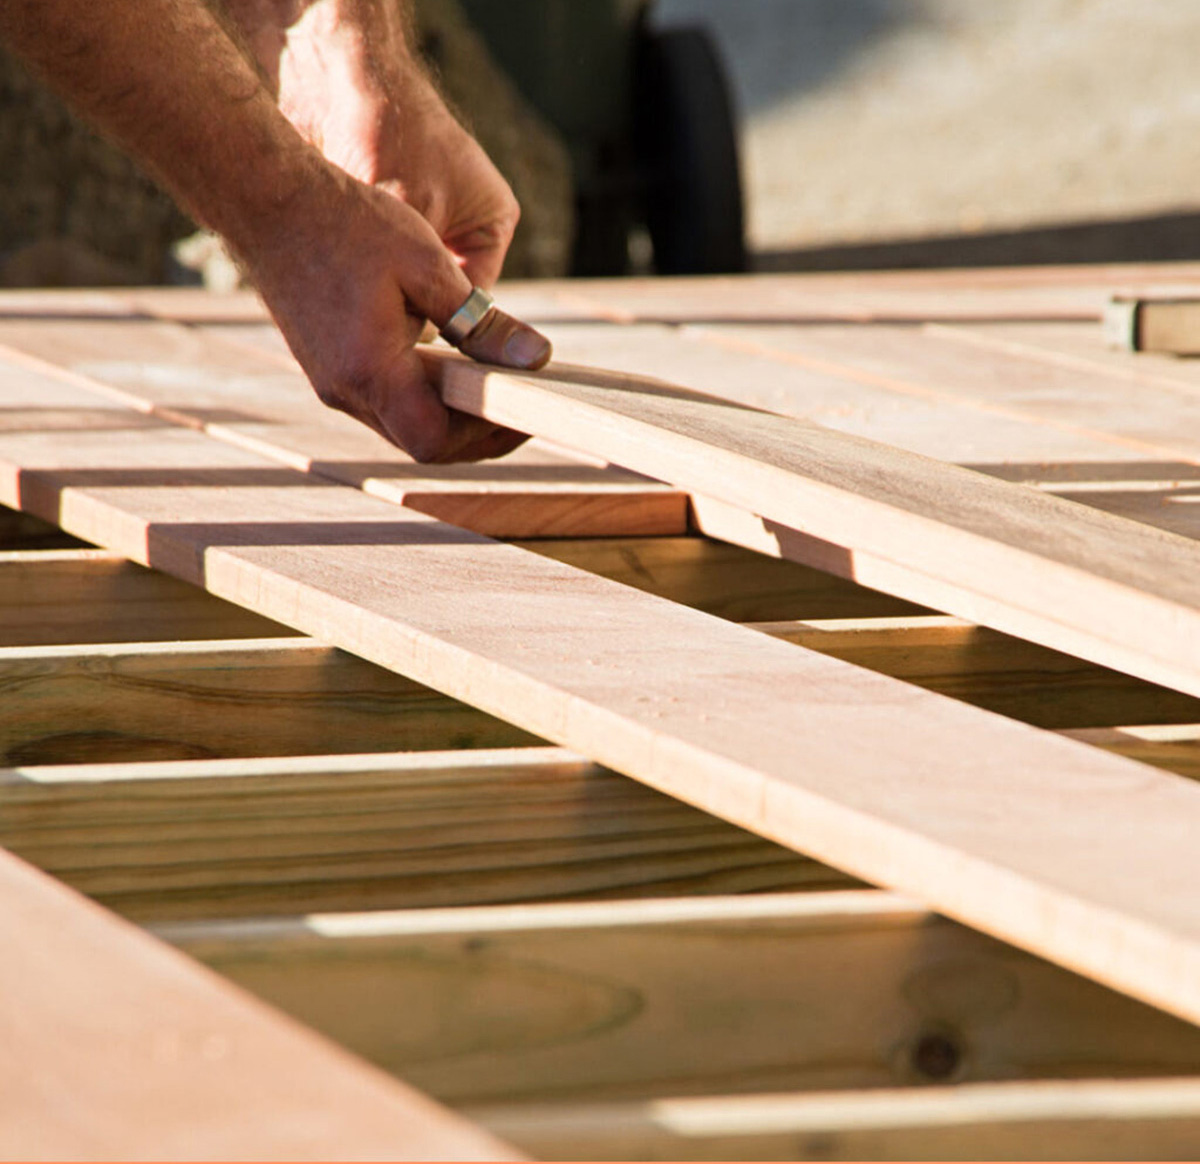
Step 3: Measuring and Cutting the Plastic Deck Boards
After preparing the substructure, the next step in installing plastic decking is to measure and cut the deck boards. Accurate measurements and precise cuts are essential to ensure a proper fit and a visually appealing result.
Start by carefully measuring the length of the deck area and the width of each individual deck board. It’s important to leave a small gap, usually around 1/8 inch, between each deck board to allow for expansion and contraction due to temperature changes.
Using these measurements, mark the cutting lines on the plastic deck boards. Double-check your measurements and use a straight edge or a chalk line to ensure accuracy.
When it comes to cutting the deck boards, you have a few options. You can use a circular saw or a miter saw equipped with a fine-toothed blade. Make sure to follow the manufacturer’s instructions and wear appropriate safety gear, such as safety glasses and ear protection.
Place the deck board securely on a stable surface, such as sawhorses, and carefully cut along the marked cutting lines. Take your time and use smooth, even strokes to achieve clean and precise cuts.
For angled cuts, such as those required for fitting the deck boards around corners or obstructions, use a miter saw with adjustable angles. Measure and mark the desired angles on the deck boards and adjust the saw accordingly.
After cutting the deck boards, use a sanding block or sandpaper to smooth any rough edges or corners. This will ensure a clean and finished look.
With the deck boards measured and cut to size, you’re now ready to move on to the next step of installing your plastic decking.
Step 4: Installing the First Deck Board
With the plastic deck boards measured and cut, it’s now time to start the installation process. The first deck board is crucial, as it sets the foundation for the rest of the deck.
Begin by aligning the first deck board with the edge of the substructure, ensuring a small gap between the board and any adjacent structures, such as walls or posts. This gap allows for expansion and contraction of the deck boards due to changing weather conditions.
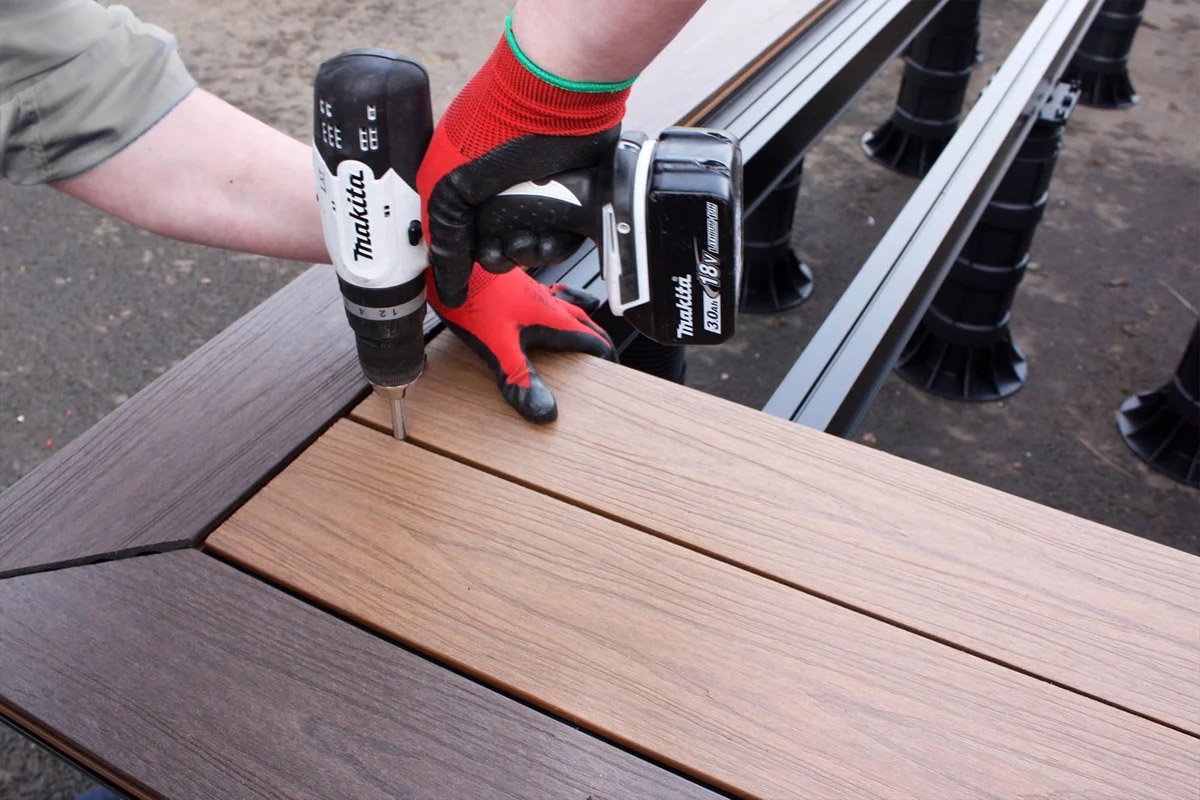
Use a drill to pre-drill pilot holes for the screws or clips that will secure the deck board to the substructure. Depending on the manufacturer’s recommendations, you may need to place the screws or clips along the edges and at regular intervals across the width of the board.
Once the pilot holes are drilled, fasten the first deck board to the substructure using the appropriate screws or clips. Take care not to over-tighten the screws or clips, as this can cause damage to the deck boards or substructure.
Continue installing the first row of deck boards, ensuring they are evenly spaced and aligned along the substructure. Use a tape measure or a spacer tool to maintain consistent spacing between each deck board.
Check the alignment of the first row of deck boards using a level to ensure they are straight and level. Make any necessary adjustments by repositioning and securing the deck boards.
It’s important to note that some plastic decking systems may require additional steps or specific installation techniques. Refer to the manufacturer’s instructions and follow their guidelines to ensure a proper installation.
With the first deck board securely installed, you’re now ready to move on to the next step of installing your plastic decking.
Read more: How To Install Composite Decking
Step 5: Attaching the Remaining Deck Boards
With the first deck board in place, it’s time to proceed with attaching the remaining deck boards to complete the installation of your plastic decking.
Start by aligning the next deck board with the edge of the previously installed board, leaving a small gap between them. Use a tape measure or spacer tool to ensure consistent spacing between each deck board.
Just like in the previous step, pre-drill pilot holes for the screws or clips that will secure the deck board to the substructure. Follow the manufacturer’s recommendations for the appropriate spacing and placement of the screws or clips.
Once the pilot holes are prepared, attach the deck board to the substructure using the designated screws or clips. Take care to align the boards evenly and securely. Repeat this process for each remaining deck board until the entire deck surface is covered.
As you attach the deck boards, periodically check the alignment and levelness using a level. This will ensure that your deck surface is even and visually appealing.
It’s worth noting that some plastic decking systems may have specific installation instructions for attaching the remaining deck boards. Consult the manufacturer’s guidelines to ensure that you follow the proper techniques for your specific decking product.
Throughout the installation process, take care to maintain consistent spacing between each deck board and maintain the required gap at the edges of the deck. This will allow for proper expansion and contraction of the plastic decking.
With all the remaining deck boards securely attached, your plastic decking installation is nearing completion.
Before installing plastic decking, make sure the substructure is sturdy and level. Use stainless steel or high-quality coated screws for best results and to prevent rust.
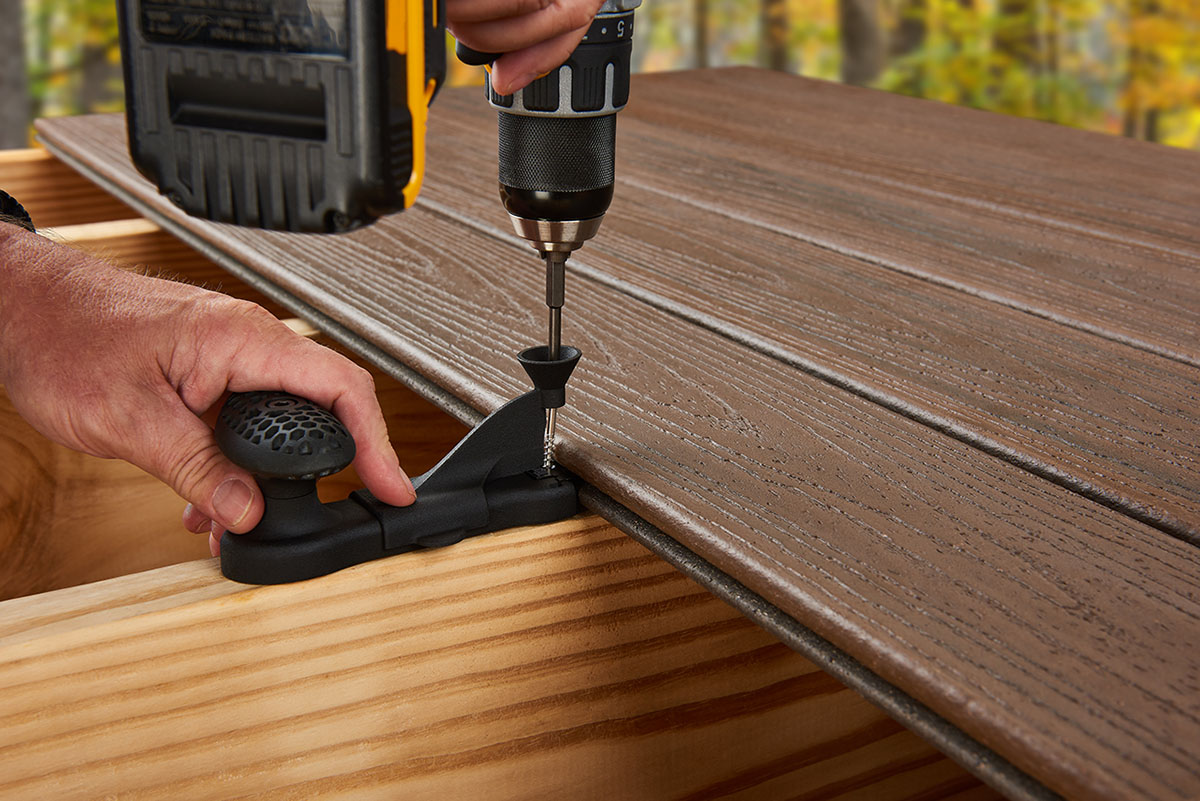
Step 6: Securing the Deck Boards with Screws or Clips
Securing the deck boards is a critical step in the installation process of your plastic decking. Depending on the specific system you are using, you may opt to use screws or clips to secure the deck boards to the substructure.
If you are using screws, it’s important to choose screws specifically designed for outdoor use to ensure durability and resistance to corrosion. Stainless steel or composite deck screws are popular choices for plastic decking installations. Make sure the length of the screws is appropriate for the thickness of your deck boards.
To secure the deck boards with screws, begin by pre-drilling pilot holes through the boards and into the substructure. This will help prevent the boards from splitting or cracking during installation. The pilot holes should be slightly smaller in diameter than the screws to ensure a snug fit.
Place the deck boards in their desired position, ensuring they are aligned and spaced properly. Use a drill with a screwdriver bit to drive the screws through the pilot holes and into the substructure. Take care not to over-tighten the screws, as this can cause damage to the deck boards.
If you prefer, you can also use specially-designed deck board clips or hidden fasteners for a more seamless and aesthetic look. These clips or fasteners are typically inserted into grooves along the sides of the deck boards, providing a secure attachment to the substructure.
Follow the manufacturer’s instructions for the specific clip or fastener system you are using. Some systems may require pre-drilling of pilot holes, while others may simply require the insertion of the clips into the grooves.
Regardless of the method you choose, make sure to securely attach each deck board, ensuring they are level, aligned, and evenly spaced. Take the time to periodically check your work with a level to ensure a professional and visually pleasing result.
By properly securing the deck boards, you are one step closer to completing the installation of your plastic decking.
Step 7: Trimming the Excess Deck Boards
Once the deck boards are all securely attached, the next step in installing your plastic decking is to trim any excess material. Trimming the excess deck boards will help achieve a clean and finished look for your outdoor furniture.
Using a circular saw or a jigsaw, carefully measure and mark the areas where the deck boards extend beyond the desired deck surface. Make sure to leave a small gap between the edge of the deck boards and any adjacent structures, such as walls or posts.
With safety gear, such as safety glasses and gloves, in place, proceed to trim the excess material along the marked lines. Take your time to ensure clean and straight cuts.
If you have any curved or irregular edges, a jigsaw can be a useful tool for achieving the desired shape. Mark the curve or irregular edge on the deck boards and use the jigsaw to carefully cut along the marked line.
Once the excess material is trimmed, use a sanding block or sandpaper to smooth any rough edges or corners. This will help achieve a polished and professional look for your plastic decking.
Remember to dispose of the trimmed material properly, following your local waste disposal guidelines.
Trimming the excess deck boards completes the installation process for your plastic decking. The next step is to add the finishing touches to enhance the overall look and functionality of your outdoor furniture.
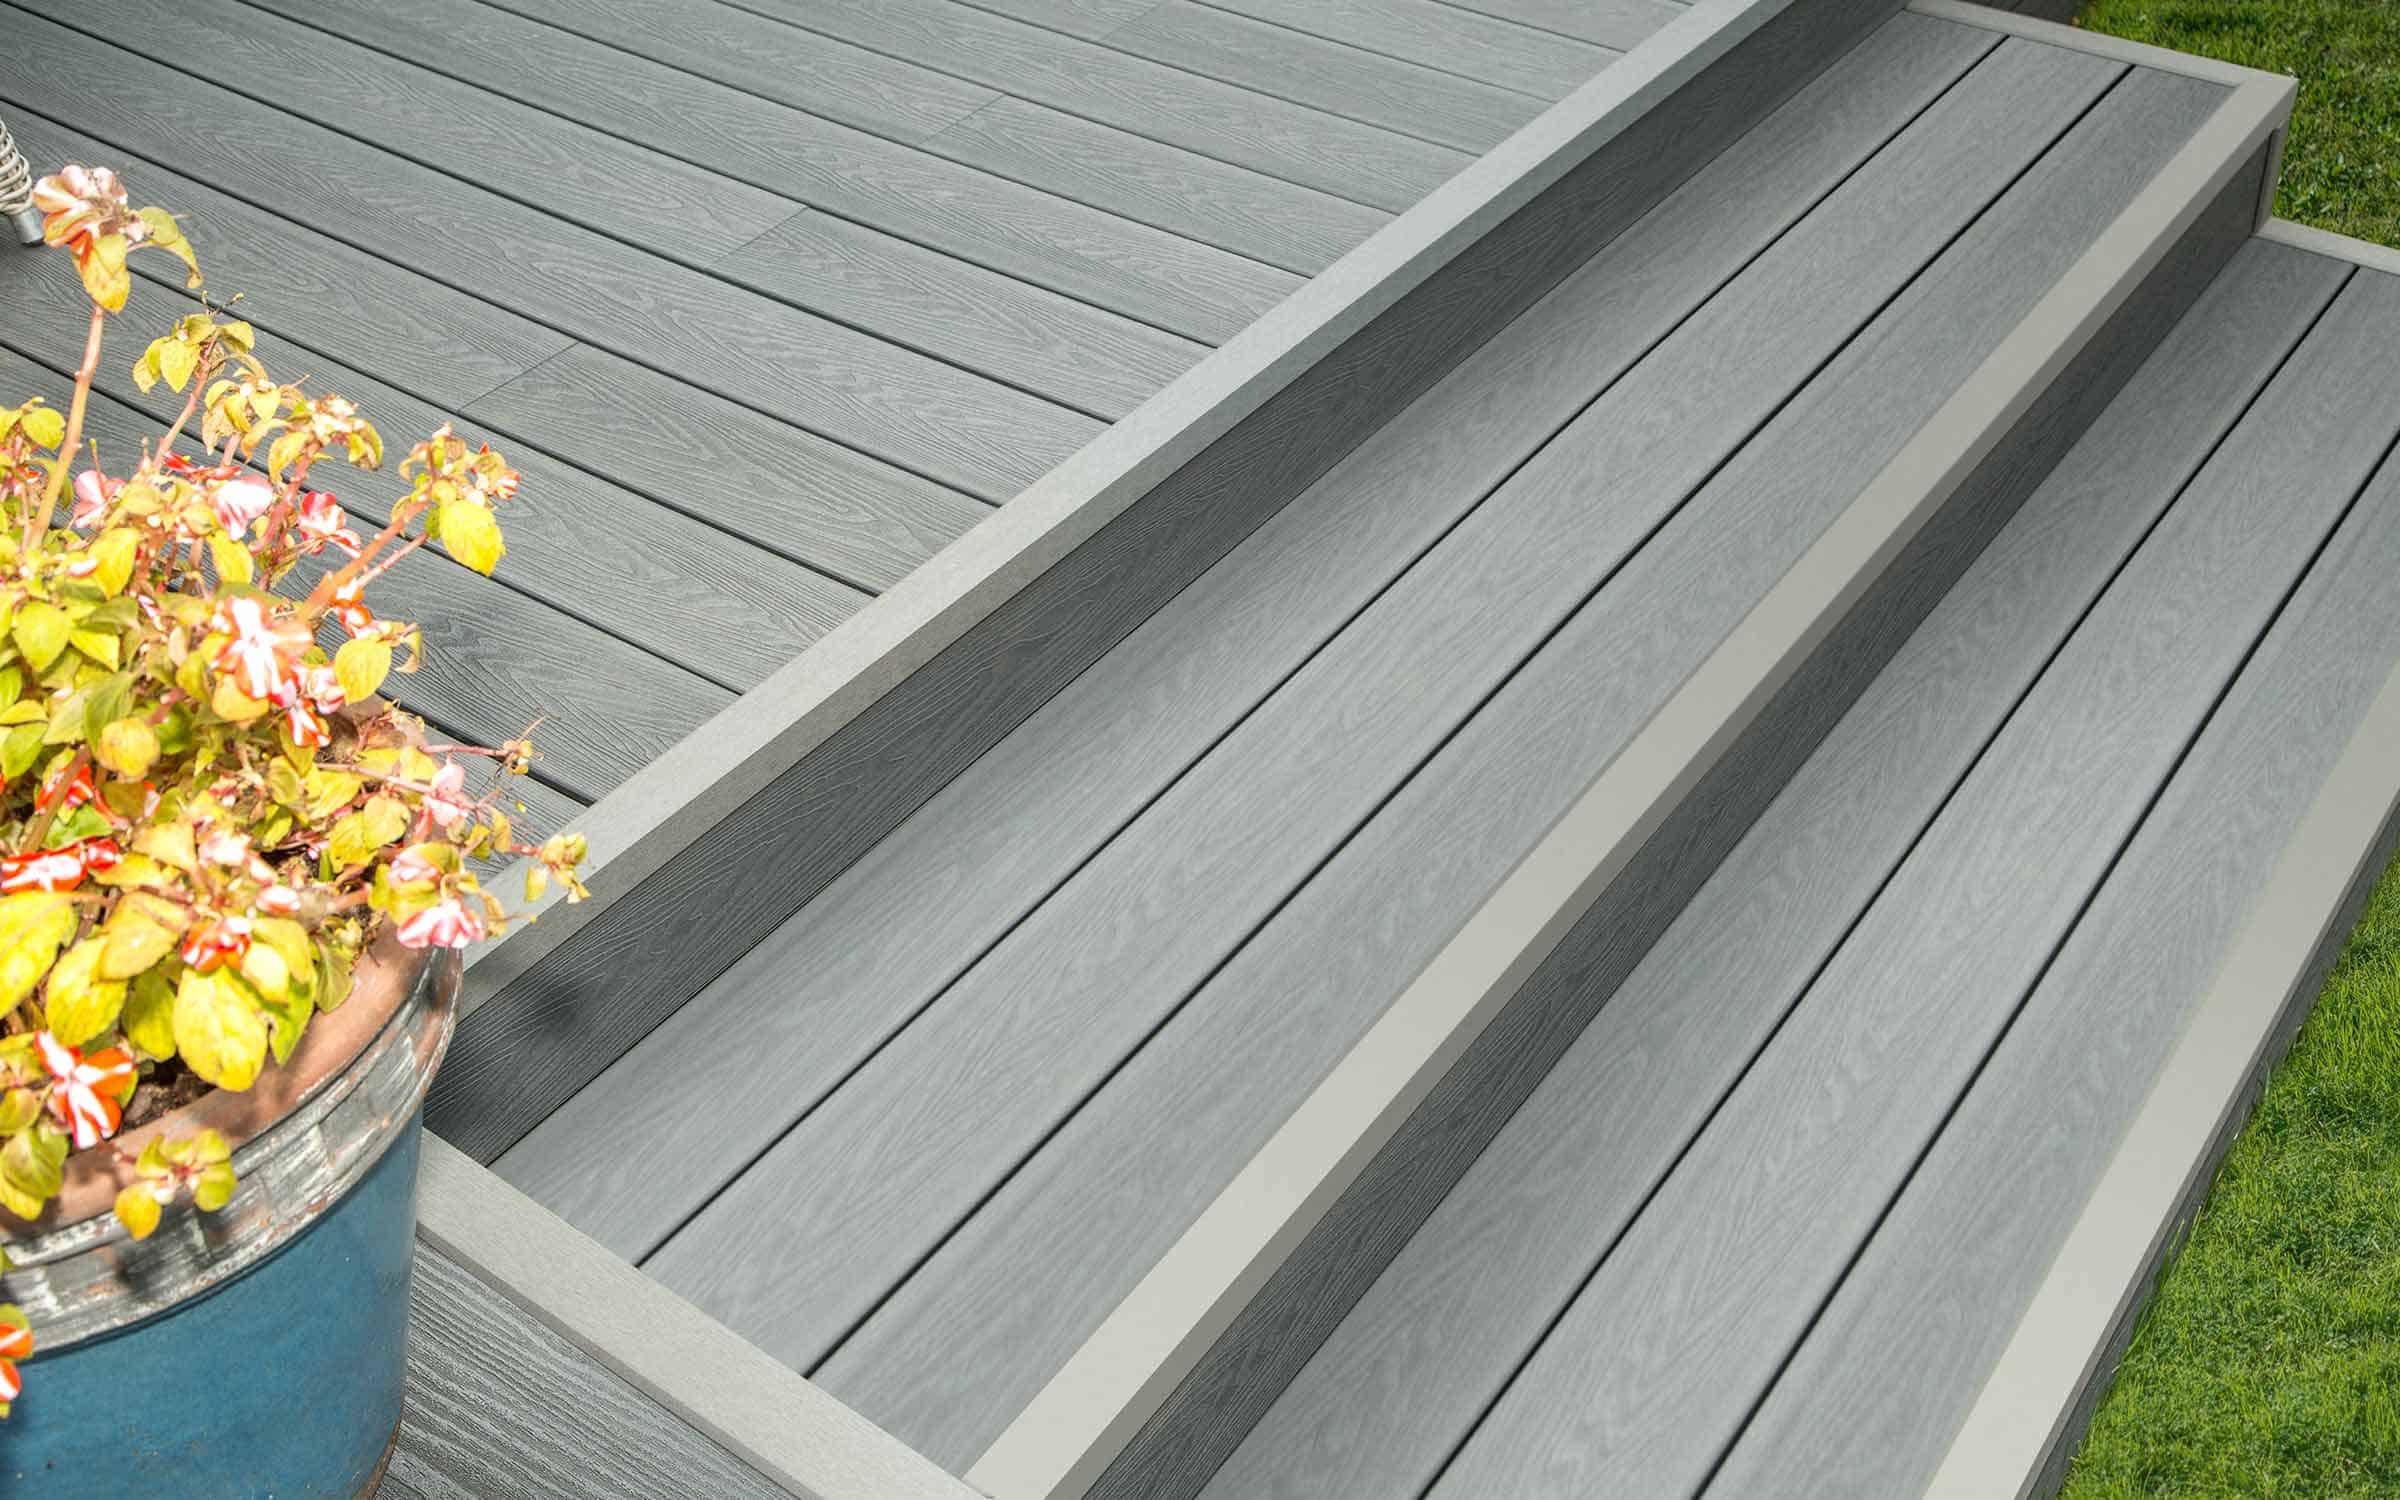
Step 8: Installing Fascia Boards
Installing fascia boards is an important step in the final stages of your plastic decking installation. Fascia boards are installed on the sides of the deck to provide a finished and polished appearance, as well as to protect the substructure from moisture and debris.
Start by measuring the length of the sides of your deck where the fascia boards will be installed. Cut the fascia boards to the appropriate length, ensuring that they align with the edges of the deck surface.
Before attaching the fascia boards, it’s recommended to pre-drill pilot holes to prevent splitting. Position each fascia board flush against the substructure and use screws or clips to secure them in place. Make sure to follow the manufacturer’s guidelines for the appropriate spacing and fastening method.
Continue installing the fascia boards along the sides of your deck until all edges are covered. Take care to maintain a consistent and even alignment, ensuring that the fascia boards are level and seamless.
Once the fascia boards are installed, check for any gaps or unevenness. Use a sander or sanding block to smooth any rough edges or imperfections, creating a clean and polished finish.
While installing fascia boards is not always necessary, they provide a professional and finished look to your plastic decking. Additionally, fascia boards can help protect the substructure from moisture, prolonging the lifespan of your deck.
With the fascia boards securely installed, your plastic decking installation is almost complete. The final step is to add some finishing touches to enhance the overall appearance and functionality of your outdoor furniture.
Read more: How To Install Turf On Deck
Step 9: Applying Finishing Touches
Congratulations! You’re in the final step of your plastic decking installation. Applying the finishing touches will not only enhance the overall appearance of your outdoor furniture but also extend its longevity and functionality.
The first finishing touch is to clean your newly installed plastic decking. Use a mild detergent and a scrub brush to remove any dirt, debris, or marks that may have accumulated during the installation process. Rinse thoroughly with water and allow the deck to dry completely.
If desired, you can apply a deck sealer or protector to further enhance the durability and longevity of your plastic decking. Choose a product that is specifically designed for plastic or composite decking and follow the manufacturer’s instructions for application.
Next, take the time to inspect all connections and fasteners to ensure that they are secure. Tighten any loose screws or clips and replace any damaged or missing parts.
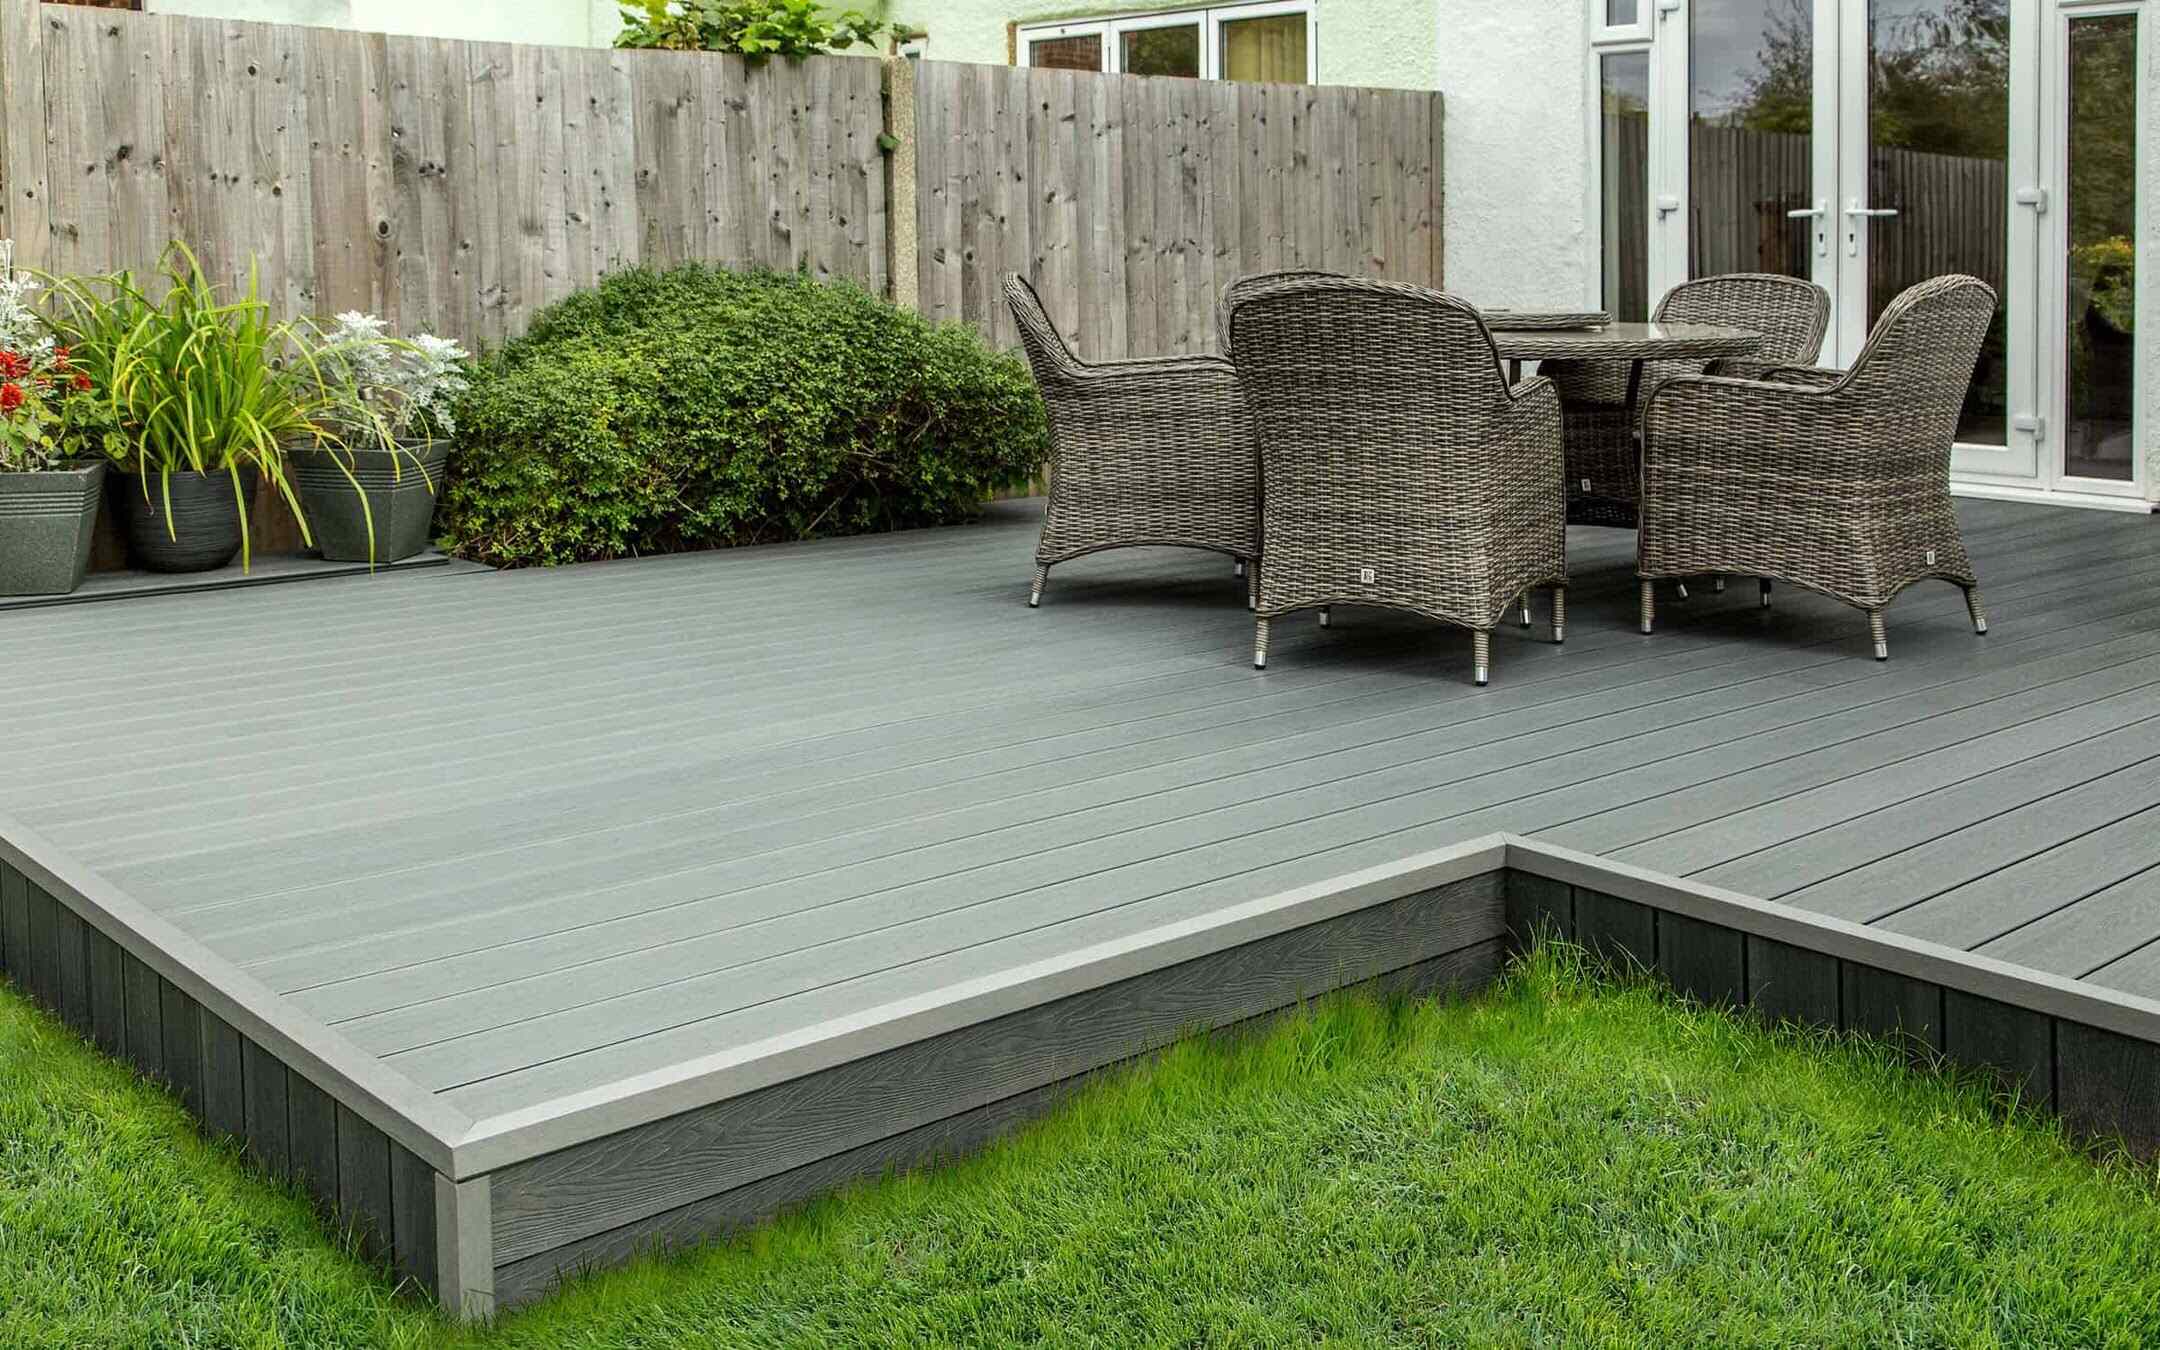
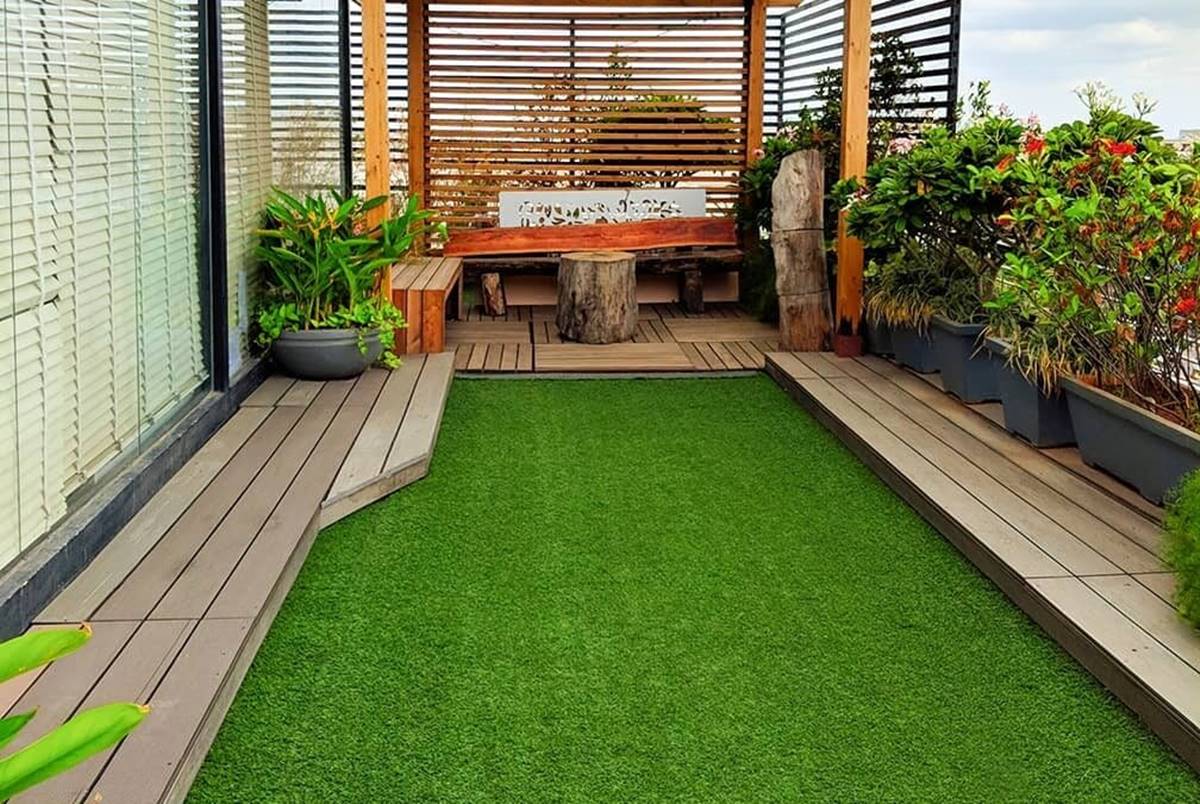
To add a touch of personality and functionality, consider adding outdoor furniture such as chairs, tables, and planters that complement your plastic decking. Select weather-resistant furniture that can withstand the elements and enhance the overall appeal of your outdoor space.
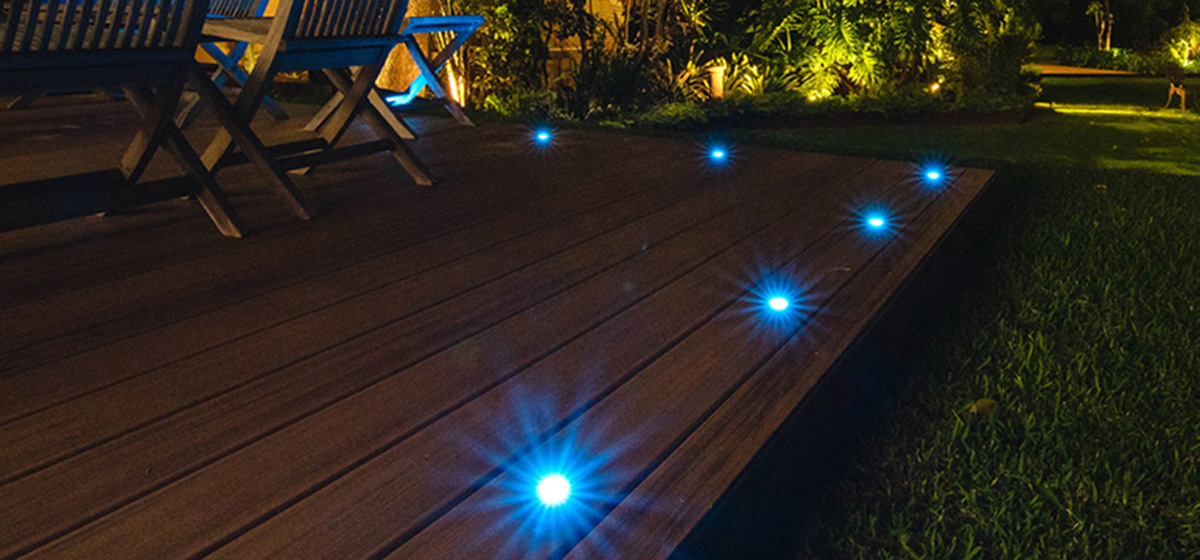
Incorporate decorative elements such as outdoor rugs, cushions, and lighting to create an inviting and cozy ambiance. These finishing touches not only enhance the visual appeal but also make your outdoor space more comfortable and enjoyable for relaxing and entertaining.
Lastly, regularly maintain and clean your plastic decking to ensure its longevity and visual appeal. Sweep away debris, clean up spills promptly, and periodically wash the deck surface with a mild detergent and water. Regular maintenance will help extend the life of your plastic decking and keep it looking its best.
By applying these finishing touches, you’ll complete the installation process of your plastic decking and transform your outdoor space into a beautiful and functional area for relaxation and entertainment.
Enjoy your newly installed plastic decking and take pride in the accomplishment of creating a stylish, low-maintenance, and long-lasting outdoor furniture solution!
Conclusion
Congratulations on successfully completing the installation of your plastic decking! By following the step-by-step guide outlined in this article, you have transformed your outdoor space into a functional and visually appealing area for relaxation and entertainment.
Plastic decking offers numerous advantages, including its resistance to rot, warping, and insect damage, as well as its low-maintenance requirements. With proper installation and maintenance, your plastic decking will provide you with years of enjoyment.
We began by preparing the deck area and checking and preparing the substructure, ensuring a solid foundation for your plastic decking. We then moved on to measuring and cutting the deck boards to the desired size, followed by installing the first board and attaching the remaining deck boards securely.
Next, we trimmed any excess deck board material and proceeded to install fascia boards, adding a polished and finished look to your outdoor furniture. Finally, we applied the finishing touches, cleaning the deck, inspecting the connections, and adding outdoor furniture and decorative elements to make your outdoor space inviting and comfortable.
Remember to conduct regular maintenance, including cleaning and inspections, to ensure the longevity and beauty of your plastic decking. By doing so, you will be able to enjoy your outdoor space for years to come.
Thank you for choosing plastic decking, a durable and low-maintenance solution for your outdoor furniture needs. We hope that this guide has been informative and has helped you navigate the installation process successfully.
Now, grab a chair, sit back, and relax on your beautiful new plastic decking!
Frequently Asked Questions about How To Install Plastic Decking
Was this page helpful?
At Storables.com, we guarantee accurate and reliable information. Our content, validated by Expert Board Contributors, is crafted following stringent Editorial Policies. We're committed to providing you with well-researched, expert-backed insights for all your informational needs.


0 thoughts on “How To Install Plastic Decking”