Articles
How To Cut Plastic Conduit
Modified: October 20, 2024
Learn how to cut conduit plastic with our informative articles. Discover the best techniques and tools for precise and efficient cutting.
(Many of the links in this article redirect to a specific reviewed product. Your purchase of these products through affiliate links helps to generate commission for Storables.com, at no extra cost. Learn more)
Introduction
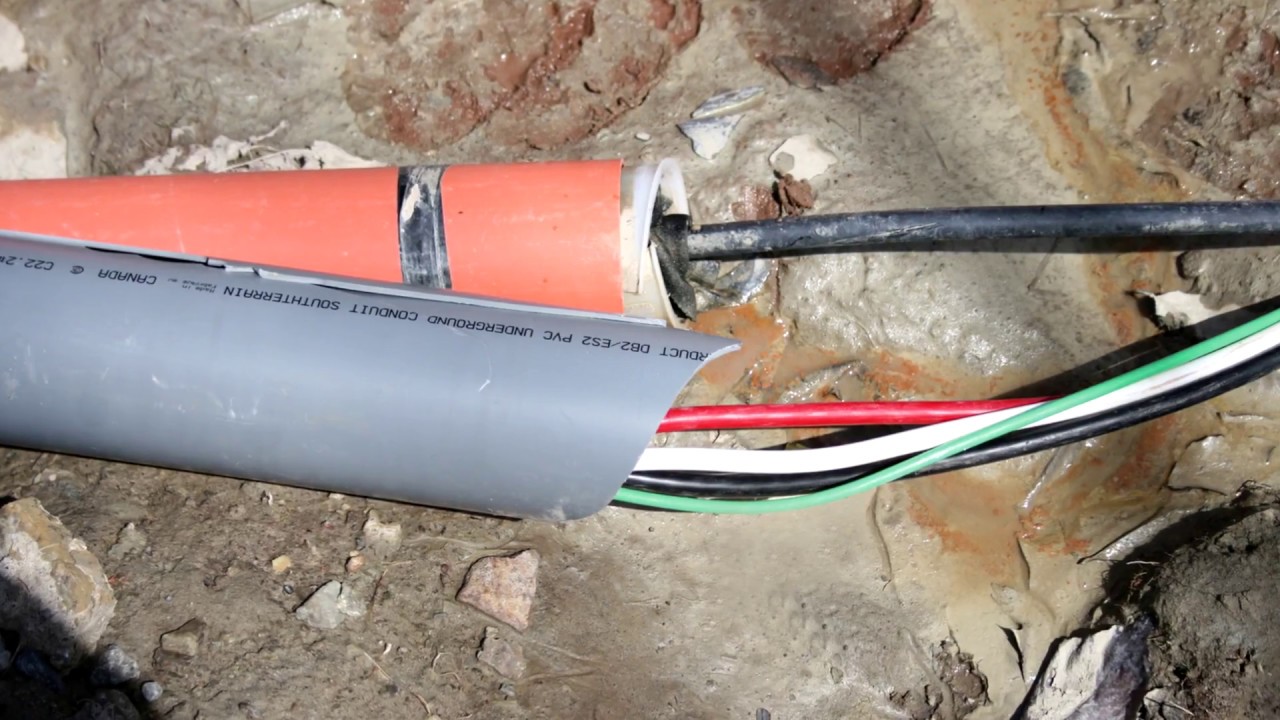
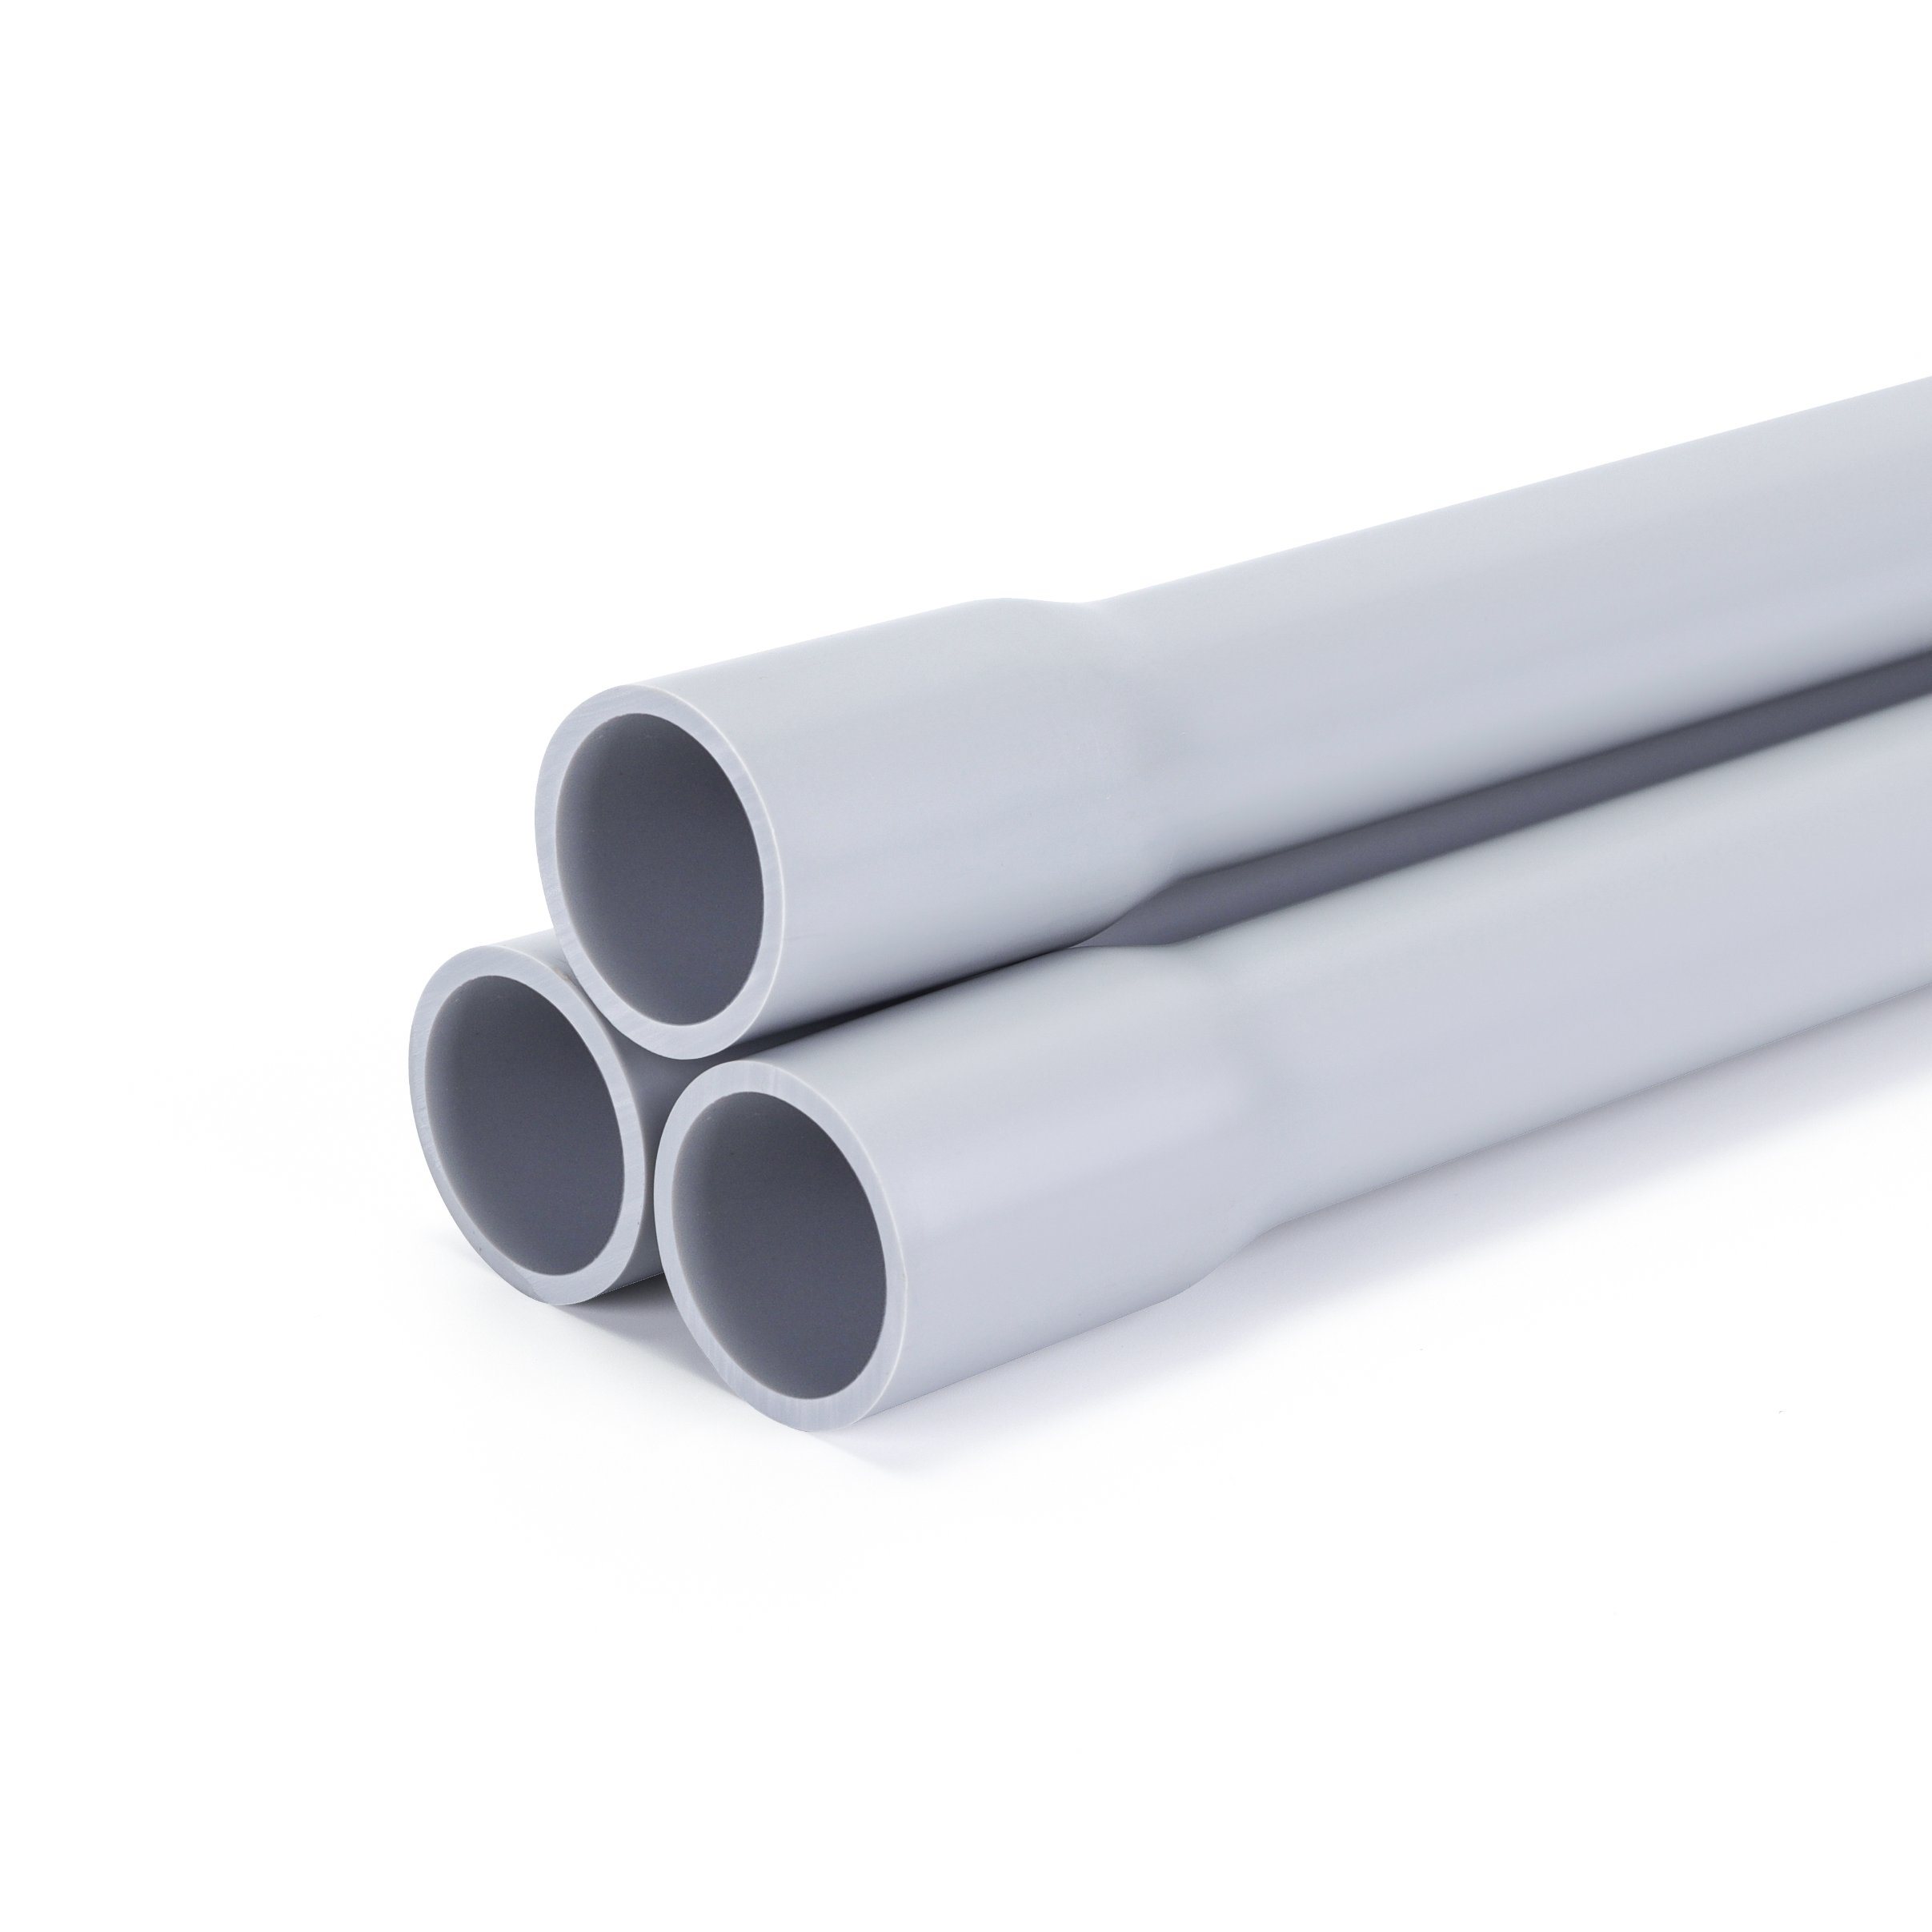
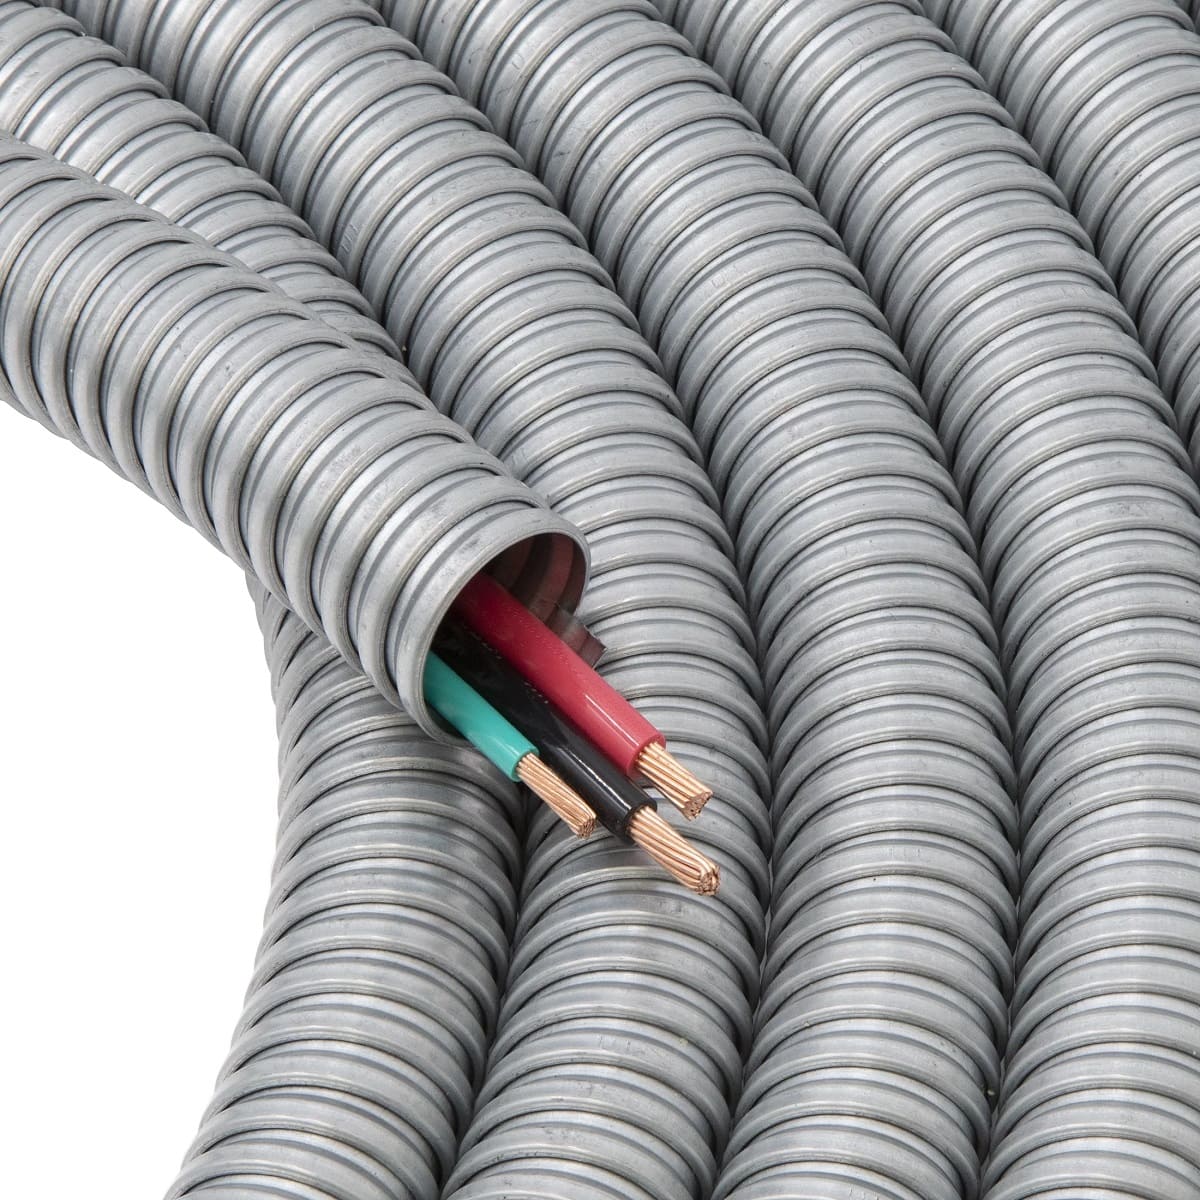
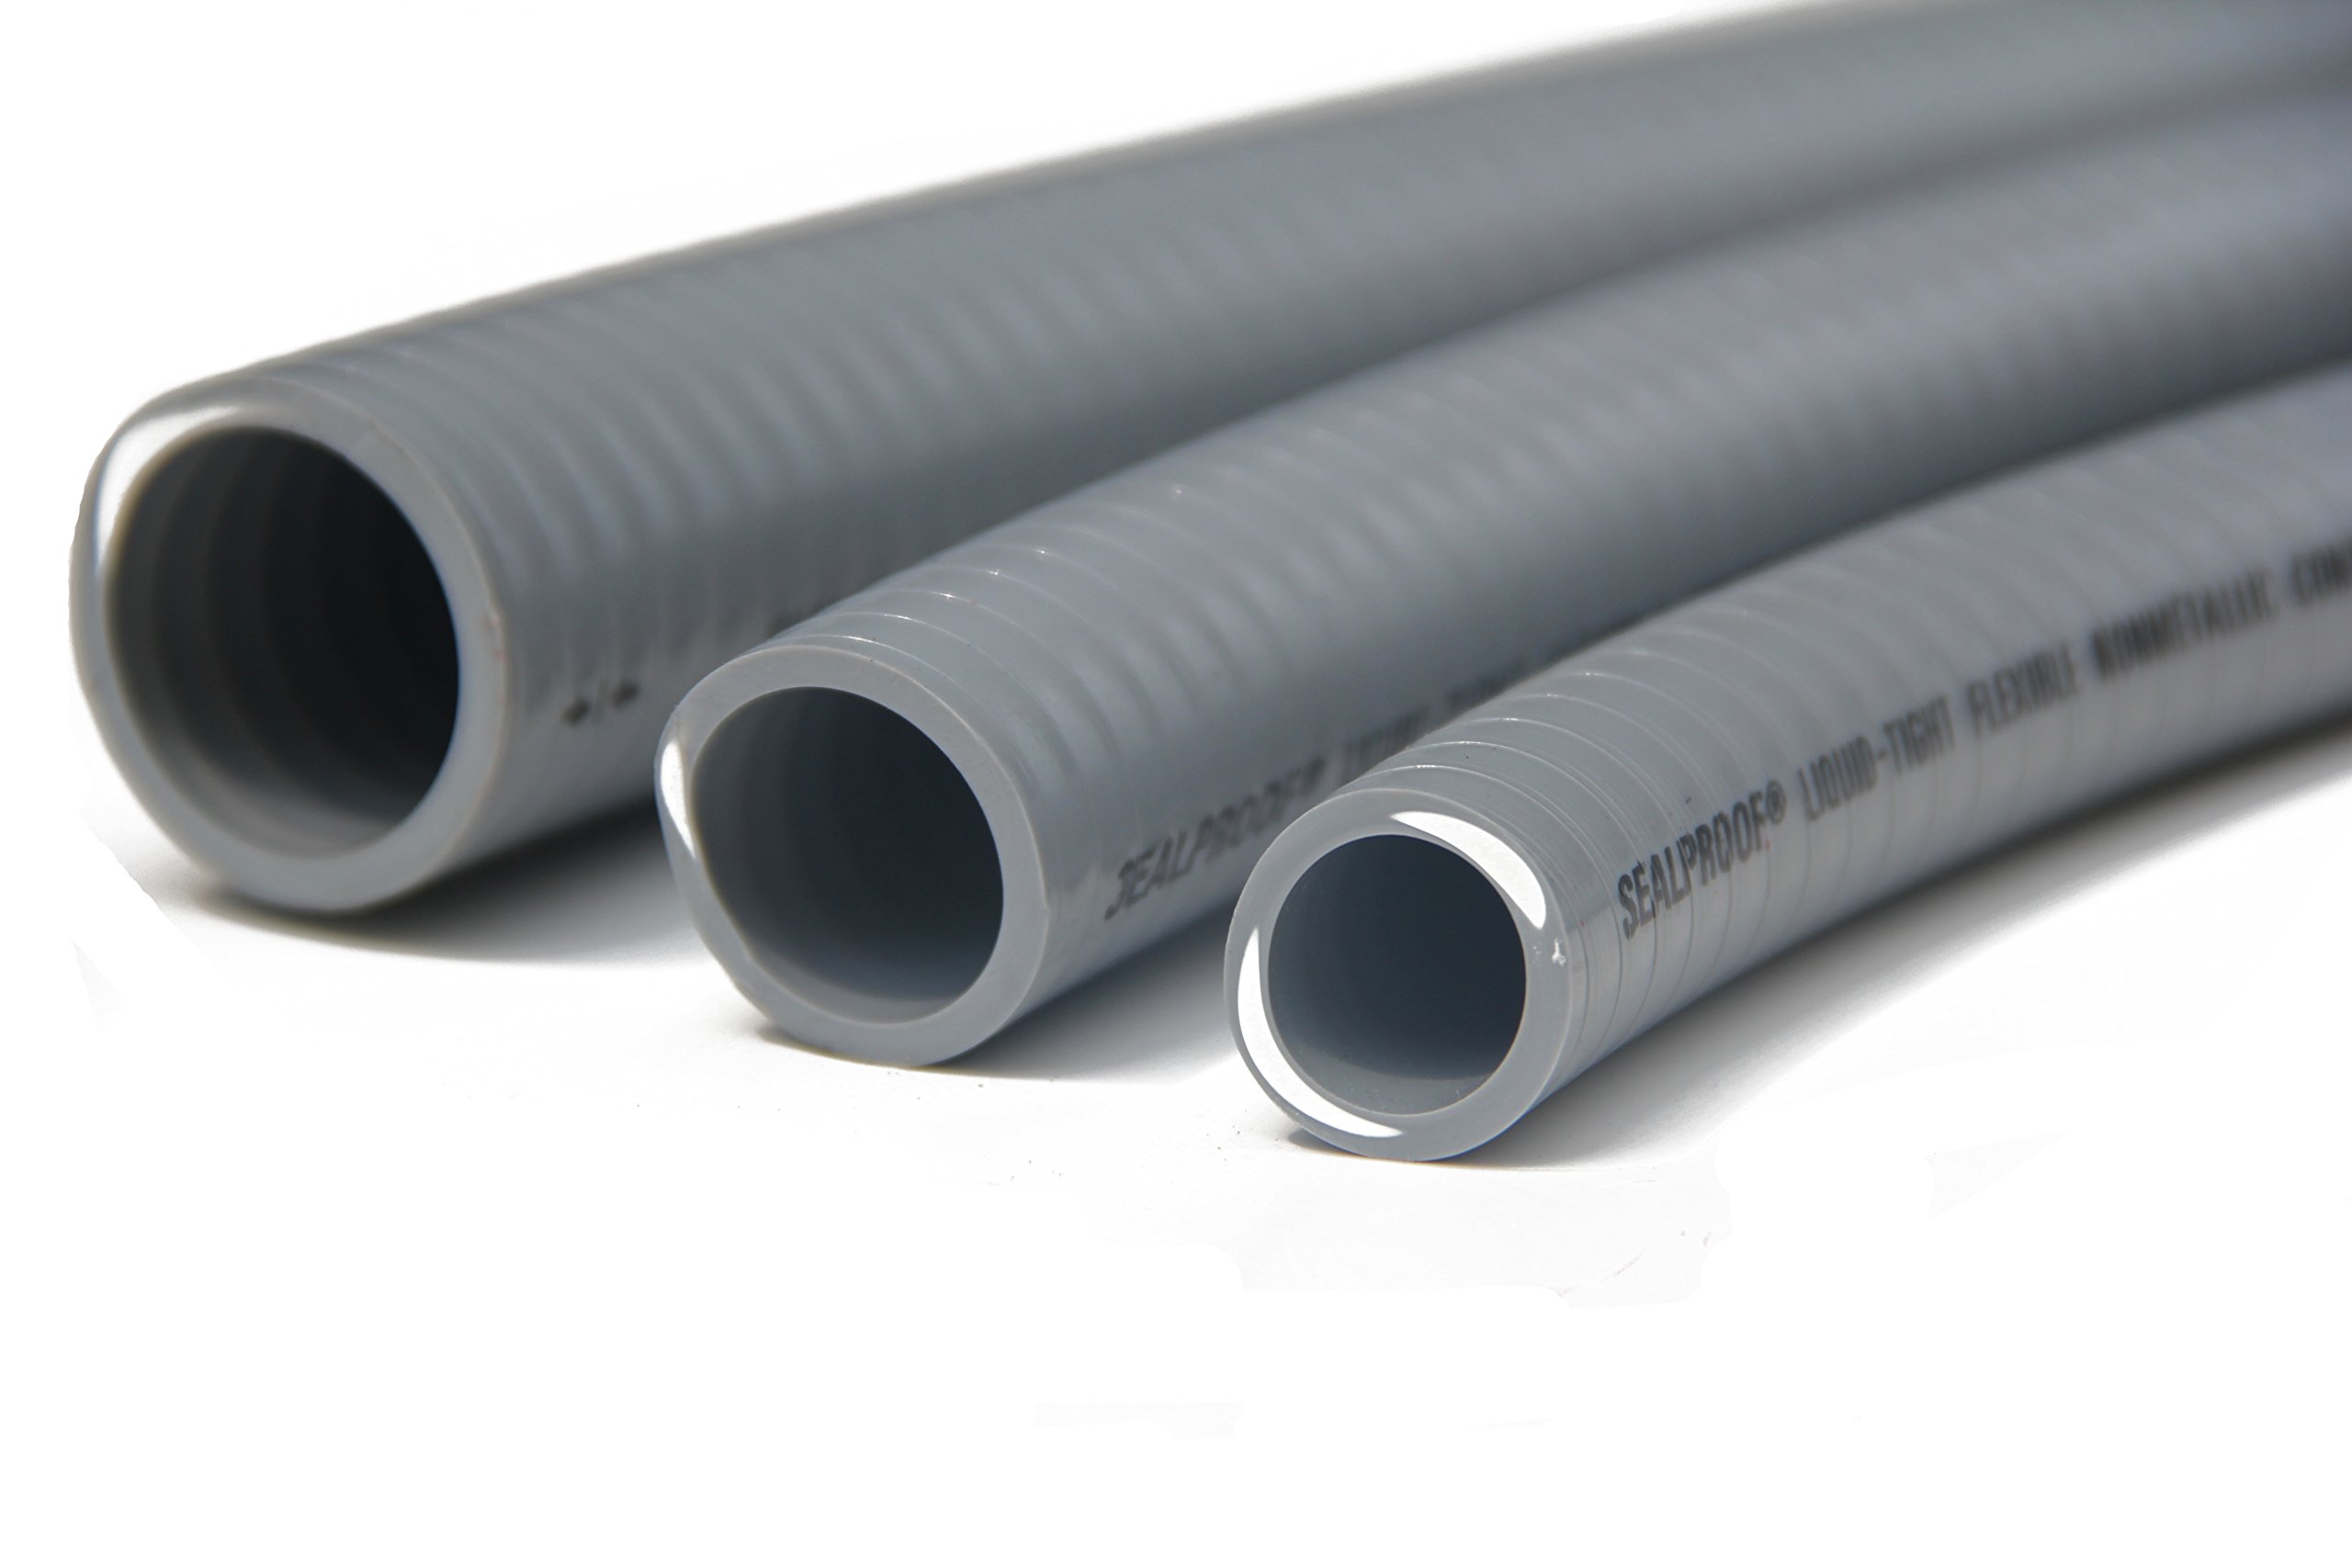
When it comes to electrical installations, one essential component is conduit. Conduit serves as a protective housing for electrical wires, ensuring safety and organization within a building. While there are different types of conduit available, plastic conduit is a popular choice due to its versatility, durability, and ease of installation.
If you’re planning a DIY electrical project, knowing how to cut plastic conduit is a valuable skill to have. Whether you’re adding new electrical outlets or running wires for lighting fixtures, being able to cut conduit to the correct lengths is crucial for a successful installation.
In this article, we will guide you through the step-by-step process of cutting plastic conduit safely and effectively. By following these instructions, you can ensure accurate cuts and minimize the risk of damaging the conduit or injuring yourself during the project. Let’s get started!
Key Takeaways:
- Master the art of cutting plastic conduit with precision and accuracy by following the step-by-step guide. Ensure a smooth and efficient process by gathering the necessary tools and materials before measuring, marking, and making the cuts.
- Safeguard your DIY electrical projects by testing the fit and making gradual adjustments to the plastic conduit. With attention to detail and the right tools, confidently complete your installations for a safer and more organized electrical system.
Read more: How To Cut Conduit
Step 1: Gather the Necessary Tools and Materials
Before you begin cutting plastic conduit, it’s important to gather all the necessary tools and materials to ensure a smooth and efficient process. Here is a list of items you will need:
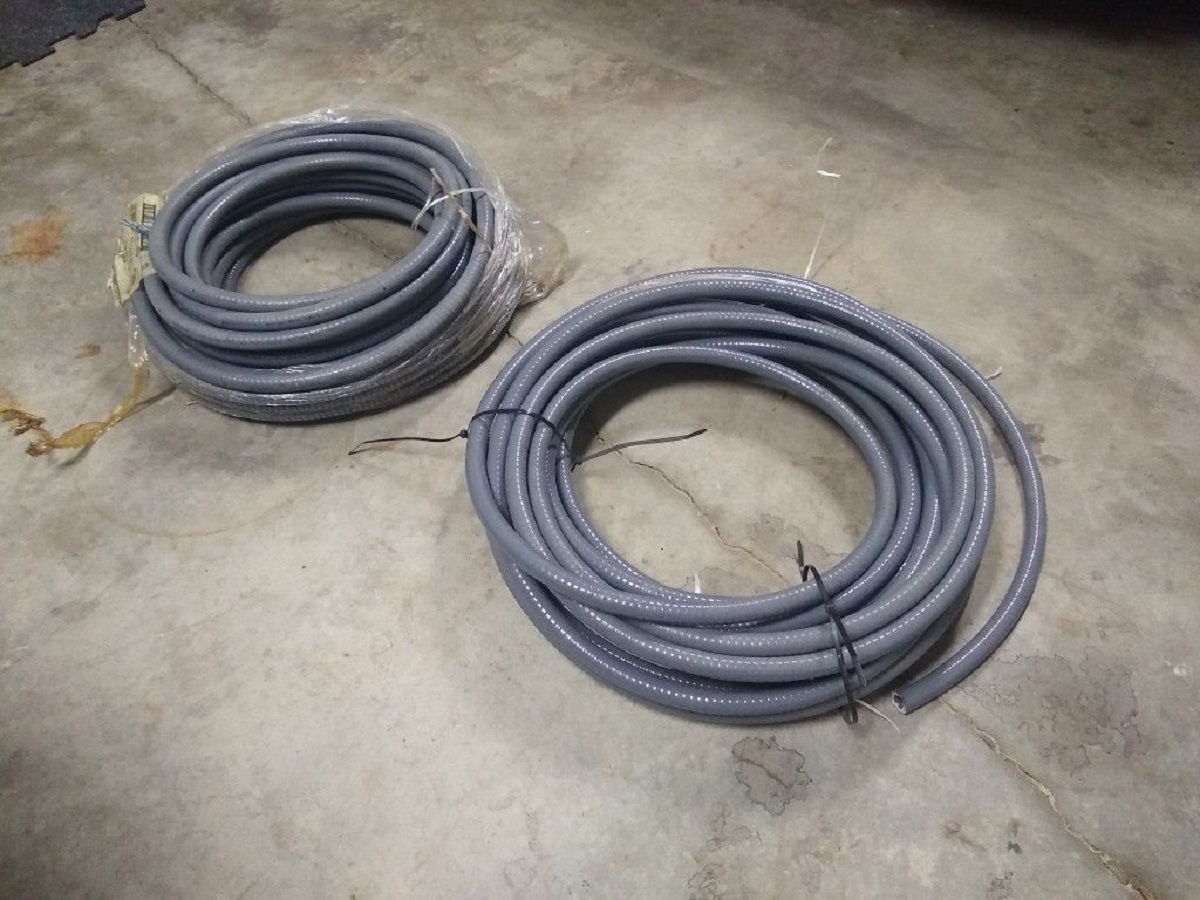
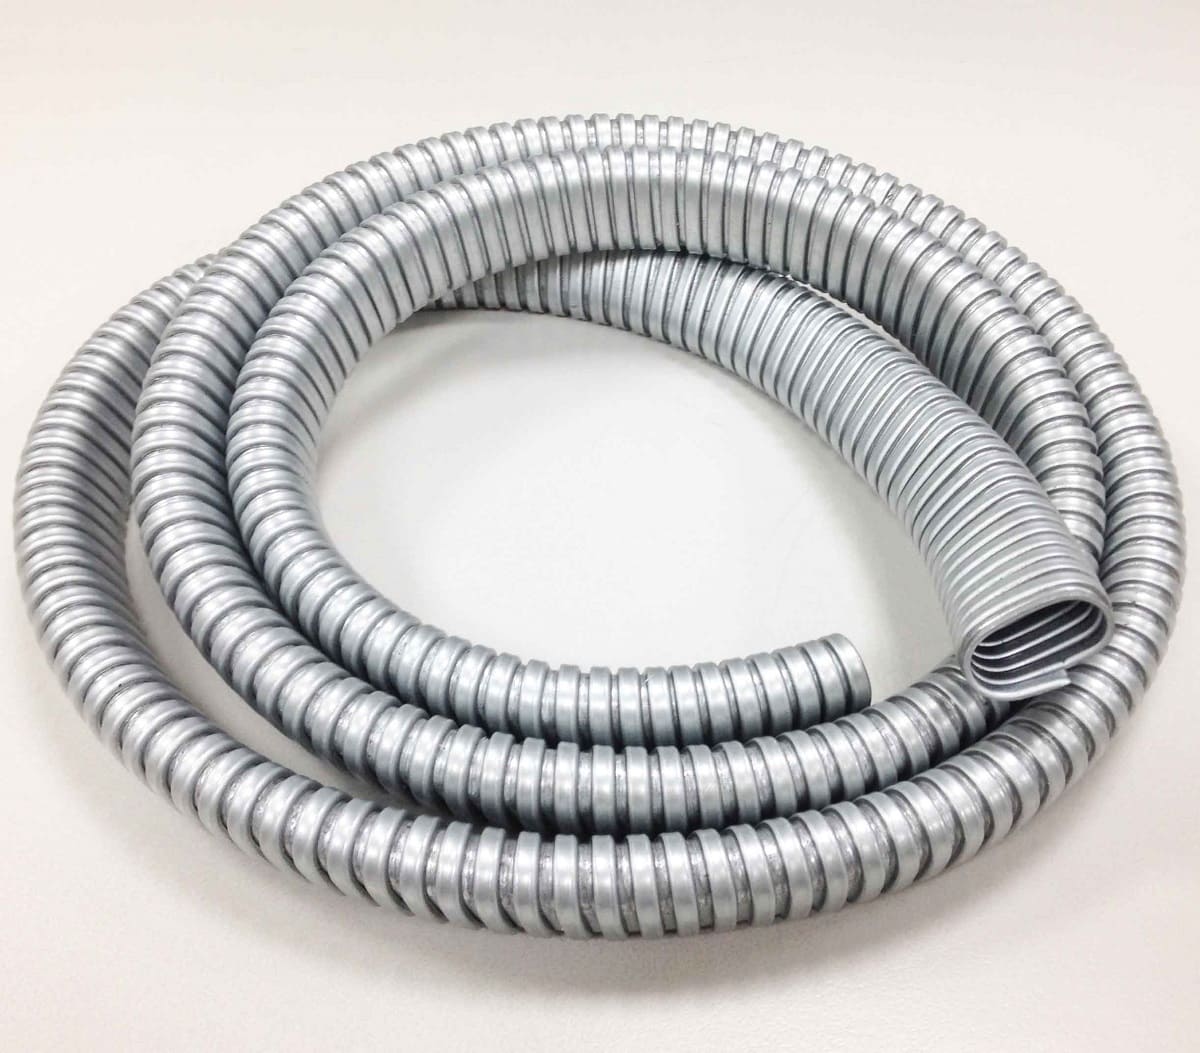
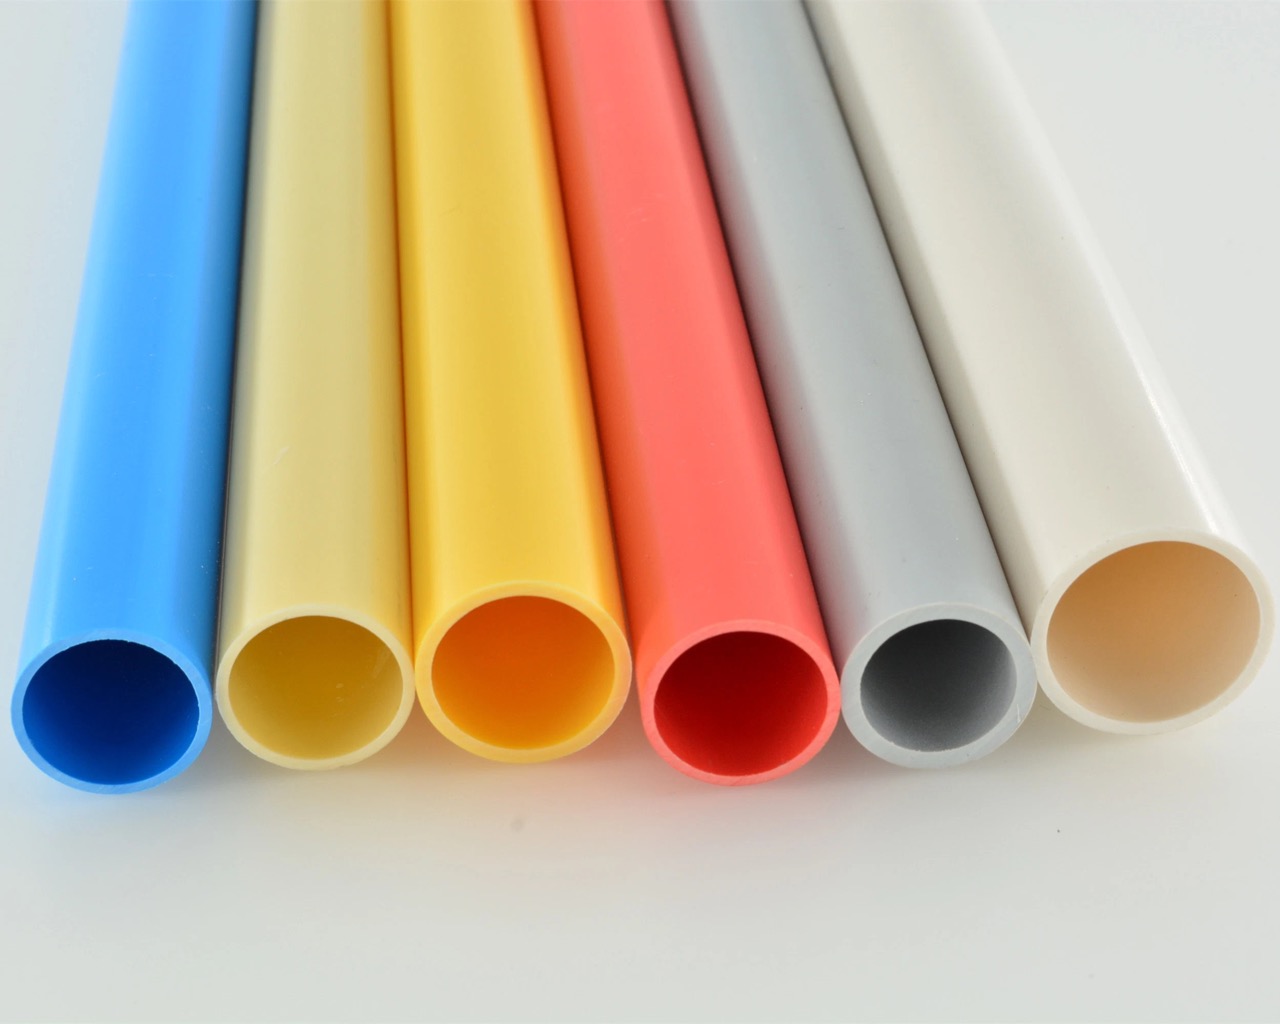
- Plastic conduit: Choose the appropriate size and length of conduit for your project.
- Measuring tape: Use a measuring tape to accurately measure the desired length of conduit.
- Pencil or marker: These will be used to mark the cutting points on the conduit.
- Conduit cutter or hacksaw: You have a couple of options for cutting the conduit. A conduit cutter is specifically designed for this task and provides clean and precise cuts. Alternatively, you can use a hacksaw with a fine-tooth blade.
- File or deburring tool: This tool is used to remove any burrs or rough edges from the cut ends of the conduit.
- Safety equipment: To protect yourself during the cutting process, wear safety glasses, gloves, and a dust mask if necessary.
Once you have gathered all the necessary tools and materials, you are ready to proceed to the next step: measuring and marking the conduit for cutting.
Step 2: Measure and Mark the Conduit
Accurate measurements are crucial when cutting plastic conduit. Improper measurements can result in wasted conduit or incorrect fit, leading to potential issues in your electrical installation. Follow these steps to measure and mark the conduit correctly:
- Using a measuring tape, determine the desired length of the conduit. Measure from one end to the desired cutting point.
- Make a small mark on the conduit using a pencil or marker at the measured cutting point. Ensure the mark is visible and easily identifiable.
- If you need to cut multiple pieces of conduit to the same length, use the first piece as a template. Place it alongside the remaining pieces and mark them accordingly.
- Double-check your measurements before proceeding to the next step. This will help ensure the accuracy of your cuts and the success of your electrical installation.
By taking the time to measure and mark the conduit accurately, you can minimize errors and save yourself from unnecessary frustration during the cutting process. Once the markings are in place, it’s time to move on to the next step: cutting the conduit.
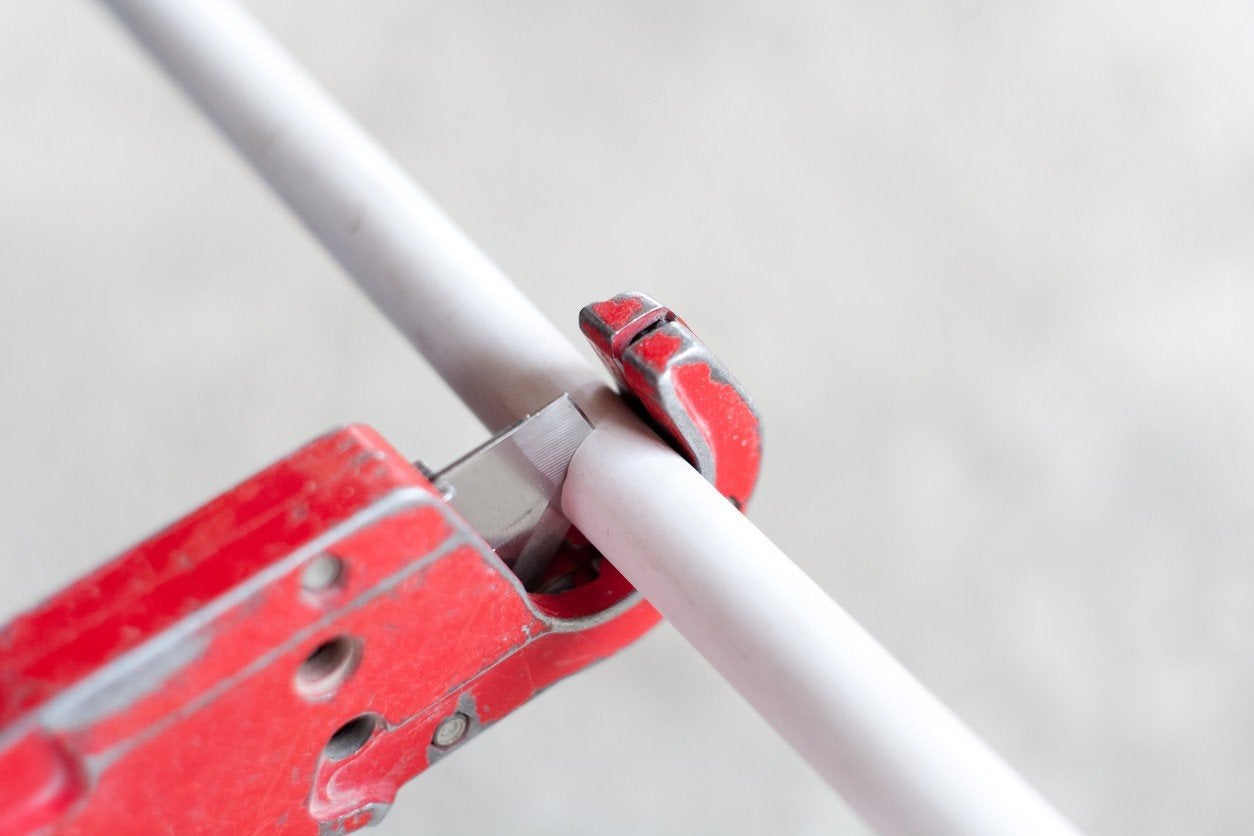
Step 3: Use a Conduit Cutter or Hacksaw to Make the Cuts
Once you have measured and marked the plastic conduit, it’s time to make the cuts. There are two primary tools you can use for this task: a conduit cutter or a hacksaw. Follow these steps to cut the conduit:
- If you are using a conduit cutter, align the cutting wheel of the tool with the mark you made on the conduit.
- Apply steady pressure while rotating the cutter around the conduit. Slowly tighten the cutter as you make each revolution until the cut is complete. This will ensure a clean and precise cut.
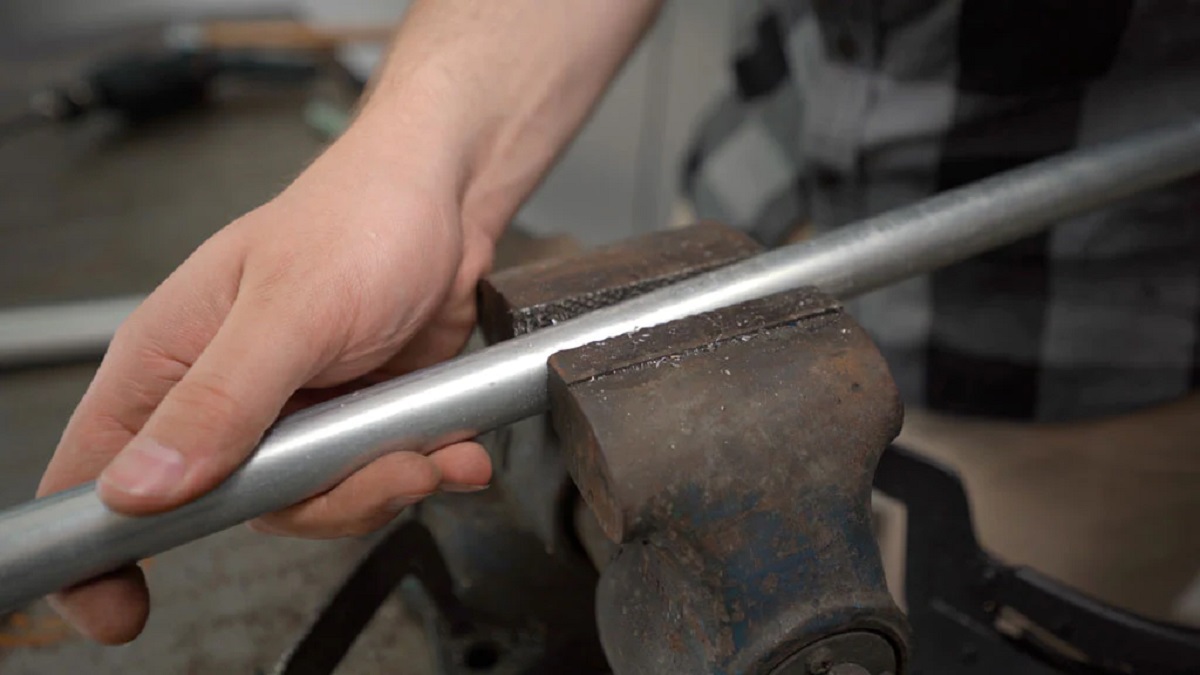
- If you are using a hacksaw, place the conduit securely in a vise or clamp to prevent it from moving during the cutting process.
- Carefully cut along the marked line using the hacksaw. Ensure that the saw blade is aligned perpendicular to the conduit for a straight cut.
- Apply consistent pressure while sawing back and forth until the cut is complete. Take your time to maintain control and achieve a smooth cut.
Remember to wear safety equipment, such as safety glasses and gloves, during the cutting process. This will protect you from potential injuries and ensure a safe working environment.
After making the cuts, it’s important to move on to the next step: removing burrs and smoothing the edges of the conduit.
When cutting plastic conduit, use a fine-toothed saw to ensure a clean and precise cut. Support the conduit securely to prevent it from moving during the cutting process.
Step 4: Remove Burrs and Smooth the Edges
After cutting the plastic conduit, you may notice rough edges or burrs on the cut ends. These imperfections can interfere with the proper fit and insertion of wires, so it’s essential to remove them before proceeding. Follow these steps to remove burrs and smooth the edges:
- Inspect the cut ends of the conduit and identify any rough or jagged edges.
- Using a file or a deburring tool, gently file or scrape the cut ends to remove any burrs or rough edges. Take care not to apply excessive pressure, as it may damage the conduit.
- Work your way around the edge, applying even pressure to create a smooth and clean finish. Continue filing or scraping until all roughness is eliminated.
- After removing the burrs, wipe the conduit with a cloth to remove any debris or plastic shavings.
By taking the time to remove burrs and smooth the edges of the conduit, you ensure a proper fit and prevent any potential damage to wires during installation. Once the edges are smoothed, it’s time to move on to the next step: testing the fit and making adjustments if needed.
Read more: How To Bend Plastic Electrical Conduit
Step 5: Test the Fit and Make Adjustments if Needed
After cutting and smoothing the plastic conduit, it’s important to test the fit and ensure it meets your requirements before proceeding with the installation. Follow these steps to test the fit and make adjustments if needed:
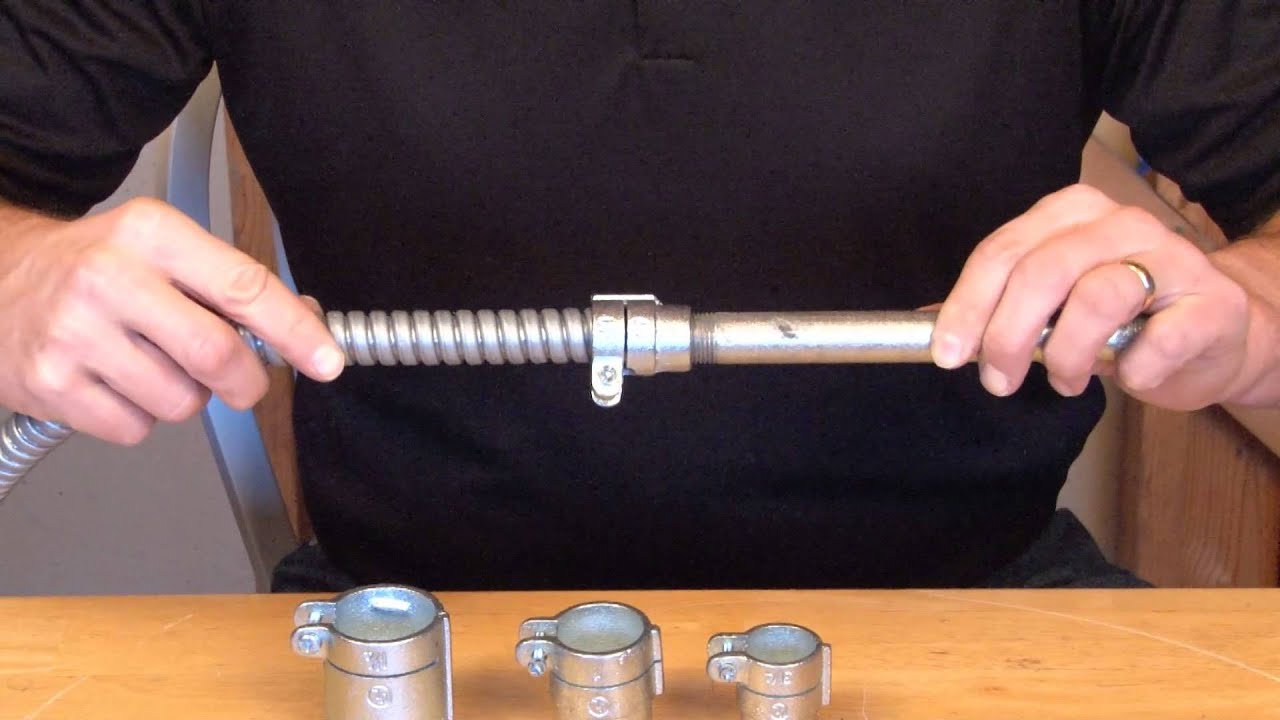
- Take the cut piece of conduit and align it with the intended location in your electrical installation. Ensure it fits snugly and aligns properly with other conduit sections or fittings.
- Insert the conduit into the desired electrical box, junction box, or conduit fittings to check if it fits securely. It should slide in smoothly without any obstructions.
- If the conduit does not fit properly or appears to be too long, you may need to make adjustments. Use a hacksaw or conduit cutter to trim the conduit incrementally until it fits perfectly.
- Take care not to overcut the conduit, as it cannot be extended or repaired once it’s cut too short. It’s better to trim small sections at a time and test the fit frequently.
- After making any necessary adjustments, test the fit again to ensure the conduit fits securely and aligns correctly.
By testing the fit and making adjustments as needed, you can ensure a successful electrical installation with properly cut and fitted plastic conduit. Once the fit is confirmed, you are ready to proceed with the rest of your wiring project.
Conclusion
Cutting plastic conduit is a fundamental skill for any DIY electrical project. By following the step-by-step process outlined in this article, you can successfully cut plastic conduit with precision and accuracy.
Remember to gather all the necessary tools and materials before starting, ensuring you have everything you need to complete the task efficiently. Take accurate measurements and mark the conduit properly, ensuring your cuts will be precise and fit your installation requirements.
Using a conduit cutter or hacksaw, make the cuts carefully, applying steady pressure for clean and accurate results. After cutting, remove any burrs or rough edges using a file or deburring tool to ensure a smooth finish.
Testing the fit is crucial to ensure the conduit aligns properly and fits securely in your electrical installation. Make any necessary adjustments gradually, trimming small sections at a time to avoid cutting the conduit too short.
In conclusion, with the right tools, attention to detail, and a methodical approach, cutting plastic conduit can be a straightforward process. By following the steps outlined in this article, you can confidently complete your DIY electrical projects, knowing that your plastic conduit is cut to the correct lengths and fits securely in your installation.
Now you have the knowledge and skills to successfully cut plastic conduit, making your electrical installations safer and more organized. So go ahead and tackle your next DIY project with confidence!
Frequently Asked Questions about How To Cut Plastic Conduit
Was this page helpful?
At Storables.com, we guarantee accurate and reliable information. Our content, validated by Expert Board Contributors, is crafted following stringent Editorial Policies. We're committed to providing you with well-researched, expert-backed insights for all your informational needs.


0 thoughts on “How To Cut Plastic Conduit”