Home>Dining>Table Decor>How To Install The Table-Style Apron For The Kitchen Island
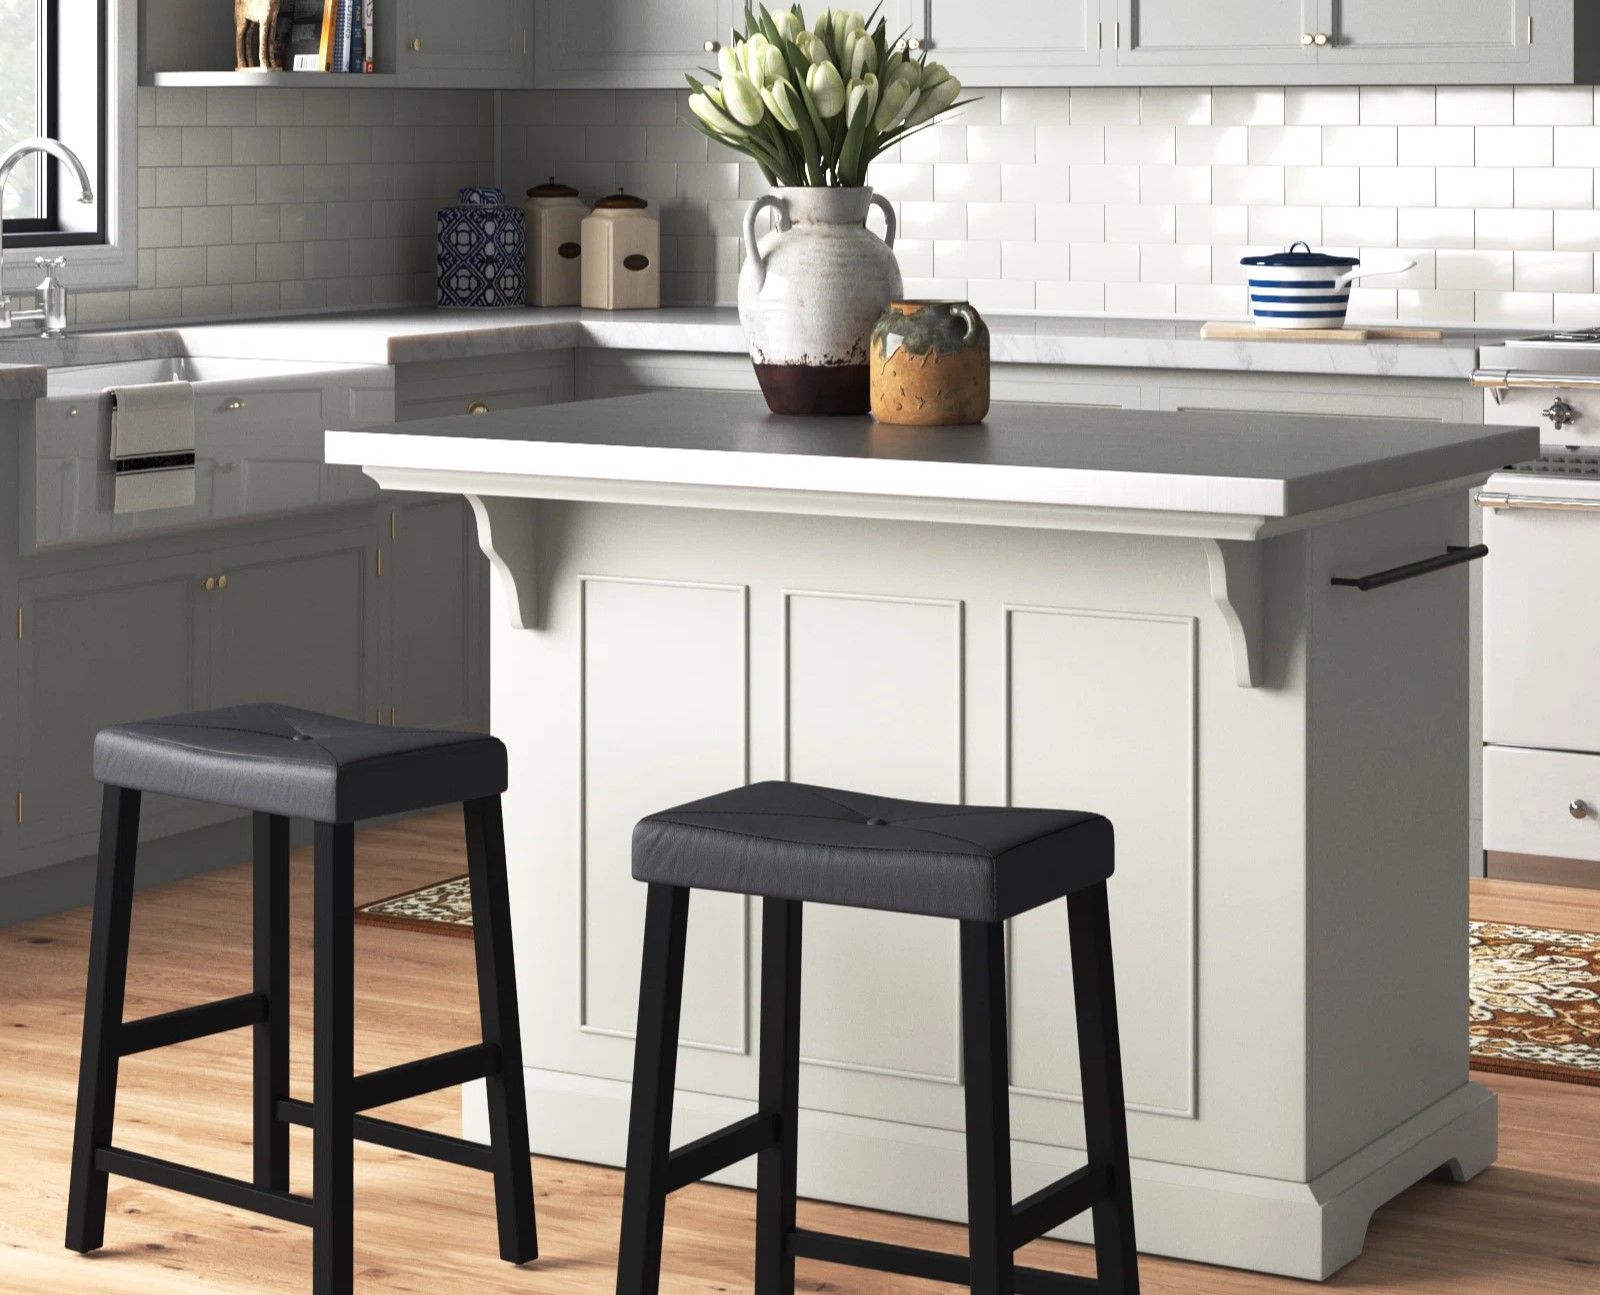
Table Decor
How To Install The Table-Style Apron For The Kitchen Island
Modified: February 29, 2024
Learn how to easily install the table-style apron for your kitchen island and enhance its look with our step-by-step guide. Upgrade your table decor with this simple DIY project today!
(Many of the links in this article redirect to a specific reviewed product. Your purchase of these products through affiliate links helps to generate commission for Storables.com, at no extra cost. Learn more)
Introduction
When it comes to kitchen island design, the table-style apron adds a touch of elegance and sophistication. This decorative element not only enhances the overall aesthetic appeal of the island but also provides structural support. If you’re looking to give your kitchen island a makeover, installing a table-style apron is a fantastic idea.
In this article, we will guide you through the process of installing a table-style apron for your kitchen island. We’ll provide step-by-step instructions, along with a list of materials you’ll need to complete the project. So, let’s get started and transform your kitchen island into a stunning focal point!
Key Takeaways:
- Elevate your kitchen island with a table-style apron for added elegance and structural support. Follow the step-by-step guide for a professional installation and a stunning focal point in your culinary space.
- Gather essential materials and meticulously measure for precise placement. Secure the apron with care, add finishing touches, and admire the newfound sophistication of your kitchen island.
Materials Needed
Before you begin the installation process, it’s essential to gather all the necessary materials. Here’s a list of items you’ll need:
- Table-style apron: Look for a pre-made apron that matches the style and dimensions of your kitchen island. Alternatively, you can create a custom apron using solid wood.
- Measuring tape: This tool will help you accurately measure the placement of the apron on the island.
- Pencil: You’ll need a pencil to mark the measurements on the island.
- Drill: A power drill will be required to attach the apron to the kitchen island.
- Screws: Choose screws that are appropriate for attaching the apron to the island’s frame.
- Screwdriver or screwdriver bit: The screwdriver or screwdriver bit will be used to drive the screws into place.
- Sanding block or sandpaper: If necessary, you may need a sanding block or sandpaper to smooth any rough edges on the apron.
- Paint or stain (optional): If you want to alter the color or finish of the apron, you can use paint or stain according to your preference.
- Paintbrush or foam brush (if painting): A paintbrush or foam brush will be useful if you decide to paint the apron.
- Protective gear: To ensure your safety, consider wearing goggles, gloves, and a dust mask while working with power tools or handling wood.
Make sure you have all these materials readily available before you begin the installation process. This will ensure a smooth and efficient workflow.
Step 1: Measure and Mark the Placement
The first step in installing a table-style apron for your kitchen island is to measure and mark the placement. Follow these instructions:
- Start by measuring the height of your kitchen island. This will determine the length of the table-style apron you’ll need. Typically, the apron should be around two-thirds the height of the island for a balanced look.
- Once you have the height measurement, use a measuring tape to mark the placement of the apron on each side of the island. Make sure the markings are consistent and level to achieve a symmetrical appearance.
- Next, decide on the width of the apron. Measure the distance between the marked points on each side of the island to determine the correct width.
- Use a pencil to mark the width measurement on the apron. This will serve as a guide when attaching the apron to the island.
Take your time during this step to ensure accurate measurements and markings. Precision is crucial for a seamless installation process.
Step 2: Prepare the Apron and Island
Now that you have measured and marked the placement of the table-style apron, it’s time to prepare both the apron and the kitchen island for installation. Follow these steps:
- If your table-style apron is pre-made, ensure that it matches the dimensions and style of your kitchen island. If you are creating a custom apron, cut the wood to the desired length and width.
- Once you have the apron ready, use a sanding block or sandpaper to smooth any rough edges or surfaces. This will create a clean and polished look for the apron.
- Now, turn your attention to the kitchen island. Inspect the area where the apron will be attached and make sure it’s clean and free from any debris. If necessary, wipe down the surface with a damp cloth.
- If you plan to paint or stain the apron, now is the time to do it. Apply the desired finish following the manufacturer’s instructions. Allow sufficient drying time before proceeding to the next step.
By properly preparing both the apron and the kitchen island, you’ll ensure a seamless installation process and a professional-looking end result.
When installing the table-style apron for a kitchen island, make sure to measure and mark the placement accurately before attaching it to the island. Use a level to ensure it is straight and secure it with the appropriate screws or brackets.
Step 3: Attach the Apron to the Island
With the apron and the kitchen island prepared, it’s time to attach the table-style apron to the island. Follow these steps carefully:
- Position the apron along the markings you made on the island. Ensure that the apron is centered and aligns perfectly with the dimensions of the island.
- Using a power drill, create pilot holes through the apron and into the island’s frame. These pilot holes will prevent the wood from splitting when you drive the screws in.
- Once the pilot holes are made, take the appropriate screws and drive them through the apron and into the frame of the island using a screwdriver or screwdriver bit. Make sure the screws are secure but not over-tightened.
- Repeat this process for all sides of the apron, ensuring that it is firmly attached to the island.
Take your time during this step to ensure that the apron is securely attached to the island. Double-check the alignment and make any adjustments if needed before moving on to the next step.
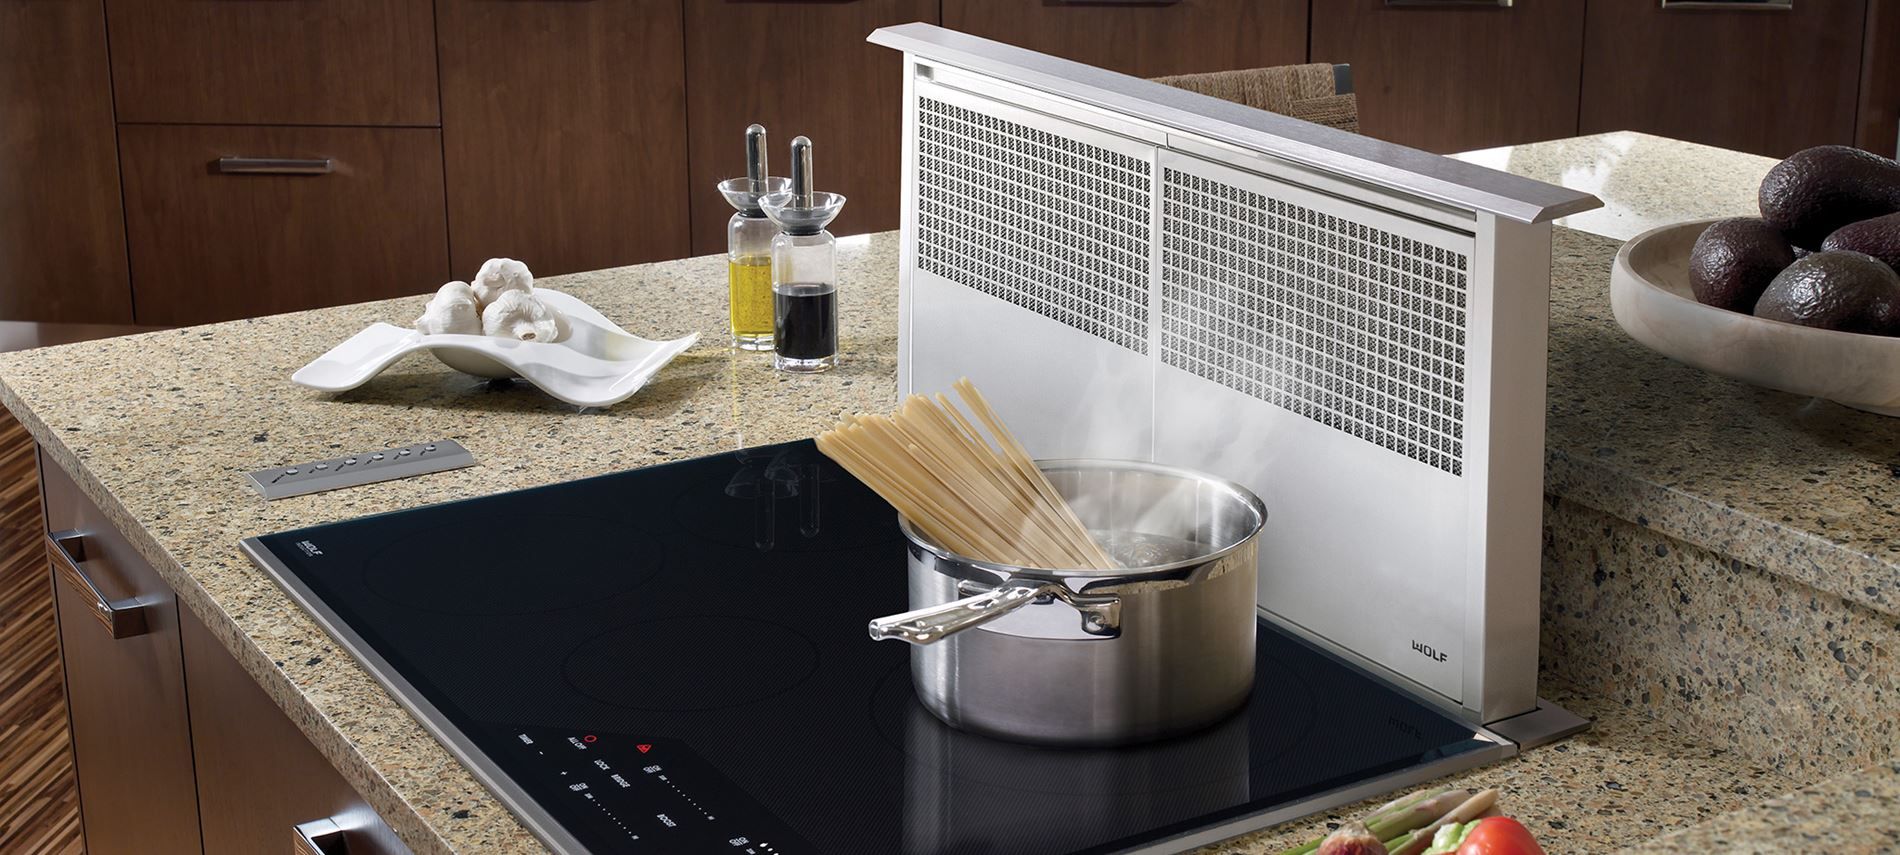
Read more: How To Install Island Range Hood
Step 4: Secure the Apron in Place
Now that the table-style apron is attached to the kitchen island, it’s time to secure it in place for added stability. Follow these steps:
- Inspect the area where the apron meets the island. If there are any gaps between the two, apply a small amount of wood filler to fill them in. Smooth the filler with a putty knife and allow it to dry according to the manufacturer’s instructions.
- Once the wood filler is dry, use sandpaper or a sanding block to smooth the filled areas. This will create a seamless surface between the apron and the island.
- Inspect the screws that were used to attach the apron. If any screws are protruding or not fully tightened, use a screwdriver or screwdriver bit to secure them in place.
- Give the entire apron a final inspection to ensure it is securely in place and aligned properly with the kitchen island. Make any necessary adjustments before proceeding.
By taking the time to secure the apron in place, you will ensure that it remains sturdy and enhances the overall durability of your kitchen island.
Step 5: Finishing Touches
With the table-style apron securely attached to the kitchen island, it’s time to add the finishing touches to complete the installation. Follow these steps for a polished look:
- If you opted to paint or stain the apron, inspect the surface for any imperfections or uneven areas. Use sandpaper to smooth out any rough spots and ensure a uniform finish.
- Once the surface is smooth, wipe down the apron with a clean cloth to remove any dust or debris. This will ensure that the finish is flawless and ready for the final step.
- Apply a clear protective coat to the apron if desired. This will help protect the wood and preserve the finish, extending the lifespan of your table-style apron.
- Once the protective coat is dry, take a step back and admire your newly installed table-style apron. It adds a touch of elegance and sophistication to your kitchen island, instantly transforming the space.
- Finally, take the time to clean up your workspace and gather any tools or materials that were used during the installation process.
By adding these finishing touches, you’ll ensure that your table-style apron looks stunning and remains in excellent condition for years to come.
Conclusion
Installing a table-style apron for your kitchen island is a fantastic way to enhance its visual appeal and add a touch of elegance. By following the steps outlined in this article, you can successfully complete the installation process and achieve a professional-looking end result.
Remember to gather all the necessary materials before you begin, including the table-style apron, measuring tape, drill, screws, and any optional paint or stain. Take the time to measure and mark the placement of the apron, ensuring precision and symmetry. Prepare both the apron and the kitchen island by sanding any rough edges and cleaning the surface.
Attaching the apron to the island is a crucial step, so be sure to use pilot holes and securely drive screws for a sturdy and stable foundation. Once the apron is attached, take the time to secure it in place by filling any gaps, sanding the surface, and inspecting the screws for tightness.
Lastly, add the finishing touches to the apron by smoothing out the surface, applying a protective coat, and cleaning up your workspace. Admire the newfound elegance and beauty that the table-style apron brings to your kitchen island.
By following these steps and putting in the effort, you’ll have a gorgeous kitchen island that becomes the centerpiece of your culinary space. Enjoy the enhanced aesthetics and functionality that a table-style apron provides for many years to come.
Frequently Asked Questions about How To Install The Table-Style Apron For The Kitchen Island
Was this page helpful?
At Storables.com, we guarantee accurate and reliable information. Our content, validated by Expert Board Contributors, is crafted following stringent Editorial Policies. We're committed to providing you with well-researched, expert-backed insights for all your informational needs.


0 thoughts on “How To Install The Table-Style Apron For The Kitchen Island”