Home>Dining>Table Decor>How To Set A Table For Family Gatherings
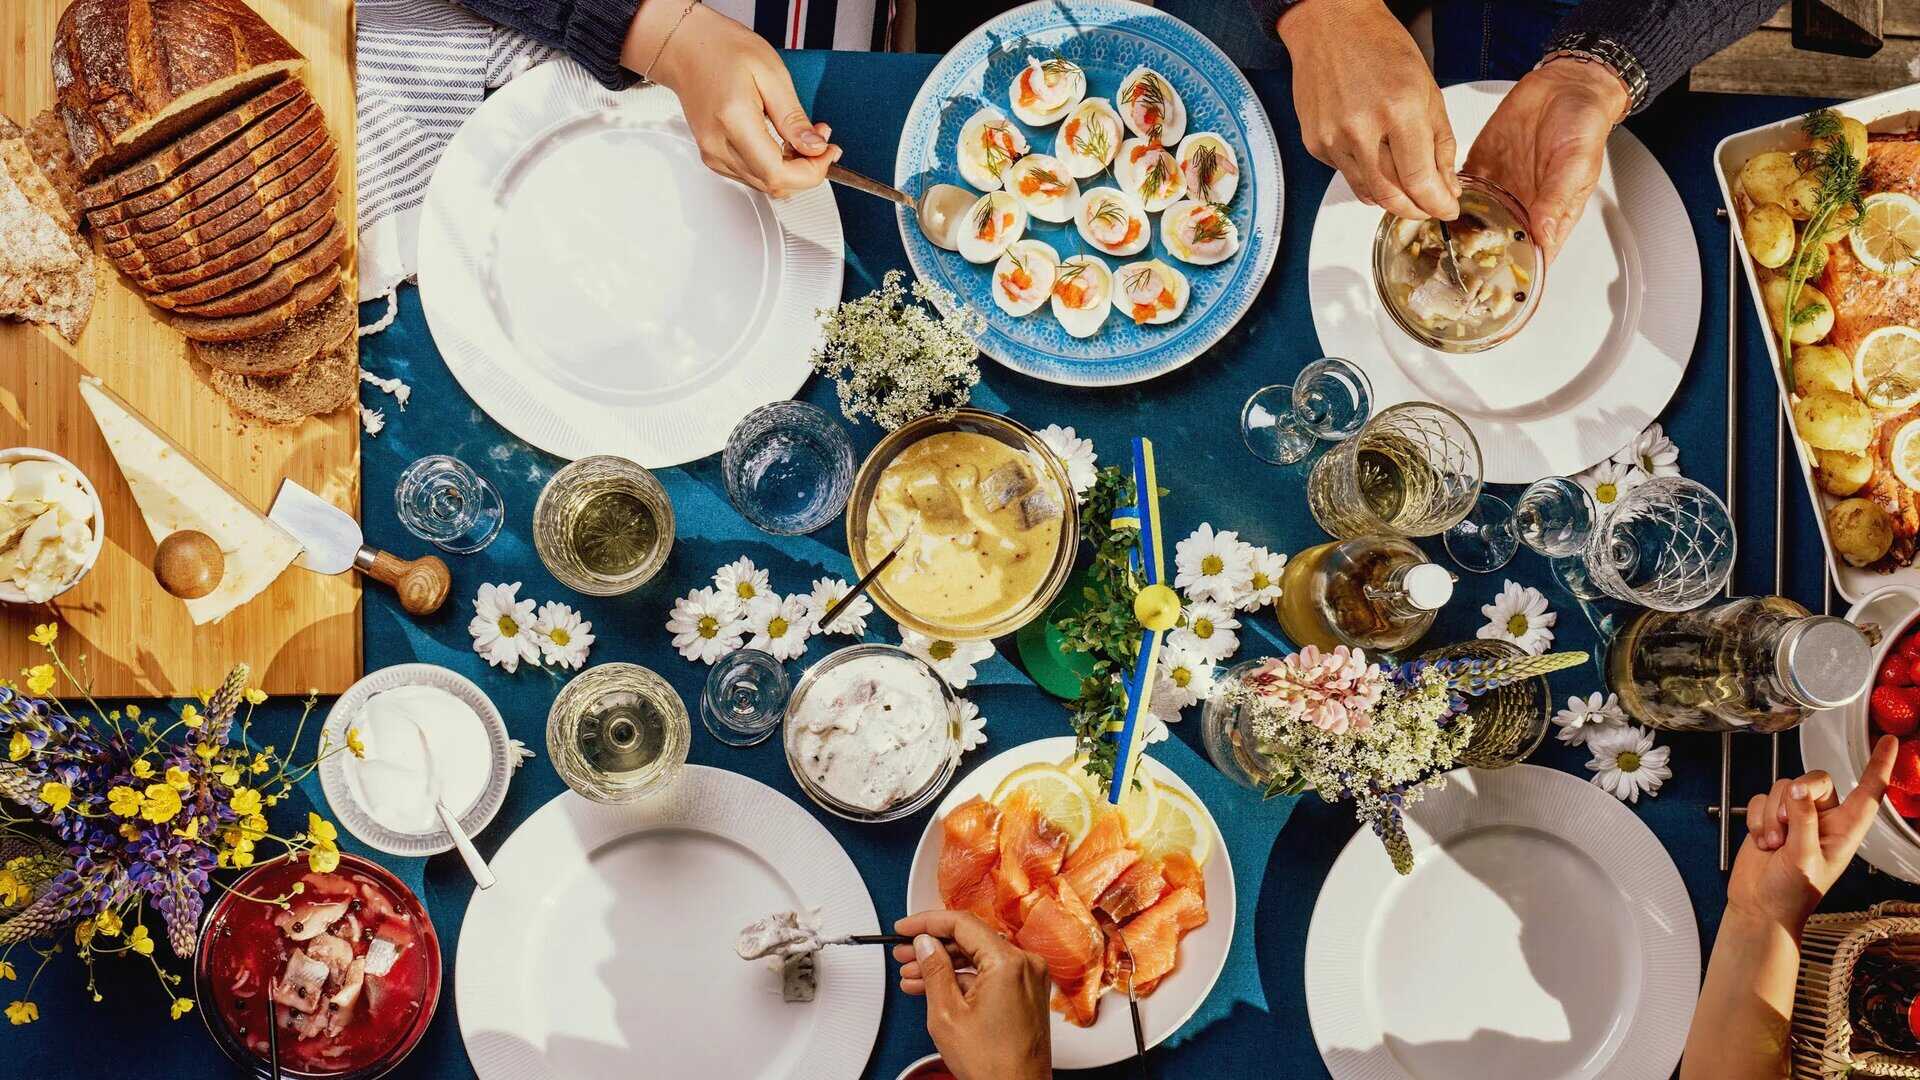
Table Decor
How To Set A Table For Family Gatherings
Modified: August 23, 2024
Learn how to set a table in a warm and inviting family style with our table decor tips. Create a memorable dining experience for your loved ones.
(Many of the links in this article redirect to a specific reviewed product. Your purchase of these products through affiliate links helps to generate commission for Storables.com, at no extra cost. Learn more)
Introduction
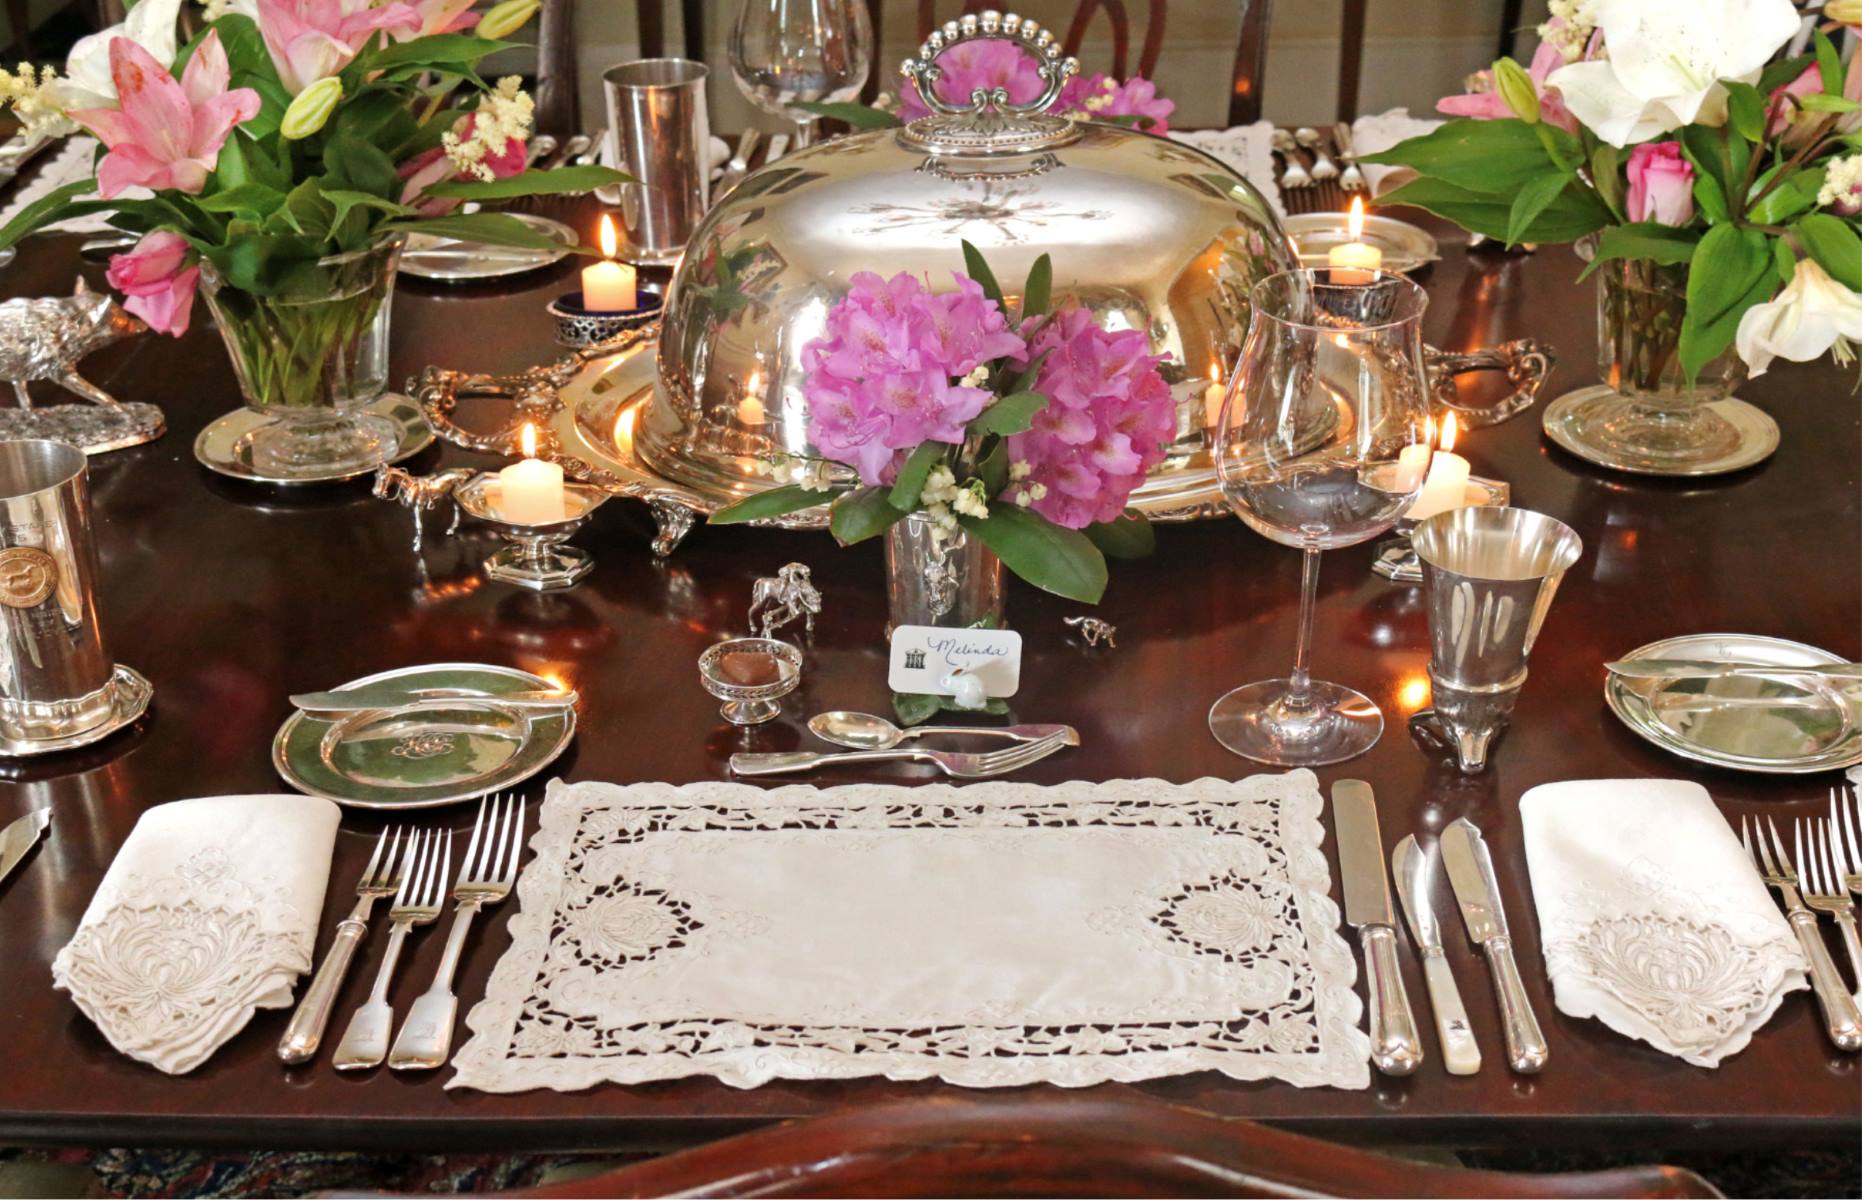
Welcome to the world of table decor! Setting a beautiful table is an art form that can elevate any mealtime gathering from ordinary to extraordinary. Whether you’re hosting a casual family dinner or planning a special occasion, taking the time to create an inviting tablescape can make all the difference in creating a warm and welcoming atmosphere.
In this article, we will guide you through the process of setting a table family style. This relaxed and communal style of dining is perfect for gatherings where friends and family come together to enjoy delicious food and engaging conversations. We’ll cover everything from gathering the necessary materials to adding the final touches and decorations. So, let’s dive in and discover how to create a memorable table setting that will leave a lasting impression on your guests!
Key Takeaways:
- Elevate any mealtime gathering with a family-style table setting, from gathering materials to adding final touches. Create a warm and welcoming atmosphere for shared enjoyment of delicious food and engaging conversations.
- Master the art of table decor by setting a beautiful and inviting family-style table. Infuse your personal style, unleash creativity, and create a space for connection and shared enjoyment.
Step 1: Gather the necessary materials
The first step in setting a table family style is to gather all the necessary materials. Having everything you need at hand will make the process much smoother and more efficient. Here are the essential items you’ll need:
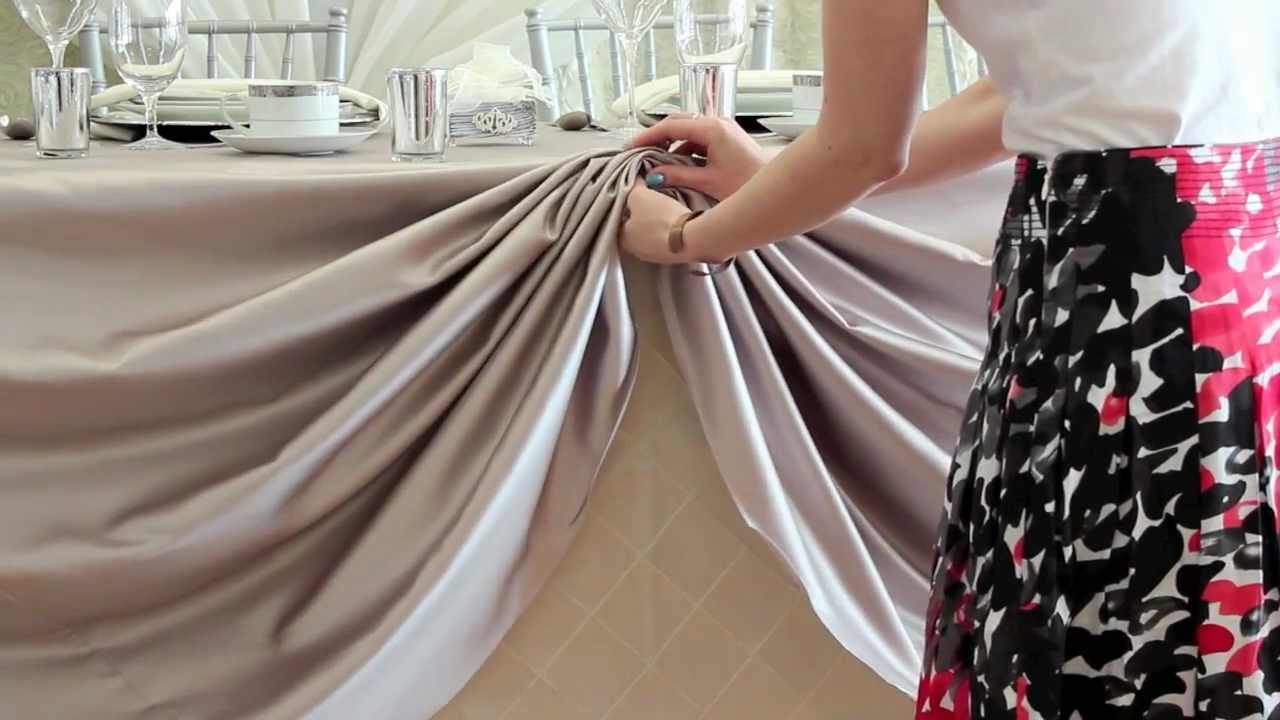
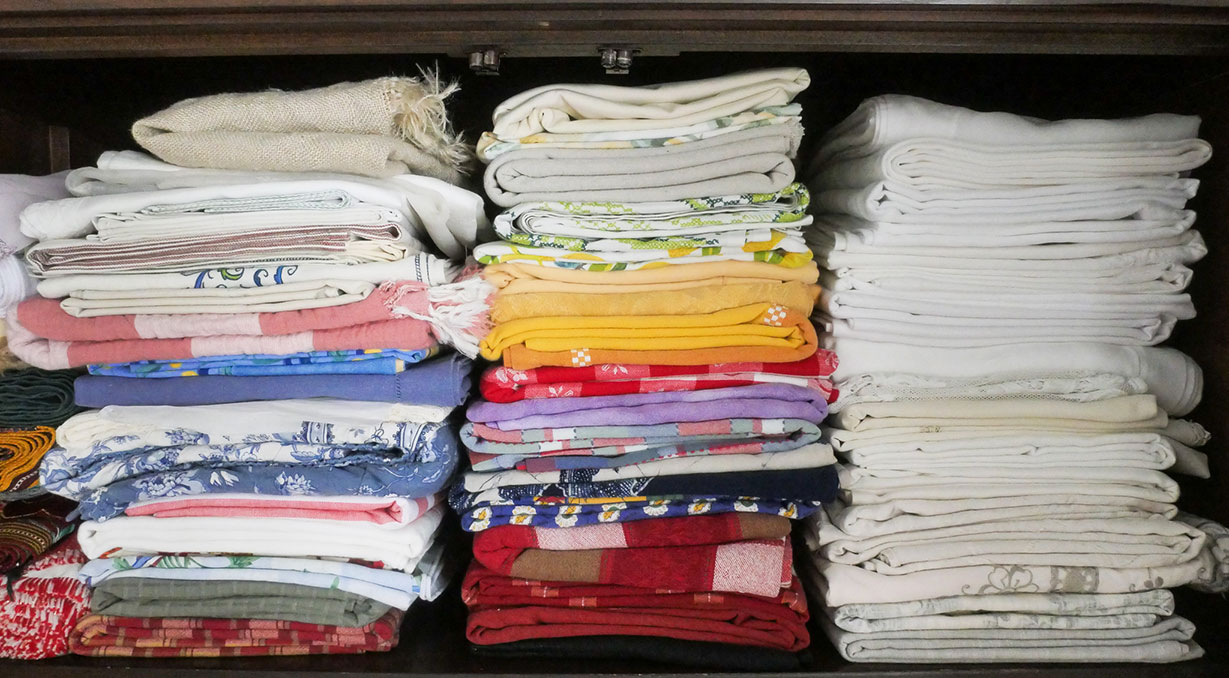
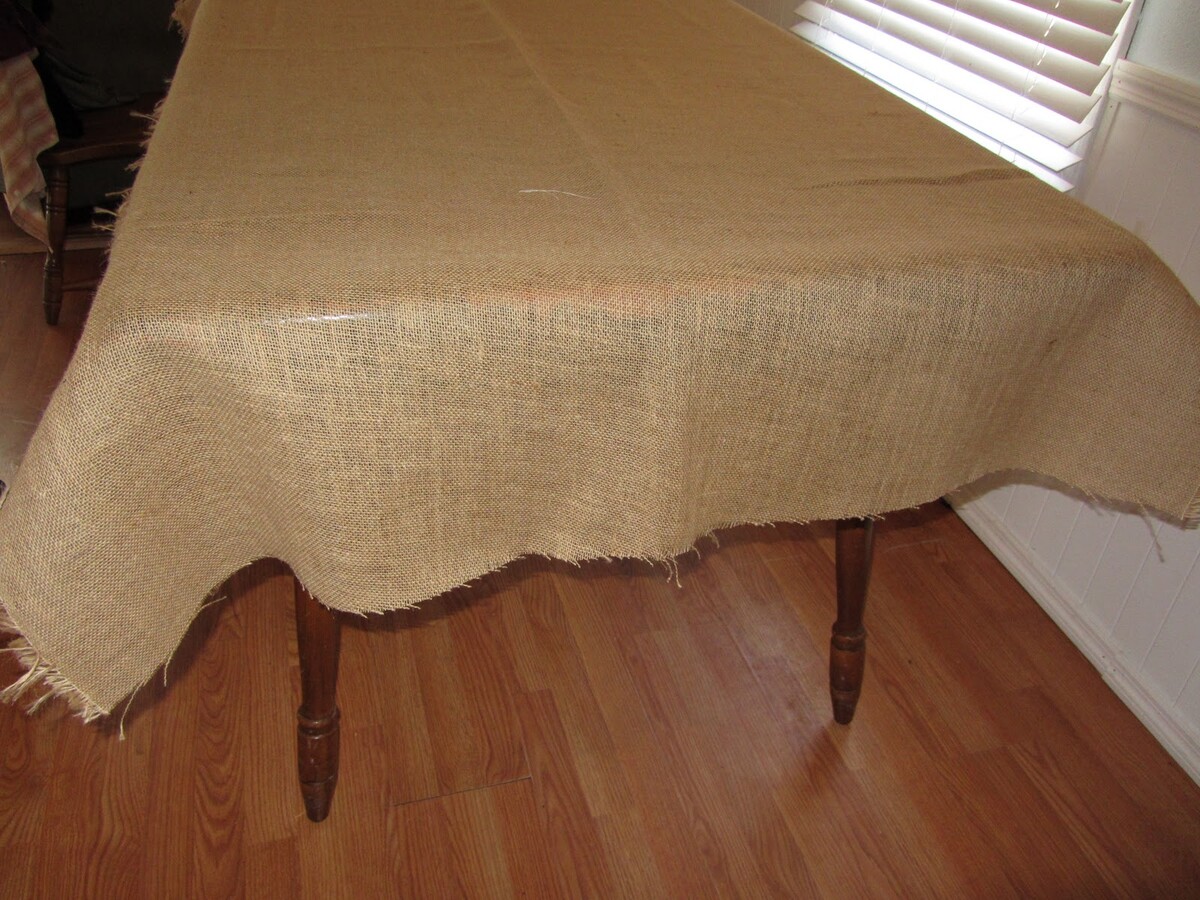
- Tablecloth or placemats: Choose a tablecloth or placemats that complement your dining room decor and set the tone for your meal. Opt for a fabric tablecloth for a more formal look or use casual placemats for a laid-back vibe.
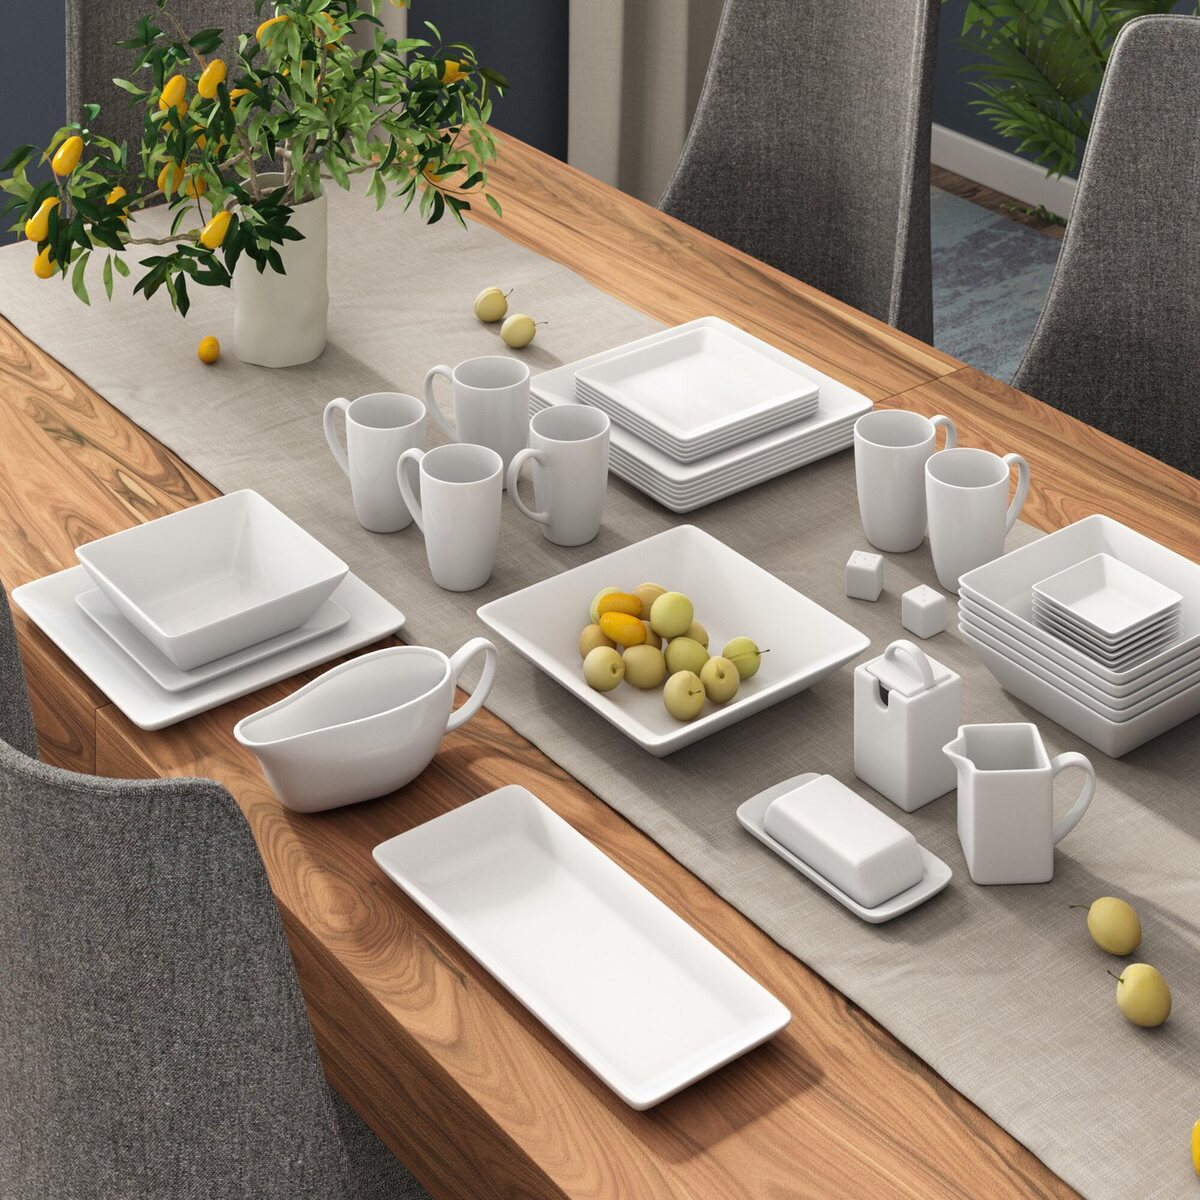
- Dinnerware: Select enough plates, bowls, and serving dishes to accommodate all the guests at your table. If you have a mix of formal and casual sets, consider mixing and matching for a unique and eclectic look.
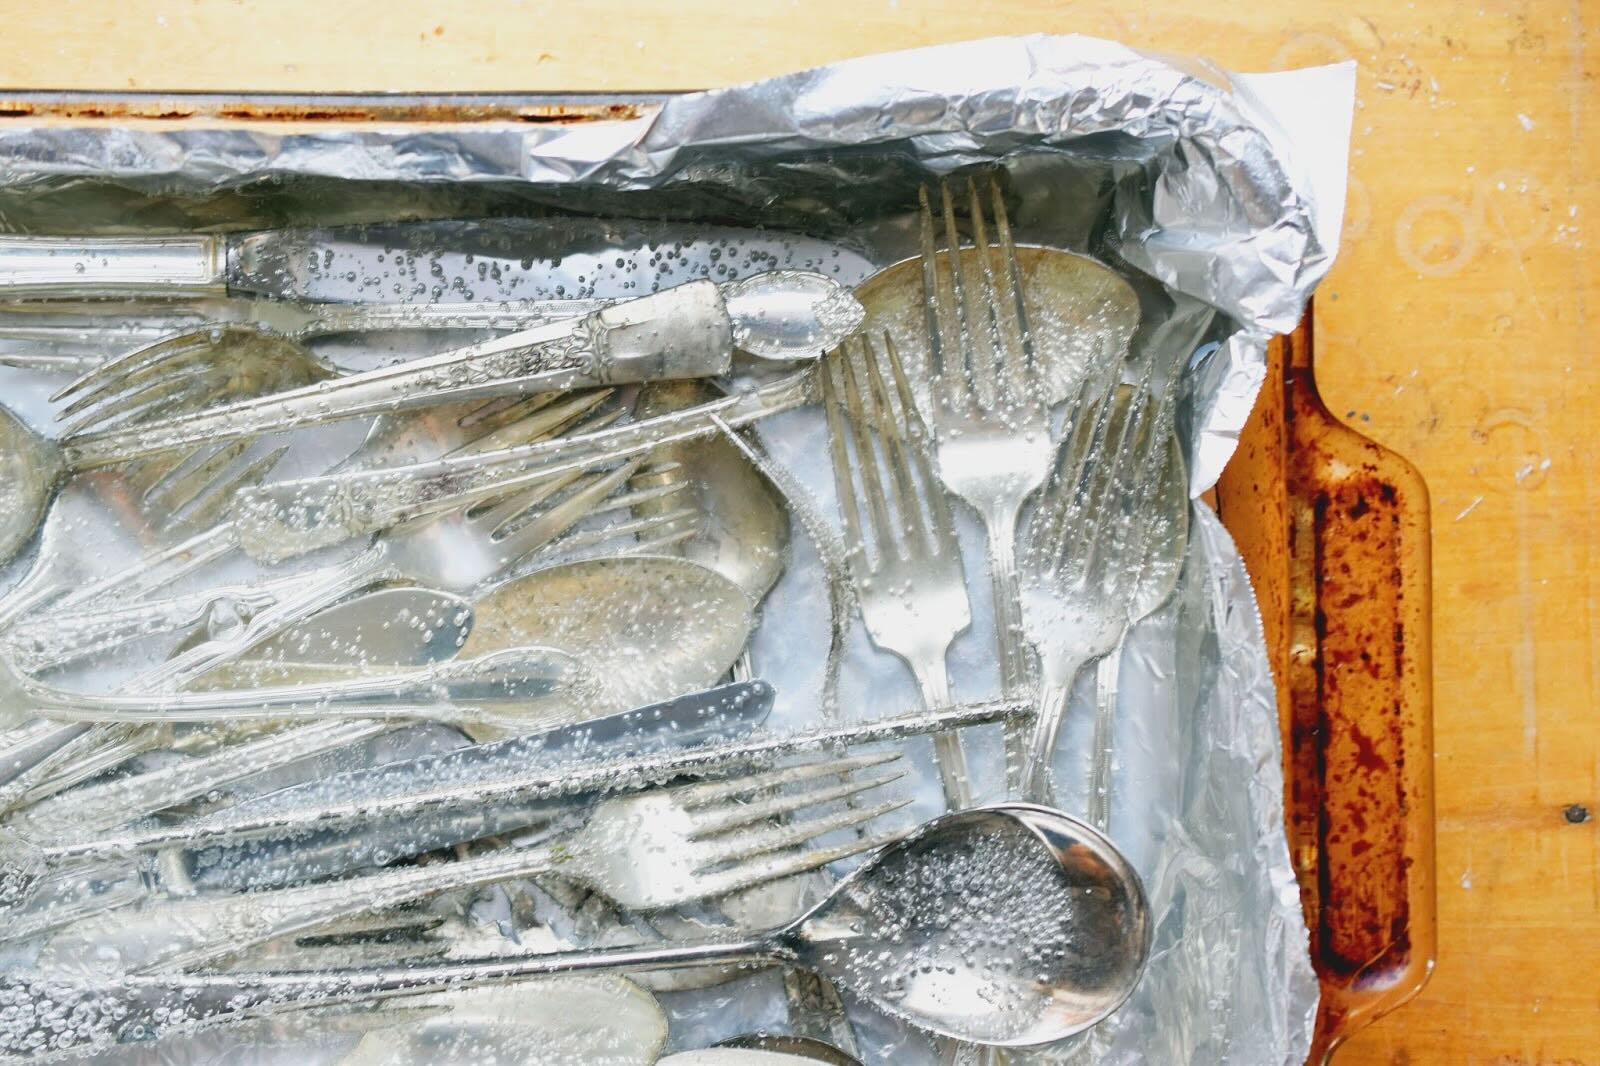
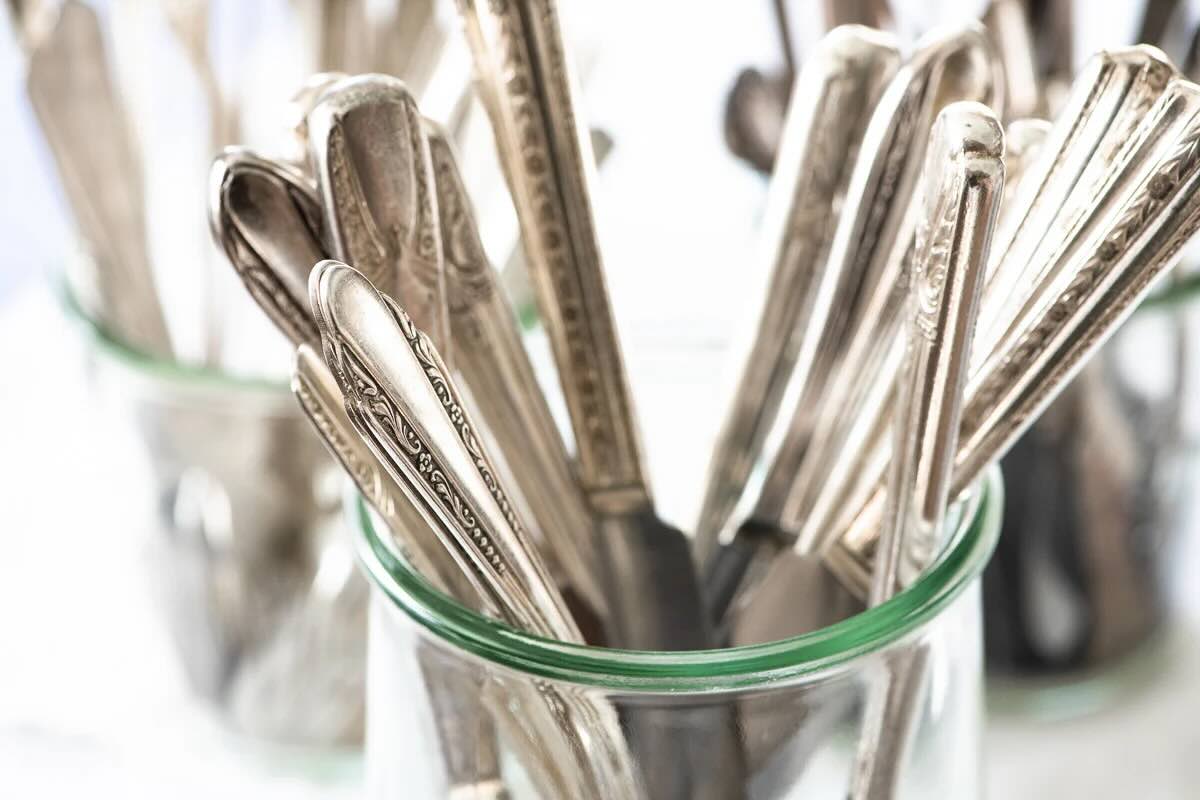
- Utensils: Provide each guest with a fork, knife, and spoon. Place the utensils in the order they will be used, starting from the outside and working your way in.
- Napkins: Choose cloth napkins for an elegant touch or opt for disposable ones for convenience. Fold them neatly or use napkin rings to add a decorative flair.
- Glasses: Have water glasses and additional glasses for any other beverages you’ll be serving, such as wine or juice. Place them on the right-hand side of the plates.
- Centerpiece: Consider adding a centerpiece to your table to create a focal point. It could be a vase of fresh flowers, a decorative bowl, or a candle arrangement. Make sure it’s not too tall to obstruct the view and conversation between guests.
Once you have gathered all the necessary materials, it’s time to move on to the next step: positioning the table.
Step 2: Positioning the table
Now that you have all the necessary materials, it’s time to position the table to create a comfortable and inviting setting. Here are some tips to consider:
- Choose a spacious area: Make sure you have enough space to accommodate all your guests and allow for easy movement around the table. It’s important to create a comfortable and enjoyable dining experience.
- Consider the lighting: If possible, position the table near a natural light source, such as a window, to create a warm and inviting ambiance. If dining in the evening, make sure you have adequate lighting, such as overhead fixtures or candles.
- Decide on the table shape: Depending on the number of guests, choose a table shape that suits your needs. Rectangular or oval tables work well for larger gatherings, while round tables create a more intimate setting.
- Set the table at a comfortable height: Ensure that the table is at a comfortable height for your guests to sit and eat without straining. Adjust the height of the chairs or use cushions if necessary.
- Create a sense of symmetry: Position the table in the center of the room or against a wall, and ensure that it is aligned with the surrounding furniture and décor. This will create a balanced and harmonious visual appeal.
Once you have positioned the table, it’s time to move on to the next step: placing the plates.
Step 3: Place the plates
Now that the table is properly positioned, it’s time to move on to the next step: placing the plates. The placement of the plates is not only functional but also adds visual appeal to the table setting. Follow these steps to ensure an organized and aesthetically pleasing arrangement:
- Start with a clean and dry table surface: Wipe down the table to ensure it’s clean and free of any dust or debris. This will provide a clean canvas for your table setting.
- Center the dinner plates: Place a dinner plate in the center of each seat. Align them evenly, leaving equal spacing between each plate, ensuring a cohesive and balanced look.
- Add salad or appetizer plates: If you’re serving a salad or appetizer, place the smaller plates on top of the dinner plates. This layering technique adds dimension and interest to the table setting. Ensure the smaller plates are centered and aligned with the dinner plates.
Remember to consider the size and shape of your plates. If you’re using different sizes or shapes, play around with the arrangement to achieve a visually appealing composition. Once the plates are in place, it’s time to move on to the next step: arranging the utensils.
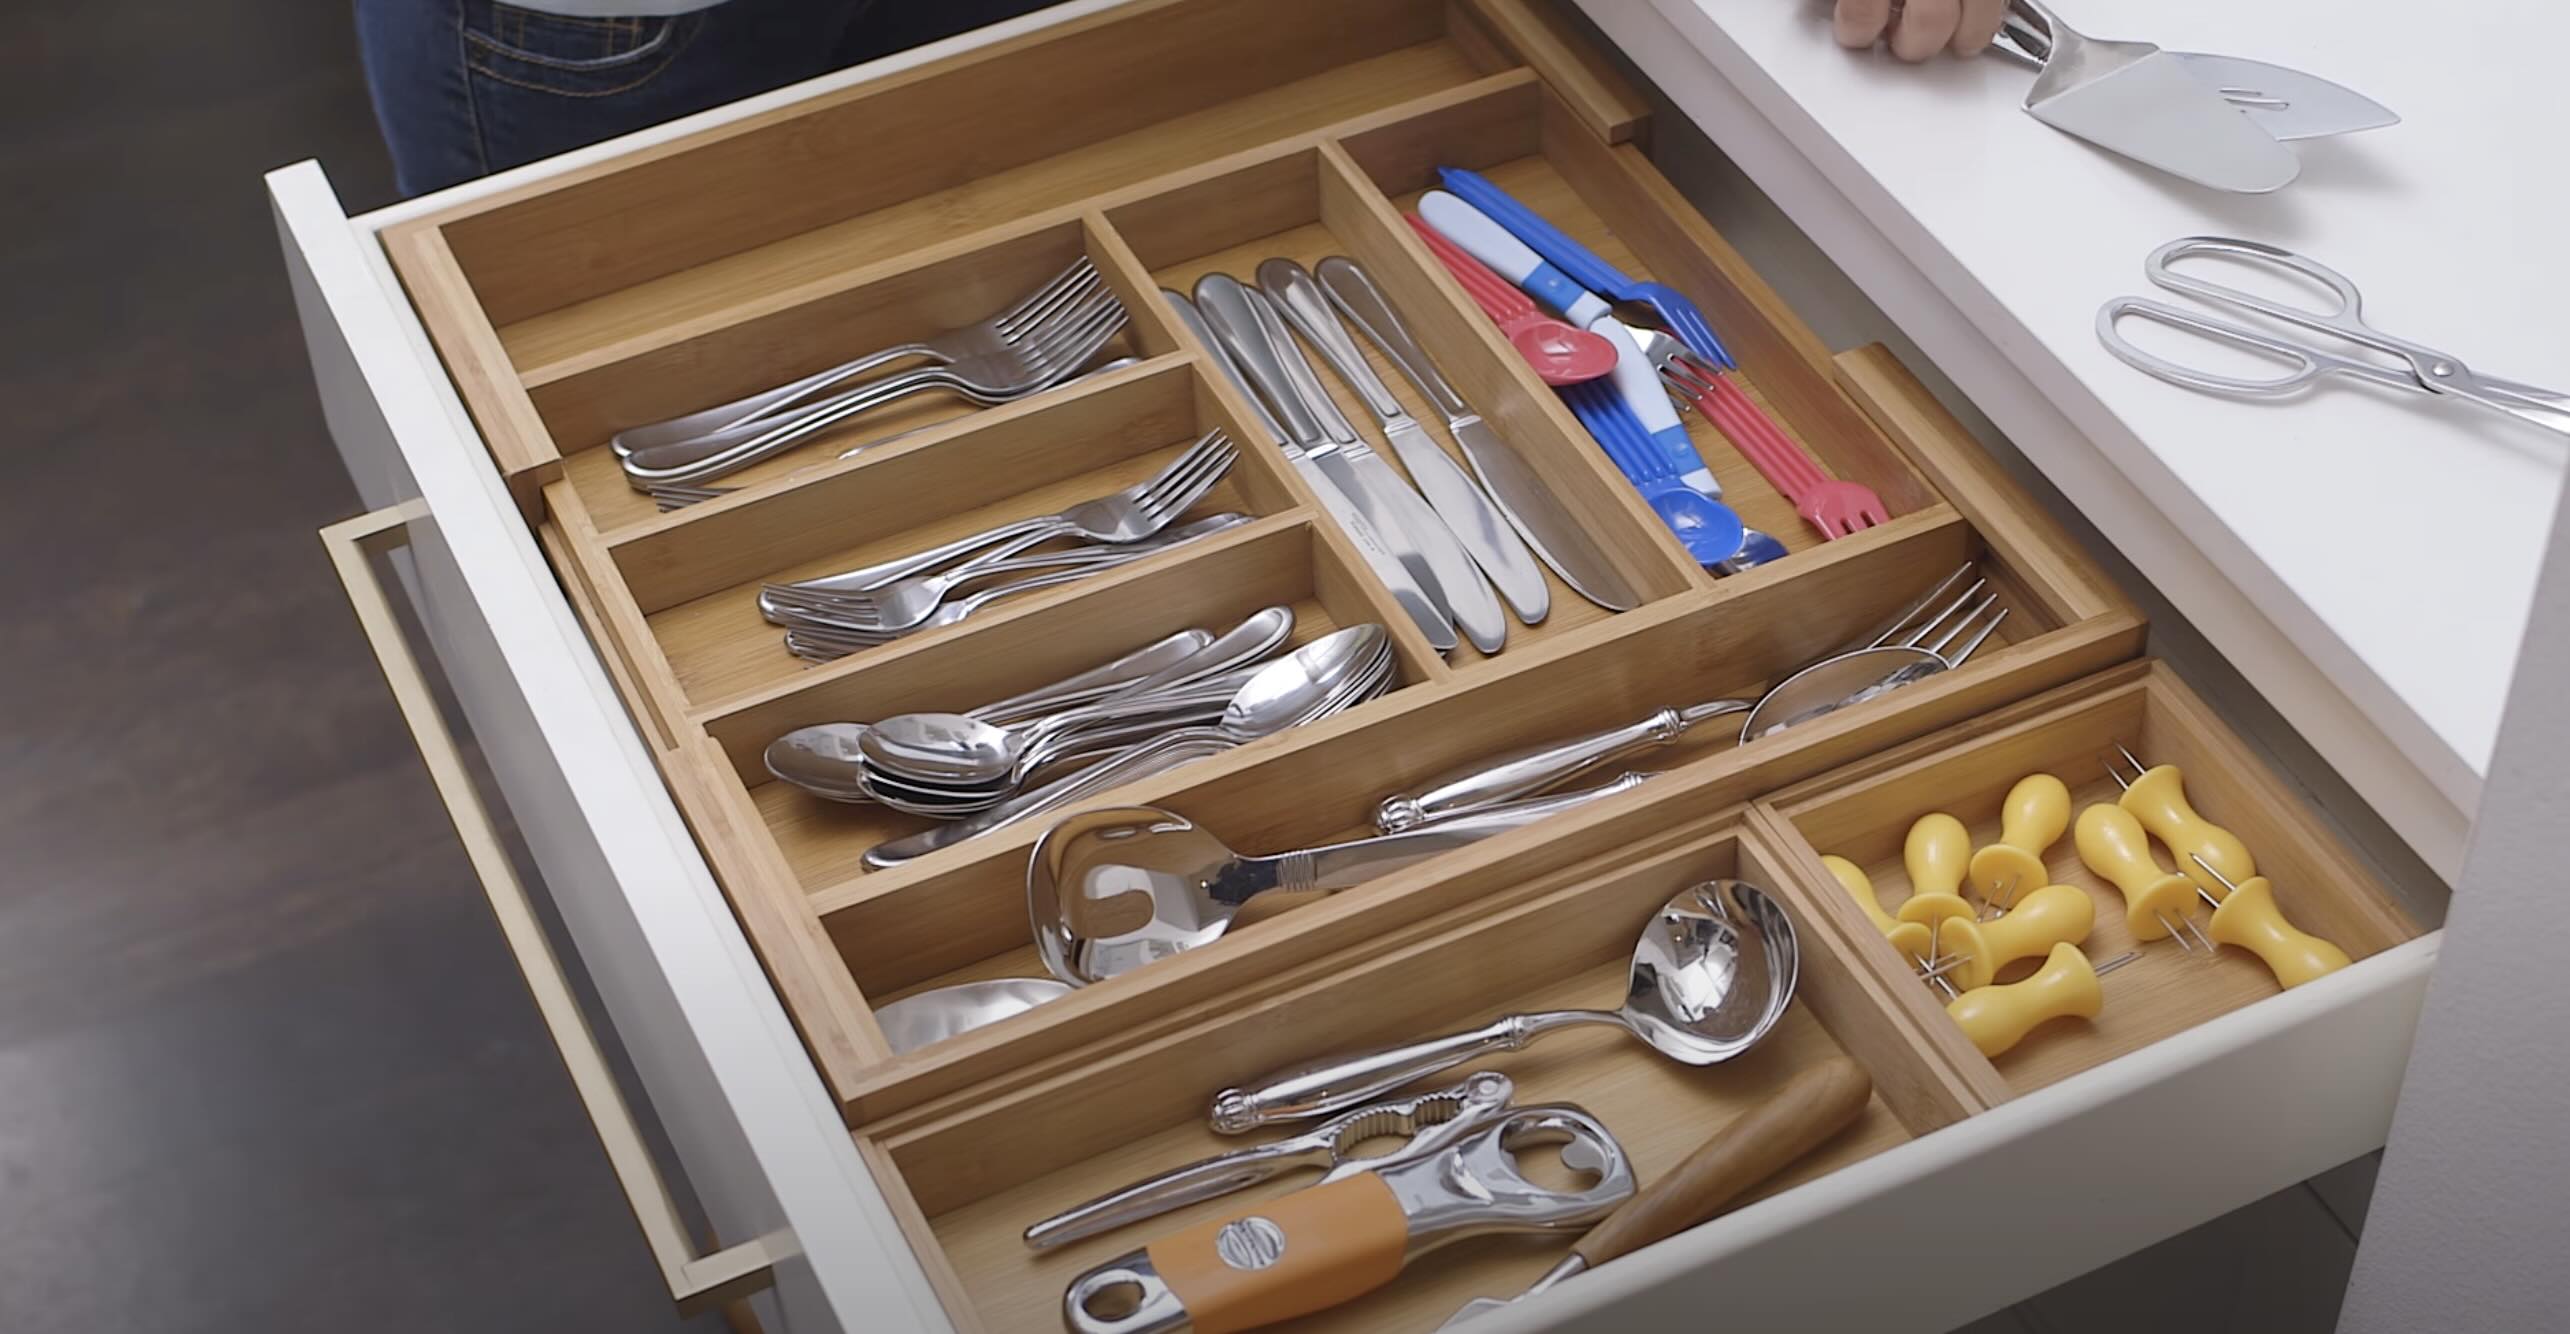
Step 4: Arrange the utensils
Now that the plates are in place, it’s time to arrange the utensils. A well-organized and properly set utensil arrangement not only makes it easier for your guests to navigate their meal but also adds an elegant touch to the table setting. Follow these steps to arrange the utensils:
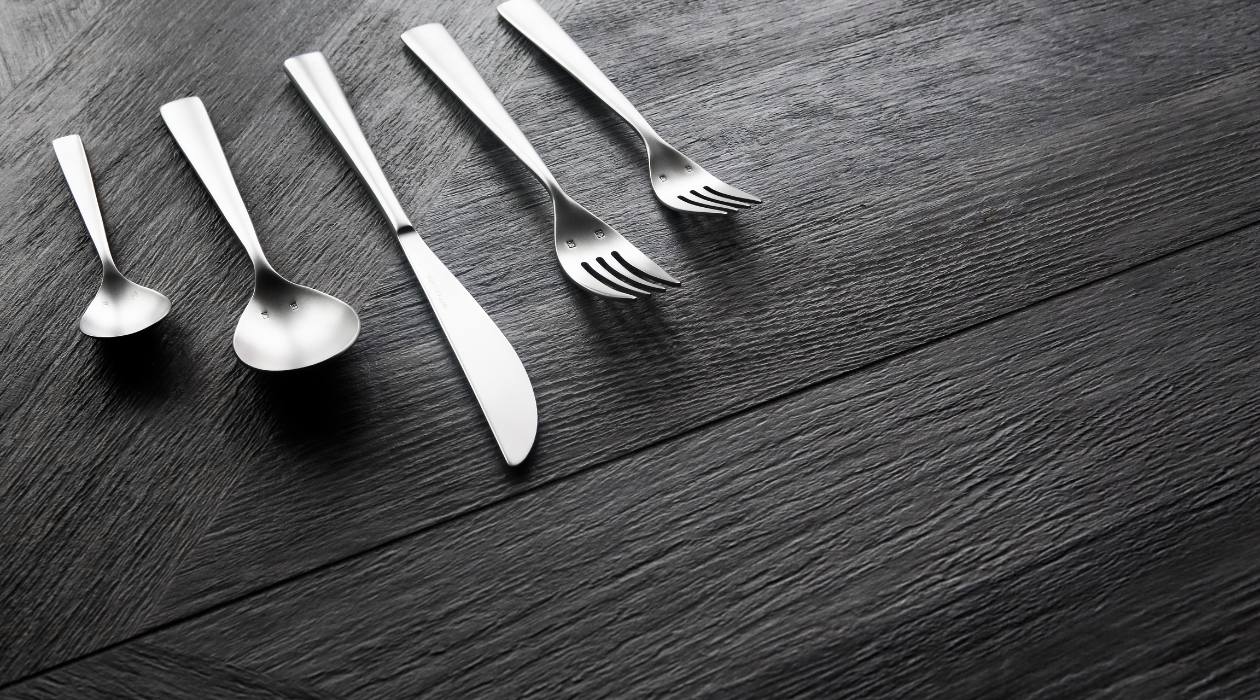
- Start with the forks: Place the forks to the left of the dinner plate, in the order they will be used. The salad fork should be placed on the outermost left, followed by the dinner fork. If you’re serving seafood, add a seafood fork on the far left.
- Position the knives and spoons: Place the knife to the right of the dinner plate, with the cutting edge facing inward. The soup spoon should be placed to the right of the knife, followed by the dessert spoon, if applicable.
- Add additional utensils: If you’re serving any specialty dishes that require specific utensils, such as seafood crackers or butter knives, place them accordingly. Ensure that they are positioned in the order they will be used, from the outside in.
Remember to align the utensils evenly and leave equal spacing between each one. This not only creates an organized appearance but also makes it easier for your guests to identify and use the utensils. Once the utensils are arranged, it’s time to move on to the next step: setting the napkins.
When setting a table family style, place serving dishes in the center of the table within easy reach of all guests. Use large platters and bowls to accommodate sharing and passing of food.
Step 5: Set the napkins
Setting the napkins is an important step in creating a polished and cohesive table setting. Napkins not only serve a practical purpose but also add a decorative element to the overall presentation. Follow these steps to set the napkins:
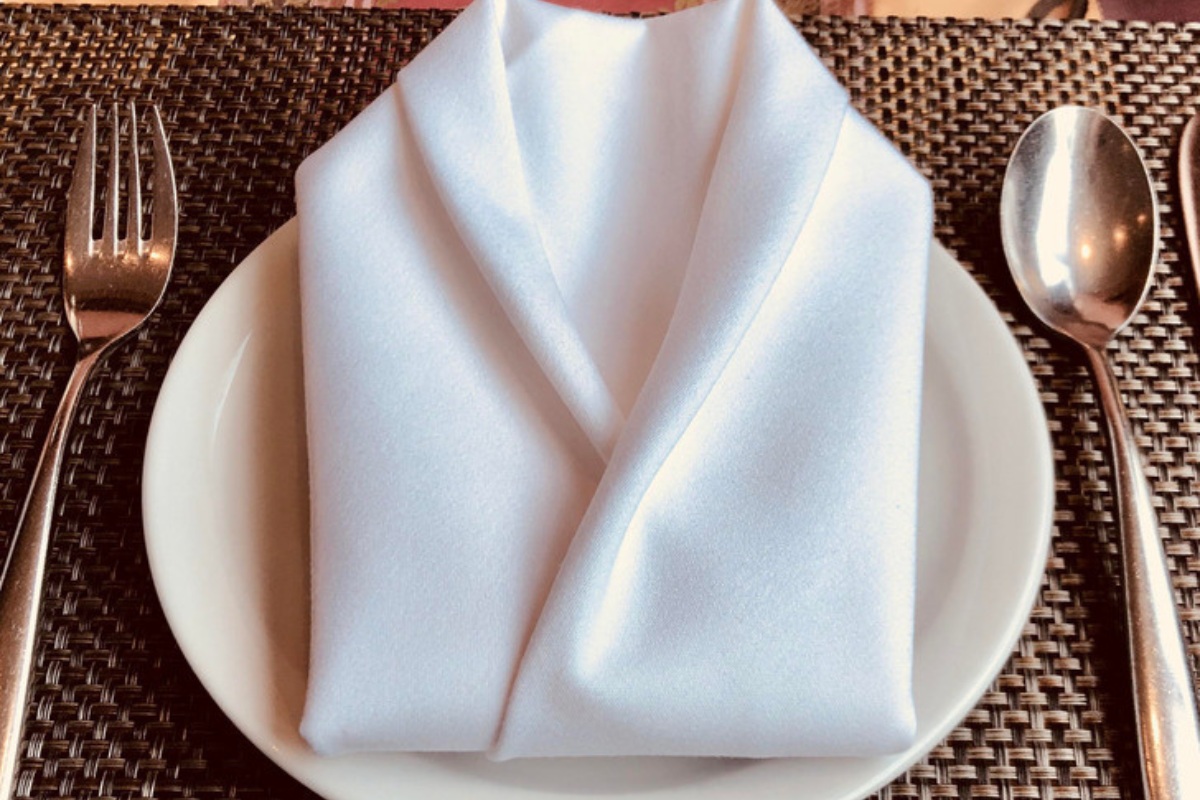
- Choose the napkin style: Decide whether you’ll be using cloth napkins or disposable ones. Cloth napkins are more formal and can be folded in various creative ways, while disposable napkins offer convenience and come in a variety of colors and patterns.
- Napkin placement: Place the napkin on the dinner plate or to the left of the forks. You can fold the napkin neatly into a rectangle or use a napkin ring to hold it together. If you prefer a more casual look, you can also opt for a simple fold or a decorative fold.
- Add napkin accents: Enhance the look of the napkins by adding a decorative accent. This can be a napkin ring, a sprig of fresh herbs, a personalized name card, or a small decorative item that complements the theme or occasion.
Remember to consider the overall color scheme and theme of your table setting when selecting napkins and accessories. They should complement the rest of the decor and add a cohesive touch to the table. Once the napkins are set, it’s time to move on to the next step: add the glasses and beverages.
Step 6: Add the glasses and beverages
Glasses and beverages are essential components of a well-set table. They not only serve the practical purpose of holding drinks but also add a touch of elegance to the overall table setting. Follow these steps to add the glasses and beverages:
- Select the appropriate glasses: Choose the appropriate glasses for the beverages you’ll be serving. This may include water glasses, wine glasses, or even specialty glasses for specific cocktails or beverages. Ensure that the glasses are clean and free from any smudges or fingerprints.
- Place the glasses: Position the glasses to the right of the dinner plate, above the knives and spoons. The water glass should be placed closest to the dinner plate, followed by any additional glasses for other beverages such as wine or juice.
- Pour the beverages: Once the glasses are in place, pour the beverages just before the guests arrive or as they take their seats. Ensure that each glass is filled to an appropriate level, leaving enough space for the guests to comfortably hold and drink from them.
- Consider beverage accompaniments: Depending on the occasion, consider adding garnishes or accompaniments to the glasses. This can include a slice of lemon or lime for water, a wine charm or tag for wine glasses, or decorative straws for specialty beverages.
Remember to align the glasses evenly and leave enough space between each one to prevent them from feeling cluttered. Additionally, ensure that the glasses are within easy reach of each guest. Once the glasses and beverages are added, it’s time to move on to the next step: bring out the serving dishes.
Step 7: Bring out the serving dishes
Bringing out the serving dishes is an important step in creating a family-style dining experience. These dishes hold the delicious main course, sides, and other culinary creations that will be shared among your guests. Follow these steps to bring out the serving dishes:
- Choose appropriate serving dishes: Before bringing out the dishes, select the appropriate serving platters, bowls, and trays that will showcase your culinary creations. Consider the size and style of the dishes, ensuring they can comfortably accommodate the amount of food being served.
- Arrange the serving dishes: Place the serving dishes on either side of the table, within easy reach of all the guests. If you have a large variety of dishes, consider staggering them along the table to create an appealing display.
- Label the dishes: If you’re serving a variety of dishes, it’s helpful to label them to indicate what each dish contains. This can be done with small place cards or labels. Consider adding creativity to the labels by using decorative designs or handwritten calligraphy.
- Fill the serving dishes: Once the table is set and the guests have arrived, fill the serving dishes with your delicious culinary creations. Ensure that each dish is filled appropriately, taking into consideration the number of guests and portion sizes.
Remember to arrange the serving dishes in a way that allows for easy access and encourages communal dining. This family-style approach fosters a warm and inviting atmosphere where guests can help themselves and enjoy a shared dining experience. Once the serving dishes are brought out, it’s time to move on to the final step: adding the final touches and decorations.
Step 8: Final touches and decorations
The final touches and decorations on your family-style table setting will add a personal and beautiful touch to the overall ambiance. They will elevate the dining experience and create a memorable atmosphere for your guests. Follow these steps to add the final touches and decorations:
- Add a centerpiece: A centerpiece serves as the focal point of the table and ties the entire look together. You can use a floral arrangement in a vase, a collection of candles, or even a themed centerpiece that complements the occasion. Ensure that the centerpiece is not too tall, as it could obstruct the view and conversation between guests.
- Sprinkle some table decor: Enhance the table’s visual appeal by sprinkling some table decor. This can include decorative confetti, petals, or themed accents that match the occasion. Scatter them sparingly for an added touch of elegance.
- Include natural elements: Incorporate natural elements like fresh flowers, leaves, or branches into your table setting. These will add a touch of freshness and bring the beauty of nature indoors. Place them strategically around the centerpiece or as individual accents on the table.
- Light candles: Candles create a warm and inviting ambiance, especially for evening or intimate gatherings. Place flickering candles in decorative holders and position them throughout the table. Opt for unscented candles to prevent overpowering the aromas of the food.
- Personalize place cards: If you’re hosting a formal or seated family-style meal, consider adding personalized place cards. These can be handcrafted or printed cards with each guest’s name. Place them at each seating position to add a personal touch.
Remember, the final touches and decorations should complement the overall theme or occasion while still allowing ample space for guests to comfortably enjoy their meal. Don’t overcrowd the table with too many decorations, as it may hinder the dining experience. With the final touches and decorations added, your family-style table setting is now complete!
Read more: How To Iron A Tablecloth
Conclusion
Congratulations! You have now mastered the art of setting a table family style. By following the steps outlined in this article, you can create a beautiful and welcoming table setting that will elevate any mealtime gathering. From gathering the necessary materials to adding the final touches and decorations, each step plays an integral role in creating a memorable dining experience for your guests.
Remember, table decor is not just about functionality but also about creating a visually pleasing ambiance. Take the time to select coordinating dinnerware, arrange utensils in an organized manner, and thoughtfully incorporate elements like napkins, glasses, and serving dishes. Adding unique touches like centerpieces, table decor, and personalization will further enhance the atmosphere and make your family-style setting truly special.
Whether you’re hosting a casual weekend dinner or celebrating a special occasion, a well-set table creates an inviting space for connection, conversation, and shared enjoyment of delicious food. The effort and attention to detail you put into your table decor will not go unnoticed by your guests, who will be delighted by the warm and welcoming atmosphere you have created.
So, go ahead and unleash your creativity, infuse your personal style, and have fun with your table decor. Remember, it’s all about creating a space where people can come together, connect, and savor every moment around the table. Happy table setting!
Frequently Asked Questions about How To Set A Table For Family Gatherings
Was this page helpful?
At Storables.com, we guarantee accurate and reliable information. Our content, validated by Expert Board Contributors, is crafted following stringent Editorial Policies. We're committed to providing you with well-researched, expert-backed insights for all your informational needs.


0 thoughts on “How To Set A Table For Family Gatherings”