Home>Dining>Tableware>How To Convert A Dining Table Into A Kitchen Island
Tableware
How To Convert A Dining Table Into A Kitchen Island
Modified: January 5, 2024
Learn how to transform your dining table into a functional kitchen island with our step-by-step guide. Utilize your tableware and maximize your kitchen space with this clever DIY project.
(Many of the links in this article redirect to a specific reviewed product. Your purchase of these products through affiliate links helps to generate commission for Storables.com, at no extra cost. Learn more)
Introduction
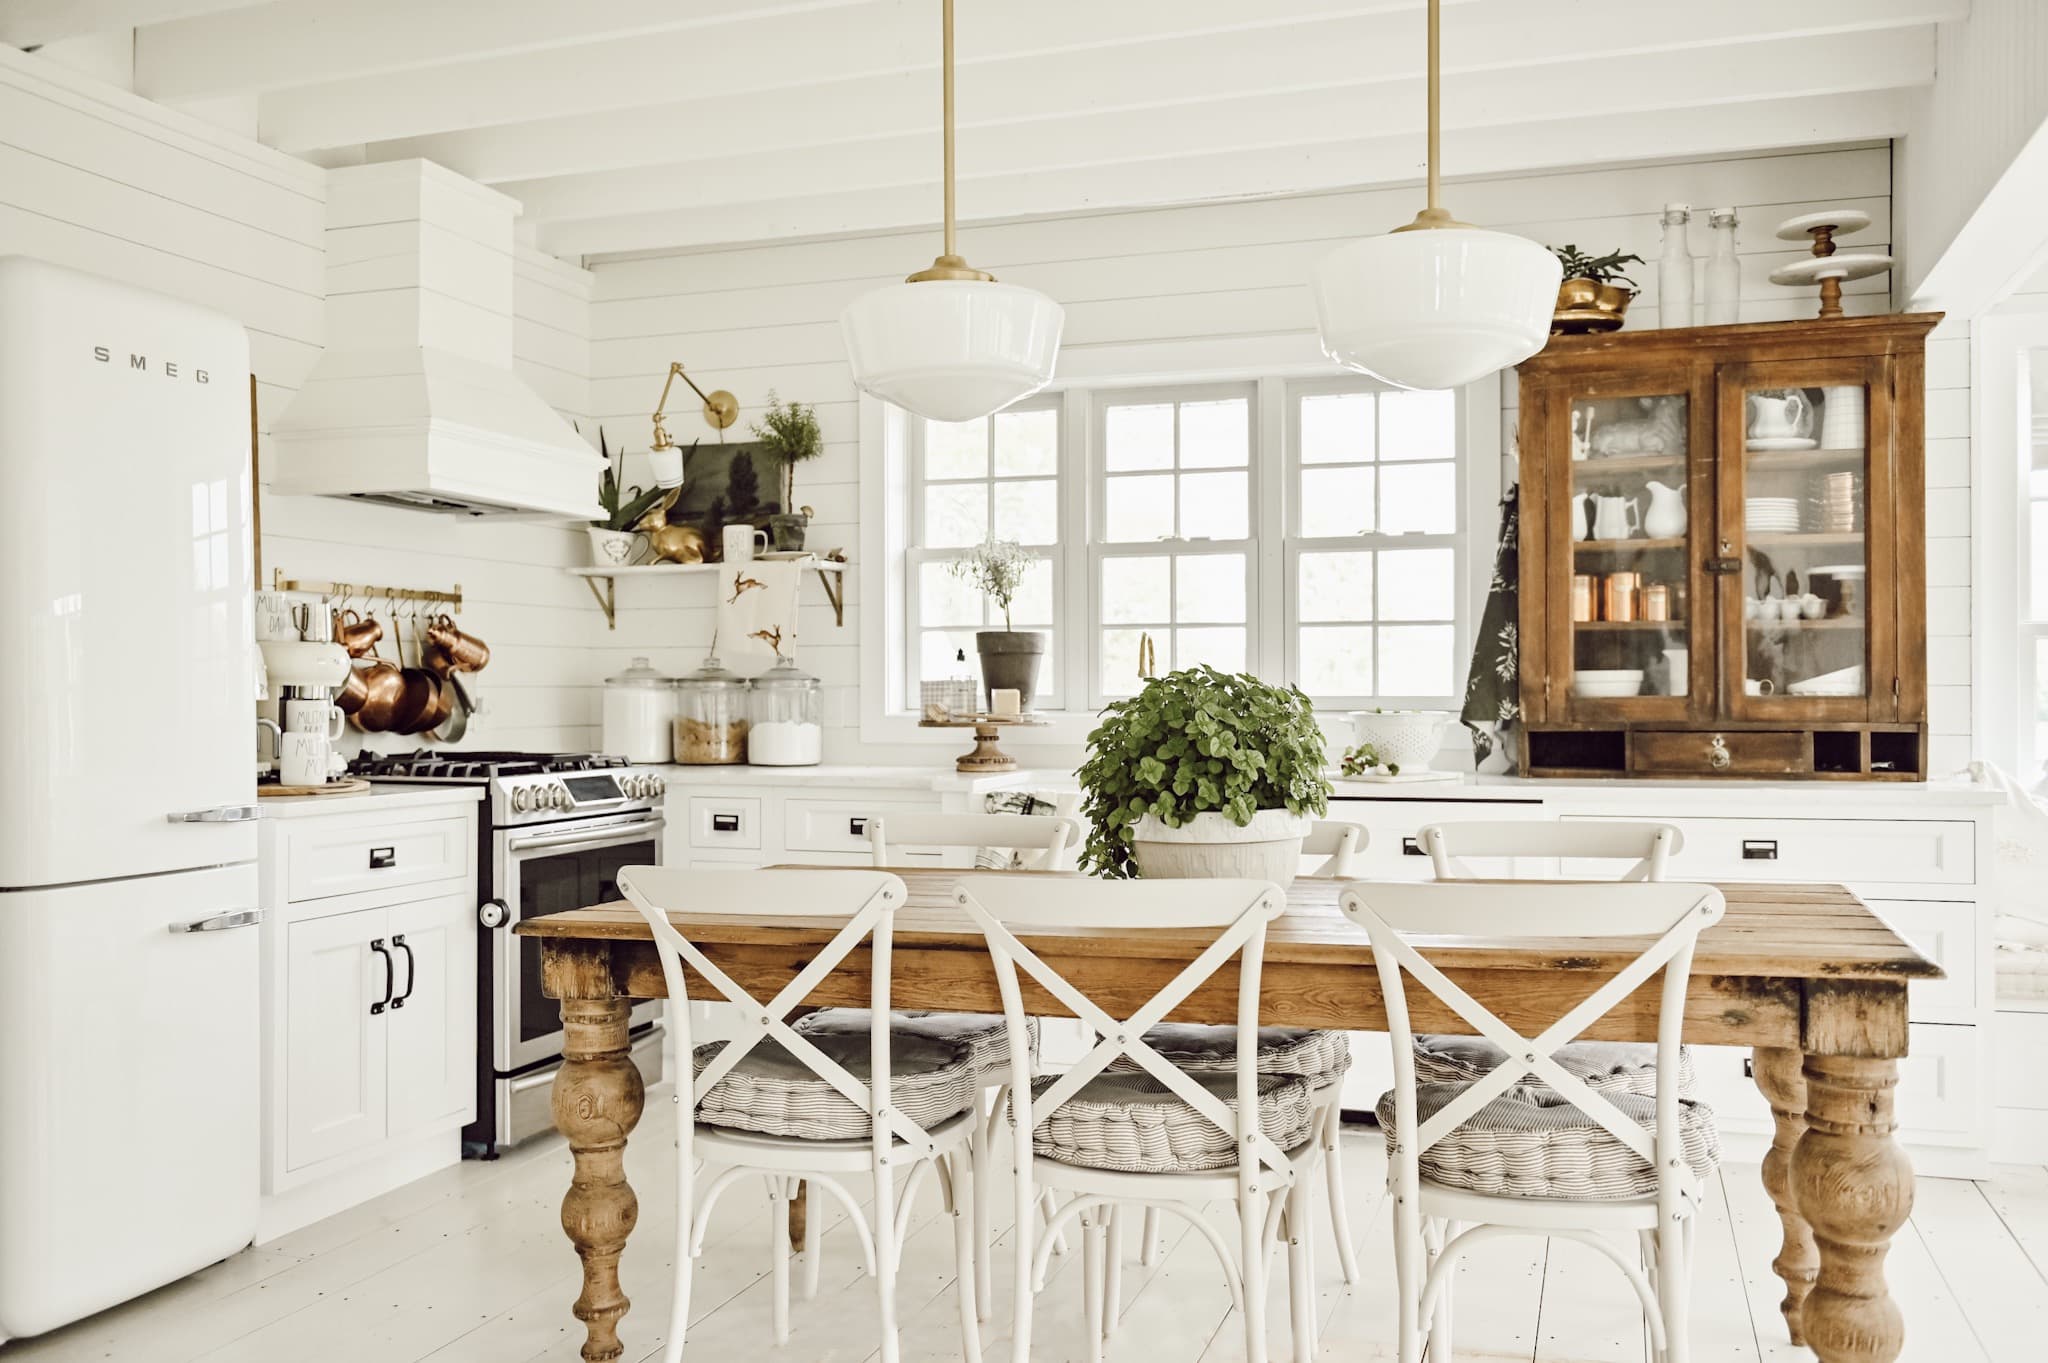
Transforming a dining table into a kitchen island is a great way to add functionality and style to your kitchen. Whether you have a small kitchen that lacks counter space or simply want to create a central gathering spot, converting a dining table into a kitchen island can be a cost-effective and creative solution.
In this article, we will guide you through the steps to convert a dining table into a kitchen island. From gathering the necessary tools and materials to adding finishing touches, we will cover everything you need to know to complete this DIY project successfully.
By repurposing an existing dining table, not only will you save money on purchasing a brand-new kitchen island, but you will also give a second life to an item that might otherwise go unused or be thrown away. Plus, you’ll have the opportunity to customize your kitchen island to match your personal style and functional needs.
Before we dive into the steps, it’s important to note that the size and structure of the dining table will determine the extent of the modifications required. Therefore, it’s crucial to assess your dining table and plan accordingly, keeping in mind the desired dimensions and features of your dream kitchen island.
Now, let’s get started with the first step: gathering the necessary tools and materials.
Key Takeaways:
- Transforming a dining table into a kitchen island is a cost-effective and creative solution to add functionality and style to your kitchen. Repurpose an existing dining table to save money and customize your kitchen island to match your personal style and needs.
- Converting a dining table into a kitchen island involves gathering tools, removing legs, preparing the tabletop, installing storage options, adding mobility with wheels, and finishing with a countertop and accessories. Enjoy the process and revel in the satisfaction of completing a project that adds value, functionality, and beauty to your kitchen.
Step 1: Gather the necessary tools and materials
Before you begin the transformation process, it’s important to gather all the tools and materials you’ll need to convert your dining table into a kitchen island. Here’s a list of essential items:
- Power drill – You’ll need a drill to remove the legs and make any necessary modifications to the tabletop.
- Screwdriver – A screwdriver will come in handy when removing screws or attaching additional storage options.
- Saw – If you plan to resize the tabletop or make any structural changes, a saw will be necessary.
- Sandpaper – Sandpaper will help you smooth out the surface of the tabletop before applying any finishes.
- Paint or stain – Depending on your preferred look, you’ll need paint or stain to give your kitchen island a new finish.
- Paintbrush or roller – You’ll need a paintbrush or roller to apply the paint or stain onto the tabletop.
- Additional storage options – Consider what additional storage options you’d like to incorporate into your kitchen island, such as shelves, drawers, or baskets. Make sure to gather the necessary materials for these additions.
- Wheels or casters – If you want your kitchen island to be mobile, you’ll need wheels or casters that can support the weight of the table.
- Countertop or butcher block – Depending on your preference, you may want to add a countertop or butcher block to the kitchen island for both functionality and aesthetics.
- Decorative accessories – Lastly, think about any decorative accessories you’d like to include on your kitchen island, such as hooks for hanging utensils or a towel rack. Gather these items as well.
Once you have all the necessary tools and materials, you’ll be ready to move on to the next step: removing the legs and any unnecessary parts from the dining table. Stay tuned!
Step 2: Remove the legs and any unnecessary parts
Now that you have gathered all the necessary tools and materials, it’s time to start transforming your dining table into a kitchen island. The first step in this process is to remove the legs and any unnecessary parts from the table.
Start by flipping the dining table upside down and locate the screws or bolts that attach the legs to the tabletop. Using a power drill or screwdriver, carefully remove these screws or bolts. Set the legs aside as you will not need them for the kitchen island conversion.
Next, take a moment to assess the table for any other parts that may need to be removed. If there are any additional attachments, such as decorative carvings or trimmings, consider whether they enhance the look of your kitchen island or if removing them will provide a cleaner and more streamlined appearance.
Remember to exercise caution while removing any parts to avoid damaging the tabletop. If you are unsure about removing certain elements, it’s always a good idea to consult a professional or seek advice from experienced DIY enthusiasts.
Once you have removed the legs and any unnecessary parts, you will be left with a tabletop that can be customized to fit your desired kitchen island design. In the next step, we will guide you through preparing the tabletop for the transformation.
Stay tuned for Step 3: Prepare the tabletop for the transformation!
Step 3: Prepare the tabletop for the transformation
With the legs and unnecessary parts removed, you’re now ready to prepare the tabletop for its transformation into a kitchen island. This step involves assessing the condition of the tabletop and making any necessary modifications.
First, examine the tabletop for any scratches, dents, or imperfections. If there are minor blemishes, you can use sandpaper to smooth out the surface. Start with a coarse-grit sandpaper and gradually move to a finer-grit sandpaper to achieve a smooth finish. Remember to sand in the direction of the wood grain for the best results.
If the tabletop is significantly damaged or if you want to change its shape or size, you may need to use a saw to make the necessary modifications. Measure and mark the desired dimensions, and carefully cut the tabletop according to your specifications. Take your time and double-check your measurements to ensure accuracy.
Once you have sanded and modified the tabletop (if needed), it’s time to consider the finish. Determine whether you want to paint, stain, or leave the tabletop in its natural state. Paint can provide a fresh and modern look, while stain can enhance the natural beauty of the wood. If you prefer a rustic or farmhouse style, you may opt to leave the tabletop unfinished for a more organic feel.
If you choose to paint or stain, prepare the surface by applying a primer if necessary. This will help the paint or stain adhere better and provide a more even finish. Follow the manufacturer’s instructions for the specific paint or stain you are using, and allow ample drying time between coats.
Once the paint or stain has dried and cured, you’re ready to move on to the next step: installing additional storage options. Stay tuned!
Step 4: Install additional storage options
Now that you have prepared the tabletop, it’s time to enhance the functionality of your kitchen island by installing additional storage options. These storage options can help you maximize the space and keep your kitchen organized and clutter-free.
Consider the specific needs of your kitchen and tailor the storage options accordingly. Here are a few ideas to get you started:
- Shelves: Install open shelves underneath the tabletop to store commonly used items such as pots, pans, and cookbooks. This will not only provide easy access but also add a decorative touch to your kitchen island.
- Drawers: If you prefer a neater and more concealed storage solution, consider installing drawers. Drawers can be used to store utensils, small appliances, and other kitchen essentials.
- Baskets: Adding baskets to your kitchen island gives you a versatile and stylish storage option. Use them to hold fruits and vegetables, linens, or even as a catch-all for miscellaneous items.
- Hanging racks: Utilize the sides or ends of the kitchen island by installing hanging racks. These can be used to hang kitchen utensils, towels, or even small pots and pans.
When installing these storage options, make sure to measure and plan accordingly to ensure a proper fit. Use a power drill, screws, and brackets to securely attach the shelves, drawers, or hanging racks to the tabletop.
Remember to consider the weight capacity of the storage options and choose materials that are sturdy and durable. This will ensure that your kitchen island is not only functional but also safe to use.
Once you have installed the additional storage options, it’s time to move on to the next step: attaching wheels or casters for mobility. Stay tuned!
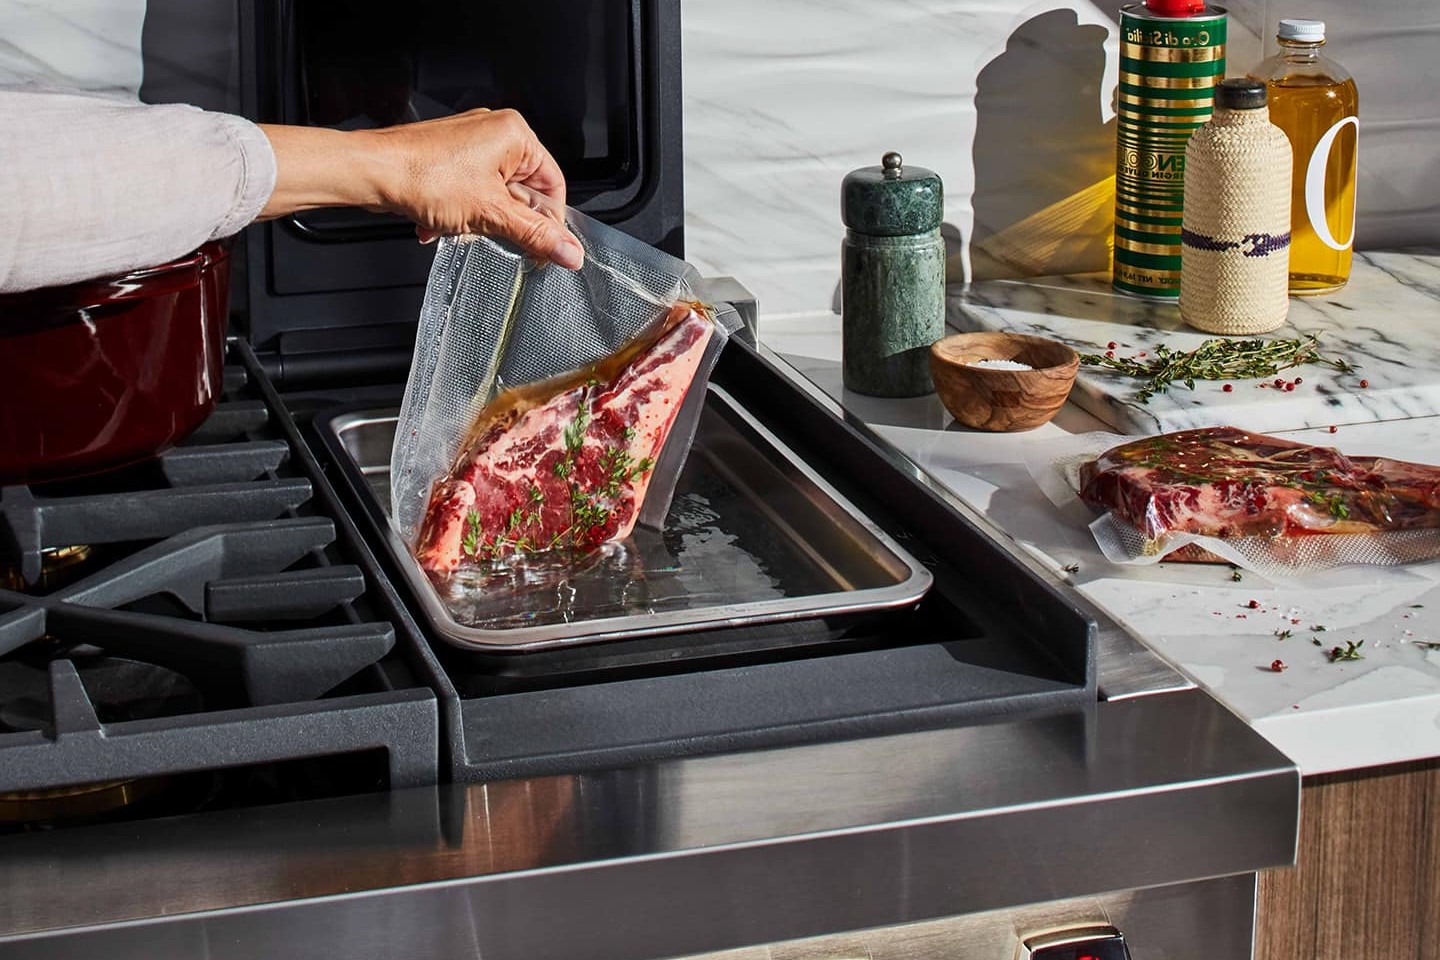
When converting a dining table into a kitchen island, make sure to add wheels for mobility, consider adding storage shelves or drawers, and ensure the height is comfortable for food prep.
Step 5: Attach wheels or casters for mobility
Adding wheels or casters to your kitchen island is a practical choice if you want the flexibility of moving it around your kitchen or even between different rooms. This step will guide you through the process of attaching wheels or casters to your newly transformed dining table.
First, decide on the type of wheels or casters you want to use. There are various options available, including locking or non-locking wheels, swivel or fixed casters, and different weight capacities. Consider the weight of your kitchen island and the type of movement you desire.
Start by carefully measuring and marking the spots where you will attach the wheels or casters. Ideally, you should place one wheel in each corner of the kitchen island to ensure stability and balance. Use a power drill and screws to secure the wheels or casters to the underside of the tabletop.
If your kitchen island is on the heavier side, you may want to consider using heavy-duty wheels or casters that can support the weight. This will prevent any wobbling or instability when you move your kitchen island around.
Ensure that the wheels or casters are securely fastened and that they can roll smoothly on your kitchen floor. Test the mobility of the kitchen island by gently pushing it and make any adjustments if needed.
It’s important to note that if you have a hardwood or delicate flooring, you may want to consider using wheels/casters specifically designed for use on such surfaces. These types of wheels or casters have soft, non-marking wheels that won’t scratch or damage your flooring.
Once the wheels or casters are securely attached and the kitchen island moves smoothly, you’re ready to move on to the next step: adding a countertop or butcher block. Stay tuned for Step 6!
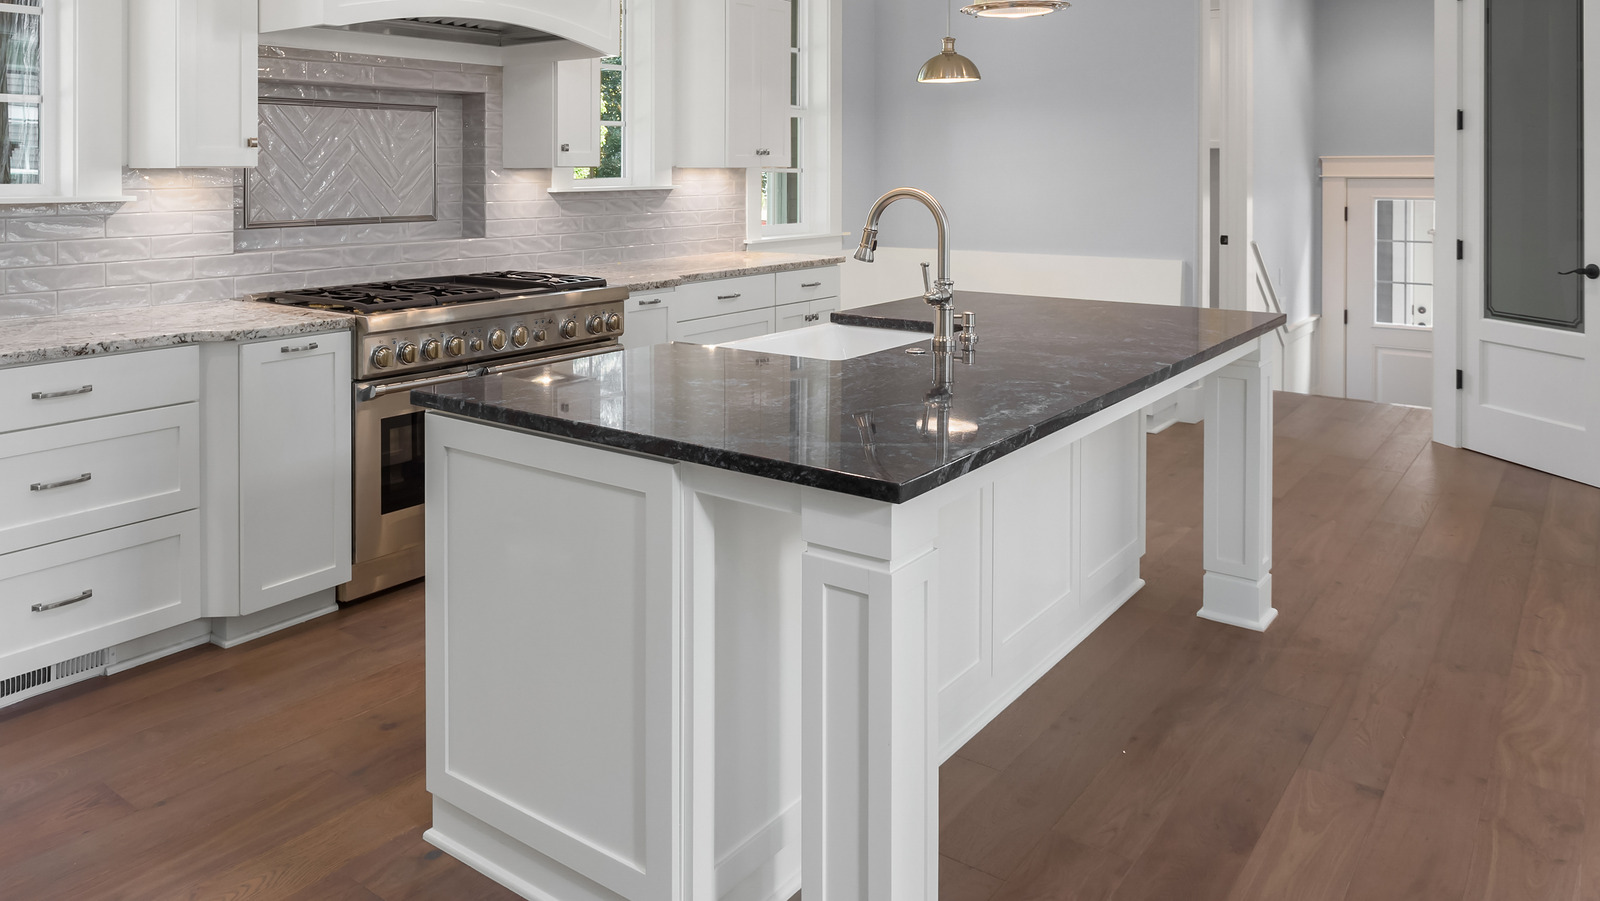
Step 6: Add a countertop or butcher block
Adding a countertop or butcher block to your kitchen island can elevate its functionality and aesthetics. This step will guide you through the process of selecting and installing the perfect surface for your transformed dining table.
When choosing a countertop or butcher block, consider factors such as durability, maintenance, and overall style. Here are a few popular options:
- Laminate: Laminate countertops are affordable, easy to clean, and come in a variety of colors and patterns. They are a practical choice for a kitchen island that will endure heavy use.
- Quartz: Quartz countertops are known for their durability and resistance to stains and scratches. They are available in a wide range of colors and can give your kitchen island a sleek and modern look.
- Butcher block: A butcher block countertop adds warmth and a rustic charm to your kitchen island. It is made from thick hardwood, such as maple or oak, and provides a sturdy and durable surface for food preparation.
- Granite: Granite countertops are highly resilient and offer a luxurious appearance. They are available in various colors and patterns, making it easy to find a design that complements your kitchen’s style.
Measure the dimensions of your kitchen island and the chosen countertop or butcher block carefully. Use a saw or router to cut the countertop or butcher block to fit the measurements of your transformed dining table. Follow the manufacturer’s instructions for cutting and installation.
Once the countertop or butcher block is cut to size, place it on top of the dining table and ensure it is centered and aligned correctly. Use strong adhesive or screws to secure it to the tabletop. Be mindful of any gaps or uneven areas and make any necessary adjustments to ensure a smooth and flat surface.
Finally, seal the countertop or butcher block with a food-safe sealant or oil to protect it from spills, stains, and heat damage. Follow the recommended maintenance instructions to keep your surface looking fresh and in great condition for years to come.
Your kitchen island is now complete with a beautiful and functional countertop or butcher block. In the next step, we will explore some finishing touches and accessories to enhance the overall look of your transformed dining table. Stay tuned!
Step 7: Add finishing touches and accessories
Congratulations on almost completing the transformation of your dining table into a functional kitchen island! The final step is to add some finishing touches and accessories that will truly personalize and enhance the overall look of your new kitchen island.
Here are some ideas to consider:
- Decorative hardware: Replace the existing knobs or handles on drawers and cabinets with decorative hardware that matches your kitchen’s style. This small change can make a big impact on the overall aesthetics of your kitchen island.
- Under-cabinet lighting: Installing under-cabinet lighting can not only provide functional task lighting but also create a warm and inviting ambiance. LED strip lights or puck lights are popular options that are easy to install.
- Hanging hooks: Install hooks on the sides or ends of your kitchen island to hang utensils, oven mitts, or towels. This will keep your essentials within easy reach and add a touch of convenience to your cooking space.
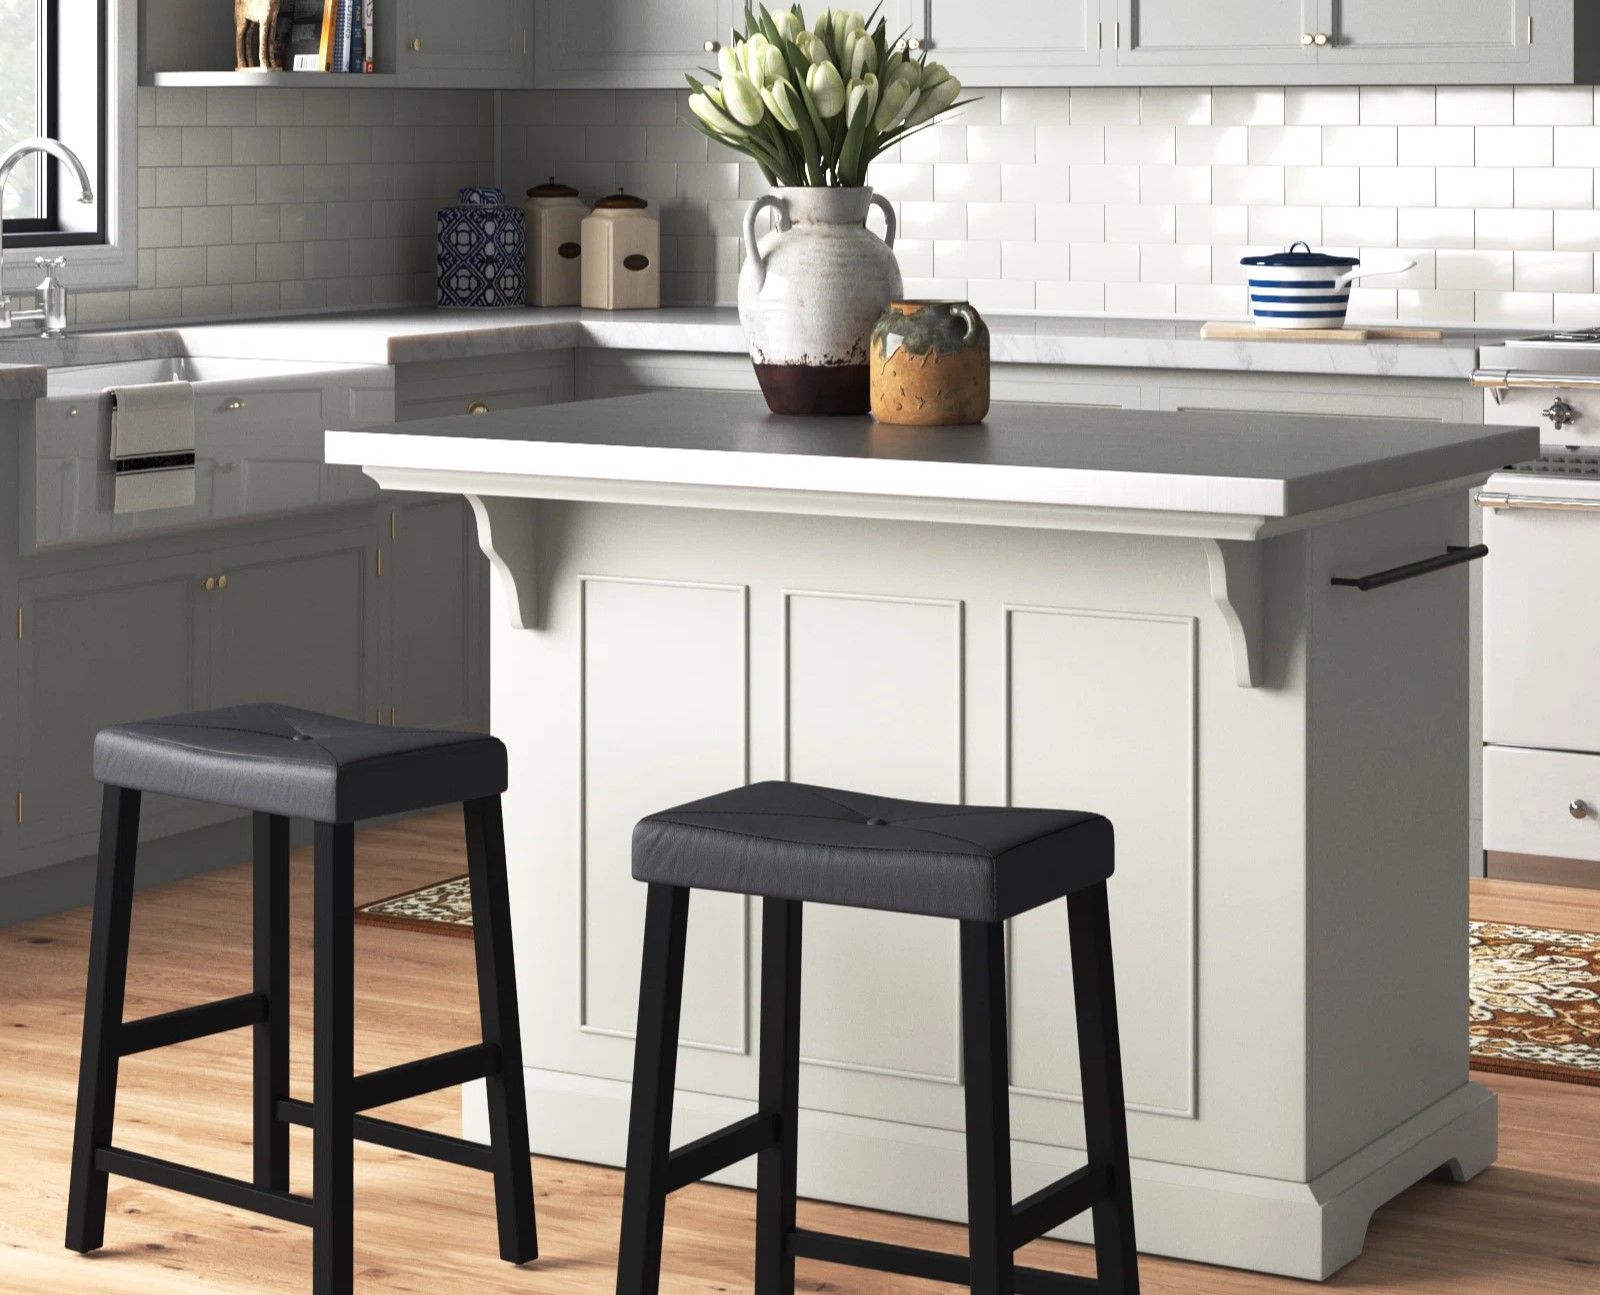
- Bar stools: If you have space, consider adding some stylish bar stools that complement the design of your kitchen island. This will create a comfortable seating area for family and friends to gather around while you cook or enjoy a meal together.
- Decorative accents: Add personality to your kitchen island by incorporating decorative accents such as a bowl of fresh fruit, a vase of flowers, or some decorative kitchen canisters. These simple additions can bring life and color to your kitchen space.
Remember to keep the overall style cohesive with the rest of your kitchen. Consider the color palette, materials, and textures used in your kitchen, and choose accessories that complement and enhance the existing design.
Lastly, take a step back and admire your finished kitchen island! You have successfully converted a dining table into a functional and stylish centerpiece for your kitchen. Enjoy the added counter space, storage, and convenience that your kitchen island brings to your daily cooking and dining experiences.
With your newly transformed kitchen island complete, you can now fully utilize and enjoy the functionality it provides. Whether it’s for food preparation, casual meals, or a gathering spot for family and friends, your kitchen island will undoubtedly become the heart of your kitchen.
Thank you for following along with this step-by-step guide on how to convert a dining table into a kitchen island. We hope it has inspired you to take on this DIY project and create a personalized and functional space in your kitchen!
Conclusion
Converting a dining table into a kitchen island is a creative and practical way to add functionality, style, and storage to your kitchen. By following the steps outlined in this guide, you can transform an underutilized piece of furniture into a central gathering spot that meets your specific needs.
We began by gathering the necessary tools and materials, ensuring that we had everything on hand to successfully complete the project. Then, we removed the legs and any unnecessary parts from the dining table, creating a blank canvas for our kitchen island transformation.
Next, we prepared the tabletop by sanding away imperfections and making any necessary modifications. This step allowed us to customize the size, shape, and finish of the kitchen island to suit our preferences.
We then installed additional storage options, such as shelves, drawers, and hanging racks, to maximize organization and functionality. These additions tailored the kitchen island to our specific storage needs, ensuring a clutter-free and convenient space.
To enhance mobility, we attached wheels or casters to the underside of the kitchen island. This allowed for easy movement and flexibility within the kitchen space.
We elevated the functionality and appeal of our kitchen island by adding a countertop or butcher block. This provided a durable and attractive surface for food preparation and added a touch of style to our transformed dining table.
Finally, we added finishing touches and accessories to personalize and enhance the overall look of our kitchen island. Decorative hardware, under-cabinet lighting, hanging hooks, bar stools, and decorative accents all contributed to creating a unique and inviting kitchen space.
By following these steps, you now have a fully functional and customized kitchen island that not only provides additional workspace and storage but also brings character and style to your kitchen.
We hope that this guide has inspired you to embark on your own DIY kitchen island transformation. With some creativity, basic tools, and a bit of determination, you can repurpose a dining table to create a central hub in your kitchen that reflects your personal style and meets your practical needs.
Enjoy the process, and revel in the satisfaction of completing a project that adds value, functionality, and beauty to your kitchen. Happy converting!
Frequently Asked Questions about How To Convert A Dining Table Into A Kitchen Island
Was this page helpful?
At Storables.com, we guarantee accurate and reliable information. Our content, validated by Expert Board Contributors, is crafted following stringent Editorial Policies. We're committed to providing you with well-researched, expert-backed insights for all your informational needs.


0 thoughts on “How To Convert A Dining Table Into A Kitchen Island”