Home>Dining>Table Decor>How To Paint A Dining Table In Farmhouse Style
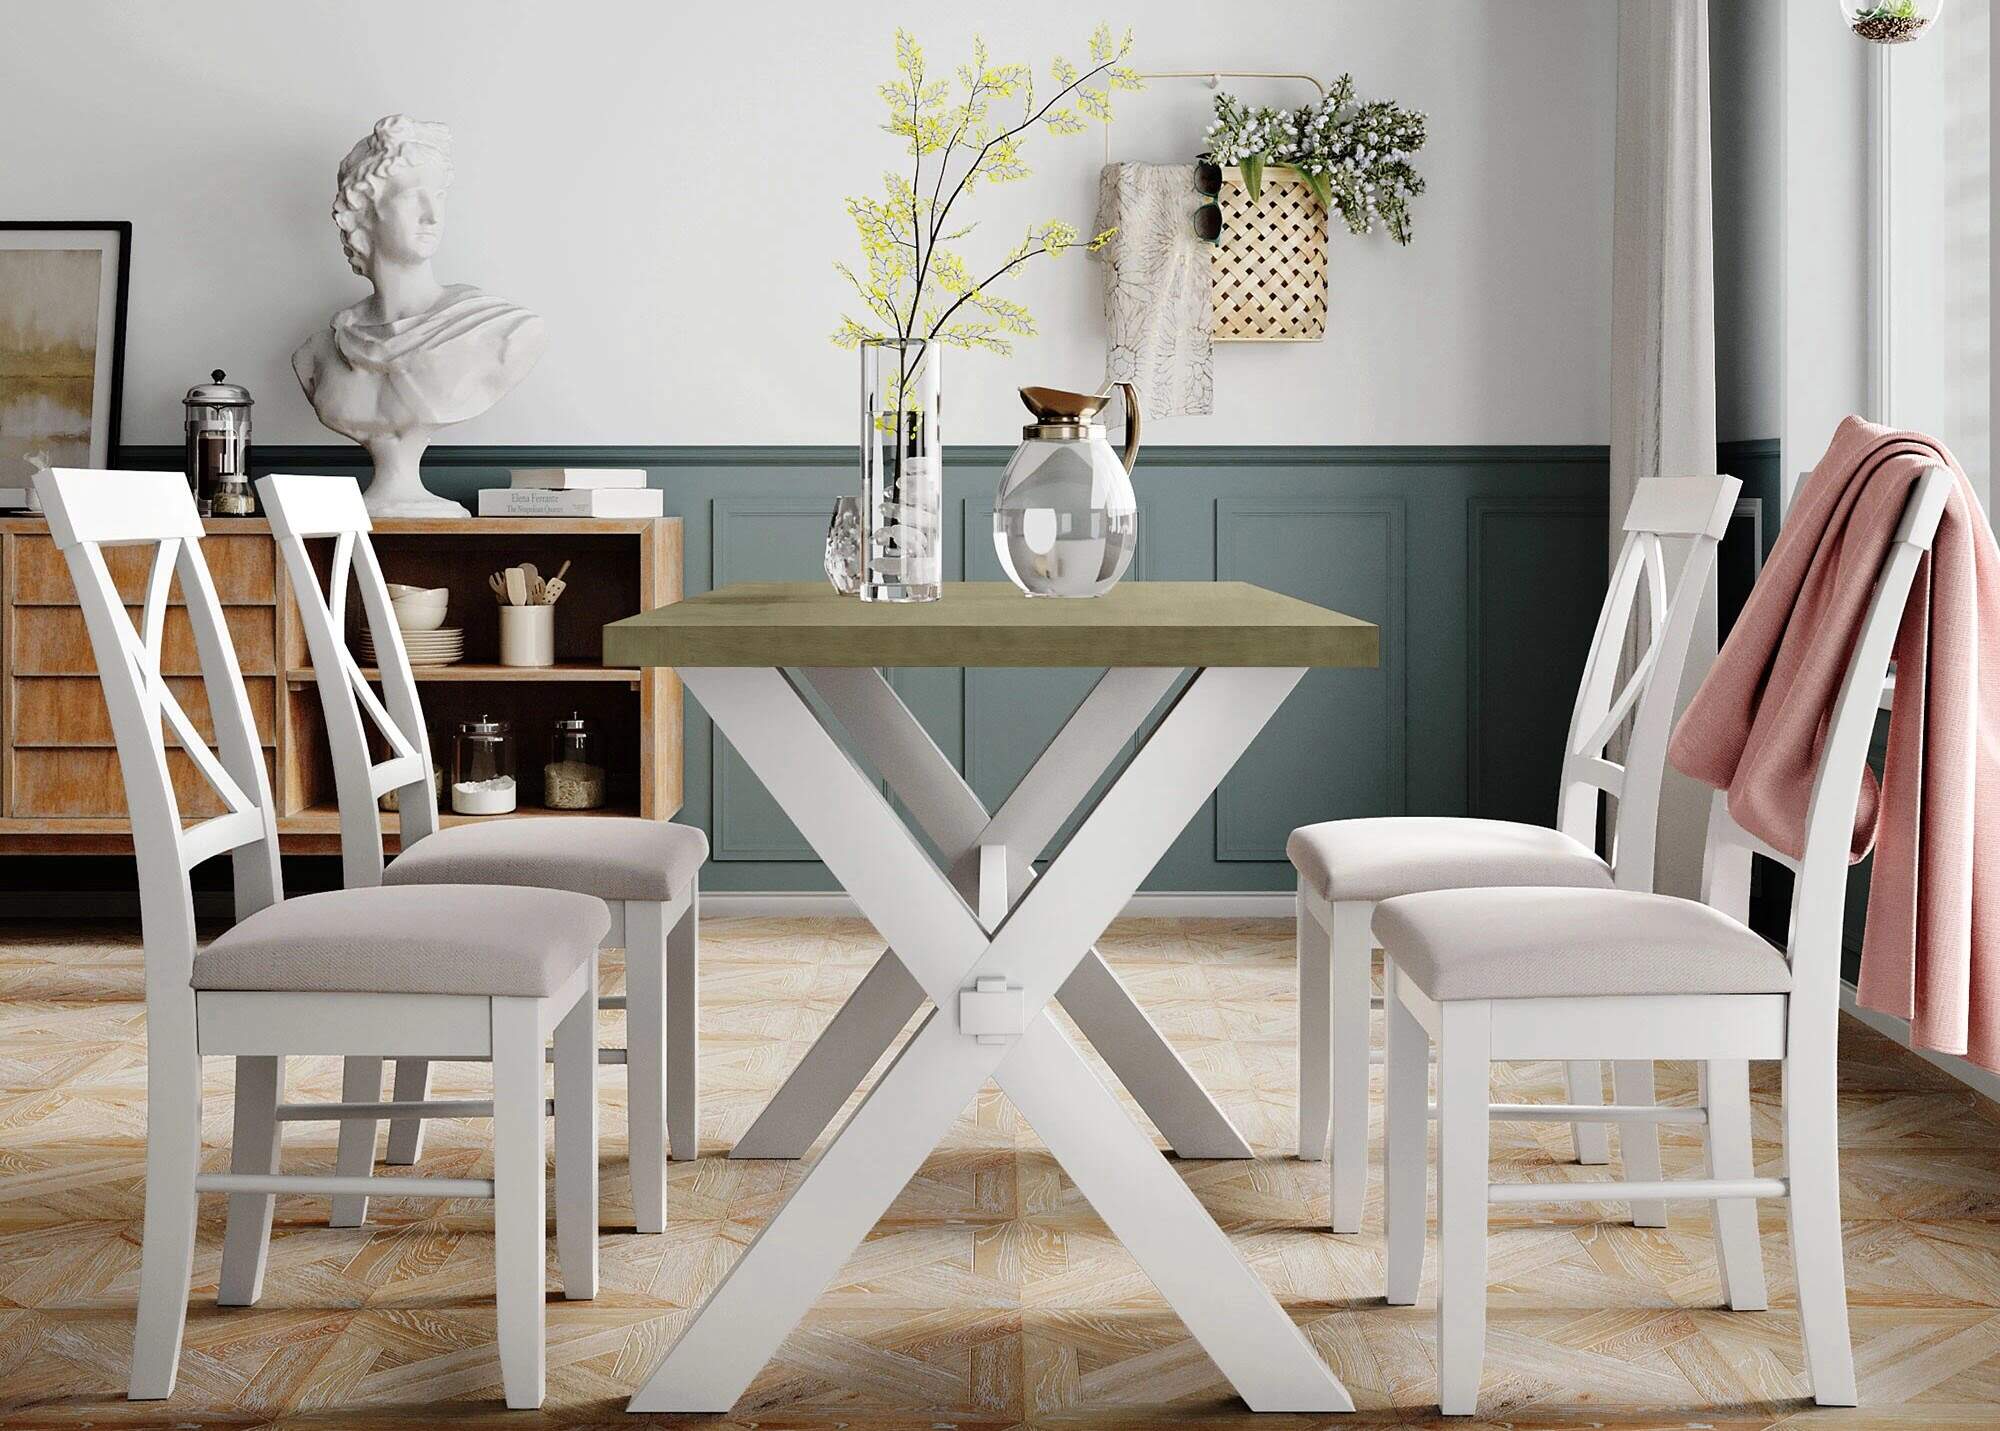
Table Decor
How To Paint A Dining Table In Farmhouse Style
Modified: August 16, 2024
Learn how to transform your dining table into a stunning farmhouse centerpiece with our step-by-step guide. Discover the best techniques and table decor ideas to achieve the perfect rustic look.
(Many of the links in this article redirect to a specific reviewed product. Your purchase of these products through affiliate links helps to generate commission for Storables.com, at no extra cost. Learn more)
Introduction
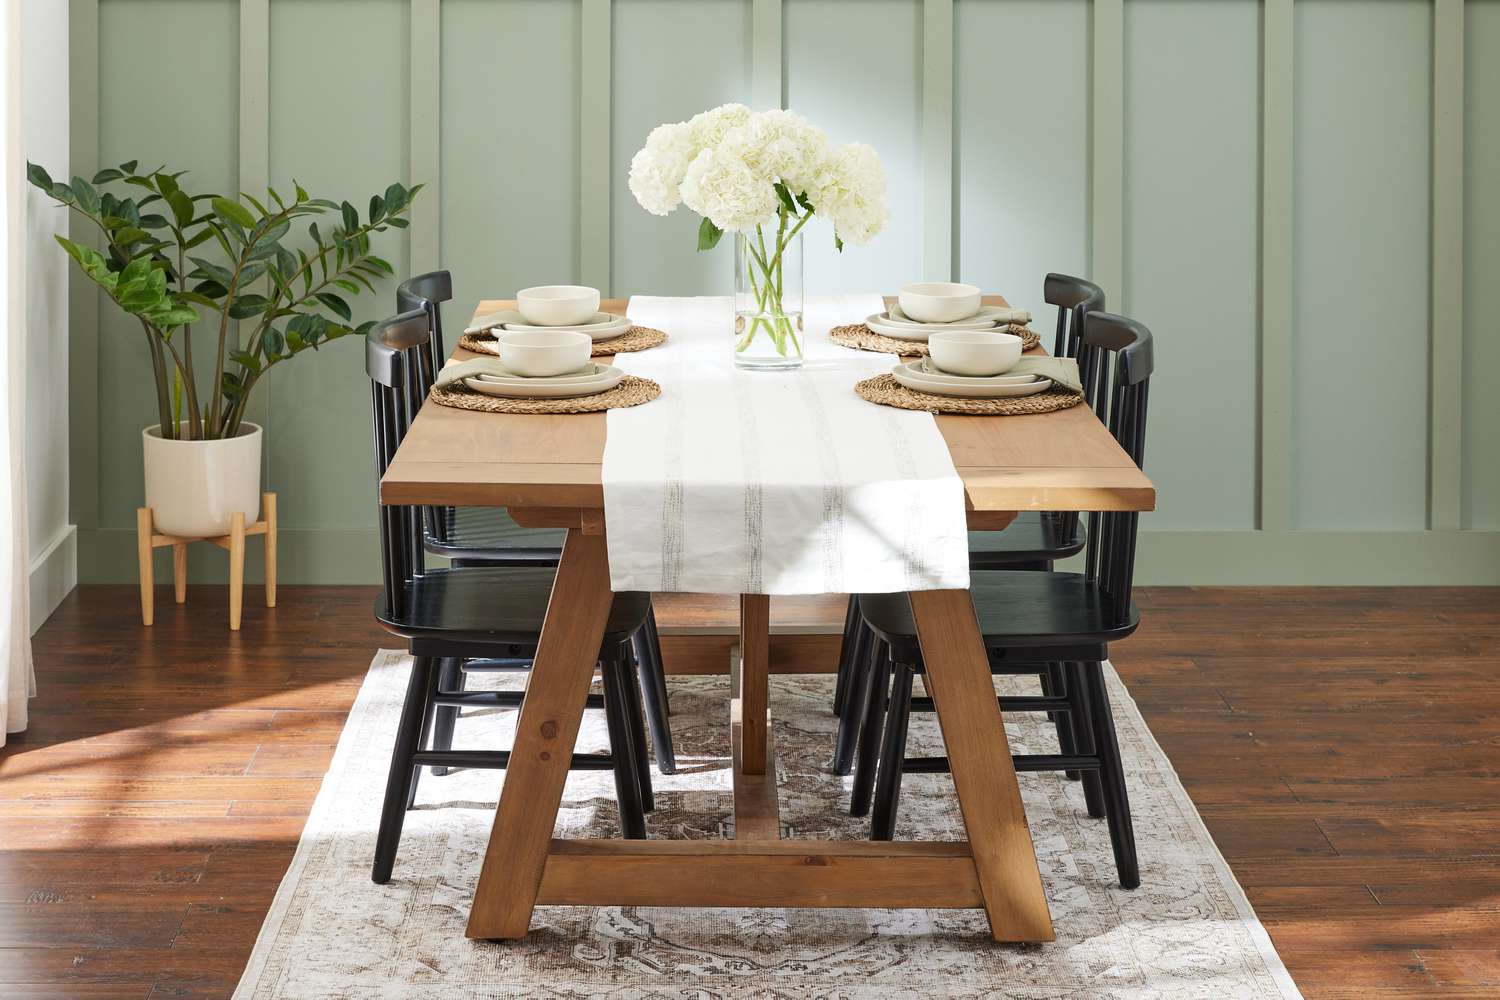
Welcome to the wonderful world of table decor! The dining table is often the centerpiece of any home, where friends and family gather to share meals and create lasting memories. If you’re looking to revamp your dining space with a touch of rustic charm, a farmhouse-style dining table might be just what you need. Painting your dining table in farmhouse style can give it a cozy and inviting look that will transform your dining area into a warm and welcoming space.
In this article, we will walk you through the step-by-step process of painting a dining table in farmhouse style. From prepping the table to choosing the right paint color, applying the primer, distressing the wood, and adding a protective finish – we’ve got you covered. So, roll up your sleeves, grab your paintbrush, and let’s get started on this exciting DIY project!
Before we dive into the steps, it’s important to note that while painting a dining table can be a fun and rewarding experience, it does require some time, patience, and attention to detail. Ensure that you have all the necessary materials and a well-ventilated workspace before you begin. Let’s create a farmhouse-style dining table that will wow your guests and serve as a beautiful focal point in your home. Are you ready? Let’s go!
Key Takeaways:
- Transform your dining table into a charming farmhouse centerpiece by following the step-by-step process outlined in this guide. From choosing the right paint color to distressing and protecting the finish, create a warm and inviting space for cherished memories.
- Embrace the DIY journey of painting a farmhouse-style dining table with patience and attention to detail. From preparing the table to adding personal touches, enjoy the process of creating a stunning and unique piece of furniture that reflects your style and personality.
Step 1: Preparing the Dining Table
Before you start painting your dining table, it’s essential to properly prepare the surface to ensure a smooth and long-lasting finish. Follow these steps to get your table ready for painting:
- Clear the Surface: Remove any items, such as tableware, centerpieces, or decorations from the table. Clearing the surface will enable you to work more easily and prevent any accidental paint spills on valuable items.
- Protect the Surroundings: Place a drop cloth or old sheets on the floor and surrounding furniture to protect them from any accidental drips or spills. It’s important to prepare the area to prevent any damage to your flooring or nearby objects.
- Disassemble the Table (if applicable): If your dining table has removable parts, such as legs or extension leaves, it’s best to disassemble them. This will make the painting process easier and allow you to reach all the nooks and crannies of the table.
- Inspect for Damage: Take a close look at the table for any scratches, dents, or other imperfections. If you notice any significant damage, consider repairing it before proceeding with the painting process. Sanding and filling any gaps or blemishes will help create a smooth surface for painting.
- Clean the Surface: Use a mild detergent and warm water to thoroughly clean the dining table. This will remove any dirt, grease, or residue that may interfere with the adhesion of the paint. Ensure that the table is completely dry before moving on to the next step.
- Masking and Taping: If there are any parts of the table that you do not want to paint, such as intricate designs or metal accents, use painter’s tape to cover and protect those areas. This will ensure clean lines and prevent paint from accidentally reaching unwanted areas.
By following these preparatory steps, you are setting a solid foundation for a successful painting project. Properly preparing the dining table will help the paint adhere better and result in a professional-looking finish. Now that the table is ready, it’s time to move on to choosing the perfect paint color for your farmhouse-style dining table.
Step 2: Choosing the Right Paint Color
Choosing the right paint color for your farmhouse-style dining table is crucial in creating the desired rustic and inviting atmosphere. Here are some tips to help you select the perfect shade:
- Consider Your Space: Take into account the overall aesthetic and color scheme of your dining area. Think about the existing furniture, wall color, and decor. A farmhouse-style dining table often complements neutral, earthy tones such as whites, creams, grays, or light pastels. These colors will create a warm and cozy ambiance.
- Think About Wood Tones: If your dining table has a beautiful wood grain that you want to preserve, consider opting for a stain instead of paint. Stains can enhance the natural beauty of the wood while still achieving the farmhouse look.
- Consider the Mood: Farmhouse-style interiors often evoke a sense of relaxation and simplicity. Soft, muted colors can help create a calming and serene environment. Think about the mood you want to set in your dining area and choose a paint color that aligns with that vision.
- Test Swatches: It’s always a good idea to test several paint swatches on a small area of the table before committing to a color. This will give you a better idea of how the color looks in your space and how it interacts with the table’s surface and lighting.
- Consider Durability: Since the dining table is a high-traffic area prone to spills and scratches, it’s important to choose a durable paint finish. Opt for paint specifically formulated for furniture or a high-quality enamel paint that will withstand daily use.
- Get Inspiration: Browse through home decor magazines, websites, or social media platforms for inspiration. Look for farmhouse-style dining rooms and tables that catch your eye, and take note of the paint colors used. This can help you visualize how the color will look in your own space.
Remember, choosing the right paint color is a personal decision that should reflect your style and taste. Take your time, gather inspiration, and don’t be afraid to experiment with different shades. Once you’ve selected the perfect paint color, you’re ready to move on to the next step: cleaning and sanding the table.
Step 3: Cleaning and Sanding the Table
Properly cleaning and sanding the dining table before painting is crucial for achieving a smooth and flawless finish. Follow these steps to ensure that your table is ready for its farmhouse-style makeover:
- Clean the Table: Start by wiping down the entire surface of the table with a clean, damp cloth. This will remove any dust or debris that may have settled on the table since the previous step. Pay extra attention to corners, edges, and crevices.
- Sanding the Surface: Use a medium-grit sandpaper (around 120 to 150 grit) to sand the entire table. Sanding will help roughen up the surface, creating a better bond between the paint and the wood. Sand in the direction of the wood grain, using even strokes. Focus on any rough spots, scratches, or imperfections to create a smooth and even surface.
- Remove Sanding Dust: After sanding, use a clean cloth or a vacuum with a brush attachment to remove any sanding dust from the table. Ensure that the surface is completely clean and free of any debris before moving on to the next step.
- Smooth the Surface: To achieve an even smoother finish, you can opt to sand the table once again with a finer-grit sandpaper (around 220 grit). This step is optional but can help create a more polished and professional result.
- Wipe Down the Table: Once you’ve finished sanding, wipe down the table once again with a clean, damp cloth to remove any residual dust. Allow the table to air dry fully before proceeding to the next step.
Cleaning and sanding the table is a vital step in the painting process. It not only removes any dirt or imperfections but also helps the paint adhere better to the surface. Take your time during this step to ensure that the table is properly prepared.
Now that the table is clean and sanded, it’s time to move on to the next step: applying the primer. The primer will create a smooth and even base for the paint, ensuring a flawless finish. Let’s go!
Step 4: Applying the Primer
Applying a primer is an essential step in the painting process, as it prepares the surface and helps the paint adhere better to the dining table. Follow these steps to apply the primer effectively:
- Gather the Materials: You will need a high-quality primer specifically designed for furniture, a paintbrush or foam roller, and a paint tray.
- Prepare the Primer: Open the can of primer and stir it well to ensure that the contents are thoroughly mixed. This will help achieve a consistent and even coverage.
- Start with the Underside: Begin by flipping the dining table upside down or leaning it against a wall. Apply a thin coat of primer to the underside of the table using a paintbrush or foam roller. Ensure that the entire surface is evenly covered.
- Move to the Top Surface: Once the underside is dry to the touch, flip the table back upright and move on to the top surface. Apply the primer using smooth, even strokes in the direction of the wood grain. Work in small sections, ensuring that the entire surface is covered with a thin and even coat of primer.
- Allow to Dry: Follow the instructions on the primer can for the recommended drying time. Typically, it takes around 2-4 hours for the primer to dry. Ensure that the table is placed in a well-ventilated area during this time.
- Sand the Primer (optional): If you notice any imperfections or rough spots on the primer surface, you can lightly sand it using a fine-grit sandpaper (around 220 grit). This step will help create an even smoother surface for the final coat of paint.
- Remove Sanding Dust: After sanding, wipe down the primer surface with a clean, damp cloth to remove any sanding dust. Allow the table to fully dry before moving on to the next step.
Applying a primer ensures that the paint adheres better to the dining table, enhances the longevity of the paint job, and provides a smoother finish. Once the primer is dry and the surface is smooth, it’s time to move on to the exciting step of painting the table. Let’s continue the transformation!
When painting a dining table in farmhouse style, consider using chalk paint for a distressed look. Sand the edges for a worn appearance and finish with a matte sealer for durability.
Read more: How To Construct A Farmhouse Dining Table
Step 5: Painting the Table
Now that the primer is dry and the table is prepped, it’s time to bring your farmhouse-style dining table to life with a fresh coat of paint. Follow these steps to achieve a beautiful and even paint finish:
- Gather the Materials: You will need your chosen paint color for the dining table, a paintbrush or foam roller, a paint tray, and painter’s tape (if necessary).
- Prepare the Paint: Open the can of paint and stir it well to ensure that the color is evenly mixed. This will help achieve a consistent result.
- Tape Off Edges (optional): If you want clean lines or if there are areas you want to protect from paint, apply painter’s tape along the edges or any specific areas.
- Start Painting: Begin by dipping your paintbrush or foam roller into the paint tray, ensuring that the paint is evenly distributed on the bristles or roller. Start applying the paint in long, smooth strokes, following the direction of the wood grain. Work in small sections to keep the paint application even and consistent.
- Continue Layering: Apply a thin, even coat of paint to the entire surface of the dining table. Allow each coat to fully dry before adding additional layers. Depending on the color and coverage you desire, you may need to apply multiple coats of paint. Follow the instructions on the paint can for the recommended drying time between coats.
- Smooth Out the Finish: After each coat of paint has dried, you can lightly sand the surface with a fine-grit sandpaper (around 220 grit) if needed. This step will help achieve a smoother finish and remove any imperfections.
- Clean Up: Once you are satisfied with the coverage and finish, clean your paintbrush or foam roller thoroughly with soap and water. Properly dispose of any used paint or materials according to local regulations.
Take your time and enjoy the process of painting your dining table. Applying a fresh coat of paint can completely transform the look and feel of the table, giving it that charming farmhouse-style appeal. Once the paint has dried completely, you are ready to move on to the next step: distressing the table for an authentic farmhouse look. Let’s add some character to your table!
Step 6: Distressing the Table for a Farmhouse Look
To achieve an authentic farmhouse look for your dining table, distressing the painted surface is a key step. Distressing adds character and vintage charm, giving your table that well-loved and aged appearance. Follow these steps to distress your table:
- Gather the Materials: You will need fine-grit sandpaper (around 220 grit), a clean cloth, and a distressing tool, such as a sanding block or steel wool.
- Identify Distressing Areas: Look for areas on the table where natural wear and tear would occur over time, such as edges, corners, and areas that would receive the most use. This is where you will focus your distressing efforts.
- Lightly Sand the Edges and Corners: Using the fine-grit sandpaper, lightly sand the edges and corners of the table, exposing the wood or primer layer beneath the paint. Vary the pressure and the direction of the sanding to create a more natural and random distressed appearance.
- Create Faux Wormholes and Dents: Use a distressing tool, such as a sanding block or steel wool, to create small indentations or wormhole-like marks on the table surface. Gently press and rotate the tool in different areas to mimic natural aging and distressing.
- Focus on High-Wear Areas: Pay extra attention to high-wear areas, such as the tabletop and the edges, as these areas would naturally experience more wear and tear over time. Distressing these areas more prominently will enhance the farmhouse look.
- Wipe Down the Table: After distressing, use a clean cloth to wipe down the table and remove any dust or debris created during the process.
Remember, distressing is a personal preference, so you can choose to distress the table as much or as little as you like. The goal is to create a weathered and worn appearance that adds character and tells a story. Once you are satisfied with the distressed look, it’s time to protect your hard work with a protective finish. Let’s move on to the next step!
Step 7: Applying a Protective Finish
After distressing your farmhouse-style dining table, it’s important to apply a protective finish to seal and safeguard the painted surface. This will help protect the paint from scratches, stains, and everyday wear and tear. Follow these steps to apply a protective finish:
- Gather the Materials: You will need a clear, water-based polyurethane or furniture wax, a paintbrush or foam brush, and a clean cloth.
- Read the Instructions: Before applying the protective finish, carefully read and follow the instructions provided by the manufacturer on the product label.
- Prepare the Furniture Wax or Polyurethane: If you are using furniture wax, stir the product well to ensure it is properly mixed. If you are using polyurethane, shake the can thoroughly to mix the contents. Be sure to use a water-based finish to avoid any yellowing over time.
- Apply the Protective Finish: Use a paintbrush or foam brush to apply a thin, even coat of the protective finish to the entire surface of the dining table. Work in long, smooth strokes in the direction of the wood grain. Ensure that the finish is evenly applied, and pay extra attention to the distressed areas.
- Allow to Dry: Follow the manufacturer’s instructions for the recommended drying time. Typically, it takes around 2-4 hours for the protective finish to dry, but it may vary depending on the product.
- Lightly Sand (Optional): If you prefer a smoother finish, you can lightly sand the surface with a fine-grit sandpaper (around 220 grit) once the first coat of protective finish has dried. Wipe the surface clean with a cloth to remove any sanding dust before applying additional coats.
- Apply Additional Coats (Optional): Depending on the level of protection you desire, you can repeat the previous steps to apply additional coats of the protective finish. Allow each coat to dry before applying the next to achieve a more durable and long-lasting result.
- Final Inspection: Once the protective finish has dried completely, inspect the table’s surface to ensure an even and smooth finish. Make any necessary touch-ups or corrections to achieve the desired look.
Applying a protective finish will not only extend the lifespan of your farmhouse-style dining table but also enhance its durability. It will keep the paint looking fresh and vibrant for years to come. With the protective finish applied, you’re one step away from putting your dining table back together and enjoying its newly transformed farmhouse look. Let’s move on to the final step: reassembling and styling the table!
Step 8: Reassembling and Styling the Dining Table
Congratulations! You’ve reached the final step in transforming your dining table into a charming farmhouse centerpiece. Now it’s time to put everything back together and add the finishing touches to complete the look. Here’s what you need to do:
- Allow the Finish to Cure: Before reassembling the table, it’s important to allow the protective finish to cure fully. Check the manufacturer’s instructions for the recommended curing time, which can typically range from a few days to a week. Patience is key to ensure the finish sets properly.
- Reattach Legs or Extensions: If you had disassembled your dining table, now is the time to reattach the legs or extensions. Follow the manufacturer’s instructions or use any hardware provided to secure them back in place.
- Clean and Polish: Once the table is reassembled, give it a final wipe-down with a clean, dry cloth to remove any dust or debris. Polish the surface gently to enhance its shine and bring out the beauty of the farmhouse-style finish.
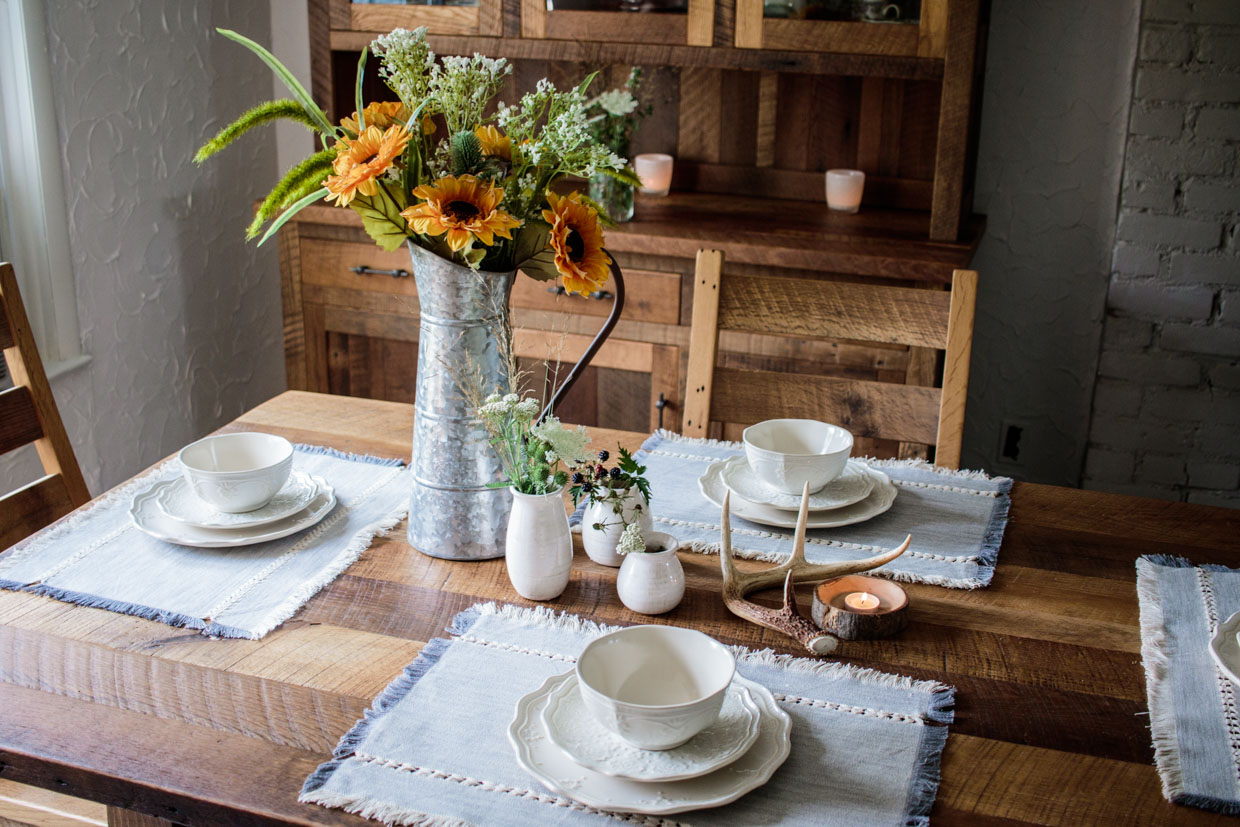
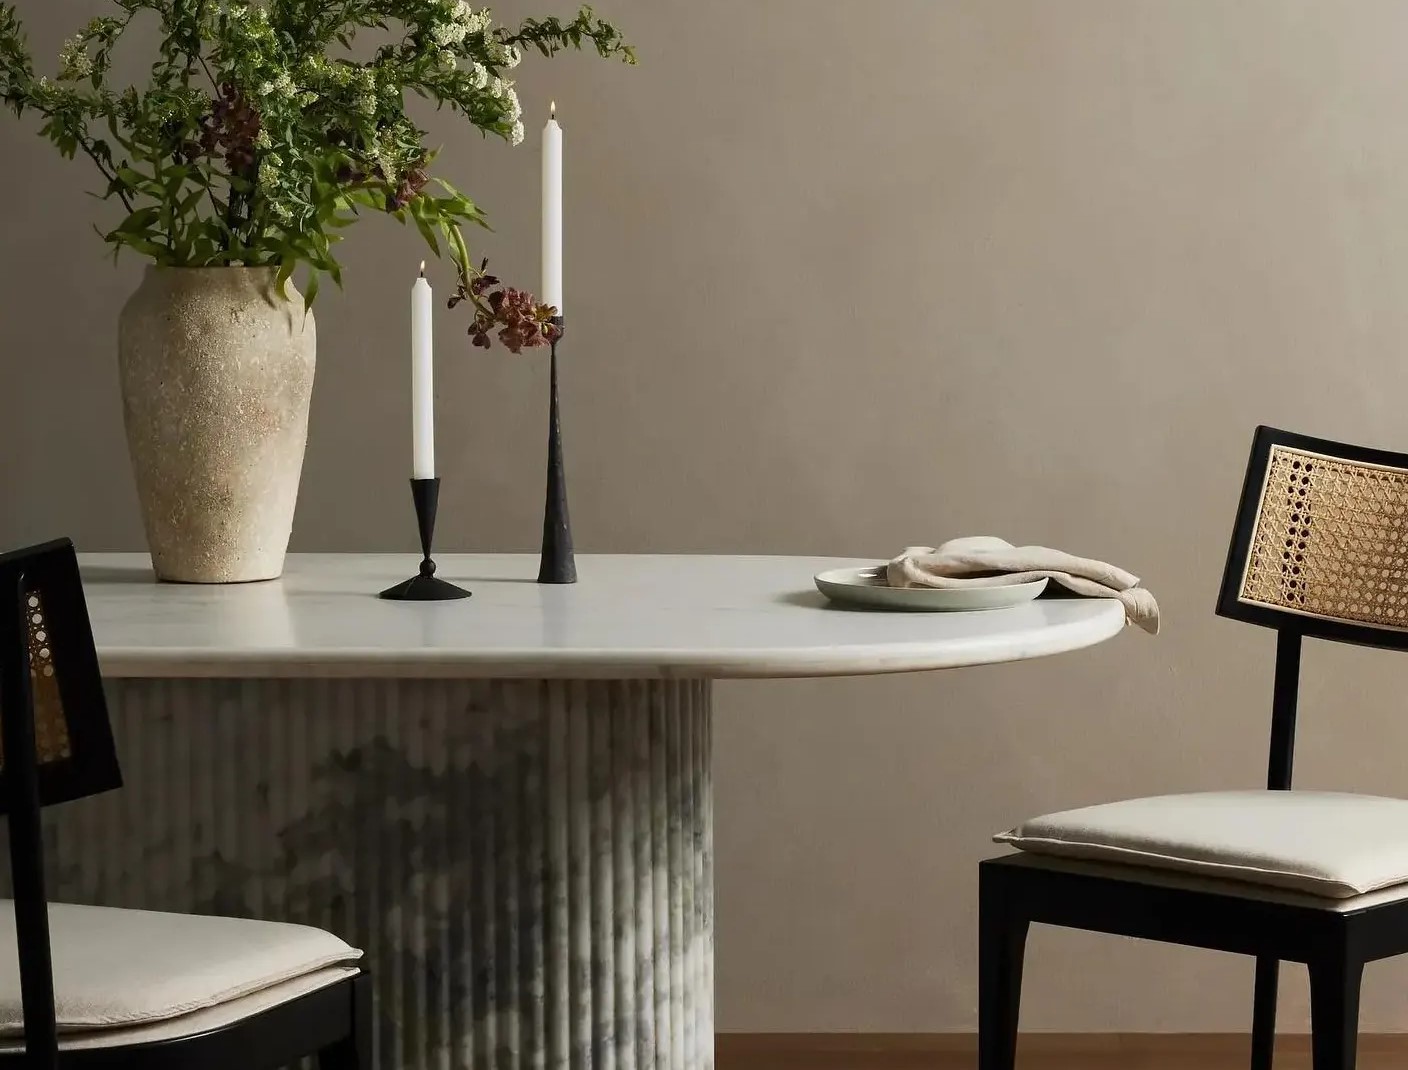
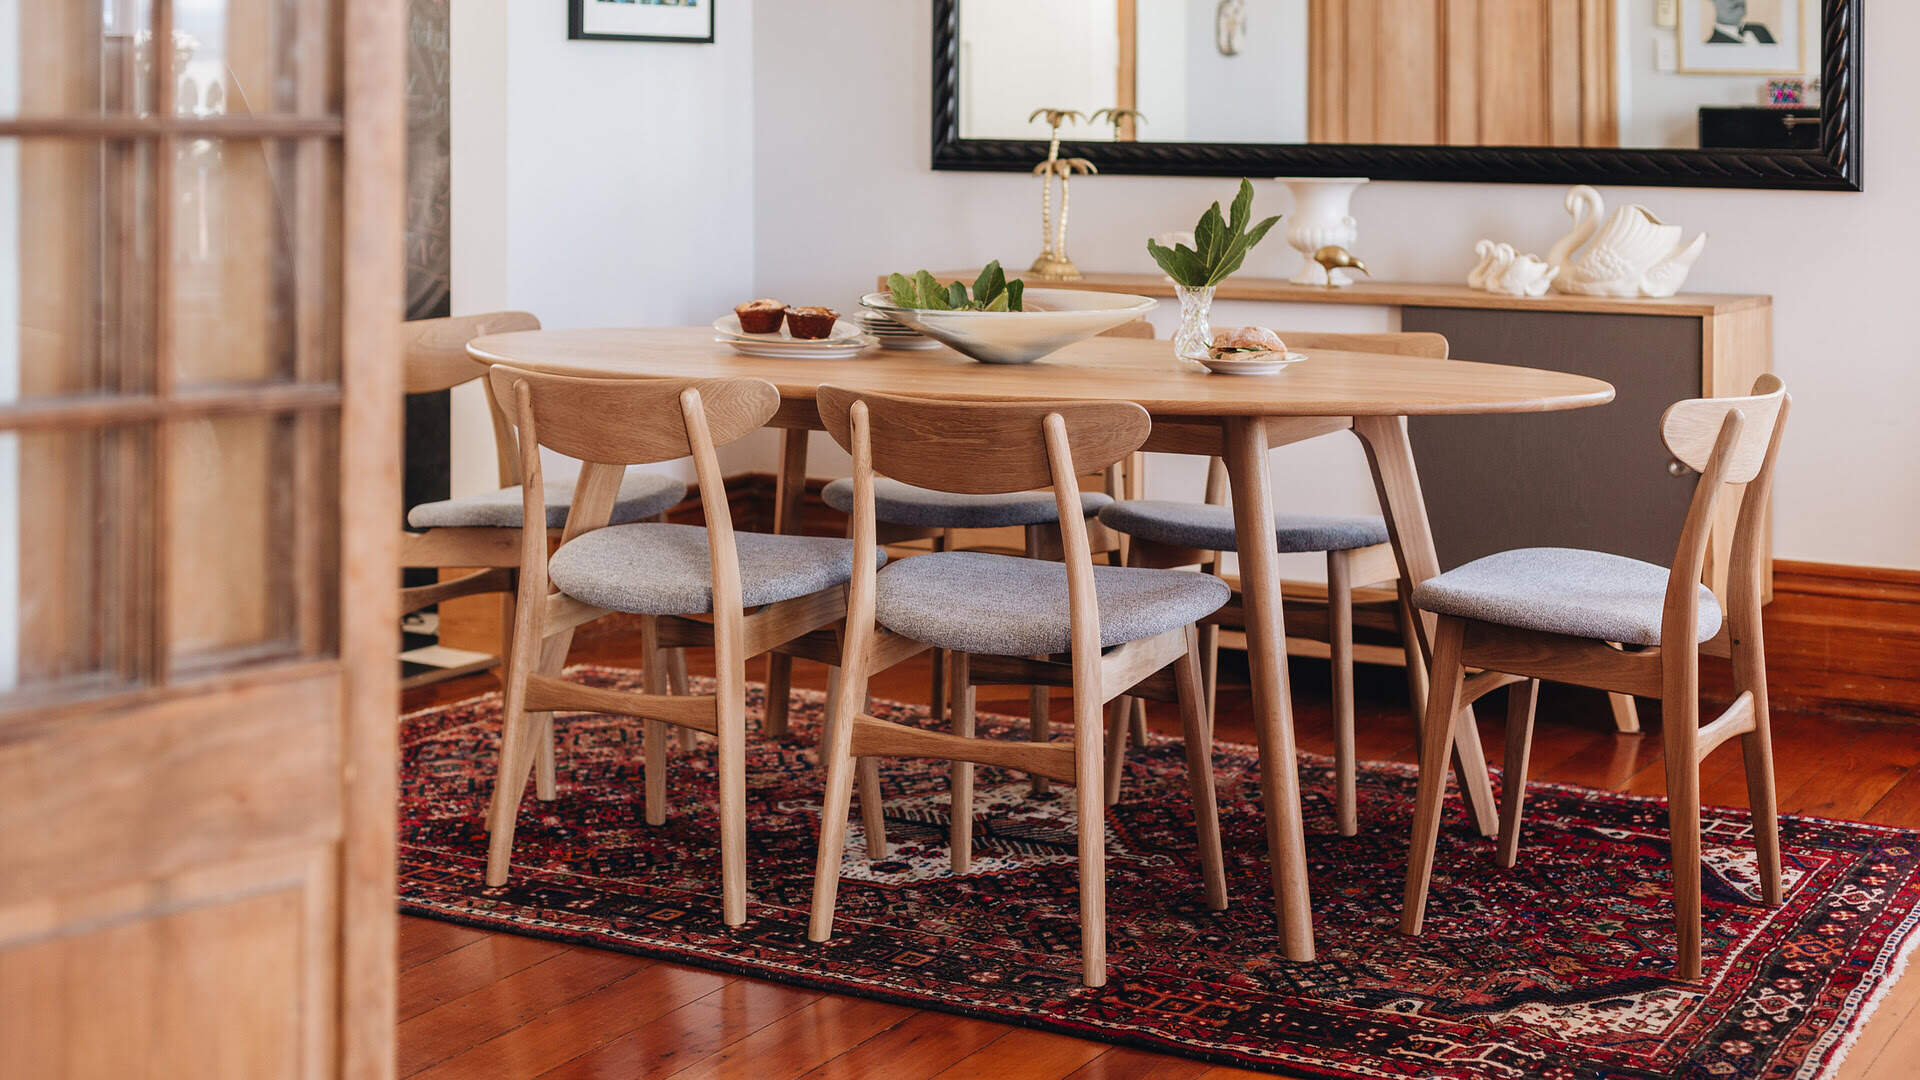
- Add Table Decor and Centerpieces: To complete the look of your farmhouse-style dining table, consider adding table decor and centerpieces that complement the rustic theme. Think of items like vintage candlesticks, a wooden tray with mason jars filled with fresh flowers, or a charming table runner.
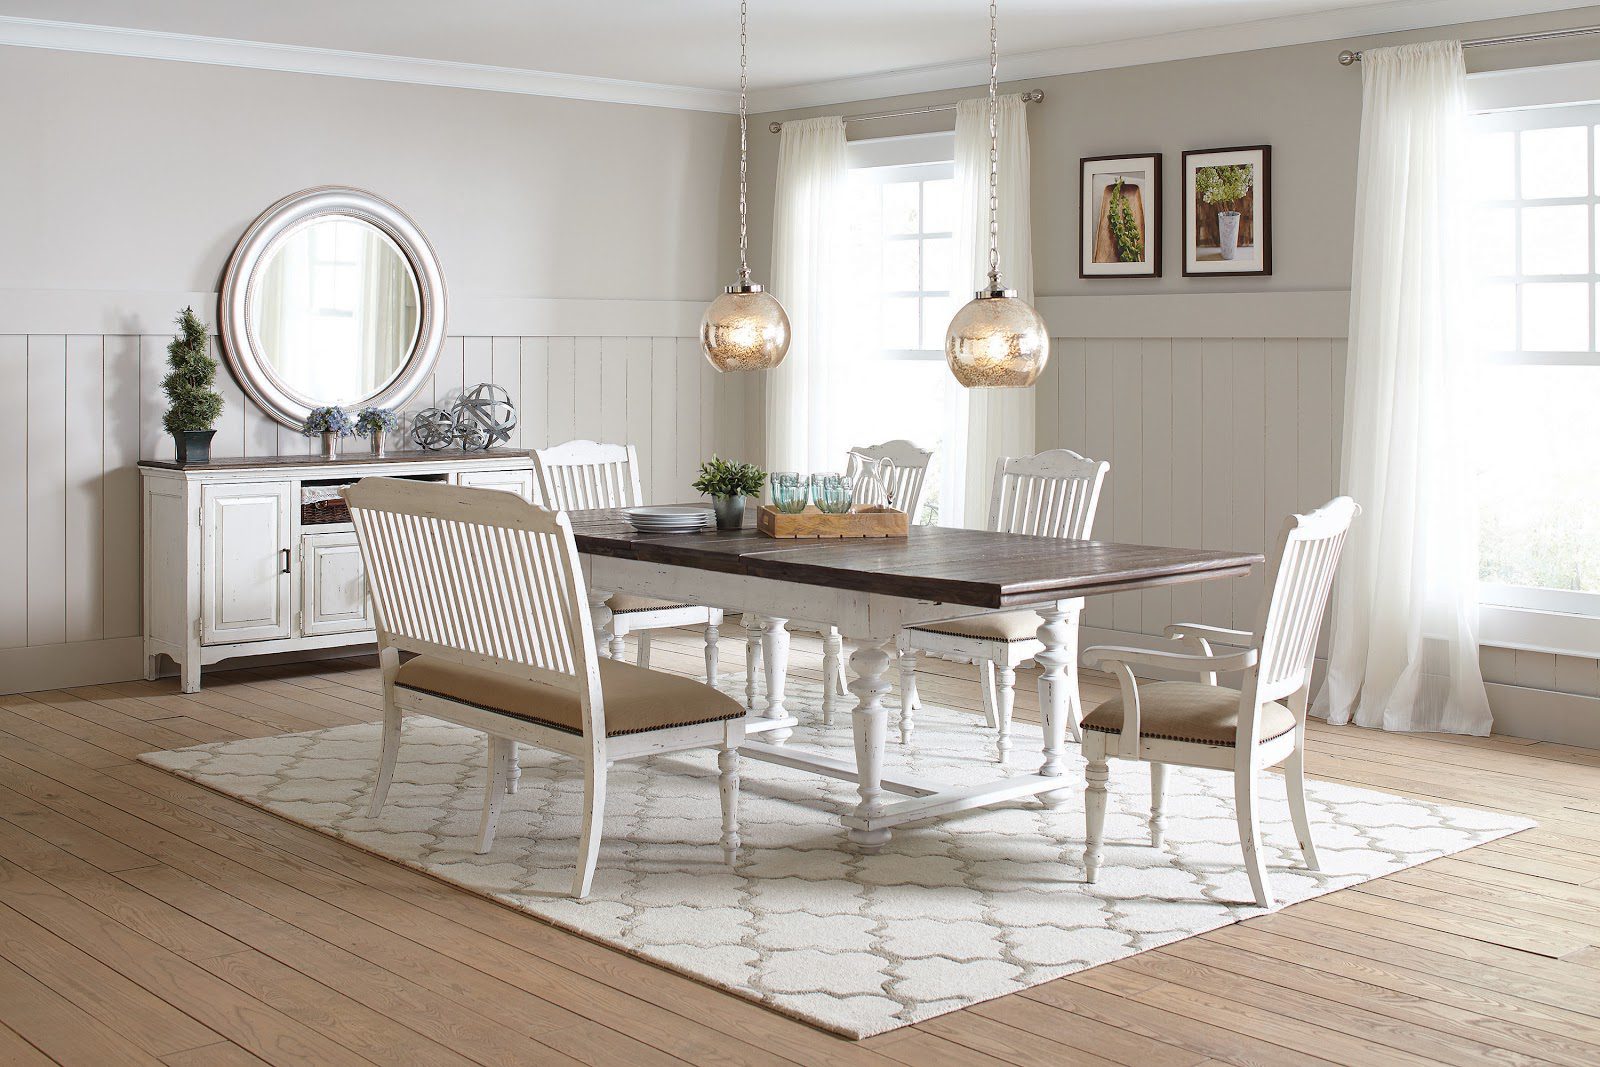
- Accessorize with Coordinating Chairs: Pair your newly painted dining table with chairs that coordinate well with the farmhouse style. Wooden or upholstered chairs in neutral or pastel colors can add a cohesive and inviting touch to the overall look of the dining space.
- Personalize and Enjoy: Finally, add your personal touch to the dining table. Feel free to display family photos, place settings, or seasonal decorations to make it truly yours. Gather your loved ones around the table and enjoy the cozy and inviting atmosphere you’ve created.
By following these steps, your dining table has undergone an incredible transformation into a stunning farmhouse-style centerpiece. The time and effort invested in the painting process will result in a beautiful and unique piece of furniture that will be cherished for years to come.
Remember, the key to a successful DIY project is to take your time, follow the steps carefully, and add your personal touch to make it truly yours. So, sit back, relax, and savor the joy of your newly painted farmhouse-style dining table!
Thank you for joining us on this journey of table decorating. We hope you’ve found this guide helpful and inspiring. Happy painting!
Read more: How To Redo A Table To Farmhouse Style
Conclusion
Congratulations on completing your farmhouse-style dining table transformation! By following the step-by-step process outlined in this guide, you have taken a simple dining table and turned it into a stunning centerpiece that exudes rustic charm and warmth.
From the initial steps of preparing the table and choosing the right paint color to the meticulous process of cleaning, sanding, and applying primer, every stage was essential in creating a smooth and durable surface for the paint. The distressing step added character and a sense of history to your table, creating an authentically aged farmhouse look.
Applying a protective finish ensured that your hard work would withstand everyday use, providing long-lasting beauty and protection for years to come. Finally, the process of reassembling the table and adding personal touches such as table decor and coordinating chairs brought the entire project together, creating a beautifully styled dining space.
Through this DIY project, you have not only created a stunning piece of furniture but also added a touch of your own personality and style to your home. The farmhouse-style dining table now serves as a gathering place for friends and family, where cherished memories will be made.
Remember, the possibilities for table decor and styling are endless. You can easily change the look with different centerpieces, seasonal accents, or table linens. Don’t be afraid to get creative and make it your own.
We hope this guide has inspired you to embark on more table decor projects and explore your creativity. The skills you’ve learned can be applied to other furniture pieces, transforming them into beautiful, customized works of art.
Thank you for joining us on this table decor journey. We hope you have enjoyed the process and are thrilled with the results. Now, gather your loved ones, sit around your newly painted farmhouse-style dining table, and enjoy the warm and welcoming ambiance you have created.
Happy decorating!
Frequently Asked Questions about How To Paint A Dining Table In Farmhouse Style
Was this page helpful?
At Storables.com, we guarantee accurate and reliable information. Our content, validated by Expert Board Contributors, is crafted following stringent Editorial Policies. We're committed to providing you with well-researched, expert-backed insights for all your informational needs.


0 thoughts on “How To Paint A Dining Table In Farmhouse Style”