Home>Furniture & Design>Living Room Furniture>How To Make A Farmhouse Dining Table
Living Room Furniture
How To Make A Farmhouse Dining Table
Modified: February 17, 2024
Learn how to make a beautiful farmhouse dining table for your living room with our expert furniture and design tips. Create a stunning centerpiece for your home today!
(Many of the links in this article redirect to a specific reviewed product. Your purchase of these products through affiliate links helps to generate commission for Storables.com, at no extra cost. Learn more)
Introduction
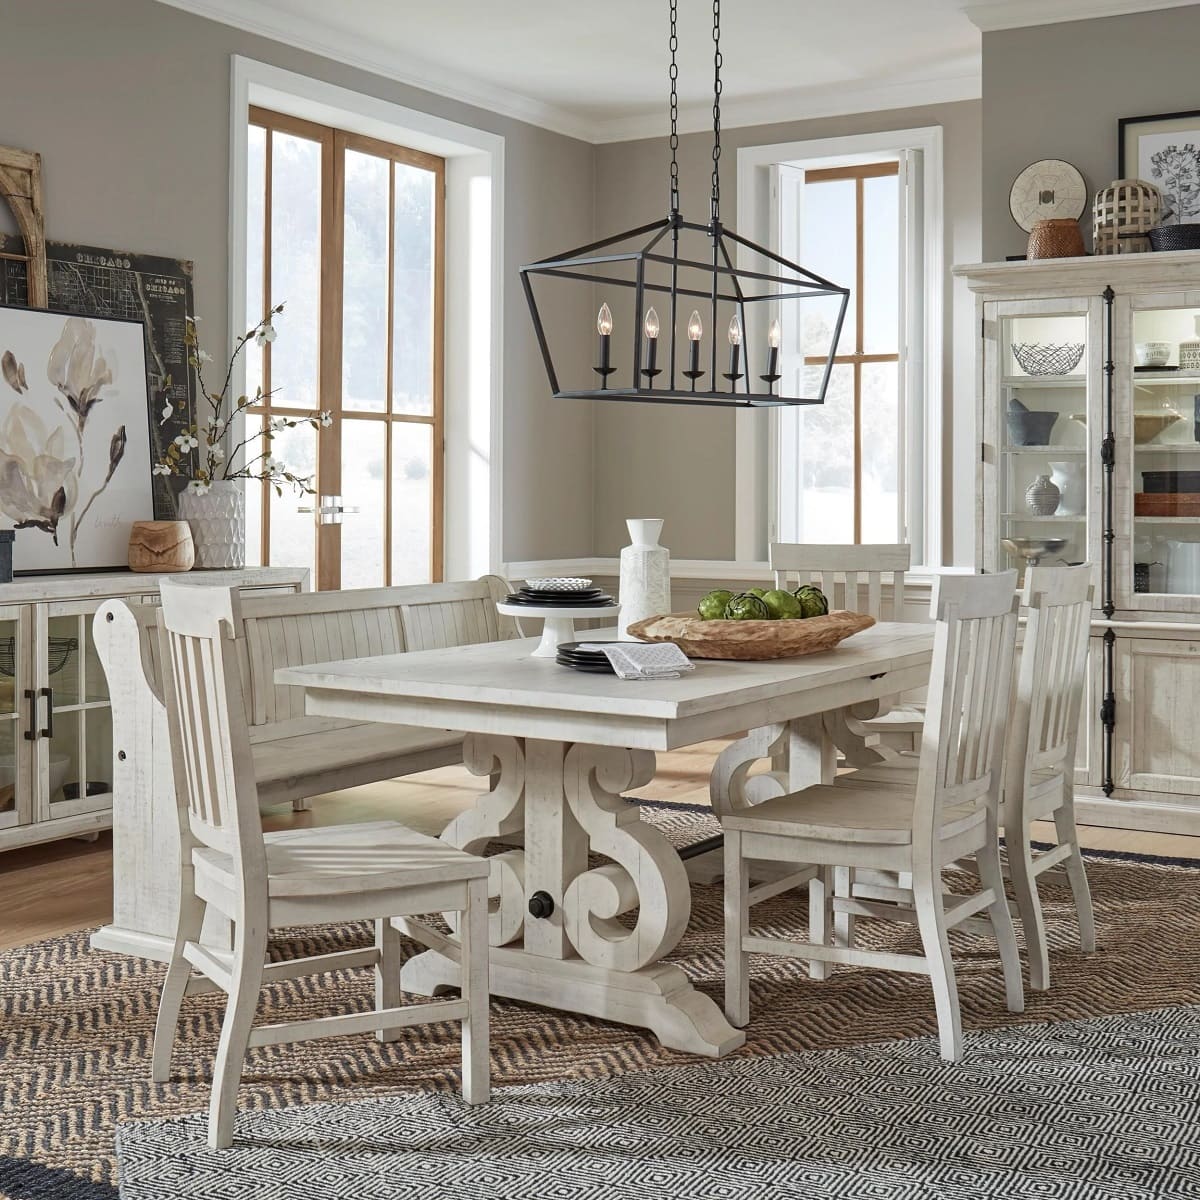
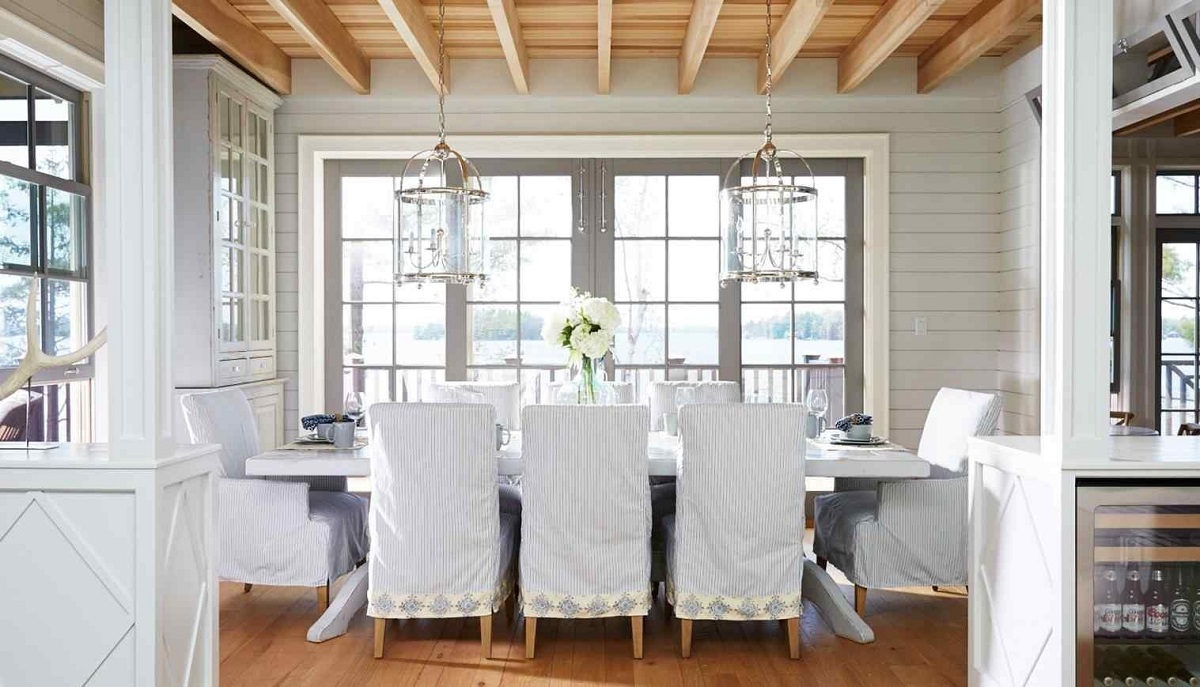
So, you’re thinking about adding a touch of rustic charm to your dining room? A farmhouse dining table might just be the perfect addition to your home. With its sturdy construction and timeless appeal, a farmhouse table can serve as the heart of your dining space, bringing family and friends together for memorable meals and gatherings.
In this guide, we’ll walk you through the process of creating your very own farmhouse dining table. Whether you’re a seasoned woodworking enthusiast or a DIY novice, this project can be a rewarding and enjoyable endeavor. By following these steps and getting your hands dirty, you’ll have the satisfaction of crafting a beautiful piece of furniture that will be cherished for years to come.
Before we dive into the nitty-gritty details, it’s important to note that building a farmhouse dining table requires some basic woodworking skills and access to the right tools and materials. Don’t worry if you’re new to this – we’ll provide clear instructions and tips along the way to help you navigate the process with confidence.
So, roll up your sleeves, gather your tools, and let’s embark on this woodworking adventure together. Get ready to unleash your creativity and craftsmanship as we guide you through the rewarding journey of bringing a farmhouse dining table to life.
Key Takeaways:
- Crafting a farmhouse dining table is a rewarding woodworking adventure that brings family and friends together. From choosing the right wood to assembling the table, it’s a labor of love that creates a timeless centerpiece for cherished moments.
- Building a farmhouse dining table is more than just a project – it’s a journey of craftsmanship and dedication. The finished table becomes a symbol of warmth and togetherness, ready to host countless memories for years to come.
Read more: How To Construct A Farmhouse Dining Table
Materials and Tools
Before you start building your farmhouse dining table, it’s essential to gather all the necessary materials and tools. Having everything at hand will streamline the construction process and ensure that you can work efficiently.
Materials:
- Wood for tabletop and base
- Wood screws
- Wood glue
- Stain or paint
- Polyurethane or wood sealant
- Sandpaper
Tools:
- Table saw
- Miter saw
- Drill with bits
- Clamps
- Tape measure
- Sandpaper or sander
- Paintbrushes or rags for staining
- Safety goggles and ear protection
These are the basic materials and tools you’ll need to construct a farmhouse dining table. Depending on the specific design and dimensions you choose, you may require additional items. It’s always a good idea to double-check your materials list against your project plans to ensure you have everything you need before you begin.
Now that you have your materials and tools ready, it’s time to move on to the next crucial step: choosing the right wood for your farmhouse table.
Choosing the Right Wood
When it comes to crafting the best wood for dining table, the choice of wood is of utmost importance. Your selection will not only define the table’s visual charm but also play a crucial role in ensuring its long-lasting durability and overall excellence. Here are some well-regarded wood choices to contemplate for your farmhouse dining table project:
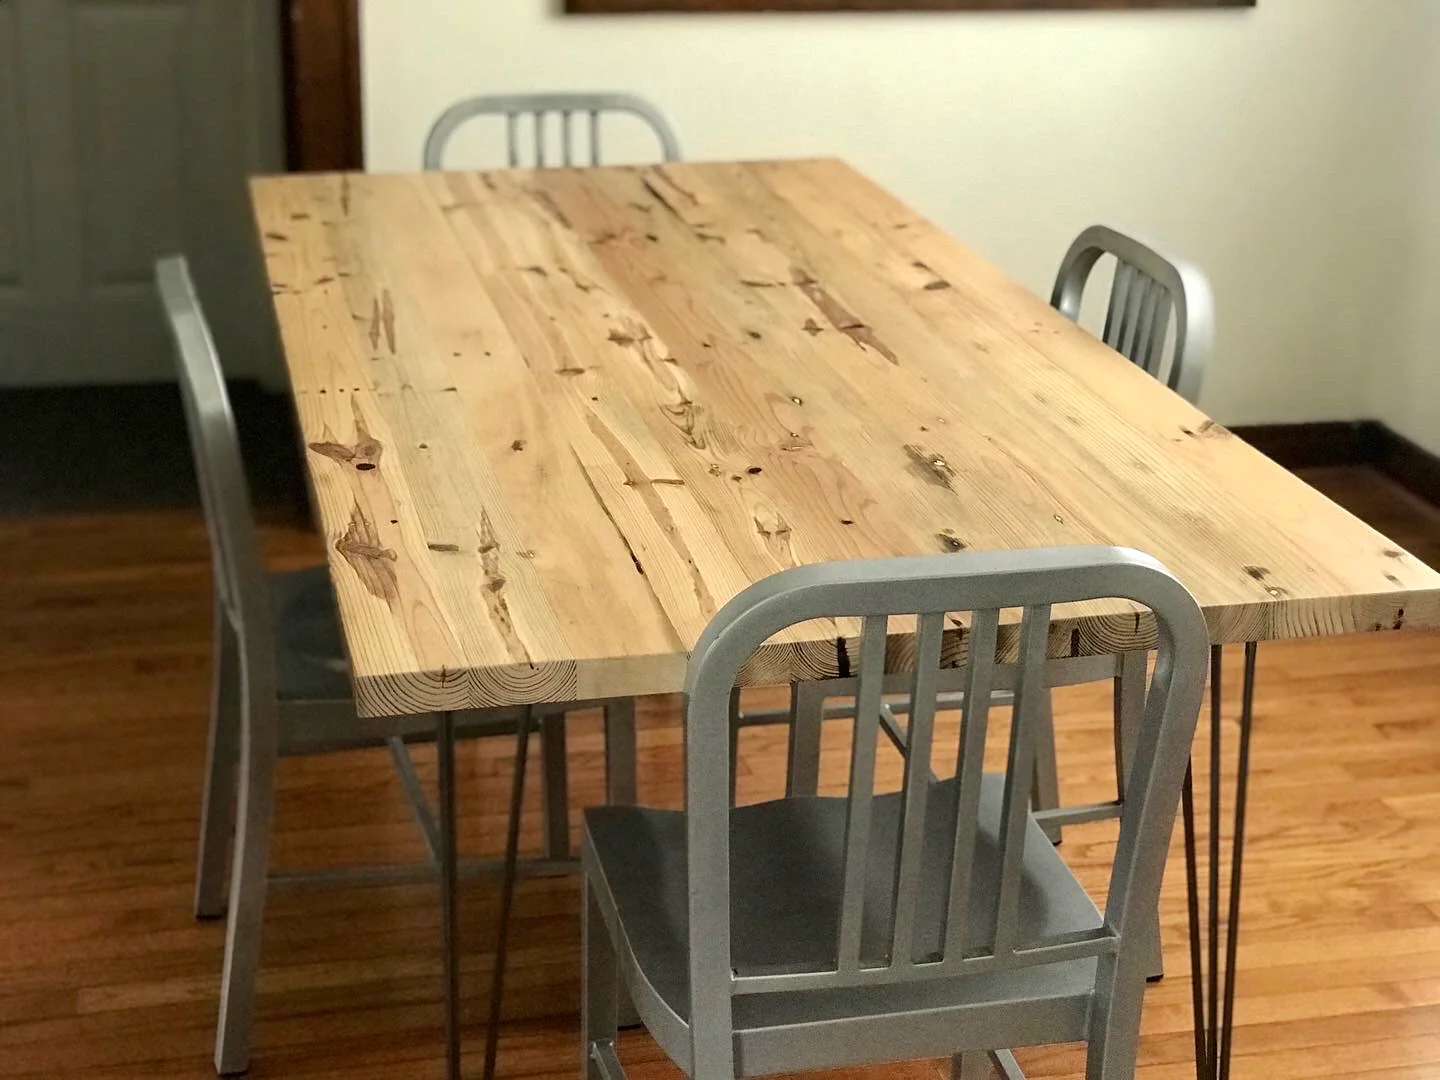
1. Pine:
Pine is a favorite choice for farmhouse tables due to its affordability and rustic charm. It’s relatively soft, making it easy to work with, but it may be more susceptible to dents and scratches compared to hardwoods.
2. Oak:
Oak is prized for its strength and prominent grain patterns. It’s a durable hardwood that can withstand the rigors of daily use, making it an excellent choice for a long-lasting farmhouse table.
3. Maple:
Maple is known for its smooth, consistent texture and light color. It’s a hard and resilient wood that can create a classic and elegant farmhouse table.
4. Reclaimed Wood:
Using reclaimed wood adds character and history to your farmhouse table. Old barn wood or salvaged lumber can infuse your table with a unique story and a weathered, time-worn appearance.
Consider the look you want to achieve and the level of maintenance you’re comfortable with when choosing the wood for your farmhouse table. Different woods have distinct characteristics in terms of grain patterns, color variations, and natural imperfections, so take the time to explore your options and find the perfect fit for your vision.
Once you’ve selected the wood that speaks to you, it’s time to move on to the next step: cutting and preparing the wood for your farmhouse table.
Cutting and Preparing the Wood
Now that you’ve chosen the perfect wood for your farmhouse dining table, it’s time to roll up your sleeves and get ready to cut and prepare the materials. This step is crucial in ensuring that your table comes together with precision and stability.
Begin by carefully measuring and marking the wood according to your table’s design and dimensions. Use a tape measure and a straight edge to make accurate markings, and double-check your measurements to avoid errors. Remember the old adage: “Measure twice, cut once.”
Once you’ve marked the wood, it’s time to bring out the power tools. A table saw and a miter saw will be your best friends in this phase of the project. These tools will allow you to make clean and precise cuts, ensuring that the tabletop and base components fit together seamlessly.
After cutting the wood to the required lengths and angles, it’s essential to sand the edges and surfaces to eliminate any roughness or splinters. A smooth finish not only enhances the table’s appearance but also reduces the risk of accidental snags and injuries.
During the preparation process, it’s also a good idea to test-fit the pieces to confirm that they align correctly and form the desired shape. This step can help you catch any discrepancies early on and make adjustments as needed.
As you work through the cutting and preparation phase, take your time and pay attention to the details. Precision and care in this stage will set the stage for a successful and satisfying construction process.
With the wood cut and prepared, you’re now ready to move on to the exciting phase of assembling the tabletop, where you’ll see your farmhouse dining table begin to take shape.
Assembling the Tabletop
As you venture into the assembly phase of building your farmhouse dining table, you’re about to witness the individual pieces of wood come together to form the central element of your table – the tabletop. This step requires precision and patience, but the end result will be immensely rewarding.
Start by arranging the tabletop pieces in the intended order, ensuring that the grain patterns and colors flow harmoniously. If you’re using multiple planks of wood to create the tabletop, this is your chance to create an aesthetically pleasing arrangement.
Once you’re satisfied with the layout, it’s time to join the tabletop pieces together. Applying wood glue along the edges of the boards and using clamps to hold them tightly in place will facilitate a strong and seamless bond. Be sure to wipe off any excess glue that squeezes out to maintain a clean finish.
With the boards securely clamped, it’s essential to reinforce the bond with wood screws. Pre-drilling pilot holes will prevent the wood from splitting when you drive in the screws. This step adds structural integrity to the tabletop, ensuring that it can withstand the weight of hearty meals and lively conversations for years to come.
After the glue has dried and the screws are in place, it’s time to sand the tabletop to achieve a smooth and uniform surface. Pay attention to the edges and corners, rounding them off slightly to prevent sharp edges and create a comfortable dining experience.
As the tabletop comes together, take a moment to admire your handiwork. You’re now one step closer to completing your farmhouse dining table, and the satisfaction of seeing the tabletop take shape is a testament to your dedication and craftsmanship.
With the tabletop assembled, the next phase of the project involves constructing the base of the farmhouse table, which will provide stability and support for the tabletop. This is where the table truly begins to take on its distinctive form and character.
Building the Table Base
As you progress to the construction of the table base, you’re entering the phase where the foundational support for your farmhouse dining table comes to life. The base not only contributes to the table’s stability but also adds to its aesthetic appeal, making it a focal point in your dining space.
Depending on your design preferences, there are various styles of table bases to consider, each with its unique charm:
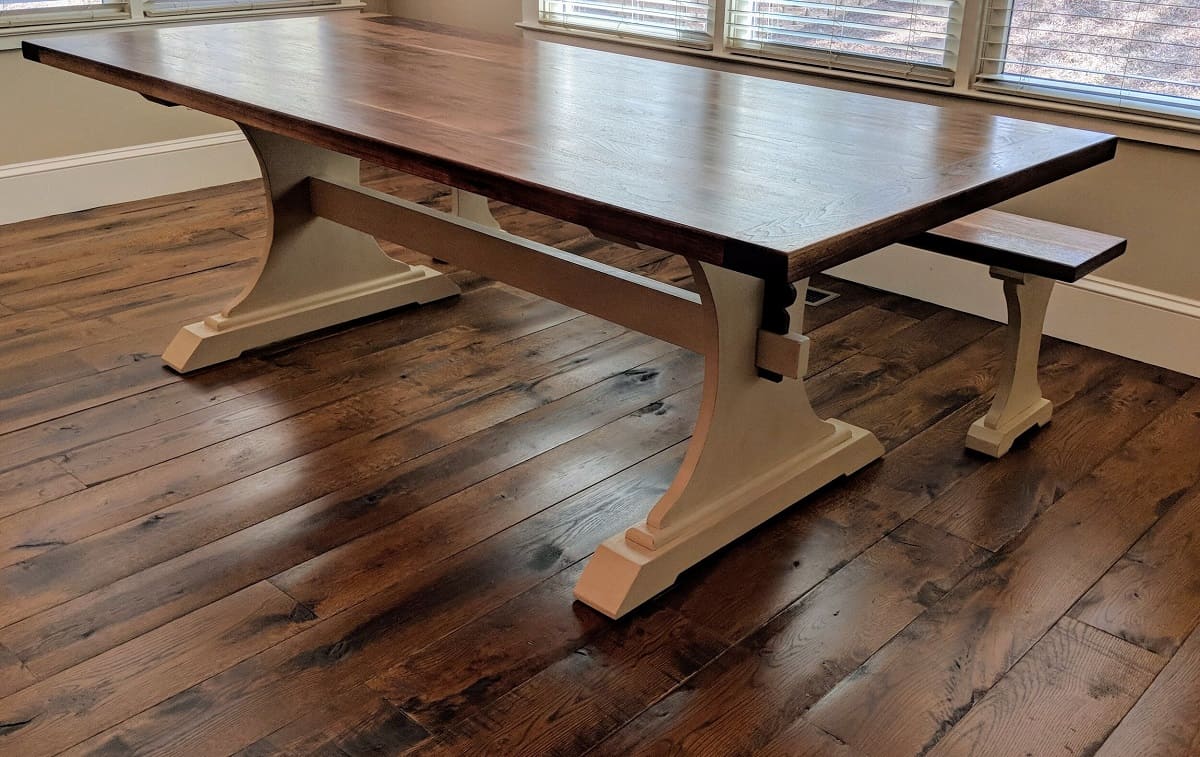
1. Trestle Base:
A trestle base features a horizontal beam supported by two legs at each end, creating a sturdy and classic look. This design allows for ample legroom and provides a timeless touch to the table.
Read more: How To Make A Resin Dining Table
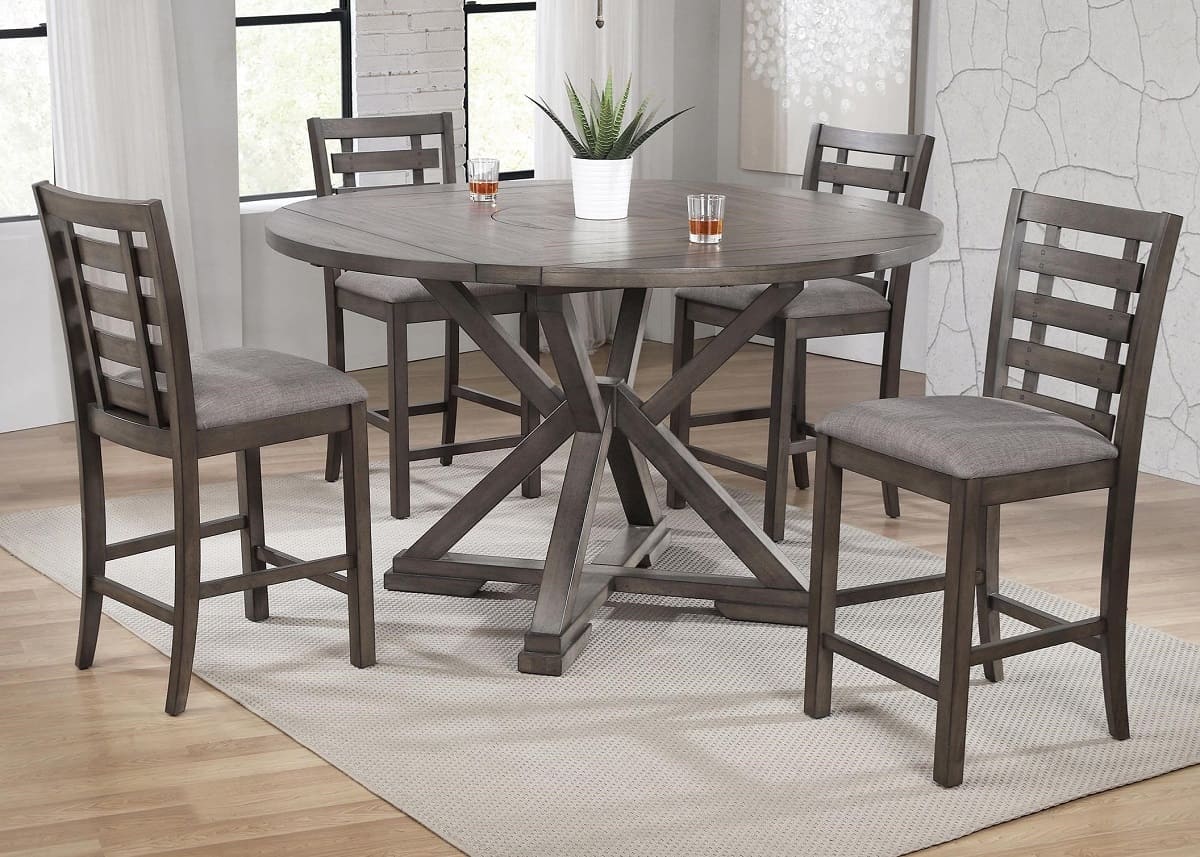
2. Pedestal Base:
A pedestal base consists of a single, central support, often with ornate detailing. This design offers a sense of elegance and can be ideal for maximizing seating capacity around the table.
3. Four-Legged Base:
A traditional four-legged base provides a simple and versatile foundation for the table. It offers stability and can be adapted to various styles, from rustic to modern farmhouse aesthetics.
Regardless of the base style you choose, the construction process typically involves cutting and assembling the support components, such as legs, stretchers, and braces. These elements are vital in ensuring that the table base is robust and capable of bearing the weight of the tabletop.
Once the base components are cut to size and shape, it’s crucial to join them securely using wood glue and screws. This step requires attention to detail to ensure that the base is level and stable. Double-checking the measurements and using a square during assembly can help achieve a precise and balanced result.
As the base takes form, envision how it will complement the tabletop and contribute to the overall aesthetic of the farmhouse dining table. The base not only serves a functional purpose but also adds character and charm to the finished piece.
With the tabletop and base now assembled, the next phase involves adding the finishing touches that will enhance the table’s appearance and protect it from daily wear and tear. This is where your farmhouse dining table will truly shine and become a cherished centerpiece in your home.
Finishing Touches
As you approach the final stages of constructing your farmhouse dining table, it’s time to add the finishing touches that will elevate its appearance and ensure its longevity. The finishing process involves applying stains, paints, and protective coatings to enhance the wood’s natural beauty and safeguard it from everyday use.
The choice of finish plays a significant role in defining the table’s aesthetic and character:
Stain:
Applying a wood stain can enrich the natural grain of the wood, adding depth and warmth to the tabletop and base. Stains come in various shades, allowing you to achieve a light, natural look or a darker, more rustic appeal.
Read more: How To Make A Marble Dining Table
Paint:
Opting for a painted finish can impart a fresh and vibrant look to your farmhouse table. Whether you prefer a classic white or a bold, statement color, paint can bring a touch of personality to the piece.
Protective Coating:
Once the stain or paint has dried, sealing the table with a protective coating, such as polyurethane or wood sealant, is essential. This step shields the wood from moisture, stains, and scratches, ensuring that your table remains beautiful and resilient over time.
Before applying the finish, it’s crucial to sand the entire table surface to achieve a smooth and even texture. This step prepares the wood to absorb the finish uniformly, resulting in a professional-looking outcome.
When applying the stain or paint, use a brush or rag to work in the direction of the wood grain, allowing the natural patterns to shine through. Multiple coats may be necessary to achieve the desired color depth, so exercise patience and allow each coat to dry thoroughly before applying the next.
Once the stain or paint has dried, carefully apply the protective coating as per the manufacturer’s instructions. This final layer will not only safeguard the table but also impart a subtle sheen, enhancing the wood’s visual appeal.
With the finishing touches complete, stand back and admire the transformation of raw wood into a stunning farmhouse dining table. The time and effort invested in the construction and finishing process have culminated in a piece of furniture that exudes charm and craftsmanship.
As you prepare to introduce your farmhouse dining table to its designated space, take pride in the fact that you’ve created a timeless and inviting centerpiece that will host countless meals, conversations, and cherished moments for years to come.
Conclusion
Congratulations on successfully crafting your very own farmhouse dining table! The journey from selecting the wood to applying the finishing touches has been a labor of love, and the result is a beautiful and functional piece of furniture that reflects your creativity and dedication.
Building a farmhouse table is more than just a woodworking project – it’s a journey that allows you to connect with the timeless tradition of craftsmanship and create a gathering place for family and friends. The rustic allure and sturdy construction of a farmhouse table make it a versatile addition to any home, blending seamlessly with various decor styles and serving as a hub for shared meals and fond memories.
As you admire your handiwork, take a moment to appreciate the craftsmanship and attention to detail that went into each step of the process. From choosing the right wood to assembling the tabletop and constructing the base, you’ve demonstrated skill and passion in bringing your vision to life.
Now that your farmhouse dining table stands as a testament to your woodworking prowess, it’s time to invite loved ones to gather around it and create new memories. Whether it’s hosting festive dinners, lively game nights, or heartfelt conversations, your farmhouse table will be at the center of it all, providing a warm and inviting setting for cherished moments.
Remember that the journey doesn’t end here. Your farmhouse table will evolve alongside your home and family, bearing the marks of shared experiences and becoming a beloved heirloom for future generations. It will witness laughter, celebrations, and everyday routines, becoming an integral part of your home’s story.
As you bask in the satisfaction of completing this woodworking endeavor, take pride in the fact that your farmhouse dining table is not just a piece of furniture, but a symbol of craftsmanship, warmth, and togetherness. Your dedication has yielded a timeless centerpiece that will continue to enrich your home and create lasting connections for years to come.
So, go ahead, pull out the chairs, set the table, and let the warmth of your farmhouse dining table become the backdrop for countless cherished moments in the years ahead.
Frequently Asked Questions about How To Make A Farmhouse Dining Table
Was this page helpful?
At Storables.com, we guarantee accurate and reliable information. Our content, validated by Expert Board Contributors, is crafted following stringent Editorial Policies. We're committed to providing you with well-researched, expert-backed insights for all your informational needs.


0 thoughts on “How To Make A Farmhouse Dining Table”