Home>Dining>Tableware>How To Construct A Farmhouse Dining Table
Tableware
How To Construct A Farmhouse Dining Table
Modified: August 28, 2024
Learn how to construct a farmhouse dining table and create an inviting space for gatherings. Find the perfect tableware to enhance your dining experience.
(Many of the links in this article redirect to a specific reviewed product. Your purchase of these products through affiliate links helps to generate commission for Storables.com, at no extra cost. Learn more)
Introduction
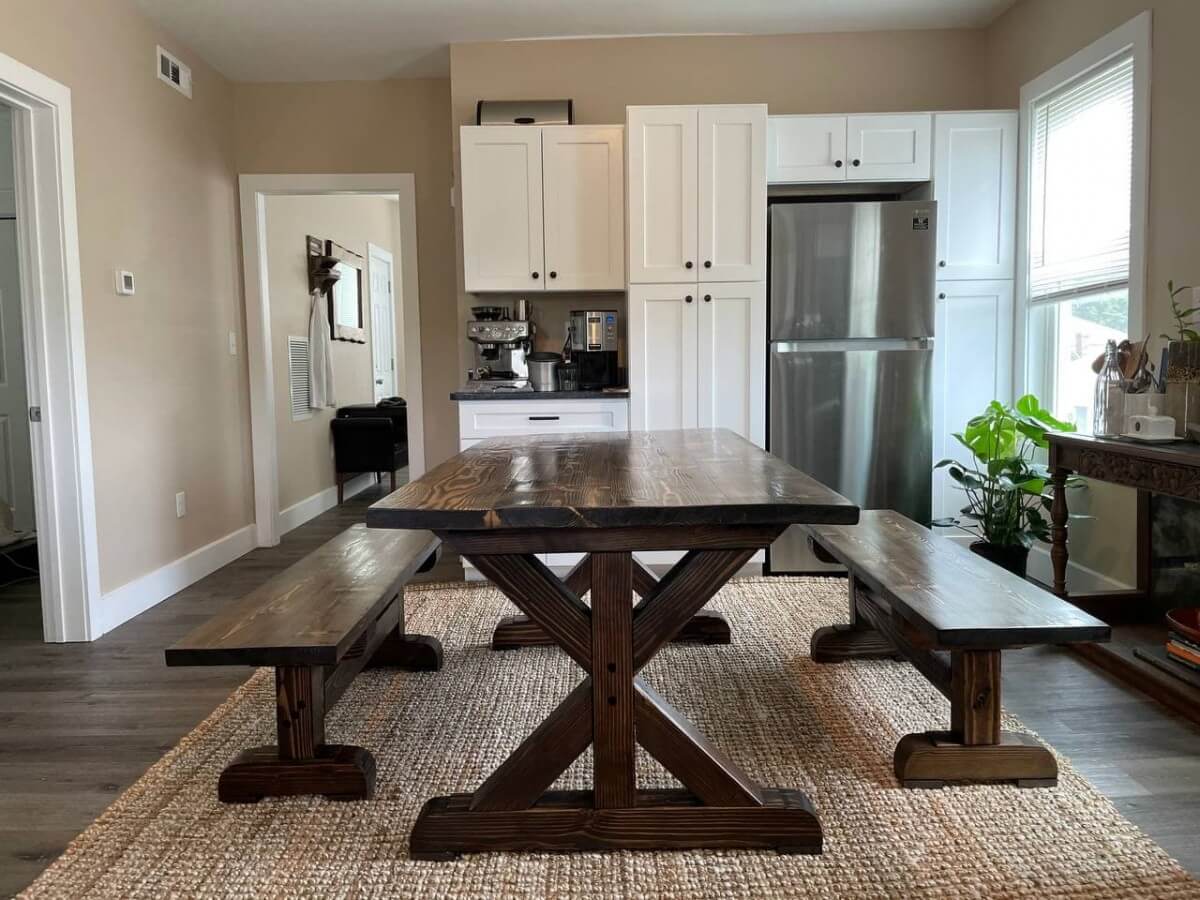
Welcome to the world of farmhouse dining tables – a timeless and charming addition to any home. Whether you are looking to upgrade your current dining space or embark on a DIY project, constructing a farmhouse dining table can be a rewarding and fulfilling experience. Not only will you have a beautiful and functional piece of furniture, but you will also have the satisfaction of knowing you created it with your own hands.
A farmhouse dining table embodies a rustic and warm aesthetic, often characterized by its sturdy construction and distressed finishes. Their simple and versatile design makes them suitable for a variety of interior styles, ranging from modern farmhouse to traditional or even eclectic spaces. Plus, these tables are perfect for gathering family and friends, creating lasting memories over delicious meals or game nights.
In this comprehensive guide, we will take you through the step-by-step process of constructing your very own farmhouse dining table. From gathering the necessary materials and tools to putting on the finishing touches, we’ve got you covered. So, roll up your sleeves and let’s get started on this exciting DIY adventure!
Key Takeaways:
- Constructing a farmhouse dining table requires gathering high-quality wood, essential tools, and safety gear. The step-by-step process includes cutting, sanding, assembling, and finishing the table for a timeless and charming addition to any home.
- Building a farmhouse dining table is a fulfilling DIY project that allows for customization and creativity. From selecting wood types to applying finishes, the process requires patience, attention to detail, and proper safety precautions.
Materials and Tools Needed
Before diving into the construction process, it’s essential to gather all the necessary materials and tools for building a farmhouse dining table. Here’s a handy list to help you get started:
Materials:
- Wood: Choose a high-quality, durable wood such as oak, pine, or maple for the tabletop and legs.
- Wood glue: A strong wood glue will be needed to secure the table joints.
- Screws: Opt for stainless steel screws that are long enough to hold the pieces together firmly.
- Sandpaper: Different grits of sandpaper, ranging from coarse to fine, for smoothing the wood surfaces.
- Stain or paint: Select a stain or paint that matches your desired finish for the tabletop.
- Clear coats: Apply a protective coat such as polyurethane or varnish to seal and safeguard the table.
Tools:
- Table saw or circular saw: A saw will be needed for cutting the wood to the required dimensions.
- Miter saw: This tool will help you achieve precise angled cuts for the legs and other components.
- Drill and drill bits: Use a drill for making pilot holes and driving screws into the wood.
- Clamps: Clamps will hold the pieces together while the glue dries and during assembly.
- Sander: A power sander or sanding block will aid in smoothing the wood surfaces.
- Measuring tape and marking tools: Accurate measurements and markings are crucial for a well-built table.
- Paintbrushes and/or foam rollers: These will be required for applying the stain, paint, or clear coats.
- Protective gear: Safety goggles, gloves, and a dust mask should be worn when working with wood and tools.
Having these materials and tools readily available will ensure a smoother and more efficient construction process. Additionally, it’s important to keep in mind safety precautions and use proper techniques when handling tools and working with wood. Now that you’ve gathered everything you need, let’s move on to the next step: gathering the wood.
Step 1: Gathering the Wood
The first step in constructing a farmhouse dining table is to gather the necessary wood for the tabletop and legs. Choosing the right type of wood is crucial as it determines the durability and aesthetic appeal of your table.
When selecting wood for the tabletop, opt for a thick and sturdy material that can withstand the test of time. Common choices include oak, pine, or maple, as these woods are known for their strength and durability. You can either purchase pre-cut lumber or have it cut to your desired dimensions at a local wood shop or home improvement store.
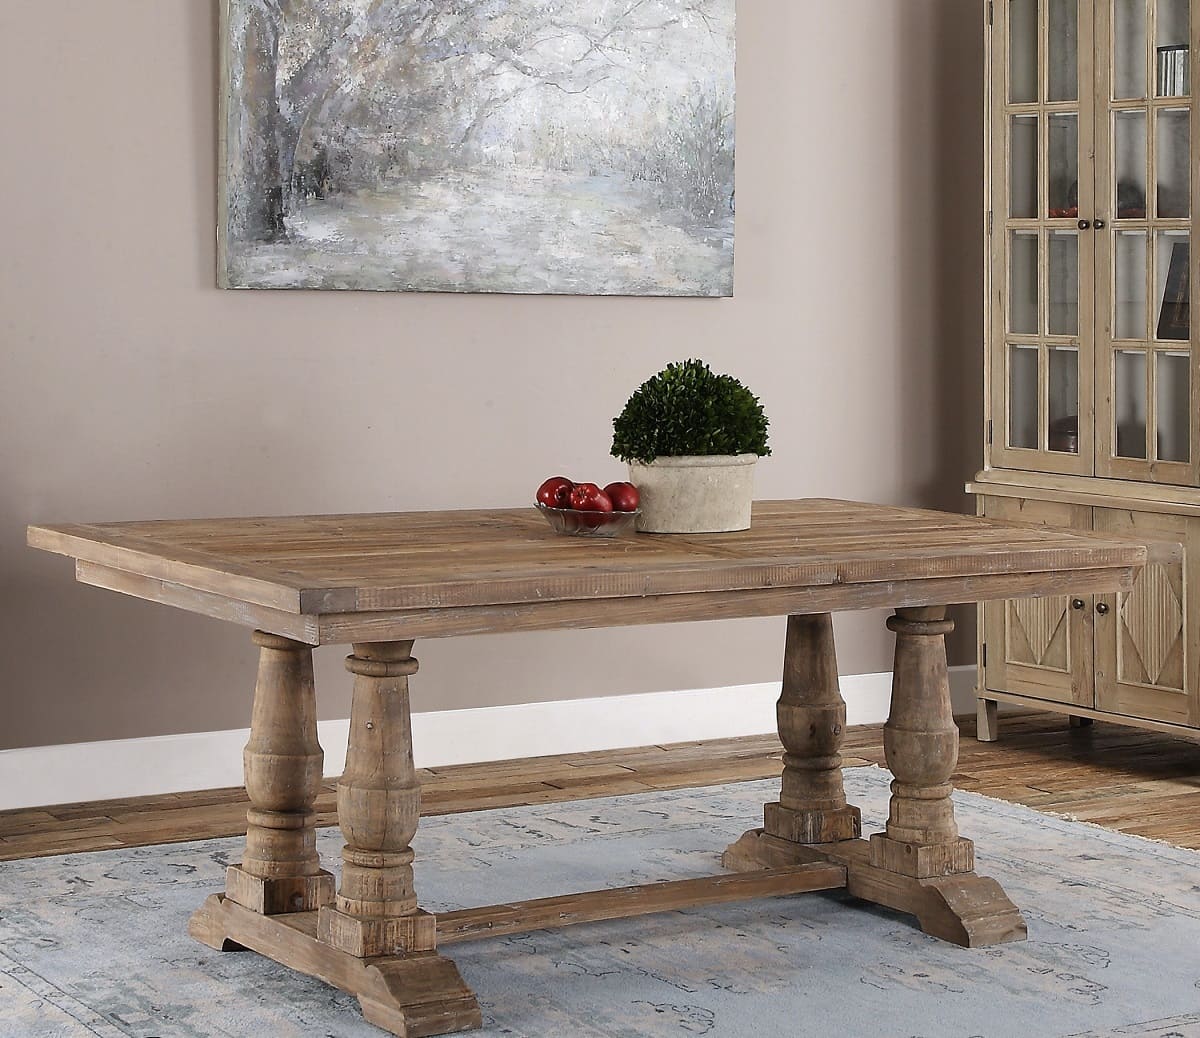
For the legs, you have several options. Square or tapered legs are popular choices for farmhouse tables, and you can either purchase pre-made legs or create your own using the same type of wood as the tabletop. If you prefer a more rustic look, consider using thicker branches or reclaimed materials for a unique and organic touch.
Once you have gathered the wood, inspect each piece for any defects or imperfections. It’s important to ensure that the wood is straight and free from cracks or warping. If you do encounter any flaws, you may need to make adjustments or consider replacing the affected pieces.
Remember to allow the wood to acclimate to your environment for a few days before beginning construction. This will prevent any potential shrinkage or expansion of the wood after the table is assembled.
Now that you have your wood ready, it’s time to move on to the next step: cutting the wood pieces.
Step 2: Cutting the Wood Pieces
Once you have gathered the necessary wood, it’s time to start cutting the pieces to the required dimensions. This step is crucial as it will determine the overall size and shape of your farmhouse dining table.
Begin by measuring and marking the dimensions for the tabletop. Use a table saw or circular saw to cut the wood according to your desired length and width. It’s important to ensure that the cuts are straight and accurate for a seamless and professional-looking finish. Take your time and use a mitre saw if necessary to achieve precise angled cuts for the corners.
Next, move on to cutting the wood for the table legs. Measure and mark the desired height for the legs, keeping in mind the overall height of the table and the desired seating arrangement. Use a mitre saw to make straight cuts at the marked dimensions. If you prefer tapered legs, you can make additional cuts to shape the legs accordingly.
Be sure to wear safety goggles and gloves when using power tools and always follow proper safety protocols. Take your time and double-check your measurements before making any cuts to avoid mistakes that could affect the final result.
Once all the wood pieces are cut to the proper dimensions, use sandpaper to smooth any rough edges or surfaces. This will ensure a clean and polished appearance to the table.
Now that you have your wood pieces ready, it’s time to move on to the next step: sanding the wood.
Step 3: Sanding the Wood
Now that you have cut the wood pieces for your farmhouse dining table, it’s time to move on to the next step: sanding. Sanding is an essential process that not only helps to smooth the wood surfaces but also prepares them for staining or painting.
Start by using a coarse-grit sandpaper to remove any rough spots, splinters, or imperfections on the wood. Sand in the direction of the grain, applying even pressure to ensure a consistent finish. Be sure to sand all sides of the wood, including the tabletop and legs, to achieve a uniform appearance.
As you progress, switch to finer-grit sandpaper to create a smoother surface. This will help to improve the overall look and feel of the table. Take your time and be thorough in your sanding process, paying attention to all areas and corners.
Once you are satisfied with the smoothness of the wood, wipe away any dust or debris with a clean cloth or tack cloth. This will ensure that the surface is clean and ready for the next step, whether it’s staining, painting, or applying a protective finish.
Remember to wear protective gear such as safety goggles and a dust mask throughout the sanding process. This will protect you from airborne particles and ensure your safety.
With the wood now sanded to perfection, you are ready to move on to the next step: assembling the tabletop.
Step 4: Assembling the Tabletop
Now that you have prepared the wood by cutting and sanding, it’s time to start assembling the tabletop for your farmhouse dining table. The tabletop is the focal point of the table, so it’s important to ensure a sturdy and well-constructed assembly.
Begin by laying out the wood pieces on a flat and level surface, ensuring that the edges align properly. Apply a thin layer of wood glue to the edges of each piece, spreading it evenly to create a strong bond.
Next, press the pieces together firmly, ensuring that the edges are flush. Use clamps to hold the pieces in place while the glue dries. Be sure to wipe off any excess glue with a damp cloth to prevent it from interfering with the staining or painting process.
Allow the glue to fully dry according to the manufacturer’s instructions. This can take several hours or overnight, so be patient and resist the temptation to rush the process.
Once the glue is dry, carefully remove the clamps and inspect the tabletop assembly. Check for any gaps or unevenness and make any necessary adjustments. If there are slight imperfections, you can use wood filler to fill in the gaps and sand it smooth once it dries.
With the tabletop assembled and any adjustments made, you are one step closer to completing your farmhouse dining table. The next step is building the table legs.
When constructing a farmhouse dining table, be sure to use sturdy, high-quality wood such as oak or pine for the tabletop and legs to ensure durability and longevity. Additionally, consider adding a protective finish to the wood to prevent damage from spills and scratches.
Step 5: Building the Table Legs
Now that the tabletop is assembled, it’s time to focus on building the table legs for your farmhouse dining table. The legs are not only essential for providing stability and support but also add to the overall aesthetic appeal of the table.
If you have purchased pre-made legs, ensure they are the appropriate height for your table and follow the manufacturer’s instructions for attaching them. However, if you prefer a more customized and handmade approach, you can build the legs yourself using the same type of wood as the tabletop.
Begin by measuring and marking the desired length for your table legs. Use a saw, preferably a mitre saw, to make straight cuts at the marked dimensions. For tapered legs, make additional angled cuts to shape the legs accordingly.
Once the leg pieces are cut, sand them thoroughly to achieve a smooth and even surface. Pay attention to all sides and corners, ensuring a consistent finish.
To add an extra touch of charm and stability to your table legs, consider adding decorative elements such as notches or bevels. These can be achieved by using a router or chisel, adding visual interest to your farmhouse dining table.
With the legs sanded and any decorative elements added, it’s time to attach them to the tabletop in the next step.
Note: Depending on your table design and personal preference, you may need additional support, such as stretchers or aprons, between the legs for added stability. Take this into consideration and adjust your construction process accordingly.
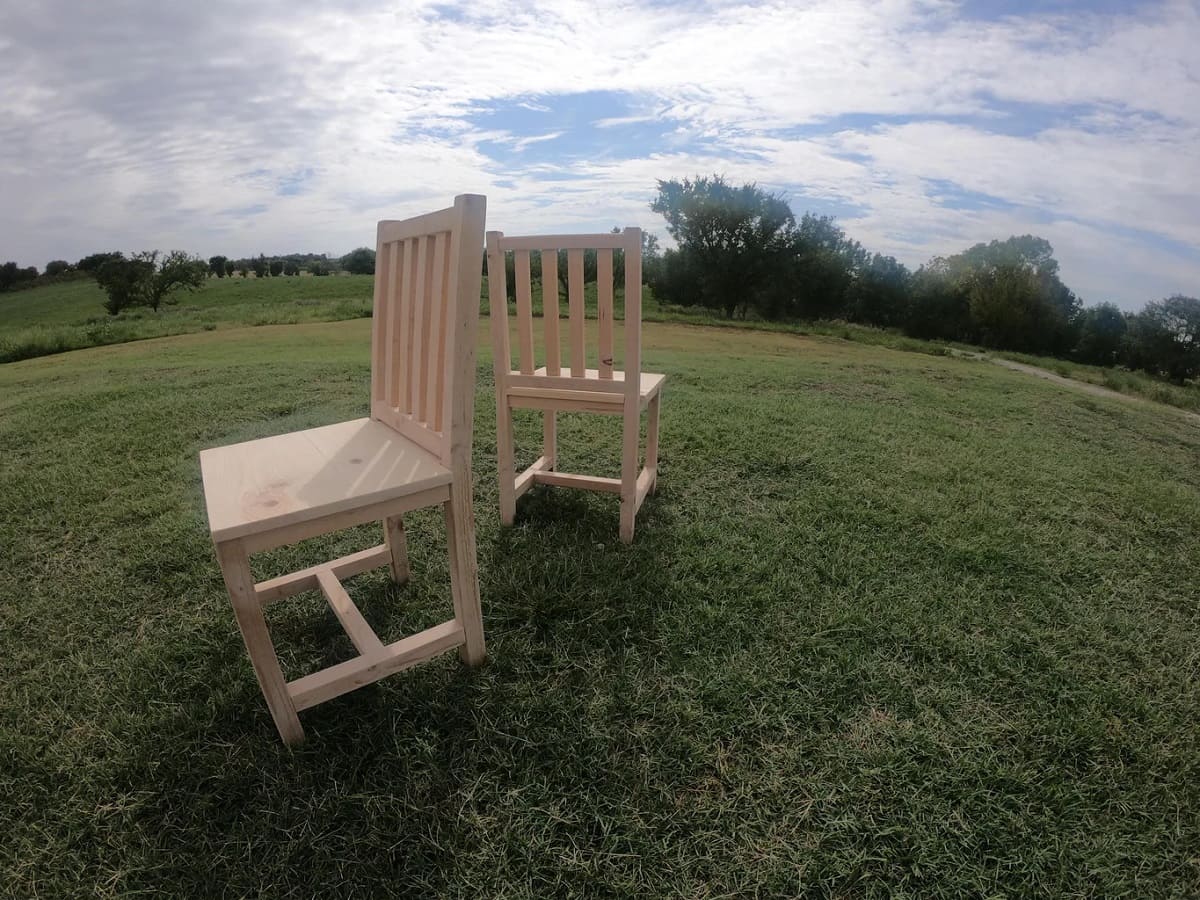
Read more: How To Construct Wicker Dining Chairs
Step 6: Attaching the Legs to the Tabletop
With the tabletop assembled and the legs prepared, it’s time to attach the legs to complete your farmhouse dining table. The proper attachment of the legs ensures stability and ensures that the table can withstand regular use.
Start by positioning the table legs at each corner of the tabletop, ensuring they are aligned with the edges and centered properly. You can use clamps to temporarily hold the legs in place while you work.
Once the legs are in position, use a drill and screws to secure them to the tabletop. Predrill pilot holes to prevent the wood from splitting, and then screw the legs into place. Make sure to countersink the screws slightly below the surface of the wood for a clean and flush finish.
Repeat this process for all four legs, double-checking their alignment and stability as you go. Ensure that the legs are firmly attached and there is no wobbling or instability when pressure is applied.
Once the legs are securely attached, remove any clamps and inspect the table for any adjustments or refinements. Check that the legs are straight and level, and make any necessary tweaks to ensure a balanced and even table.
With the legs attached, your farmhouse dining table is almost complete. The next step is to apply a finish to protect and enhance the beauty of the wood.
Step 7: Applying Finish to the Table
The final step in constructing your farmhouse dining table is to apply a finish that will protect the wood and enhance its natural beauty. The finish you choose can greatly impact the overall look and feel of the table, so take your time in selecting the right one.
If you prefer a natural and rustic look, you can opt for a clear finish such as polyurethane or varnish. These finishes will provide protection against spills and stains while allowing the natural beauty of the wood to shine through. Apply multiple coats, following the manufacturer’s instructions, for added durability.
If you desire a different aesthetic, consider staining the table to achieve a specific color or tone. Before staining, ensure that the wood is clean and free from any dust or debris. Apply the stain evenly with a brush or cloth, following the direction of the wood grain. Allow the stain to penetrate the wood for the recommended time, and then wipe off any excess stain with a clean cloth. Apply additional coats as desired to achieve the desired depth of color.
For those who prefer a painted finish, select a paint color that complements the overall style of your dining space. Light-colored paints can create an airy and farmhouse-inspired feel, while darker shades can add a sense of drama and richness. Apply multiple coats, allowing each coat to dry thoroughly before applying the next.
Once you have applied the finish and it is completely dry, lightly sand the surface with a fine-grit sandpaper to smooth out any imperfections. Wipe away any dust with a damp cloth before applying a final protective coat, such as polyurethane or varnish, to seal the finish and provide added durability.
Allow the final protective coat to dry completely before using your farmhouse dining table. This will ensure that the finish is fully cured and ready for regular use.
Congratulations! You have successfully constructed a beautiful and functional farmhouse dining table. Now it’s time to gather your family and friends and enjoy memorable meals and moments around your custom-made table.
Remember, constructing a farmhouse dining table requires patience, attention to detail, and proper safety precautions. Take your time throughout the process and don’t hesitate to seek guidance or assistance if needed. With careful craftsmanship, your farmhouse dining table will be an enduring centerpiece in your home for years to come.
Conclusion
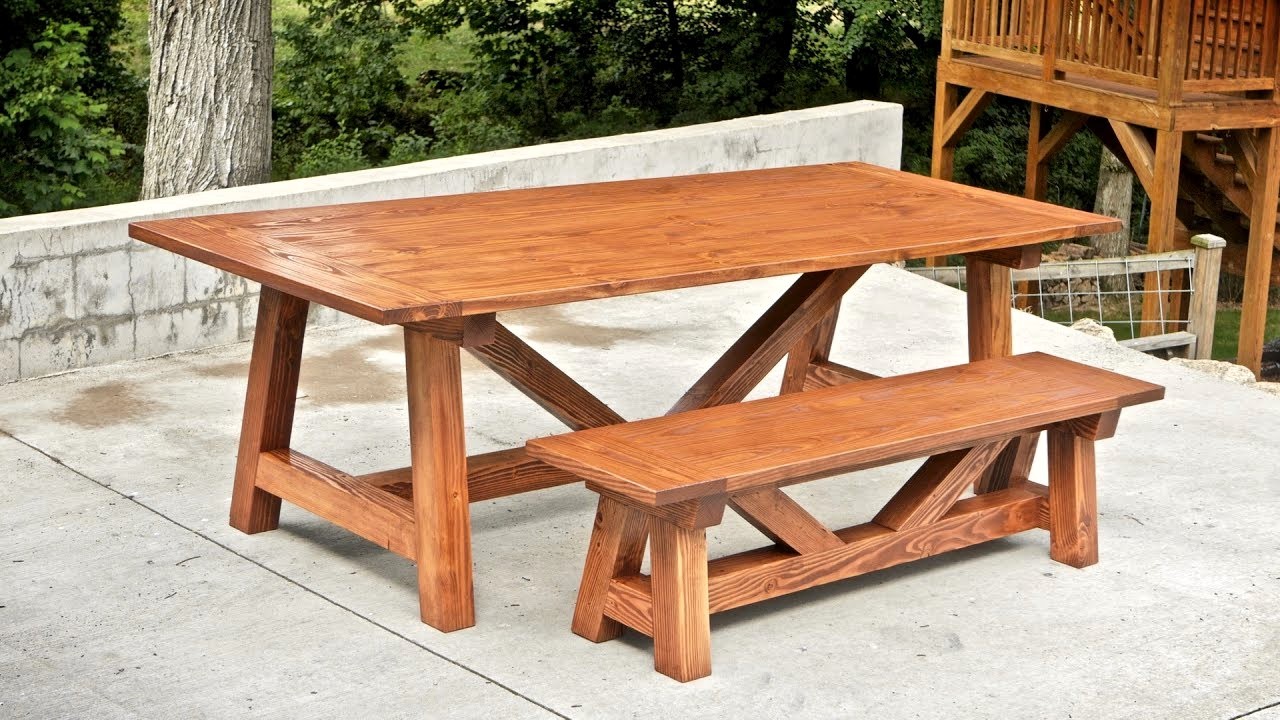
Building a farmhouse dining table is a fulfilling and rewarding DIY project that allows you to create a beautiful and functional piece of furniture for your home. Throughout the process, you have learned how to gather the necessary materials and tools, cut and assemble the wood pieces, sand them to perfection, attach the legs, and apply a finish that enhances the natural beauty of the wood.
A farmhouse dining table adds a touch of rustic charm and warmth to any dining space. Its timeless design and sturdy construction make it a focal point for gatherings and shared meals with family and friends. Whether you choose to follow the steps outlined in this guide or modify them to suit your personal style, constructing a farmhouse dining table is a wonderful way to showcase your woodworking skills and create a piece that is uniquely yours.
Remember to prioritize safety throughout the construction process, wearing protective gear and using tools responsibly. Take your time, paying attention to details and ensuring precise measurements and cuts. This will result in a farmhouse dining table that not only looks beautiful but stands the test of time.
Once your farmhouse dining table is complete, it’s time to enjoy the fruits of your labor. Gather your loved ones around the table, share meals, create memories, and cherish the craftsmanship that went into its creation.
So, roll up your sleeves, embrace your creative spirit, and embark on the journey of building your own farmhouse dining table. With dedication and passion, you can transform raw materials into a stunning piece of furniture that will bring joy and comfort to your home for years to come.
Frequently Asked Questions about How To Construct A Farmhouse Dining Table
Was this page helpful?
At Storables.com, we guarantee accurate and reliable information. Our content, validated by Expert Board Contributors, is crafted following stringent Editorial Policies. We're committed to providing you with well-researched, expert-backed insights for all your informational needs.


0 thoughts on “How To Construct A Farmhouse Dining Table”