Home>Dining>Table Decor>How To Redo A Table To Farmhouse Style
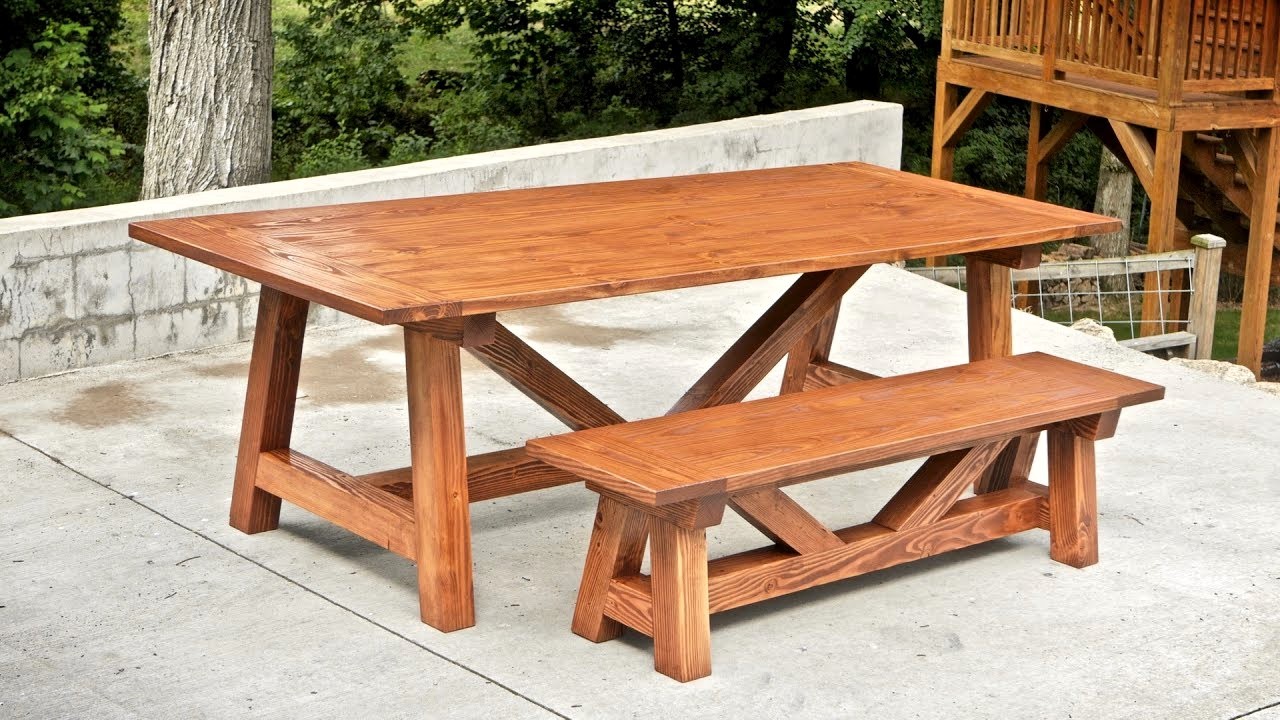
Table Decor
How To Redo A Table To Farmhouse Style
Modified: October 20, 2024
Learn how to transform an ordinary table into a charming farmhouse-style centerpiece with our expert tips and inspiration for table decor.
(Many of the links in this article redirect to a specific reviewed product. Your purchase of these products through affiliate links helps to generate commission for Storables.com, at no extra cost. Learn more)
Introduction
Welcome to the world of table decor! The art of transforming a regular table into a stunning piece of furniture is not only satisfying but also a great way to add personality to your home. One popular style that has gained significant momentum in recent years is the farmhouse style. This trend combines rustic charm with modern simplicity, creating a warm and inviting atmosphere.
In this article, we will guide you through the process of redoing a table to farmhouse style. From assessing the table to adding farmhouse touches, we will provide you with comprehensive instructions to help you achieve the farmhouse look you desire.
Before we dive into the details, it’s important to note that the techniques and materials used in this process may vary depending on the specific table and your personal preferences. However, the basic steps outlined here will give you a solid foundation to work from.
So, are you ready to transform your table into a farmhouse masterpiece? Let’s get started!
Key Takeaways:
- Transform a regular table into a stunning farmhouse-style centerpiece by assessing, preparing, staining, distressing, and sealing. Add rustic touches for a cozy and inviting atmosphere that reflects your personal style.
- Embrace farmhouse charm by incorporating decorative accessories, mismatched chairs, natural wood serving boards, and textured wall decor. Create a warm and welcoming space that exudes timeless elegance and rustic appeal.
Assessing the Table
Before you begin the transformation process, it’s essential to assess your table. Take a close look at its condition, size, and style to determine how feasible it is to achieve the farmhouse aesthetic.
First, consider the table’s condition. Look for any structural issues such as loose joints or damaged surfaces. If major repairs are needed, it’s best to address them before moving forward with the farmhouse makeover. This will ensure that your table is sturdy and durable for years to come.
Next, evaluate the size and shape of the table. Farmhouse style typically embraces larger, rectangular or oval-shaped tables, as they exude a sense of warmth and simplicity. If your table is not the desired shape, don’t fret! There are ways to modify its appearance, such as adding extensions or altering the edges.
Lastly, assess the current style of the table. Take note of its existing finish and design elements. Ideally, you want a table with a wood or wood-like surface to achieve the farmhouse look. If your table has a different material, such as glass or metal, you can still incorporate farmhouse elements through other means, such as adding a wood top or using paint and distressing techniques.
By thoroughly assessing your table, you will have a better understanding of the modifications needed to achieve the farmhouse style. Whether it requires minor repairs or significant adjustments, this step ensures that you are well-prepared for the transformation process ahead.
Preparing the Table
Now that you have assessed your table and understand the modifications needed, it’s time to prepare it for the farmhouse transformation. This step involves cleaning the table, removing any existing finishes, and ensuring a smooth surface for the new treatment.
Start by cleaning the table thoroughly. Use a mild soap or wood cleaner and a soft cloth to remove any dirt, grime, or grease that may have accumulated over time. Pay close attention to the corners, edges, and any detailed areas of the table.
Once the table is clean, you may need to remove any existing finishes. If your table has a varnish, lacquer, or paint on the surface, you will need to strip it down to the bare wood. There are several methods for stripping, including using chemical strippers or sanding. Choose the method that best suits your comfort level and the condition of the table.
If using a chemical stripper, follow the manufacturer’s instructions carefully. Apply the stripper to the table, let it sit for the recommended amount of time, and then scrape off the loosened finish using a plastic scraper. Wear gloves and work in a well-ventilated area to protect yourself from any fumes. Once the majority of the finish is removed, wipe down the table with a damp cloth to remove any residue.
If sanding is the preferred method, use a medium-grit sandpaper (around 120-150 grit) to remove the existing finish. Sand with the grain of the wood, applying even pressure. Be sure to sand all surfaces, including the corners and edges. Use a sanding block or an electric sander for larger areas. After sanding, use a vacuum or a brush to remove the dust from the table.
After stripping or sanding, inspect the table for any rough spots or imperfections. If necessary, use a finer-grit sandpaper (around 180-220 grit) to smooth out the surface until it feels even and ready for the next step.
Preparing the table is an important step in the farmhouse transformation process. By thoroughly cleaning, removing any existing finishes, and ensuring a smooth surface, you are setting the foundation for a successful makeover. Once the table is prepped, you can move on to the next exciting steps of creating a farmhouse-style table.
Sanding and Stripping
Once you have prepared the table by cleaning it and removing any existing finishes, it’s time to focus on sanding and stripping. These steps are crucial in achieving a smooth and even surface for the farmhouse-style treatment.
Start by sanding the table. Use a medium-grit sandpaper (around 120-150 grit) to begin the sanding process. Sand with the grain of the wood, applying even pressure. Be sure to sand all surfaces, including the top, sides, and edges of the table. For intricate areas or hard-to-reach corners, you can use a sanding block or smaller sandpaper pieces.
The goal of sanding is to remove any roughness, imperfections, or unevenness in the wood surface. It also helps to create a better adhesion for the stain or paint that will be applied later. As you sand, periodically wipe the table with a clean cloth to remove dust and debris. This will allow you to see if there are any remaining rough spots that need further attention.
If your table requires more intensive surface preparation, such as removing stubborn finishes or stains, you may need to use a chemical stripper. Apply the stripper according to the manufacturer’s instructions, ensuring you are working in a well-ventilated area and wearing protective gloves. Allow the stripper to sit for the recommended amount of time, which typically ranges from a few minutes to several hours, depending on the product and the thickness of the finish.
After the stripper has done its job, use a plastic scraper to gently remove the softened finish. Work carefully to avoid scratching the wood surface. Wipe away the residue with a damp cloth, and repeat the process if necessary until all the unwanted finish is removed.
Once the sanding and stripping process is complete, it’s essential to thoroughly clean the table again to remove any residual dust or chemicals. Use a damp cloth or sponge to wipe down the table, ensuring that it is free from any remaining debris.
Sanding and stripping may require some time and effort, but they are crucial steps in the farmhouse transformation process. By creating a smooth and clean surface, you are preparing the table for the application of the wood stain or paint that will ultimately give it that signature farmhouse-style look.
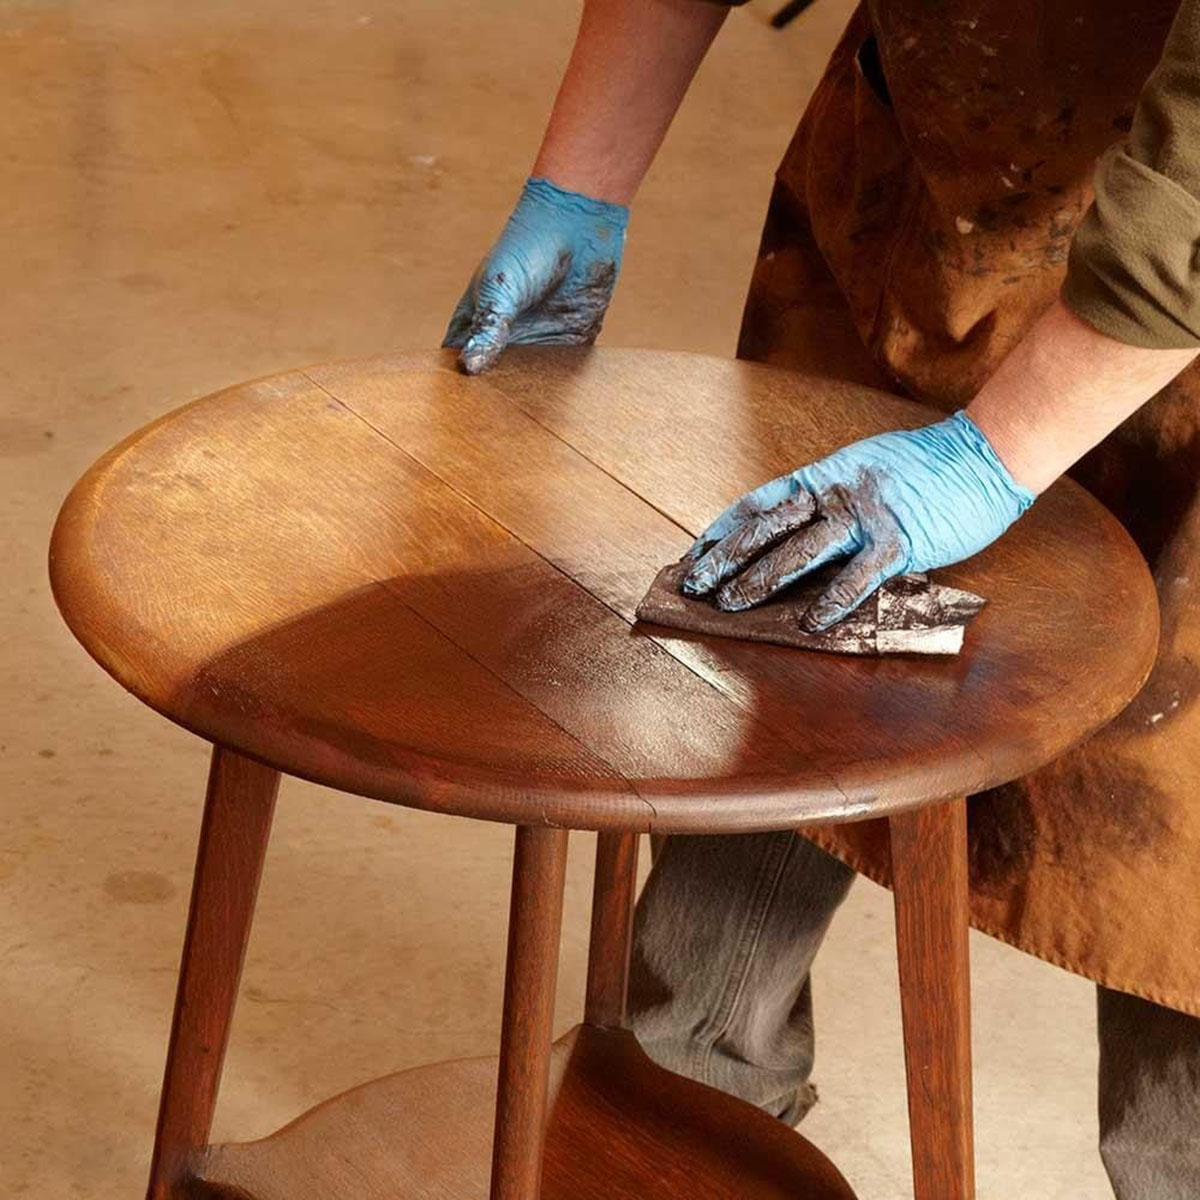
Applying the Wood Stain
Now that you have sanded and stripped the table to create a smooth and clean surface, it’s time to apply the wood stain. Choosing the right stain color is key in achieving the farmhouse aesthetic, as it enhances the natural beauty of the wood and adds depth to the table.
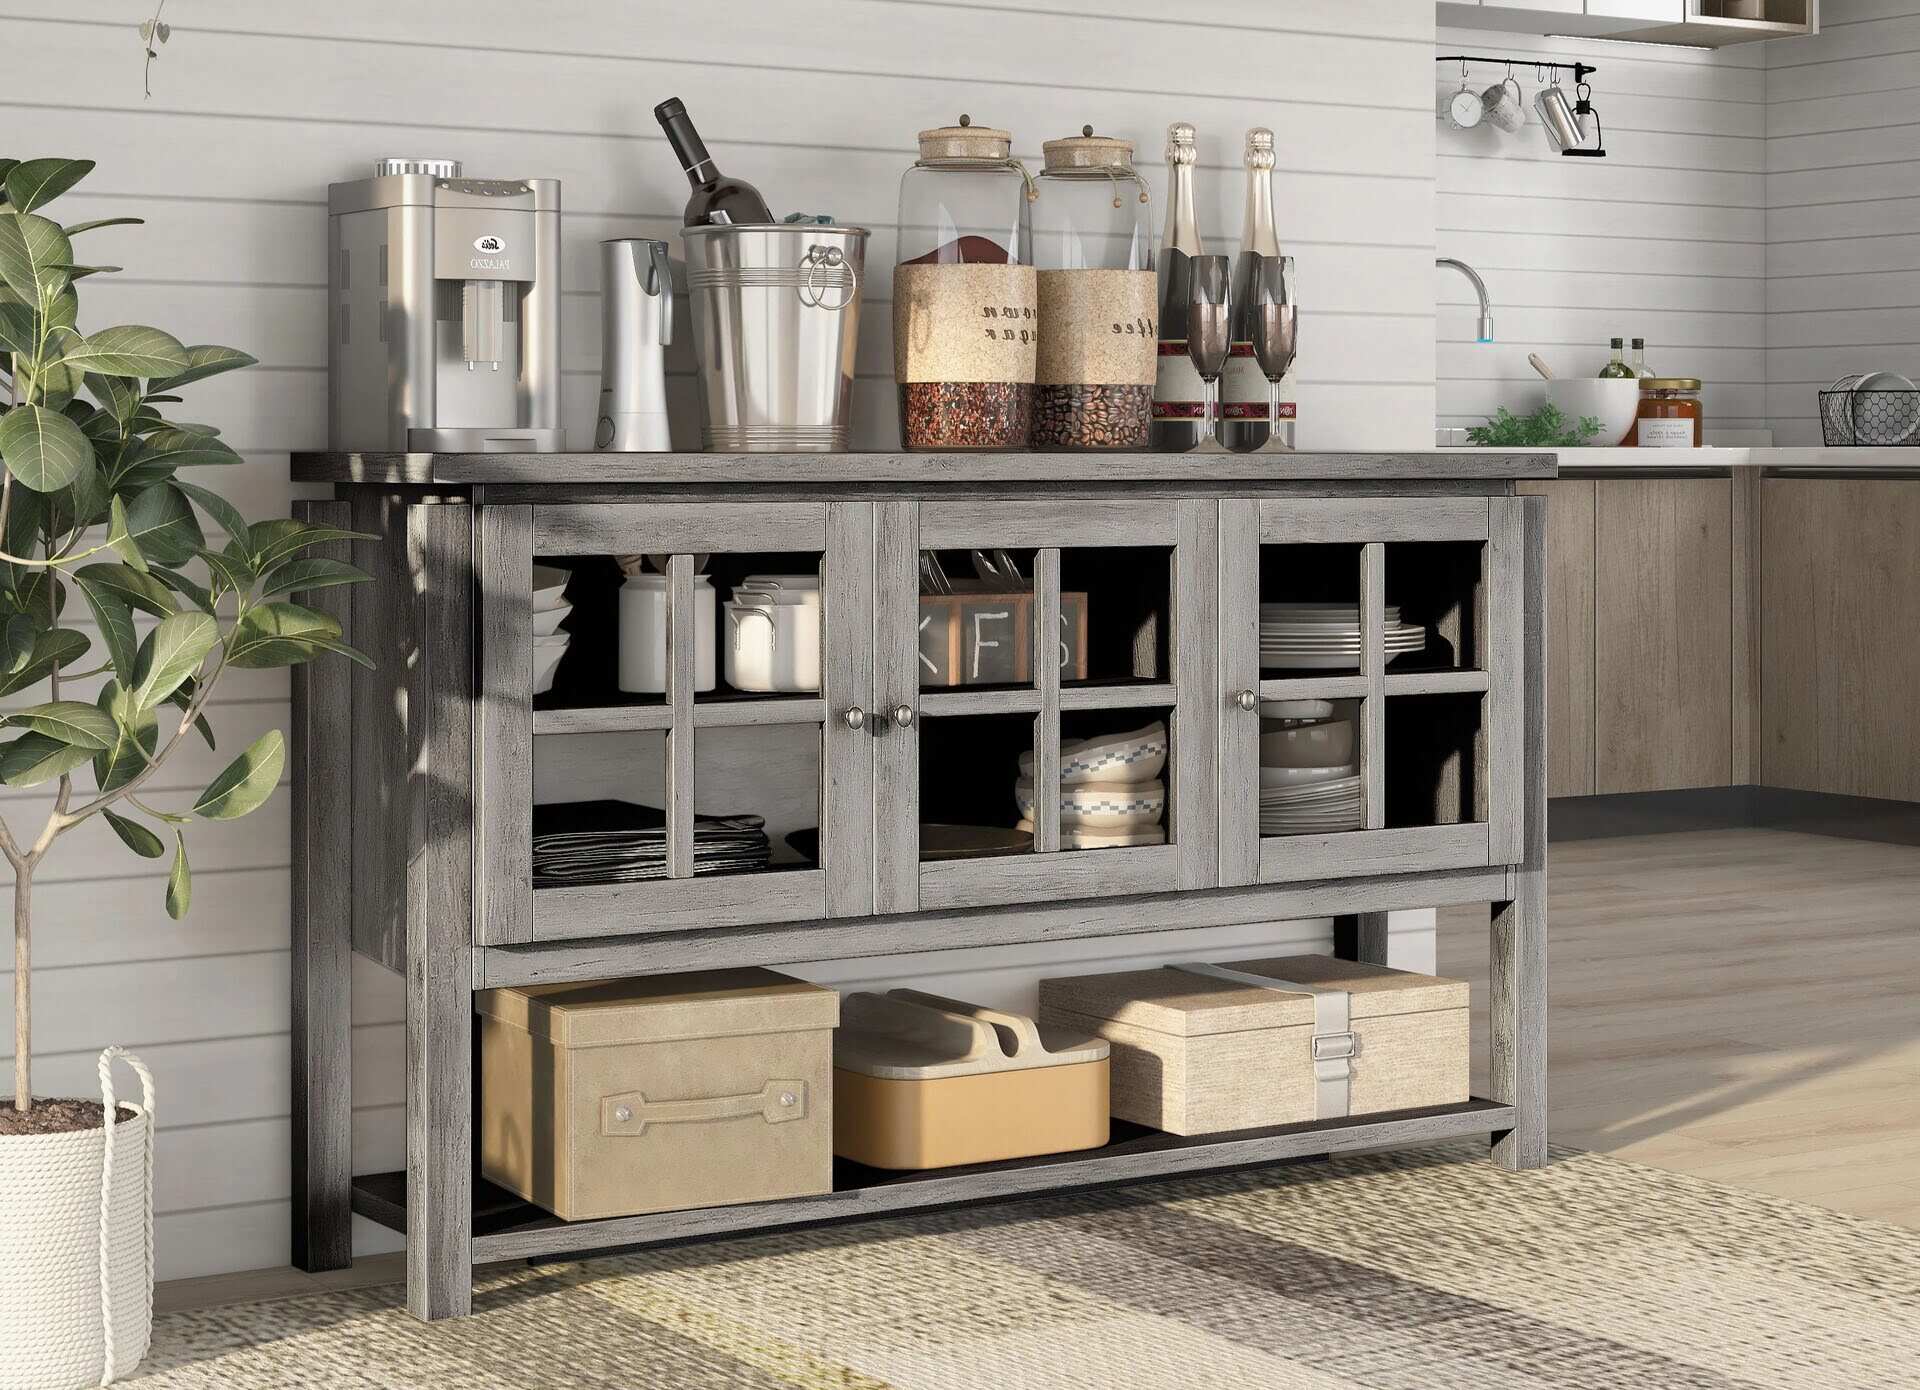
Before applying the stain, it’s important to determine if you want to maintain the natural color of the wood or if you prefer a darker or lighter shade. Consider the overall color scheme of your space and how the stain will complement it. Popular stain colors for the farmhouse style include warm browns, rich chocolates, and weathered grays.
Start by stirring the wood stain thoroughly to ensure an even color distribution. Apply a small amount of stain to a test area on the table to see how the color appears once it dries. If you’re satisfied with the color, you can proceed with staining the entire table.
Using a clean brush or a staining pad, apply the wood stain in the direction of the grain. Work in small sections, applying an even coat of stain to the surface. Be sure to cover all areas of the table, including the edges and corners.
As you apply the stain, keep a clean cloth or rag nearby to wipe away any excess that accumulates. This will help prevent blotching or unevenness. Pay close attention to the areas where the stain may pool, such as around the edges or in crevices. Remove any drips or excess stain promptly to maintain an even finish.
Allow the first coat of stain to dry according to the manufacturer’s instructions. Once it has dried, assess the color. If you desire a darker shade, you can apply a second coat of stain, repeating the same process. It’s important to note that each coat of stain will intensify the color, so apply additional coats cautiously and test the color after each one.
After the final coat of stain has dried, take a step back and admire the beautiful transformation. The wood stain adds warmth, richness, and character to the table, enhancing its natural beauty and bringing out the rustic charm of the farmhouse style.
Remember, the key to achieve the desired look is to follow the manufacturer’s instructions and take your time in the staining process. With patience and attention to detail, you will create a stunning farmhouse-style table that will be the centerpiece of your space.
Sand the table to remove any existing finish and create a smooth surface for painting or staining. This will help the new farmhouse style finish adhere better and look more professional.
Painting the Table Base
Now that you have applied the wood stain to the tabletop, it’s time to focus on painting the base of the table. Painting the base is an essential step in achieving the farmhouse-style look, as it allows you to add a fresh and cohesive color to complement the stained top.
Before you begin painting, you’ll need to prepare the table base by cleaning and priming it. Start by wiping down the base with a damp cloth to remove any dust or debris. If there are any rough spots or imperfections, you can lightly sand them to create a smoother surface.
Once the base is clean and smooth, apply a primer that is suitable for the material of your table base. A primer helps to create a smooth and even paint surface, and it also promotes better adhesion of the paint. Follow the manufacturer’s instructions when applying the primer, and allow it to dry completely before moving on to the next step.
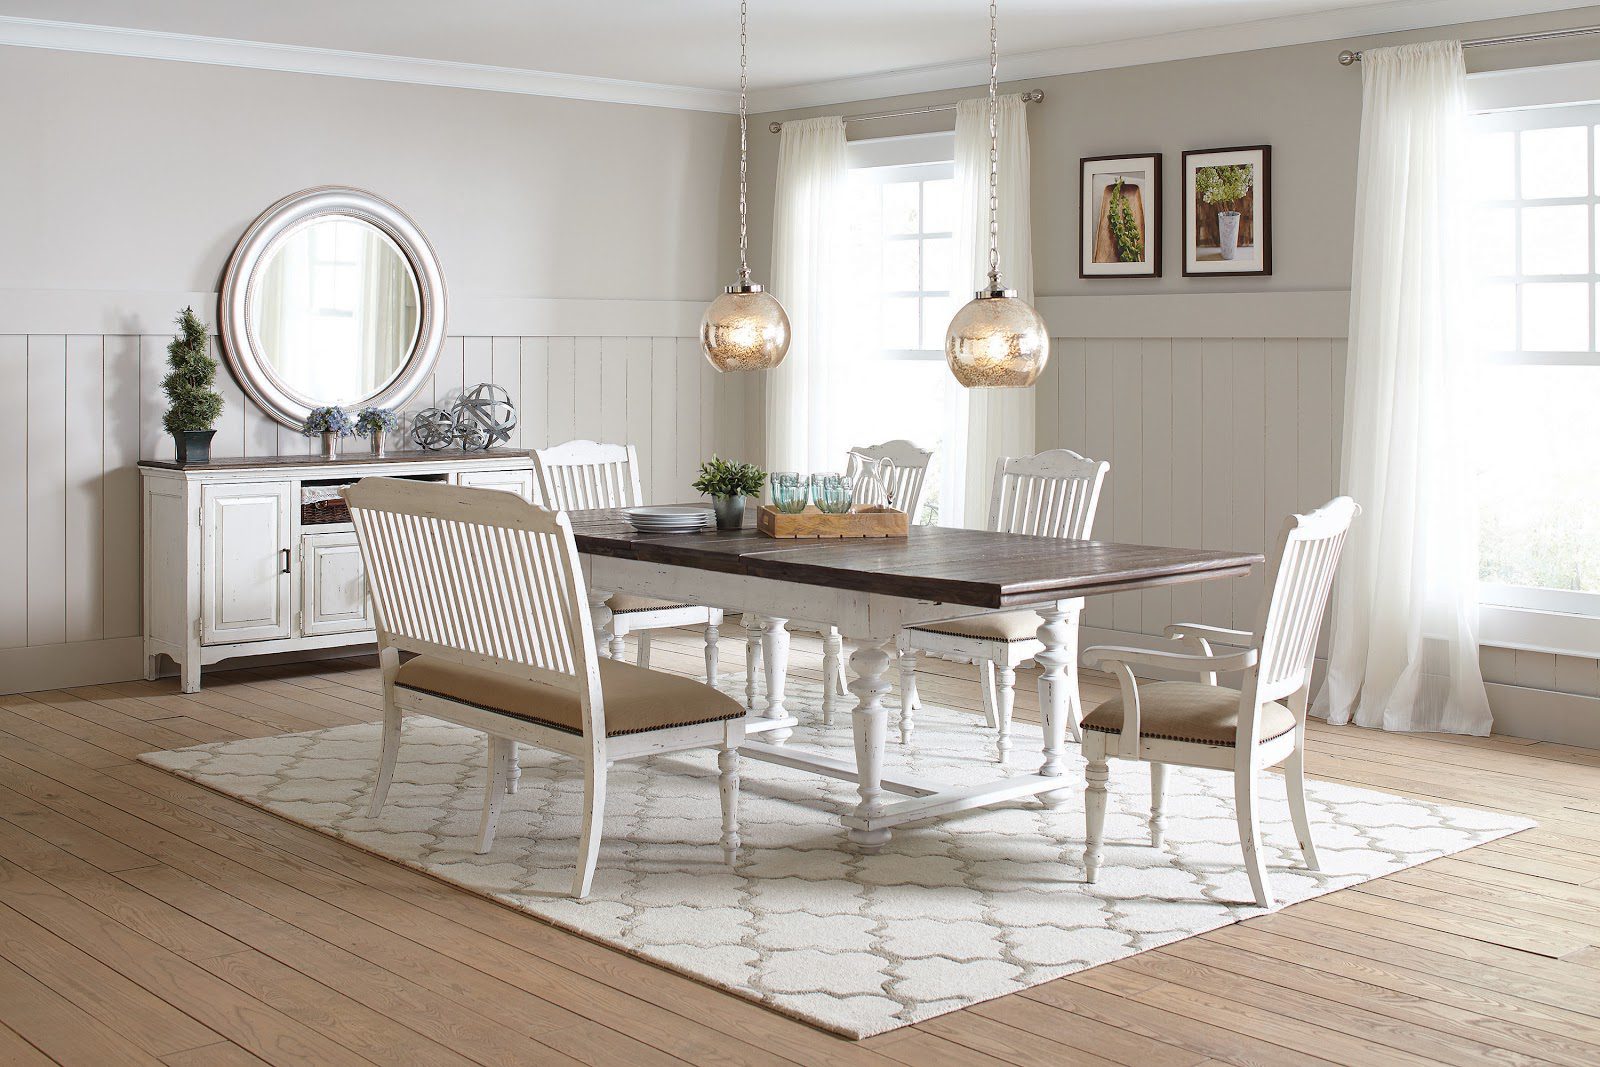
Now it’s time to choose the paint color for the table base. Farmhouse-style tables often feature neutral or muted colors that complement the rustic vibe. Shades like white, cream, gray, and soft pastels are popular choices. Consider the overall color scheme of your space to ensure the painted base harmonizes with the rest of your decor.
Using a high-quality paintbrush or a roller, begin applying the paint to the base. Start with the larger areas and work your way into the corners and edges. Apply a smooth and even coat, ensuring that there are no visible brush strokes or drips.
If desired, you can distress the painted base to add a touch of vintage charm. This technique involves lightly sanding certain areas, such as edges and corners, to create a worn or aged look. Experiment with different levels of distressing to achieve the desired effect, keeping in mind that less is often more for a subtle farmhouse-style distressing.
Allow the first coat of paint to dry completely, following the manufacturer’s instructions for drying times. Once dry, assess the coverage and color. If necessary, apply a second coat of paint to achieve a solid and uniform finish. Be sure to let each coat dry fully before applying the next.
After the final coat is dry, step back and admire the beautiful transformation. The painted base adds a fresh and clean element to the table, perfectly complementing the stained top. It ties the entire farmhouse aesthetic together, creating a cohesive and stylish look.
Remember to clean your paintbrush or roller promptly after use, and allow the painted base to cure fully before placing any items on the table. This will ensure that the paint is durable and long-lasting.
Painting the table base is a crucial step in the farmhouse transformation process. By selecting the right color and applying the paint carefully, you will create a stunning piece of furniture that exudes farmhouse charm and fits seamlessly into your home decor.
Distressing the Table
One of the defining characteristics of farmhouse style is the weathered and aged look of furniture. Distressing the table is a technique that adds vintage charm and personality to your farmhouse-style piece. It gives the table a worn, lived-in appearance, as if it has been lovingly used and passed down through generations. Here’s how to distress your table.
Before you begin the distressing process, make sure the painted base and stained top are fully dry. This will prevent any smudging or damage to the finish.
Start by assessing the areas of the table that would naturally experience wear and tear over time. These include the edges, corners, and any other areas that would be prone to rubbing or contact. These are the areas where you will focus the distressing.
Using sandpaper or a sanding block, gently sand the edges and corners of the table. Start with a coarse-grit sandpaper, such as 120 grit, and gradually move to finer grits, such as 220 grit, for a smoother finish. This will create a worn effect and expose the natural wood or base color beneath the painted surface.
Another distressing technique is to use a hammer or chains to create small dents or impressions on the table. Be cautious and control the amount of pressure to avoid damaging the wood. Randomly tap the surface to mimic the natural wear and tear that occurs over time.
You can also use a chisel or a screwdriver to carefully scrape the surface of the table, especially on the edges and corners, to mimic the worn look of old furniture.
As you distress, step back and assess the table to ensure the desired effect is achieved. Remember that less is often more when it comes to distressing, as too much can make the table look overly worn or artificial. It’s better to start with a lighter touch and add more distressing if desired.
Once you’re satisfied with the distressing, use a clean cloth to remove any dust or debris from the table. This will ensure a clean surface for the final step.
Distressing the table is a creative and artistic part of the transformation process. It adds character and a sense of history to your farmhouse-style table, making it a unique and captivating piece in your home.
Keep in mind that distressing is subjective, and you can tailor it to your personal taste. Don’t be afraid to experiment and add your own artistic flair to the process. The goal is to create a table that looks authentically rustic and tells a story of its own.
Sealing the Table
Once you have completed the staining and distressing process, it’s crucial to protect your hard work by sealing the table. Sealing not only enhances the visual appeal of the table but also provides a layer of protection against spills, scratches, and everyday wear and tear.
When choosing a sealer, consider the durability and the level of sheen you prefer. Farmhouse-style tables often have a matte or satin finish, as it creates a more natural and rustic look. Polyurethane is a popular choice for sealing wooden surfaces, as it provides excellent protection and is available in different sheen levels. Water-based polyurethane is a great option for easy application and quick drying time.
Before applying the sealer, ensure that the table is clean and free from any dust or debris. Use a cloth or brush to wipe away any remaining residue from the distressing process.
To apply the sealer, start with a high-quality brush suitable for water-based finishes. Begin by brushing an even coat of sealer onto the table, working in the direction of the grain. Take care to cover all exposed surfaces, including the edges and corners. Avoid overloading the brush with sealer, as this may lead to drips or an uneven finish.
Allow the first coat of sealer to dry according to the manufacturer’s instructions, typically a few hours. Once dry, lightly sand the surface with a fine-grit sandpaper (around 220 grit) to create a smooth texture and remove any imperfections or bubbles that may have formed.
Remove the sanding dust with a clean cloth or by using a vacuum. Then, apply a second coat of sealer in the same manner as the first, ensuring an even and thin layer. This second coat provides additional protection and enhances the durability of the finish.
Allow the second coat to dry completely. Depending on the specific sealer used, it may take anywhere from a few hours to overnight. Avoid placing any objects or heavy items on the table during this drying period to prevent any damage to the finish.
Once the sealer has fully dried, inspect the table for any imperfections. If necessary, you can lightly sand the surface again and apply an additional coat of sealer for a smoother finish.
Sealing the table is the final step in the transformation process. It not only enhances the beauty and durability of your farmhouse-style table but also provides peace of mind knowing that it is protected against daily use. With proper sealing, your table will withstand the test of time and continue to be a centerpiece of farmhouse charm in your home.
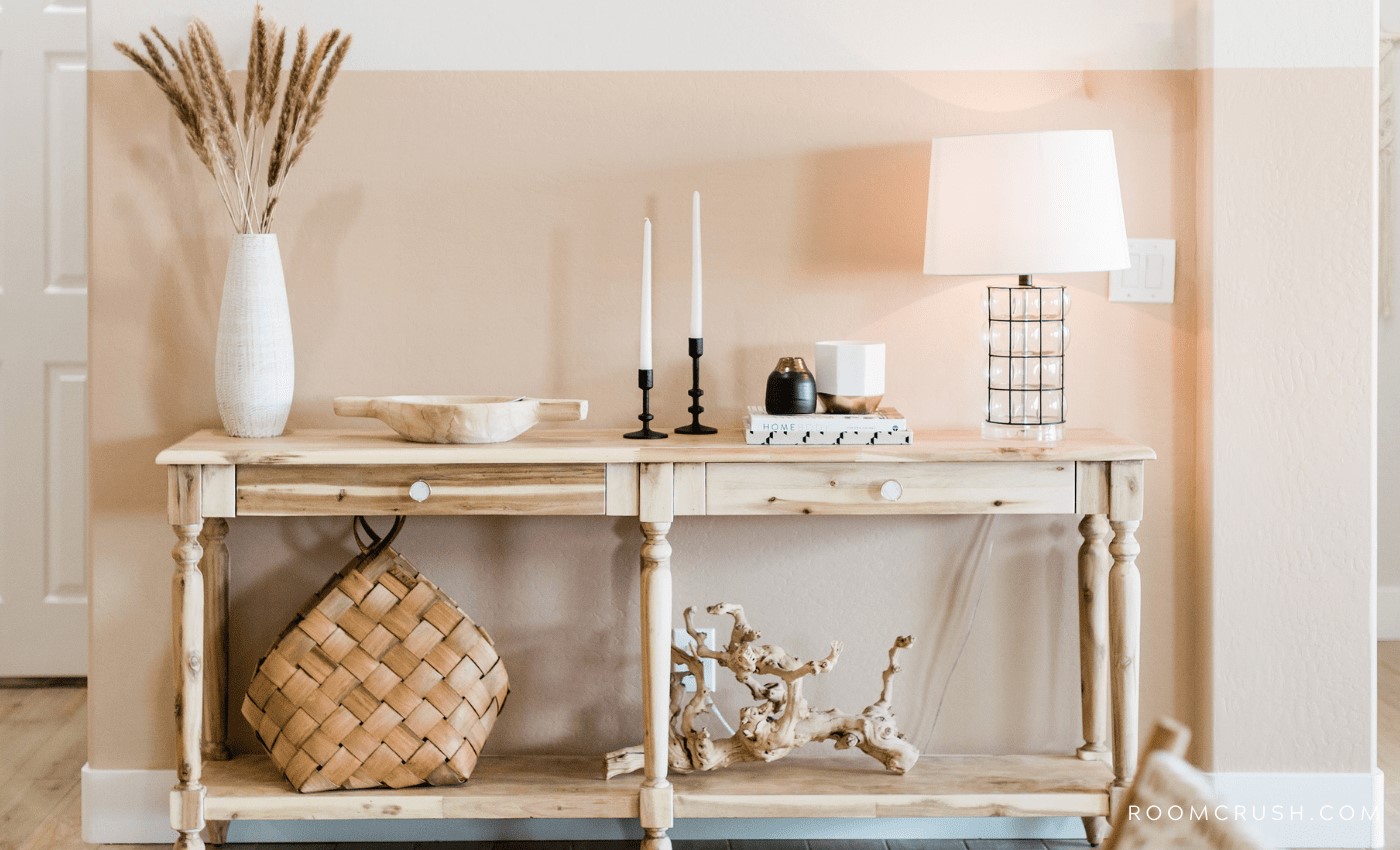
Adding Farmhouse Style Touches
Now that your table is stained, painted, distressed, and sealed, it’s time to add those final touches that truly bring out the farmhouse style and make your table a stunning focal point in your home. Here are a few ideas to enhance the farmhouse aesthetic:
- Decorative Accessories: Select accessories such as a rustic centerpiece, vintage pitchers, or mason jars filled with fresh flowers. These charming accents can add character and a touch of farmhouse charm to your table.
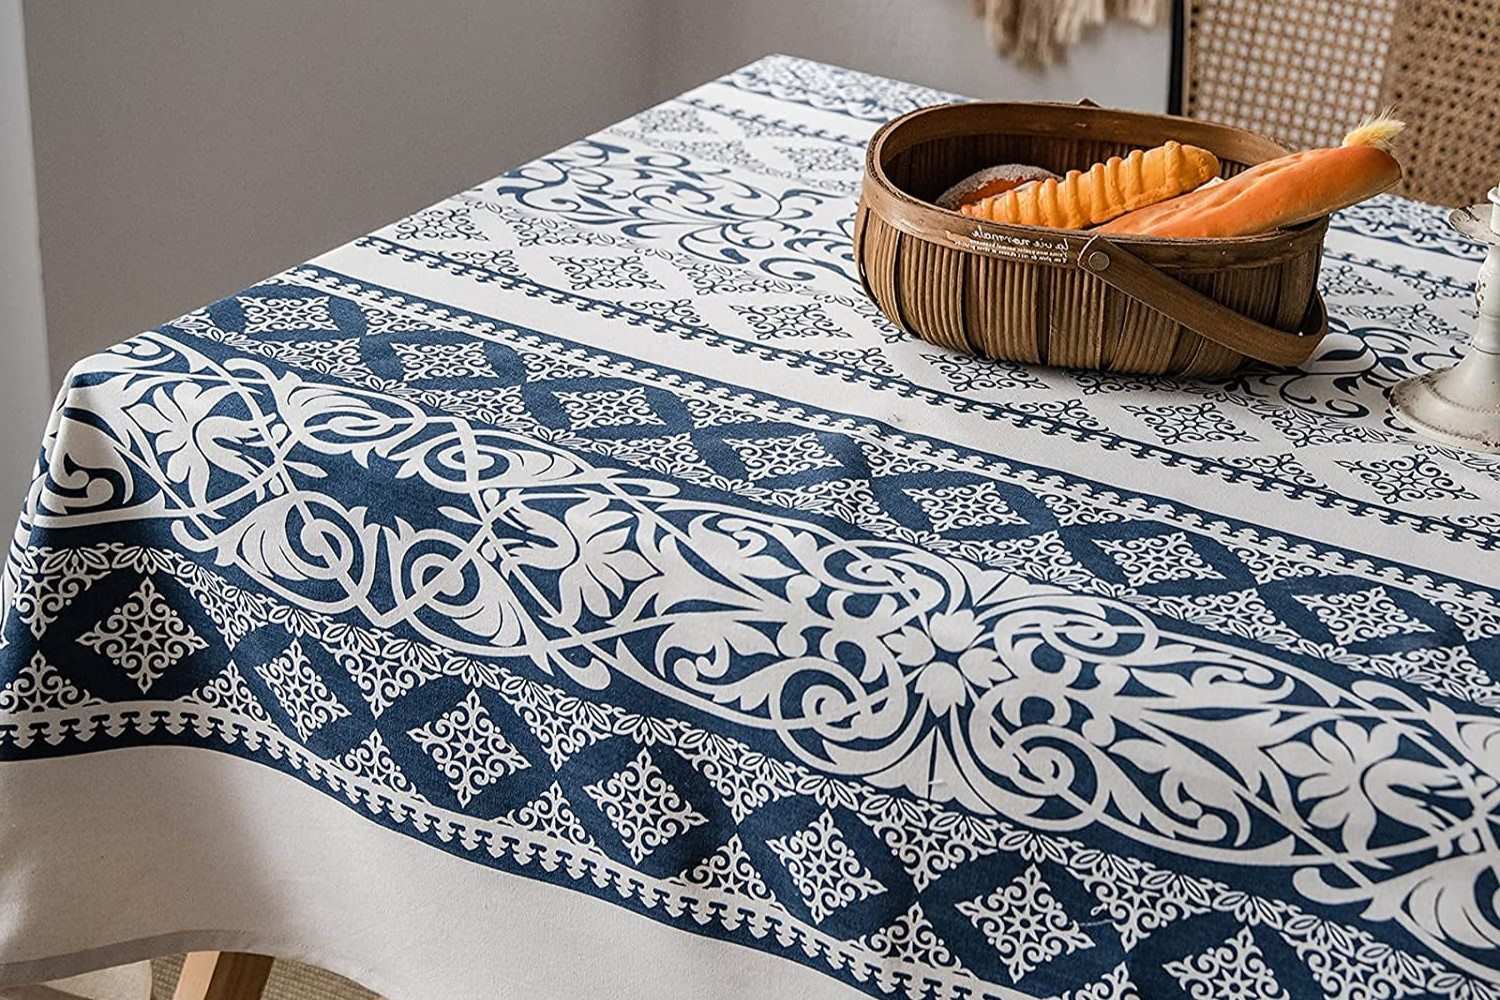
- Linen or Burlap Runner: Layer a linen or burlap runner down the center of the table to add texture and reinforce the rustic feel. Opt for neutral colors like beige or soft gray to create a cohesive look.
- Rustic Tableware: Choose dishes, plates, and utensils with a distressed or vintage look. Look for patterns that showcase farmhouse elements like floral patterns, farm animals, or simple ceramics in earthy tones.
- Mismatched Chairs: Replace traditional matching chairs with mismatched chairs to give your farmhouse table a unique and eclectic touch. Mix and match different styles or stick to a common color palette for a cohesive yet curated look.
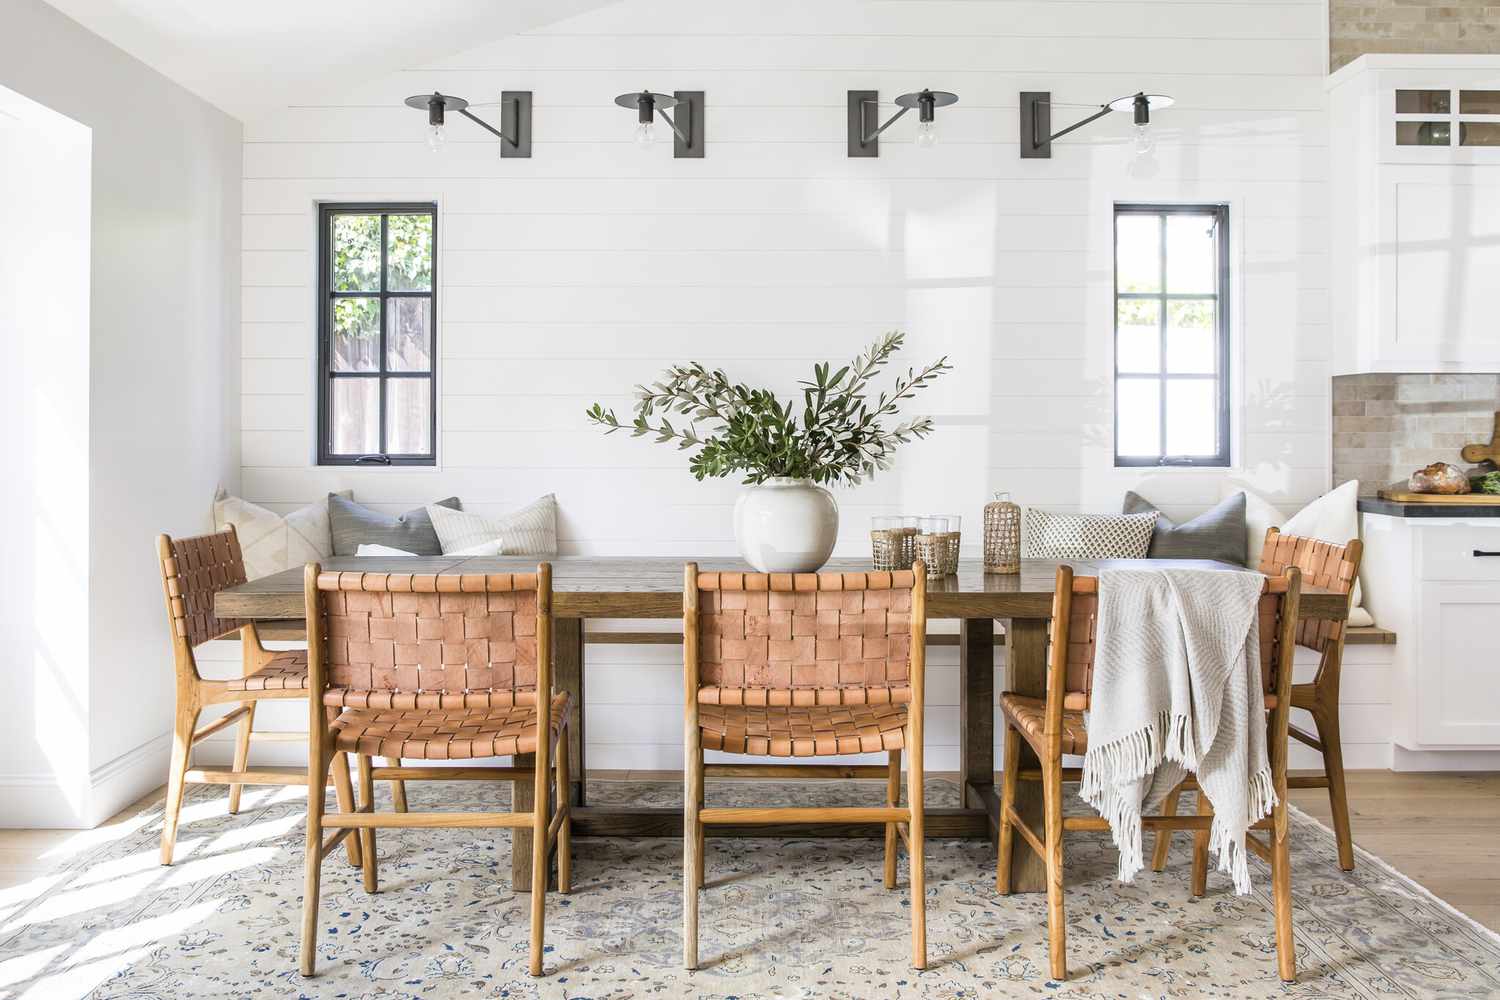
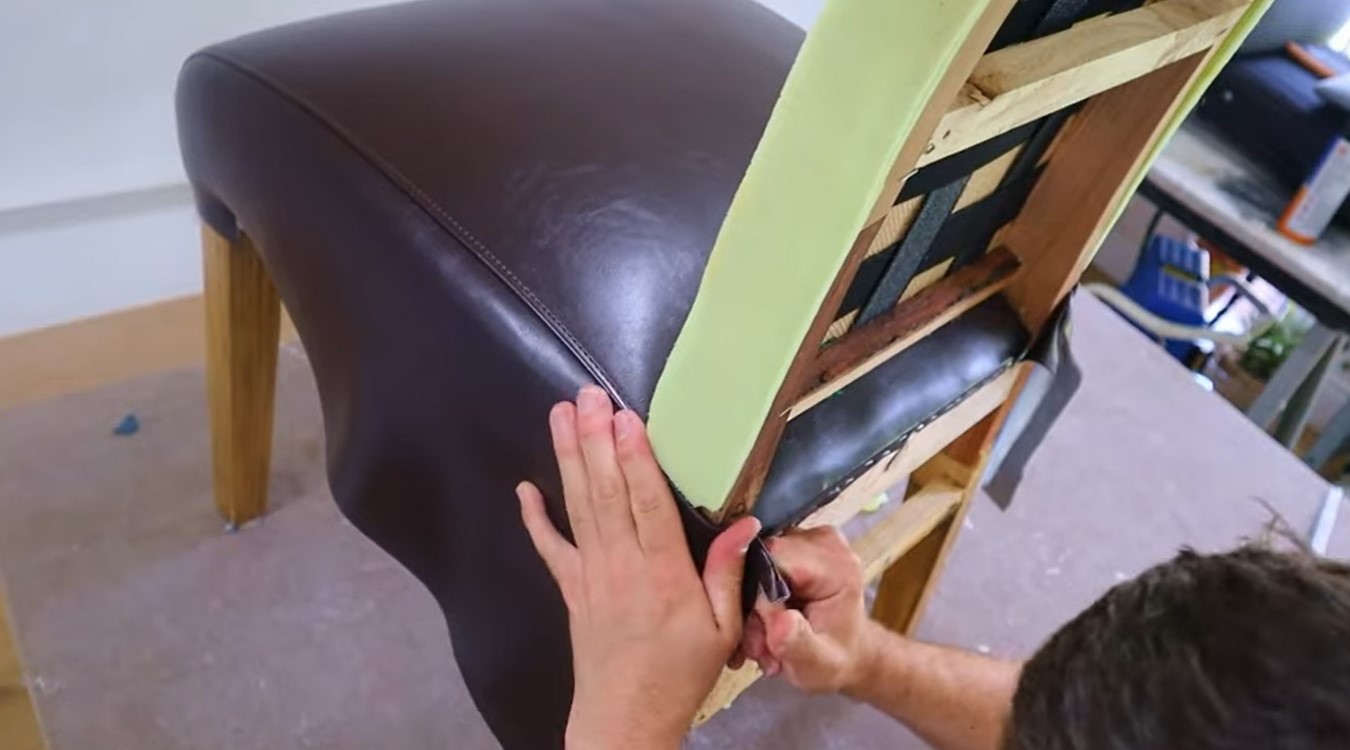
- Woven or Upholstered Bench: Consider adding a woven or upholstered bench on one side of the table instead of chairs. Not only does this add a farmhouse flair, but it also provides additional seating and a cozy feel.
- Natural Wood Serving Boards: Display natural wood serving boards for a farmhouse touch. Use them to serve bread, cheese, or appetizers during meals and gatherings.
- Farmhouse-style Lighting: Hang a statement farmhouse-style chandelier or pendant lights above the table. Opt for fixtures made of wood, metal, or with rustic finishes to evoke a warm and inviting ambiance.
- Textured Wall Decor: Enhance the farmhouse vibe by adding textured wall decor, such as a reclaimed wood accent wall, an antique mirror, or a rustic clock. These elements can complement the farmhouse style of your table and tie the room together.
Remember, farmhouse style is all about embracing the beauty of imperfection and creating a cozy and welcoming atmosphere. Don’t be afraid to experiment and add your personal touch to make the farmhouse style uniquely yours.
By incorporating these farmhouse-inspired touches, you will elevate your table’s style and create a space that exudes rustic charm and timeless elegance. Enjoy the process of making your table a true centerpiece that reflects your personal taste and love for farmhouse decor.
Conclusion
Congratulations! You have successfully transformed a regular table into a stunning farmhouse-style centerpiece for your home. By following the step-by-step process of assessing the table, preparing it, sanding and stripping, applying the wood stain, painting the table base, distressing, sealing, and adding farmhouse-style touches, you have created a piece of furniture that exudes rustic charm and timeless appeal.
Through careful consideration of the table’s condition, size, and style, you were able to determine the best approach for achieving the farmhouse aesthetic. The thoughtful process of sanding, stripping, staining, painting, distressing, and sealing has resulted in a table that showcases the natural beauty of the wood while incorporating the farmhouse elements you desired.
By adding farmhouse-style touches like decorative accessories, linen or burlap runners, rustic tableware, mismatched chairs, woven or upholstered benches, natural wood serving boards, farmhouse-style lighting, and textured wall decor, you have truly brought the farmhouse look to life.
It’s important to remember that farmhouse style is not about perfection but rather embracing a relaxed and cozy atmosphere. Each element of the table, from the distressed edges to the vintage accessories, contributes to the overall charm and character of your farmhouse-style table.
Now, it’s time to enjoy your beautiful creation. Gather your family and friends around the table, create lasting memories, and appreciate the unique charm it brings to your home. Whether it’s hosting family dinners, celebrating special occasions, or simply enjoying a cup of coffee in the morning, your farmhouse-style table will be the heart of your home.
Remember, the process of transforming a regular table into a farmhouse-style masterpiece is not only about the end result but also an opportunity to express your creativity and showcase your personal style. Embrace the joy of crafting and decorating, and continue to explore other ways to incorporate the farmhouse aesthetic throughout your home.
Enjoy the warmth, simplicity, and timeless appeal of your farmhouse-style table, and may it bring you many years of comfort, joy, and beautiful moments shared with loved ones.
Frequently Asked Questions about How To Redo A Table To Farmhouse Style
Was this page helpful?
At Storables.com, we guarantee accurate and reliable information. Our content, validated by Expert Board Contributors, is crafted following stringent Editorial Policies. We're committed to providing you with well-researched, expert-backed insights for all your informational needs.


0 thoughts on “How To Redo A Table To Farmhouse Style”