Home>Dining>Tableware>How To Make Vines Out Of Plastic Tablecloths
Tableware
How To Make Vines Out Of Plastic Tablecloths
Modified: August 22, 2024
Learn how to create beautiful vines using plastic tablecloths. Enhance your tableware collection with this easy and creative DIY project.
(Many of the links in this article redirect to a specific reviewed product. Your purchase of these products through affiliate links helps to generate commission for Storables.com, at no extra cost. Learn more)
Introduction
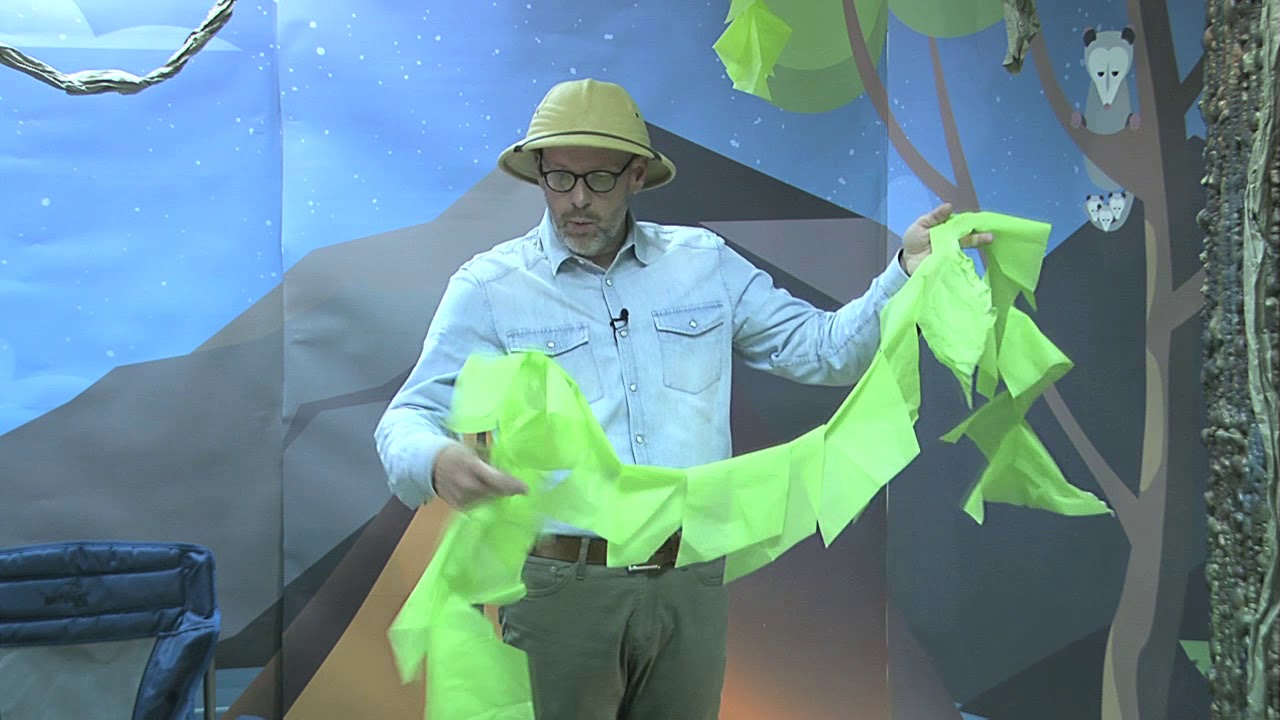
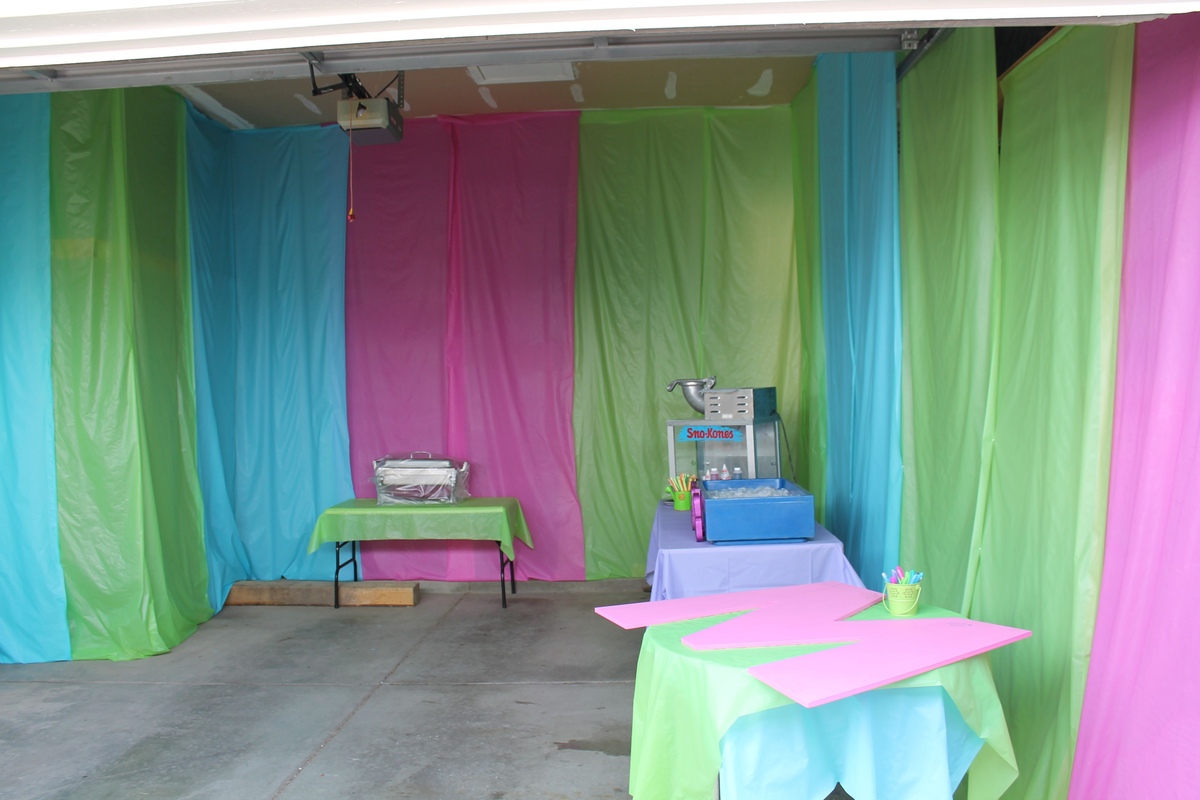
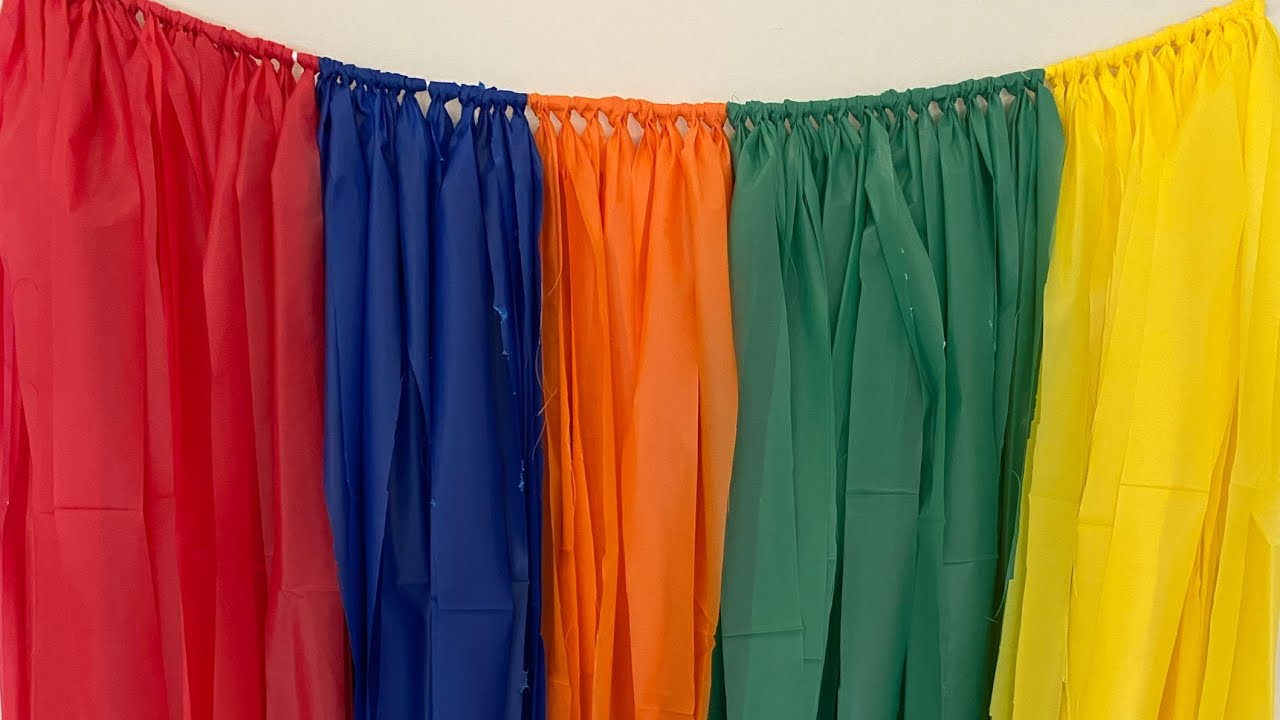
Plastic tablecloths are a versatile and affordable material that can be used for various DIY projects. One creative and fun project you can try is making vines out of plastic tablecloths. These colorful and flexible vines can be used to decorate parties, events, or even to create an enchanting atmosphere in your own home.
In this article, we will guide you through the steps of creating your very own plastic tablecloth vines. With just a few materials and a little bit of time, you can transform ordinary tablecloths into whimsical vines that will add a touch of nature and elegance to any setting.
So, gather your supplies and let’s get started on this exciting DIY adventure!
Key Takeaways:
- Transform ordinary plastic tablecloths into whimsical vines with just a few materials and simple steps, adding a touch of nature and elegance to any space. Get creative and personalize your vines for a unique and budget-friendly decor option.
- Elevate the aesthetic of any setting by creating realistic-looking vines out of plastic tablecloths. Add decorative elements to enhance their visual appeal and make them uniquely yours, whether for a party, event, or home decor.
Materials Needed
Before you begin creating your plastic tablecloth vines, make sure you have the following materials:
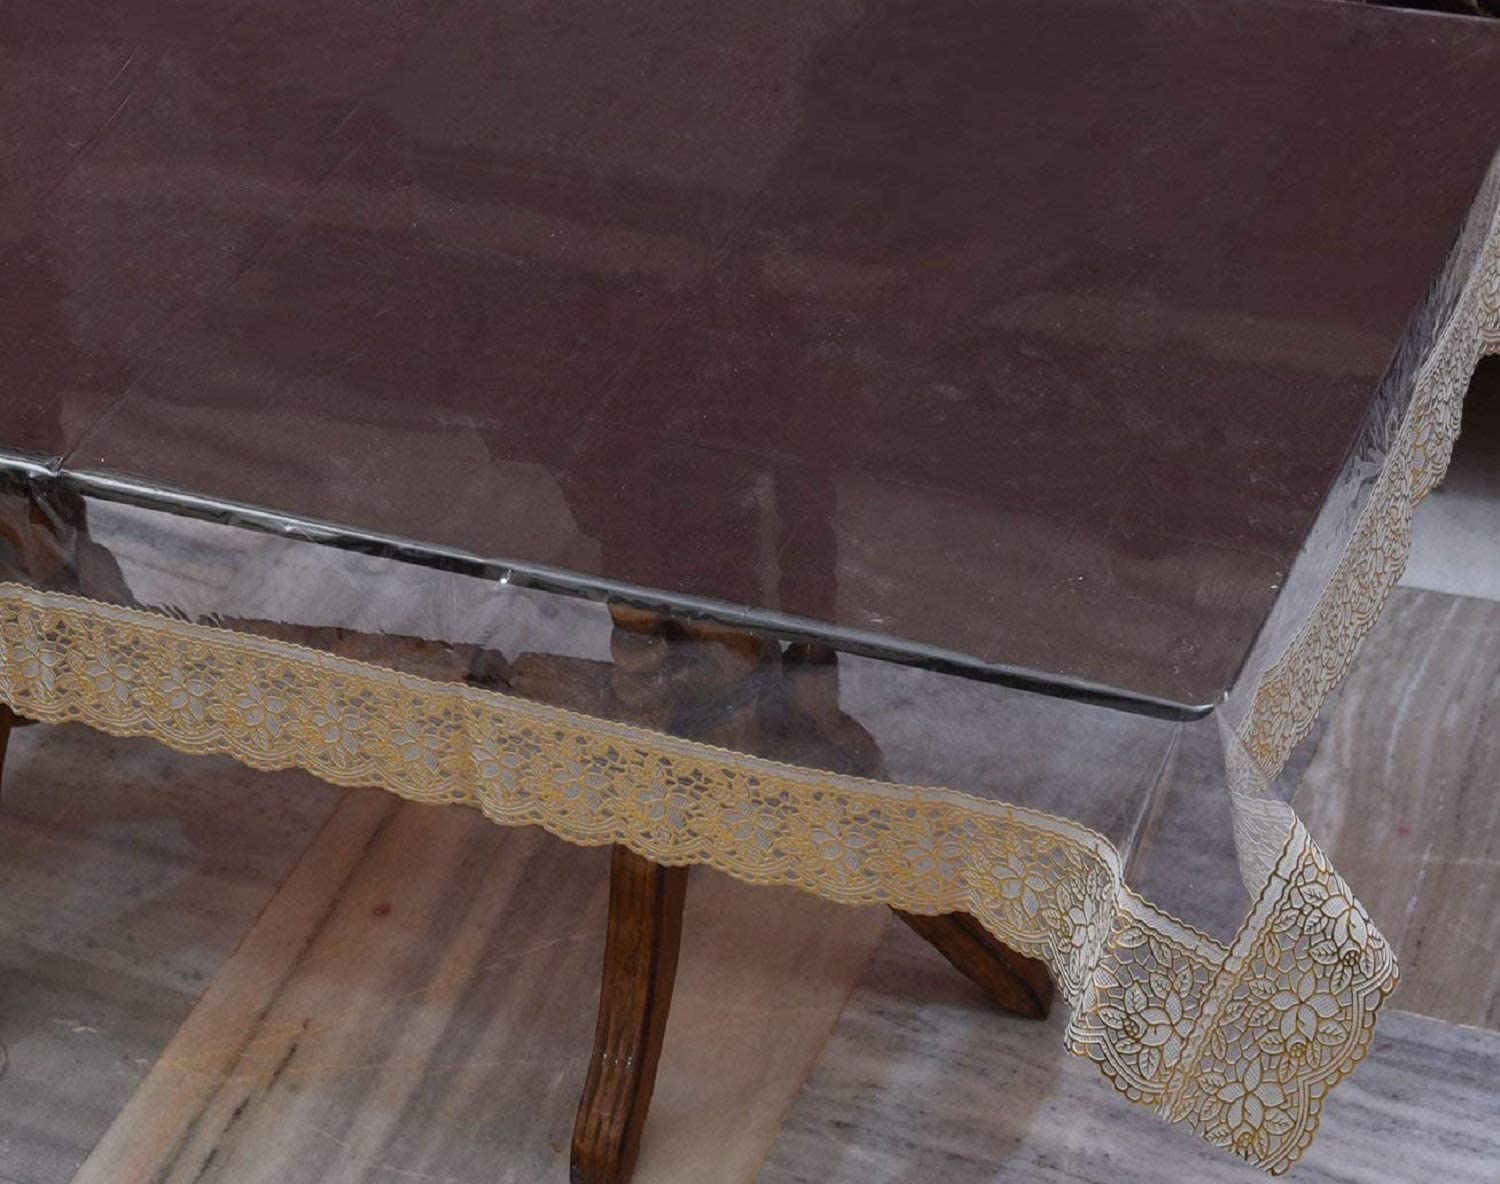
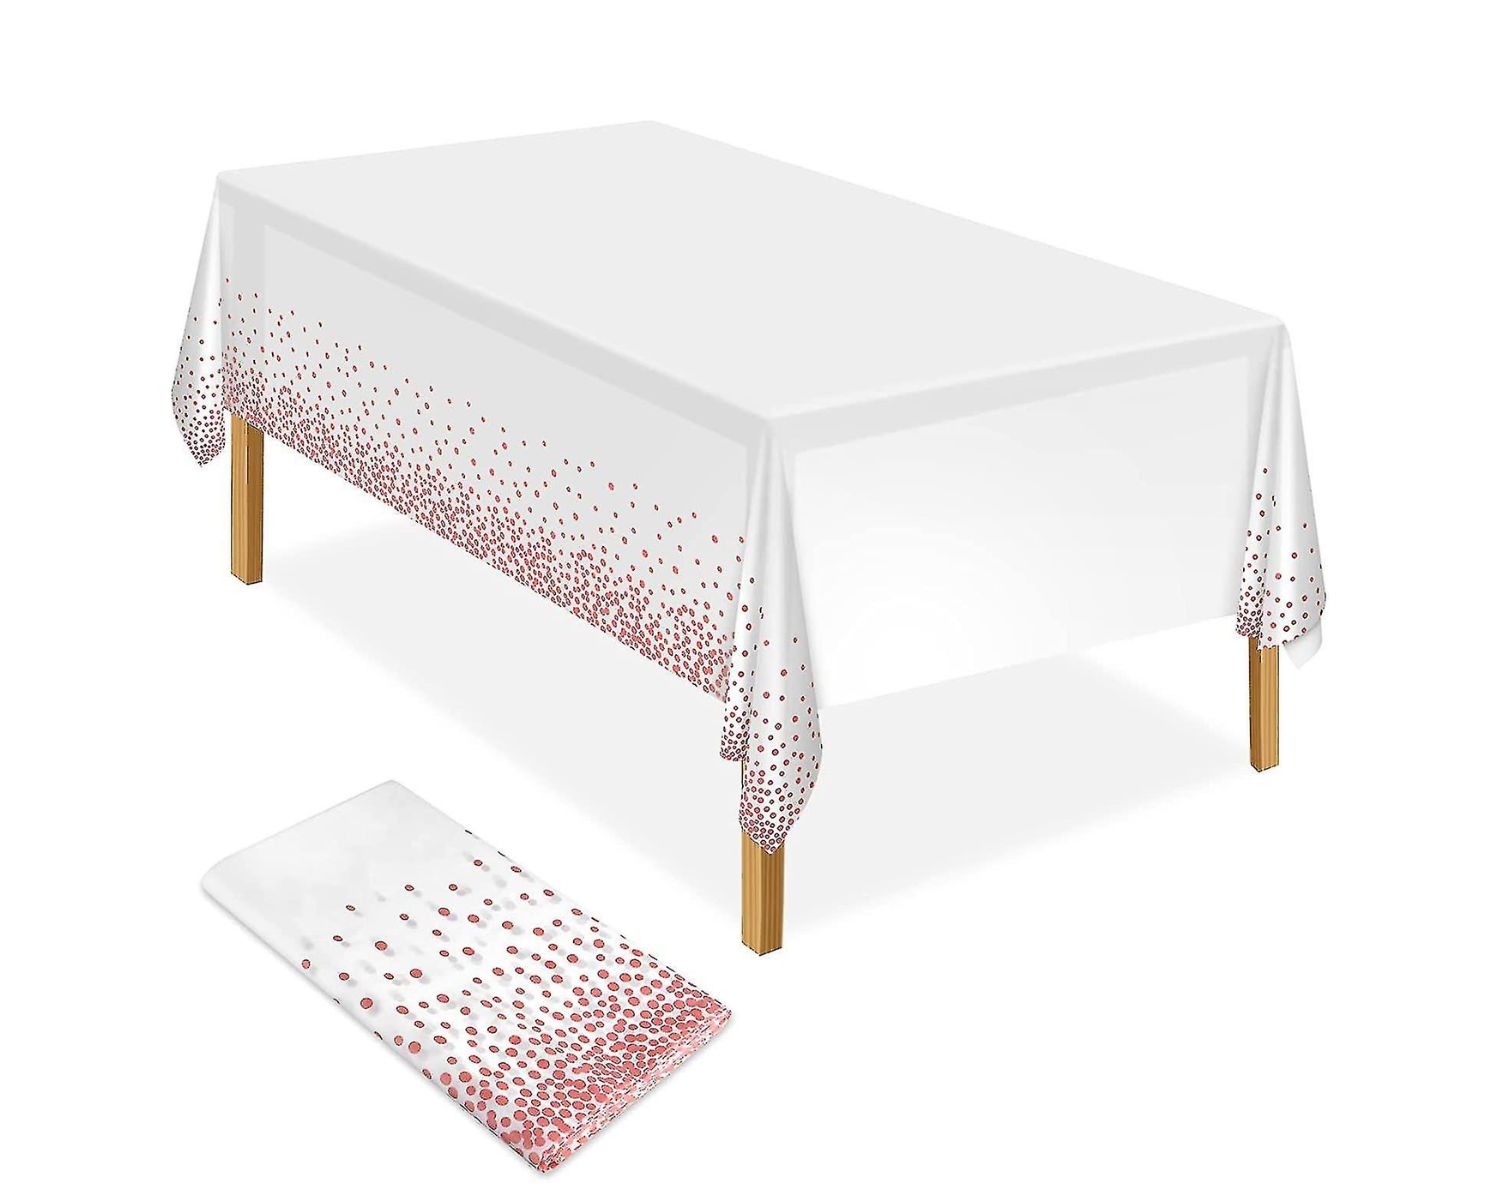
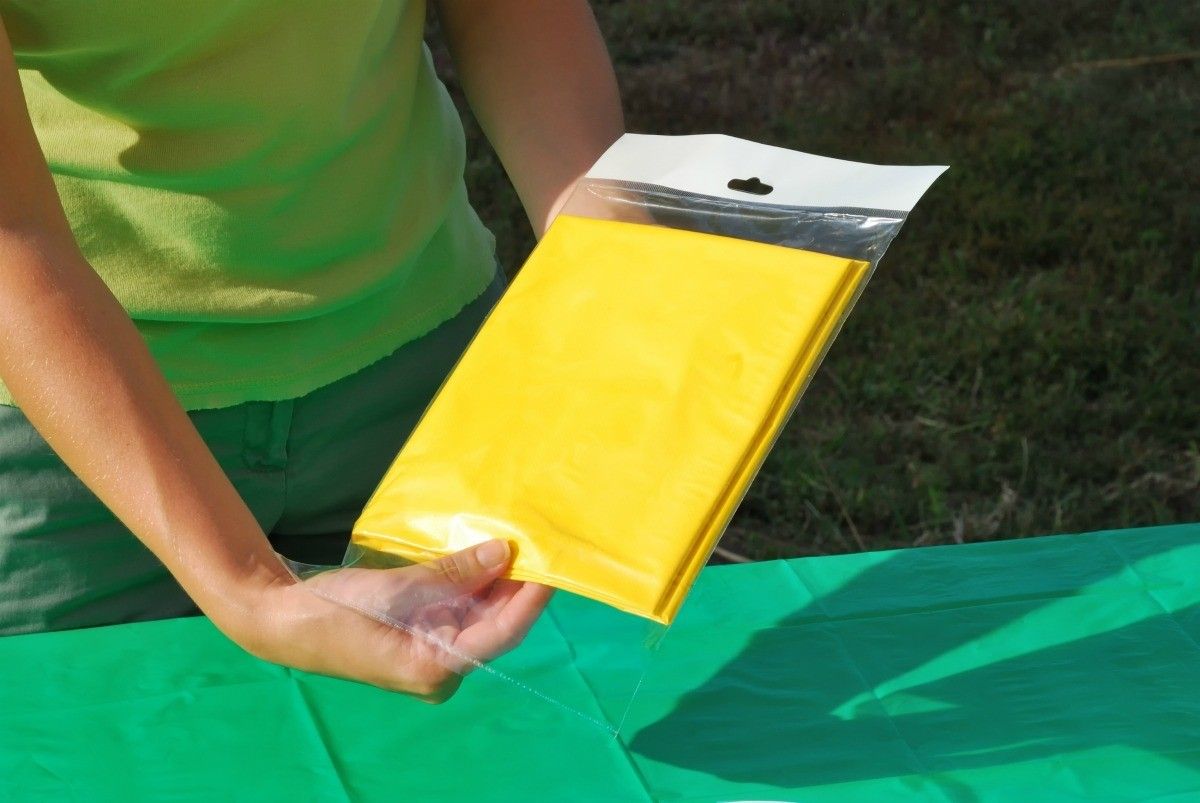
- Plastic Tablecloth: Choose a plastic tablecloth in the color or pattern of your choice. You can find a wide variety of tablecloths at your local party supply store or online.
- Scissors: A pair of sharp scissors will be needed to cut the tablecloth into strips.
- Tape or Stapler: You will need tape or a stapler to secure the ends of the tablecloth strips.
- Twine or Wire: To add stability to your vines, you will require twine or wire to create a core for the vines.
- Decorative Elements: Optional decorative elements such as faux flowers, leaves, or ribbon can be used to embellish your plastic tablecloth vines.
These simple materials are easy to find and cost-effective, making this DIY project accessible to everyone.
Step 1: Cutting the Plastic Tablecloth
The first step in creating your plastic tablecloth vines is to cut the tablecloth into strips. Here’s how:
- Measure and mark the desired width for your vines. This can vary depending on your preference, but a width of around 1 to 2 inches is commonly used.
- Using a pair of sharp scissors, carefully cut along the marked lines to create long strips of tablecloth. The length of the strips can vary depending on how long you want your vines to be. It’s better to cut longer strips initially as you can always trim them later if needed.
Make sure to cut as straight as possible for neater and more professional-looking vines. If the tablecloth has a pattern, consider aligning the strips to maintain the continuity of the design.
Once you have cut enough strips for your desired length and quantity of vines, you’re ready to move on to the next step.
Step 2: Folding the Tablecloth Strips
After cutting the tablecloth into strips, the next step is to fold them to create a more durable and flexible vine. Follow these steps:
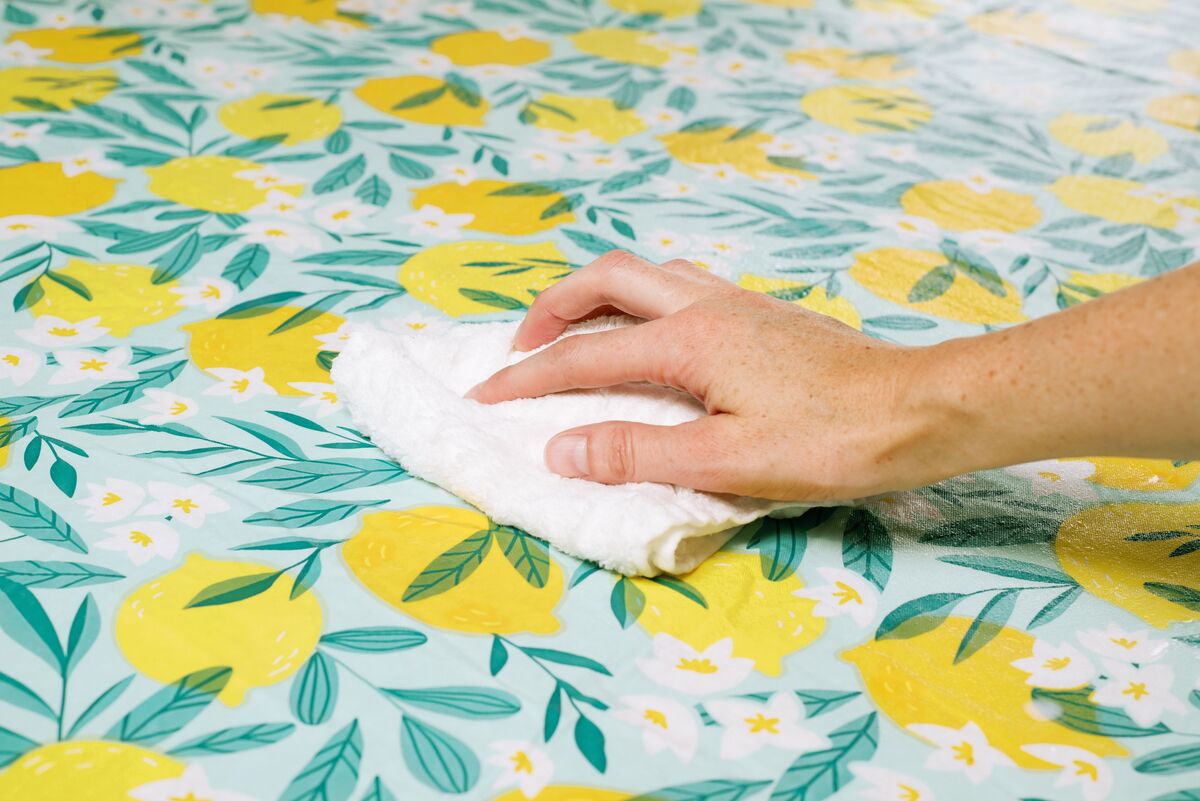
- Lay a tablecloth strip flat on a clean and smooth surface.
- Starting from one end, fold the strip in half lengthwise, aligning the edges.
- Continue folding the strip in half, keeping the edges aligned, until the entire strip is folded into a long, narrow shape.
- Repeat this folding process for each of the tablecloth strips.
Folding the tablecloth strips adds strength and stability to the vines, making them easier to handle and shape during the next steps.
Once all the strips are folded, you’re ready for the next step in creating your plastic tablecloth vines.
Step 3: Twisting the Tablecloth Strips
Now that you have folded the tablecloth strips, it’s time to give them the twisting effect that will make them look like real vines. Follow these steps:
- Take one folded tablecloth strip and hold one end firmly.
- Using your other hand, twist the strip clockwise, creating a spiral effect.
- Continue twisting the strip until you reach the opposite end.
- Repeat this twisting process for each of the folded tablecloth strips.
Ensure that the twisting is done tightly but not too tight to prevent the strips from tearing. The twisted effect will give your vines a natural and organic appearance.
Once all the strips are twisted, you’re ready to proceed to the next step and start forming your plastic tablecloth vines.
To make vines out of plastic tablecloths, cut the tablecloth into long strips and twist them together to create a vine-like appearance. You can then use these vines for party decorations, craft projects, or as a costume accessory.
Read more: How To Make Plastic Tablecloths Look Nice
Step 4: Securing the Ends
To ensure that your plastic tablecloth vines stay intact, it’s important to secure the ends. Follow these steps:
- Take one end of a twisted tablecloth strip.
- Using tape or a stapler, secure the end to prevent it from unraveling.
- Repeat this process for the other end of the strip.
- Continue securing the ends of each twisted tablecloth strip.
Tape or a stapler can be used, depending on your preference and the availability of materials. Make sure the ends are securely fastened to maintain the twisted shape of the strips.
By securing the ends, you can prevent the vines from unraveling or coming apart, ensuring that they stay intact and retain their twisting effect.
Once all the ends are secured, you’re ready to move on to the next step and start creating your plastic tablecloth vines.
Step 5: Creating the Vines
Now that you have prepared the twisted and secured tablecloth strips, it’s time to start forming them into vines. Follow these steps:
- Take one of the twisted and secured tablecloth strips.
- Start from one end and begin wrapping it around a piece of twine or wire.
- Continue wrapping the strip around the twine or wire, securing it in place as you go.
- Once you reach the end of the strip, secure it tightly to prevent it from unraveling.
- Repeat this process with the remaining twisted and secured tablecloth strips, wrapping them around the same twine or wire.
- Continue adding more strips until you achieve the desired length and thickness of the vines.
As you wrap the strips, you can vary the direction and angles to create a more natural and realistic look. This will add depth and dimension to your plastic tablecloth vines.
Remember to secure each strip firmly to the twine or wire to keep the vines in place. Feel free to experiment with different patterns and arrangements to create unique and personalized designs.
Once all the strips are wrapped around the twine or wire, your plastic tablecloth vines are ready to be decorated and displayed.
Step 6: Decorating the Vines
Now that you have created your plastic tablecloth vines, it’s time to add some decorative elements to enhance their visual appeal. Here are some creative ideas to consider:
- Faux Flowers and Leaves: Attach artificial flowers or leaves along the length of the vines using hot glue or small clips. This will add a touch of color and vibrancy to your vines, making them look more like real foliage.
- Ribbon: Wrap decorative ribbon around the vines to give them a festive and whimsical look. You can choose a ribbon in a complementary color or pattern to match your event or home decor.
- Glowing Elements: Incorporate string lights or battery-operated LED lights into the vines to create a magical and enchanting effect. The soft glow of the lights will bring a cozy and warm ambiance to any space.
- Hanging Decorations: Attach small hanging decorations, such as butterflies or birds, to the vines to add a playful and charming touch. These little accents will make your plastic tablecloth vines even more eye-catching.
- Customize with Personal Touches: Get creative and personalize your vines by adding small trinkets or charms that hold special meaning to you. This can be anything from tiny photographs or handwritten notes to small tokens that represent your interests or hobbies.
Allow your imagination to run wild and experiment with different decorations to achieve the desired look and feel. Don’t be afraid to get creative and make your plastic tablecloth vines truly unique and extraordinary.
Once you’ve added the desired decorations, your plastic tablecloth vines are ready to be displayed and admired. Whether it’s for a party, event, or simply as a charming home decor piece, these vines will add a touch of whimsy and elegance to any setting.
Conclusion
Creating vines out of plastic tablecloths is a fun and creative DIY project that can elevate the aesthetic of any space. With just a few materials and simple steps, you can turn ordinary plastic tablecloths into enchanting vines that add a touch of nature and elegance to your surroundings.
By cutting the tablecloth into strips, folding and twisting them, securing the ends, and wrapping them around a twine or wire core, you can create realistic-looking vines. The addition of decorative elements such as faux flowers, ribbon, or hanging decorations can further enhance their visual appeal and make them uniquely yours.
Whether you’re decorating for a party, event, or simply sprucing up your home, these plastic tablecloth vines will bring life and charm to any space. They’re also a budget-friendly alternative to buying real vines or decorations, allowing you to unleash your creativity without breaking the bank.
So, next time you’re looking to add a touch of whimsy and natural beauty to your surroundings, consider giving plastic tablecloth vines a try. Embrace your creativity, personalize your vines, and enjoy the satisfaction of transforming ordinary materials into extraordinary creations.
Get ready to impress your guests, create a magical atmosphere, and bask in the joy of your DIY creation. Happy crafting!
Frequently Asked Questions about How To Make Vines Out Of Plastic Tablecloths
Was this page helpful?
At Storables.com, we guarantee accurate and reliable information. Our content, validated by Expert Board Contributors, is crafted following stringent Editorial Policies. We're committed to providing you with well-researched, expert-backed insights for all your informational needs.


0 thoughts on “How To Make Vines Out Of Plastic Tablecloths”