Home>Interior Design>How To Wash Sneakers: A Step-By-Step To New Looking Shoes
Interior Design
How To Wash Sneakers: A Step-By-Step To New Looking Shoes
Modified: January 20, 2024
Learn how to wash sneakers with this step-by-step guide, and keep your shoes looking like new. Perfect for interior design enthusiasts looking to maintain their stylish footwear.
(Many of the links in this article redirect to a specific reviewed product. Your purchase of these products through affiliate links helps to generate commission for Storables.com, at no extra cost. Learn more)
Introduction
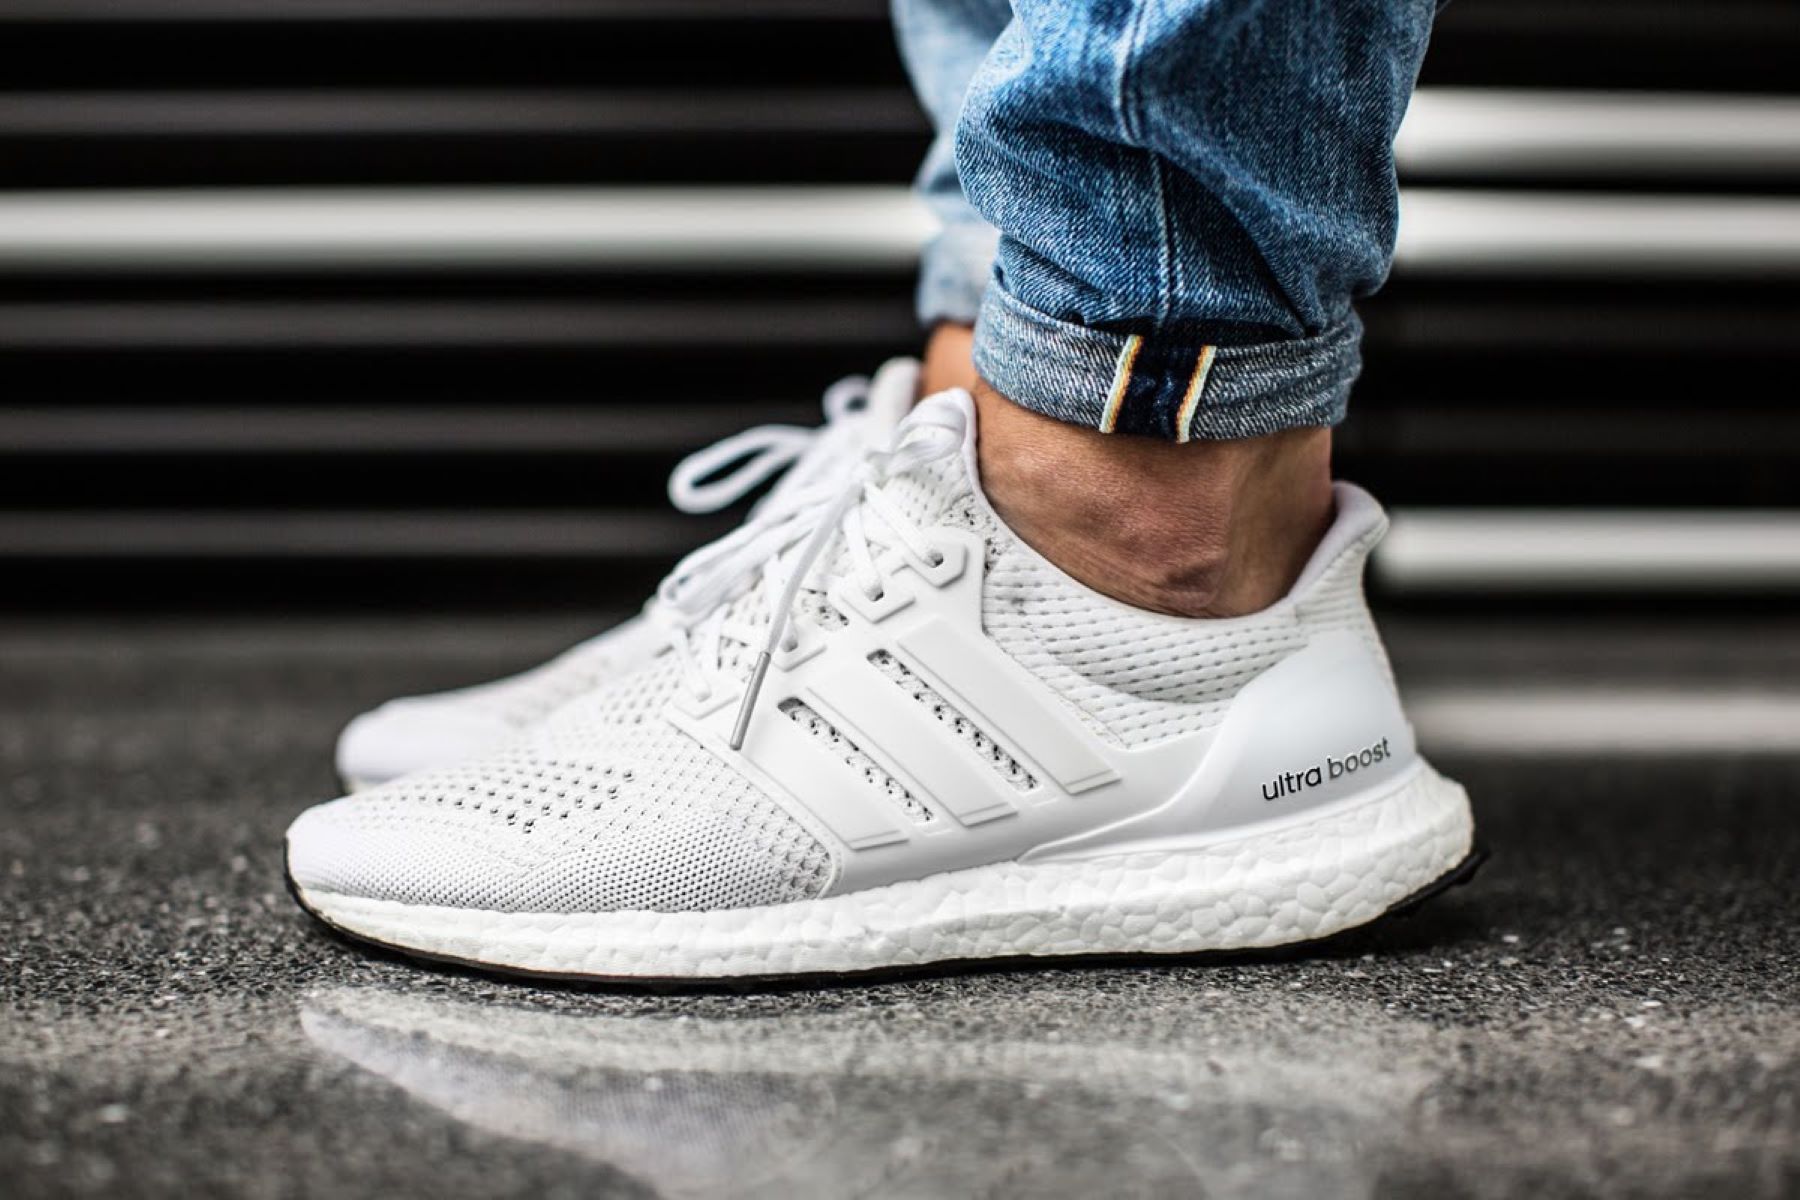
Whether you’re an avid sneakerhead or simply want to keep your favorite sneakers looking fresh and clean, knowing how to wash sneakers properly is essential. Over time, sneakers can accumulate dirt, stains, and unpleasant odors, which can diminish their overall appearance and comfort. However, with the right knowledge and a few simple steps, you can restore your sneakers to their former glory.
In this step-by-step guide, we will walk you through the process of washing your sneakers, whether they are made of canvas, leather, or synthetic materials. By following these instructions, you can clean and revitalize your shoes without damaging them.
Before we get started, it is important to note that not all sneakers are machine washable. It is always best to refer to the manufacturer’s guidelines for specific cleaning instructions. If your sneakers are not machine washable, don’t worry – we will provide alternative cleaning methods that will still yield great results.
So, let’s dive in and discover the secrets to washing sneakers and giving them a new lease on life!
Key Takeaways:
- Keep your sneakers looking fresh by following a step-by-step cleaning guide, ensuring thorough cleaning, stain treatment, and preservation for future use. Regular maintenance and optional protective spray application can extend their lifespan.
- Whether reviving old sneakers or maintaining new ones, proper cleaning and optional protective spray application can help achieve desired results. Regular maintenance is key to preserving the quality and longevity of your sneakers.
Step 1: Gather the necessary supplies
Before you begin the sneaker washing process, it’s important to gather the necessary supplies. Having everything on hand will make the process smoother and more efficient. Here are the essential items you’ll need:
- A soft-bristle brush or old toothbrush: This will be used for scrubbing the sneakers and removing dirt.
- Mild detergent: Look for a gentle detergent that is suitable for the material of your sneakers. Avoid harsh chemicals or bleach, as they can damage the fabric or color.
- Clean cloth or sponge: This will be used for applying the detergent and removing stains.
- Warm water: The temperature of the water should be comfortable to touch, as hot water can cause damage to some materials.
- Paper towels or a clean towel: These will be used for drying the sneakers.
- Optional: Stain remover or specialized sneaker cleaner: If you have tough stains or marks on your sneakers, a stain remover or specialized cleaner can be handy.
By gathering these supplies beforehand, you’ll ensure that you have everything you need to effectively clean your sneakers.
Step 2: Remove shoelaces and insoles
Before you start washing your sneakers, it’s important to remove the shoelaces and insoles. This step will allow for a more thorough cleaning and prevent any damage to these components.
To remove the shoelaces, simply untie them and pull them out from the eyelets. If your shoelaces are dirty or stained, you can either clean them separately or replace them altogether with new ones.
Next, remove the insoles from the sneakers. Insoles can harbor odor-causing bacteria and debris, so it’s essential to clean them separately. If your insoles are removable, take them out and set them aside for cleaning. If they are not removable, you can still clean them by scrubbing gently with a brush and mild detergent.
Removing the shoelaces and insoles will allow easier access to the entire sneaker, ensuring a more thorough and effective cleaning process.
Step 3: Pre-treat stains
Before you begin washing your sneakers, it’s important to pre-treat any stubborn stains or marks. This step will help loosen the dirt and make them easier to remove during the cleaning process.
Here’s how you can pre-treat stains:
- Identify the stains: Examine your sneakers and identify any specific areas that have stains or discoloration.
- Apply stain remover or detergent: Depending on the type of stain, you can use a specialized stain remover or a small amount of mild detergent. Apply the stain remover or detergent directly to the stained area.
- Gently scrub the stain: Use a soft brush or old toothbrush to gently scrub the stained area. Be careful not to scrub too vigorously, as this can damage the material.
- Let it sit: Allow the stain remover or detergent to penetrate the stain for a few minutes. This will help loosen the dirt and make it easier to remove.
After pre-treating the stains, you can proceed with the general cleaning process. Pre-treating the stains will ensure that they are effectively addressed during the washing, giving you better results in removing stubborn marks and discoloration.
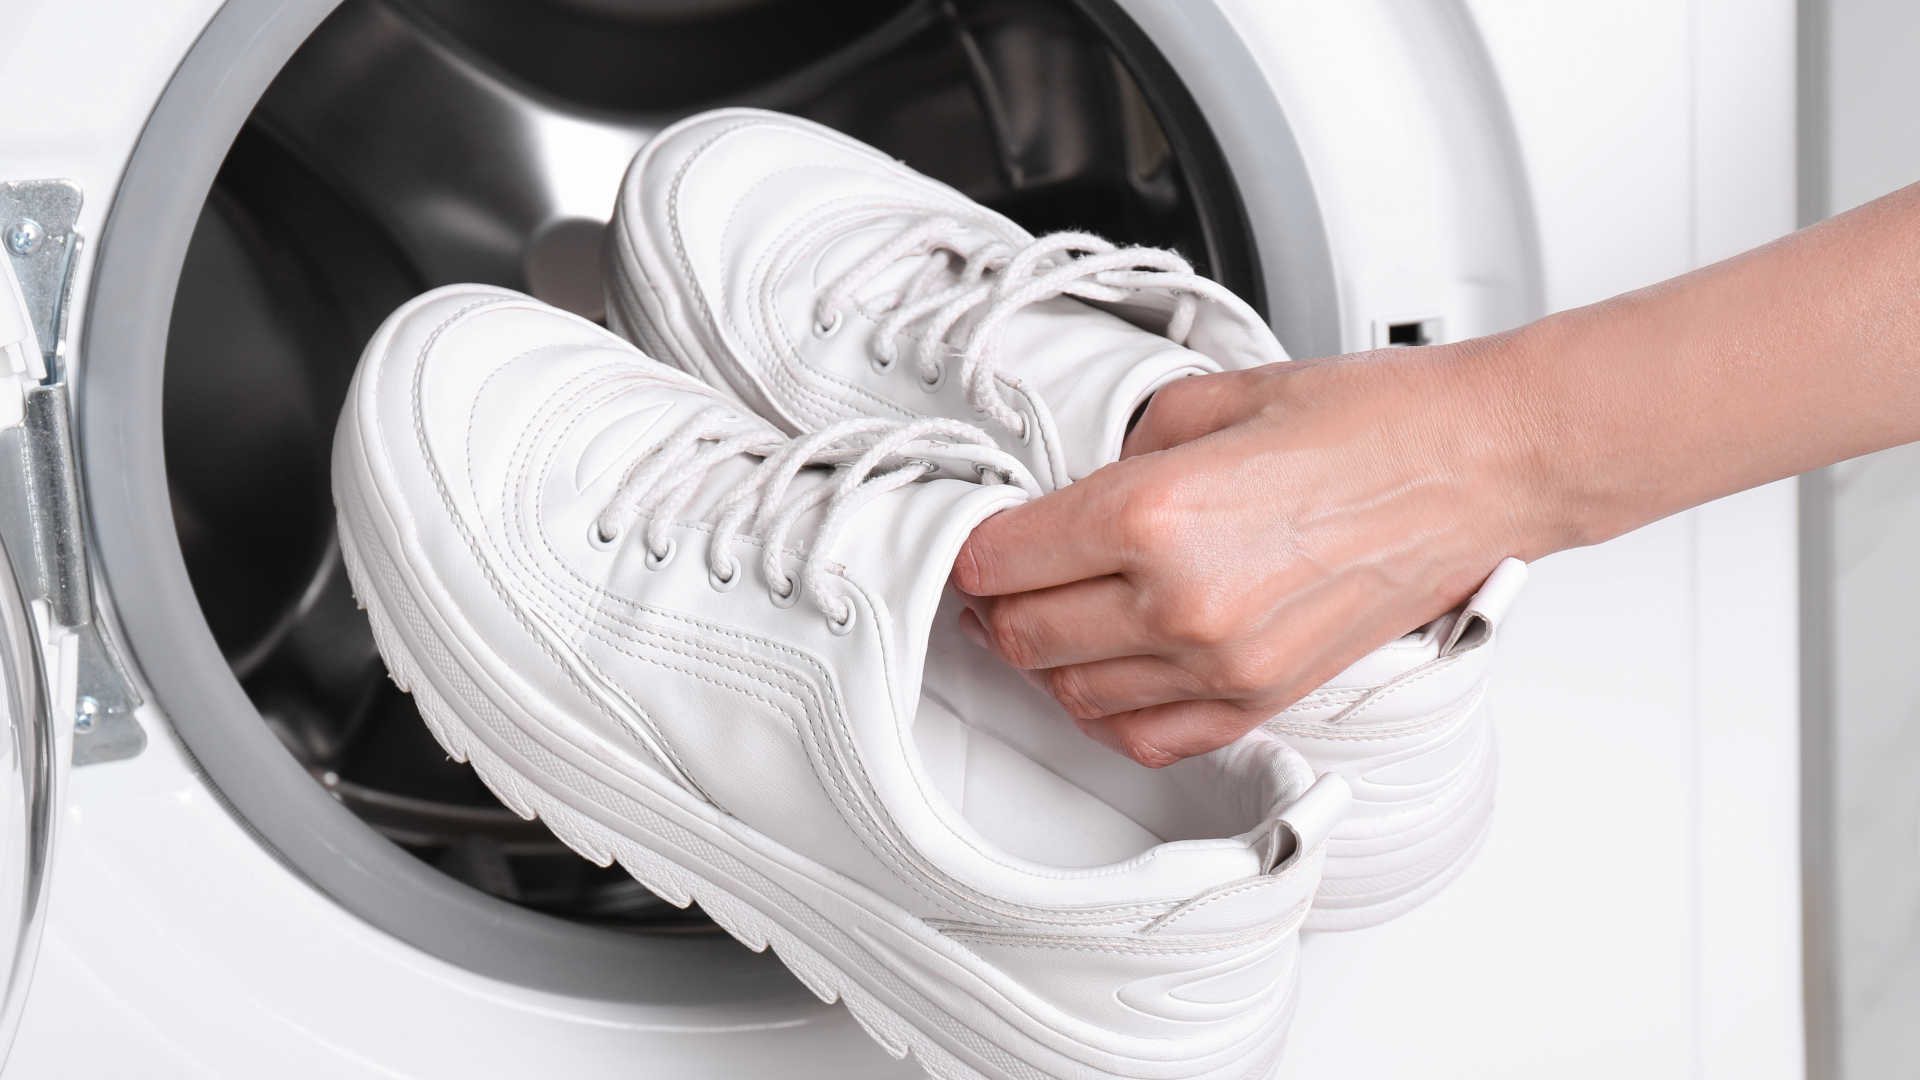
Step 4: Hand wash or machine wash
After pre-treating the stains, it’s time to clean your sneakers. There are two main methods you can use: hand washing or machine washing. Choose the method that is most suitable for your sneakers and their care instructions.
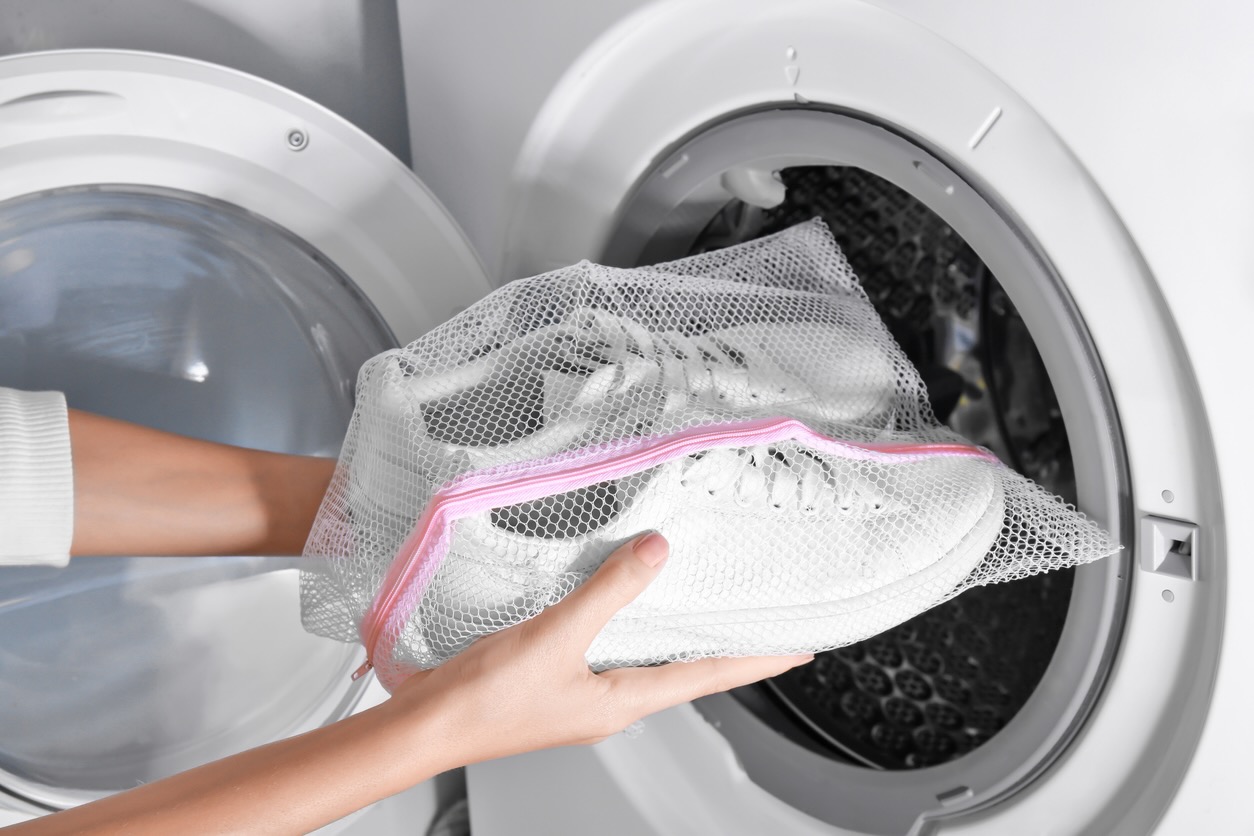
If your sneakers are labeled as machine washable, you can follow these steps:
- Place the sneakers in a mesh laundry bag or pillowcase: This will protect them from getting tumbling or getting damaged in the washing machine.
- Add mild detergent: Use a gentle detergent that is suitable for the material of your sneakers. Avoid using bleach or harsh chemicals.
- Set the machine: Set the machine to a gentle or delicate cycle with cold or lukewarm water. Avoid using hot water, as it can cause damage to certain materials.
- Start the washing cycle: Let the machine do the work and allow the sneakers to go through a full washing cycle.
- Remove and air dry: Once the washing cycle is complete, remove the sneakers from the mesh bag or pillowcase and let them air dry. Avoid putting them in the dryer, as it can warp the shape or shrink the material.
If your sneakers are not machine washable or if you prefer to hand wash them, follow these steps:
- Fill a basin or sink with warm water: Fill the basin or sink with enough warm water to submerge the sneakers.
- Add mild detergent: Add a small amount of gentle detergent to the water and mix it until it creates a soapy solution.
- Dip the brush or sponge: Dip the soft-bristle brush or sponge into the soapy solution.
- Gently scrub the sneakers: Use the brush or sponge to scrub the sneakers in a circular motion, paying extra attention to areas with stains or dirt. Be gentle to avoid damaging the material.
- Rinse with clean water: Once you’ve finished scrubbing, rinse the sneakers under clean water to remove any soap residue.
- Remove excess water: Gently squeeze out the excess water from the sneakers, being careful not to deform their shape.
- Air dry: Place the sneakers in a well-ventilated area to air dry. Avoid direct sunlight or heat sources, as they can cause the material to warp or discolor.
Whether you choose to machine wash or hand wash your sneakers, it’s important to follow the appropriate method to ensure a proper and thorough cleaning process.
After washing your sneakers, stuff them with paper towels to help them maintain their shape and absorb excess moisture as they dry.
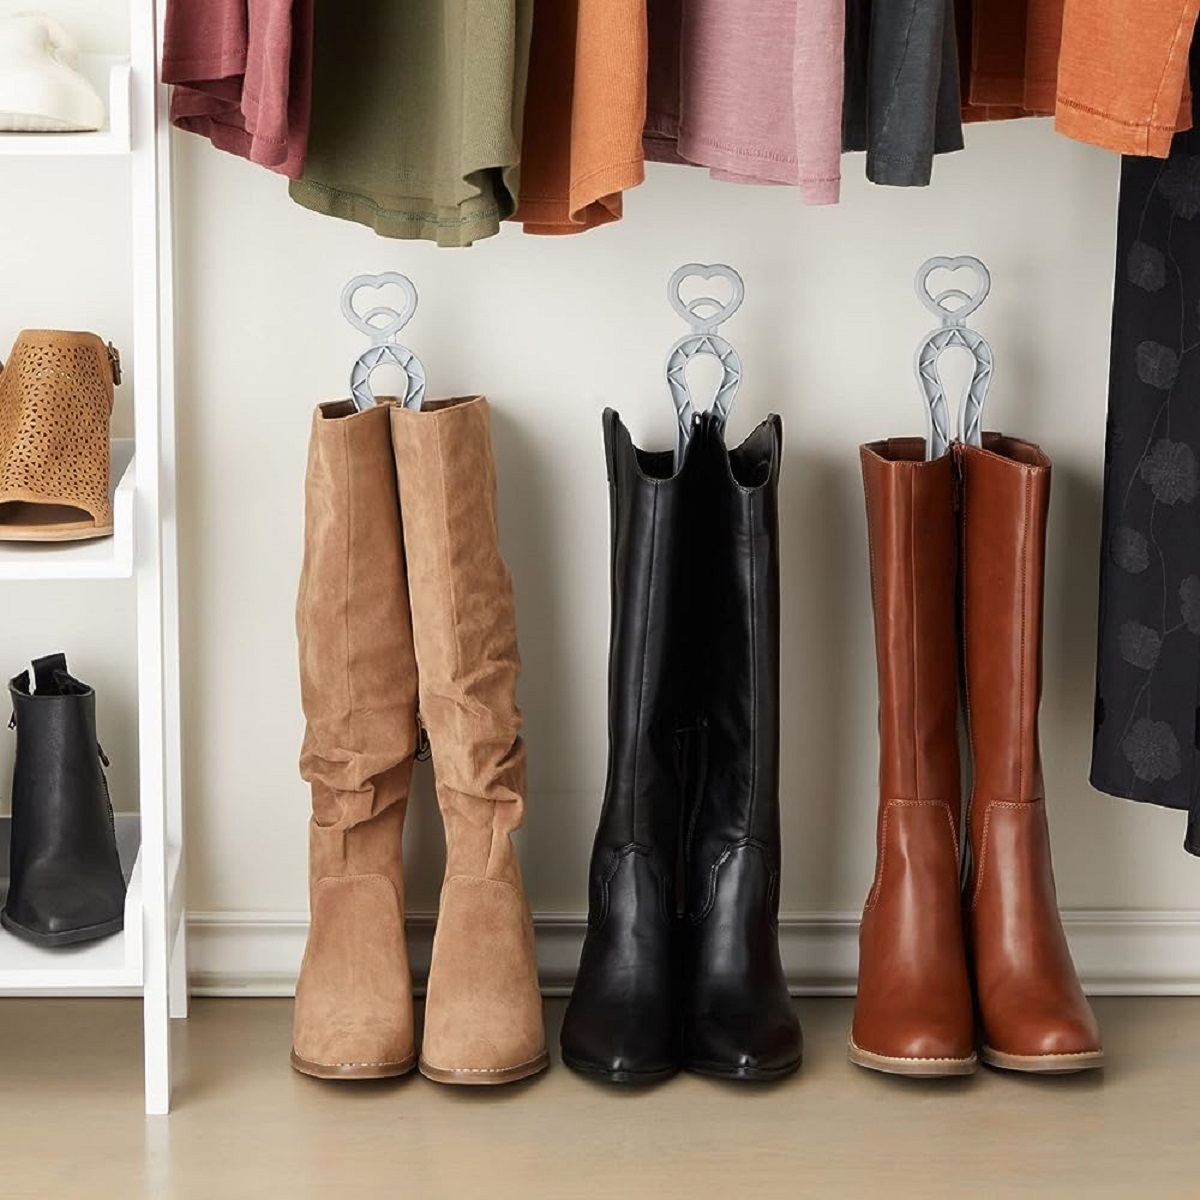
Read more: How To Store Thigh High Boots
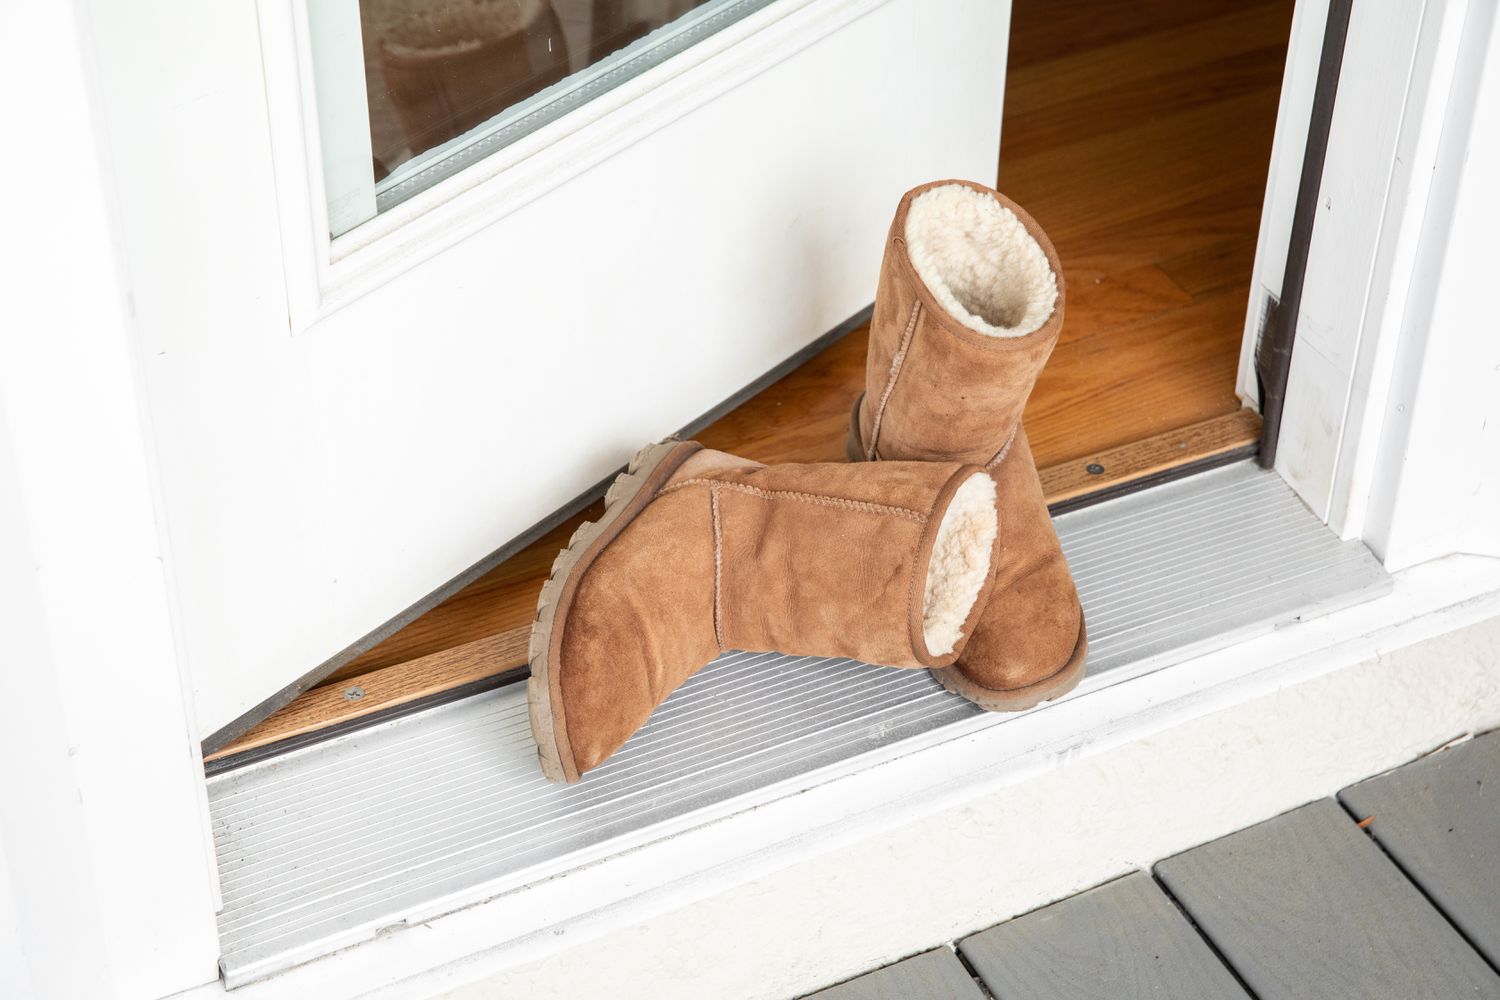
Step 5: Air dry
After washing your sneakers, it is crucial to allow them to air dry properly. Air drying will help maintain the shape and integrity of the sneakers, as well as prevent any potential damage that may occur during the drying process.
Here are the steps to properly air dry your sneakers:
- Remove excess water: Gently squeeze out any excess water from the sneakers. Be careful not to twist or wring them, as this can deform their shape.
- Stuff with paper towels or a clean, dry cloth: Place paper towels or a clean, dry cloth inside the sneakers to help absorb moisture. This will also help the sneakers maintain their shape while drying.
- Avoid heat sources: Place the sneakers in a well-ventilated area away from direct sunlight and heat sources. Heat can cause the material to warp or shrink.
- Let them dry completely: Allow the sneakers to dry naturally for 24-48 hours, depending on the material and thickness. Avoid rushing the drying process by using a hairdryer or other artificial heat sources.
By allowing your sneakers to air dry properly, you are ensuring that they dry evenly and without any damage. Rushing the drying process can lead to misshapen sneakers or potential color fading.
Once your sneakers are completely dry, you can move on to the next step, which is re-lacing and reinserting the insoles.
Step 6: Re-lace and insert insoles
Now that your sneakers are clean and dry, it’s time to re-lace them and insert the insoles. This step will ensure that your sneakers are ready to be worn again, looking and feeling their best.
Follow these simple steps to re-lace your sneakers:
- Start at the bottom: Begin lacing your sneakers from the bottom eyelets, working your way up. This will ensure that the laces are evenly distributed.
- Choose your lacing style: There are various lacing styles you can choose from, such as the standard crisscross or more elaborate patterns. Select a style that suits your preference and the type of sneakers you have.
- Adjust the tension: As you lace your sneakers, make sure to adjust the tension to achieve a comfortable fit. Avoid lacing them too tightly, as it can restrict circulation and cause discomfort.
Next, insert the insoles back into your sneakers:
- Align the insoles: Make sure the insoles are properly aligned with the shape of your sneakers.
- Press them firmly: Gently press down on the insoles to ensure they are securely in place and provide the desired comfort and support.
By re-lacing your sneakers and reinserting the insoles, you restore their structural integrity and ensure a comfortable fit. Now, your sneakers are ready to be worn again!
Step 7: Optional: Apply protective spray
In the final step of the cleaning process, you have the option to apply a protective spray to your sneakers. This step is especially beneficial if you want to preserve the cleanliness and condition of your sneakers for longer periods.
Here’s how you can apply a protective spray:
- Select a suitable protective spray: Look for a spray specifically designed for sneakers or a multi-purpose fabric protector. Make sure the spray is appropriate for the material of your sneakers.
- Clean the sneakers: Ensure that your sneakers are clean and dry before applying the protective spray. Any dirt or stains present on the sneakers may get sealed in if not properly cleaned beforehand.
- Test in an inconspicuous area: Before applying the spray to the entire surface of your sneakers, test it in a small inconspicuous area to check for any adverse reactions or color changes.
- Apply the spray: Holding the spray bottle 6-8 inches away, evenly coat the entire surface of your sneakers. Pay extra attention to high-wear areas, such as the toe box and outsole.
- Allow it to dry: Leave your sneakers in a well-ventilated area to allow the protective spray to dry completely. This may take a few hours, depending on the product.
Applying a protective spray can create a barrier that repels dirt, water, and stains, helping to keep your sneakers cleaner for a longer time. However, keep in mind that no protective spray is 100% foolproof, and regular cleaning and maintenance are still necessary.
Once the protective spray has fully dried, you can enjoy wearing your freshly cleaned and protected sneakers with peace of mind.
Conclusion
Cleaning your sneakers doesn’t have to be a daunting task. With the right knowledge and a little effort, you can keep your favorite sneakers looking fresh and clean, no matter what material they’re made of. By following the step-by-step guide we’ve provided, you can ensure that your sneakers are thoroughly cleaned, stains are treated, and they are preserved for future use.
Remember to always check the care instructions for your sneakers before washing them, as different materials may require different cleaning methods. If unsure, it’s best to err on the side of caution and opt for hand washing or seek professional cleaning services.
Regularly cleaning your sneakers not only maintains their appearance but also helps to extend their lifespan and keep them comfortable to wear. Additionally, incorporating the optional step of applying a protective spray can provide an extra layer of defense against dirt, water, and stains.
So, whether you’re trying to revive an old pair of sneakers or maintain the pristine condition of your new kicks, following these steps will help you achieve the desired result. Keep in mind that proper maintenance and regular cleaning go hand in hand in preserving the quality and longevity of your sneakers.
Now, armed with the knowledge of how to wash your sneakers properly, go ahead and give your beloved sneakers the makeover they deserve. Enjoy the satisfaction of wearing clean, fresh-smelling footwear every time you step out!
Frequently Asked Questions about How To Wash Sneakers: A Step-By-Step To New Looking Shoes
Was this page helpful?
At Storables.com, we guarantee accurate and reliable information. Our content, validated by Expert Board Contributors, is crafted following stringent Editorial Policies. We're committed to providing you with well-researched, expert-backed insights for all your informational needs.


0 thoughts on “How To Wash Sneakers: A Step-By-Step To New Looking Shoes”