Home>Dining>Table Decor>How To Shorten A Long Plank-Style Wood Table
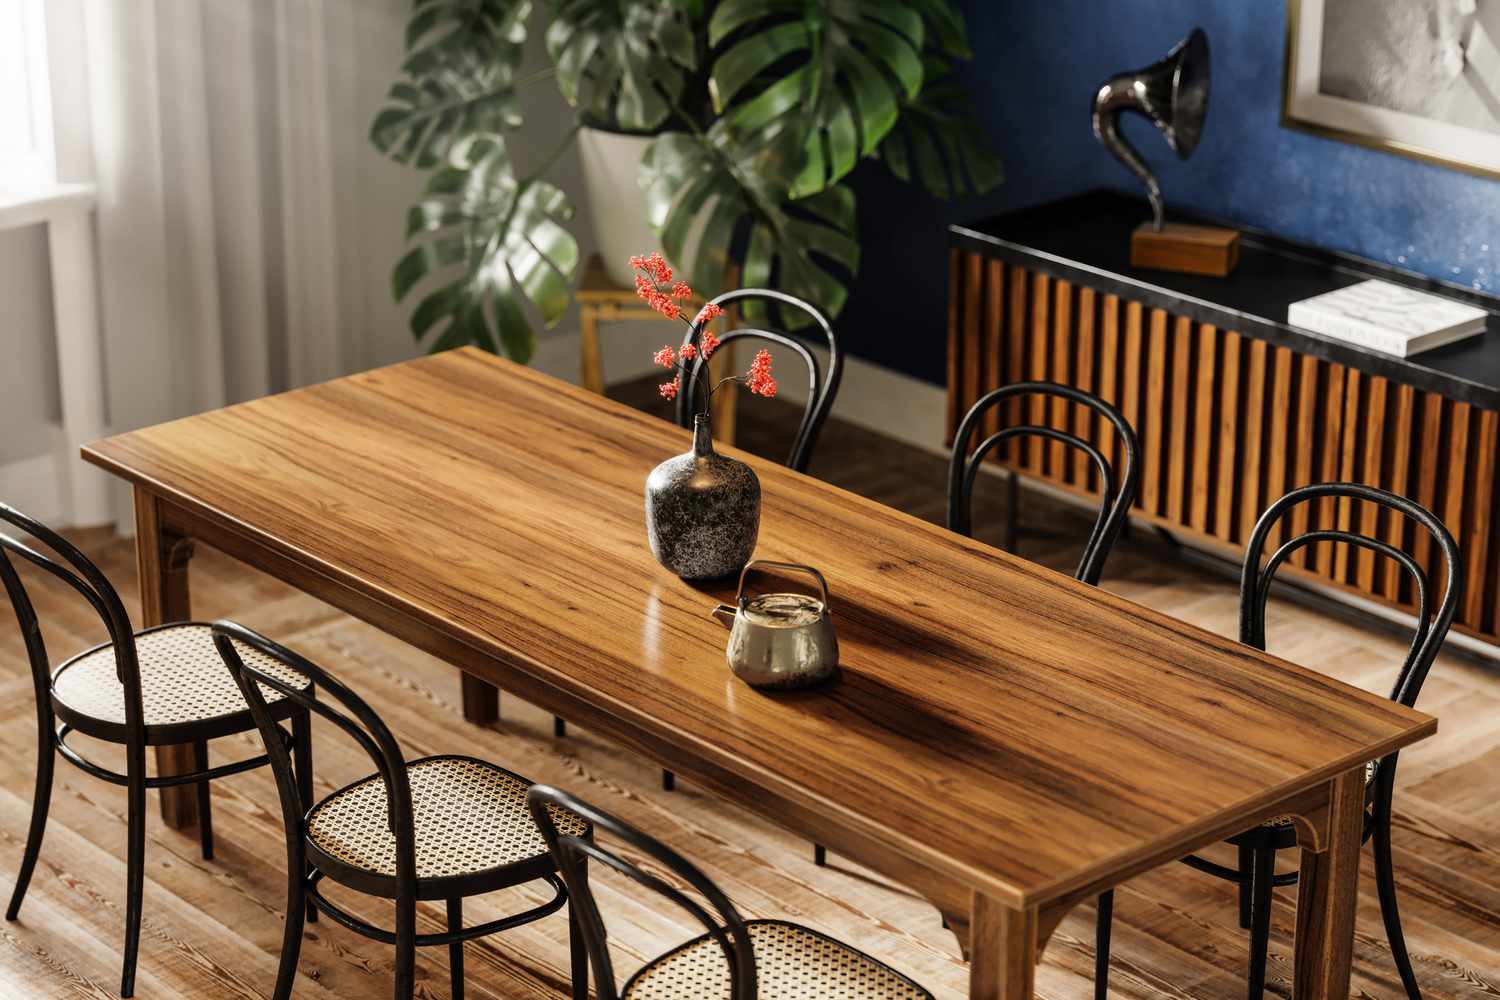
Table Decor
How To Shorten A Long Plank-Style Wood Table
Modified: December 7, 2023
Discover how to shorten a long plank-style wood table and transform your table decor with our step-by-step guide.
(Many of the links in this article redirect to a specific reviewed product. Your purchase of these products through affiliate links helps to generate commission for Storables.com, at no extra cost. Learn more)
Introduction
Table decor plays a vital role in enhancing the aesthetics of any space, and one popular trend in recent years is the use of long plank-style wood tables. These tables provide a rustic and elegant look, making them a perfect addition to any home or office setting. However, there may be instances where you find that your long plank-style wood table is just a little too long for your space or needs. In such cases, knowing how to shorten a long plank-style wood table can come in handy.
In this article, we will guide you through the process of shortening a long plank-style wood table, step by step. We will cover the tools and materials you’ll need, as well as provide expert tips and suggestions to help you achieve the best results. So, if you have a long table that needs a trimming, roll up your sleeves and let’s get started!
Key Takeaways:
- Transform your long plank-style wood table to fit your space and needs with confidence. Follow the step-by-step guide for precise cutting, sanding, and finishing, ensuring both functionality and aesthetics.
- Prioritize safety, take your time, and appreciate your DIY accomplishment in shortening your table. Choose the right finish to complement your decor and maintain the beauty of your transformed furniture.
Read more: How To Install Wood Ceiling Planks
Tools and Materials Needed
Before you begin the process of shortening a long plank-style wood table, gather the following tools and materials:
- Measuring tape
- Marking pencil
- Safety goggles
- Face mask
- Work gloves
- Screwdriver or drill (depending on the table construction)
- Hand saw or power saw
- Sandpaper or sanding block (various grits)
- Stain or paint (optional)
- Paintbrushes (if using stain or paint)
- Clear protective finish (such as polyurethane or lacquer)
- Clean cloth or brush for applying finish
- Drop cloth or plastic sheeting to protect your work area
- Vacuum or broom for clean-up
Ensure that you have all the necessary tools and materials before you start the project. This will save you time and make the process more efficient.
Step 1: Measuring and Marking the Desired Length
The first step in shortening a long plank-style wood table is to determine the desired length and mark it accurately. Start by measuring the space where the table will be placed, taking into account any surrounding furniture or obstacles. Consider the function of the table and how much space you need for seating or other activities.
Once you have determined the desired length, use a measuring tape to measure and mark the cutting point on the table. It’s important to make precise and straight cuts, so take your time to ensure accuracy. Use a marking pencil to make the cut line clearly visible.
When marking the desired length, consider leaving some extra space for future adjustments or refinishing. It’s always better to have a slightly longer table that can be trimmed further if needed, rather than ending up with a table that is too short.
Remember to double-check your measurements before proceeding to the next step. It’s better to be safe than sorry!
Note: If your table has a leaf or extension mechanism, ensure that it is removed before measuring and marking the desired length. This will prevent any complications when cutting the table.
Now that you have measured and marked the desired length, you are ready to move on to the next step: preparing the area.
Step 2: Preparing the Area
Before you begin cutting the table, it’s essential to prepare the area to ensure a smooth and safe process. Follow these steps to prepare the area:
- Clear the area: Remove any objects, decor, or furniture in the vicinity of the table. This will give you ample space to work and prevent any accidental damage.
- Protect the floor: Lay down a drop cloth or plastic sheeting to protect the floor from debris, sawdust, and potential scratches. Secure it in place to avoid shifting during the process.
- Secure the table: If possible, secure the table to prevent movement while cutting. Use clamps or other securing mechanisms to keep the table in place. This will ensure precision and prevent any accidents.
- Protect yourself: Always prioritize safety when working with tools. Put on safety goggles, a face mask, and work gloves to protect your eyes, lungs, and hands from any potential hazards.
By taking the time to prepare the area properly, you create a safe and organized workspace, minimizing the risk of accidents and making the process more efficient.
Now that the area is prepared, you are ready to move on to the next step: removing the existing finish from the table.
Step 3: Removing the Existing Finish
Before you can proceed with cutting the table, it’s important to remove the existing finish. This step may not be necessary if your table is unfinished or if you’re planning to keep the existing finish at the newly cut edge.
To remove the existing finish, follow these steps:
- Apply a stripping agent: If your table has a thick and stubborn finish, you may need to use a chemical stripping agent. Follow the product instructions carefully and apply the stripping agent to the surface of the table. Use a brush to spread it evenly and ensure full coverage.
- Let it sit: Give the stripping agent enough time to work. The product instructions will specify the recommended waiting time. During this waiting period, the agent will soften the existing finish, making it easier to remove.
- Scrape off the finish: Once the waiting period is over, use a scraper or putty knife to gently scrape off the softened finish. Work in the direction of the grain to avoid damaging the wood. Be cautious not to apply excessive pressure, as this can lead to gouging or denting the surface.
- Repeat if necessary: If there are areas where the finish is still stubborn, you may need to repeat the stripping process. Apply the stripping agent again and let it sit for the recommended time before scraping off the remaining finish.
- Clean the surface: After removing the finish, use a clean cloth or sponge dampened with water to wipe down the surface of the table. This will remove any residue from the stripping agent and ensure a clean working area.
Removing the existing finish will allow for a smooth and seamless transition when cutting the table. It also provides an opportunity to refinish the newly cut edge, giving it a consistent look with the rest of the table.
Now that the existing finish has been removed, you’re ready to move on to the next step: cutting the table to size.
Consider using a circular saw to cut the table to the desired length. Measure carefully and use a straight edge as a guide for a clean, straight cut. Sand the edges smooth after cutting.
Read more: How To Shorten Faux Wood Blinds
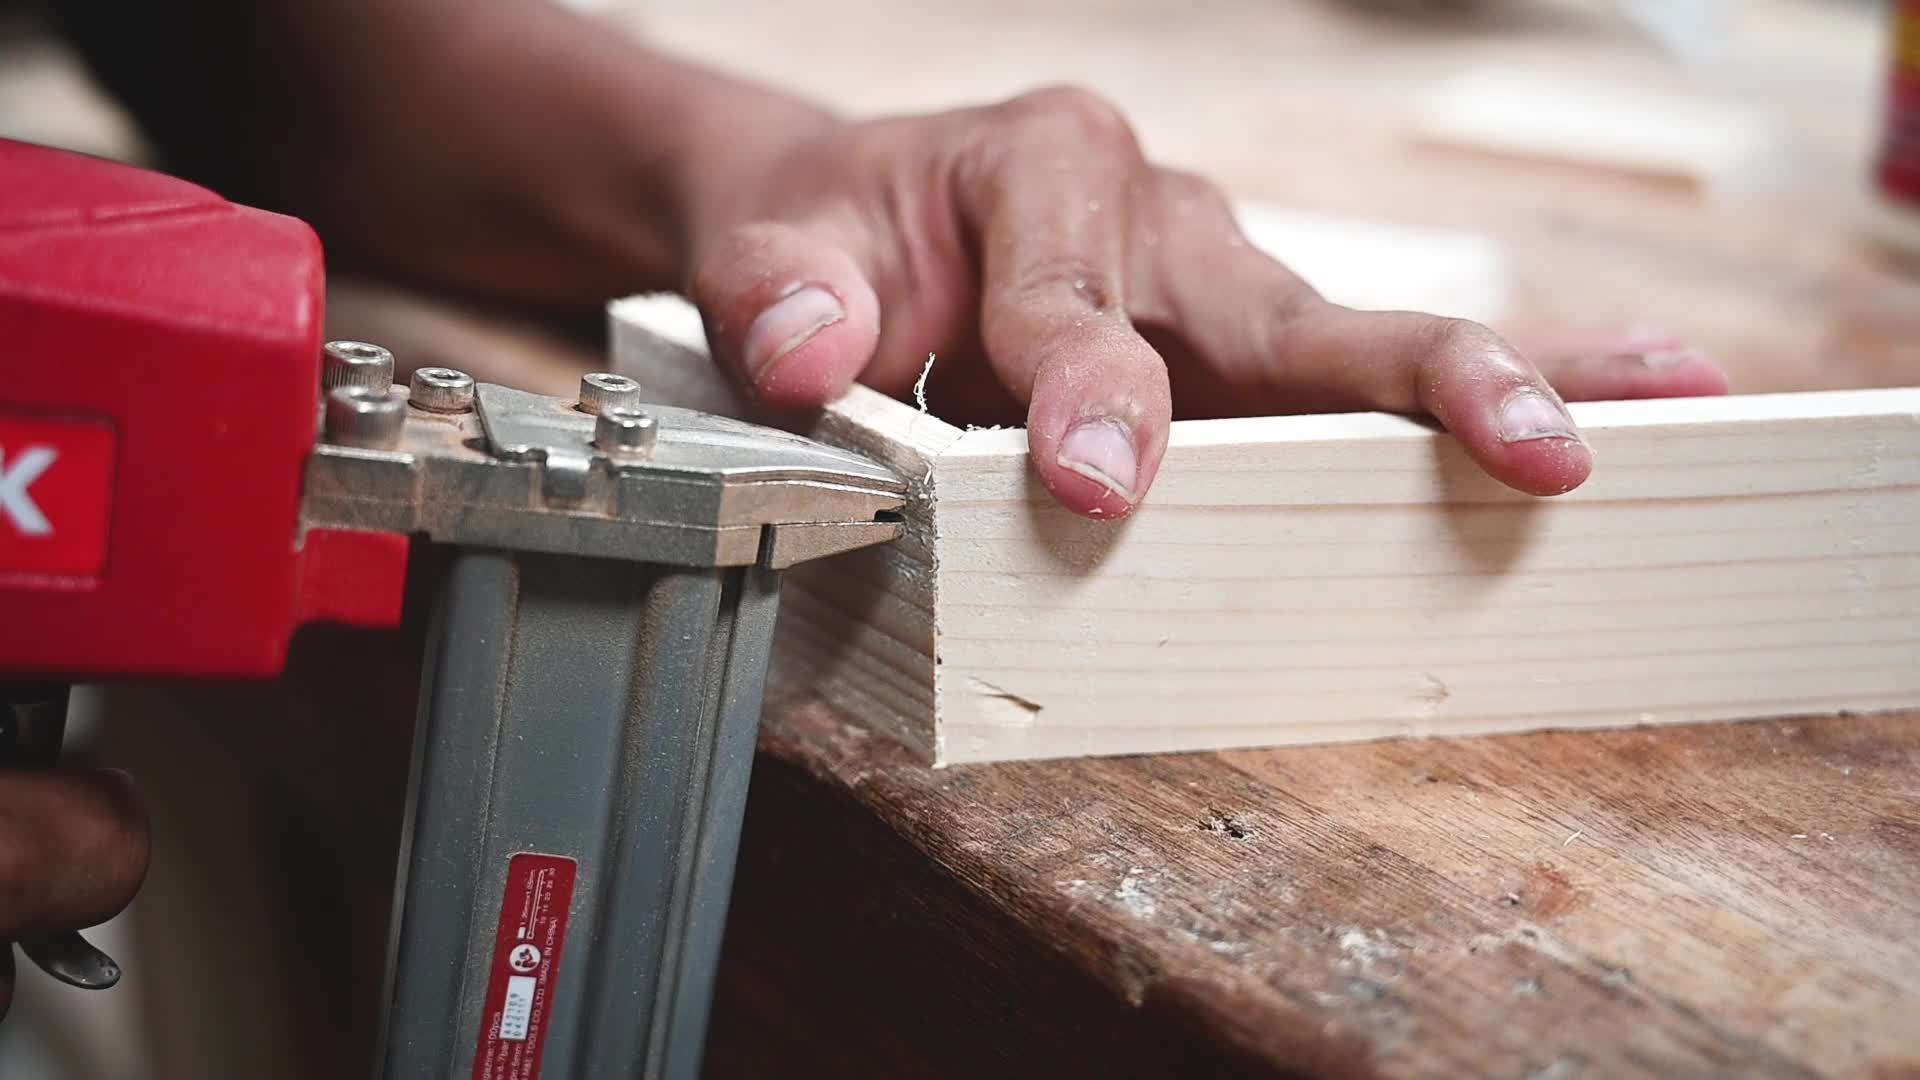
Step 4: Cutting the Table to Size
Now that you have measured, marked, and prepared the table, it’s time to cut it to the desired length. Follow these steps to ensure a precise and clean cut:
- Choose the appropriate saw: Depending on your preference and the available tools, you can use a hand saw or a power saw. A circular saw or a table saw is recommended for a clean and straight cut. Ensure that the saw blade is sharp.
- Align the blade with the cut line: Position the saw blade, so it aligns with the marked cut line on the table. Double-check the alignment to ensure that the cut will be accurate.
- Begin the cut: Start the saw and make a slow, controlled cut along the marked line. Use gentle and even pressure while guiding the saw. Take your time to maintain a straight line and prevent any splintering or chipping.
- Support the table: As you near the end of the cut, be mindful of the weight distribution to prevent the wood from splintering or breaking off. Consider using additional support under the area being cut to ensure a clean and stable finish.
- Complete the cut: Continue cutting until you have completely separated the excess length from the table. Do not rush the process; maintain a steady pace to achieve a clean and precise cut.
Once the cut is complete, carefully remove any clamps and support structures, if used. Inspect the cut edge to ensure it is straight and smooth. If needed, use sandpaper to gently smooth out any rough spots or imperfections.
Remember to take breaks and stay focused to avoid any accidents while cutting the table. Safety should always be your top priority.
Now that the table is cut to size, it’s time to move on to the next step: sanding the cut edge.
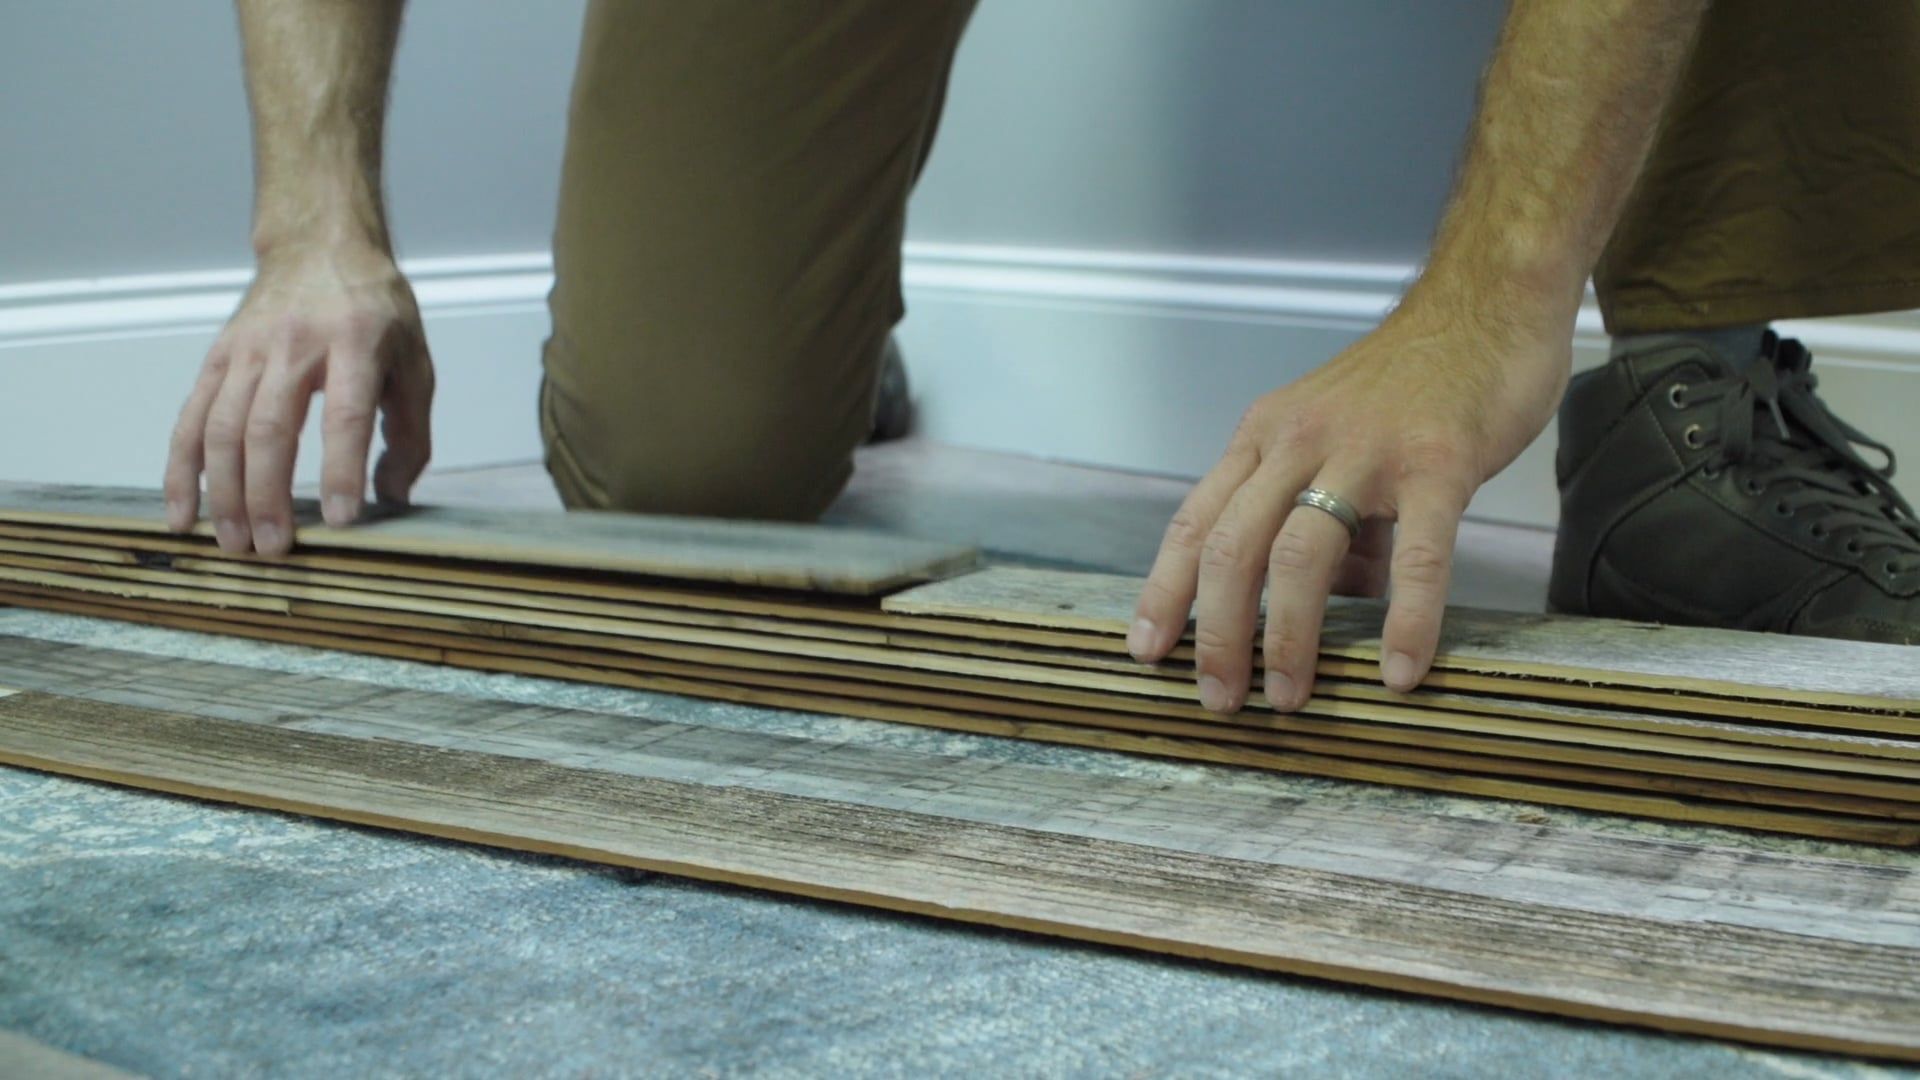
Step 5: Sanding the Cut Edge
After cutting the table to the desired length, it’s important to sand the cut edge to ensure a smooth and polished finish. Follow these steps to properly sand the cut edge:
- Start with coarse grit sandpaper: Begin by using a piece of coarse grit sandpaper (around 80 or 100 grit) to remove any rough edges or splinters on the cut surface. Sand in the direction of the wood grain to avoid scratches.
- Gradually move to finer grit sandpaper: Once you have smoothed out the rough areas with coarse grit sandpaper, switch to a finer grit sandpaper (such as 120 or 150 grit) to achieve a smoother finish. Continue sanding, again following the direction of the wood grain, until the surface feels smooth to the touch.
- Remove dust and debris: After sanding, carefully wipe away any dust and debris from the cut edge using a clean cloth or a vacuum cleaner with a soft brush attachment. This will ensure a clean surface for the next steps.
Sanding the cut edge not only enhances the visual appeal but also helps to prevent any potential splinters or roughness when interacting with the table. Take your time during this step to achieve the desired level of smoothness.
Now that the cut edge is sanded and smooth, you’re ready to move on to the next step: applying a new finish.
Step 6: Applying a New Finish
After cutting and sanding the table, applying a new finish will not only protect the wood but also enhance its appearance. Follow these steps to apply a new finish to the cut edge:
- Choose your finish: Select a finish that complements the existing finish on your table. Options include stain, paint, or a clear protective finish such as polyurethane or lacquer.
- Prepare the surface: Ensure the cut edge is clean and free of dust and debris. Use a clean cloth or a vacuum cleaner with a soft brush attachment to remove any residue.
- Apply the finish: If you are using a stain or paint, apply it evenly with a brush, following the manufacturer’s instructions. Make sure to cover the entire cut edge. If you prefer a clear protective finish, apply it using a clean cloth or a brush, ensuring complete coverage.
- Allow drying time: Follow the drying time specified on the product label. It’s important to allow the finish to fully dry before using the table or applying additional coats.
- Repeat if desired: Depending on the type of finish and the look you’re aiming for, you can apply multiple coats. Allow each coat to dry completely before applying the next one.
Applying a new finish not only protects the freshly cut edge but also gives it a seamless and cohesive look with the rest of the table. Take care to follow the manufacturer’s instructions and ensure proper ventilation during the application process.
Once the finish has dried, you can move on to the final step: adding any necessary final touches and performing clean-up.
Step 7: Final Touches and Clean-up
With the table cut, sanded, and finished, it’s time to add the final touches and complete the project. Follow these steps to ensure everything is in place and clean up the work area:
- Inspect the table: Take a moment to inspect the table and ensure that everything is as desired. Check the cut edge, the finish, and the overall appearance. Make any necessary adjustments or touch-ups to achieve the desired result.
- Reattach any hardware: If you removed any hardware during the process, such as support brackets or leaf mechanisms, now is the time to reattach them. Ensure everything is securely in place.
- Clean up the work area: Remove the drop cloth or plastic sheeting used to protect the floor and clean up any sawdust or debris. Use a broom, vacuum, or damp cloth to wipe down the surrounding area and ensure it is tidy.
- Dispose of waste properly: Dispose of any waste material, such as scraps of wood or used sandpaper, according to your local regulations. Consider recycling or repurposing the materials if possible.
- Enjoy your shortened table: Once the final touches are complete and the work area is clean, it’s time to enjoy your newly shortened table! Arrange it in your desired space and take pride in your DIY accomplishment.
Congratulations on successfully shortening your long plank-style wood table! By following these steps, you have transformed it to fit your specific needs and space. Now you can fully enjoy the functional and aesthetic benefits of the table.
Remember, with proper care and maintenance, your shortened table will continue to enhance your decor for years to come.
Thank you for joining us on this journey of table transformation. Happy decorating!
Note: Always prioritize safety when working with tools and follow the manufacturer’s instructions for all products and equipment used in this process.
Read more: How To Shorten The Length Of A Dining Table
Conclusion
Shortening a long plank-style wood table allows you to tailor it to fit your specific space and needs, ensuring both functionality and aesthetics. By following the step-by-step guide provided in this article, you can successfully cut and transform your table with confidence.
From measuring and marking the desired length to preparing the area, removing the existing finish, cutting the table to size, sanding the cut edge, applying a new finish, and adding the final touches, each step has been carefully outlined to help you achieve the best results.
Throughout the process, it is essential to prioritize safety by using protective gear, securing the table, and working with caution. Take your time to ensure accuracy and precision in each step, as this will contribute to the overall success of your project.
Remember, the choice of finish can greatly impact the final appearance of your shortened table. Whether you opt for stain, paint, or a clear protective finish, make sure it matches the existing finish and complements your overall decor theme.
Once your shortened table is complete, take a moment to appreciate your DIY accomplishment. It’s a testament to your creativity and the ability to transform furniture to suit your unique style and space.
With proper care and maintenance, your shortened table will continue to be a centerpiece in your home or office for years to come. Regularly clean and protect the surface to maintain its beauty and longevity.
We hope this article has provided you with the guidance and inspiration necessary to confidently shorten your long plank-style wood table. Enjoy the process of transforming and personalizing your furniture to create a space that reflects your individual taste and style.
Happy decorating!
Frequently Asked Questions about How To Shorten A Long Plank-Style Wood Table
Was this page helpful?
At Storables.com, we guarantee accurate and reliable information. Our content, validated by Expert Board Contributors, is crafted following stringent Editorial Policies. We're committed to providing you with well-researched, expert-backed insights for all your informational needs.


0 thoughts on “How To Shorten A Long Plank-Style Wood Table”