Home>Furniture & Design>Living Room Furniture>How To Shorten The Length Of A Dining Table
Living Room Furniture
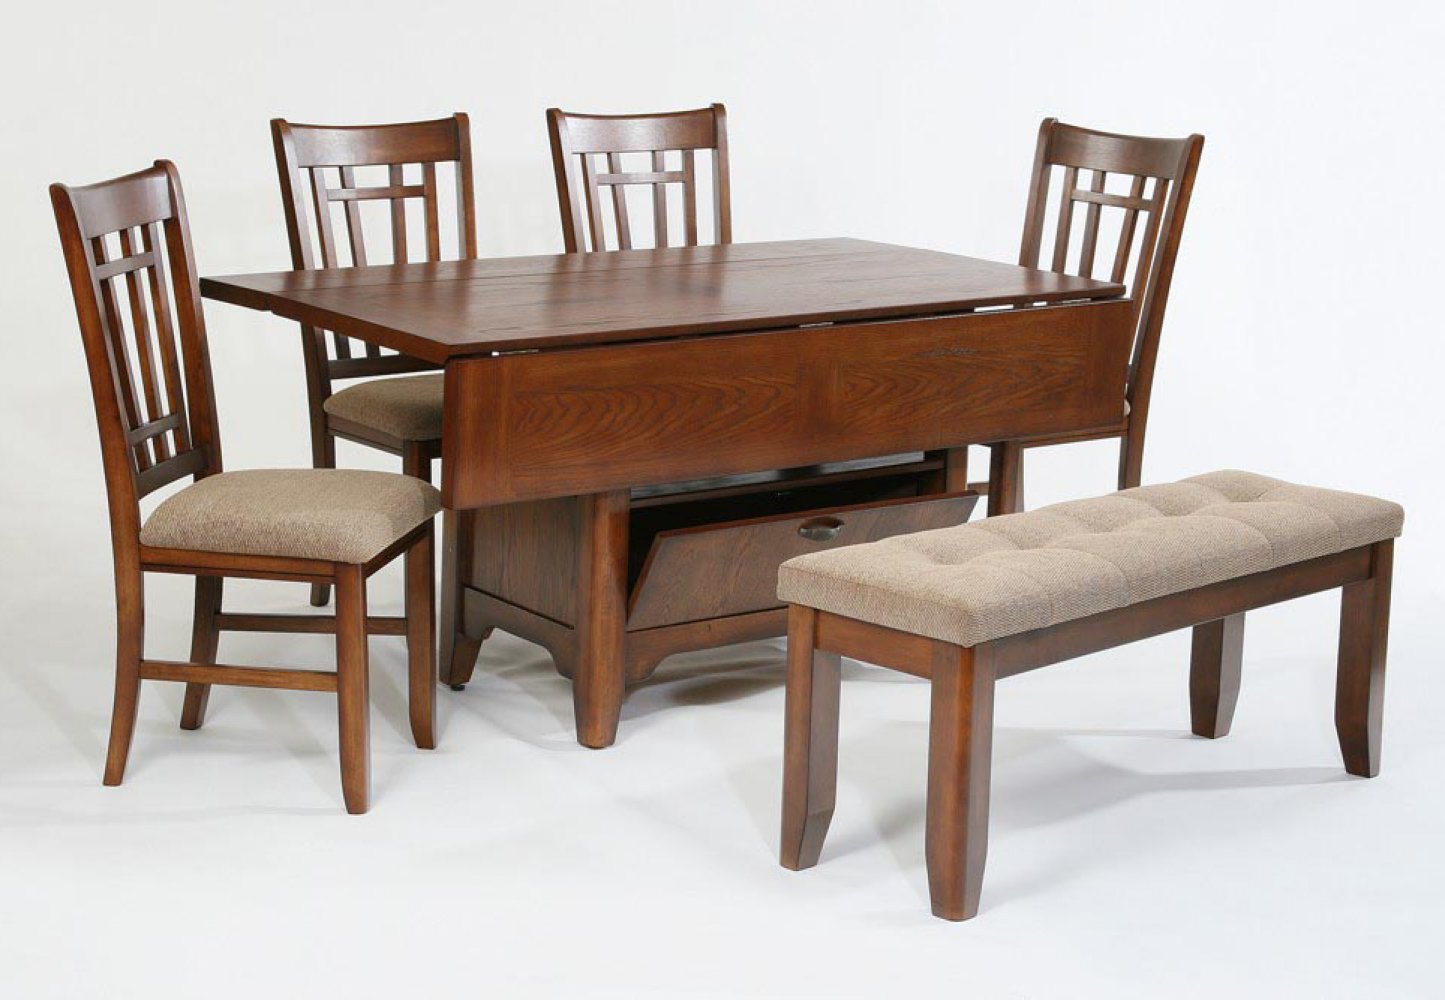
How To Shorten The Length Of A Dining Table
Published: January 5, 2024
Learn how to shorten the length of a dining table to fit your living room furniture and design. Expert tips and tricks for maximizing space in your home.
(Many of the links in this article redirect to a specific reviewed product. Your purchase of these products through affiliate links helps to generate commission for Storables.com, at no extra cost. Learn more)
Introduction
Welcome to the world of furniture customization, where you have the power to transform your dining room table to perfectly fit your space and lifestyle. Whether you’ve inherited a table that’s just a tad too long or found the perfect piece at an estate sale that needs a minor adjustment, shortening a dining table is a practical and rewarding endeavor. By taking on this project, you can ensure that your dining area not only looks fantastic but also functions seamlessly, accommodating your family and guests with ease.
Shortening a dining table is a task that requires precision, attention to detail, and a touch of creativity. It’s an opportunity to put your DIY skills to the test and make a lasting impact on your living space. With the right tools, materials, and guidance, you can embark on this journey with confidence, knowing that you’ll soon have a dining table that’s tailor-made for your home.
In this comprehensive guide, we’ll explore the step-by-step process of shortening a dining table, from assessing the need for modification to adding the finishing touches. By the end, you’ll be equipped with the knowledge and inspiration to tackle this project and elevate the functionality and aesthetic appeal of your dining area.
Key Takeaways:
- Shortening a dining table involves assessing the need for modification, gathering tools and materials, and following step-by-step instructions to achieve a customized and functional piece that harmonizes with your living space.
- The process of shortening a dining table empowers DIY enthusiasts to exercise creativity, precision, and resourcefulness, resulting in a personalized centerpiece that enhances both practicality and aesthetic appeal in the home.
Read more: How To Reduce The Length Of A Dining Table
Assessing the Need for Shortening
Before diving into the process of shortening your dining table, it’s essential to carefully evaluate the reasons behind this modification. Understanding the specific requirements that prompt the need for shortening will guide your approach and ensure that the end result aligns perfectly with your expectations.
First and foremost, consider the spatial dynamics of your dining area. If the current length of the table overwhelms the room or impedes the flow of movement, shortening it can alleviate these issues and create a more harmonious environment. Additionally, if the table obstructs other furniture or architectural features, such as a buffet or a doorway, shortening it can enhance the overall functionality of the space.
Furthermore, take into account the seating capacity and comfort level. If the table’s length exceeds the available space, it may lead to overcrowding and discomfort for those seated at the ends. By shortening the table, you can optimize the seating arrangement and ensure that everyone enjoys a pleasant dining experience without feeling cramped.
Another aspect to consider is the visual balance and proportion within the room. A disproportionately long table can disrupt the overall aesthetic and make the room feel unbalanced. By shortening the table to better fit the scale of the space, you can create a more visually appealing and cohesive atmosphere.
Lastly, assess the practicality of the current table length in relation to your everyday needs. If the existing table size hinders your ability to move around it easily, interferes with serving and clearing dishes, or poses challenges during social gatherings, shortening it can address these concerns and enhance the functionality of the dining area.
By thoroughly evaluating these factors, you can gain clarity on the specific adjustments needed to optimize your dining table. This thoughtful assessment will serve as a solid foundation for the subsequent steps involved in the shortening process, ensuring that the end result not only meets your practical requirements but also harmonizes beautifully with your living space.
Tools and Materials Required
Embarking on the journey to shorten a dining table requires a set of essential tools and materials to facilitate a smooth and successful transformation. Before delving into the step-by-step process, it’s important to gather the following items, ensuring that you have everything you need to complete the project with precision and finesse.
Tools:
- Measuring tape: An indispensable tool for accurately determining the desired length and ensuring uniformity during the cutting process.
- Safety goggles: Essential for eye protection while using power tools.
- Circular saw or table saw: A reliable cutting tool capable of cleanly and precisely shortening the table to the desired length.
- Sandpaper or electric sander: For smoothing the newly cut edges and achieving a seamless finish.
- Screwdriver: To remove and reattach any hardware or components as needed.
- Clamps: Useful for securing the table during the cutting and sanding processes.
- Paintbrushes or finishing tools: If refinishing or staining the table after shortening, appropriate application tools will be required.
Materials:
- Protective covering or tarp: To safeguard the work area from dust and debris during the cutting and sanding stages.
- Wood filler: If the table features visible screw holes or imperfections after shortening, wood filler can be used to achieve a smooth surface.
- Stain or paint (optional): If refinishing the table to match the original appearance or achieve a new look, appropriate stain or paint will be necessary.
- Protective finish: A clear protective coat to seal and safeguard the newly exposed edges of the table.
- Cloth or tack cloth: For removing dust and ensuring a clean surface before applying finishes.
By ensuring that you have these essential tools and materials on hand, you’ll be fully equipped to tackle the task of shortening your dining table with confidence and precision. With proper preparation and attention to detail, you can transform your table into a customized centerpiece that perfectly complements your living space.
Step-by-Step Instructions
Now that you’ve assessed the need for shortening your dining table and gathered the necessary tools and materials, it’s time to embark on the transformative journey of customizing your table to fit your space and lifestyle. The following step-by-step instructions will guide you through the process, empowering you to achieve a seamless and professional-looking result.
1. Preparation and Safety Measures:
Prior to any cutting or modification, ensure that the work area is well-ventilated and adequately covered to protect surfaces from dust and debris. Don safety goggles to safeguard your eyes during the cutting and sanding processes.
2. Measurement and Marking:
Measure and mark the desired length for your dining table, ensuring precision and uniformity. Use a measuring tape and pencil to clearly delineate the cutting line on each side of the table, taking into account the desired overhang, if applicable.
3. Securing the Table:
Secure the table firmly in place using clamps to prevent movement during the cutting process. This stability is crucial for achieving clean and accurate cuts.
Read more: How To Shorten A Long Plank-Style Wood Table
4. Cutting the Table:
Using a circular saw or table saw, carefully cut along the marked lines to shorten the table to the desired length. Exercise caution and maintain a steady hand to ensure a straight and even cut.
5. Smoothing the Edges:
After cutting, use sandpaper or an electric sander to smooth the newly exposed edges of the table. This step is essential for achieving a seamless and professional finish.
6. Filling and Sanding Imperfections:
If there are visible screw holes or imperfections resulting from the shortening process, use wood filler to achieve a smooth surface. Once the filler is dry, sand the area to ensure a uniform and flawless appearance.
7. Optional Refinishing:
If desired, apply the chosen stain or paint to refinish the table, ensuring that the color and finish match the original appearance or complement your desired aesthetic. Follow this with a protective finish to seal and safeguard the newly exposed edges.
By following these step-by-step instructions with precision and care, you’ll be able to successfully shorten your dining table, creating a customized piece that seamlessly integrates into your living space and enhances the functionality of your dining area.
Read more: How To Seal A Dining Table
Finishing Touches
As you near the completion of the dining table shortening process, it’s time to focus on the finishing touches that will elevate the appearance and functionality of the customized piece. These final steps will add polish and refinement, ensuring that your table seamlessly integrates into your living space while exuding a professional and cohesive aesthetic.
1. Final Inspection:
Once the table has been shortened and any imperfections have been filled and sanded, conduct a thorough inspection of the entire piece. Check for any remaining rough edges, blemishes, or inconsistencies that may require additional attention before proceeding to the final steps.
2. Refinishing (If Applicable):
If you’ve opted to refinish the table, apply the chosen stain or paint according to the manufacturer’s instructions. Ensure that the application is even and thorough, allowing the table to dry completely between coats for a flawless finish. Once the desired color and appearance have been achieved, apply a protective finish to seal and safeguard the surface.
3. Reattaching Hardware:
If any hardware, such as brackets or fasteners, was removed before shortening the table, carefully reattach these components using a screwdriver. Ensure that they are securely in place, contributing to the stability and integrity of the table.
Read more: How To Paint A Dining Table
4. Cleaning and Polishing:
Thoroughly clean the table to remove any dust, debris, or residue resulting from the refinishing process. Use a soft cloth or tack cloth to ensure that the surface is smooth and free of imperfections. If necessary, apply a gentle furniture polish to enhance the luster and sheen of the table.
5. Positioning in the Space:
Once the table is fully prepared, carefully position it in its designated space within the dining area. Ensure that it harmonizes with the surrounding decor and contributes to a balanced and inviting atmosphere.
6. Celebrate Your Achievement:
Take a moment to appreciate the transformation you’ve accomplished. Your customized dining table is not only a functional centerpiece but also a reflection of your creativity and craftsmanship. Celebrate your achievement and the personalized touch you’ve brought to your living space.
With these finishing touches, your shortened dining table is ready to take its place as a seamlessly integrated and purposefully customized element in your home. The attention to detail and care invested in the final stages of this project will result in a dining table that not only meets your practical needs but also adds a touch of personalized elegance to your living space.
Conclusion
Shortening a dining table is a transformative endeavor that empowers you to tailor a crucial piece of furniture to your specific needs and living space. Through careful assessment, precise execution, and thoughtful finishing touches, you have the ability to create a customized centerpiece that seamlessly integrates into your home, enhancing both functionality and aesthetic appeal.
By embarking on this DIY project, you’ve not only demonstrated your creativity and resourcefulness but also gained valuable insights into the world of furniture customization. The process of shortening a dining table has provided an opportunity to hone your skills, exercise precision, and make a tangible impact on your living environment.
As you admire the newly shortened dining table in its designated space, take pride in the craftsmanship and attention to detail that have gone into this project. Your dedication to creating a piece of furniture that perfectly aligns with your vision and practical requirements is a testament to your commitment to curating a harmonious and personalized home.
Furthermore, the skills and knowledge acquired throughout this process can serve as a foundation for future DIY endeavors, empowering you to continue customizing and optimizing your living space with confidence and ingenuity. Whether it’s refinishing a chair, repurposing a shelf, or embarking on more extensive furniture modifications, the experience gained from shortening a dining table has equipped you with the tools and inspiration to pursue further creative projects.
As you enjoy the enhanced functionality and visual cohesion brought about by your customized dining table, remember that the journey of furniture customization is one of continual exploration and self-expression. Your home is a canvas for your creativity, and each project offers an opportunity to infuse your living space with personality and purpose.
Congratulations on successfully shortening your dining table and infusing your living space with a touch of personalized elegance. May this project inspire further creative pursuits, fostering a home that beautifully reflects your unique style and practical needs.
Frequently Asked Questions about How To Shorten The Length Of A Dining Table
Was this page helpful?
At Storables.com, we guarantee accurate and reliable information. Our content, validated by Expert Board Contributors, is crafted following stringent Editorial Policies. We're committed to providing you with well-researched, expert-backed insights for all your informational needs.


0 thoughts on “How To Shorten The Length Of A Dining Table”