Articles
How To Shorten Faux Wood Blinds
Modified: August 16, 2024
Learn effective strategies to shorten faux wood blinds with these helpful articles, providing step-by-step instructions and expert tips for a flawless DIY project.
(Many of the links in this article redirect to a specific reviewed product. Your purchase of these products through affiliate links helps to generate commission for Storables.com, at no extra cost. Learn more)
Introduction
Are your faux wood blinds too long for your windows, causing them to scrunch up at the bottom? Don’t worry; you can easily shorten them to achieve the perfect fit. Shortening faux wood blinds is a simple DIY project that can be done with just a few tools and materials. Whether you are redecorating your home or moving into a new place, this article will guide you through the steps to shorten your faux wood blinds.
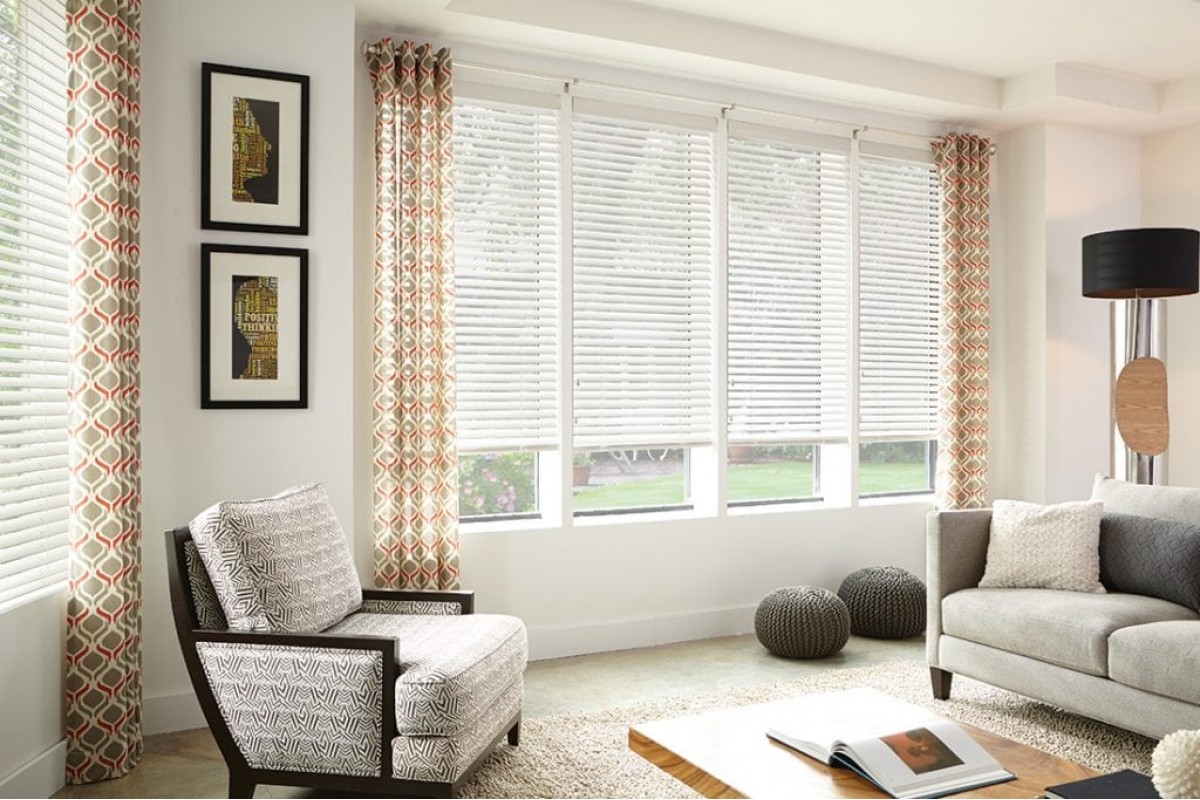
Faux wood blinds are a popular window treatment choice due to their durability, affordability, and versatility. They mimic the appearance of real wood blinds but are made from a composite material or PVC, making them resistant to moisture and easy to clean. However, like any other blinds, faux wood blinds are usually manufactured in standard sizes and may need to be shortened to fit perfectly in your windows.
In this article, we will provide you with a step-by-step guide on how to shorten faux wood blinds effectively. You don’t need to be an expert DIY-er or have any prior experience with blinds to complete this project successfully. Just follow the instructions carefully, and you’ll have your faux wood blinds shortened in no time!
Key Takeaways:
- Shortening faux wood blinds is a simple DIY project that can be done with basic tools and materials. By following the step-by-step guide, you can achieve the perfect fit for your windows and enhance the aesthetic appeal of your living space.
- Understanding the advantages of faux wood blinds, such as durability, affordability, and low maintenance, can help you make an informed decision when choosing window treatments. Faux wood blinds offer a versatile and practical solution for any home.
Read more: What Is Faux Wood Blinds?
Understanding Faux Wood Blinds
Before we dive into the process of shortening faux wood blinds, let’s take a moment to understand these window treatments and why they are a popular choice among homeowners.
Faux wood blinds are designed to mimic the look and feel of real wood blinds. However, instead of being made from natural wood, they are crafted from a composite material or PVC. This composition gives them several advantages over real wood blinds.
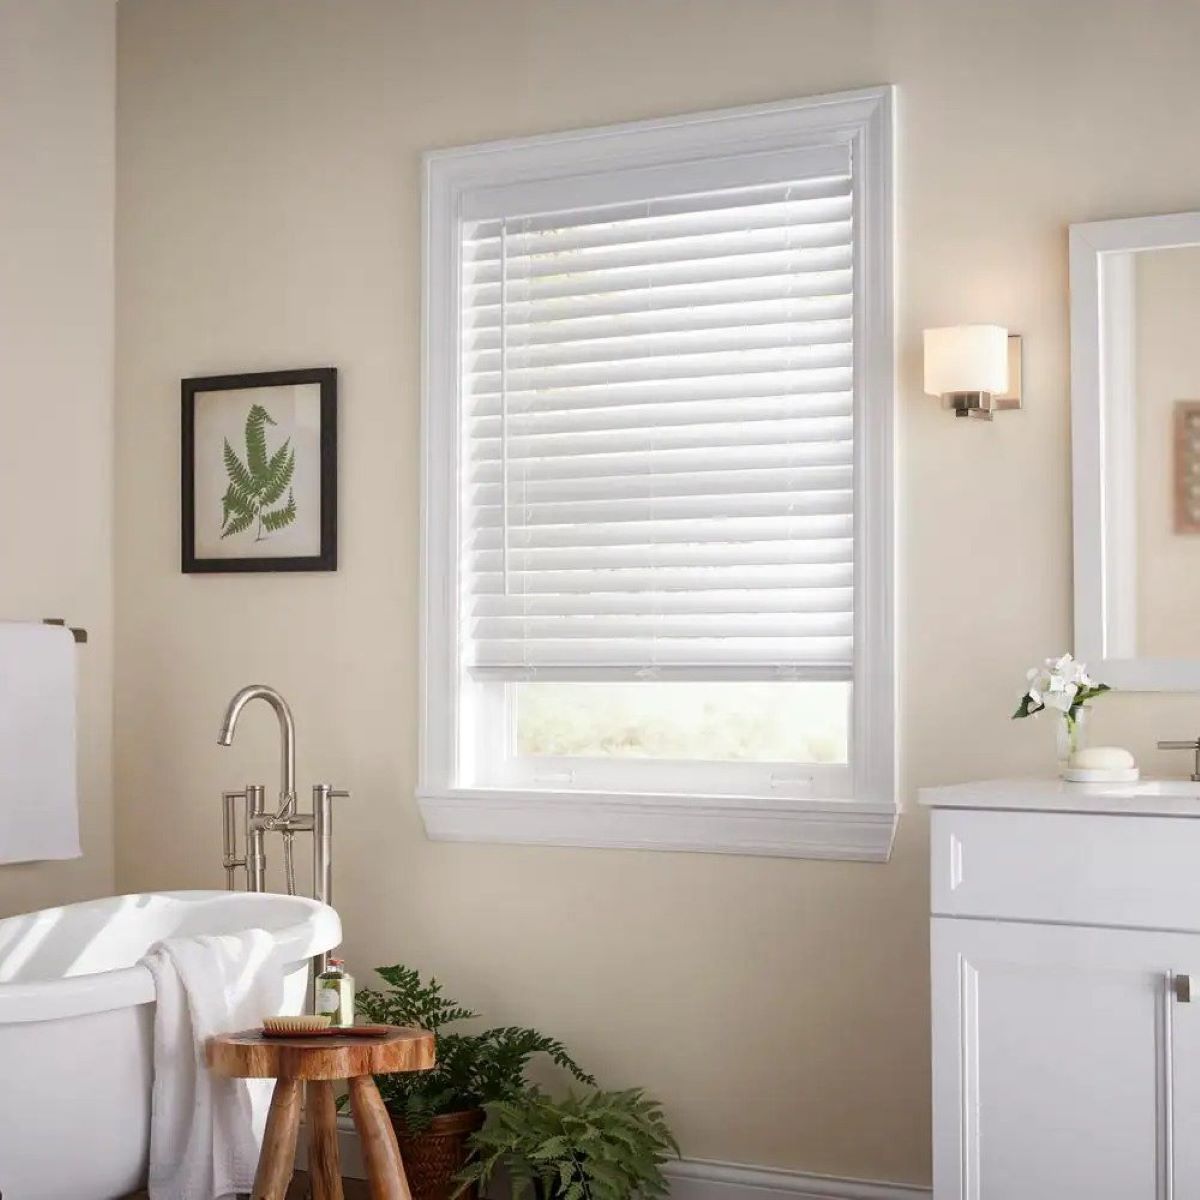
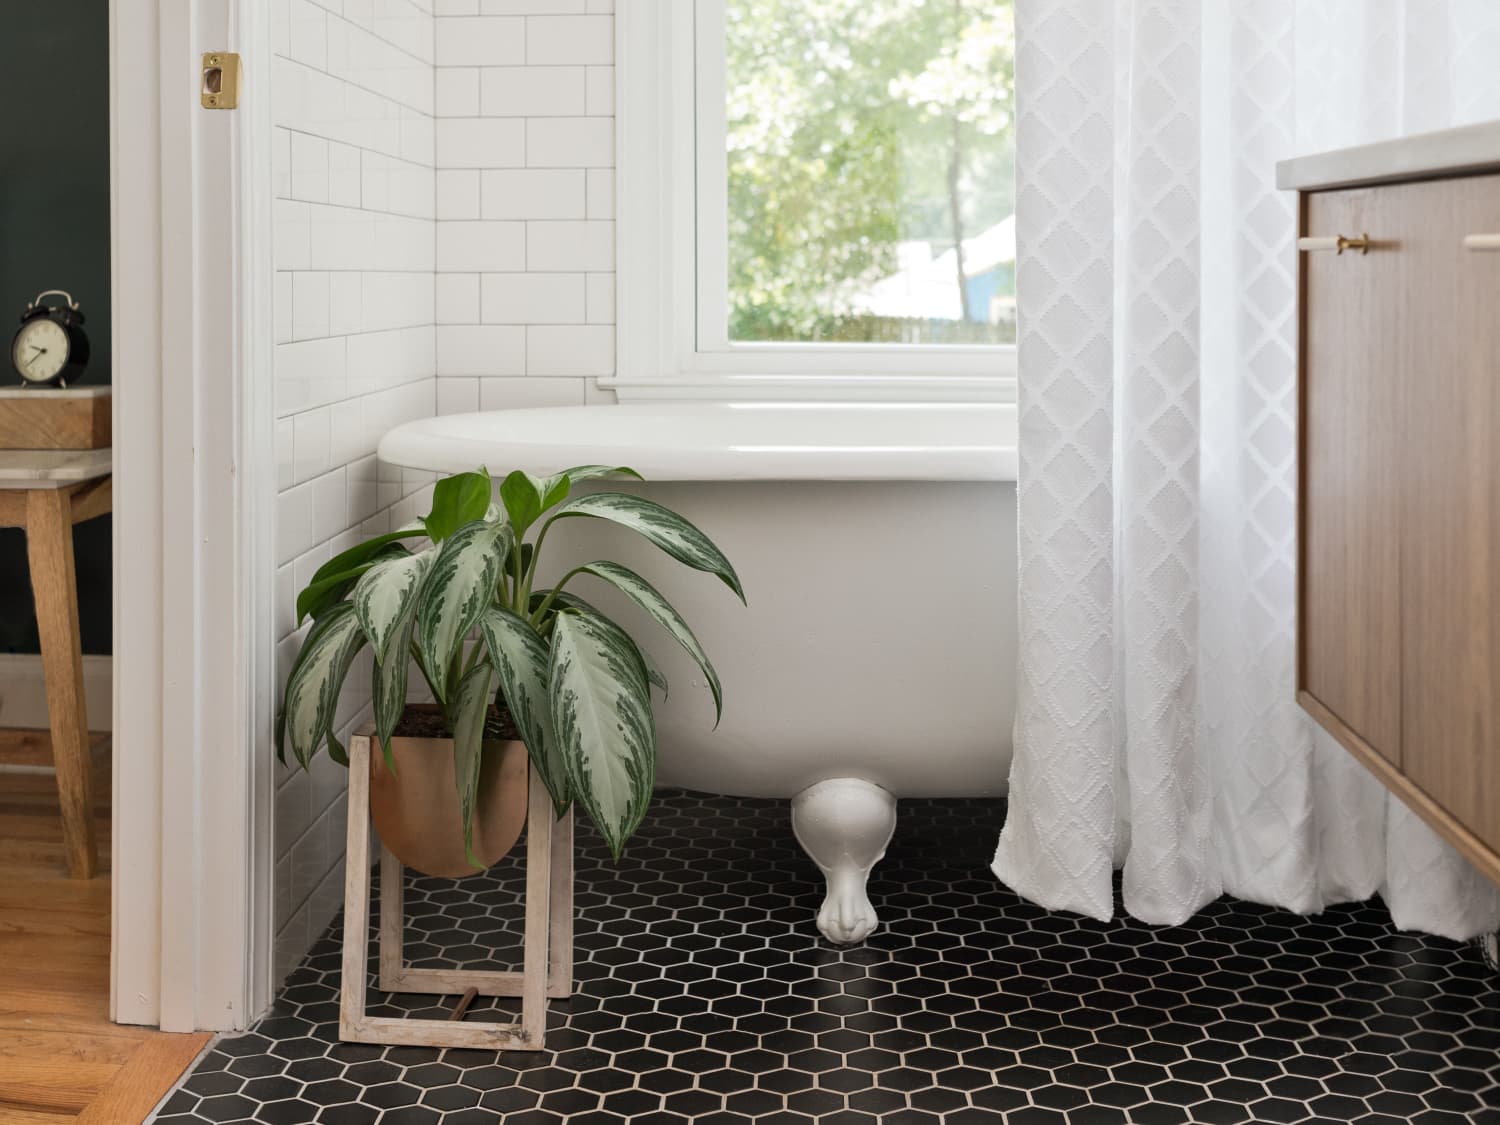
First and foremost, faux wood blinds are highly durable and resistant to moisture. Unlike real wood, which can warp or become damaged when exposed to humidity or moisture, faux wood blinds can withstand these conditions without any issues. This makes them an excellent choice for areas such as bathrooms, kitchens, or other spaces prone to high humidity.
Another advantage of faux wood blinds is their affordability. Real wood blinds tend to be more expensive due to the cost of sourcing and processing natural wood materials. Faux wood blinds, on the other hand, are more budget-friendly while still providing the same timeless aesthetic of real wood blinds.
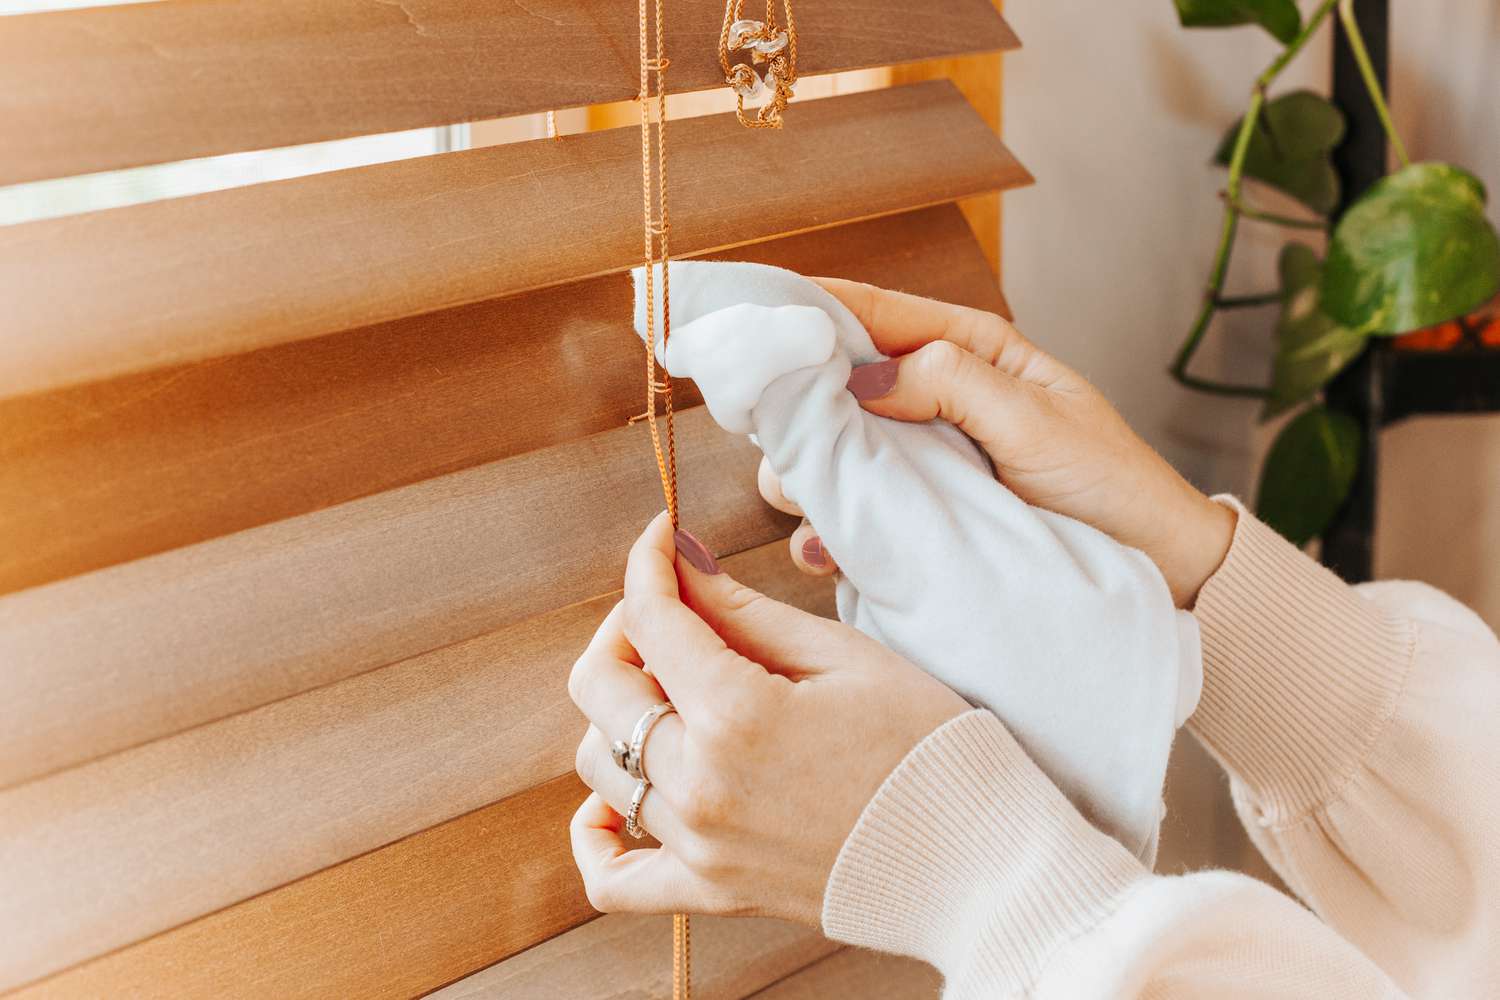
Faux wood blinds are also known for being low-maintenance. Unlike real wood blinds that may require periodic re-staining or refinishing, faux wood blinds can be easily cleaned with a damp cloth or mild cleaning solution. This convenience makes them an attractive option for busy households or individuals who prefer hassle-free upkeep.
Lastly, faux wood blinds offer excellent light control and privacy options. With adjustable slats, you can easily regulate the amount of light entering the room. Whether you want to let in soft, filtered light or block out sunlight completely, faux wood blinds allow you to customize your desired level of privacy and ambiance.
Now that we have a better understanding of faux wood blinds’ advantages, let’s move on to the tools and materials you’ll need to shorten them.
Tools and Materials Needed
Before you begin shortening your faux wood blinds, gather the following tools and materials:
- Measuring tape or ruler
- Saw or sharp pair of scissors
- Marker or pencil
- Needle and thread or hot glue gun
- Optional: Cord condenser or cord cleat
The measuring tape or ruler is essential for accurately measuring the blinds and determining how much you need to shorten them. Make sure to have a measuring tool on hand before starting the project.
A saw or sharp pair of scissors will be used to trim the excess slats and ladder strings of the blinds. If you are confident in your cutting skills, a sharp pair of scissors might be sufficient. However, for thicker slats or straighter cuts, a saw will offer better precision.
Having a marker or pencil is helpful for marking the areas where you will cut the blinds. This will ensure that your cuts are straight and precise, resulting in a professional-looking finish.
If the ladder strings of your blinds need to be shortened, you’ll need a needle and thread or a hot glue gun. These tools will allow you to secure the ladder strings at the desired length, ensuring that the blinds function properly after shortening.
Lastly, consider getting a cord condenser or cord cleat if your blinds have long cords that pose a safety hazard. These accessories help to keep the cords out of reach of children or pets, ensuring a safer environment.
Once you have gathered these tools and materials, you’re ready to move on to the step-by-step process of shortening your faux wood blinds. Let’s get started!
Step 1: Measuring the Blinds
Before you start cutting or removing any parts, it’s essential to take accurate measurements of your faux wood blinds. This step will ensure that you make the necessary adjustments without compromising the functionality or aesthetics of the blinds.
Here’s how to measure your blinds:
- First, fully extend the blinds and lay them flat on a clean and flat surface. Ensure that all the slats are aligned and evenly distributed.
- Next, measure the overall width of the blinds. Use a tape measure or ruler to determine the exact measurement from end to end. Note down this measurement as you’ll need it later in the process.
- Now, measure the desired length of the blinds. Decide on the new length based on your window’s dimensions and personal preference. Use the measuring tape or ruler to measure from the top of the blinds to the desired length. Note this measurement as well.
- Finally, measure the length of the ladder strings. This is the distance from the bottom of the blinds to the bottom of the last slat. If you plan on shortening the ladder strings, take note of this measurement as it will help you determine how much to cut or adjust them later on.
Remember to double-check your measurements to ensure accuracy. It’s always wise to measure twice to avoid any costly mistakes. Once you have your measurements, you’re ready to proceed to the next step.
Step 2: Removing Excess Slats
Now that you have your measurements, it’s time to remove the excess slats from your faux wood blinds. This step is crucial in achieving the desired length and overall appearance of the blinds.
Here’s how to remove the excess slats:
- Start by fully extending the blinds and ensuring that the slats are evenly distributed and aligned.
- Using your measuring tape or ruler, locate the desired length you measured in step 1. Mark this point on both the bottom rail and the slats with a marker or pencil.
- Carefully remove the bottom rail. Depending on the type of blinds you have, you may need to unscrew it or simply slide it out of the slats. Set the bottom rail aside for later use.
- Proceed to remove the excess slats. Measure the distance from the bottom of the blinds to the marked point on the slats. Using a sharp pair of scissors or a saw, cut the slats at this measurement.
- Once you have cut the slats, discard the excess pieces or save them for future repairs or replacements.
After removing the excess slats, you should have a neatly trimmed set of blinds that match your desired length. Keep the bottom rail and set it aside for reattachment in the next steps. Now, let’s move on to shortening the ladder strings in step 3.
Read more: How To Shorten Blinds
Step 3: Shortening the Ladder Strings
Shortening the ladder strings of your faux wood blinds is an important step to ensure that the blinds function properly after being shortened. By adjusting the ladder strings, you’ll maintain the proper tension and alignment of the slats.
Follow these steps to shorten the ladder strings:
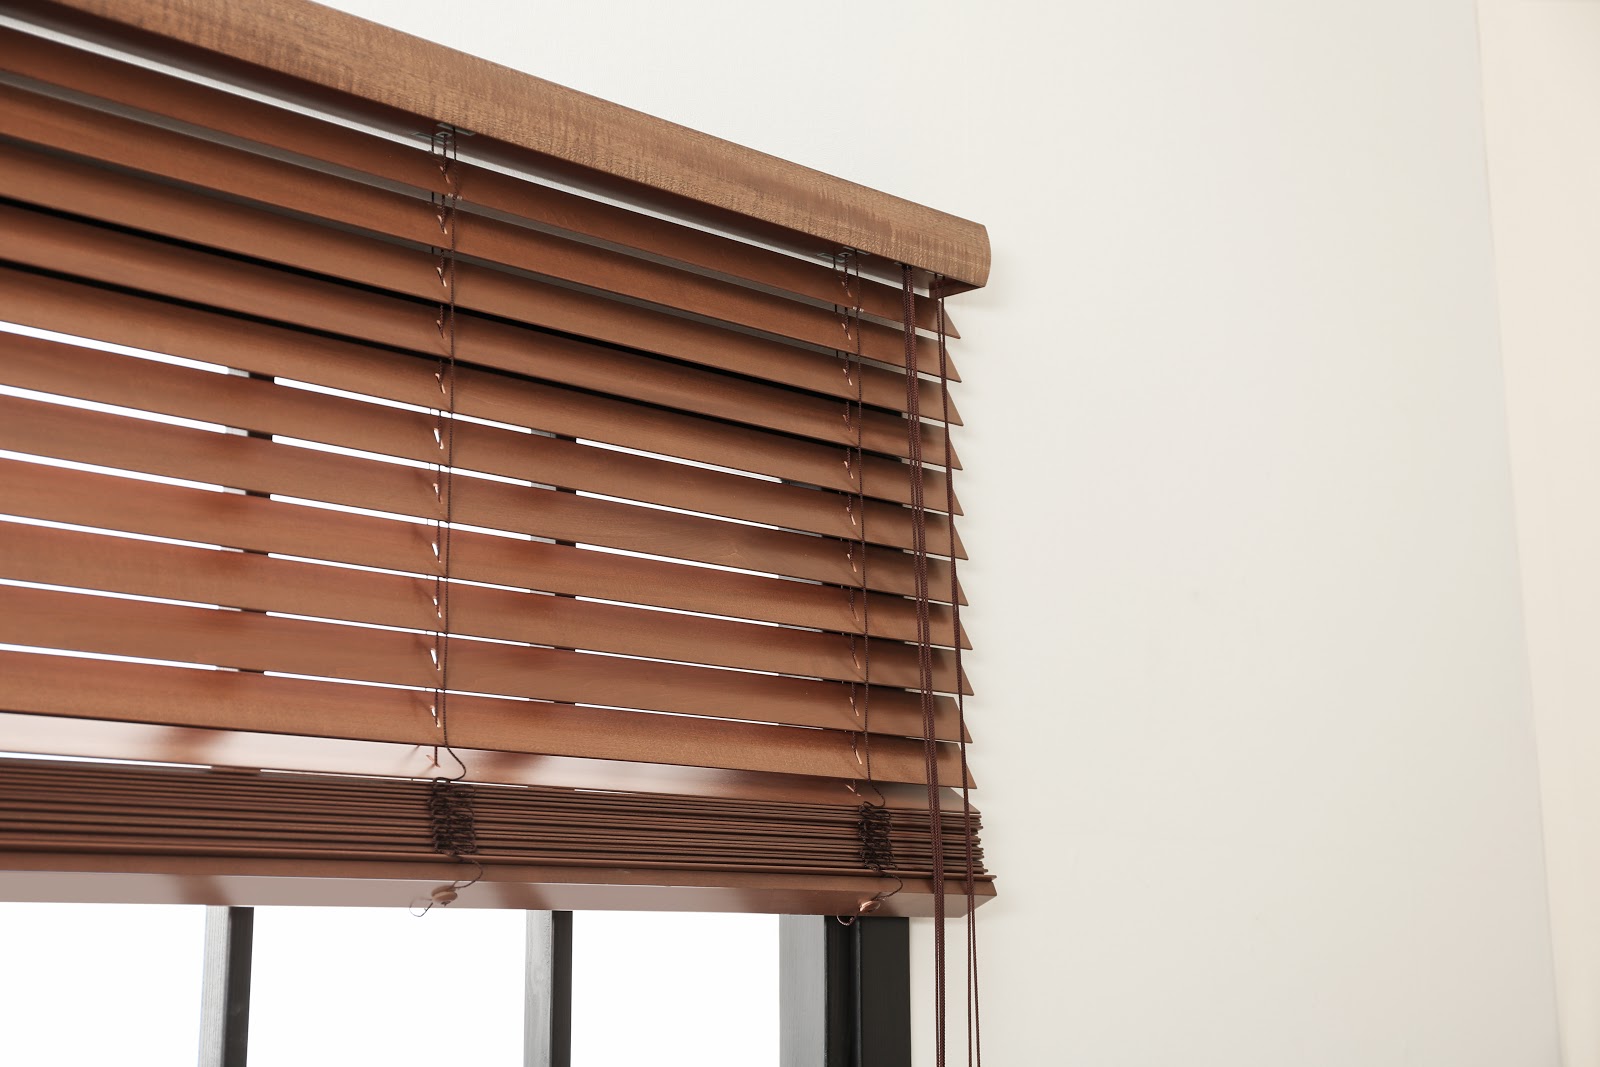
- Locate the ladder strings on the blinds. These are the vertical cords that run through the slats and are responsible for lifting and lowering the blinds.
- Measure the desired length of the ladder strings by referring to the measurement you took in step 1. This distance should be from the bottom of the blinds to the bottom of the last slat.
- Once you have your measurement, carefully detach the ladder strings from the bottom rail if necessary.
- Begin shortening the ladder strings by either cutting them to the desired length with a sharp pair of scissors or using a needle and thread to stitch them at the appropriate spot.
- If you choose to use a needle and thread, make sure to secure the ladder strings tightly so that they won’t come undone with use.
By shortening the ladder strings, you’ll ensure that the blinds operate smoothly and evenly when you raise or lower them. This step is crucial for maintaining their functionality and appearance.
Once you have successfully adjusted the ladder strings, proceed to the next step to trim and reattach the bottom rail.
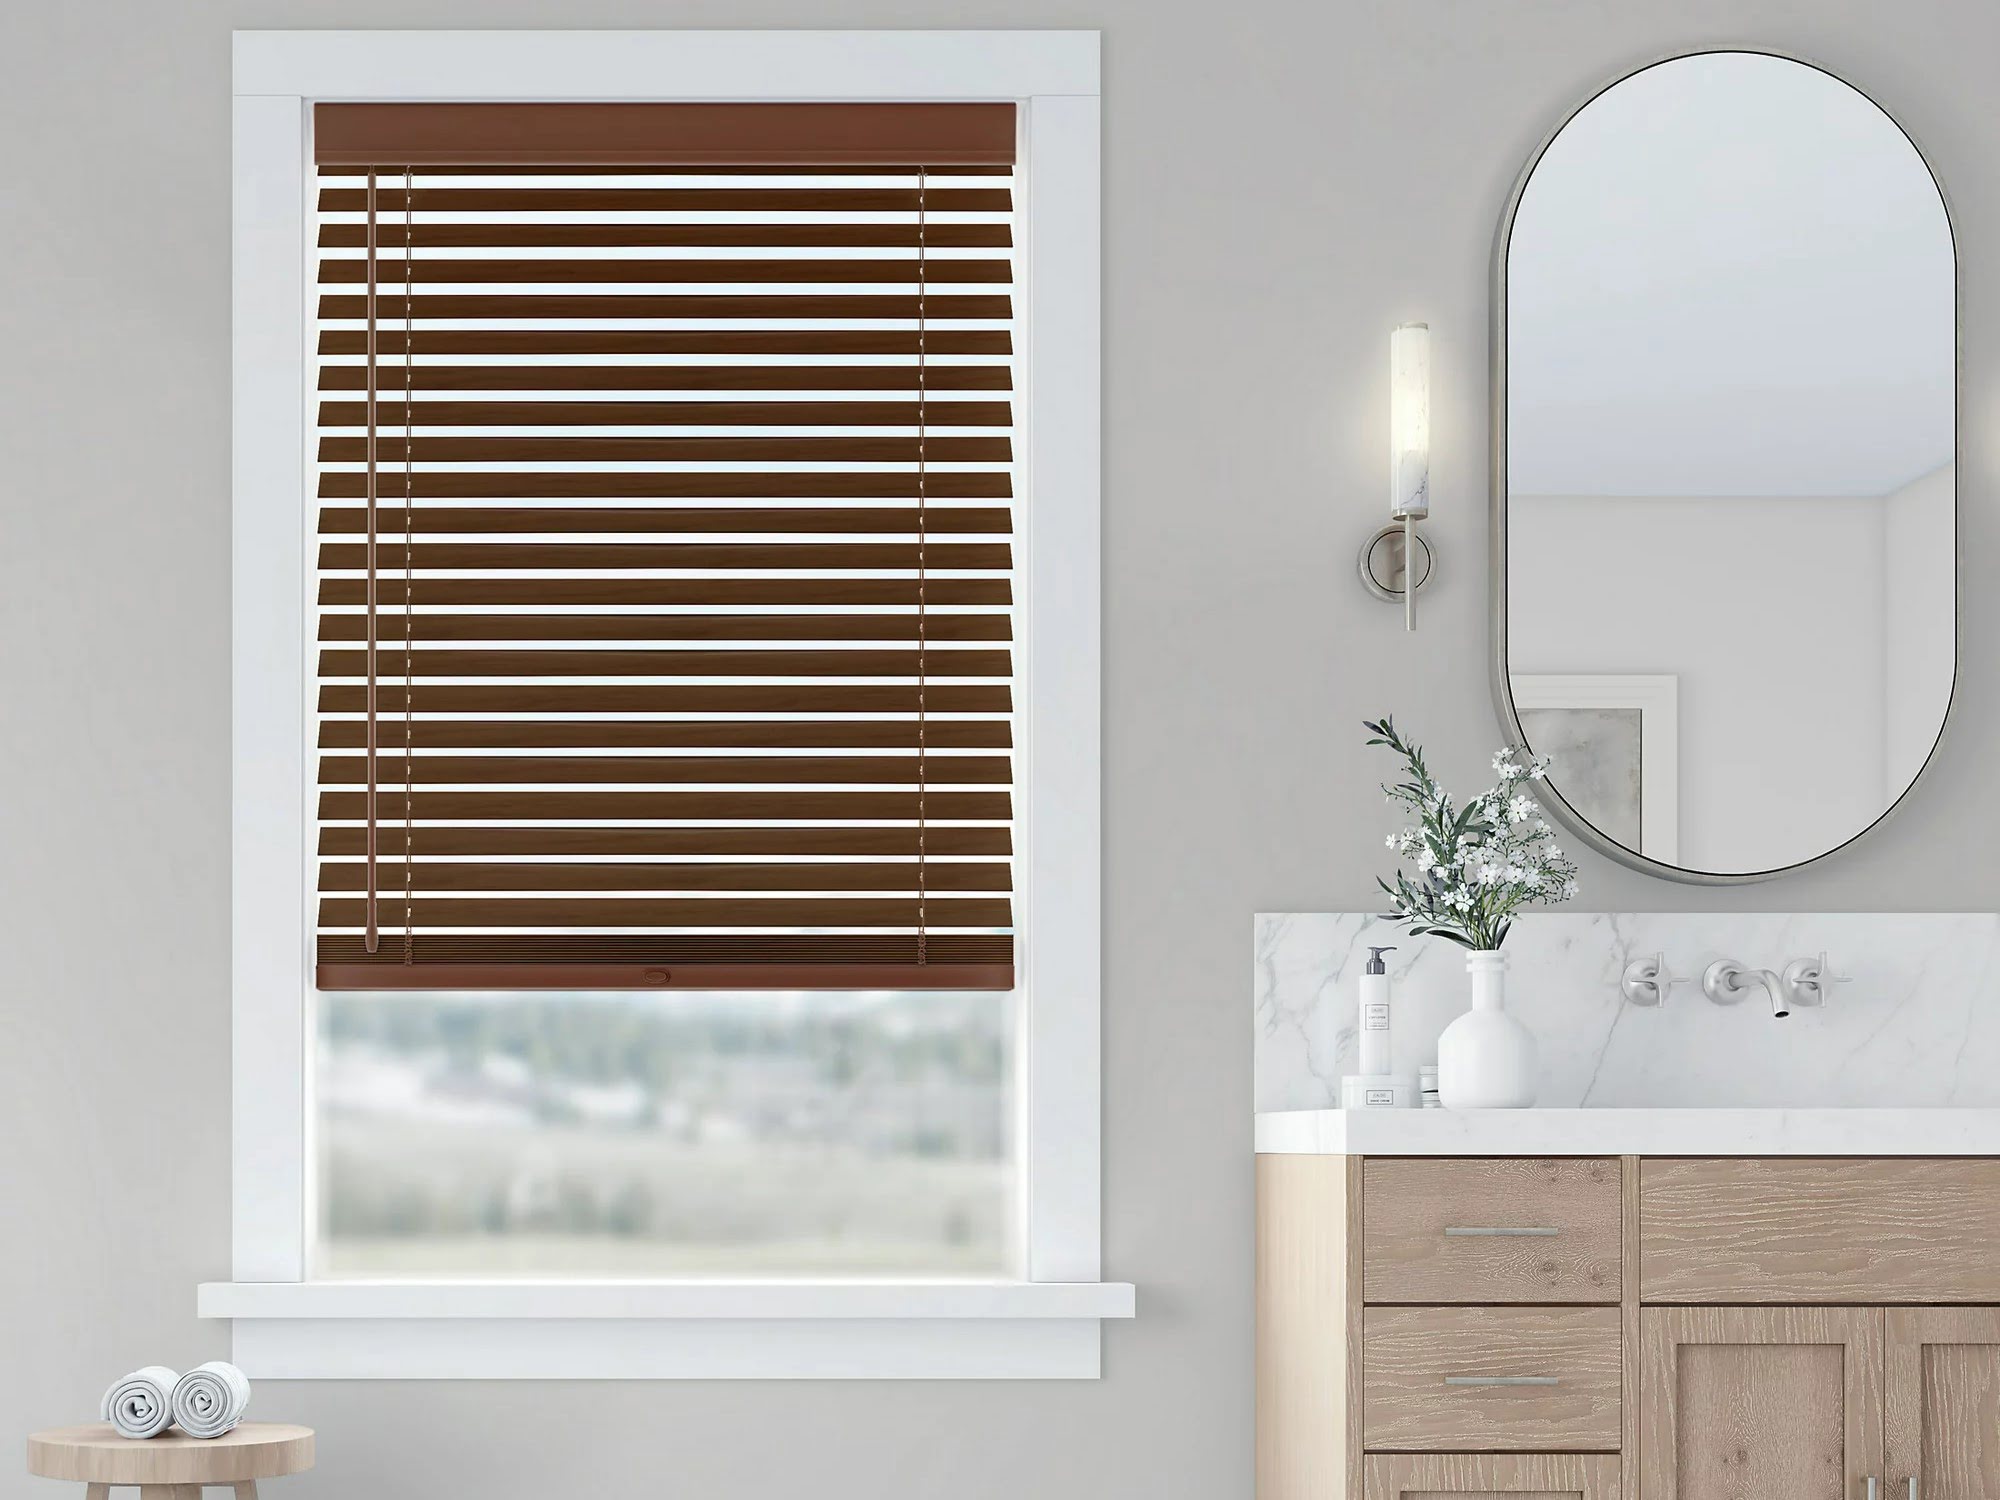
When shortening faux wood blinds, measure the desired length and mark the slats with a pencil. Use a hacksaw to carefully cut the slats to the correct size, then reattach the bottom rail.
Step 4: Trimming the Bottom Rails
In this step, we will focus on trimming the bottom rail of the faux wood blinds to match the shortened length. Trimming the bottom rail will provide a clean and polished look to your blinds.
- Take the bottom rail that you set aside and measure the desired length based on the measurements you took earlier.
- Using a saw or a sharp pair of scissors, carefully trim the bottom rail to the appropriate length. Make sure to follow your markings and create a straight cut.
- After trimming the bottom rail, double-check its length to ensure it matches the desired length of your blinds.
- Inspect the trimmed edge of the bottom rail for any rough or jagged areas. If necessary, use sandpaper to smooth out the edges and create a clean finish.
Trimming the bottom rail is essential for maintaining the overall aesthetics of your faux wood blinds. It ensures that the bottom edge aligns perfectly with the shortened slats and ladder strings, giving a cohesive and professional appearance.
Once you have trimmed the bottom rail and smoothed out any rough edges, proceed to the next step to learn how to reattach the bottom rail securely.
Step 5: Reattaching the Bottom Rails
Now that you have shortened the slats, ladder strings, and trimmed the bottom rail, it’s time to reattach the bottom rail to complete the shortening process of your faux wood blinds.
- Take the trimmed bottom rail and position it back in place at the bottom of the blinds.
- Ensure that the rail aligns with the slats and ladder strings, creating a flush and even edge.
- Depending on the type of blinds you have, you may need to slide the bottom rail back into place or reattach it with screws.
- If screws are involved, use a screwdriver to secure the bottom rail firmly. Make sure the screws are snug but not overtightened, as this could damage the blinds.
- Once the bottom rail is securely attached, give it a gentle tug to confirm that it is properly in place and will hold the blinds securely.
Reattaching the bottom rail is crucial for maintaining the structural integrity and functionality of your faux wood blinds. It ensures that the blinds hang evenly and operate smoothly when raising or lowering them.
With the bottom rail securely reattached, you’re almost done with the shortening process! The next step will guide you on how to adjust the cord length for proper operation of the blinds.
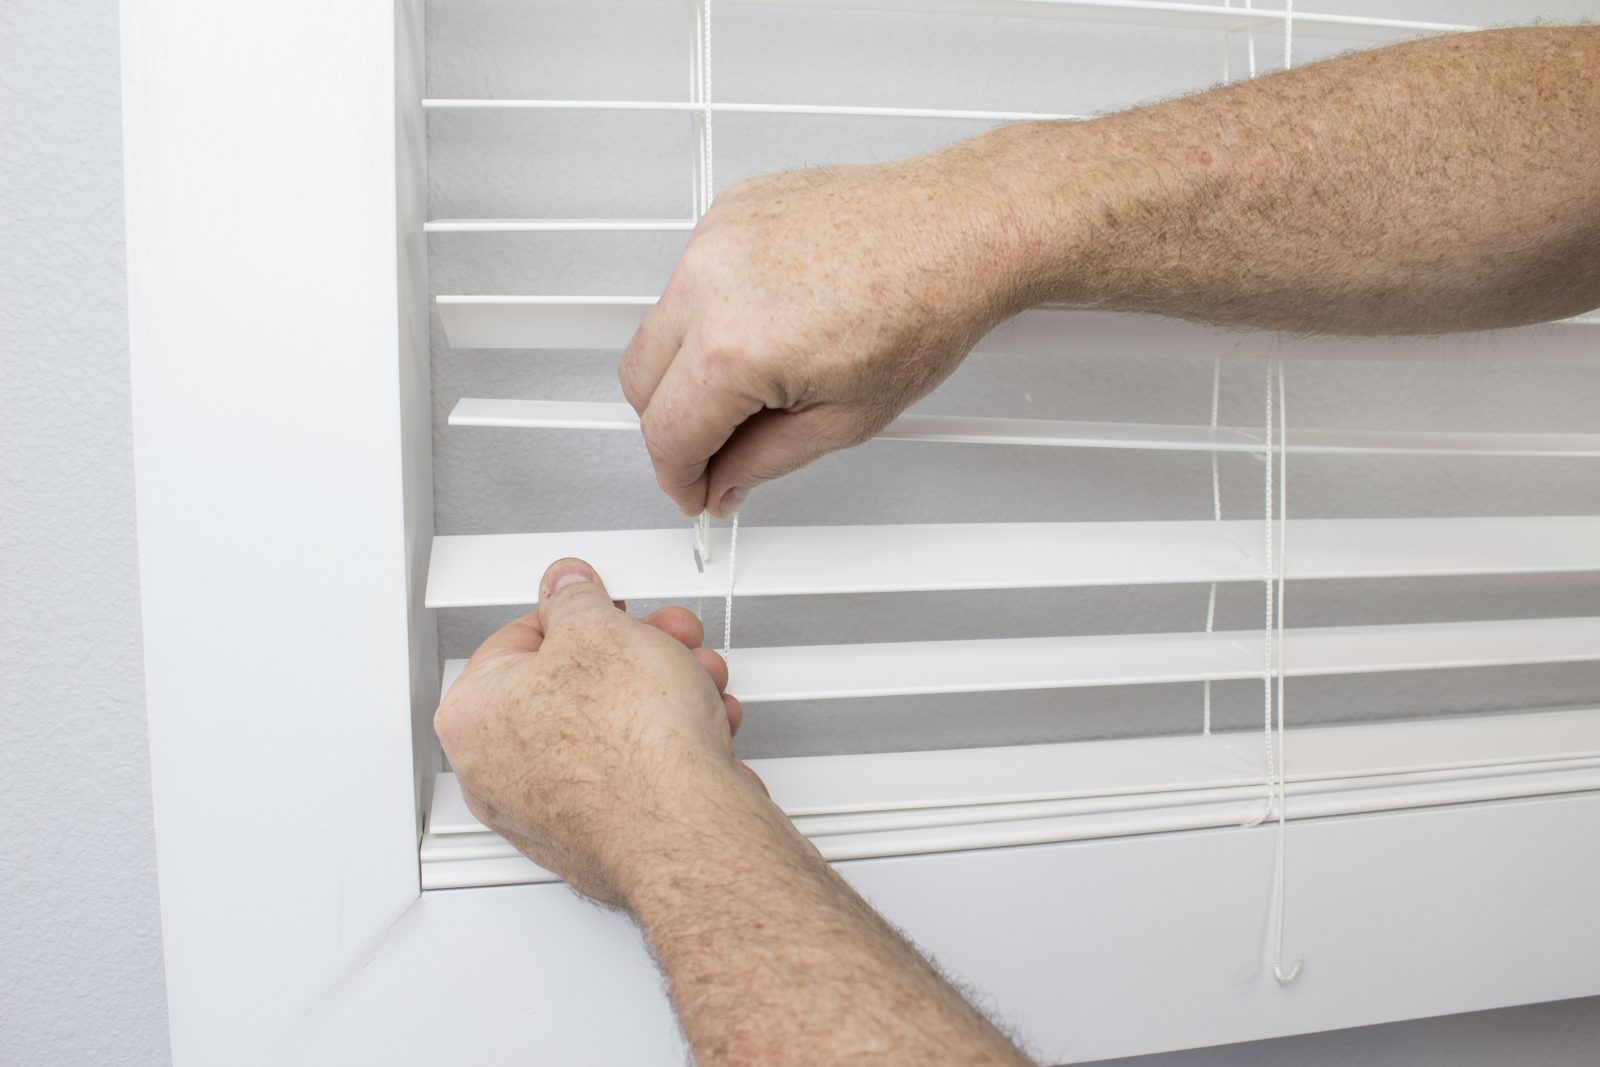
Step 6: Adjusting the Cord Length
To ensure the functionality and ease of use of your shortened faux wood blinds, it’s important to adjust the cord length accordingly. By having properly adjusted cords, you’ll be able to raise and lower the blinds smoothly and effortlessly.
Follow these steps to adjust the cord length:
- Start by examining the cords that are used to operate the blinds. You’ll typically have a lift cord and a tilt cord.
- Identify the lift cord, which is responsible for raising and lowering the blinds. Determine if the lift cord needs to be shortened based on the overall length of the blinds.
- If the lift cord needs to be adjusted, locate the cord lock mechanism at the top of the blinds. This is usually a plastic device with a cord release button.
- Press and hold the cord release button while simultaneously pulling the lift cord gently through the cord lock mechanism.
- Continue pulling the lift cord until you reach the desired length. Be careful not to cut the cord too short, as you need enough length to operate the blinds comfortably.
- Once you have adjusted the lift cord to the proper length, release the cord release button to lock it into place.
- Repeat this process for the tilt cord if necessary. The tilt cord is responsible for adjusting the angle of the slats.
By adjusting the cord length, you ensure that operating your faux wood blinds is effortless and efficient. It’s important to have the proper amount of cord length to prevent any unnecessary tangling or difficulty in raising and lowering the blinds.
Now that you have properly adjusted the cord length, it’s time to move on to the final step – testing the functionality of your shortened blinds.
Read more: How Much Does Faux Wood Blinds Cost
Step 7: Testing the Functionality
After completing all the previous steps of shortening your faux wood blinds, it’s essential to test their functionality to ensure they operate smoothly and effectively. Testing the blinds will help you identify any potential issues and make any necessary adjustments before hanging them back up in your windows.
Here are the steps to test the functionality of your shortened faux wood blinds:
- Gently raise and lower the blinds using the lift cord. Ensure that the blinds move up and down smoothly without any resistance or snagging.
- Adjust the angle of the slats using the tilt cord. Make sure the slats rotate evenly and maintain their desired angle.
- Check that the bottom rail remains securely attached to the slats and the ladder strings while operating the blinds.
- Observe the cords for any excessive tangling, twisting, or uneven tension. If any issues are present, make the necessary adjustments to ensure the cords move freely and operate smoothly.
- Verify that the blinds are level and hang evenly in the window. Adjust any slats or cords if needed to achieve a balanced appearance.
By thoroughly testing the functionality of your shortened blinds, you can catch and address any potential issues before reinstalling them on your windows. This step ensures that your blinds will not only look great but also provide the practicality and convenience you expect from window treatments.
Congratulations! You have successfully shortened your faux wood blinds and tested their functionality. Now, you can confidently hang them back up in your windows, enjoying the perfect fit and appearance that complements your space.
If you encountered any difficulties during the process, be sure to consult the manufacturer’s instructions or seek assistance from a professional to ensure the best results. Happy decorating!
Conclusion
Shortening faux wood blinds can be a rewarding and cost-effective DIY project that allows you to achieve the perfect fit for your windows. By following the steps outlined in this guide, you can successfully shorten your blinds and enjoy an improved aesthetic appeal in your living spaces.
Throughout this process, we’ve covered the necessary steps, including measuring the blinds, removing excess slats, shortening the ladder strings, trimming the bottom rails, reattaching the bottom rails, adjusting the cord length, and testing the functionality. Each of these steps is crucial in achieving the desired result of well-fitted and fully functional faux wood blinds.
Remember to gather the required tools and materials and take accurate measurements before you begin. Taking your time and being meticulous in each step will ensure a professional-looking outcome.
Always prioritize your safety when handling tools and sharp objects. If you have any concerns or are unsure about any aspect of the process, consult the manufacturer’s instructions or seek guidance from a professional.
By shortening your faux wood blinds, you not only improve their appearance and functionality, but you also add a personal touch to your living space. Enjoy the satisfaction of creating a customized window treatment that complements your décor and fits your unique style.
So, why live with ill-fitting blinds when you can easily shorten them? Take control of your window treatments and enjoy the perfect fit with your beautifully shortened faux wood blinds.
Frequently Asked Questions about How To Shorten Faux Wood Blinds
Was this page helpful?
At Storables.com, we guarantee accurate and reliable information. Our content, validated by Expert Board Contributors, is crafted following stringent Editorial Policies. We're committed to providing you with well-researched, expert-backed insights for all your informational needs.