
Articles
How To Install Wood Ceiling Planks
Modified: October 20, 2024
Learn how to easily install wood ceiling planks with our comprehensive articles. Get step-by-step instructions and expert tips for a beautiful ceiling upgrade.
(Many of the links in this article redirect to a specific reviewed product. Your purchase of these products through affiliate links helps to generate commission for Storables.com, at no extra cost. Learn more)
Introduction
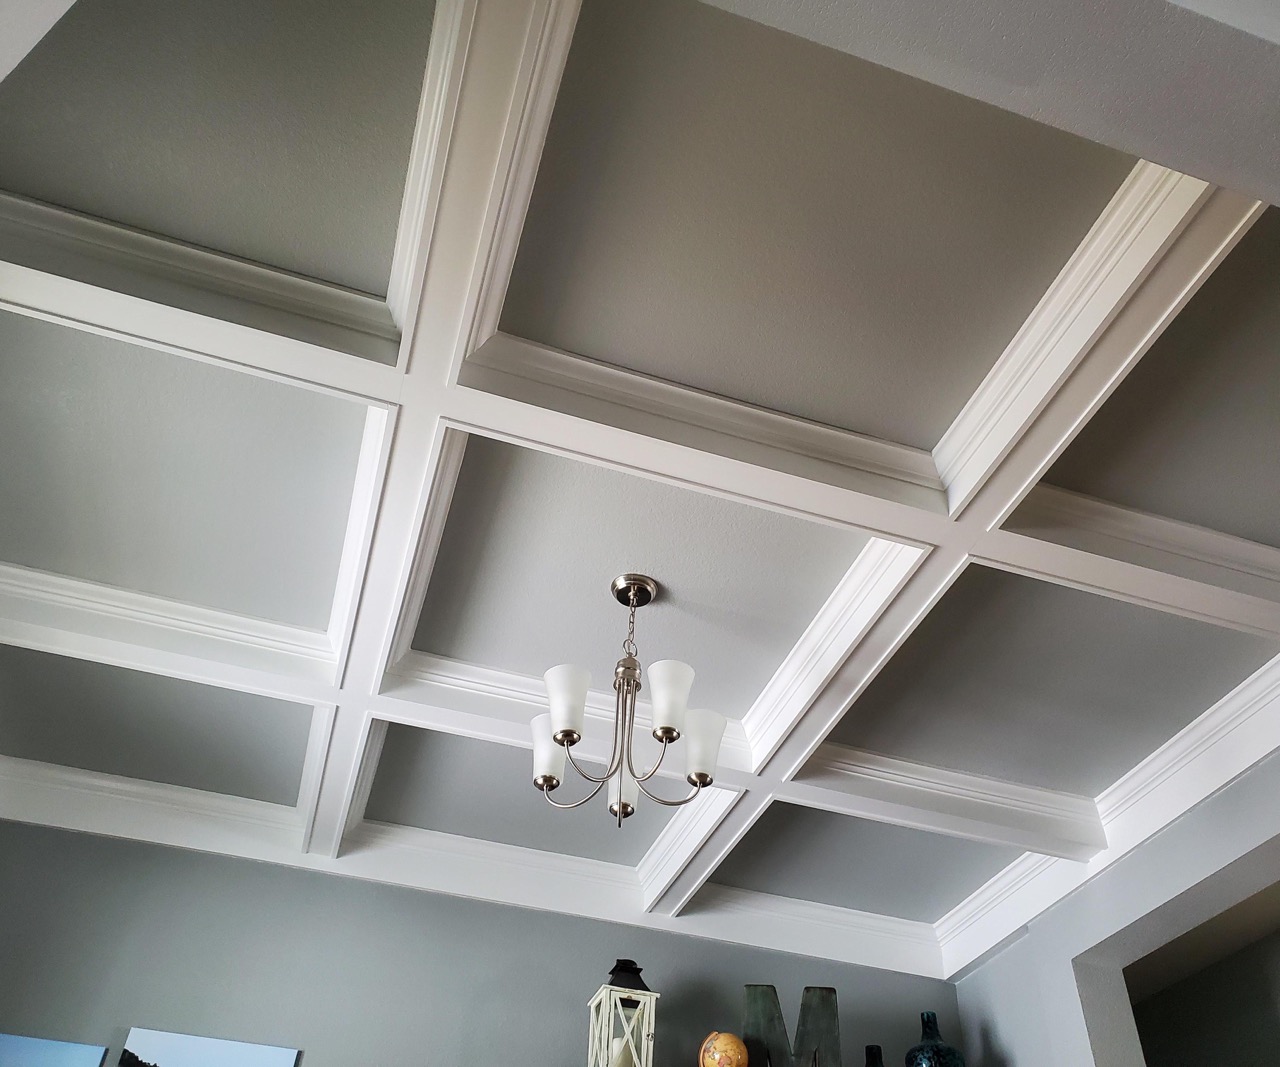
Installing wood ceiling planks can transform the look and feel of any room, adding character and warmth to your space. Whether you want to create a rustic cabin ambiance or add a touch of elegance, wood ceiling planks are a versatile option that suits various design styles.
In this article, we will guide you through the step-by-step process of installing wood ceiling planks. We will cover everything, from measuring and planning to cutting and adjusting planks, to help you achieve a professional-looking installation.
Before we begin, it’s important to gather all the necessary materials and tools. Let’s dive in and bring a new dimension to your home with a stunning wood ceiling installation!
Key Takeaways:
- Transform your space with warmth and elegance by following our step-by-step guide to installing wood ceiling planks. Careful planning, precise measurements, and attention to detail are key to achieving a professional finish.
- From selecting high-quality wood planks to adding the finishing touches, our guide provides the knowledge and confidence to create a stunning wood ceiling installation. Enjoy the beauty and warmth of natural wood in your home.
Materials and Tools
To successfully install wood ceiling planks, you will need the following materials and tools:
- Wood ceiling planks: Choose high-quality planks that are suitable for indoor use. Consider the species, width, and finish that best complements your desired style.
- Measuring tape: A reliable measuring tape is essential for accurately measuring the dimensions of your ceiling.
- Pencil: Use a pencil to mark measurements and guidelines on the ceiling and planks.
- Saw: Depending on the type of wood planks and the cuts needed, you may require a miter saw, circular saw, or hand saw.
- Nail gun or hammer and nails: A nail gun can make the installation process quicker and more efficient, but a hammer and nails can also be used.
- Nails or screws: Choose appropriate nails or screws that are long enough to secure the planks into the ceiling joists or furring strips.
- Ladder or scaffolding: Ensure you have a sturdy and safe way to reach the ceiling. A ladder or scaffolding will be required for the installation process.
- Safety equipment: Protect yourself by wearing safety goggles, gloves, and a dust mask, especially when cutting or sanding the wood planks.
- Sanding block or sandpaper: Use a sanding block or sandpaper to smooth the edges and surfaces of the wood planks.
- Level: A level is necessary to ensure that the planks are installed evenly and horizontally.
- Caulk and caulk gun: Caulk is used to fill any gaps or seams between the planks and the ceiling or walls.
Make sure you have all these materials and tools ready before you begin the installation. Having everything prepared beforehand will save you time and make the process smoother.
Step 1: Measure and Plan
Before starting the installation, it’s crucial to accurately measure the dimensions of your ceiling and plan the layout of the wood ceiling planks. Here’s how to do it:
- Measure the width and length of the ceiling: Use a measuring tape to determine the exact dimensions of your ceiling. Record the measurements to ensure you purchase enough wood planks for the installation.
- Check for any obstructions: Take note of any light fixtures, fans, vents, or other ceiling features that may require special consideration during installation. Make sure to plan the layout accordingly, allowing space for these features.
- Determine the direction and pattern: Decide on the direction you want the wood planks to run across the ceiling. You can opt for parallel or perpendicular to the longest wall, or create a diagonal pattern for a unique look.
- Create a layout plan: Using a pencil and a straightedge, lightly mark guidelines on the ceiling to indicate the starting point and the position of the first row of planks. This will help you maintain a straight and even installation.
Taking the time to measure and plan before starting the installation will ensure a smooth and aesthetically pleasing outcome. It will help you estimate the number of planks required and avoid any surprises or mistakes during the installation process.
Step 2: Prepare the Ceiling
Preparing the ceiling before installing wood planks is essential to ensure a solid foundation and a successful installation. Here’s what you need to do:
- Remove any existing ceiling fixtures: Before you begin, remove any light fixtures, fans, or other ceiling accessories that may hinder the installation process. This will give you a clear and unobstructed workspace.
- Inspect the ceiling: Thoroughly examine the ceiling for any signs of water damage, cracks, or other issues. Address these problems before proceeding with the installation to avoid future complications.
- Install furring strips (if needed): If your ceiling is uneven or not suitable for direct installation, you may need to install furring strips. These strips, made of wood or metal, provide a level surface and support for the wood planks. Attach them to the ceiling joists using screws or nails.
- Sand or scrape the ceiling (optional): If you have a textured ceiling, you may prefer to sand or scrape it to create a smoother surface. This step is optional but can be beneficial for achieving a more polished finish.
- Prime and paint the ceiling (optional): If desired, prime and paint the ceiling before installing the wood planks. This allows you to ensure even coverage and saves you from having to paint in between the planks later. Make sure to let the paint dry completely before moving on to the next step.
By adequately preparing the ceiling, you’ll create a solid foundation for the wood planks and ensure a seamless installation process. Take the time to inspect and address any issues, as this will contribute to a long-lasting and visually appealing wood ceiling.
Step 3: Install the First Row
Now that you’ve prepared the ceiling, it’s time to start installing the wood ceiling planks. The first row is crucial, as it sets the foundation for the rest of the installation. Here’s how to install the first row:
- Measure and cut the first plank: Begin by measuring the length of the ceiling and cutting the first plank to fit. Use a saw appropriate for the type of wood you are working with, ensuring a clean and precise cut.
- Apply adhesive (optional): If you want added stability, you may apply a small amount of construction adhesive to the backside of the plank. This helps to secure it in place.
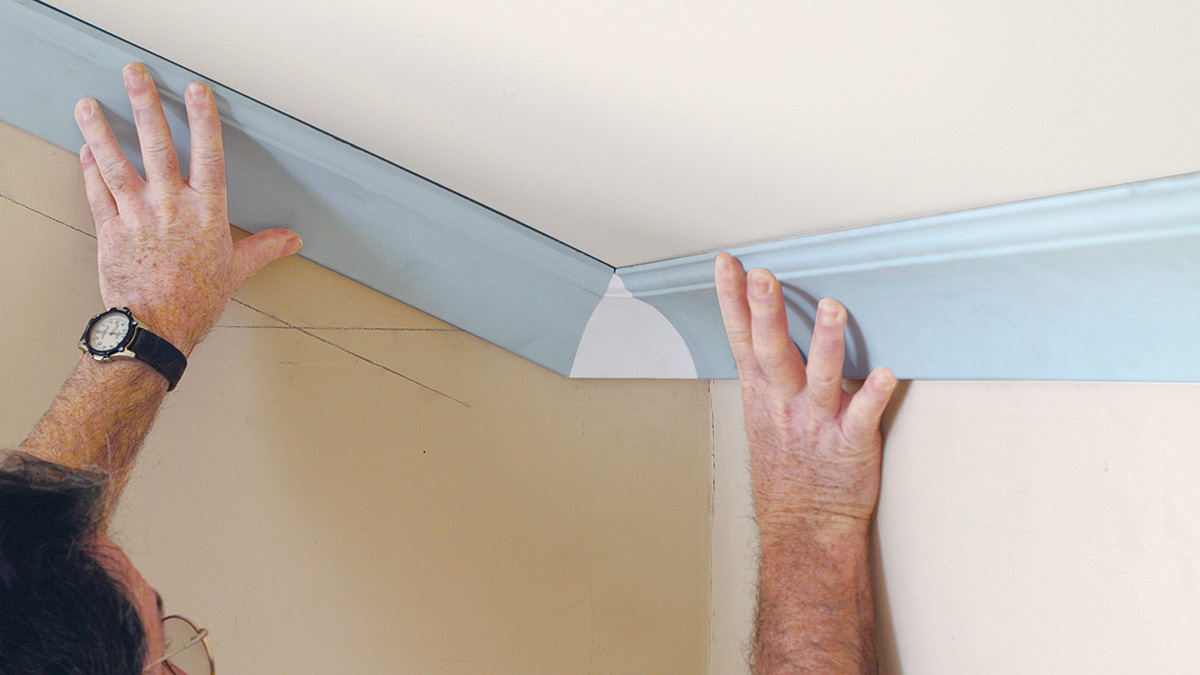
- Position and secure the plank: Align the cut plank along the guideline you marked in the planning stage. Ensure that the plank is level and flush with the starting edge. Use a nail gun or hammer and nails to secure the plank to the ceiling. Place the nails in the nailing groove, ensuring they penetrate into the furring strips or ceiling joists.
- Continue with the first row: Repeat the process by measuring, cutting, and installing the remaining planks of the first row. Make sure they fit snugly together, maintaining an even spacing between the planks.
Installing the first row correctly is essential for a straight and visually appealing ceiling. Take your time to ensure that the planks are properly aligned and secured. This will set the foundation for the rest of the installation process.
When installing wood ceiling planks, be sure to acclimate the planks to the room’s temperature and humidity for at least 48 hours before installation to prevent warping or shrinking.
Read more: How To Join Wood Planks With Hand Tools
Step 4: Install Subsequent Rows
With the first row of wood ceiling planks in place, you can now proceed to install the subsequent rows. Follow these steps for a smooth and professional installation:
- Measure and cut the planks: Measure the remaining space between the first row and the ceiling, then cut the planks to fit. Remember to account for the spacing between the planks.
- Apply adhesive (optional): As you did with the first row, you may choose to apply adhesive to the back of the planks for added stability.
- Position and secure the planks: Align the cut planks with the previous row, making sure they fit tightly together. Use your level to ensure they are straight and flush with each other, adjusting as needed. Secure the planks to the ceiling, nailing them into the furring strips or ceiling joists.
- Continue installing subsequent rows: Repeat the measuring, cutting, positioning, and securing process with each subsequent row. Take care to maintain a consistent spacing between the planks for a cohesive and visually appealing look.
As you progress with the installation, periodically step back to check the overall alignment and adjust if necessary. This will help you maintain a straight and uniform appearance as you install the wood ceiling planks.
Step 5: Cut and Adjust Planks
During the installation process, you may encounter areas where the wood ceiling planks need to be cut or adjusted to fit. Here’s how to tackle these situations:
- Measure and mark the plank: Carefully measure the space where the plank needs to be cut or adjusted. Use a pencil to mark the measurement on the plank.
- Cut the plank: Using a saw appropriate for the type of wood you’re working with, cut the plank along the marked line. Ensure a clean and precise cut.
- Adjust the plank: If the cut plank needs to fit around an obstacle, such as a light fixture or air vent, make additional cuts as necessary. Test the plank’s fit before securing it in place.
- Secure the adjusted plank: Once the plank is cut and adjusted to the desired size and shape, align it with the rest of the planks and secure it to the ceiling using nails or a nail gun. Ensure it fits snugly and maintains the desired spacing with the surrounding planks.
- Repeat as needed: Depending on the layout of your ceiling and the presence of obstacles, you may need to cut and adjust multiple planks. Take your time and measure carefully to ensure a precise and seamless fit.
Cutting and adjusting the wood ceiling planks is an important step to ensure a professional-looking installation. Pay attention to detail and take your time to achieve the desired fit and appearance.
Step 6: Install the Last Row
As you near the completion of the wood ceiling plank installation, it’s time to tackle the last row. Follow these steps to ensure a seamless and polished finish:
- Measure and cut the final row: Measure the remaining space between the second-to-last row and the ceiling. Cut the planks to fit, taking into account any necessary adjustments for obstacles.
- Apply adhesive (optional): If desired, apply adhesive to the back of the final row planks for added stability.
- Position and secure the final row: Align the cut planks with the previous row, making sure they fit snugly against the ceiling. Use a level to ensure they are straight and flush with the rest of the planks. Secure the planks in place using nails or a nail gun.
- Check for any gaps: After installing the final row, inspect the entire ceiling for any gaps or visible seams. Fill any gaps or seams with caulk, using a caulk gun, to create a seamless and finished appearance.
Installing the last row requires precision and attention to detail to create a cohesive and polished finish. Take your time to ensure that the planks are properly aligned and secured, and use caulk to achieve a seamless and professional look.
Step 7: Finishing Touches
With the wood ceiling planks installed, it’s time to add the finishing touches for a polished and complete look. Here are some final steps to consider:
- Sand the planks: Use a sanding block or sandpaper to smooth any rough edges or surfaces of the wood planks. Sanding will create a more refined and finished appearance.
- Apply a finish (optional): Depending on the type of wood and the desired aesthetic, you may choose to apply a finish to protect and enhance the natural beauty of the wood. Consult a professional or follow the manufacturer’s instructions when applying the finish.
- Clean up the area: Remove any debris or excess material from the installation process. Thoroughly clean the area, including the wood planks, to ensure a spotless and inviting space.
- Inspect the installation: After completing the installation, step back and inspect the wood ceiling carefully. Check for any loose planks, visible nails, or imperfections that may need to be addressed. Make any necessary adjustments or repairs to achieve a flawless final result.
Taking the time to sand, finish (if desired), and thoroughly clean the wood ceiling planks will enhance the overall appearance and longevity of the installation. By inspecting the final result and making any necessary adjustments, you can ensure a beautiful and professionally finished wood ceiling.
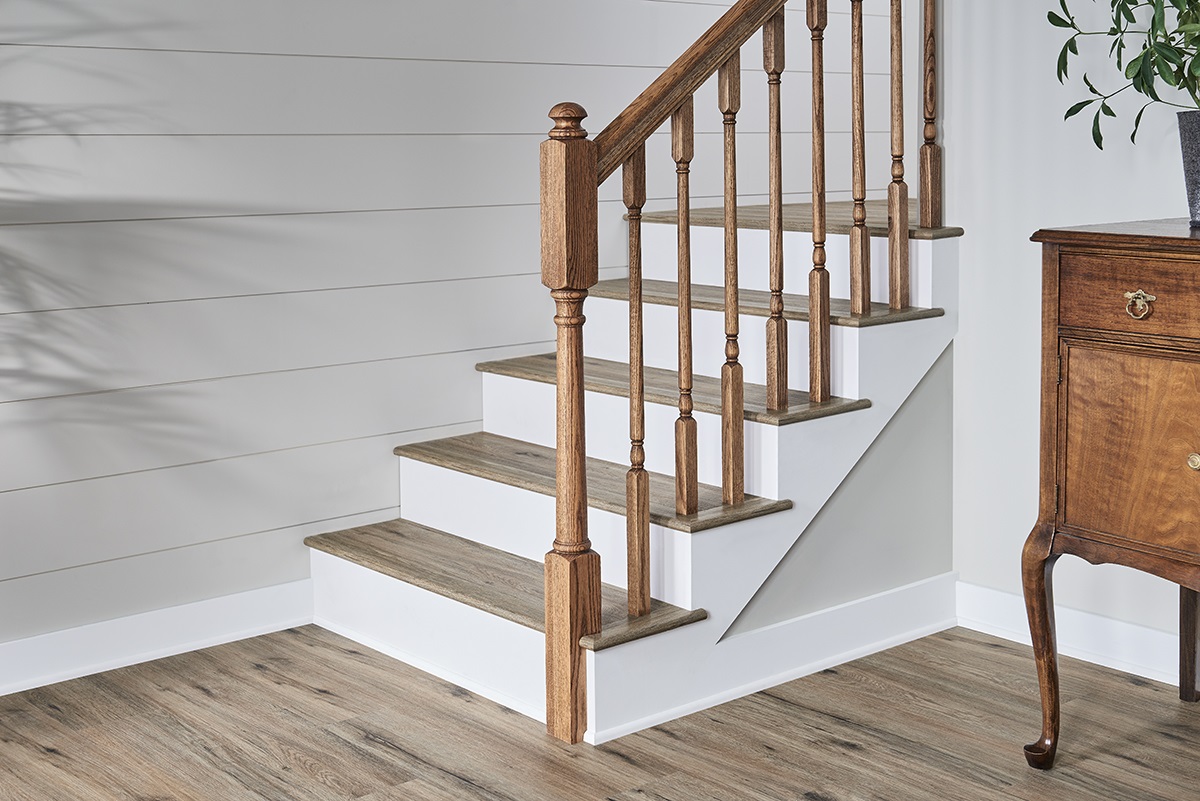
Read more: How To Install Vinyl Plank Flooring
Conclusion
Congratulations! You’ve successfully learned how to install wood ceiling planks, transforming your space with a touch of warmth and elegance. By following the step-by-step process outlined in this article, you have the knowledge and confidence to create a stunning wood ceiling installation in any room of your home.
Remember, the key to a successful installation is careful planning, precise measurements, and attention to detail. From measuring and planning to cutting and adjusting, each step plays a crucial role in achieving a professional-looking finish.
By selecting high-quality wood planks, properly preparing the ceiling, and using the right tools and techniques, your wood ceiling installation will not only add visual appeal but also create a inviting atmosphere in your space.
Don’t forget about the finishing touches and final inspection. Sanding the planks, applying a finish (if desired), and cleaning up the area will give your wood ceiling a polished and refined look. Taking the time to inspect the installation for any imperfections and addressing them promptly will help ensure a flawless final result.
Now, it’s time to sit back, relax, and enjoy your newly installed wood ceiling. Take pride in the accomplishment and bask in the beauty and warmth that comes with the addition of natural wood to your home.
Thank you for reading our guide on how to install wood ceiling planks. We hope you found it informative and helpful. Happy installing!
Frequently Asked Questions about How To Install Wood Ceiling Planks
Was this page helpful?
At Storables.com, we guarantee accurate and reliable information. Our content, validated by Expert Board Contributors, is crafted following stringent Editorial Policies. We're committed to providing you with well-researched, expert-backed insights for all your informational needs.


0 thoughts on “How To Install Wood Ceiling Planks”