Home>Dining>Tableware>How To Cover Charger Plates With Contact Paper
Tableware
How To Cover Charger Plates With Contact Paper
Modified: May 23, 2024
Transform your tableware with this easy tutorial on how to cover charger plates with contact paper. Elevate your dining experience while showcasing your style.
(Many of the links in this article redirect to a specific reviewed product. Your purchase of these products through affiliate links helps to generate commission for Storables.com, at no extra cost. Learn more)
Introduction
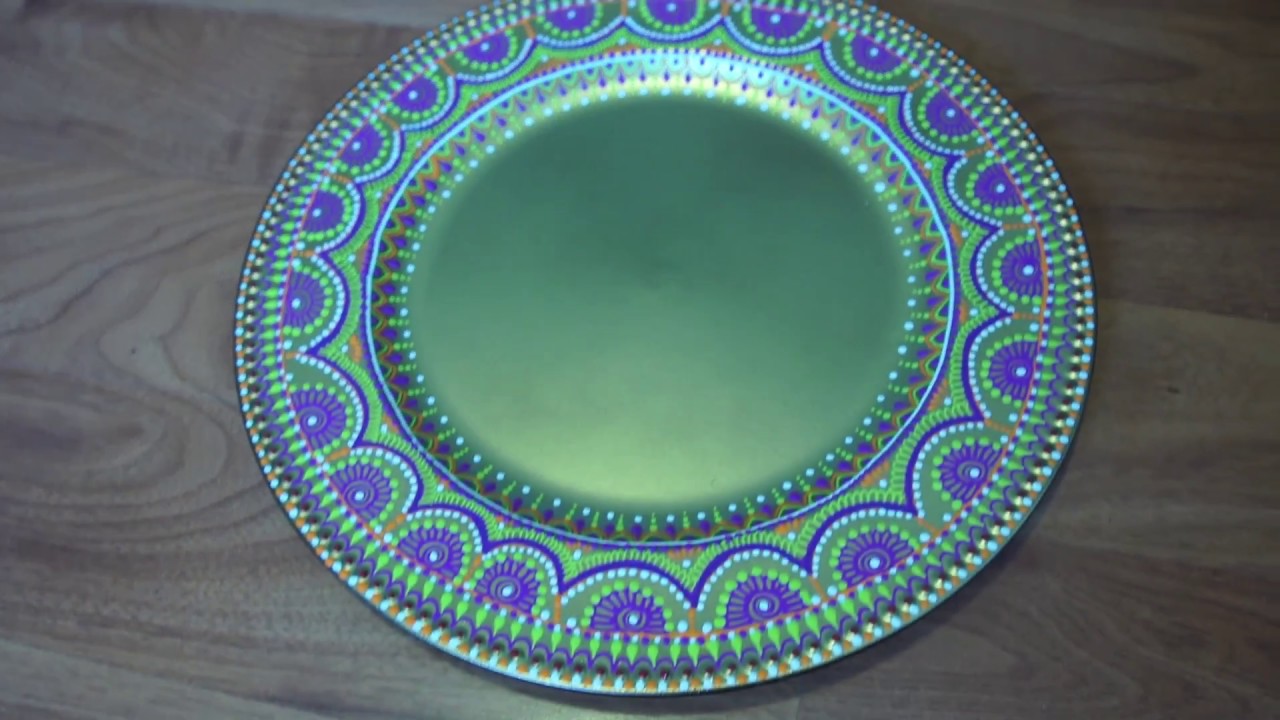
Are you tired of using the same old charger plates for your dinner parties or special occasions? Well, we have the perfect solution to spruce them up and give them a fresh new look – contact paper! With just a few simple steps, you can transform your charger plates into stylish and unique pieces that will impress your guests. In this article, we will guide you through the process of covering charger plates with contact paper, allowing you to unleash your creativity and add a personal touch to your tableware.
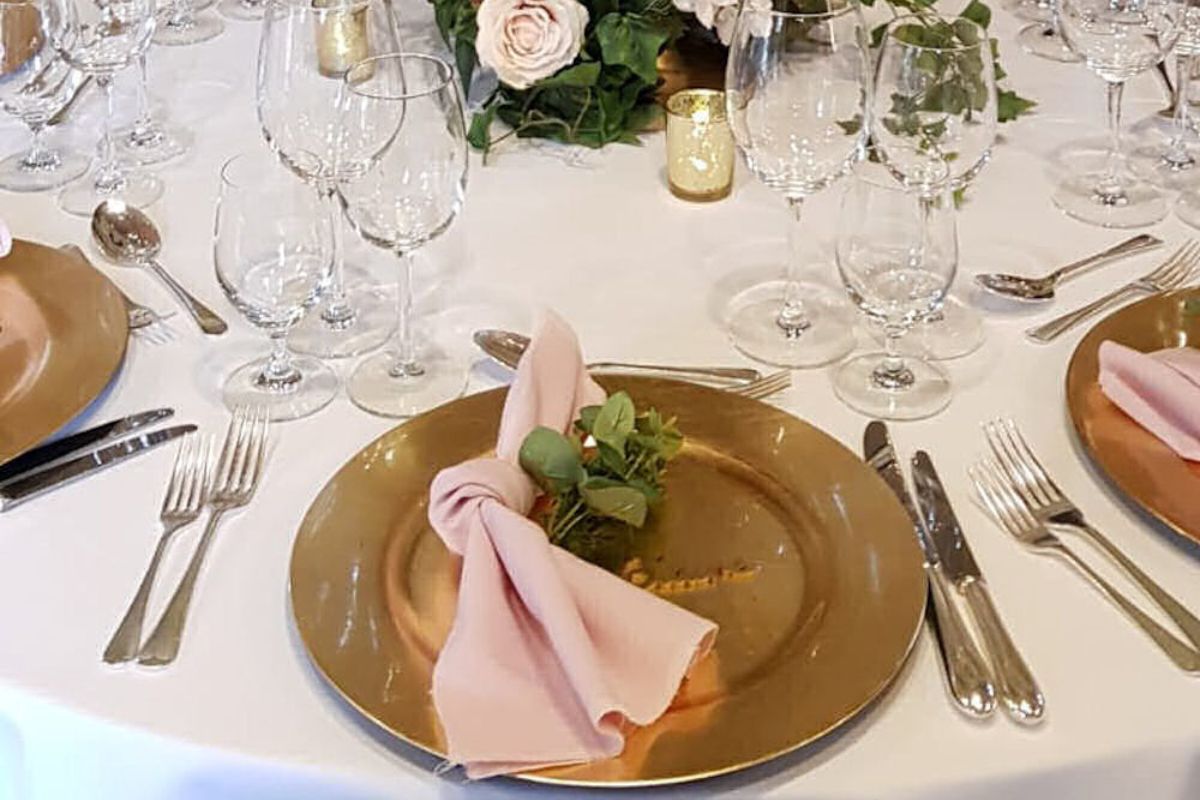
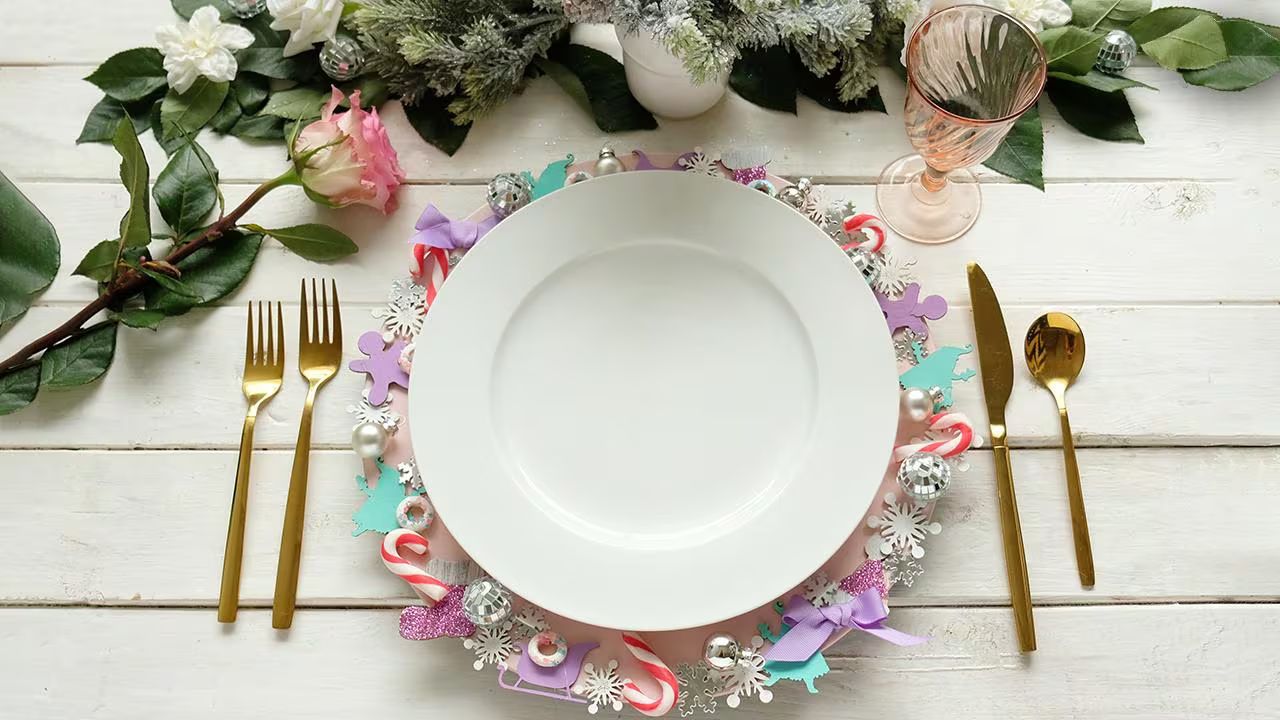
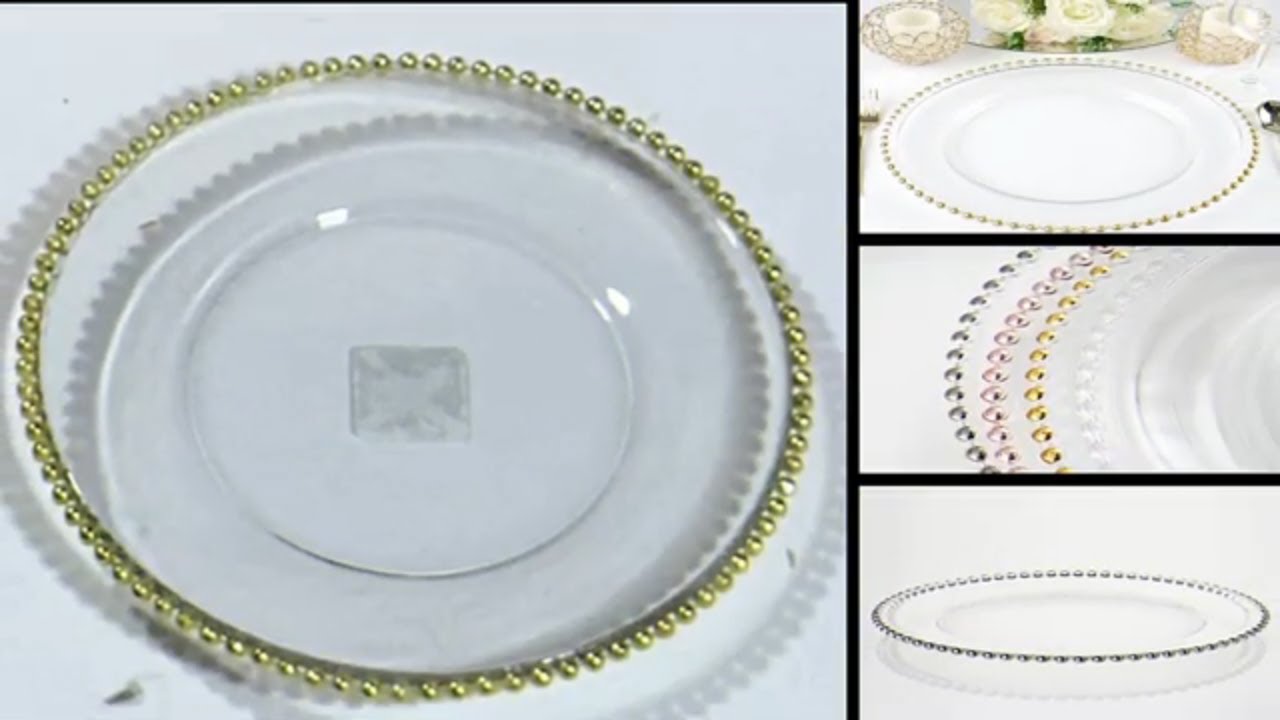
Before we dive into the tutorial, let’s briefly discuss why charger plates are a popular choice for table settings. Charger plates, also known as service plates or underplates, are larger decorative plates that are typically placed under the dinner plate. Not only do they add elegance and sophistication to the table, but they also serve a practical purpose by catching any food spills or crumbs, keeping the dinner table clean and presentable throughout the meal.
Now, instead of investing a fortune in new charger plates to match every theme or occasion, you can use contact paper to customize them according to your specific style and preference. Contact paper is a versatile material that comes in various colors, patterns, and textures, allowing you to achieve a wide range of looks. Whether you want to create a sleek and modern design, add a touch of glamour with metallic finishes, or embrace playful and vibrant patterns, contact paper offers endless possibilities.
Not only is covering charger plates with contact paper an affordable option, but it is also incredibly easy and quick to do. No special skills or tools are required – just a few simple steps and you’ll have beautifully transformed charger plates that will impress your guests and elevate your dining experience. So, gather your materials and let’s get started on this fun and creative project!
Key Takeaways:
- Transform plain charger plates into stunning, personalized pieces with contact paper. Elevate your table setting and impress guests with a simple, affordable DIY project that offers endless customization possibilities.
- Attention to detail and patience are key in achieving a professional-looking result when covering charger plates with contact paper. Enjoy the process and unleash your creativity to create unique and eye-catching tableware.
Read more: How To Make Charger Plates
Materials Needed
Before you begin covering your charger plates with contact paper, make sure you have the following materials on hand:
- Charger plates: Choose the charger plates you want to cover. They can be made of any material, such as plastic, glass, or metal. It’s best to clean them thoroughly before you start.
- Contact paper: Select contact paper in the color, pattern, or texture of your choice. You can find a wide variety of contact paper options at your local craft store or online.
- Scissors: A pair of sharp scissors will be needed to cut the contact paper to the right size and shape.
- X-Acto knife or craft knife: This tool will come in handy for trimming the excess contact paper and achieving clean edges.
- Ruler or measuring tape: To ensure accurate measurements when cutting the contact paper, have a ruler or measuring tape handy.
- Squeegee or credit card: You will need a squeegee or credit card to smooth out any bubbles or wrinkles when applying the contact paper. This will ensure a smooth and even surface.
- Pencil or marker: Having a pencil or marker will help you mark the measurements and cut lines on the contact paper.
- Clean cloth: Keep a clean cloth nearby to wipe away any fingerprints or smudges on the charger plates before applying the contact paper.
Once you have gathered all the necessary materials, you are ready to embark on your DIY charger plate transformation project. So, let’s move on to the next step and start covering your charger plates with contact paper.
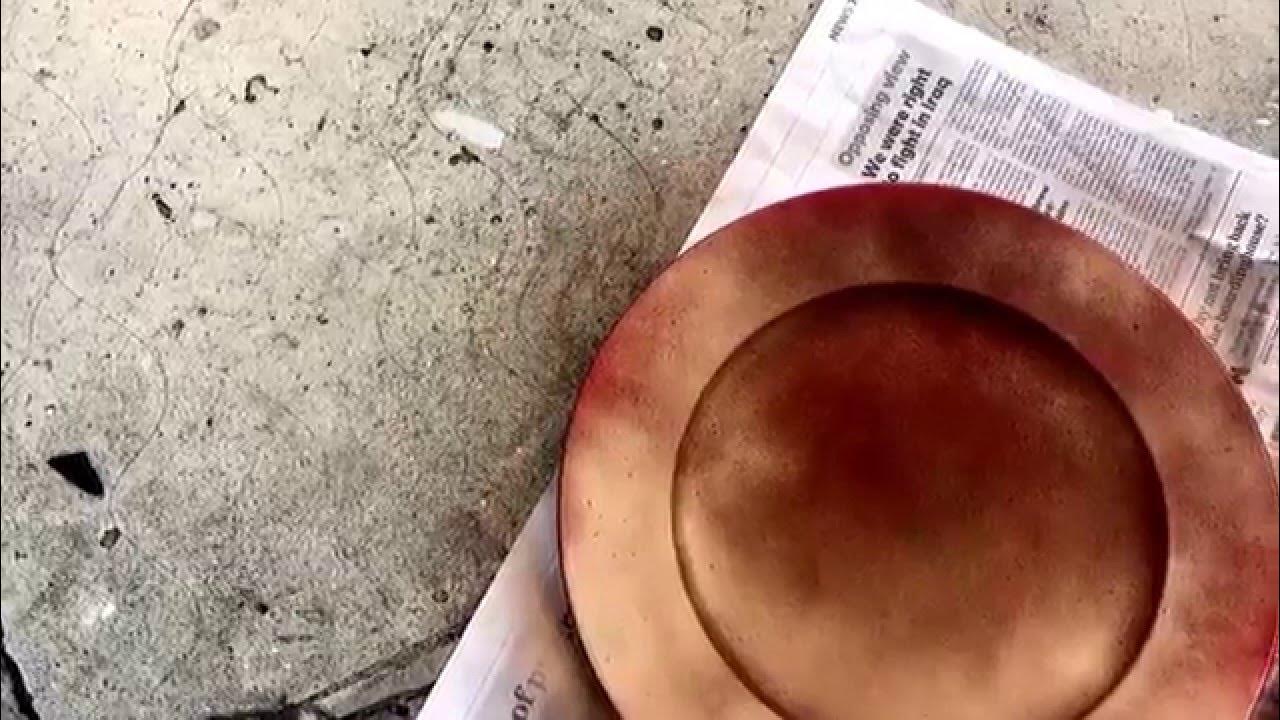
Step 1: Clean the Charger Plates
Before you begin the process of covering your charger plates with contact paper, it is essential to ensure that they are clean and free of any dust, grease, or residue. This will help the contact paper adhere properly and create a smooth and seamless finish.
Start by rinsing the charger plates with warm water to remove any loose debris. Then, use a mild dish soap and a soft cloth or sponge to gently scrub the surface of the charger plates. Pay extra attention to any stubborn stains or sticky residue, making sure to remove them thoroughly.
Once you have cleaned the charger plates, rinse them again under warm water to remove any soap residue. Dry them with a clean cloth or let them air dry completely before proceeding to the next step.
It’s important to note that certain charger plates may require specific cleaning methods due to their material. For example, if you have charger plates made of delicate materials like porcelain or fine china, be sure to follow the manufacturer’s guidelines for cleaning toprevent any damage.
By starting with clean charger plates, you will ensure that the contact paper adheres properly and remains in place, providing a long-lasting and beautiful finish. So take the time to clean your charger plates thoroughly, and let’s move on to the next step of this DIY project.
Step 2: Measure and Cut the Contact Paper
Now that your charger plates are clean and ready, it’s time to measure and cut the contact paper to the correct size and shape. This step is crucial to ensure a precise fit and a professional-looking result.
Start by placing the charger plate upside down on the backside of the contact paper. Use a pencil or marker to trace the shape of the charger plate onto the contact paper. Make sure to trace the outer edge of the charger plate accurately.
Next, measure the diameter of the charger plate using a ruler or measuring tape. Add an extra inch or so to the diameter to allow for overlap and adjustments. This will ensure complete coverage of the charger plate surface.
Based on the measurements, use the ruler or straight edge to draw the cutting lines on the contact paper. It’s best to use a sharp pair of scissors to cut along the marked lines. Take your time and cut carefully to achieve clean and smooth edges.
Alternatively, if your charger plate has a unique shape or design, you can trace the outline onto a piece of paper first, and then transfer it onto the contact paper. This will help you create a more precise template for cutting.
Continue this process for each charger plate you plan to cover, making sure to measure and cut the contact paper accordingly. It’s always a good idea to double-check the measurements before cutting to avoid any mistakes.
By taking the time to measure and cut the contact paper accurately, you will ensure a seamless and professional-looking result when applying it to the charger plates. So gather your materials, sharpen your scissors, and let’s move on to the next step of this DIY project.
Step 3: Apply the Contact Paper
With all your charger plates measured and cut, it’s time to apply the contact paper and transform their appearance. This step requires a steady hand and attention to detail to achieve a smooth and flawless finish.
To begin, peel off a small section of the backing paper from the contact paper. Start at one edge or corner to make it easier to handle. Be careful not to touch the sticky side of the contact paper with your fingers, as this can leave fingerprints or smudges.
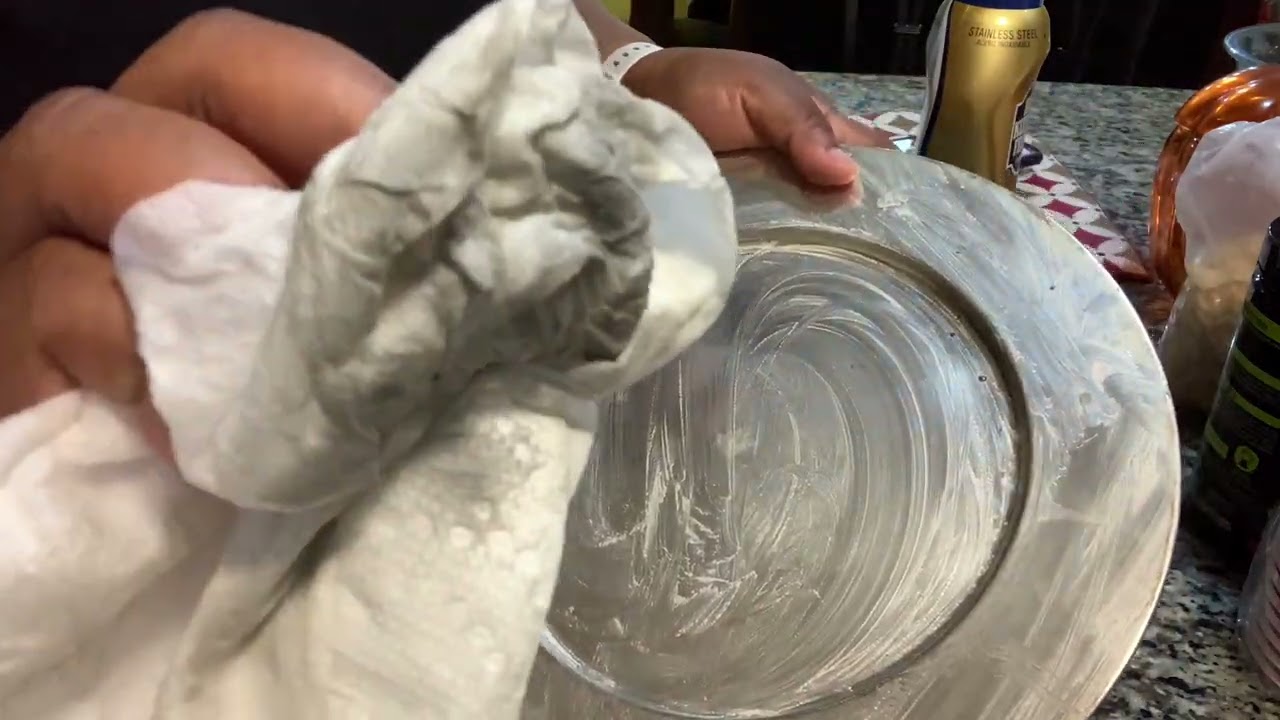
Align the exposed adhesive side of the contact paper with the backside of the charger plate. Start at the center and gradually smooth it outwards, using a squeegee or credit card to press the contact paper firmly onto the charger plate surface. This will help eliminate any air bubbles or wrinkles and ensure good adhesion.
Work slowly and gently, making sure to smooth out the contact paper as you go. Use your fingers or the squeegee to press out any bubbles or creases, moving from the center towards the edges. Take your time to fix any imperfections and ensure a seamless application.
If you encounter stubborn air bubbles, you can use a pin to prick them and then press the contact paper down to remove the trapped air. However, be cautious not to create any tears or damages to the contact paper or charger plate surface.
Continue this process, peeling off the backing paper and gradually applying the contact paper, until the entire surface of the charger plate is covered. Remember to work in small sections for better control and to avoid the contact paper sticking to itself.
As you work, periodically step back and assess the placement and alignment of the contact paper. This will help you catch any misalignments or unevenness and make the necessary adjustments before moving on to the next step.
By carefully applying the contact paper, you will achieve a clean and professional-looking transformation of your charger plates. Once you have completed this step, it’s time to move on to the next one to ensure a flawless final result.
When covering charger plates with contact paper, make sure to thoroughly clean and dry the plates before applying the contact paper to ensure a smooth and long-lasting finish. Smooth out any air bubbles as you apply the contact paper to achieve a professional look.
Read more: How To Store Charger Plates
Step 4: Smooth out Any Bubbles or Wrinkles
Once you have applied the contact paper to your charger plates, it’s time to make sure that the surface is smooth and free from any unsightly bubbles or wrinkles. This step is crucial to achieving a polished and professional finish.
Start by using a squeegee or credit card to gently press and smooth out the contact paper. Start from the center and work your way towards the edges, applying even pressure. This will help to eliminate any trapped air bubbles and ensure a tight and smooth adhesion.
If you encounter stubborn bubbles, use a pin to create a small hole at the edge of the bubble and gently press down to release the air. Then, use the squeegee or credit card to smooth out the area once again. Be careful not to create any tears or damages to the contact paper or charger plate surface while doing this.
If you notice any wrinkles or creases on the contact paper, gently lift the corner of the affected area and reapply it, smoothing it out as you go. Take your time and be patient, working slowly to ensure a wrinkle-free surface. Use the squeegee or credit card to press out any remaining creases.
Continue this process, focusing on one section at a time, until you have smoothed out all bubbles and wrinkles on each charger plate. It’s important to take your time and pay attention to detail to achieve a flawless and professional result.
Once you are satisfied with the smoothness of the contact paper, step back and inspect the charger plates from different angles to ensure an even and seamless appearance. Make any necessary adjustments or touch-ups before moving on to the next step of this DIY project.
By smoothing out any bubbles and wrinkles, you will achieve a clean and flawless look for your covered charger plates. Take your time with this step and pay attention to detail, as it will significantly contribute to the overall aesthetic of your tableware.
Step 5: Trim Excess Contact Paper
Now that you have successfully applied the contact paper to your charger plates and smoothed out any bubbles or wrinkles, it’s time to trim the excess contact paper for a neat and finished look. This step will give your charger plates a clean and polished appearance.
Start by flipping the charger plate over so that the backside is facing up. Use an X-Acto knife or a craft knife to carefully trim the excess contact paper along the outer edge of the charger plate. Follow the contour of the charger plate to ensure a precise and clean cut.
Take your time and work slowly, applying gentle pressure as you guide the knife along the edge. Be cautious not to cut too close to the charger plate surface, as this may result in scratches or damage. Aim to leave a small margin of contact paper, about 1/8 to 1/4 of an inch, to ensure a clean and secure edge.
If your charger plate has any intricate designs or details along the edge, be extra careful around those areas. Take your time and make small, precise cuts to maintain the integrity of the design.
After trimming the excess contact paper, flip the charger plate back over and inspect the front side. Check for any irregularities or uneven edges. If necessary, use the X-Acto knife to make any final touch-ups or adjustments.
Repeat this process for each charger plate you have covered with contact paper, ensuring a consistent and polished finish. Take your time and pay attention to detail to achieve a professional-looking result.
Once you have completed this step, your charger plates will have a clean and crisp edge, giving them a refined and finished appearance. You’re almost done with your DIY charger plate transformation, so let’s move on to the final step.
Step 6: Repeat for Additional Charger Plates
If you have multiple charger plates that you want to cover with contact paper, now is the time to repeat the previous steps for each additional plate. This step ensures that all your charger plates have a cohesive and coordinated look.
Start by cleaning each charger plate thoroughly, following Step 1 of this process. Make sure to remove any dirt, grease, or residue to create a clean and smooth surface for the contact paper.
Next, measure and cut the contact paper for each charger plate, as explained in Step 2. Take precise measurements and ensure that each piece of contact paper fits the individual charger plate perfectly.
Once the contact paper is cut, apply it to each charger plate following Step 3. Take your time and make sure to smooth out any bubbles or wrinkles as you go along. Use a squeegee or credit card to press the contact paper firmly onto the surface for a secure adhesion.
After applying the contact paper, smooth out any remaining bubbles or wrinkles, as outlined in Step 4. Work diligently to ensure that each charger plate has a flawless and smooth surface.
Lastly, trim the excess contact paper for each charger plate following Step 5. Use an X-Acto knife or craft knife to make clean and precise cuts along the edges of the plates. Pay attention to detail and aim for a polished and professional finish.
By repeating these steps for each additional charger plate, you will achieve a cohesive and consistent look for your tableware. Whether you have two or ten charger plates to cover, take the time to go through each step to ensure a beautiful and coordinated set.
Once you have completed the process for all your charger plates, step back and admire your work. You have successfully transformed your plain charger plates into stunning and customized pieces that will enhance your table setting.
Conclusion
Covering charger plates with contact paper is a simple and affordable way to give them a fresh and personalized look. By following the steps outlined in this tutorial, you can transform your charger plates into stylish and unique pieces that will impress your guests and elevate your dining experience.
Throughout this DIY project, we discussed the importance of starting with clean charger plates to ensure proper adhesion of the contact paper. We also learned how to measure and cut the contact paper accurately for a precise fit, as well as how to apply it smoothly and eliminate any bubbles or wrinkles.
Trimming the excess contact paper and repeating the process for each additional charger plate helped ensure a polished and cohesive set. Remember, attention to detail and taking your time are key to achieving a professional-looking result.
With a wide variety of colors, patterns, and textures available, contact paper offers endless possibilities for customization. You can create a sleek and modern design, add a touch of glamour with metallic finishes, or embrace playful and vibrant patterns to suit your specific style and occasion.
Now that you have completed this DIY project, you can proudly showcase your newly covered charger plates at your next dinner party, holiday gathering, or special event. Your guests will be delighted by the unique and eye-catching tableware, and you’ll have the satisfaction of knowing that you added a personal touch to your dining experience.
So go ahead, unleash your creativity, and have fun transforming your charger plates with contact paper. Get ready to impress your guests and create lasting memories with your beautifully customized tableware.
Frequently Asked Questions about How To Cover Charger Plates With Contact Paper
Was this page helpful?
At Storables.com, we guarantee accurate and reliable information. Our content, validated by Expert Board Contributors, is crafted following stringent Editorial Policies. We're committed to providing you with well-researched, expert-backed insights for all your informational needs.


0 thoughts on “How To Cover Charger Plates With Contact Paper”