
Tableware
How To Etch Wine Glasses
Modified: January 15, 2024
Learn how to etch beautiful designs on wine glasses and elevate your tableware collection. Step-by-step instructions for beginners to create personalized, one-of-a-kind pieces.
(Many of the links in this article redirect to a specific reviewed product. Your purchase of these products through affiliate links helps to generate commission for Storables.com, at no extra cost. Learn more)
Introduction
Welcome to the world of tableware customization! If you’re looking to add a personal touch to your wine glasses, etching is a fantastic option. Etched wine glasses not only elevate the overall aesthetics of your table setting but also make for fantastic personalized gifts. With just a few simple materials and steps, you can easily etch your own wine glasses at home.
In this article, we will guide you through the process of etching wine glasses, from gathering the necessary supplies to applying the etching solution and removing the stencil. So grab your favorite wine glass and let’s get started on this exciting DIY project!
Before we begin, it’s important to note that etching is a permanent process that creates a frosted effect on the glass surface. This means that once you etch your wine glasses, the design will stay intact for years to come. So be sure to choose a design or stencil that you’ll love seeing every time you enjoy a glass of wine.
Let’s dive into the materials and supplies you’ll need for this project.
Key Takeaways:
- Personalize your table setting and create unique gifts by etching wine glasses with simple materials and steps, adding a touch of elegance and sophistication to any occasion.
- Embrace creativity and unleash your tableware customization skills by etching beautiful designs onto glassware, elevating the aesthetics of your dining experience and making lasting impressions.
Read more: How To Fix Etched Glass
Materials Needed
Before you embark on your wine glass etching journey, make sure you have the following materials and supplies ready:
- Wine glasses: Choose glassware that is suitable for etching. Stemless wine glasses or those with a smooth, flat surface work best.
- Etching cream: This is the key ingredient for etching the glass. Look for a quality etching cream that is safe for glass and easy to use.
- Stencil: A stencil will help you create the design you want to etch onto the glass. You can either purchase pre-cut adhesive stencils or create your own using adhesive vinyl or contact paper.
- Transfer tape: If you are using a custom stencil, transfer tape will help you transfer the design onto the glass and secure it in place.
- Painter’s tape: This tape is essential for masking off areas of the glass that you do not want to etch. It provides clean lines and prevents any accidental etching.
- Protective gloves: To ensure your safety, wear protective gloves when working with the etching cream.
- Foam brush: A foam brush is ideal for applying the etching cream evenly onto the glass.
- Waterproof mat or newspaper: These are handy for protecting your work surface from any spills or messes during the etching process.
- Water source: You’ll need access to a water source for rinsing off the etching cream.
- Paper towels: Keep some paper towels nearby for drying the glasses after rinsing.
With these materials in hand, you’re ready to start etching your wine glasses. It’s time to gather your supplies and set up your work area.
Step 1: Gather Your Supplies
Before you begin the wine glass etching process, it’s important to gather all the necessary supplies. Having everything within reach will make the process smoother and more efficient. Here’s what you’ll need:
- Wine glasses: Select the wine glasses you want to etch. Make sure they are clean and free from any dust or fingerprints.
- Etching cream: Choose a high-quality etching cream that is specifically designed for glass etching. It’s crucial to follow the manufacturer’s instructions and safety guidelines for the best results.
- Stencil: Decide on the design you want to etch onto the wine glasses. You can either purchase pre-made stencils or create your own using adhesive vinyl or contact paper.
- Transfer tape: If you’re using a custom stencil, you’ll need transfer tape to help transfer the design onto the glass surface accurately.
- Painter’s tape: Use painter’s tape to cover and mask off any areas on the wine glass that you don’t want to etch. This will help create clean lines and prevent accidental etching.
- Protective gloves: It’s essential to protect your hands from the etching cream. Wear protective gloves to ensure your safety throughout the process.
- Foam brush: A foam brush is ideal for applying the etching cream onto the glass. It helps achieve an even and smooth application.
- Waterproof mat or newspaper: Cover your work surface with a waterproof mat or lay down some newspaper to protect it from any spills or drips.
- Water source: Have access to a water source nearby for rinsing off the etching cream once the desired etching time is reached.
- Paper towels: Keep some paper towels handy for drying the wine glasses after rinsing.
Make sure you read and understand the instructions provided with the etching cream and stencil before you begin the process. This will help you achieve the best results and ensure a smooth etching experience. Now that you have all your supplies ready, let’s move on to the next step: cleaning the wine glasses.
Step 2: Clean the Wine Glasses
Before you start etching, it’s crucial to clean the wine glasses thoroughly. Any dust, fingerprints, or oils on the glass surface can interfere with the etching cream’s ability to adhere properly. Follow these steps to ensure your wine glasses are clean and ready for etching:
- Fill a sink or basin with warm water and add a few drops of dish soap. Swirl the water to create a solution.
- Gently place the wine glasses into the soapy water, making sure they are fully submerged.
- Use a soft sponge or cloth to gently clean the outside and inside of the glasses, paying extra attention to the areas where you plan to etch.
- Rinse the glasses thoroughly with clean water to remove any soap residue.
- Inspect the glasses to ensure there are no lingering fingerprints or marks. If needed, repeat the cleaning process to achieve a pristine surface.
- Dry the glasses with a lint-free towel or allow them to air dry completely.
It’s important to handle the wine glasses with care during the cleaning process, ensuring that you don’t accidentally leave any new fingerprints or smudges. Once the glasses are clean and dry, you’re ready to move on to preparing the etching solution.
Remember, a clean surface is essential for the etching cream to bond properly and create a beautiful, lasting design on your wine glasses. So take your time and ensure that the glasses are spotless before proceeding to the next step.
Step 3: Prepare the Etching Solution
With your clean wine glasses ready, it’s time to prepare the etching solution. The etching cream will create a permanent frosted effect on the glass, giving it an elegant and personalized touch. Follow these steps to prepare the etching solution:
- Put on your protective gloves to ensure your hands are shielded from the etching cream.
- Read and review the instructions provided with your chosen etching cream. Different brands may have different application methods and recommended etching times.
- If the etching cream needs any additional steps for preparation, follow them carefully. Some etching creams require mixing with water, while others are ready to use straight out of the container.
- If necessary, pour a small amount of the etching cream into a plastic or glass container. Avoid using metal containers, as they can react with the cream.
- Stir the etching cream using a plastic spoon or stick, ensuring it is well mixed and has a consistent texture.
It’s important to note that etching creams can vary in their composition and application instructions. Always read and follow the specific guidelines provided by the manufacturer to achieve the desired etching results.
Once you’ve prepared the etching solution, you’re ready to move on to the next step: applying the stencil to the wine glass.
Read more: What Is Glass Etching
Step 4: Apply the Stencil
Now that you have your etching solution prepared, it’s time to apply the stencil to the wine glass. The stencil will determine the design that will be etched onto the glass surface. Whether you’re using pre-made stencils or creating your own, follow these steps to apply the stencil:
- Carefully peel off the backing of the stencil, exposing the adhesive side.
- Position the stencil onto the desired area of the wine glass, ensuring it is straight and aligned with precision.
- Press the stencil firmly onto the glass, making sure there are no bubbles or gaps between the stencil and the surface.
- If you’re using a custom stencil, use transfer tape to help secure the design in place. Smooth out any wrinkles or air bubbles using your fingers or a plastic card.
- Double-check that the stencil is firmly adhered to the glass, ensuring it won’t shift or move during the etching process.
- Take a step back and examine the placement of the stencil. Make any necessary adjustments to ensure the design is exactly where you want it.
Whether you’re using a simple design or a complex pattern, precision and attention to detail are key when applying the stencil. This will ensure a clean and accurate etched design on your wine glass. Take your time and make any necessary adjustments before moving on to the next step.
Now that the stencil is applied, we’re ready for the exciting part: applying the etching cream to the wine glass. Let’s move on to Step 5.
When etching wine glasses, make sure to thoroughly clean and dry the surface before applying the etching cream. Use a stencil or tape to create a design and apply the cream evenly for best results.
Step 5: Apply the Etching Cream
Now that the stencil is securely in place on your wine glass, it’s time to apply the etching cream. The etching cream will create a frosted effect on the glass, giving your design a beautiful and permanent finish. Follow these steps to apply the etching cream:
- Put on your protective gloves to ensure your hands are shielded from the etching cream.
- Give the etching cream a final stir to ensure it is well mixed and has a smooth consistency.
- Dip the foam brush into the etching cream, picking up a generous amount on the bristles.
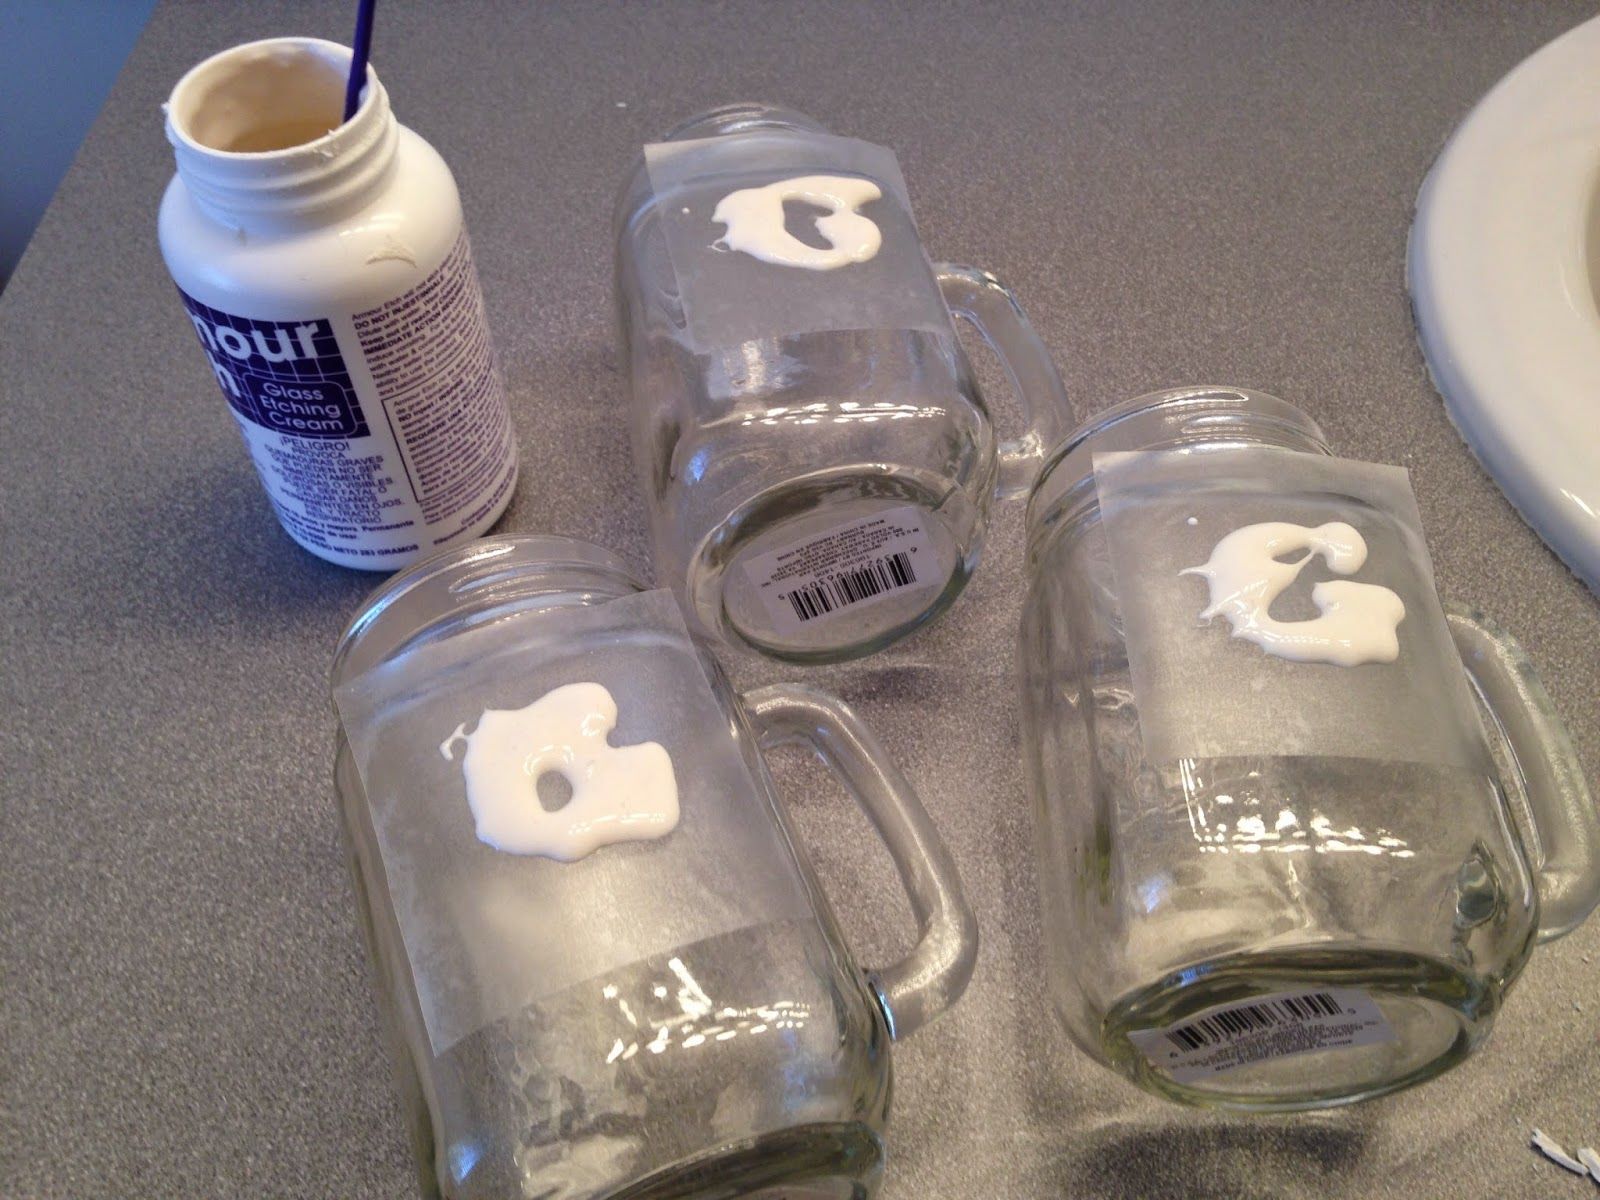
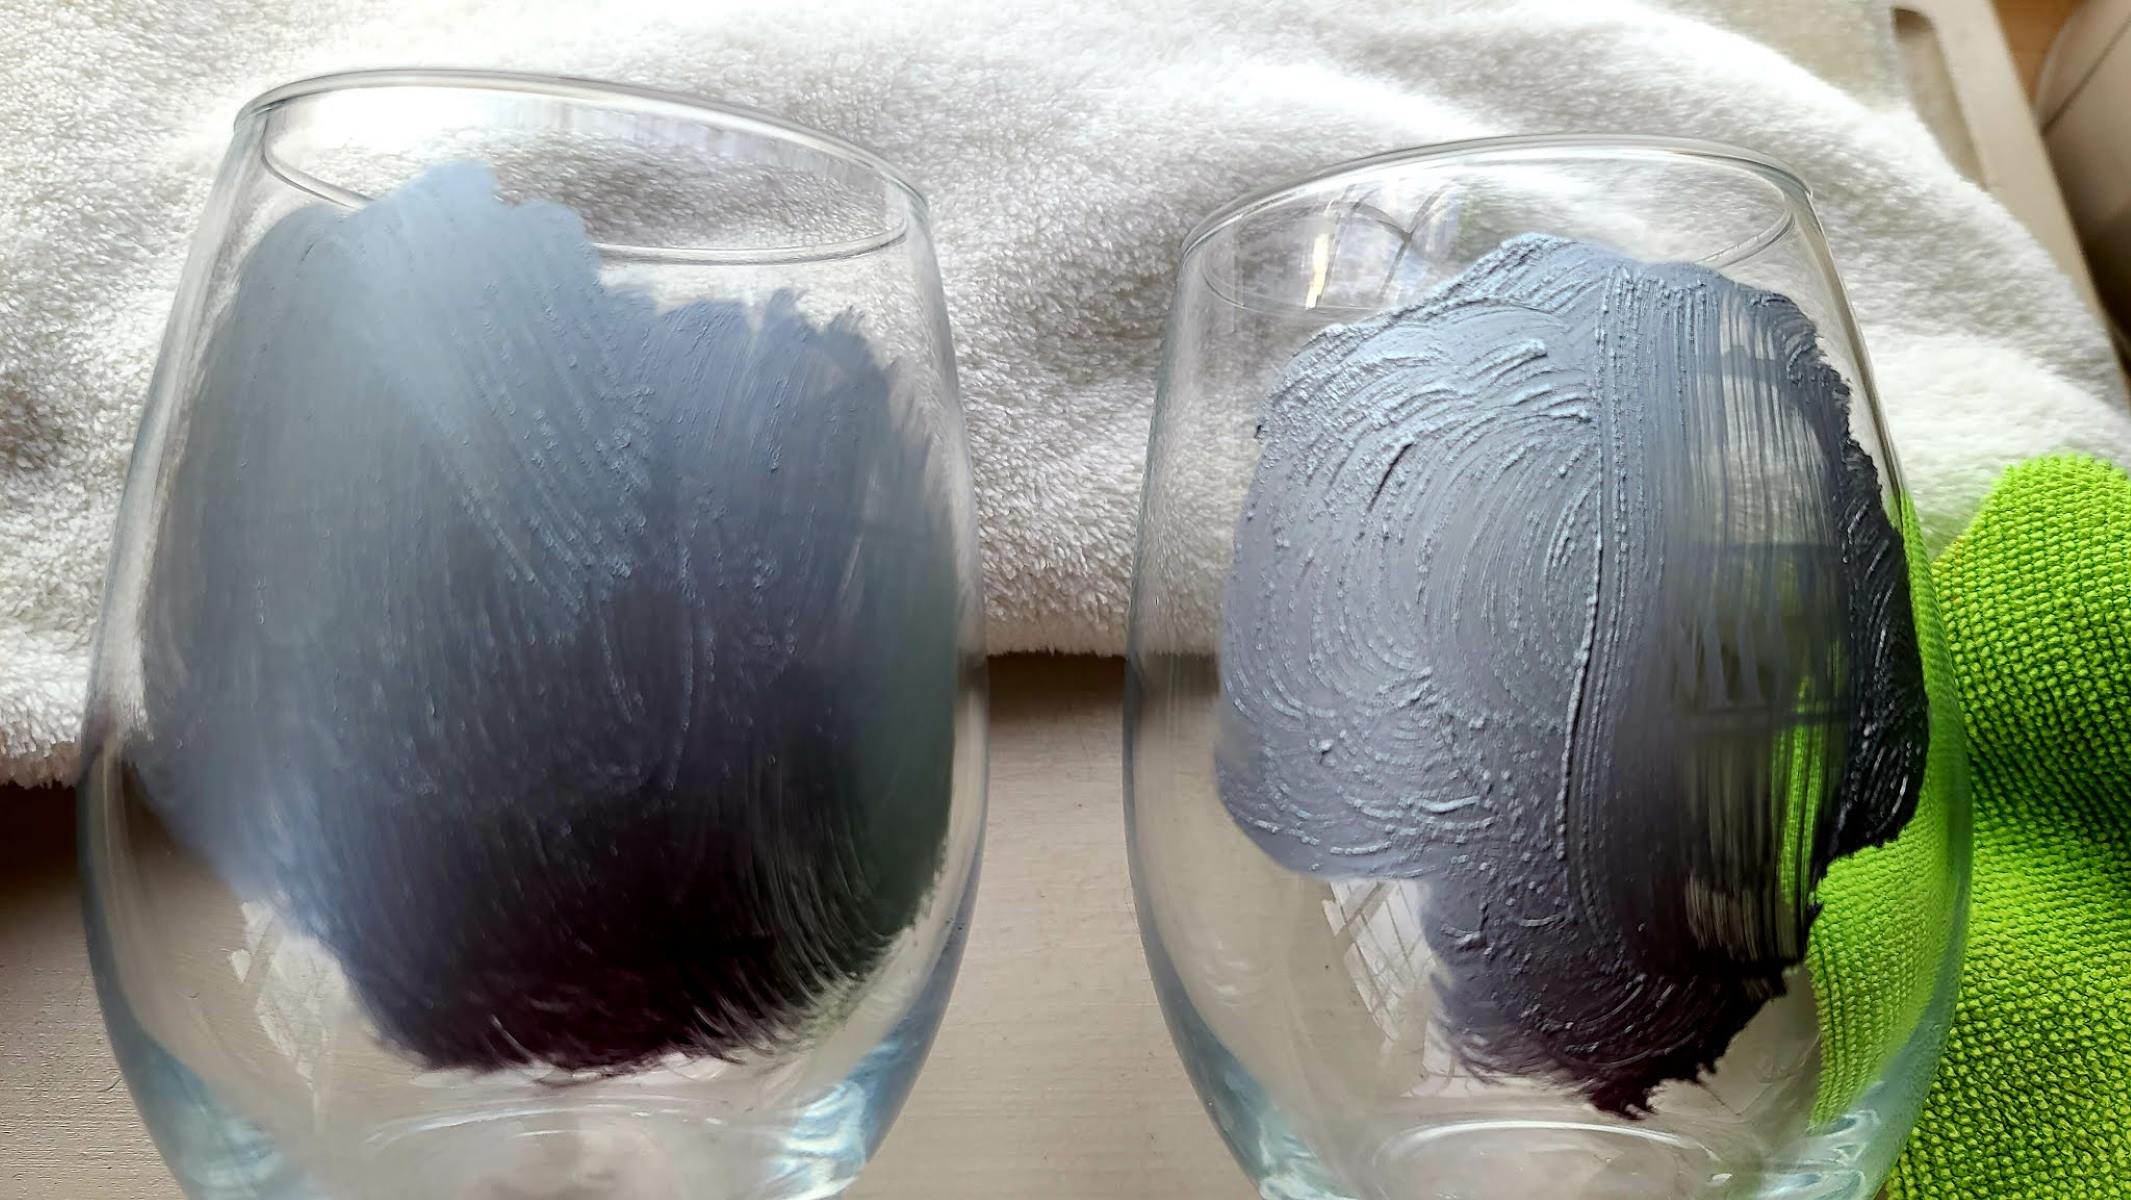
- Apply the etching cream to the exposed areas of the glass within the stencil. Use gentle, smooth strokes to create an even layer of cream.
- Make sure to cover the entire area within the stencil, ensuring no gaps or missed spots.
- Apply a thicker layer of etching cream if desired, as this will result in a more opaque and prominent etched effect.
- Be cautious not to allow the etching cream to spread beyond the stencil design. If this happens, quickly wipe away the excess cream with a damp cloth.
- Allow the etching cream to sit on the glass for the recommended time specified by the manufacturer. This can typically range from a few minutes to half an hour.
- While the etching cream is working its magic, avoid touching or moving the wine glass to prevent smudging or disrupting the etching process.
Remember to follow the instructions provided by the etching cream manufacturer for the best results. Different brands may have varying etching times and application techniques. Set a timer to ensure you don’t leave the etching cream on the glass for too long.
Once the desired etching time has elapsed, it’s time to move on to the next step: rinsing off the etching cream. This is where you’ll start to see your design come to life!
Step 6: Wait and Rinse
After applying the etching cream to the wine glass and allowing it to sit for the recommended time, it’s time to move on to the next crucial step: the rinsing process. Follow these steps to wash off the etching cream and reveal your beautifully etched design:
- Fill a sink or basin with warm water. Ensure that the water is at a comfortable temperature for rinsing.
- Gently remove the wine glass from the work area and carefully peel off the stencil. Be cautious not to smudge or smear the etching cream while removing the stencil.
- Hold the glass under the running water, allowing it to rinse off the etching cream. Use your fingers to gently rub away any traces of the cream.
- Continue rinsing the glass until all the etching cream has been washed away and the water runs clear.
- Inspect the glass to ensure all the cream has been thoroughly removed. If necessary, use a soft sponge or cloth to gently scrub away any stubborn residue.
- Once the glass is clean, pat it dry with a lint-free towel or set it aside to air dry completely.
It’s important to rinse off the etching cream thoroughly to prevent any residue or film from remaining on the glass. This will ensure a clean and pristine finish for your etched design.
With the etching cream washed away, your wine glass should now reveal a beautiful frosted design. However, there’s one final step left to complete the process: removing any remaining stencil adhesive. Let’s move on to Step 7.
Step 7: Remove the Stencil
With the etching cream rinsed off and your design beautifully etched onto the glass, it’s time to remove the stencil. Follow these steps to carefully remove the stencil and reveal the full impact of your personalized design:
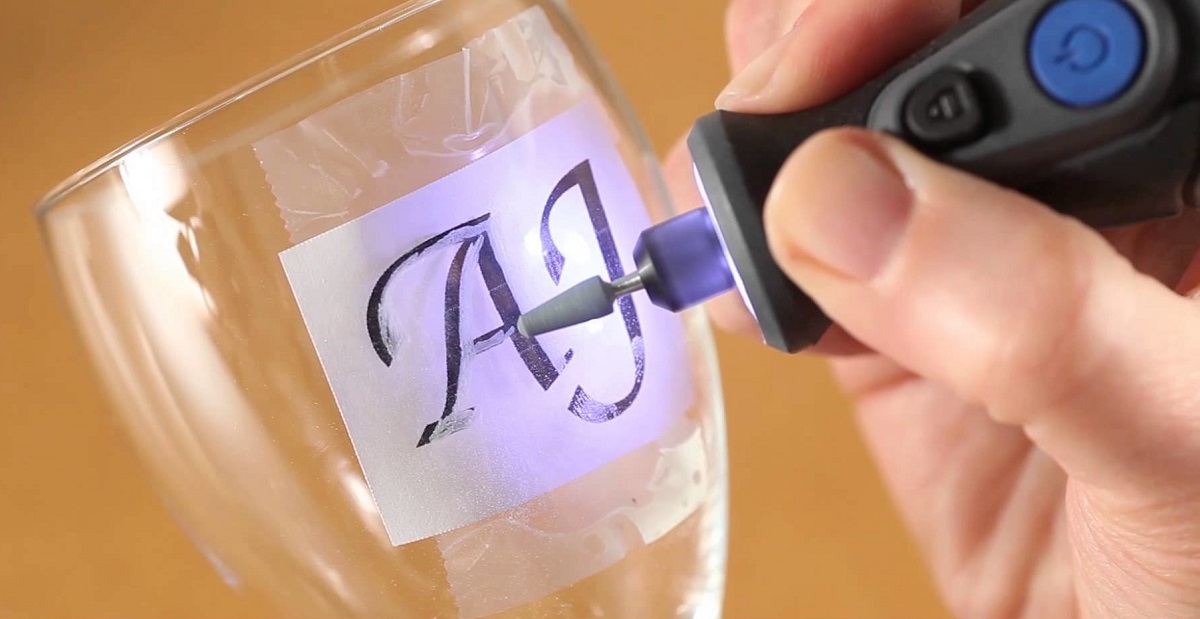
- Gently peel off the stencil from the wine glass. Start from one edge and slowly work your way across, taking care not to damage the etched design.
- If you encounter any stubborn adhesive residue from the stencil, use a gentle adhesive remover or rubbing alcohol to clean it off. Be cautious not to scrub too harshly, as it may affect the etched area.
- Once all the stencil adhesive is removed, rinse the glass one final time under running water to ensure it is clean and free from any residue.
- Inspect the glass to ensure that the etched design has remained intact and there are no smudges or imperfections.
Removing the stencil can be an exciting moment as you finally get to see your personalized design revealed. Take your time and handle the glass with care to ensure you don’t unintentionally damage the etching or the glass itself.
With the stencil removed and the glass cleaned, it’s time to move on to the final step: cleaning and drying the wine glass.
Read more: How Do You Etch Glass
Step 8: Clean and Dry the Glasses
Now that your wine glasses have been etched and the stencil has been removed, the final step is to clean and dry them to ensure they are ready for use or gifting. Follow these steps to properly clean and dry your etched wine glasses:
- Fill a sink or basin with warm water and add a few drops of dish soap.
- Gently place the wine glasses into the soapy water, making sure they are fully submerged.
- Use a soft sponge or cloth to clean the entire surface of the wine glasses, including the etched design. Pay attention to any areas that may have lingering residue or fingerprints.
- Rinse the glasses under clean running water to remove any soap residue.
- Inspect the glasses to ensure they are sparkling clean and free from any marks or smudges.
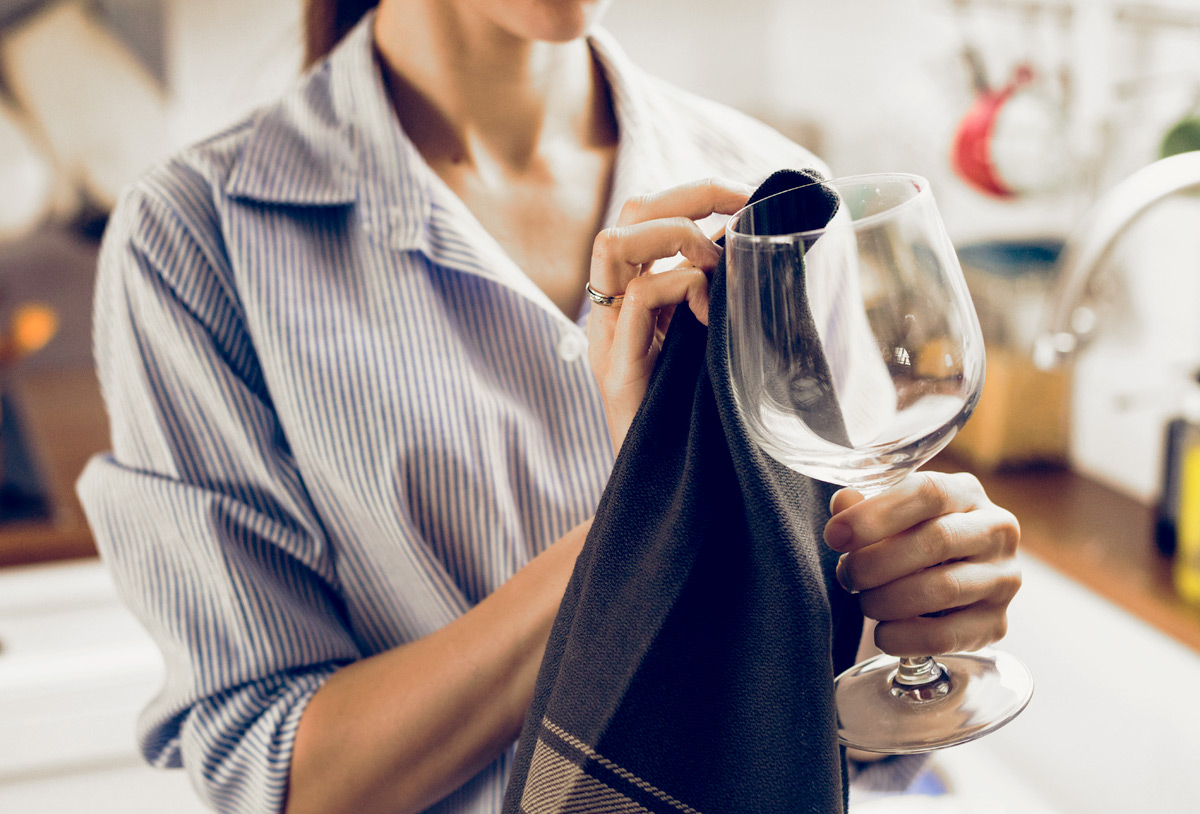
- Using a lint-free towel or dishcloth, carefully dry the glasses by hand. Alternatively, you can allow them to air dry on a clean, non-abrasive surface.
- Once completely dry, give the glasses a final inspection to ensure they are ready for use or gifting.
By cleaning and drying the wine glasses after etching, you not only ensure their cleanliness but also enhance their appearance. A sparkling and streak-free finish will make your etched design shine even more brightly.
With the glasses now clean and dry, you can proudly display them or present them as a thoughtful personalized gift. Enjoy your etched wine glasses and the unique touch they bring to your table setting!
Congratulations on successfully etching your wine glasses and completing this creative DIY project!
Remember, with a few simple steps and the right materials, you can continue to explore and expand your tableware customization skills. So go ahead and unleash your creativity to etch beautiful designs onto various glassware items!
Conclusion
Etching wine glasses is a rewarding and engaging DIY project, especially when you’re wondering what to do with wine glasses to add a personal touch to your tableware. With just a few simple materials and steps, you can create beautifully etched designs that elevate the aesthetics of your collection. Whether you’re looking to enhance your own dining experience or create meaningful gifts for loved ones, etched wine glasses make a unique and memorable addition to any occasion.
Throughout this article, we’ve covered the step-by-step process of etching wine glasses, from gathering your supplies and cleaning the glasses to preparing the etching solution, applying the stencil, and removing it after the etching process. We’ve emphasized the importance of following safety guidelines, reading the instructions provided with your chosen etching cream, and taking your time to ensure precise and clean results.
Remember, etching is a permanent process, so choose your stencil design wisely. Whether you opt for a simple monogram, an intricate pattern, or a customized message, let your creativity shine through. The frosted effect created by the etching cream adds a touch of elegance and sophistication to your wine glasses, making them truly one-of-a-kind.
Etched wine glasses not only enhance the visual appeal of your table setting but also serve as a conversation starter and a reflection of your personal style. They can be the perfect addition to special occasions, such as weddings, anniversaries, or dinner parties, where attention to detail and customization matter.
Now that you have the knowledge and understanding of the process, it’s time to unleash your creativity and start etching your own wine glasses. With practice, you will refine your technique and create stunning designs that will impress both yourself and your guests.
So, gather your supplies, choose your design, and embark on this exciting journey of transforming plain wine glasses into unique works of art. Enjoy the process, let your imagination run wild, and raise a toast to your newfound tableware customization skills!
Frequently Asked Questions about How To Etch Wine Glasses
Was this page helpful?
At Storables.com, we guarantee accurate and reliable information. Our content, validated by Expert Board Contributors, is crafted following stringent Editorial Policies. We're committed to providing you with well-researched, expert-backed insights for all your informational needs.



0 thoughts on “How To Etch Wine Glasses”