Tableware
How To Paint Dining Chairs?
Modified: December 7, 2023
Learn how to paint dining chairs and give your tableware a fresh new look. Follow our step-by-step guide for quick and easy chair painting.
(Many of the links in this article redirect to a specific reviewed product. Your purchase of these products through affiliate links helps to generate commission for Storables.com, at no extra cost. Learn more)
Introduction
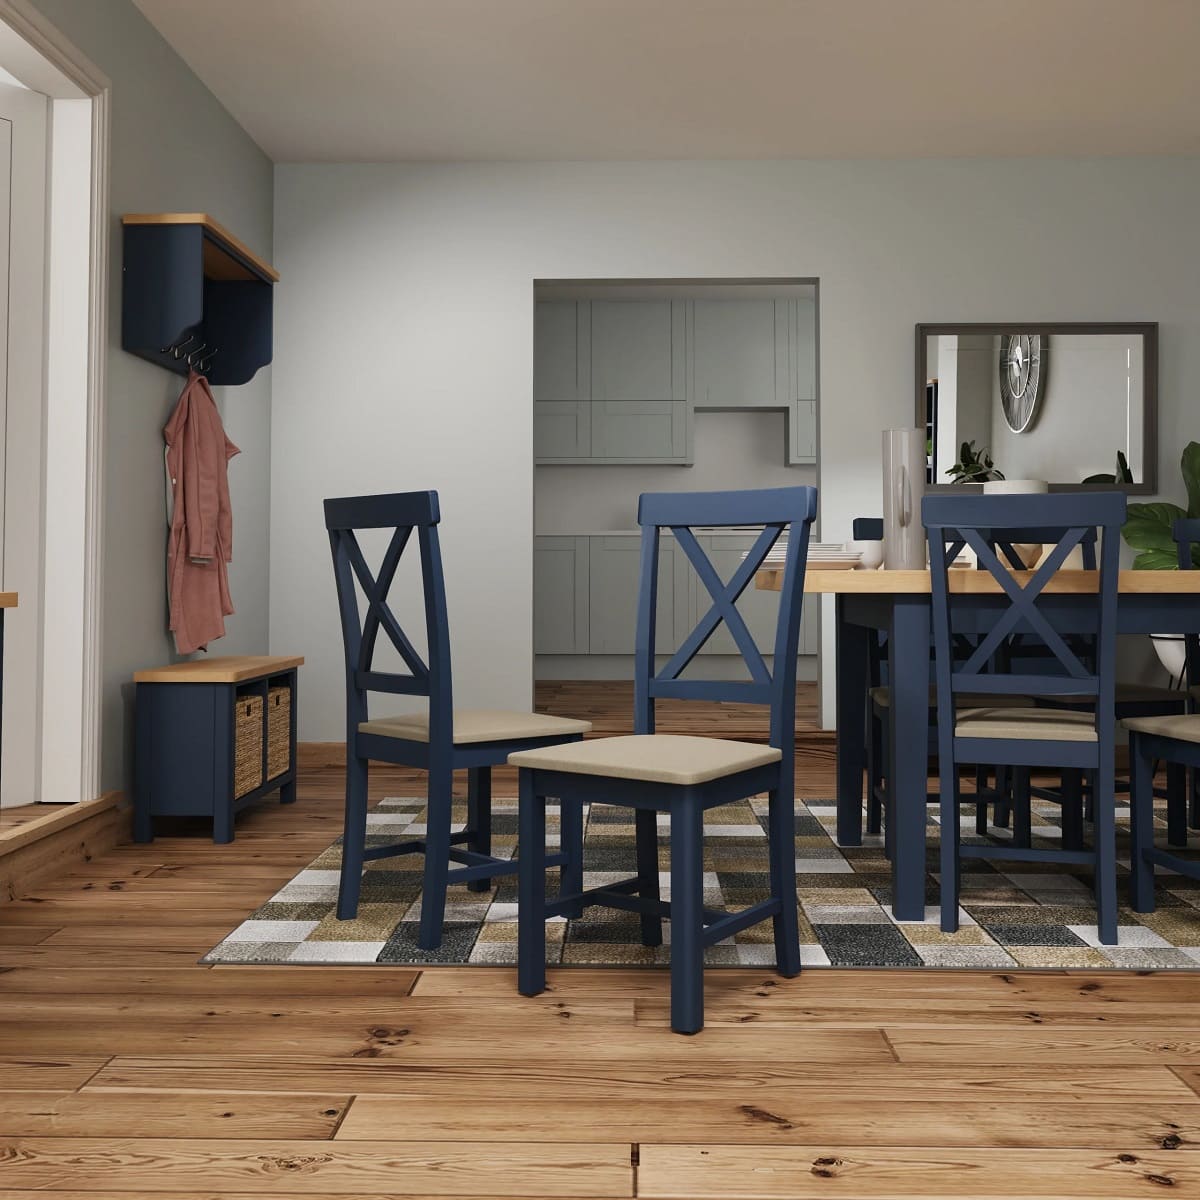
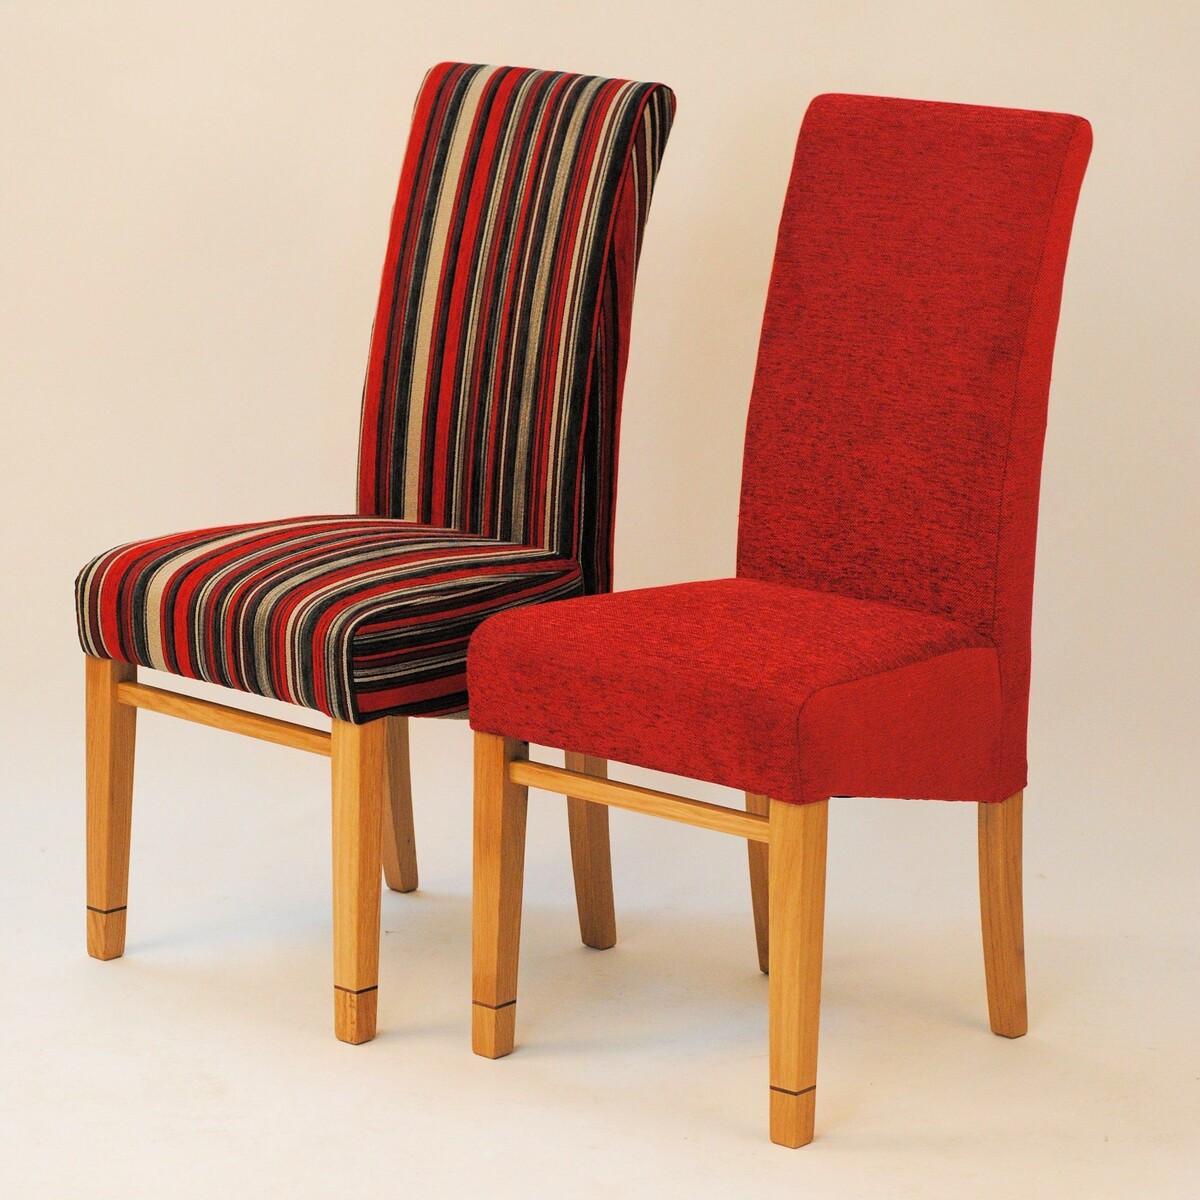
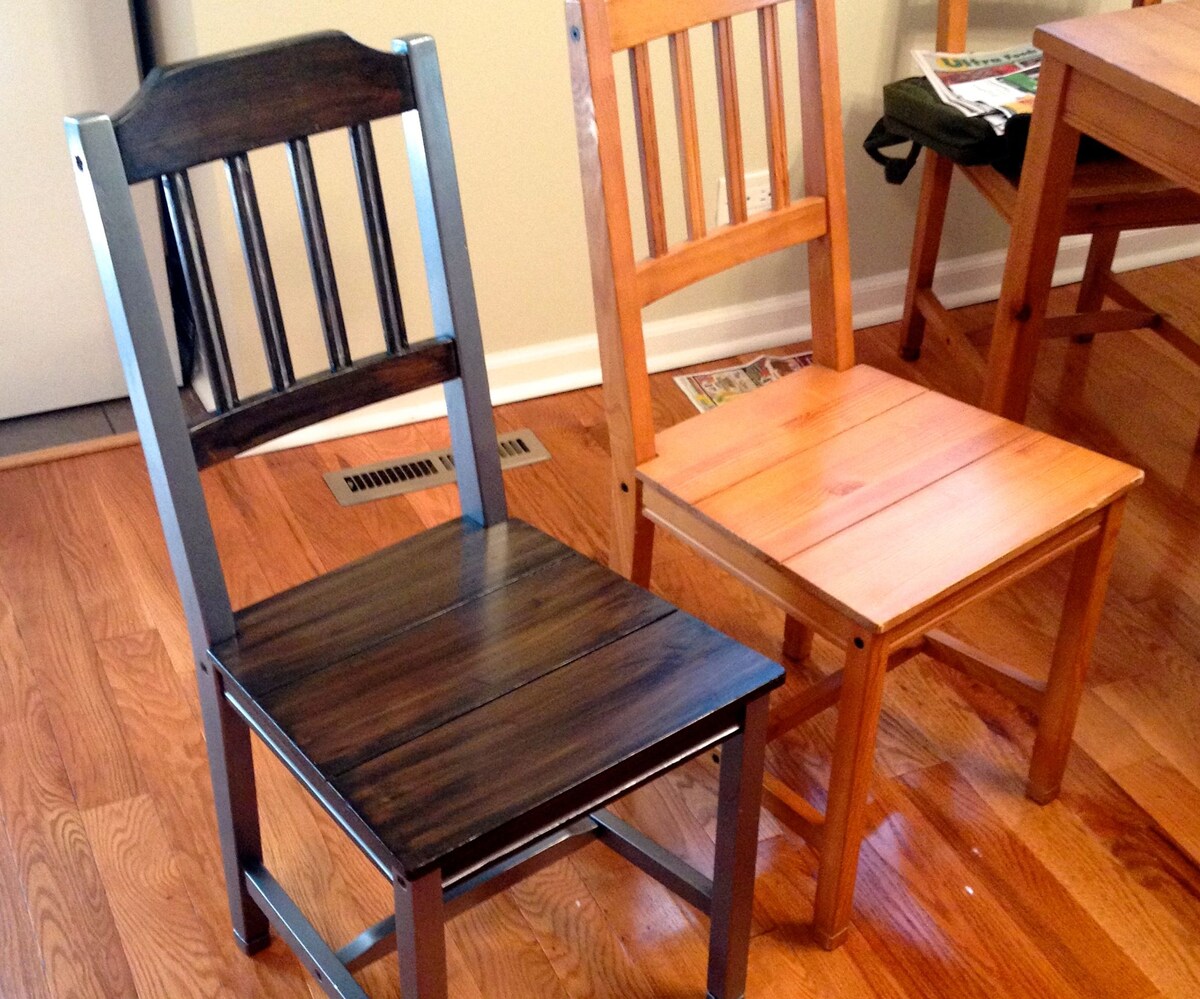
Are your dining chairs looking worn-out and in need of a refresh? Painting your dining chairs is a great way to give them a new lease on life and update the look of your dining area. Whether you want to add a pop of color or a more subtle finish, painting your dining chairs can be a fun and rewarding DIY project.
Not only does painting your dining chairs allow you to customize their appearance to match your personal style, but it can also help protect them from everyday wear and tear. By following the right steps and using the proper materials, you can achieve professional-looking results that will leave your dining chairs looking brand new.
In this article, we will guide you through the process of painting your dining chairs, from the preparation stage to the finishing touches. By the end, you will have all the information you need to transform your worn-out chairs into stunning, stylish pieces that will impress your guests and breathe new life into your space.
Key Takeaways:
- Transform worn-out dining chairs into stunning, personalized pieces by following a step-by-step painting process. Choose the right materials, prep the chairs, apply primer, and add finishing touches for professional-looking results.
- Elevate your dining area with a DIY dining chair makeover. From sanding and priming to choosing the perfect paint and adding protective finishes, create a vibrant and durable look that reflects your personal style.
Read more: How To Mix Dining Chairs
Materials Needed
Before you embark on your dining chair painting project, it’s important to gather all the necessary materials. Here’s a list of what you’ll need:
- Paint – Choose a high-quality paint suitable for the material of your chairs. Acrylic or latex paints are commonly used for wooden chairs, while metal chairs may require special metal paint.
- Primer – A good quality primer is essential to ensure proper paint adhesion and durability.
- Sandpaper – Different grits of sandpaper will be needed for sanding your chairs. Generally, 120-220 grit sandpaper works well for prepping the surface.
- Paintbrushes – Use a quality paintbrush that’s suitable for the type of paint you’re using. A combination of brushes, such as a smaller one for detailed areas and a larger one for broader surfaces, can be helpful.
- Drop Cloth or Plastic Sheet – Protect your work area from paint spills and splatters with a drop cloth or plastic sheet.
- Clean Cloth – Use a clean cloth for wiping away dust and debris during the preparation stage.
- Masking Tape – This will come in handy for masking off any areas you don’t want to paint, such as the chair legs or seat cushion.
- Safety Gear – Wear a mask, safety goggles, and gloves to protect yourself from paint fumes and chemical exposure.
These are the basic materials you’ll need to get started. Depending on the condition of your chairs and your personal preferences, you may also need wood filler, a putty knife, and a sander to repair any damages and smooth the surfaces. Make sure to gather all the necessary materials before you begin to streamline the painting process and avoid any interruptions.
Preparing the Chairs
Before you can start painting your dining chairs, it’s essential to properly prepare them. This step is crucial for achieving a smooth and long-lasting finish. Here’s how to prepare your chairs for painting:
- Remove the seat cushions, if applicable – If your dining chairs have removable seat cushions, take them off to make it easier to paint the chair frame.
- Clean the chairs – Use a damp cloth or sponge to wipe down the chairs, removing any dust, dirt, and grease that may have accumulated over time. This will ensure that the paint adheres properly to the surface.
- Repair any damages – Inspect the chairs for any scratches, dents, or other damages. Use wood filler to fill in any holes or imperfections. Once the wood filler has dried, sand the areas smooth for a seamless finish.
- Protect areas you don’t want to paint – If there are any parts of the chair you want to keep unpainted, such as the legs or seat cushion, use masking tape or painter’s tape to cover those areas. This will create clean, defined lines when you paint.
- Create a well-ventilated workspace – Painting requires proper ventilation. If possible, set up your workspace outdoors or in a well-ventilated area such as a garage. If you’re indoors, open windows and use fans to circulate the air.
- Lay down a drop cloth or plastic sheet – Place a drop cloth or plastic sheet on the ground or your work surface to catch any paint drips or spills. This will protect the area from accidental damage and make clean-up easier.
By thoroughly preparing your chairs, you’ll create a clean and smooth surface for painting, ensuring that the paint adheres properly and the final finish looks professional. Taking the time to properly prepare your chairs will also help to prolong the lifespan of your newly painted dining chairs.
Choosing the Right Paint
Choosing the right paint for your dining chairs is essential to achieve a beautiful and long-lasting finish. Here are a few factors to consider when selecting the paint:
- Type of Paint – The type of paint you choose will depend on the material of your dining chairs. For wooden chairs, acrylic or latex paint is commonly used. These paints offer good adhesion, durability, and easy clean-up. Metal chairs may require special metal paint formulated to adhere to metal surfaces.
- Finish – Consider the desired finish for your dining chairs. Options include matte, satin, semi-gloss, and high-gloss. Matte finishes provide a smooth, non-reflective appearance, while high-gloss finishes offer a shiny, reflective surface. Satin and semi-gloss are popular choices as they provide a balance between matte and glossy finishes.
- Color – The color you choose can dramatically impact the overall look of your dining area. Consider the existing color scheme and style of your space. If you’re looking to make a bold statement, go for vibrant or contrasting colors. For a more subtle and cohesive look, opt for neutral or complementary shades.
- Quality – Investing in high-quality paint is crucial for achieving a durable and professional finish. Look for paints specifically designed for furniture or trim, as they are formulated to withstand wear and tear. Quality paints also tend to have better coverage, requiring fewer coats for a solid finish.
- Environmental Impact – If you’re concerned about the environmental impact of the paint, consider choosing low VOC (volatile organic compounds) or zero VOC paints. These paints have reduced levels of harmful emissions and are more eco-friendly.
Take your time to research and compare different paint options to find the one that best suits your needs and preferences. Consider seeking advice from professionals at your local paint store who can guide you in selecting the right paint for your dining chairs.
Once you’ve chosen the paint, be sure to check the manufacturer’s instructions and follow the recommended application techniques for the best results. This includes proper drying times between coats and any additional steps, such as sanding or priming, that may be required.
Sanding the Chairs
Sanding is an important step in preparing your dining chairs for painting. It helps to smooth the surface, remove any existing finish or imperfections, and create a better bond between the paint and the chair material. Follow these steps to properly sand your chairs:
- Start with the right sandpaper – Choose a medium-grit sandpaper, around 120 to 220, to begin sanding your chairs. This grit will help remove the existing finish without being too coarse.
- Remove the existing finish – Use the sandpaper to gently rub the surface of the chairs, moving in the direction of the wood grain. This will help loosen any varnish, paint, or stain. Be careful not to apply too much pressure, as this could damage the wood.
- Smooth out imperfections – Pay attention to any rough spots, scratches, or dents on the chairs. Use the sandpaper to smooth them out, working in circular motions or back-and-forth motions until the surface feels even.
- Wipe away the dust – Use a clean cloth to wipe away the dust and debris generated from sanding. This will help ensure a clean surface for painting.
- Final sanding – To achieve an even smoother finish, switch to a fine-grit sandpaper, such as 220 or higher. Lightly sand the chairs again, following the direction of the wood grain. This will help to further refine the surface.
- Remove any remaining dust – Use a tack cloth or a slightly damp cloth to carefully remove any remaining dust particles. This step is crucial to ensure that the surface is completely clean before applying primer and paint.
Sanding your chairs not only creates a smooth surface for painting but also helps the paint adhere better and ensures a more professional-looking finish. However, if your chairs have intricate detailing or hard-to-reach areas, you can use a sanding sponge or a small handheld sanding tool to effectively sand those areas.
Remember to wear a mask and safety goggles while sanding to protect yourself from inhaling dust particles. Work in a well-ventilated area and take breaks if needed to avoid strain. Once you’ve completed the sanding process, you’re ready to move on to the next step: applying primer.
When painting dining chairs, make sure to sand the surface first to create a smooth base for the paint. Use a primer to help the paint adhere better and apply thin, even coats for a professional finish.
Read more: How To Measure A Dining Chair
Applying Primer
Before applying paint to your dining chairs, it’s important to apply a coat of primer. Primer acts as a base layer that helps the paint adhere better, provides a smooth surface for painting, and enhances the durability of the finish. Follow these steps to apply primer to your chairs:
- Choose the right primer – Select a primer that is suitable for the type of paint you’ll be using and the material of your chairs. If you’re painting wooden chairs, use a primer designed for wood surfaces. For metal chairs, opt for a primer formulated for metal.
- Prepare the primer – Stir the primer thoroughly to ensure an even consistency. If needed, follow the manufacturer’s instructions for any additional preparation steps.
- Apply the primer – Use a paintbrush or a foam roller to apply an even coat of primer to the surface of the chairs. Start with the backside of the chair and work your way around, ensuring full coverage. Be mindful of any intricate details, ensuring that the primer adequately covers those areas as well.
- Allow the primer to dry – Check the drying time mentioned on the primer can or follow the manufacturer’s instructions. It’s crucial to let the primer fully dry before proceeding to the next step. This may take a few hours, so be patient and avoid rushing the process.
- Inspect for any imperfections – Once the primer has dried, inspect the chairs for any areas that may require additional sanding or touch-up. Sand away any rough spots or drips, and make sure the surface is smooth and ready for painting.
- Remove any remaining dust – Use a tack cloth or a clean, slightly damp cloth to wipe away any dust or debris generated from sanding. This will ensure a clean surface for the paint application.
Applying primer is a crucial step in achieving a professional and long-lasting finish. It provides a solid foundation for the paint and helps the color adhere evenly and smoothly to the chairs. The primer also helps to prevent any bleeding or discoloration from the previous finish or wood grain, ensuring a clean and vibrant paint job.
Once the primer is applied and properly dried, you’re ready to move on to the exciting part: painting your dining chairs.
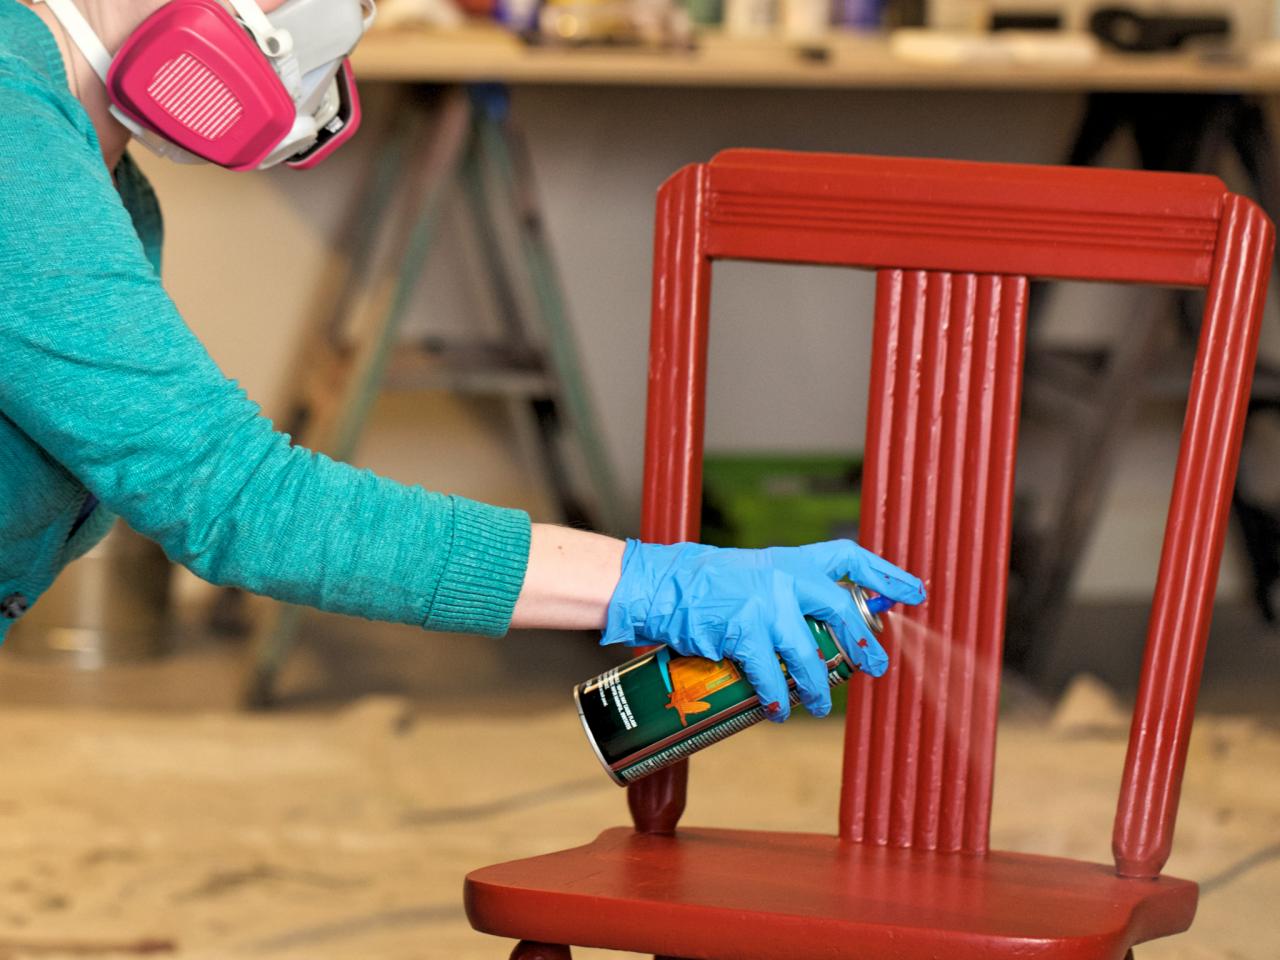
Painting the Chairs
Now that you’ve prepped your dining chairs by sanding and applying primer, it’s time to start painting! Follow these steps to ensure a smooth and beautiful paint finish:
- Choose your paint color – Select the paint color that suits your style and complements your dining area. Ensure the paint is of high quality and designed for the specific material of your chairs.
- Stir the paint – Before starting, stir the paint thoroughly to achieve a consistent color and to mix any settling pigments.
- Start with the undersides and hidden areas – Begin by painting the undersides of the chairs and any areas that won’t be immediately visible. This allows you to get comfortable with the painting process and helps prevent smudges or drips on the more prominent areas.
- Apply the paint in thin, even coats – Use a paintbrush or foam roller to apply the paint in thin layers. Start at the top of each chair and work your way down, applying smooth and even strokes. Ensure that the paint covers the surface thoroughly while avoiding drips or clumps.
- Paint in the direction of the wood grain – If you’re painting wooden chairs, follow the direction of the wood grain as you apply the paint. This helps to achieve a more natural and seamless finish.
- Allow the paint to dry – Follow the manufacturer’s instructions for drying time between coats. It’s essential to let each coat of paint dry fully before applying another layer. This may take a few hours, depending on the paint and environmental conditions.
- Sand between coats (optional) – For an extra smooth finish, you can lightly sand the chairs between coats using a fine-grit sandpaper. This helps to remove any imperfections or roughness and creates a better surface for the next coat.
Repeat the process of applying thin, even coats of paint and allowing them to dry until you achieve the desired color and coverage. Take your time to ensure an even application and address any areas that may need touch-up or additional coats. Remember to be patient and let each coat dry completely before proceeding.
When painting, pay attention to any decorative elements, details, or crevices in the chairs. Take care to coat these areas properly to ensure an even and professional finish.
Once you’re satisfied with the paint coverage, you’re ready for the next step: applying a second coat of paint to achieve a solid and vibrant finish.
Applying a Second Coat
After allowing the first coat of paint on your dining chairs to dry completely, it’s time to apply a second coat. Applying multiple thin coats of paint ensures better coverage, a more vibrant color, and a professional finish. Follow these steps to apply the second coat:
- Inspect the first coat – Before applying the second coat, inspect the chairs for any areas that may require touch-up or additional paint coverage. Lightly sand any rough spots or imperfections if needed, and wipe away any dust with a clean cloth.
- Stir the paint – Just like with the first coat, thoroughly stir the paint to achieve an even consistency and mix any settling pigments.
- Apply the second coat – Use the same technique as when applying the first coat, using a paintbrush or foam roller for an even application. Apply smooth, thin coats of paint, covering the surface evenly and avoiding drips or clumps.
- Pay attention to details – Ensure that you cover all areas of the chairs, including any nooks, crannies, or decorative elements. Take your time to achieve a consistent and thorough application.
- Allow the paint to dry – Follow the manufacturer’s instructions for drying time between coats. It’s crucial to let each coat dry fully before proceeding to ensure proper curing and a durable finish.
- Assess the coverage – Once the second coat has dried, assess the coverage and color saturation. If you’re satisfied with the result, proceed to the next step. If additional coats are needed to achieve the desired look and finish, repeat the process of applying thin, even coats and allowing them to dry.
Applying a second coat of paint ensures full coverage, a more vibrant color, and a professional-looking finish on your dining chairs. The second coat helps to perfect any imperfections from the first coat and provides additional durability and longevity to the painted surface.
Remember, patience is key when applying multiple coats of paint. Allow each coat to dry thoroughly before assessing the coverage and deciding whether additional coats are needed. Take your time to achieve the desired look, and don’t rush the process.
Once you’re satisfied with the overall appearance and coverage of your chairs, you’re ready for the final step: adding the finishing touches.
Finishing Touches
After applying the final coat of paint to your dining chairs, it’s time to add the finishing touches that will elevate their appearance and ensure a polished end result. Here are a few steps to consider:
- Inspect the chairs – Take a close look at your painted chairs to ensure you’re happy with the coverage and color. If there are any areas that need touch-up or additional paint, carefully apply the necessary touch-ups to achieve a uniform finish.
- Remove masking tape – If you used masking tape or painter’s tape to protect certain areas from paint, gently remove it while being mindful not to damage the newly painted surface. This will reveal crisp and clean lines.
- Allow the paint to fully cure – While the paint may be dry to the touch, it’s important to allow it to fully cure before using or placing anything on the chairs. Follow the manufacturer’s instructions for curing time, as it can vary depending on the type of paint used.
- Reattach seat cushions – If you had removed the seat cushions before painting, now is the time to reattach them. Ensure that they are clean and dry before placing them back onto the chairs.
- Consider protective finish – Depending on the type of paint you used and your desired level of protection, you may want to consider adding a clear protective finish. This can help seal and safeguard the painted surface, preventing scratches and extending the lifespan of your newly painted chairs. Follow the instructions on the protective finish product for the best application method.
- Clean up your workspace – Once you have completed the painting process, remember to clean up your workspace. Dispose of any used materials properly and wipe down any surfaces that may have been affected by paint splatters or drips.
With the finishing touches complete, you can now step back and admire your beautifully painted dining chairs. They will not only look fresh and vibrant but will also complement your dining area, adding a touch of style and personality to the space.
Remember to follow proper care and maintenance techniques for your painted chairs to keep them looking their best. Avoid using abrasive cleaners or harsh chemicals that may damage the painted surface. Instead, clean them with a soft cloth and mild soap and water as needed.
By taking the time to add these finishing touches and properly care for your painted chairs, you’ll ensure their longevity and enjoy their refreshed look for years to come.
Read more: How To Assemble Dining Chairs
Conclusion
Painting your dining chairs is a rewarding DIY project that can completely transform the look and feel of your dining area. By following the step-by-step process outlined in this article, you can achieve professional-looking results that will make your chairs look brand new and add a personal touch to your space.
Remember to gather all the necessary materials, including paint, primer, sandpaper, and brushes, before starting the project. Properly prepare the chairs by cleaning, repairing any damages, and protecting areas you don’t want to paint.
Choosing the right paint is crucial to achieve the desired look. Consider factors such as type of paint, finish, color, quality, and environmental impact. Apply the paint in thin, even coats, allowing each coat to dry fully before applying the next.
Don’t forget the importance of sanding and applying primer to create a smooth and long-lasting finish. Inspect your chairs between coats for any imperfections and make touch-ups if necessary.
Once the final coat is applied, it’s time for the finishing touches. Remove masking tape, allow the paint to fully cure, reattach seat cushions, consider a protective finish, and clean up your workspace.
With your newly painted dining chairs, you’ll have a refreshed and personalized space where you can enjoy meals and create memories with family and friends. Take care of your painted chairs by following proper maintenance techniques to ensure their longevity.
So, unleash your creativity, pick up your paintbrush, and give your dining chairs a stunning makeover. Enjoy the process and the satisfaction of transforming your space with a little bit of paint and a lot of love.
Frequently Asked Questions about How To Paint Dining Chairs?
Was this page helpful?
At Storables.com, we guarantee accurate and reliable information. Our content, validated by Expert Board Contributors, is crafted following stringent Editorial Policies. We're committed to providing you with well-researched, expert-backed insights for all your informational needs.


0 thoughts on “How To Paint Dining Chairs?”