Home>Furniture & Design>Kitchen Furniture>How To Make Dining Chairs
Kitchen Furniture
How To Make Dining Chairs
Modified: February 17, 2024
Discover how to make dining chairs for your kitchen furniture and design. Learn the best techniques and tips for creating stylish and functional seating.
(Many of the links in this article redirect to a specific reviewed product. Your purchase of these products through affiliate links helps to generate commission for Storables.com, at no extra cost. Learn more)
Introduction
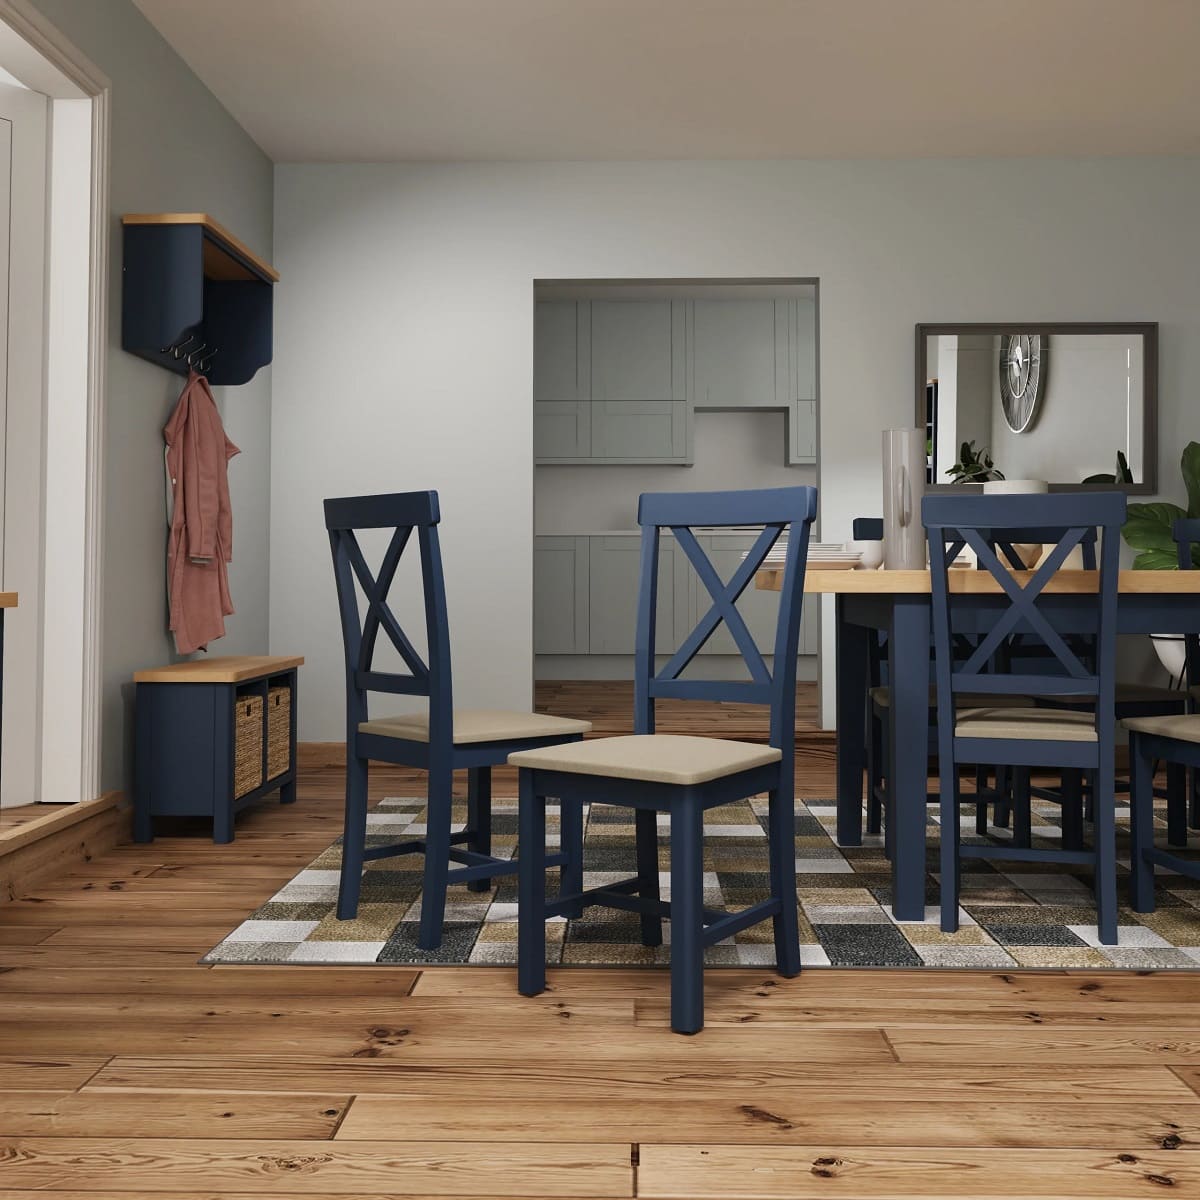
So, you've decided to take on a new DIY project and make your own dining chairs. Congratulations! Not only will this endeavor add a personal touch to your home, but it will also provide a sense of accomplishment once you see the finished product around your dining table. Crafting your own dining chairs allows you to customize them to perfectly fit your space and style, and it can be a fun and rewarding experience.
Whether you're an experienced woodworker or a novice looking to expand your skills, making dining chairs can be a fulfilling venture. In this comprehensive guide, we will walk you through the step-by-step process of creating your own dining chairs from scratch. From selecting the right materials to adding the finishing touches, we've got you covered.
Before diving into the project, it's essential to gather all the necessary materials and tools. Once you have everything you need, we can move on to the exciting process of crafting your very own set of dining chairs. Let's get started!
Key Takeaways:
- Crafting your own dining chairs allows for personalization, creativity, and a sense of accomplishment, adding a unique touch to your home while honing your woodworking skills.
- By meticulously following the step-by-step guide, you can create sturdy, functional, and visually appealing dining chairs that reflect your unique style and preferences.
Read more: How To Make Dining Chair Cushions
Materials and Tools Needed
Before embarking on this DIY journey, it’s crucial to ensure that you have all the essential materials and tools at your disposal. Here’s a comprehensive list of what you’ll need:
Materials:
- Quality hardwood for the frame and seat
- Wood glue
- Screws
- Wood stain or paint
- Upholstery fabric (if desired)
- Foam padding (if using upholstery)
- Clear polyurethane or furniture wax for finishing
Tools:
- Measuring tape
- Saw (circular saw or miter saw)
- Drill with drill bits
- Screwdriver
- Sandpaper or sander
- Clamps
- Staple gun (if using upholstery)
- Paintbrushes or foam brushes
- Protective gear (safety glasses, dust mask, gloves)
Once you’ve gathered these materials and tools, you’re ready to move on to the exciting process of creating your own dining chairs. With everything in place, you’ll be well-equipped to bring your vision to life and craft stunning chairs that will elevate your dining space.
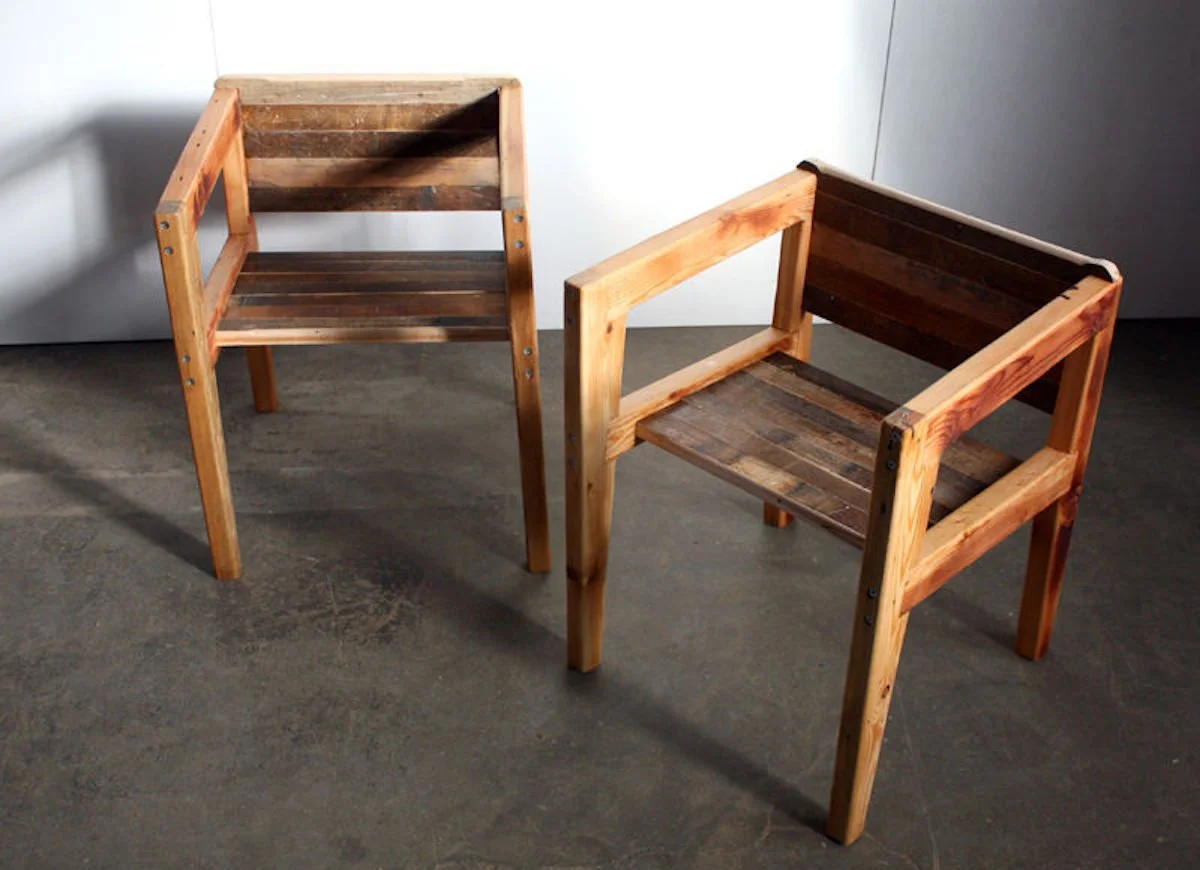
Step 1: Cutting the Wood
The first step in creating your own dining chairs is to cut the wood to the appropriate dimensions. This is a crucial stage that sets the foundation for the entire project. Here’s a detailed breakdown of the cutting process:
1. Measure and Mark: Begin by measuring and marking the hardwood according to the chair design and dimensions you’ve chosen. Use a measuring tape and a pencil to ensure accuracy. It’s essential to double-check your measurements before making any cuts to avoid errors.
2. Cutting the Frame: Use a saw, such as a circular saw or miter saw, to carefully cut the wood for the chair frame. Pay close attention to the angles and lengths specified in your design. Precision is key to achieving a professional and polished result.
3. Cutting the Seat: Similarly, cut the wood for the seat of the chair, ensuring that it aligns perfectly with the frame. If you plan to upholster the seats, consider adding extra padding to enhance comfort. Take your time to guarantee that all seat pieces are uniform in size and shape.
4. Sanding: Once the wood is cut, use sandpaper or a sander to smooth any rough edges and surfaces. This step is essential for creating a seamless and splinter-free finish. Pay attention to detail, as a well-sanded surface will contribute to the overall comfort and aesthetics of the chairs.
By meticulously cutting the wood to the required specifications, you’re laying the groundwork for sturdy and visually appealing dining chairs. With precision and attention to detail, you’re well on your way to bringing your vision to life.
Read more: How To Make A Dining Room Chair
Step 2: Assembling the Frame
With the wood cut to the desired dimensions, the next step is to assemble the frame of the dining chairs. This stage is where the individual components start to come together, forming the structure of the chairs. Here’s a detailed guide to the assembly process:
1. Arranging the Pieces: Lay out the cut pieces of the frame, ensuring that they are organized according to the chair design. Take note of the front, back, and side pieces, as well as any additional supports or decorative elements. This visual arrangement will help you visualize the final product and ensure that the assembly proceeds smoothly.
2. Applying Wood Glue: Using wood glue, carefully apply a generous amount to the joints where the pieces will connect. Wood glue creates a strong and durable bond, essential for the structural integrity of the chairs. Ensure that the glue is evenly distributed to maximize adhesion.
3. Securing with Screws: Once the wood glue is applied, use screws to secure the joints and reinforce the frame. Predrill guide holes to prevent the wood from splitting, and then drive the screws into place. This combination of wood glue and screws creates a robust and long-lasting bond, ensuring that the frame is sturdy and stable.
4. Clamping for Stability: Utilize clamps to hold the pieces together firmly while the wood glue dries. This step is crucial for maintaining alignment and preventing any shifting or misalignment during the assembly process. Allow sufficient time for the wood glue to cure and the frame to set securely.
By meticulously assembling the frame, you’re one step closer to bringing your custom dining chairs to life. The careful application of wood glue, strategic placement of screws, and use of clamps will result in a strong and reliable frame that forms the backbone of the chairs’ structure.
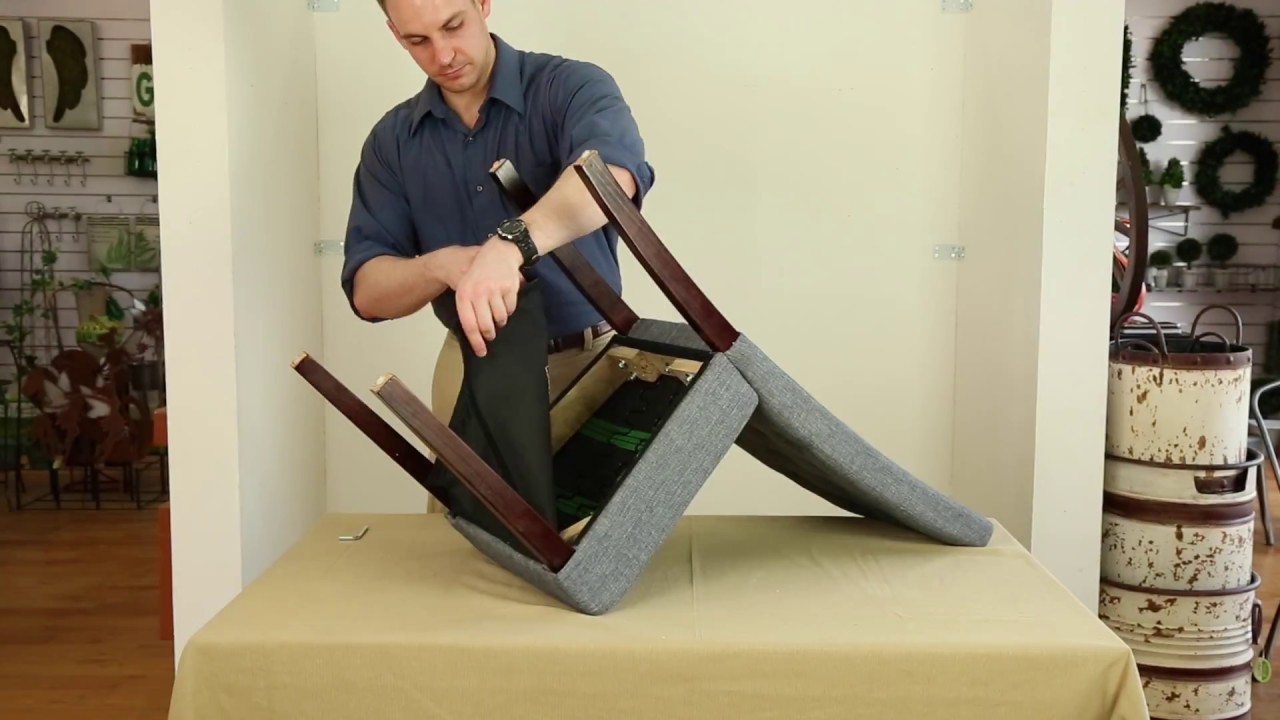
Step 3: Attaching the Seat
As the frame of your dining chairs takes shape, the next critical step is attaching the seats. This stage not only adds functionality to the chairs but also contributes to their overall comfort and visual appeal. Here’s a comprehensive guide to successfully attaching the seats to the assembled frames:
1. Positioning the Seats: Place the cut wooden seats onto the assembled frames, ensuring that they align perfectly with the dimensions and design of the chairs. Take the time to adjust the positioning to achieve a uniform and balanced appearance.
2. Securing the Seats: Use screws to secure the seats to the frame, driving them through the underside of the seat into the frame. Ensure that the screws are placed strategically to provide robust support and prevent any wobbling or instability. This step is crucial for creating chairs that are both functional and durable.
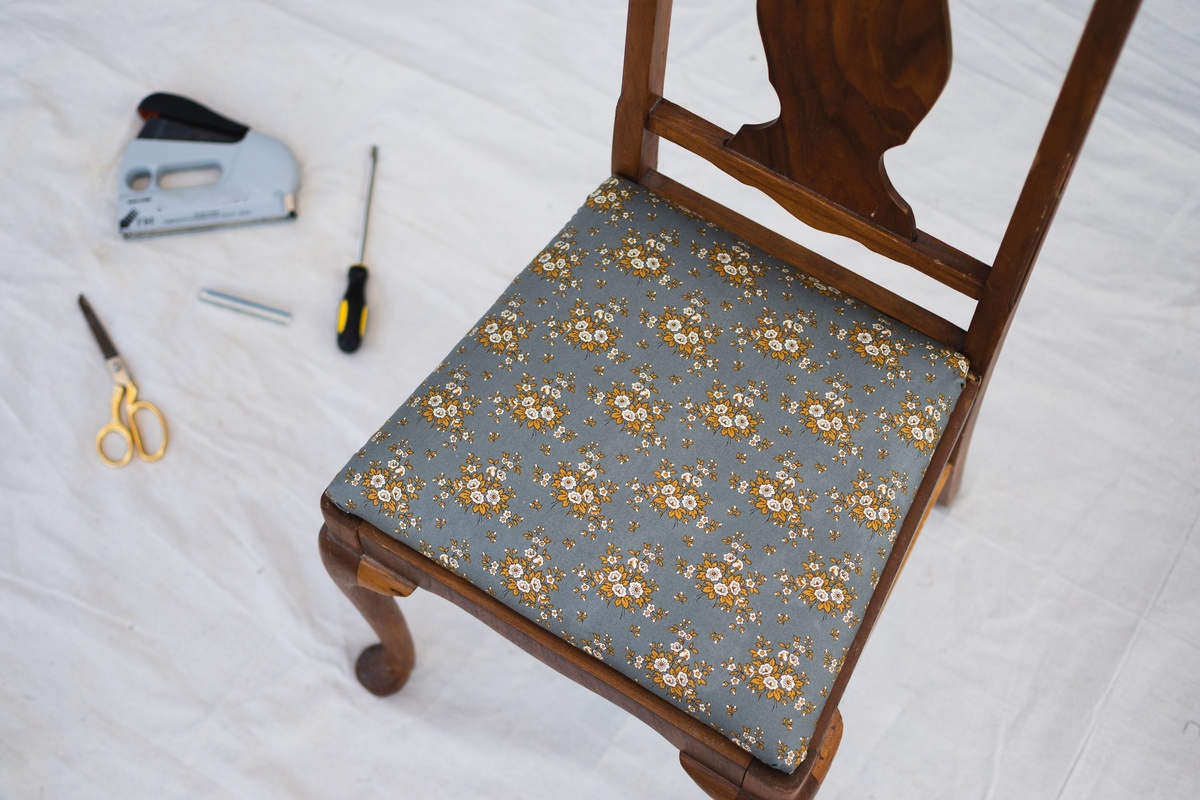
3. Adding Upholstery (Optional): If you’ve chosen to upholster the seats, this is the stage to do so. Cut the upholstery fabric and foam padding to fit the seats, ensuring a snug and professional finish. Secure the upholstery using a staple gun, ensuring that the fabric is taut and free of wrinkles. Upholstery not only adds comfort but also allows for creative expression through fabric choices and patterns.
4. Applying Finish: Once the seats are securely attached, consider applying a clear polyurethane or furniture wax to protect the wood and enhance its natural beauty. This finishing touch adds a layer of protection and elevates the aesthetic appeal of the chairs, creating a polished and professional appearance.
By carefully attaching the seats to the frames and, if desired, adding upholstery and a protective finish, you’re bringing your custom dining chairs one step closer to completion. This stage not only enhances the functionality of the chairs but also allows for personalization and customization to suit your unique style and preferences.
When making dining chairs, ensure the seat height is 18 inches, the seat depth is 16-18 inches, and the backrest is at a comfortable angle for sitting. Use sturdy materials like hardwood and secure all joints with glue and screws for durability.
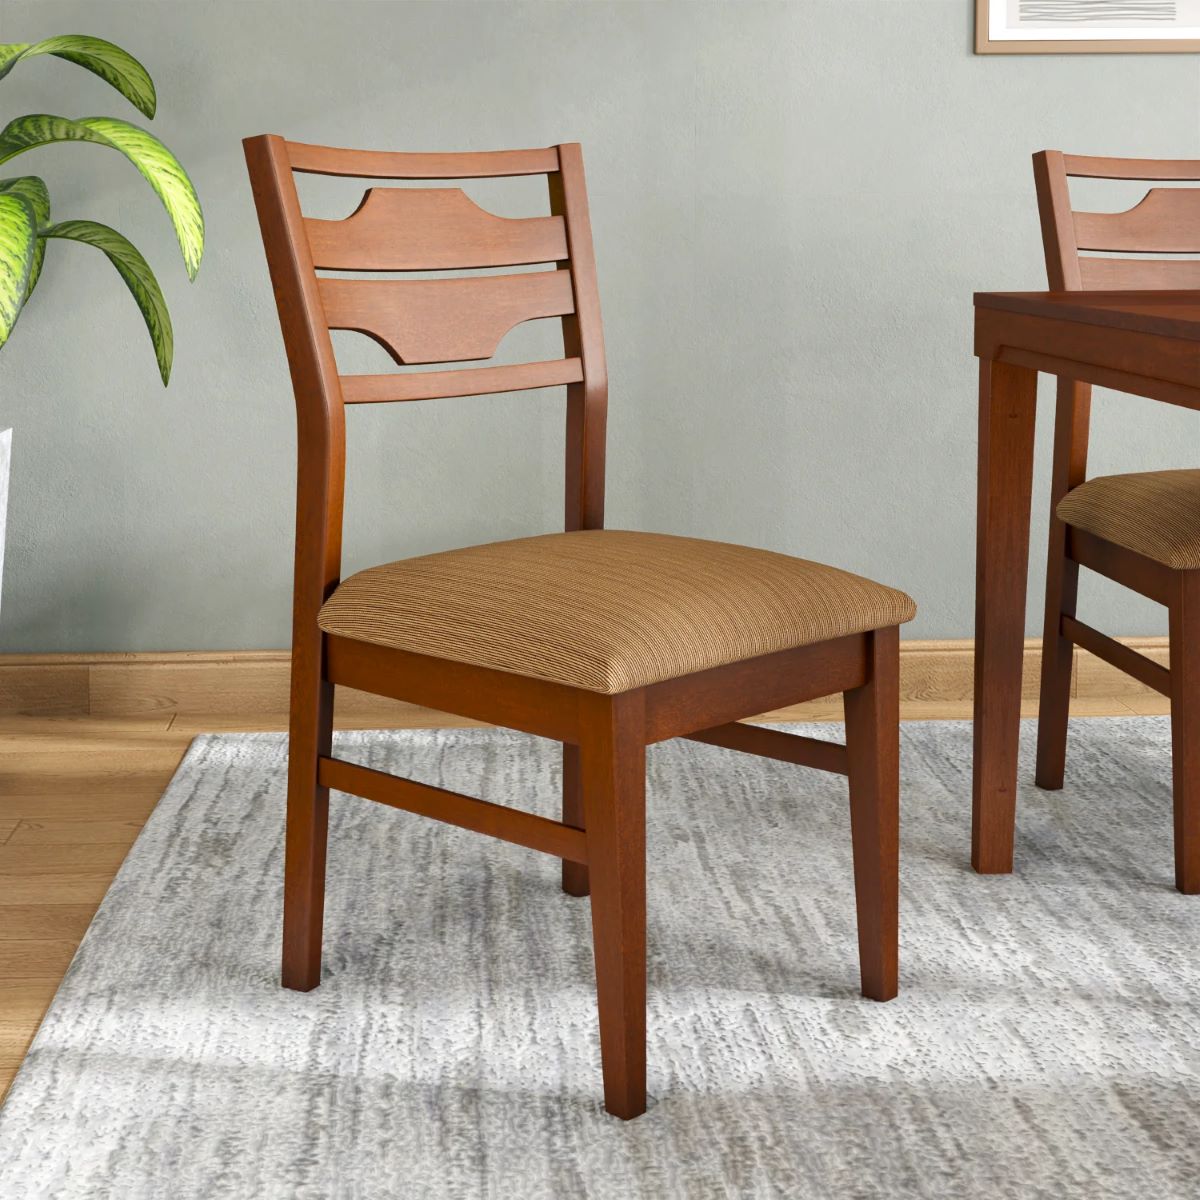
Step 4: Finishing Touches
As you near the completion of your DIY dining chair project, it’s time to add the finishing touches that will elevate the chairs and give them a professional and polished appearance. These final steps are essential for ensuring that your custom dining chairs are not only functional but also visually appealing. Here’s a comprehensive guide to adding the finishing touches:
1. Sanding and Smoothing: Take the time to sand any rough edges or surfaces, ensuring that the chairs are smooth to the touch. This step contributes to the overall comfort of the chairs and enhances their tactile appeal. Pay attention to detail, as a well-sanded finish adds a level of refinement to the chairs.
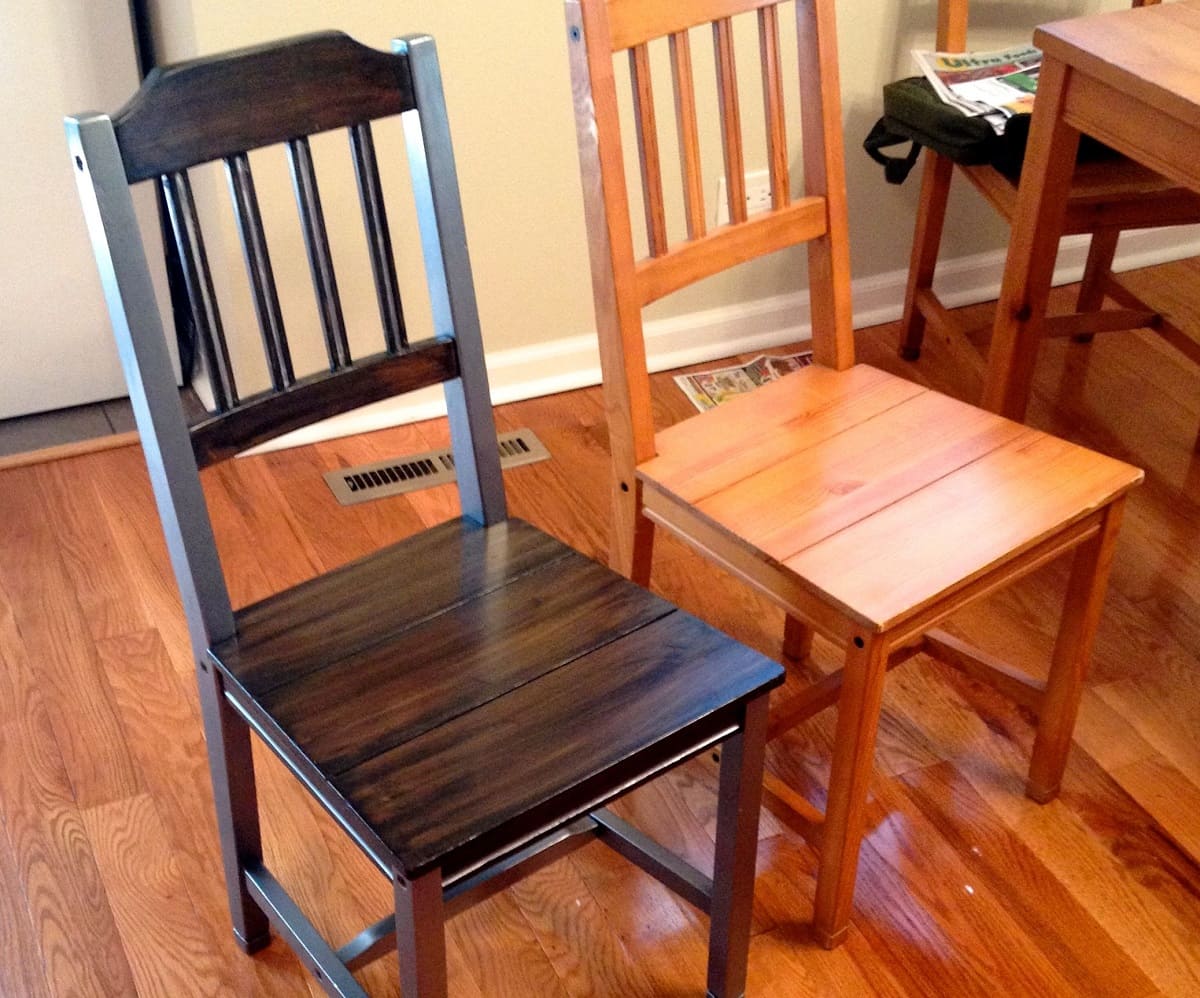
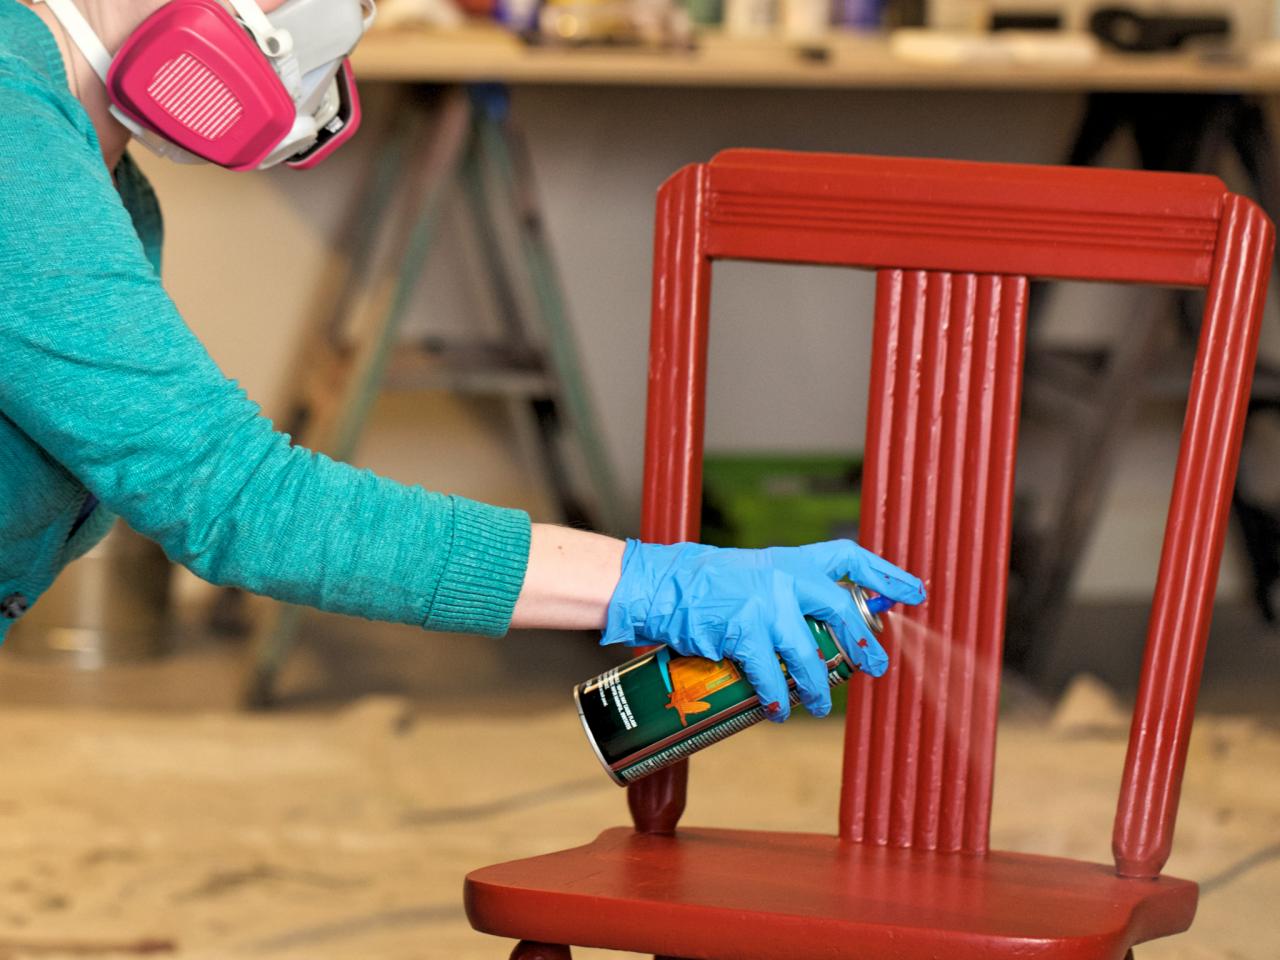
2. Applying Stain or Paint: Consider applying a wood stain or paint to the chairs, enhancing their aesthetic appeal and complementing your existing décor. Choose a finish that aligns with your personal style and the overall design of your dining space. Whether you opt for a rich wood stain or a vibrant paint color, this step allows for creative expression and customization.
3. Applying a Protective Finish: Once the stain or paint has dried, consider applying a clear polyurethane or furniture wax to protect the chairs and seal in the finish. This protective layer adds durability and longevity to the chairs, safeguarding them from everyday wear and tear while enhancing their luster.
4. Adding Decorative Elements (Optional): If desired, consider adding decorative elements such as carvings, inlays, or embellishments to further personalize the chairs. These details can infuse your custom dining chairs with character and charm, making them stand out as unique pieces in your home.
5. Quality Check: Before considering the chairs complete, perform a thorough quality check. Ensure that all components are securely fastened, the finish is uniform, and the chairs are stable and level. This step is crucial for guaranteeing that your custom dining chairs meet the highest standards of craftsmanship.
By meticulously attending to the finishing touches, you’re bringing your custom dining chairs to their full potential. These final steps not only enhance the visual appeal of the chairs but also contribute to their durability and overall quality, ensuring that they will be cherished additions to your dining space for years to come.
Conclusion
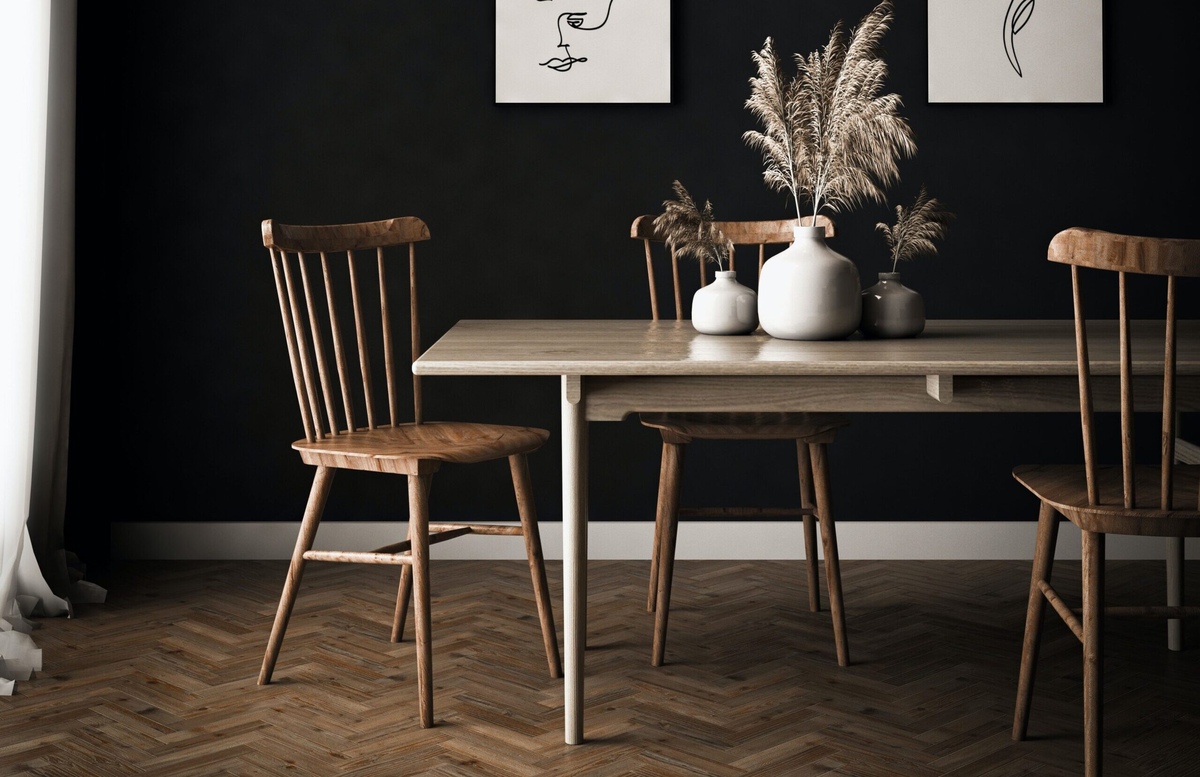
Congratulations on successfully completing the process of making your own dining chairs! This DIY endeavor has allowed you to exercise your creativity, woodworking skills, and attention to detail, resulting in a set of custom chairs that perfectly complement your dining space. As you admire your handcrafted chairs around the table, you can take pride in the fact that you’ve added a personal touch to your home while honing your craftsmanship.
By following the step-by-step guide outlined in this comprehensive tutorial, you’ve navigated through the process of selecting materials, cutting wood, assembling frames, attaching seats, and adding the finishing touches. Each stage of the journey has contributed to the creation of sturdy, functional, and visually appealing dining chairs that reflect your unique style and preferences.
More than just pieces of furniture, these custom dining chairs embody the dedication and effort you’ve invested in this project. They serve as a testament to your ability to bring a vision to life through practical skills and hands-on craftsmanship. Whether you’ve opted for a classic design or added personalized touches, these chairs are a reflection of your creativity and resourcefulness.
As you enjoy the comfort and beauty of your handcrafted chairs during meals and gatherings, remember the satisfaction of having brought them to fruition. Your DIY journey has not only resulted in stunning dining chairs but has also enriched your home with a sense of individuality and artistry.
With your newfound knowledge and experience in creating custom furniture, you may find yourself inspired to take on more DIY projects in the future, further enhancing your living space with personalized and handcrafted pieces. Embrace the sense of fulfillment that comes with creating something with your own hands and revel in the admiration and appreciation your custom dining chairs will undoubtedly receive from family and friends.
As you continue to explore the world of woodworking and design, may your home be filled with the warmth and charm of handcrafted treasures that tell a story of creativity, passion, and ingenuity.
Frequently Asked Questions about How To Make Dining Chairs
Was this page helpful?
At Storables.com, we guarantee accurate and reliable information. Our content, validated by Expert Board Contributors, is crafted following stringent Editorial Policies. We're committed to providing you with well-researched, expert-backed insights for all your informational needs.
0 thoughts on “How To Make Dining Chairs”