Tableware
How To Assemble Dining Chairs
Modified: December 7, 2023
Learn how to assemble dining chairs and create a stylish tableware setup with our easy-to-follow step-by-step guide. Enhance your dining experience today!
(Many of the links in this article redirect to a specific reviewed product. Your purchase of these products through affiliate links helps to generate commission for Storables.com, at no extra cost. Learn more)
Introduction
Assembling dining chairs may seem like a daunting task, but with the right tools and a step-by-step approach, it can be a rewarding and satisfying experience. Whether you’ve just purchased new dining chairs or need to reassemble old ones, this guide will provide you with all the information you need to successfully assemble your dining chairs and have them ready for use in no time.
When it comes to assembling dining chairs, it’s important to have a clear understanding of the process involved. This includes gathering the necessary tools and materials, preparing the workspace, identifying the chair parts, and following the proper steps for assembly. By following this guide and taking the time to assemble your dining chairs correctly, you’ll not only ensure their stability and durability but also create a comfortable and inviting seating arrangement for your dining area.
Key Takeaways:
- Assembling dining chairs is a rewarding DIY experience that requires the right tools, patience, and attention to detail. Properly attaching chair parts and ensuring stability creates a cozy and inviting dining space for cherished memories.
- Following a systematic approach, maintaining consistency, and taking time to clean and arrange the chairs ensures a seamless assembly process and a functional, aesthetically pleasing seating arrangement. Regular maintenance prolongs the lifespan of the chairs for years of enjoyment.
Read more: How To Assemble An Office Chair
Step 1: Gather the necessary tools and materials
Before you begin the assembly process, it’s essential to gather all the necessary tools and materials. This will ensure that you have everything you need within arm’s reach, making the assembly process smoother and more efficient. Here’s a list of the common tools and materials you may need:
- Allen wrench or screwdriver: Depending on the type of screws used in your dining chairs, you’ll need either an Allen wrench or a screwdriver to tighten them.
- Chair parts: Make sure you have all the chair parts, including legs, seat, backrest, screws, and any additional hardware that may be provided with the chair.
- Rubber mallet or hammer: A rubber mallet or hammer will come in handy for securely attaching the chair legs and ensuring a tight fit.
- Work gloves: Work gloves will provide protection for your hands and prevent any potential injuries during the assembly process.
- Assembly instructions: Most dining chairs come with assembly instructions. Make sure you have them on hand and refer to them throughout the assembly process.
- Clean cloth: Keep a clean cloth nearby to wipe away any dust or debris as you assemble the chairs.
By having all these tools and materials ready, you’ll be well-prepared to assemble your dining chairs with ease. Double-check the instruction manual to ensure you have all the necessary components and gather any additional tools that may be specific to your chair model. Once you have everything ready, you can move on to the next step of preparing your workspace.
Step 2: Prepare the workspace
Preparing your workspace before assembling the dining chairs is crucial to ensure a smooth and efficient process. Here are some important steps to follow in order to create an ideal workspace:
- Clean the area: Start by cleaning the area where you plan to assemble the chairs. Remove any unnecessary items or clutter that may hinder your movement or workspace. Keeping the area clean will minimize the chances of losing small parts or tools during the assembly process.
- Find a stable surface: Look for a sturdy and level surface to assemble the chairs. This could be a large table, workbench, or even the floor. Ensure that the surface is clear of any objects that could damage the chair or cause accidents.
- Arrange the parts: Lay out all the chair parts in an organized manner, preferably in the order of assembly. This will help you visualize the process and ensure that no parts are missing before you begin.
- Keep the tools nearby: Place the necessary tools and materials within easy reach. This will save you time and effort by avoiding the need to search for tools or interrupt the assembly process to retrieve them.
- Provide ample lighting: Make sure the workspace is well-lit, either by using natural light or by adding additional lighting. Adequate lighting will help you see the small details and ensure that you assemble the chairs correctly.
- Protect the floor: If you’re assembling the chairs on a hard surface, such as hardwood or tile, consider placing a protective covering, such as a blanket or yoga mat, to prevent any scratches or damage to the floor surface.
Taking the time to prepare your workspace will save you frustration and ensure a more efficient assembly process. By having a clean and organized area, you’ll be able to focus on the task at hand without any unnecessary distractions or delays. Once you’ve set up the workspace, you’re ready to move on to the next step of identifying the chair parts.
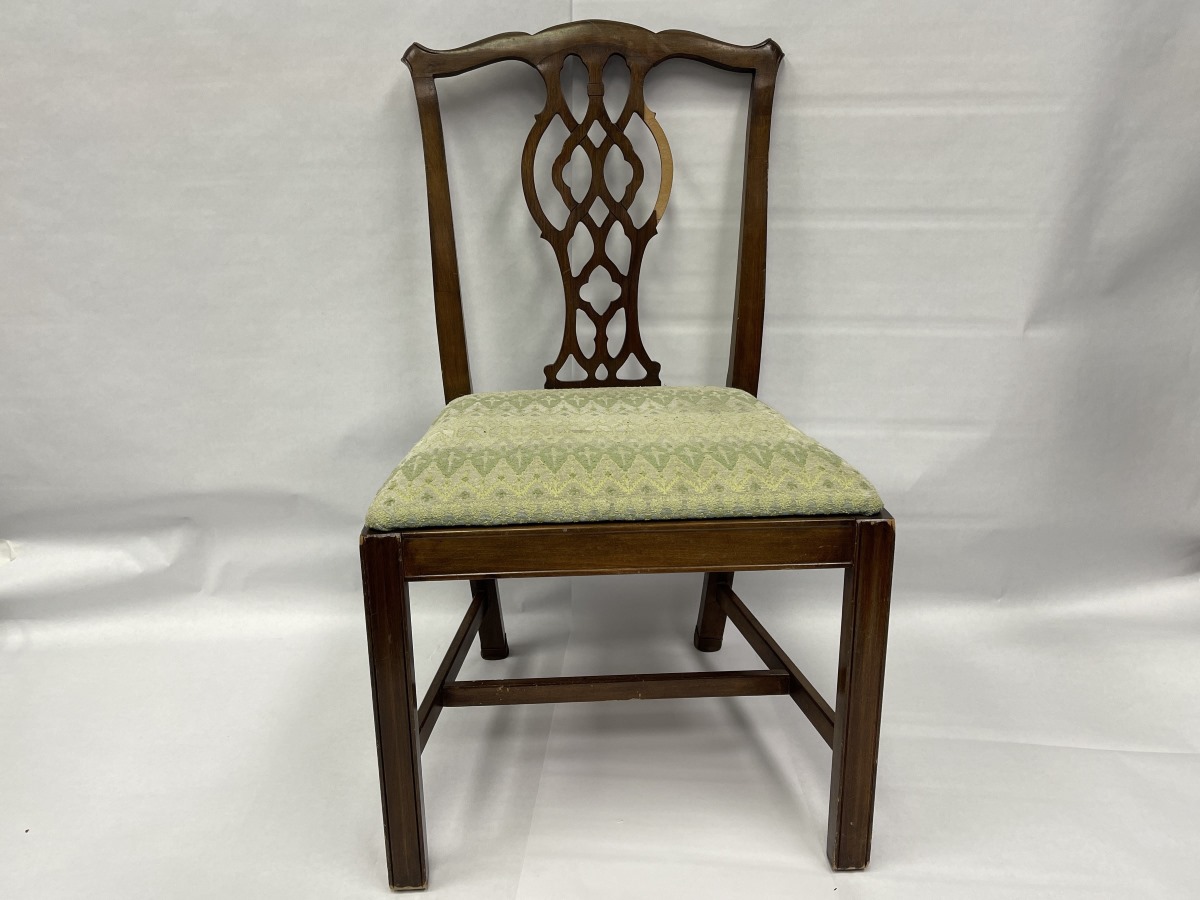
Step 3: Identify the chair parts
Before you start assembling the dining chairs, it’s important to identify and familiarize yourself with all the different chair parts. Understanding the purpose and placement of each part will greatly facilitate the assembly process. Here are the common chair parts you may come across:
- Legs: The chair legs provide support and stability. They are usually four in number and come in different shapes and sizes depending on the design of the chair.
- Seat: The seat is the part where you sit. It can be made of various materials like wood, plastic, or upholstered fabric.
- Backrest: The backrest is the vertical part at the back of the chair, providing support and comfort for your back.
- Screws and bolts: These are the fasteners that hold the chair parts together. They come in different sizes and types depending on the chair’s construction.
- Brackets or connectors: Some chairs may have brackets or connectors that join the seat to the legs or the backrest to the seat for added stability.
- Additional hardware: Depending on the chair design, there may be additional hardware such as washers, nuts, or caps that are used to secure the parts together.
It’s a good practice to refer to the assembly instructions or diagrams provided with your dining chairs to get a clear understanding of how the parts fit together. Make sure to inspect each part for any defects or damages before proceeding with the assembly. If you notice any issues, contact the manufacturer for assistance or replacement parts.
By identifying and familiarizing yourself with the chair parts, you’ll have a better idea of how they fit together and ensure a smoother and more accurate assembly process. Once you’re confident about the different chair parts, you can move on to the next step of attaching the chair legs.
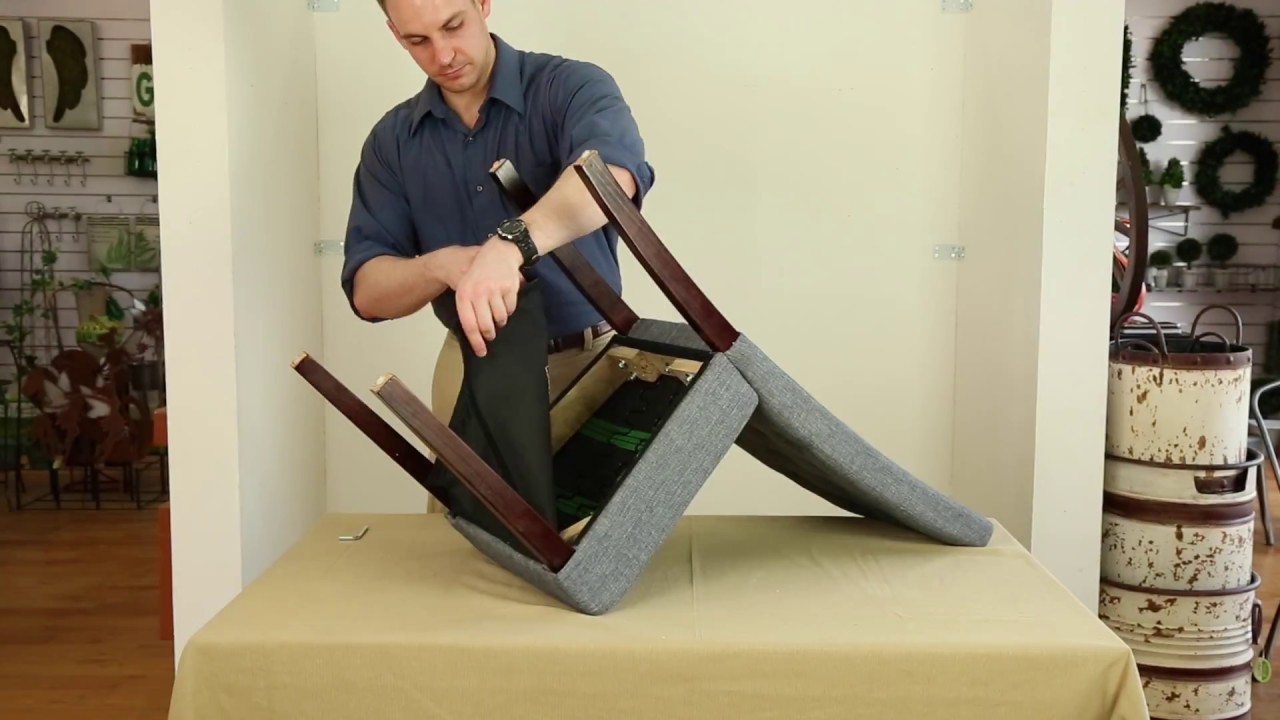
Step 4: Attach the chair legs
Attaching the chair legs is an important step in the assembly process, as it provides the foundational support for the dining chairs. Follow these steps to securely attach the legs to the chair:
- Position the chair: Start by positioning the chair upside down or on its side on a stable surface. This will give you easy access to the bottom of the seat where the legs will be attached.
- Align the legs: Take one leg at a time and align it with the pre-drilled holes on the bottom of the chair seat. Make sure the leg is positioned correctly according to the chair’s design and style.
- Insert screws: Insert the screws provided through the holes in the chair seat and into the corresponding holes in the chair legs. Use an Allen wrench or screwdriver to tighten the screws, ensuring a secure fit. Repeat this step for all the chair legs.
- Tighten evenly: As you tighten the screws, ensure that you do so evenly and gradually, applying equal pressure to each screw. This will help prevent any wobbling or instability in the chair once fully assembled.
- Check for stability: Once all the chair legs are attached, carefully turn the chair upright and test its stability. Gently rock the chair back and forth to check for any wobbling or loose connections. If you do notice any instability, double-check the screws for tightness and adjust as needed.
- Repeat for each chair: If you’re assembling multiple dining chairs, repeat the above steps for each chair, ensuring that all the legs are securely attached and the chairs are stable.
Attaching the chair legs correctly is crucial for the overall stability and durability of the dining chairs. Take your time and follow the instructions provided with your chairs to ensure a secure fit. Once the chair legs are attached, you’re ready to move on to the next step of attaching the chair seat.
Read more: How To Assemble A Dining Table
Step 5: Attach the chair seat
Attaching the chair seat is a crucial step in the assembly process as it provides the comfort and functionality of the dining chair. Here’s how you can securely attach the chair seat:
- Position the chair: Start by positioning the chair upright on a stable surface. This will give you easy access to the seat area where it will be attached.
- Align the seat: Take the seat and align it with the frame of the chair, ensuring that the screw holes on the seat match with the corresponding holes on the frame.
- Insert screws: Insert the provided screws through the pre-drilled holes on the seat and into the corresponding holes on the chair frame. Depending on the design of your dining chair, you may need to use an Allen wrench or screwdriver to tighten the screws securely.
- Tighten evenly: As you tighten the screws, make sure to do so evenly and gradually, applying equal pressure to each screw. This will ensure that the seat is securely attached and there are no gaps or wobbling.
- Check for stability: Once the seat is attached, sit on the chair and test its stability. Move around and shift your weight to ensure that the seat is securely fixed and can support your weight without any issues. If you notice any instability or movement, double-check the screws for tightness and adjust as needed.
- Repeat for each chair: If you’re assembling multiple dining chairs, repeat the above steps for each chair, ensuring that all the seats are securely attached and the chairs are stable.
Attaching the chair seat correctly is essential for the overall comfort and stability of the dining chairs. Take your time to align the seat properly and tighten the screws securely. With the chair seat attached, you’re now ready to move on to the next step of installing the chair back.
When assembling dining chairs, make sure to lay out all the pieces and hardware before starting. Follow the instructions carefully and tighten all screws and bolts securely to ensure stability.
Step 6: Install the chair back
Installing the chair back is an important step in completing the assembly of your dining chair. The chair back provides support and comfort while adding to the overall aesthetic appeal. Follow these steps to properly install the chair back:
- Position the chair: Begin by positioning the chair upright on a stable surface, with the seat facing up. This will allow for easy access to the back of the chair where the chair back will be attached.
- Align the chair back: Take the chair back and align it with the designated area on the chair frame. The backrest should line up with the pre-drilled holes or brackets on the chair frame.
- Insert screws or attach brackets: Depending on the design of your dining chair, either insert the provided screws through the pre-drilled holes on the chair back and into the corresponding holes on the chair frame, or attach the backrest to the brackets using the provided hardware.
- Tighten the screws: Using an Allen wrench or screwdriver, tighten the screws securely. If your chair back is attached using brackets, make sure they are securely fastened using the appropriate hardware.
- Check for stability: Once the chair back is installed, gently push on the backrest to test its stability. It should feel secure and not wobble or move excessively. If there is any instability, double-check the screws or brackets for tightness and make any necessary adjustments.
- Repeat for each chair: If you’re assembling multiple dining chairs, repeat the above steps for each chair, ensuring that all the chair backs are securely installed.
Properly installing the chair back is essential for the functionality and comfort of your dining chairs. Take your time to align the backrest correctly and ensure that it is securely attached. With the chair back installed, you’re one step closer to completing the assembly process and enjoying your newly assembled dining chairs.
Step 7: Tighten all screws and check for stability
After completing the assembly of your dining chairs, it’s important to take the time to tighten all the screws and check for stability. This step ensures that the chairs are secure, stable, and ready for use. Follow these steps to tighten the screws and ensure the stability of the chairs:
- Tighten all screws: Go through each chair and use an Allen wrench or screwdriver to tighten all the screws. Pay attention to the screws connecting the legs to the seat, the seat to the frame, and the chair back to the frame. Ensure that all screws are tightened properly but be careful not to overtighten and strip the threads.
- Check for stability: Once all the screws are tightened, test the stability of each chair. Sit on the chair and shift your weight to different positions to see if there is any wobbling or instability. Gently rock the chair back and forth to check for any loose connections or weak points. If you notice any issues, tighten the corresponding screws or brackets further.
- Inspect the chairs: Take a closer look at each chair to ensure that all the components are properly aligned and securely attached. Check for any loose parts, cracks, or damages. If you notice any issues, refer to the manufacturer’s instructions for troubleshooting or contact their customer support for assistance.
- Make adjustments if necessary: If you encounter any stability or alignment issues, make the necessary adjustments to address them. This may involve tightening screws further, adding additional hardware support, or adjusting the position of the chair parts.
- Final stability check: Once you have tightened the screws and made any necessary adjustments, perform a final stability check. Sit on the chair and test its stability and comfort. Ensure that all components are tightly secured and there are no signs of wobbling or instability.
Taking the time to tighten all the screws and ensure the stability of your dining chairs is crucial for safety and longevity. Properly tightened screws will prevent any accidents or injuries and ensure that your chairs can withstand regular use. With the screws tightened and the chairs checked for stability, you can now move on to the next step of assembling the remaining chairs.
Step 8: Assemble remaining chairs
If you have multiple dining chairs to assemble, it’s time to repeat the assembly process for the remaining chairs. Follow the same steps outlined in earlier sections, including gathering the necessary tools and materials, preparing the workspace, identifying the chair parts, attaching the legs, installing the seat, and attaching the chair back. Here are a few additional tips to keep in mind while assembling the remaining chairs:
- Maintain consistency: Ensure that you follow the same steps and techniques for each chair to maintain consistency in the final result.
- Refer to the instructions: Continuously refer to the assembly instructions or diagrams provided by the manufacturer to ensure proper alignment and attachment of the chair parts.
- Double-check for stability: After each chair is assembled, check for stability and make any necessary adjustments before moving on to the next chair. This will help ensure that each chair is properly assembled and safe to use.
- Take breaks if needed: Assembling multiple chairs can be time-consuming and physically demanding. Take breaks when needed to maintain focus and avoid fatigue.
- Keep track of parts and hardware: It’s important to keep track of any extra parts or hardware that may be provided with the chairs. This includes additional screws, washers, or caps. Organize them properly to avoid any confusion during the assembly process.
By following these tips, you can efficiently assemble the remaining chairs while ensuring consistency and stability throughout. Take your time, pay attention to details, and don’t rush the process. Once all the chairs are assembled, you can proceed to the final step of cleaning up and enjoying your newly assembled dining chairs.
Read more: How To Mix Dining Chairs
Step 9: Clean up and enjoy your newly assembled dining chairs
Congratulations! You have successfully assembled all your dining chairs. Now it’s time to clean up and prepare to enjoy your newly assembled furniture. Follow these final steps to complete the process:
- Remove any packaging: Dispose of any packaging materials and set them aside for recycling or proper disposal. This will help declutter your workspace and make room for your newly assembled chairs.
- Clean the chairs: Take a clean cloth and wipe down each chair to remove any dust or debris accumulated during the assembly process. Pay attention to all surfaces, including the seat, legs, and backrest.
- Check for any remaining loose screws: Inspect each chair once again and check for any screws that may have become loose during the assembly. Tighten them if necessary to ensure the chairs’ stability and safety.
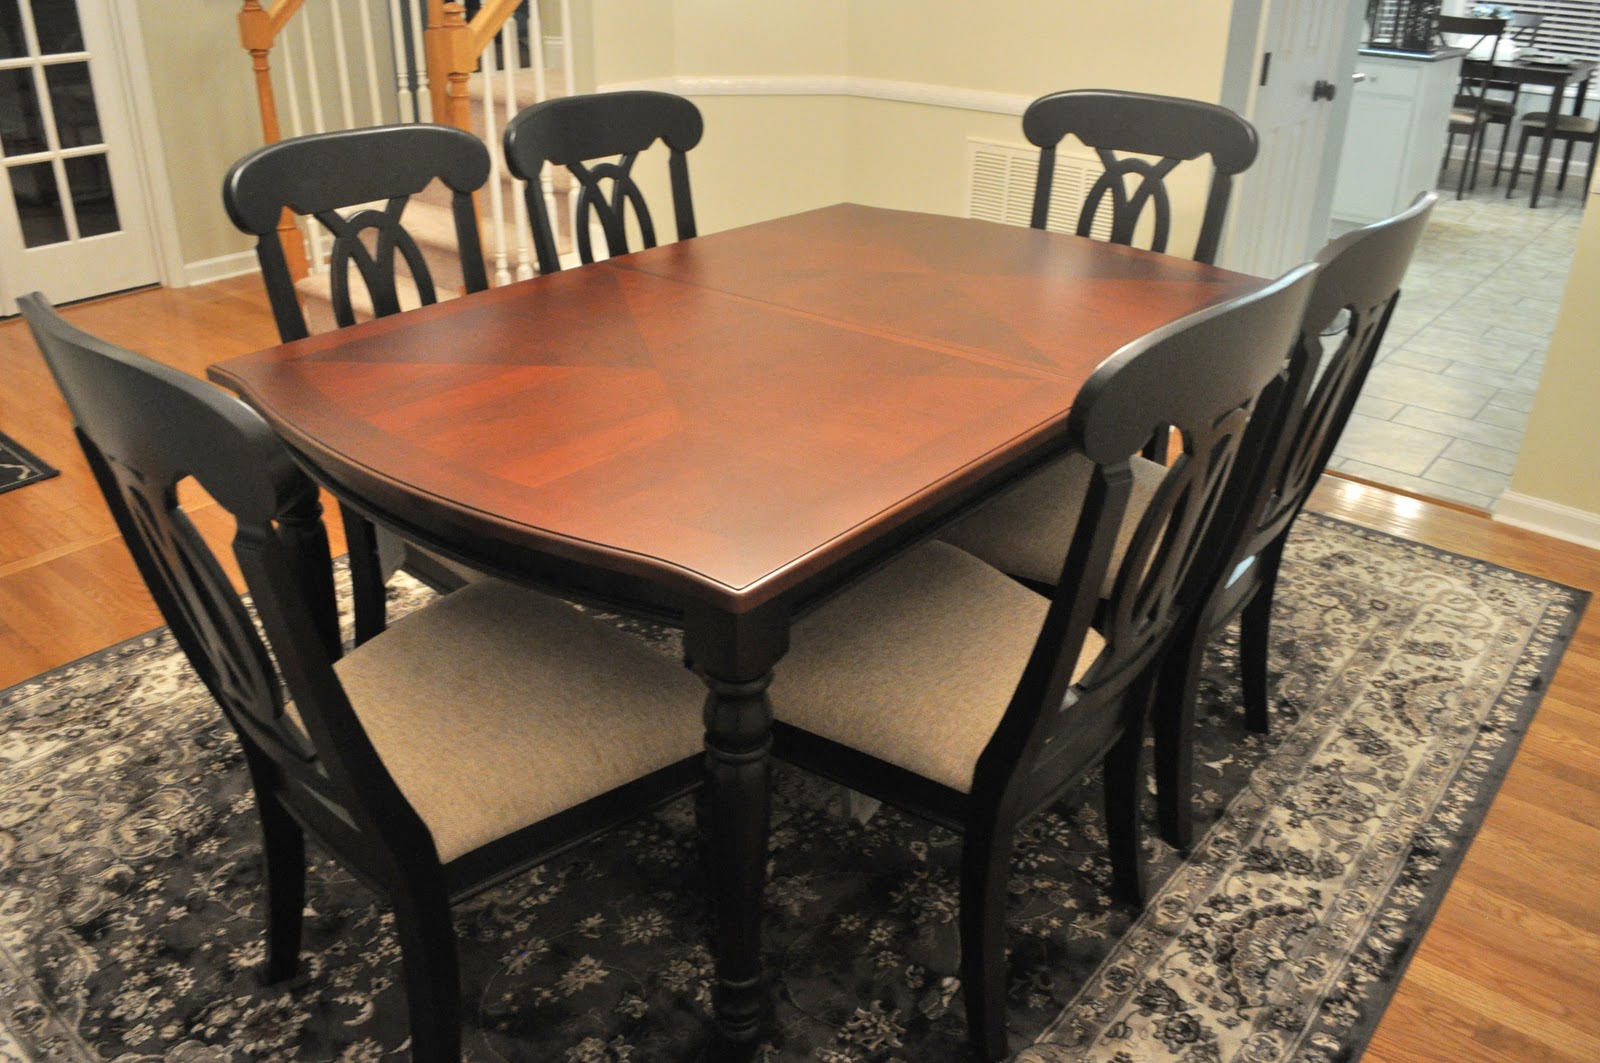
- Arrange the chairs: Choose the desired arrangement for your dining area and position the chairs accordingly. Make sure they are evenly spaced and aligned with the dining table.
- Add cushions or seat pads: To enhance comfort and aesthetics, you can consider adding cushions or seat pads to your dining chairs. This will provide extra support and make your dining experience more enjoyable.
- Test the chairs: Sit on each chair to test its comfort and stability. Rock back and forth gently to ensure that the chairs are structurally sound and properly assembled.
- Enjoy your newly assembled dining chairs: With the cleaning done and the chairs in place, it’s time to enjoy your new seating arrangement. Gather your family or friends, and savor a meal together around your beautifully assembled dining chairs.
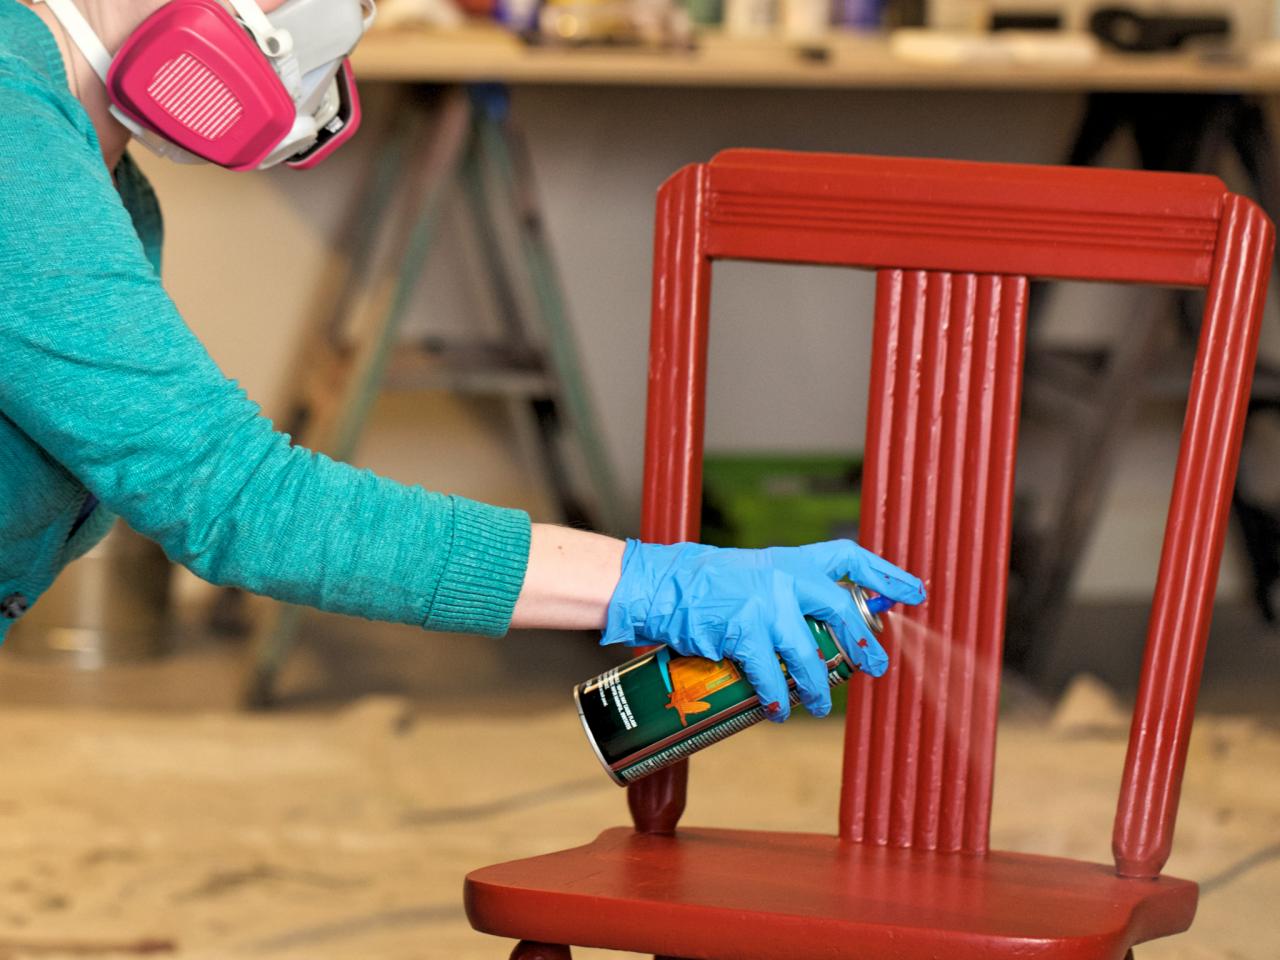
Remember, proper maintenance and care will prolong the lifespan of your dining chairs. Regularly dust and clean them, and tighten any loose screws as needed. This will ensure that your chairs remain sturdy and in excellent condition for years to come.
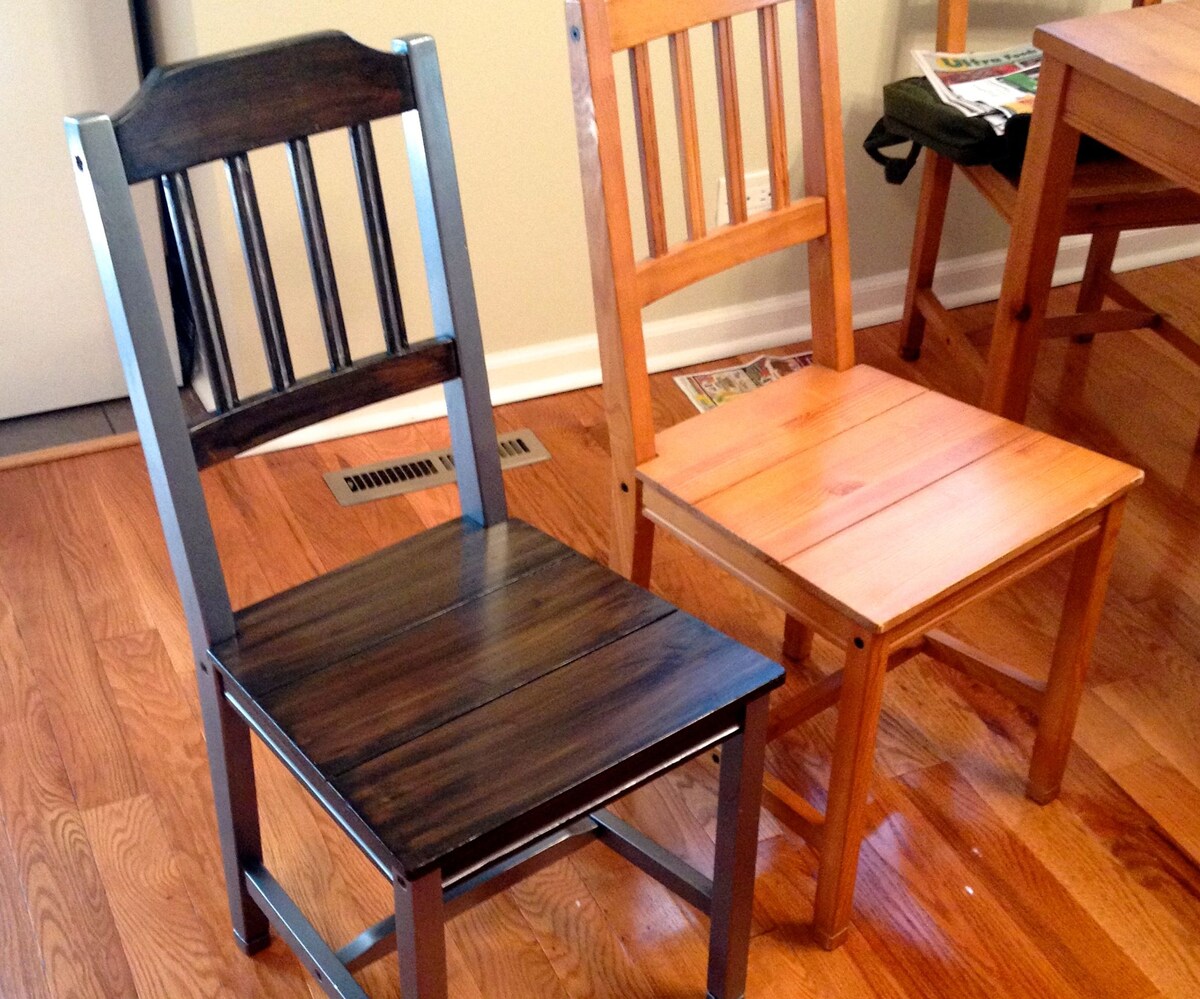
By following these steps, you have successfully assembled your dining chairs and created a cozy and inviting dining space. Enjoy the comfort and style of your newly assembled furniture as you create cherished memories around your dining table.
Conclusion
Assembling dining chairs may seem like a daunting task at first, but with the right tools, patience, and following a systematic approach, it becomes an achievable and rewarding experience. Taking the time to gather the necessary tools and materials, preparing the workspace, identifying the chair parts, and following the step-by-step assembly process ensures that your dining chairs are securely and correctly assembled.
By properly attaching the chair legs, seat, and backrest, and tightening all the screws, you ensure the stability and durability of your dining chairs. Carefully checking for any loose connections and making necessary adjustments guarantees a safe and comfortable seating experience.
Through each step, it’s important to refer to the manufacturer’s instructions, maintain consistency, and pay attention to detail. This ensures a seamless assembly process and a uniform result for all your dining chairs.
Upon completing the assembly of your dining chairs, take the time to clean up the workspace and remove any packaging materials. Wipe down the chairs to remove any dust or debris, and check for any remaining loose screws, tightening them if necessary.
With your chairs cleaned and arranged, take a moment to sit and enjoy the fruits of your labor. The newly assembled dining chairs not only provide a functional seating arrangement but also enhance the overall aesthetics of your dining space. Share meals, conversations, and memories with friends and family while enjoying the comfort and style of your carefully assembled dining chairs.
Remember, proper maintenance and care are essential to keep your dining chairs in excellent condition. Regularly clean and dust the chairs, tighten any loose screws, and consider adding cushions or seat pads for added comfort.
By following the steps outlined in this guide, you have successfully assembled your dining chairs and created a cozy and inviting dining area to enjoy for many years to come. Embrace the satisfaction of completing a DIY project and relish the joy of gathering around your beautifully assembled dining chairs.
Happy dining!
Frequently Asked Questions about How To Assemble Dining Chairs
Was this page helpful?
At Storables.com, we guarantee accurate and reliable information. Our content, validated by Expert Board Contributors, is crafted following stringent Editorial Policies. We're committed to providing you with well-researched, expert-backed insights for all your informational needs.


0 thoughts on “How To Assemble Dining Chairs”