Tableware
How To Cover A Dining Chair Seat
Modified: December 7, 2023
Discover how to cover a dining chair seat with stylish tableware. Transform your dining area with these easy-to-follow steps.
(Many of the links in this article redirect to a specific reviewed product. Your purchase of these products through affiliate links helps to generate commission for Storables.com, at no extra cost. Learn more)
Introduction
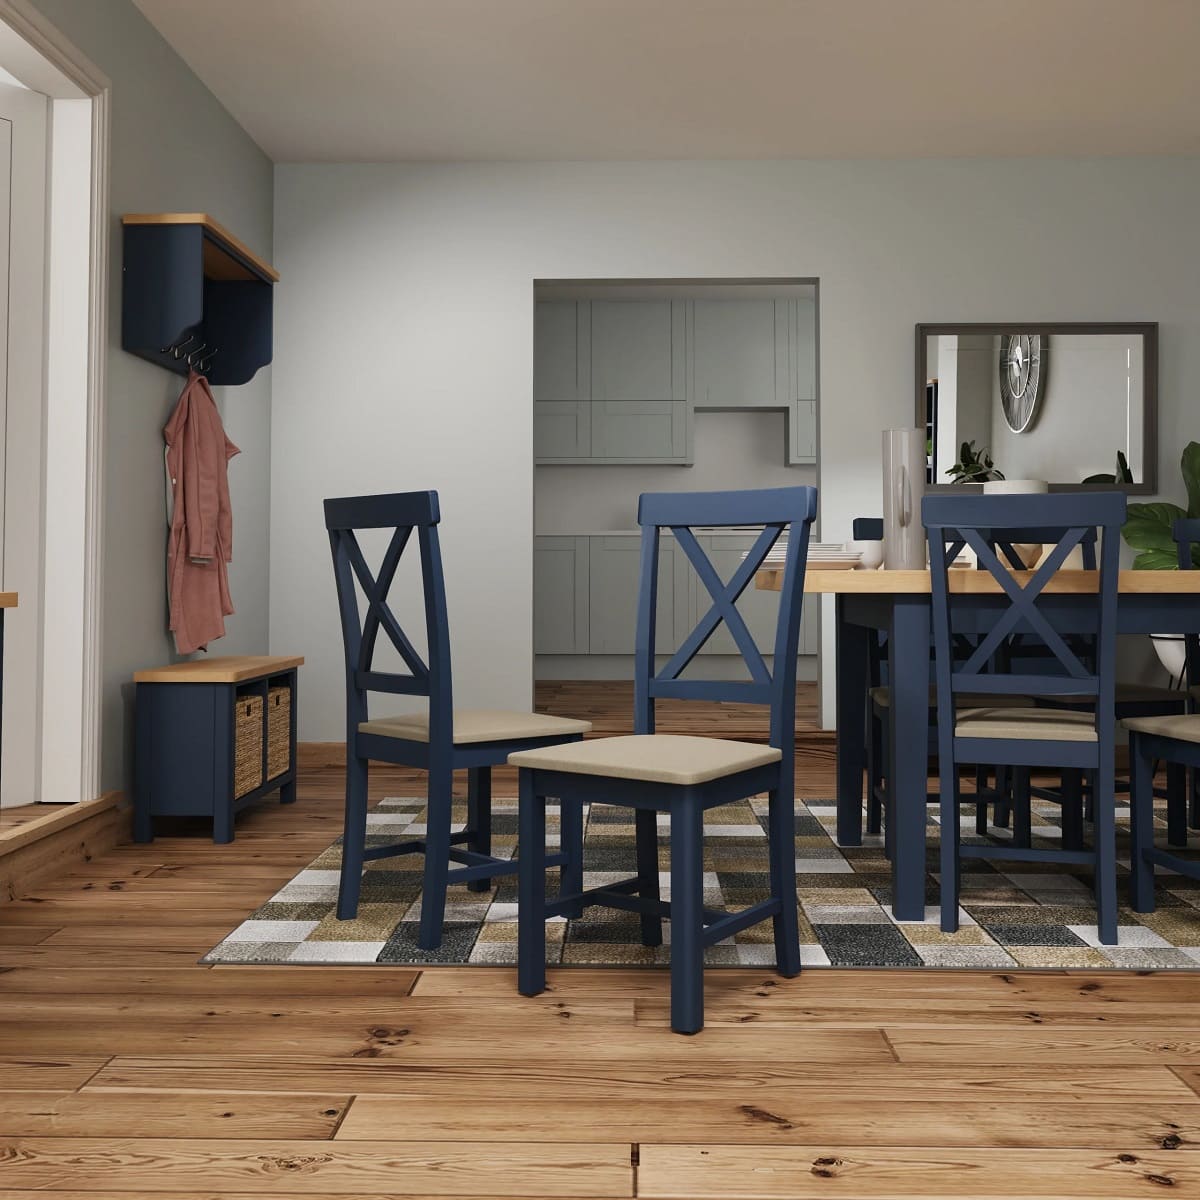
Welcome to our comprehensive guide on how to cover a dining chair seat. Whether you’re looking to give your dining room a fresh new look or your chair seats have seen better days, reupholstering them can breathe new life into your furniture. Not only is it a cost-effective option compared to buying new chairs, but it also allows you to personalize your dining space to suit your style and taste.
In this article, we’ll walk you through a step-by-step process on how to cover a dining chair seat. From gathering the necessary materials to attaching the new fabric and reassembling the chairs, we’ll provide you with all the information you need to successfully complete this DIY project. So let’s dive in!
Key Takeaways:
- Transform your dining chairs with a cost-effective and personalized touch by reupholstering the seats. Gather materials, remove old covers, and secure new fabric for a fresh and stylish dining space.
- Enjoy a rewarding DIY project by covering dining chair seats with new fabric. Follow step-by-step instructions to revitalize your furniture and add a personal flair to your dining area.
Step 1: Gather the Materials
Before you begin reupholstering your dining chair seat, it’s important to gather all the necessary materials. Here’s what you’ll need:
- Fabric: Choose a durable and easy-to-clean fabric that complements your dining room decor. Measure the dimensions of your chair seat to determine how much fabric you’ll need.
- Scissors: A pair of sharp fabric scissors will come in handy for cutting the fabric to the correct size.
- Screwdriver: Depending on the style of your dining chairs, you may need a screwdriver to remove the seat from the chair frame.
- Staple gun or upholstery tacks: You’ll need a staple gun or upholstery tacks to secure the new fabric to the seat. Make sure you have enough staples or tacks on hand.
- Pliers: Pliers will be useful for removing any existing staples or tacks from the seat.
- Foam padding: If your chair seat lacks cushioning or the existing padding is worn out, consider adding foam padding for extra comfort.
- Protective plastic or drop cloth: To prevent any mess, it’s a good idea to lay down a plastic sheet or drop cloth to catch any loose staples or fabric scraps.
Once you have gathered all the necessary materials, you’ll be ready to move on to the next step: removing the existing seat cover.
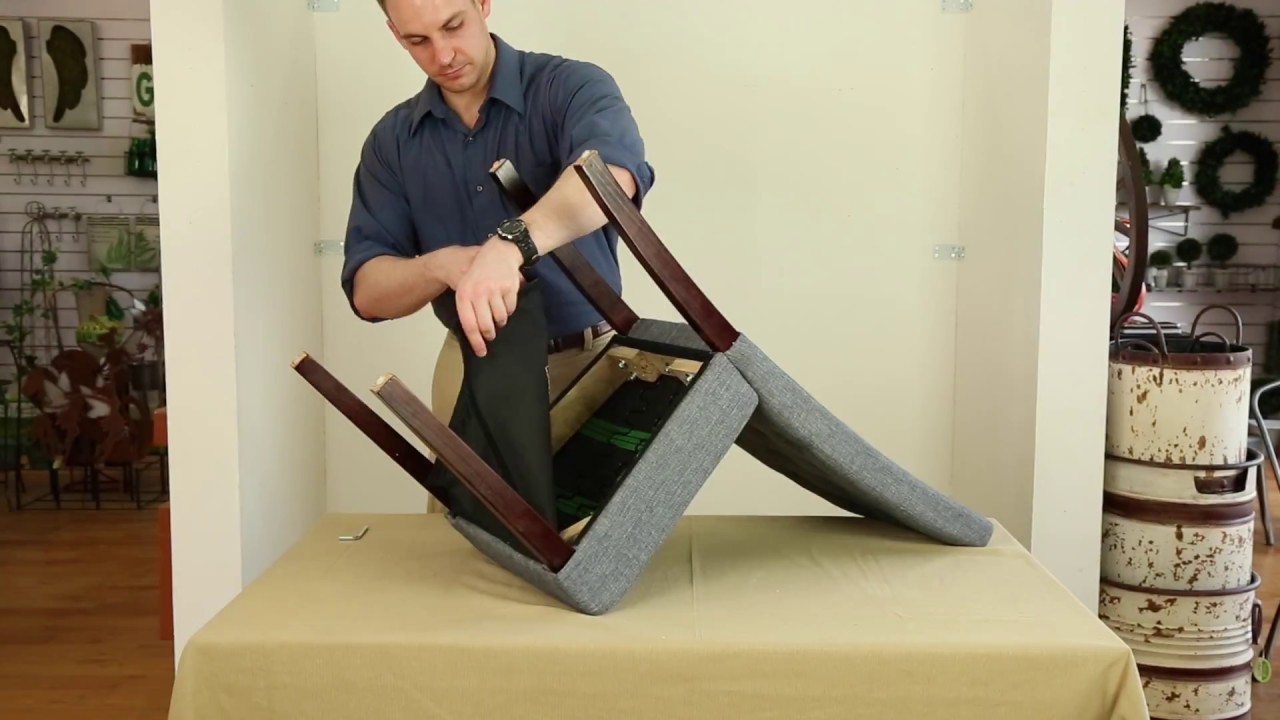
Step 2: Remove the Existing Seat Cover
Now that you have all the materials ready, it’s time to remove the existing seat cover from your dining chair. Follow these steps:
- Flip the chair upside down or place it on its side to access the underside of the seat.
- Use a screwdriver to remove any screws or bolts that are securing the seat to the chair frame. Set these aside in a safe place.
- Once the seat is detached, turn it right side up and place it on a stable surface.
- Inspect the seat to see how the current cover is attached. It may be held in place with staples or upholstery tacks.
- Use pliers to carefully remove the staples or tacks, starting from one corner and working your way around the seat. Take your time to avoid damaging the seat or the existing padding.
- Once all the staples or tacks have been removed, lift off the old cover and set it aside. You may need it as a reference when cutting the new fabric.
With the existing seat cover removed, you’re ready to move on to the next step: measuring and cutting the new fabric.
Step 3: Measure and Cut the New Fabric
Now that you have removed the old seat cover, it’s time to measure and cut the new fabric for your dining chair seat. Follow these steps:
- Lay out your fabric on a flat surface with the wrong side facing up.
- Place the old seat cover on top of the fabric as a template. Make sure the fabric is positioned correctly, with any patterns or designs aligned the way you want.
- Using fabric scissors, carefully cut around the edges of the old seat cover, leaving a few inches of excess fabric on all sides. This will give you enough material to secure the fabric to the seat.
- Remove the old seat cover from the fabric, and set it aside.
- If you’re adding foam padding to your chair seat, now is the time to cut it to size as well. Measure the dimensions of the seat and use the scissors to trim the foam accordingly.
It’s important to take accurate measurements and make clean cuts to ensure the fabric fits the seat properly. Once you have the fabric and foam cut to size, you’re ready to move on to the next step: attaching the new fabric to the seat.
Step 4: Attach the New Fabric to the Seat
With the fabric and foam cut to size, it’s time to attach the new fabric to your dining chair seat. Follow these steps:
- Place the foam padding, if using, on top of the seat. Ensure it is centered and properly aligned.
- Take the fabric piece you cut in the previous step and position it over the seat, with the right side facing down.
- Starting from one side, pull the fabric tightly over the seat, ensuring there are no wrinkles or loose areas.
- If the fabric has a pattern, ensure that it’s aligned correctly and symmetrically on the seat.
- Hold the fabric in place and flip the seat over to access the underside.
- Using a staple gun or upholstery tacks, secure the fabric to the seat frame. Start by stapling or tacking the center of each side, pulling the fabric tightly as you go.
- Continue stapling or tacking along the edges, working your way towards the corners. Make sure to evenly distribute the staples or tacks for a secure hold.
Be cautious not to staple or tack too close to the edge, as this can cause the fabric to tear or fray. Take your time, ensuring that the fabric is smooth and wrinkle-free as you secure it to the seat.
Once you have attached the new fabric to the seat, you’re ready to move on to the next step: securing the fabric with staples or tacks.
Consider using a staple gun to secure the fabric to the underside of the chair seat for a clean and professional finish. Make sure to pull the fabric taut to avoid any wrinkles or sagging.
Read more: How To Re-Cover Seats On Dining Room Chairs
Step 5: Secure the Fabric with Staples or Tacks
With the new fabric attached to the seat, it’s time to secure it in place using staples or upholstery tacks. Follow these steps:
- Inspect the fabric to ensure it is smooth and tightly stretched over the seat.
- Starting from the center of each side, use a staple gun or upholstery tacks to secure the fabric to the seat frame. Place the staples or tacks about an inch apart, ensuring they go through both the fabric and the seat.
- Work your way towards the corners, pulling the fabric tightly and evenly as you go. Make sure to keep the fabric smooth and wrinkle-free.
- Pay extra attention to the corners, as they may require extra folds or tucks to ensure a neat and professional finish.
- Once you have stapled or tacked along all sides and corners, check for any loose areas or wrinkles. If necessary, remove any staples or tacks and readjust the fabric before securing it again.
By securing the fabric with staples or tacks, you’ll ensure a tight and smooth fit that will withstand regular use. Take your time and be thorough in this step to achieve the best results.
Once you have secured the fabric, trim any excess fabric if necessary, and move on to the next step: trimming the excess fabric.
Step 6: Trim Excess Fabric
After securing the fabric to the seat, it’s important to trim any excess fabric for a clean and polished look. Follow these steps:
- Inspect the underside of the seat to see if there is any excess fabric hanging down.
- Using fabric scissors, carefully trim any excess fabric, keeping the cuts as close to the staples or tacks as possible.
- Be mindful not to cut too close to the stapled or tacked areas, as this can cause the fabric to loosen or unravel.
- As you trim, periodically check the top side of the seat to ensure that the fabric is still securely fastened and neatly trimmed.
Trimming the excess fabric will give your dining chair seat a professional and finished appearance. Take your time in this step to achieve clean and precise cuts.
With the excess fabric trimmed, you’re ready to move on to the final step: reattaching the seat to the dining chair.
Step 7: Reattach the Seat to the Dining Chair
After completing the upholstering process, it’s time to reattach the seat to your dining chair. Follow these steps:
- Turn the chair right side up and position the seat on top of the chair frame, aligning the screw holes or brackets.
- If your chair has screws, use a screwdriver to carefully reinsert and tighten them. If it has brackets, line them up and use the appropriate tools to secure the seat.
- Ensure that the seat is securely fastened to the chair frame by giving it a gentle shake or test sit.
- Check for any loose or wobbly areas, and tighten any screws or brackets as needed.
- Once the seat is firmly attached, visually inspect the upholstery to make sure it appears even and smooth.
Reattaching the seat completes the reupholstering process and allows you to enjoy your refreshed dining chair. Sit on it to make sure it feels comfortable and stable.
Congratulations! You have successfully covered your dining chair seat with a new fabric. Not only have you brought new life to your furniture, but you have also added a personal touch to your dining space.
Feel free to repeat these steps for each chair in your set, and don’t be afraid to get creative with different fabric choices and patterns. Enjoy your beautifully upholstered dining chairs!
Conclusion
Covering a dining chair seat is a rewarding and cost-effective way to refresh the look of your dining room. With the step-by-step guide provided in this article, you now have the knowledge and confidence to tackle this DIY project with ease.
By gathering the necessary materials, removing the existing seat cover, measuring and cutting the new fabric, attaching it securely to the seat, and trimming any excess fabric, you can transform your dining chairs into stylish and comfortable seating options.
Remember to take your time, pay attention to detail, and ensure the fabric is stretched tightly and smoothly for a professional finish. Don’t be afraid to get creative with your fabric choices as well, adding a personal touch to your dining space.
Now that you have completed the reupholstering process and reattached the seats to the dining chairs, take a moment to admire your handiwork. Sit back, relax, and enjoy your beautifully transformed dining area.
We hope this guide has been helpful in assisting you through the process of covering your dining chair seats. Happy upholstering!
Frequently Asked Questions about How To Cover A Dining Chair Seat
Was this page helpful?
At Storables.com, we guarantee accurate and reliable information. Our content, validated by Expert Board Contributors, is crafted following stringent Editorial Policies. We're committed to providing you with well-researched, expert-backed insights for all your informational needs.


0 thoughts on “How To Cover A Dining Chair Seat”