Home>Furniture & Design>Kitchen Furniture>How To Repaint Dining Chairs
Kitchen Furniture
How To Repaint Dining Chairs
Modified: October 19, 2024
Learn how to repaint your kitchen furniture with our expert tips and ideas for a fresh new look. Transform your dining chairs with our furniture and design advice today!
(Many of the links in this article redirect to a specific reviewed product. Your purchase of these products through affiliate links helps to generate commission for Storables.com, at no extra cost. Learn more)
Introduction
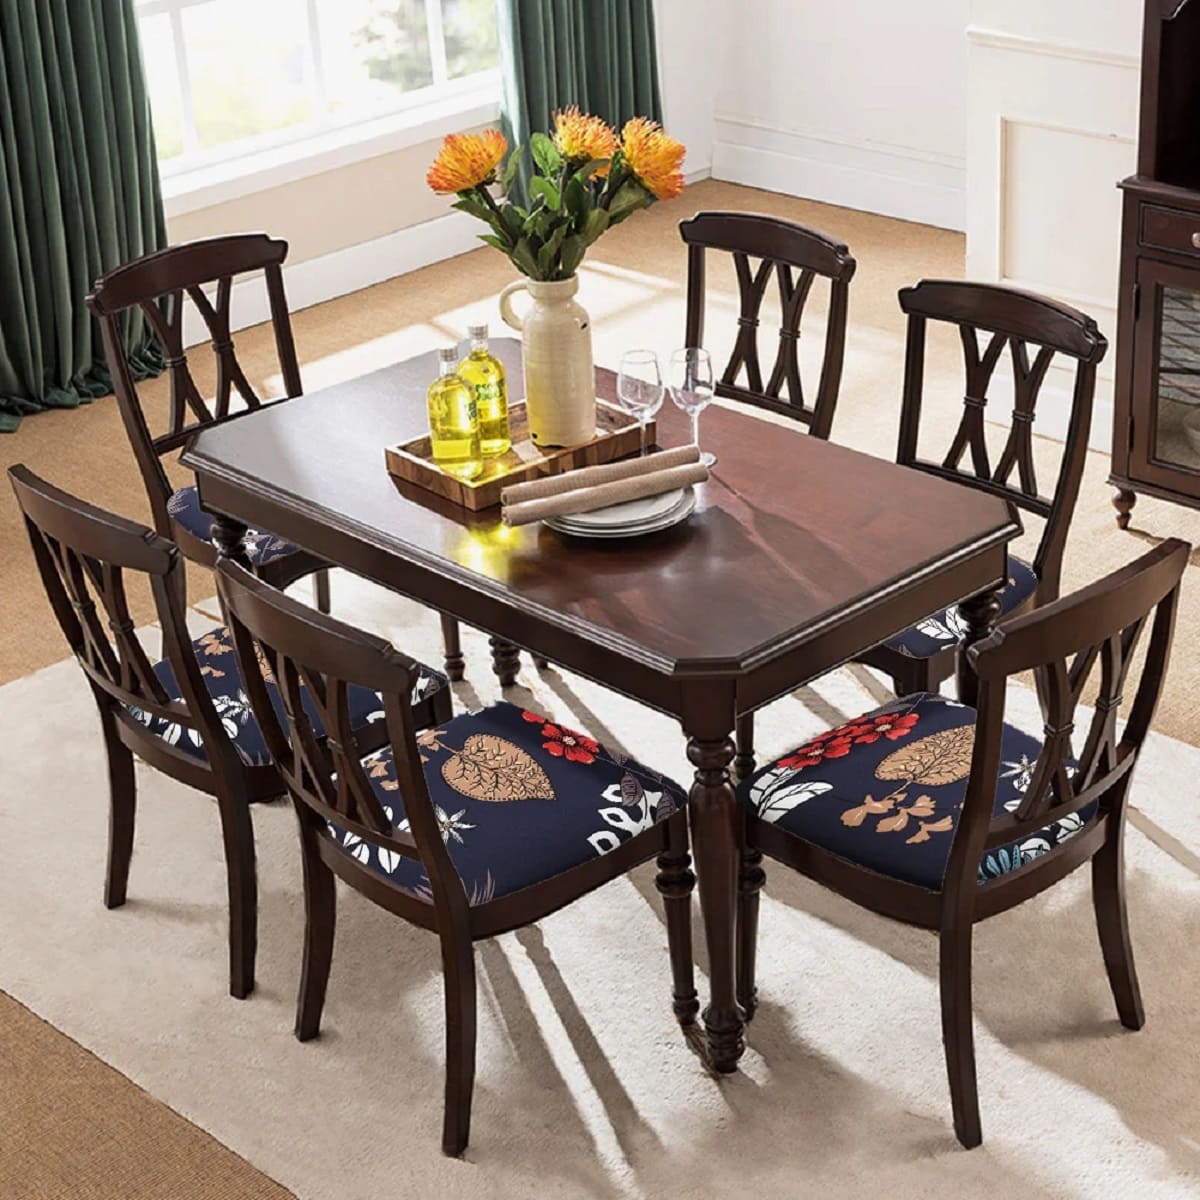
Welcome to the ultimate guide on how to repaint dining chairs! Whether you’re looking to breathe new life into your existing furniture or add a personal touch to a thrifted find, repainting dining chairs can be a rewarding and cost-effective way to revamp your dining space. With a little creativity and some basic materials, you can transform worn-out chairs into stunning pieces that complement your décor.
In this comprehensive guide, we’ll walk you through the step-by-step process of repainting dining chairs, covering everything from preparing the chairs for painting to adding the finishing touches. By the end of this journey, you’ll have the knowledge and confidence to tackle this DIY project with ease.
So, roll up your sleeves, gather your supplies, and let’s dive into the wonderful world of chair repainting!
Key Takeaways:
- Revamp your dining chairs with a fresh coat of paint! From prep to finishing touches, this DIY project lets you add a personal touch to your dining space, creating stunning, personalized furniture.
- Transform worn-out dining chairs into stunning pieces! With the right materials and a little creativity, you can revitalize your dining area with a cost-effective and rewarding repainting project.
Read more: How To Mix Dining Chairs
Materials Needed
Before embarking on your dining chair repainting adventure, it’s essential to gather the necessary materials. Here’s a comprehensive list of items you’ll need to ensure a successful and satisfying painting experience:
- Dining Chairs: The chairs you plan to repaint. Ensure they are sturdy and free from major structural issues.
- Sandpaper: A variety of grits, including coarse, medium, and fine, to prepare the surface for painting.
- Primer: A high-quality primer suitable for the material of your chairs (wood, metal, etc.).
- Paint: Choose a durable paint specifically formulated for furniture, such as acrylic or latex paint. Consider the color that best complements your dining area.
- Paintbrushes or Spray Paint: Select high-quality brushes suitable for furniture painting. Alternatively, you can opt for spray paint for a smooth, even finish.
- Drop Cloth or Newspaper: To protect your work area from paint splatters and drips.
- Painter’s Tape: For masking off areas you don’t want to paint, such as chair legs or seat cushions.
- Protective Gear: Disposable gloves, a respirator mask, and safety goggles to safeguard yourself during the painting process.
- Cleaner and Rags: A gentle cleaner or degreaser to remove dirt and grime from the chairs, along with clean rags for wiping down surfaces.
- Optional: Sanding Block or Electric Sander: For larger projects, using a sanding block or electric sander can expedite the sanding process.
- Optional: Clear Coat or Sealant: For added protection, consider applying a clear coat or sealant to preserve the freshly painted finish.
By ensuring you have all the necessary materials on hand, you’ll be well-prepared to commence the chair repainting process smoothly and efficiently.
Preparing the Chairs
Before diving into the exciting world of painting, it’s crucial to prepare your dining chairs properly. This step sets the foundation for a flawless and long-lasting paint finish. Here’s a detailed guide on how to prepare your chairs for the upcoming transformation:
- Inspect the Chairs: Begin by thoroughly examining each chair for any structural issues, loose joints, or damage. Tighten any loose screws or bolts and address any necessary repairs before proceeding.
- Clean the Surface: Using a gentle cleaner or degreaser, wipe down the chairs to remove accumulated dirt, dust, and grime. Ensure the chairs are completely dry before moving on to the next step.
- Remove Seat Cushions: If your chairs have removable seat cushions, take this opportunity to unscrew or detach them from the chairs. This will allow for easier access when painting the chair frames.
- Protect Surrounding Areas: Lay down a drop cloth or spread out old newspapers to protect the floor and surrounding surfaces from paint splatters and drips. This simple step can save you from a significant cleanup later on.
- Mask Off Areas: If there are specific areas of the chair that you don’t want to paint, such as decorative details or the seat bottoms, use painter’s tape to mask off these sections effectively.
By meticulously preparing your chairs, you’re setting the stage for a seamless painting process. This attention to detail ensures that the paint adheres evenly and beautifully, resulting in a professional-looking finish that will stand the test of time.
Sanding the Chairs
Once your dining chairs are inspected, cleaned, and prepped, the next crucial step in the repainting process is sanding. Sanding plays a pivotal role in creating a smooth and receptive surface for the primer and paint. Here’s a step-by-step guide on how to sand your chairs effectively:
- Select the Right Sandpaper: Begin by choosing the appropriate grit of sandpaper for the job. Coarse grit (60-80) is ideal for removing old finish or paint, while medium (100-150) and fine (180-220) grits are suited for smoothing the surface.
- Sand the Chairs: Using the selected sandpaper, systematically sand the entire surface of each chair, including the legs, backrest, and any other exposed areas. Work in the direction of the wood grain for wooden chairs to avoid creating visible scratches.
- Focus on Detailing: Pay special attention to intricate details or carvings on the chairs, ensuring that these areas are thoroughly sanded to remove any existing finish or imperfections.
- Smooth Rough Edges: If the chairs have rough or uneven edges, use sandpaper to gently smooth these areas, creating a uniform and polished look.
- Remove Sanding Residue: After sanding, wipe down the chairs with a clean, damp cloth to eliminate any sanding residue and ensure a clean surface for the next steps.
Sanding the chairs not only creates an ideal surface for paint adhesion but also allows for the removal of any imperfections, ensuring a professional and refined end result. This essential step sets the stage for the transformative power of fresh paint, breathing new life into your dining chairs.
Before repainting dining chairs, make sure to sand the surface to remove any existing finish. Use a primer to help the new paint adhere, and choose a durable paint suitable for furniture. Apply thin, even coats and let each coat dry completely before adding another.
Priming the Chairs
Once the chairs are meticulously sanded and free from any residual dust, it’s time to move on to the crucial step of priming. Applying a high-quality primer is essential for creating a strong bond between the surface of the chairs and the paint, ensuring a durable and long-lasting finish. Here’s a detailed guide on how to prime your dining chairs effectively:
- Choose the Right Primer: Select a primer specifically formulated for the material of your chairs, whether they are wood, metal, or another type of material. Consider a stain-blocking primer if you’re painting over dark or heavily stained chairs.
- Prepare the Work Area: Lay down a drop cloth or old newspapers to protect your work surface from primer overspray or drips. Adequate ventilation is crucial, so consider working in a well-ventilated area or using a respirator mask if working indoors.
- Apply the Primer: Using a high-quality paintbrush or a paint sprayer, apply a smooth and even coat of primer to the chairs. Start with the undersides and hard-to-reach areas before moving on to the more visible surfaces.
- Allow for Drying Time: Follow the manufacturer’s instructions regarding drying times between coats. Ensure that the primer is completely dry before proceeding to the next step to prevent any adhesion issues with the paint.
- Inspect for Uniform Coverage: After the first coat of primer has dried, inspect the chairs for any uneven or missed spots. Apply an additional coat of primer if necessary to achieve uniform coverage.
Priming the chairs not only enhances the adhesion of the paint but also provides an opportunity to correct any imperfections in the chair’s surface. This essential preparatory step sets the stage for the exciting transformation that awaits as you move on to the next phase of the repainting process.
Read more: How To Paint Dining Chairs?
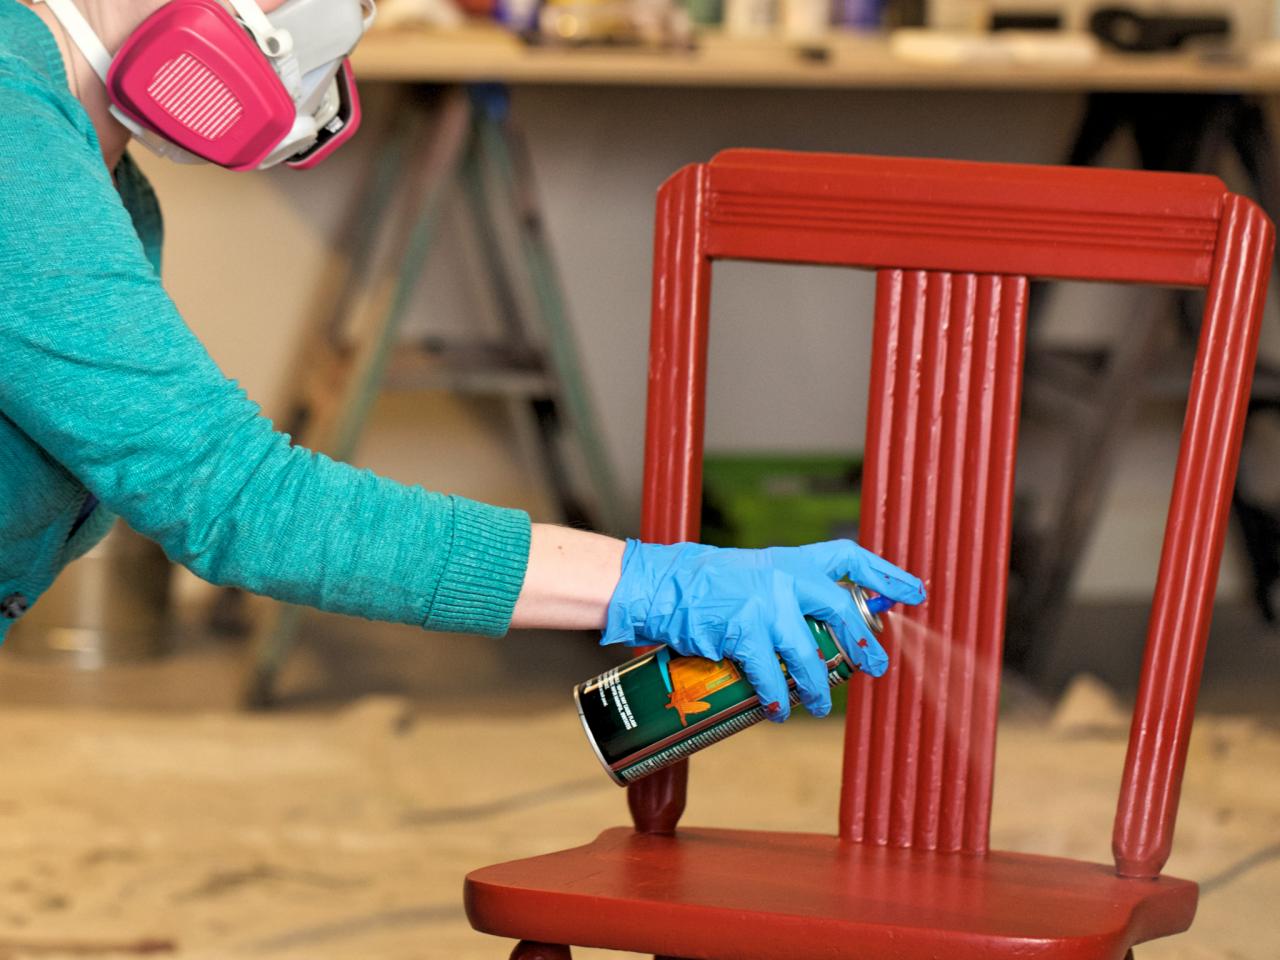
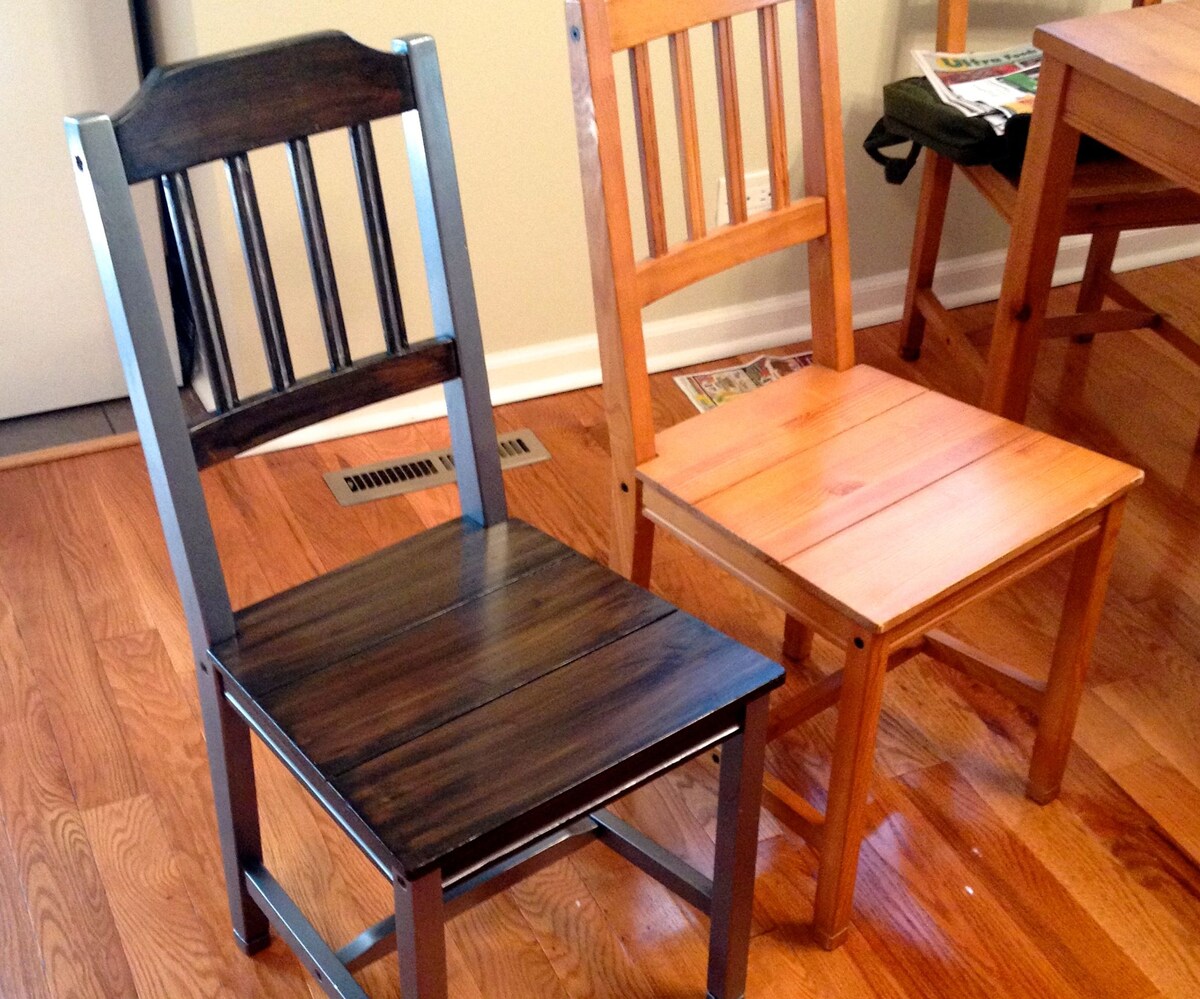
Painting the Chairs
With the chairs expertly prepped and primed, it’s time to unleash your creativity and infuse your dining space with a fresh burst of color. Painting your dining chairs is where the magic truly happens, allowing you to personalize and rejuvenate your furniture to complement your décor. Here’s a detailed guide on how to paint your chairs for a flawless finish:
- Choose the Right Paint: Select a high-quality paint specifically formulated for furniture, such as acrylic or latex paint. Consider the color that best harmonizes with your dining area’s aesthetic and your personal style.
- Prepare the Work Area: Lay down a drop cloth or old newspapers to protect your work surface from paint drips or spills. Adequate ventilation is crucial, so consider working in a well-ventilated area or using a respirator mask if working indoors.
- Apply the Paint: Using a high-quality paintbrush suitable for furniture painting or a paint sprayer, apply an even coat of paint to the chairs. Start with the undersides and less visible areas before moving on to the more prominent surfaces.
- Allow for Drying Time: Follow the manufacturer’s recommendations regarding drying times between coats. Ensure that the first coat is completely dry before applying subsequent coats to achieve a smooth and professional finish.
- Inspect for Uniform Coverage: After the first coat has dried, inspect the chairs for any missed spots or uneven coverage. Apply additional coats as needed, allowing each coat to dry thoroughly to avoid smudges or imperfections.
Embrace the painting process as an opportunity to express your personal style and breathe new life into your dining chairs. Whether you opt for a timeless neutral hue or a bold, vibrant color, painting your chairs is a transformative endeavor that can elevate the entire look and feel of your dining space.
Finishing Touches
As you near the completion of your dining chair repainting project, it’s time to add the finishing touches that will elevate the overall look and ensure the longevity of your newly revitalized furniture. These final steps will not only enhance the aesthetic appeal but also contribute to the durability and resilience of the painted finish. Here’s a comprehensive guide to the essential finishing touches:
- Apply a Clear Coat or Sealant: For added protection and durability, consider applying a clear coat or sealant specifically designed for furniture. This extra layer will safeguard the freshly painted surface from daily wear and tear, making it easier to clean and maintain.
- Reattach Seat Cushions: If your chairs have removable seat cushions, reattach them securely to the chair frames once the paint and clear coat have fully dried. Ensure that the cushions are aligned and fastened properly for a polished look.
- Inspect for Touch-Ups: Thoroughly examine the chairs for any areas that may require touch-ups or additional paint. Address any minor imperfections to achieve a flawless and professional finish.
- Clean Up and Reorganize: Dispose of used materials responsibly and tidy up your work area. Return any displaced furniture or décor items to their designated places, allowing you to fully appreciate the stunning transformation of your dining chairs.
By incorporating these finishing touches, you’ll not only enhance the visual impact of your repainted dining chairs but also ensure that they remain resilient and beautiful for years to come. With each step carefully executed, you’re on the brink of unveiling a remarkable and personalized addition to your dining space.
Conclusion
Congratulations on successfully navigating the transformative journey of repainting your dining chairs! Through meticulous preparation, strategic priming, and the artful application of paint, you’ve breathed new life into your furniture, infusing your dining space with personalized style and charm.
By embarking on this DIY endeavor, you’ve not only reinvigorated your dining area but also demonstrated your creativity and resourcefulness. The process of repainting dining chairs is a testament to the incredible impact that a simple yet thoughtful project can have on your home environment.
As you admire the freshly painted chairs adorning your dining area, take pride in the effort and attention to detail invested in this project. Your dedication to achieving a flawless and enduring finish has resulted in furniture that seamlessly integrates with your décor and reflects your unique taste.
Remember, the journey doesn’t end here. Care for your repainted chairs by cleaning them with gentle methods and avoiding harsh abrasives to preserve their beauty for years to come. Whether you’ve opted for a classic, timeless look or a bold and modern aesthetic, your repainted dining chairs are a reflection of your personal style and a focal point of your dining space.
As you revel in the satisfaction of a job well done, consider the endless possibilities that DIY projects offer for transforming your living spaces. Your newfound expertise in chair repainting opens the door to further creative endeavors, allowing you to infuse your home with warmth, character, and your own unique flair.
With your repainted dining chairs as a stunning centerpiece, you’ve not only revitalized your furniture but also imbued your dining area with a renewed sense of vitality and personality. Embrace the joy of your beautifully revamped chairs and the sense of accomplishment that comes with breathing new life into your home.
Frequently Asked Questions about How To Repaint Dining Chairs
Was this page helpful?
At Storables.com, we guarantee accurate and reliable information. Our content, validated by Expert Board Contributors, is crafted following stringent Editorial Policies. We're committed to providing you with well-researched, expert-backed insights for all your informational needs.


0 thoughts on “How To Repaint Dining Chairs”